It’s Five O’Clock Somewhere | Rosemary Gin Fizz

Alert. I am elbows deep in butter and sugar. I went to the grocery store yesterday with a rather large streak of flour on my forehead. I didn’t notice the flour until I got home. Damn it.

As a consequence of the above, I am waist-deep in dirty dishes. Help?

My kitchen is a mess. Every square inch of my dining table is covered with baking, homemade gifts, and cards. I haven’t eaten a meal at the table in days. My floor is covered with wrapping paper and items that still need to be wrapped up all nice and pretty.

It’s quite likely that I’m keeping the local grocery store in business. I have stopped there at least once a day for the past week. How?!

And then there’s the sleep issue. I can’t remember the last time that I slept more than six hours in one night. Don’t get me wrong, I like sleep. I love sleep. But I don’t have time to sleep right now. I’d totally be all good if there were like, 36 hours in a day instead of a measly 24. Clearly, whoever invented 24-hour days didn’t have a very busy schedule!

But I digress. And I’ve learned that when life throws stress and busy-ness and craziness your way, it doesn’t hurt to sit back, take a few deep breaths, and enjoy a tasty beverage. Preferably one that has a decent alcohol-to-mix ratio. You’ve earned it, after all.

It’s quite likely that you’ve been (and will continue) enjoying a beverage or two over the holiday season. ‘Tis the season for eating and drinking, no? Rum and egg nog (yes), spiked cider (yes!), mulled wine (YES!)…so many choices. Well, I’m here to offer you another choice, something a little less sweet, a little bit lighter (on taste, not alcohol…who do you think you’re talking to here?).

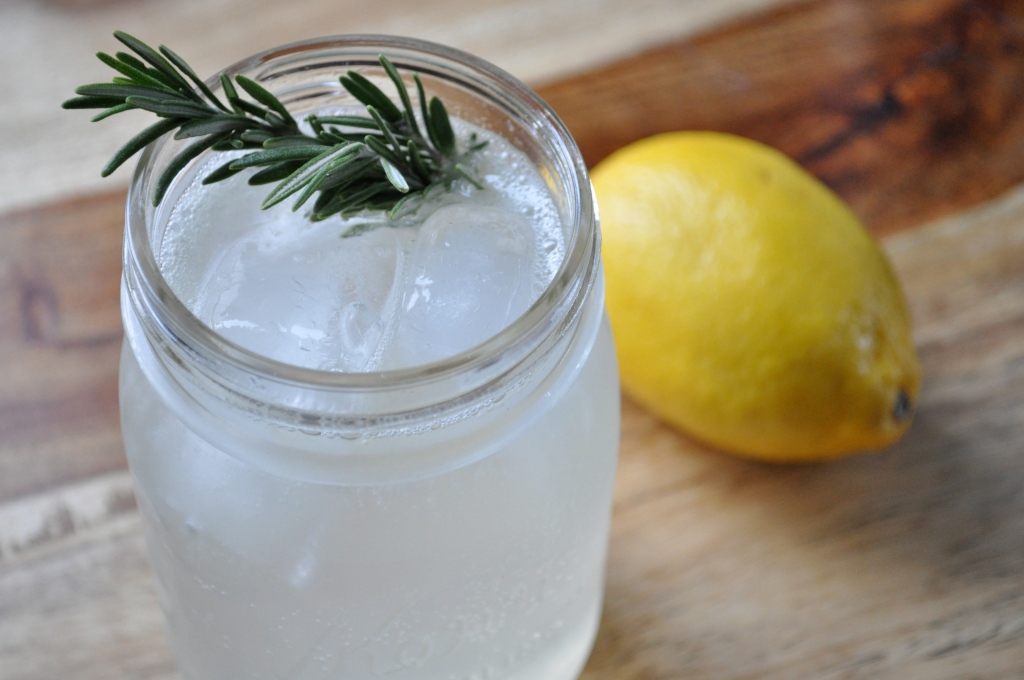
I stumbled upon this concoction on…Stumble Upon a few weeks ago and bookmarked it to try. I made it, I drank it, and I loved it. The rosemary flavor is lovely, but not overpowering. I’m ready to serve a few of these fizzies up over the holidays.

Rosemary Gin Fizz (adapted from Sassy Radish)

2 ounces gin (I used Tanqueray)
2 TBSP. fresh lemon juice
2 TBSP. Rosemary Syrup (recipe below)
Ice cubes
Cold club soda
1 rosemary sprig, for garnish (optional)

Grab yourself a beverage vessel. I am obsessed with serving things in mason jars, so I grabbed one of those. Use whatever tickles your fancy. Combine the gin, lemon juice, and Rosemary syrup, and give it a good stir. Add ice cubes to fill the glass halfway, and top with club soda. This is not a sweet drink, so if you want more sweetness, you could always add more syrup, or use tonic water instead of club soda…and then you’d have a mighty delicious beefed up G & T! Delicious, either way. Garnish with a sprig of fresh rosemary, if using.

To make the Rosemary Syrup:

2 cups water
1/2 cup sugar
4 rosemary sprigs, rinsed

Combine all of the ingredients in a medium saucepan. Bring to a boil, then simmer over low heat for a couple of minutes. Remove from the heat and allow the mixture to steep for 10 minutes. Strain the syrup and chill. Store in an airtight container (ie. a mason jar!) in the fridge for up to one week.

Just a note: The first three photos in this post were taken via Instagram, a free app on my iPhone. I adore Instagram, and tend to snap a lot of photos with it on a daily basis, many food-related, but some not. Several of them have made an appearance on the blog before. If you’re interested in following me on Instagram, you can find me under the username “@onceuponarecipe”. Bottoms up!

Things I’ve Learned Vol. 1 | Christmas Crack (aka. Clodhoppers)

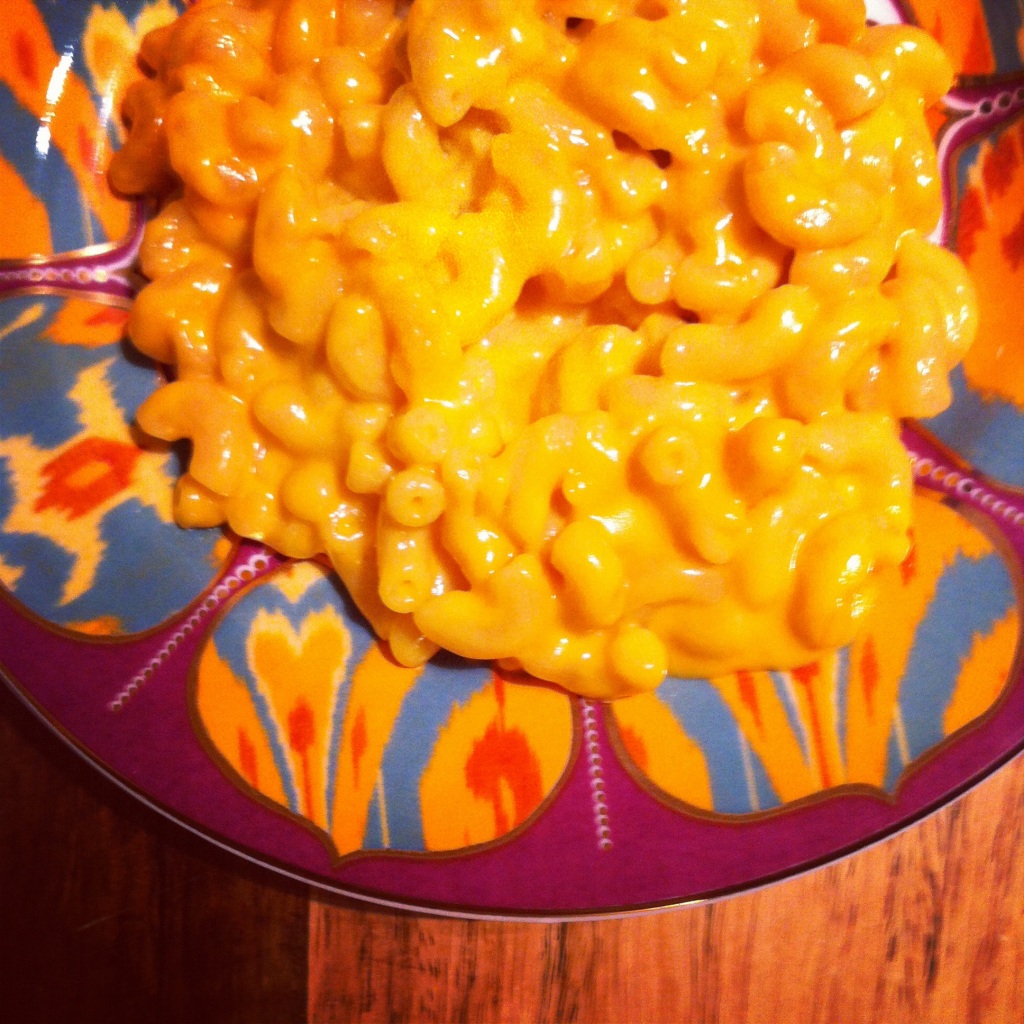
1.When you’re eating a single lady dinner (read: frozen dinner), always enjoy your dinner on a fancy plate. This will help you to feel less bad about yourself/pathetic for a) eating by yourself, and b) eating microwaved crap when you should have been less lazy and made yourself something respectable to eat. Your fridge is full of groceries, after all.

2. When you decide that it’s a good idea to wait until the week before Christmas to start your Christmas shopping, be prepared to get feisty. People get crazy. I went to Costco recently and people were taking the line-ups for the samples a wee bit too seriously. I actually witnessed two people almost get into a fight about who got there first. Dudes, if you’re going to get that worked up about a sample of cheese, then you’ve got bigger problems on your hands. Seek help. Immediately.

3. It’s not a very smart idea to wait until the week before the big day to start your Christmas shopping.

4.Christmas baking is a lot of fun. Delicious fun at that. And you can dance around to annoying Christmas songs spilling flour and sugar and sprinkles everywhere while you do it. Unfortunately the fun suddenly comes to a halt when you have 14 dozen cookies in your freezer, beckoning you to eat them at all hours of the day and night. Thankfully, most people enjoy Christmas cookies and will gladly take a couple dozen off of your hands. Baking also makes a great gift. Right?

5. We should all poach chickens more often. Whole chickens. As in, stick ’em in a pot, cover ’em with water, add veggies and herbs and simmer away until you’ve got the most tender chicken that’s ever passed your lips. You’ll be left with a whack of chicken (for use in soups, salads, pasta, whatevs) and a serious helping of homemade chicken broth. Win! Seriously. Do it. I followed these guidelines.


Single Lady Dinner/Poached Chicken

6. Nearly every Christmas song recorded after 1995 is terribly annoying. Have you noticed that every song is about love, or asking Santa to shoot you with Cupid’s arrow, bring your love back to you, or some variation of the two? Newsflash peeps! There is no Santa Claus. And if there actually was a jolly old fat guy who could fly around the entire world on a sleigh pulled by magical reindeer in one night, eat billions of cookies, and slide down chimneys and leave us all everything we wished for, I’m pretty sure there wouldn’t be so many weird single people in this world. Me included.

7. Is anyone looking for a weird girlfriend? I’ll bring cookies.

8. If you make the following recipe, you won’t regret it.

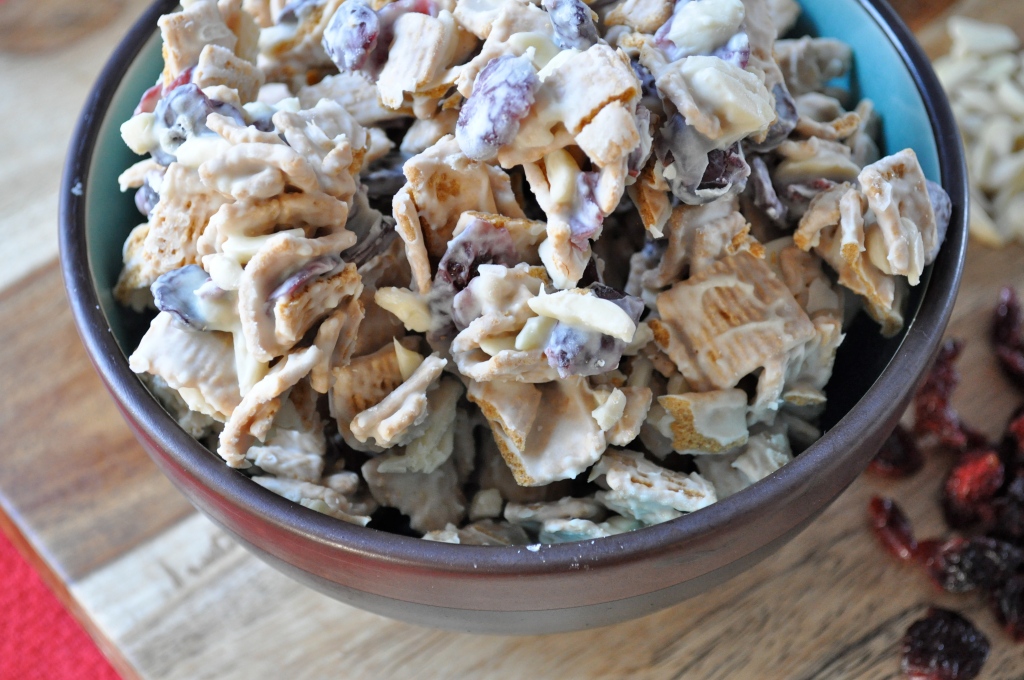
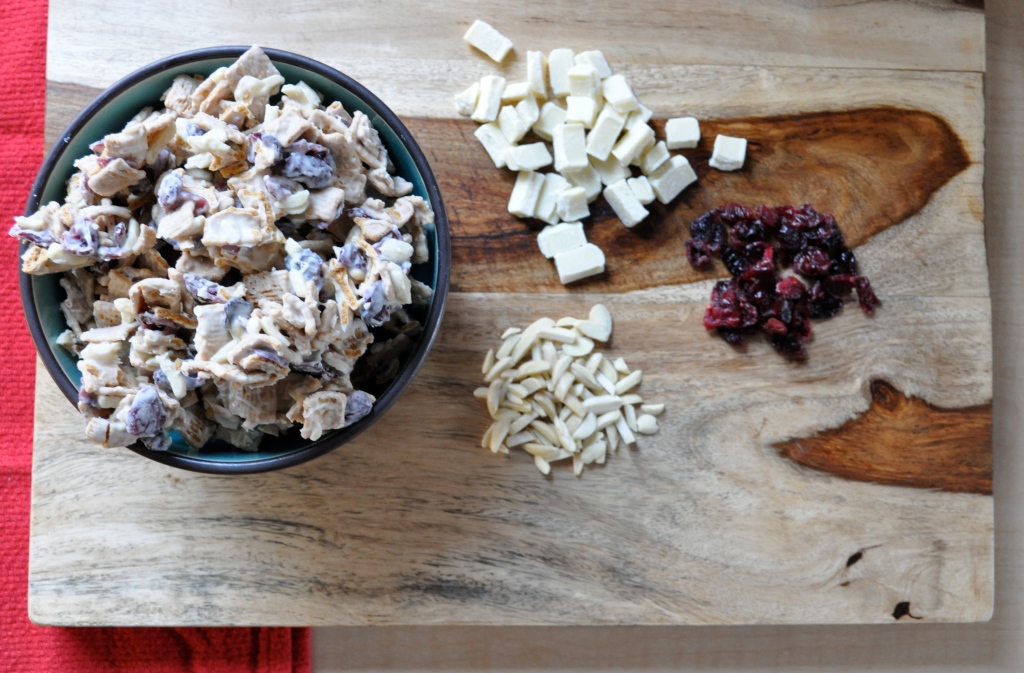
Warning: I have discovered edible crack. Just 4 ingredients come together to create a highly addictive sweet snack. This recipe was shared by a lovely coworker of mine (hi E!) who brought said edible crack to a cookie exchange I attended last weekend. Clodhoppers is the real name, but after one taste of this stuff, you’ll agree that it’s as addictive as crack. Not that I have any personal experience with the stuff (seriously). Make it. Eat it. Enjoy it.

Christmas Crack (aka. Clodhoppers)

1 cup white chocolate pieces

1/2 cup dried cranberries

1/4 cup slivered almonds

2 heaping cups of Graham Crackers cereal

In a medium bowl, combine the cereal, cranberries, and almonds. In a double boiler over medium heat, melt the chocolate. Pour the melted chocolate over the cereal mixture, and toss until evenly coated. Roughly spread the mixture (but leave lots of clumps!) on a baking sheet lined with wax paper and throw the whole shebang into the freezer for about 10-15 minutes (to set). Remove from the freezer and break into chunks. Package in festive Christmas bags to give away, or toss into a bowl to enjoy yourself. Start researching rehab programs near you. 😉

Giving Thanks | Pumpkin Breakfast Cake


OK, I know what you’re thinking…

Not another pumpkin recipe.

But wait! Don’t run away! Allow me to plead my case.


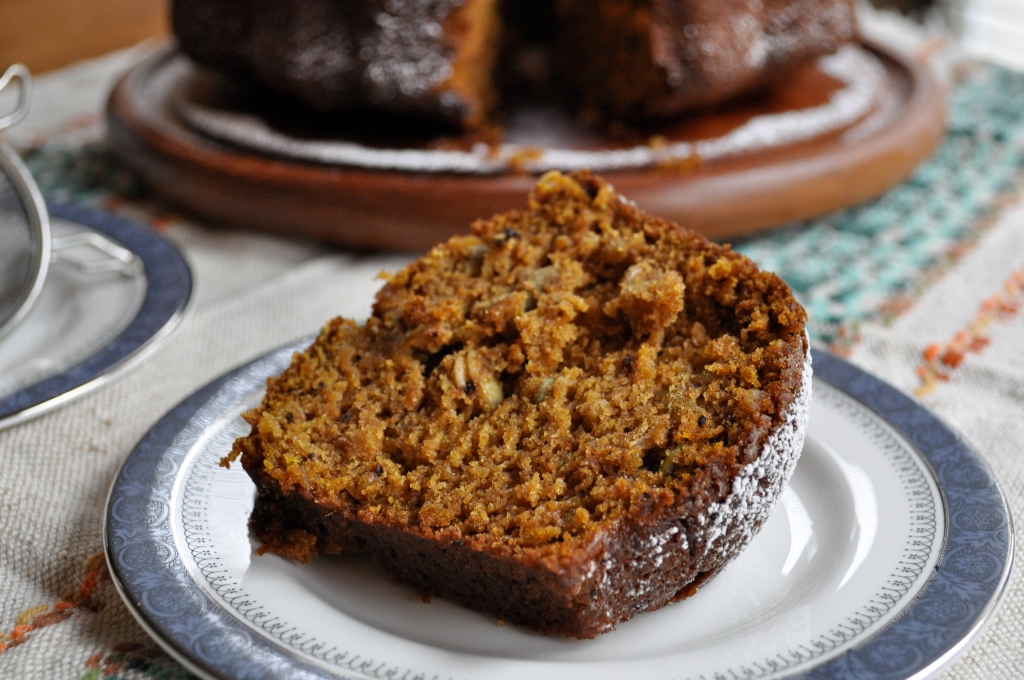
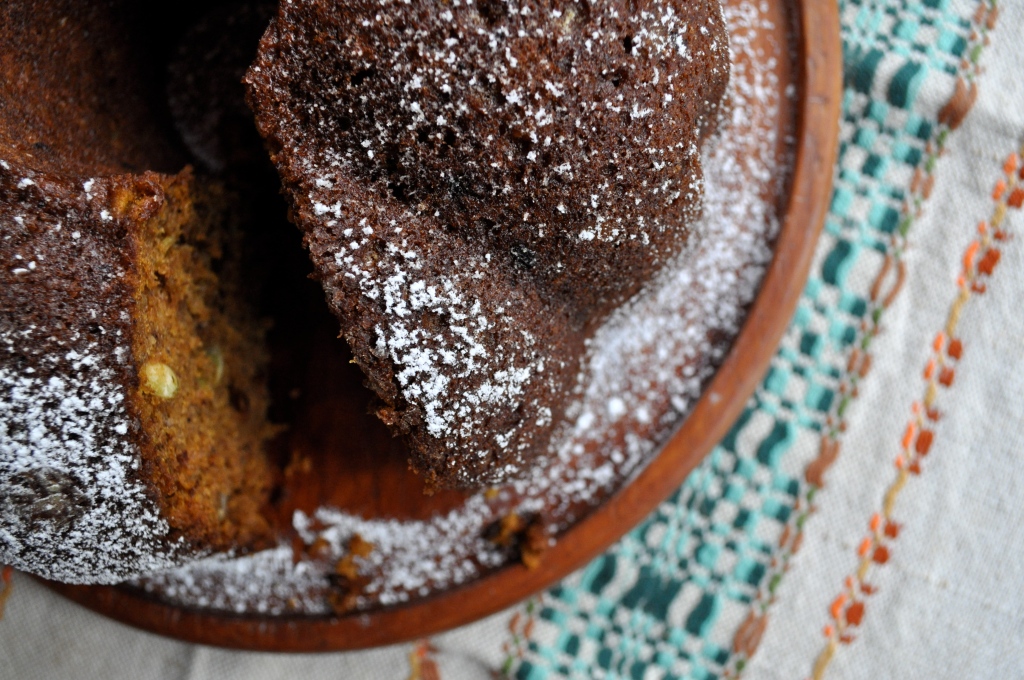
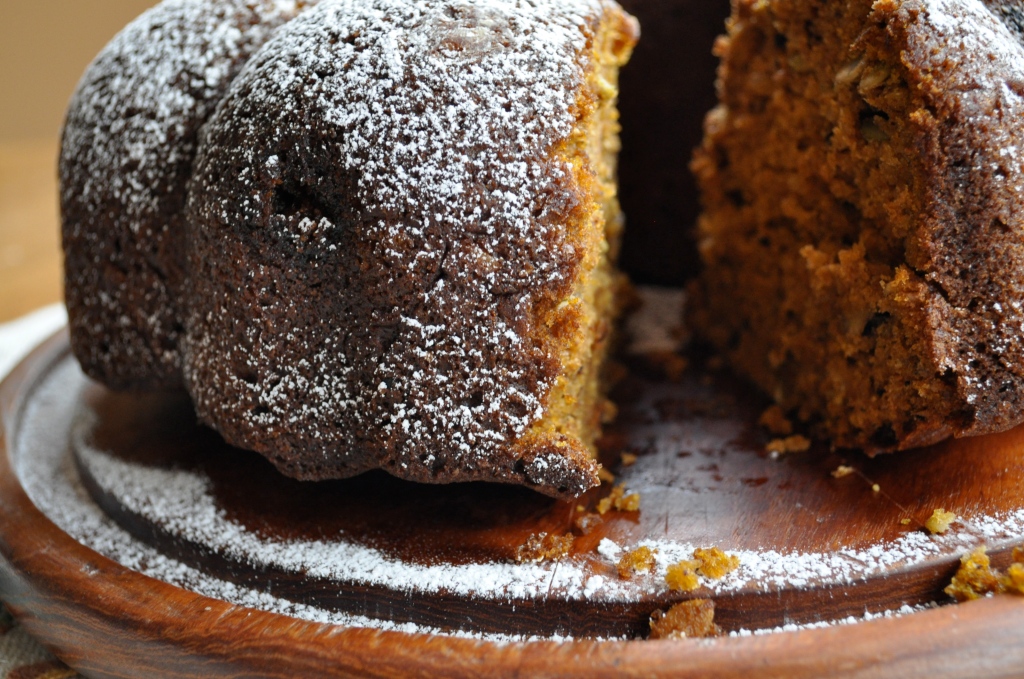
This isn’t just any cake. First of all, and probably most importantly, it’s a cake you can eat for breakfast. Yep, it’s breakfast approved. You know why? Cause it’s full of hearty good-for-you ingredients like whole wheat flour, oats, nuts, and pumpkin! A nice big hunk of this cake with a steaming mug of coffee or tea will start your morning off right.

Secondly, this cake is super adaptable! If the thought of eating another pumpkin anything makes you want to vomit (although really, that would be a bit dramatic of you), then you can change it up! You can use applesauce or banana instead of pumpkin. You can sub in almonds, raisins, coconut, or any other nuts or dried fruit for the pumpkin seeds and walnuts. Or change up the spices! In fact, one of my favorite versions of this cake uses applesauce, cinnamon, almonds and coconut. Delish!


But back to this particular version of the cake, with pumpkin! It’s moist, nutritious, delicious, and seasonal. Just in case you need an excuse to eat cake for breakfast. Personally, I don’t need an excuse. (Don’t you know me by now?!) 🙂 This recipe was shared with me several years ago by a very special lady. I remember awakening to the wonderful aroma of one of these breakfast cakes baking away in the oven on several occasions. And while we probably won’t have another opportunity to share a piece of breakfast cake and tea on a lazy weekend morning, I hope she knows that she will remain in my heart always.

Happy Thanksgiving weekend to you and yours! May we all remember to be thankful for what we have.


Pumpkin Breakfast Cake

1 cup white flour

1 cup whole wheat flour

1 cup oats

2 tsp. baking powder

2 tsp. baking soda

1 tsp. ground cinnamon

1/2 tsp. ground nutmeg (optional)

1/2 tsp. ground allspice (optional)

1/2 tsp. ground cloves (optional)

Pinch of salt

1 cup olive oil

1 cup white sugar

1 cup brown sugar

4 eggs

2 tsp. vanilla

2 cups pumpkin puree (or other fruit)

1/2 cup raw pumpkin seeds (or other nuts/dried fruit)

1/2 cup chopped walnuts (or other nuts/dried fruit)

Preheat the oven to 350°F. Whisk together the flours, oats, baking powder, baking soda, spices, and salt in a large bowl. In a separate bowl, combine the olive oil, sugars, eggs, and vanilla. Add to the dry ingredients and mix well. Add in the pumpkin puree and the pumpkin seeds and walnuts. Stir well. Pour/spread into a large greased bundt pan (or two loaf pans). Bake for about 1 hour, or until a toothpick inserted into the cake comes out clean. Allow the cake to cool thoroughly before turning out of the pan(s).

*Please note that you may also halve the recipe and bake the cake in a loaf pan. Or keep the recipe as is and bake two loaves, freezing one for later.

PS. I can’t make any promises that I’m done with the pumpkin recipes…

Falling | Pumpkin Cookies with Cinnamon Frosting


I’m going to cut right to the chase.

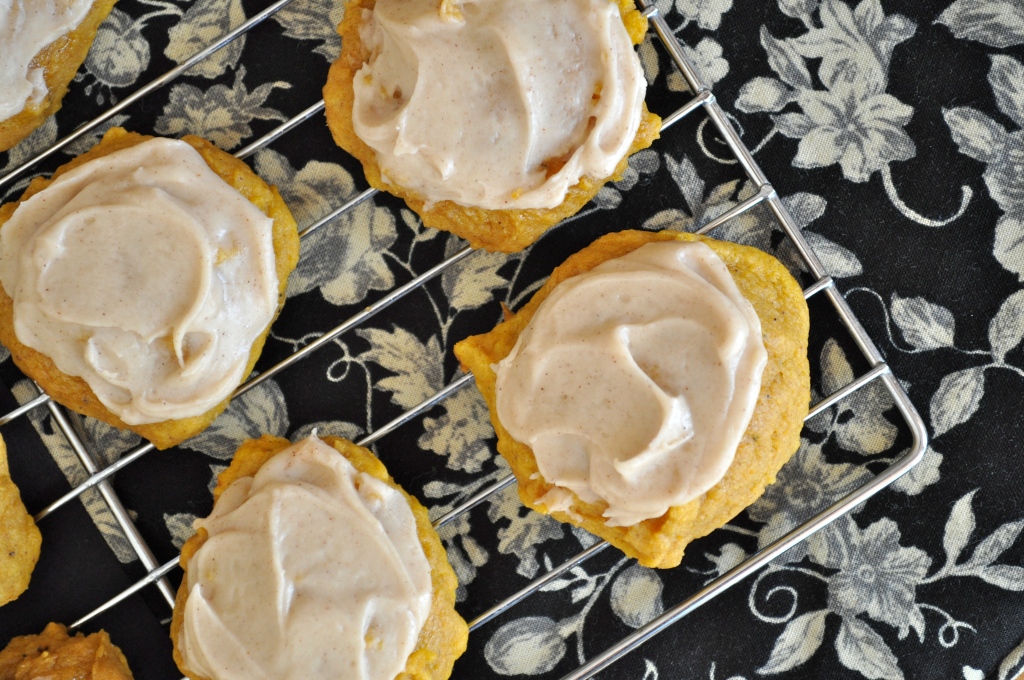
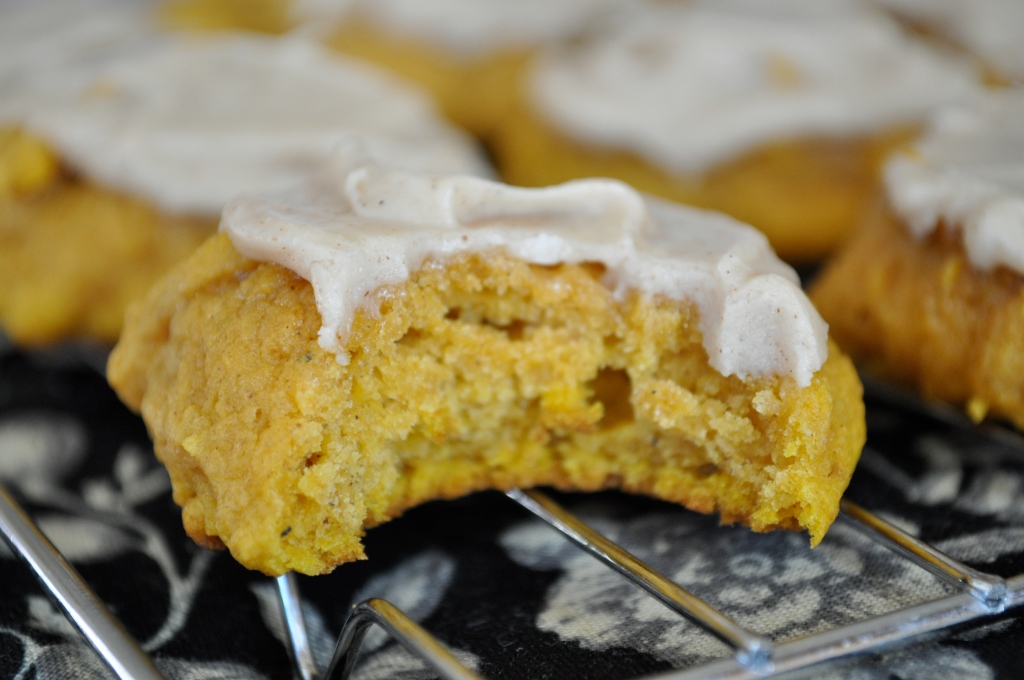
I made you some cookies. They’re soft and cakey. Spicy and pumpkiny. Yep, pumpkiny is a word. You heard it here first.

But back to those cookies…


Posting two cookie recipes back to back was not the plan. I had another recipe to share with you. However, these little melt-in-your-mouth pillows of pumpkiny goodness came into my life unexpectedly this week and I just had to share them immediately. Words really don’t do these cookies justice. They taste like pumpkin pie, but way better ’cause I don’t really even like pumpkin pie. I mean, I eat a token slice of it every Thanksgiving, but only because Thanksgiving wouldn’t feel the same if I didn’t. But these cookies, they deliver.


So how about you run off to the grocery store and pick yourself up some pumpkin, and then get your tush into the kitchen to make these? And then you can proceed to eat a dozen cookies over the course of the day. But they’re tiny, and they have pumpkin in them. So you’re practically eating a serving of vegetables…

Go make these cookies!


Pumpkin Cookies with Cinnamon Frosting (adapted from Better Homes and Gardens)

1 cup of butter, softened

1 cup of granulated sugar

1 tsp. baking powder

1 tsp. baking soda

1/2 tsp. salt

1 tsp. cinnamon

1/2 tsp. ground nutmeg

1 egg

1 tsp. vanilla

1 1/2 cups of pumpkin puree

2 cups of all-purpose flour

For the frosting:

1/4 cup butter

1/4 cup brown sugar

1/8 cup milk

1/2 tsp. vanilla

1 tsp. cinnamon

2 to 2 1/2 cups icing sugar

Preheat your oven to 350°F. In a mixing bowl, beat the butter with an electric mixer on medium speed for about 30 seconds. Add the sugar, baking powder, baking soda, salt, cinnamon, and nutmeg. Beat until thoroughly combined, taking care to scrape the bowl down at least once. Add the egg and vanilla, and beat until combined. Beat in the pumpkin. Add in the flour and mix together well. Drop the dough by heaping teaspoons onto a cookie sheet lined with parchment paper or a Silpat (or one sprayed with cooking spray). Bake for 10 to 12 minutes or until tops are just set. Transfer the cookies to a wire rack and allow to cool.

For the frosting: In a small saucepan, heat the butter and brown sugar together over low heat until melted and smooth. Transfer to a bowl. Stir in the milk, vanilla, and cinnamon. Add in 2 cups of icing sugar and beat until smooth. Add more icing sugar if necessary to create a spreadable frosting.

Frost the cookies when cool and enjoy! Store in an airtight container, placing waxed paper between layers to avoid them sticking together.

A Match Made In Heaven | Baked Apple and Brie in Puff Pastry

Holla friends.

Just a quick little ditty for you, I’m off to a family reunion this weekend. In a wee little hall, in a fairly little town.

After I finish making 6 dozen of these. My kitchen is a mess of flour, butter, and cinnamon. I have brown sugar on the bottoms of my feet. It’s delightful.

Speaking of cinnamon and delightful things, check this out.

I came across this recipe on Annie’s Eats a few months ago. Annie calls it Baked Brie en Croûte with Apple Compote. I’m calling it Baked Apple and Brie in Puff Pastry. I’m keeping it simple. I’m a simple girl.

But whatever you call it, the combination of apples, sugar, brie, and puff pastry is delicious. Total party in your mouth. I added a little cinnamon for some extra dimension. It works.

This is an appetizer, to be served with crackers and of course, wine. However, I could honestly eat this for dessert. Or as a meal. It is just so good.

Good good good.

Take it to a party and I guarantee everyone will love it. The peeps at the party I took this to sure did.

Now, if you’ll excuse me, I have some family reunioning and wine drinking to do. Ciao!

Baked Apple and Brie in Puff Pastry (slightly adapted from Annie’s Eats)

1 TBSP. butter

3 golden delicious apples, peeled, cored, and diced small

1/4 cup white sugar

1/2 tsp. cinnamon

A pinch of nutmeg

1 pkg. puff pastry (round or square), rolled to 1/4-inch thickness

1 round of brie (6-8 oz.)

1 egg beaten with 1 TBSP. water

Crackers of your choice, for serving

In a medium saucepan, melt the butter over medium heat. Add the diced apples and cook, stirring occasionally for about about 5-7 minutes. Add in the sugar, cinnamon, and nutmeg. Mix well and continue to cook, stirring occasionally, until most of the liquid has evaporated, about 12-15 more minutes. Remove from the heat and let the mixture cool to room temperature.

Preheat the oven to 375˚F. Prepare a baking sheet (or pie plate, like me) by coating it lightly with cooking spray, or lining it with parchment paper or a silicone baking mat. Transfer the puff pastry to the prepared baking pan. Cut the brie in half horizontally to create two thinner rounds. Place the bottom half of the brie in the center of the puff pastry. Top with about half of the apple mixture. Place the other round of the cheese over top, covering with the remaining apple mixture. Bring the puff pastry up around the edges of the brie-apple tower. Fold and pinch the edges in the centre to hold everything together. Brush the surface of the puff pastry lightly with the egg wash. Bake for about 40-45 minutes, or until the puff pastry is golden brown, crisp, and bubbling with goodness. Your kitchen will smell amazing. Remove from the oven and allow it to cool for about 10 minutes before serving. Eat!

Love Tastes Good | Red Velvet Sandwiches

It’s that time of year again. The time where card, flower, chocolate, and lingerie shops make a killing off of the lovestruck population. Truth be told, Valentine’s Day doesn’t hold that much meaning in my life. Single or attached, I’ve never been blown away by what the love holiday has to offer. I mean, shouldn’t every day be Valentine’s Day? Shouldn’t we take every opportunity we can to show our love for the special people in our lives?

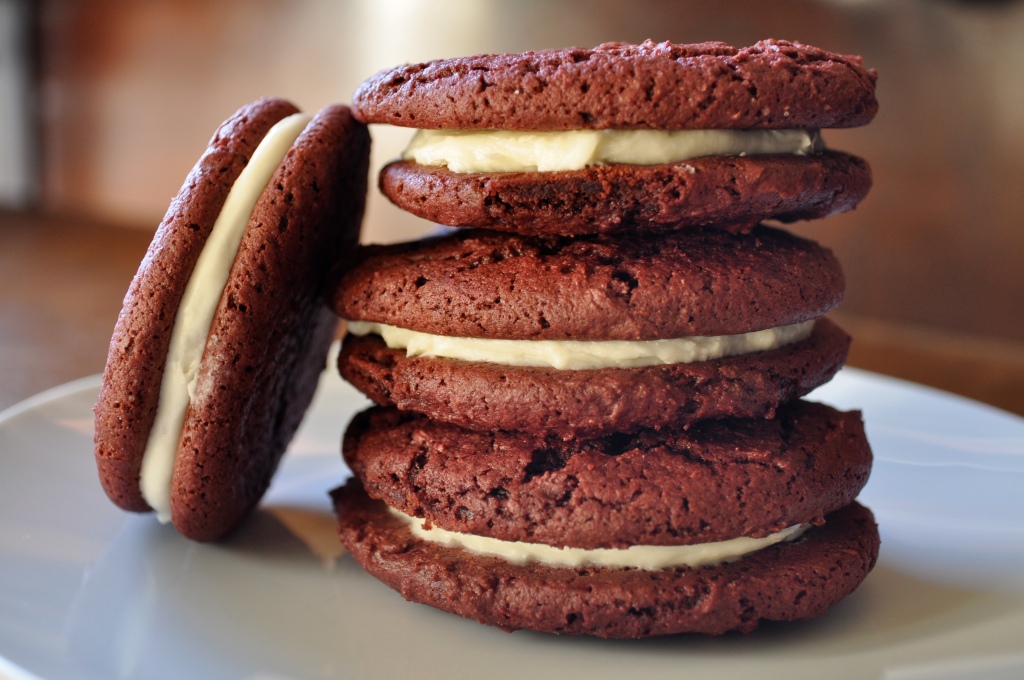
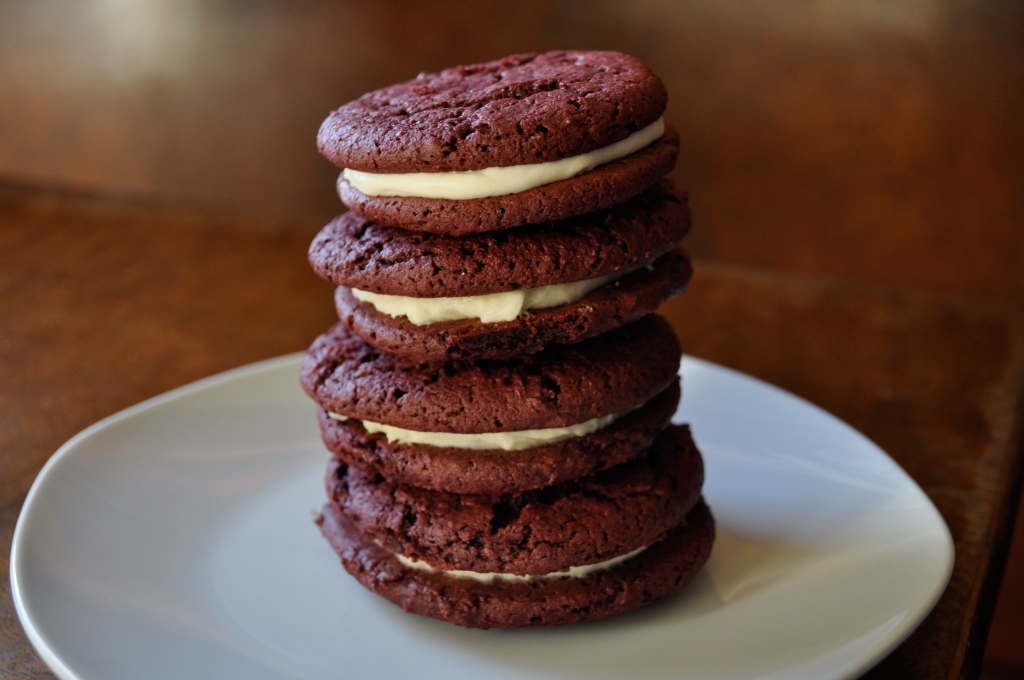
This year, I’m going to share my love via baked goods! Instead of supporting the traditional V-day market, I’m going to make homemade goodies for the special people in my life. What better way is there to share love  than through the belly? I came across this recipe on Bakerella and decided to give it a try, based on two things. 1. It looked easy. And 2. It looked delicious. I had no idea there was a mix for red velvet cake. And unfortunately, my local grocery store didn’t have it, so I decided to improvise with a chocolate cake mix and red food coloring. I was slightly concerned when my cookie dough became a sticky gum once everything was mixed together, but I decided to forge ahead. I’m sure glad that I did, because these babies are rather tasty. My cookies were a bit more dense than Bakerella’s cakey creations, likely due to the necessary changes that I made. So, if you decide to try this (and I definitely suggest that you do), try and find a red velvet cake mix. But if that task proves impossible, try my adaptation! Happy eating! And happy love day! <3

Red Velvet Sandwiches (adapted from Bakerella)

1 box red velvet cake mix (or 1 box chocolate cake mix plus 1 oz. red food coloring)

1/2 cup butter, softened

2 eggs

Preheat the oven to 350°F. Combine all of the ingredients in a large bowl and mix together. Spoon the dough onto prepared baking sheets. Bakerella suggests using a mini ice cream scoop – I just used 2 small spoons. Bake for 10-12 minutes. Cool on wire racks until completely cooled. Fill with the icing recipe below. Makes 24 cookies, and therefore, 12 sandwiches.

Cream Cheese Icing

8 oz. cream cheese

1/2 cup butter, softened

1 tsp. vanilla

1 box powdered sugar

Cream the cream cheese and butter together. Add the vanilla. Gradually add the powdered sugar until desired consistency is reached. Spread between two cookies and sandwich them together. Eat and enjoy!

*This makes a large quantity of icing. I doubled the cookie recipe and found that the amount of icing was just right. However, if you’re just making one batch of cookies, it might be wise to cut the icing recipe in half.

Happy New Year! | Pumpkin Spice Layer Cake with Caramel and Cream Cheese Frosting

Happy New Year! I am still adjusting back to real life after an amazing Christmas with family and friends. I have already had 10 glorious days off from work (and a couple left!), and lots of time spent with the most important people in my life. After having Christmas with my family, I hopped on a plane and joined honey and his family in Manitoba for 5 more days of rest and relaxation. It was so great to get away from the hustle and bustle of the city, and lounge around on a farm for a few days. Thanks to all who made it memorable!

January usually brings with it a sense of dread – the holiday season is over, yet we still have 4 months (or more) of winter left! Yuck. But somehow, we manage to make it through each year, and I know that this year will be no different. I’m sure that planning a trip to an exotic location wouldn’t hurt either…

Over the holidays, I made this pumpkin spice layer cake and brought it to Christmas dinner at my aunt’s house. The cake was deliciously moist, and the caramel and cream cheese frosting added a wonderful richness. This would be a great dessert year round, but especially over fall and winter because of the warm spicy pumpkin flavor. Happy eating!

Pumpkin Spice Layer Cake with Caramel and Cream Cheese Frosting (adapted from Bon Appétit, Nov. 2008)

For the cake:

3 cups all-purpose flour

2 tsp. baking soda

2 tsp. baking powder

1 tsp. cinnamon

1/2 tsp. ground ginger

1/4 tsp. ground cloves

1/4 tsp. ground nutmeg

1/4 tsp. ground allspice

1/4 tsp. ground cardamom

1 15-ounce can pure pumpkin

1 1/2 cups sugar

1 1/4 cups vegetable oil

4 large eggs

2 tsp. finely grated orange peel

For the frosting:

4 cups icing sugar, divided

1/2 cup plus 1 TBSP. heavy whipping cream

1 tsp. vanilla extract

1/4 tsp. salt

1 8-ounce package cream cheese, room temperature

1/4 cup unsalted butter, room temperature

For the cake: Preheat the oven to 350°F. Butter and flour two 9-inch cake pans, tapping out any excess flour. Whisk first 9 ingredients in a large bowl. Using an electric mixer, beat the pumpkin, sugar, and oil in another large bowl. Add the eggs one at a time, beating to incorporate between additions. Mix in the orange peel. Add flour mixture; beat on low speed just to blend. Divide the batter between prepared pans. Bake the cakes for about 35 minutes, or until a toothpick inserted into the center comes out clean. Cool the cakes in the pans for about 10 minutes. Invert onto a cooling rack, then turn top side up and cool completely.

For the frosting: Sprinkle 1/2 cup of icing sugar over the bottom of a non-stick skillet. Cook over medium heat until the sugar melts (do not stir). Continue cooking until the sugar turns a deep amber color, stirring occasionally, about 4 minutes. Carefully stir in 1/2 cup cream, vanilla, and salt (mixture will bubble vigorously). Stir until any caramel bits dissolve. Stir in remaining 1 TBSP. cream. Strain into a small bowl. Cool caramel to room temperature.

Sift 2 cups of icing sugar into a medium bowl. Using an electric mixer, beat the cream cheese and butter in a large bowl. Gradually beat in the icing sugar. Beat in cooled caramel. Gradually add in the remaining 1 1/2 cups of icing sugar until a good icing consistency is reached (you may not need to use all of the sugar). Cover and chill the frosting until firm enough to spread, about 2 hours.

Using a long serrated knife, trim rounded tops from cakes. Place one cake layer on the cake plate, cut side up. Spread 3/4 cup of frosting over top. Place second cake layer, cut side down, atop frosting. Cover top and sides of cake with remaining frosting, creating a smooth surface. You can make this up to two days ahead. Cover the cake and chill in fridge. Let stand at room temperature 2 hours before serving. For an extra garnish, sprinkle candied orange peel over the top of the cake (which I could not find anywhere!).

A Festive Treat | Christmas Biscotti

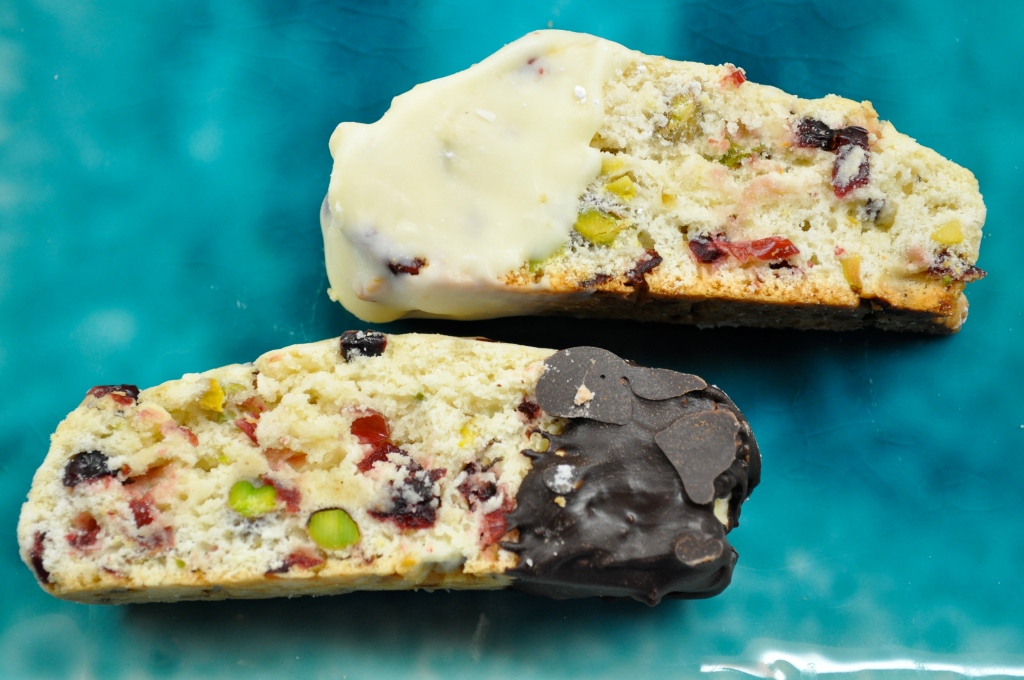
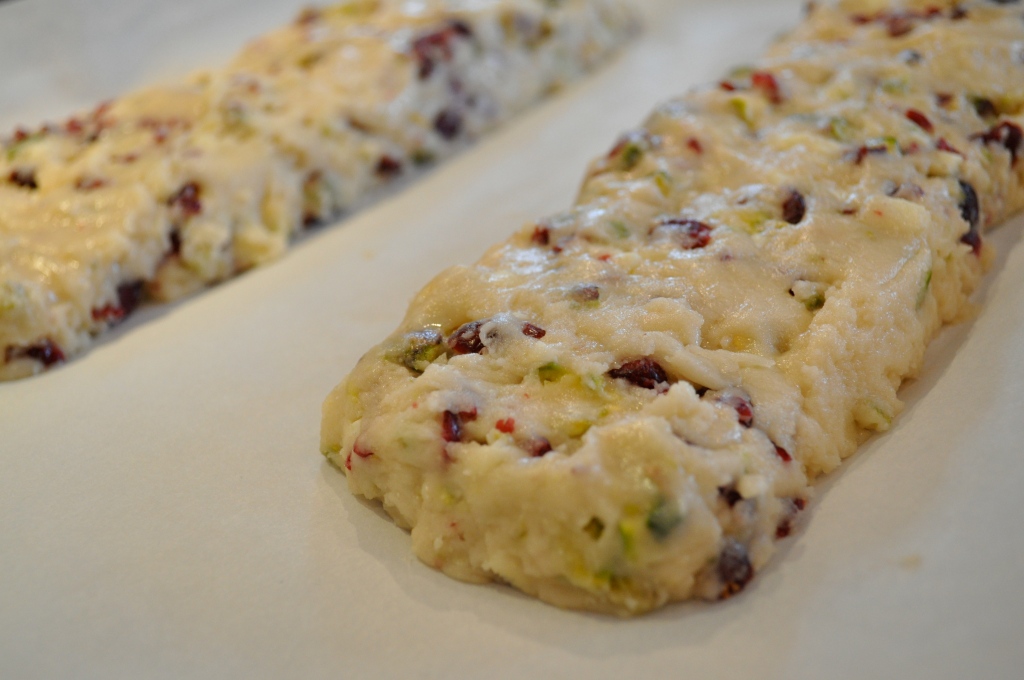
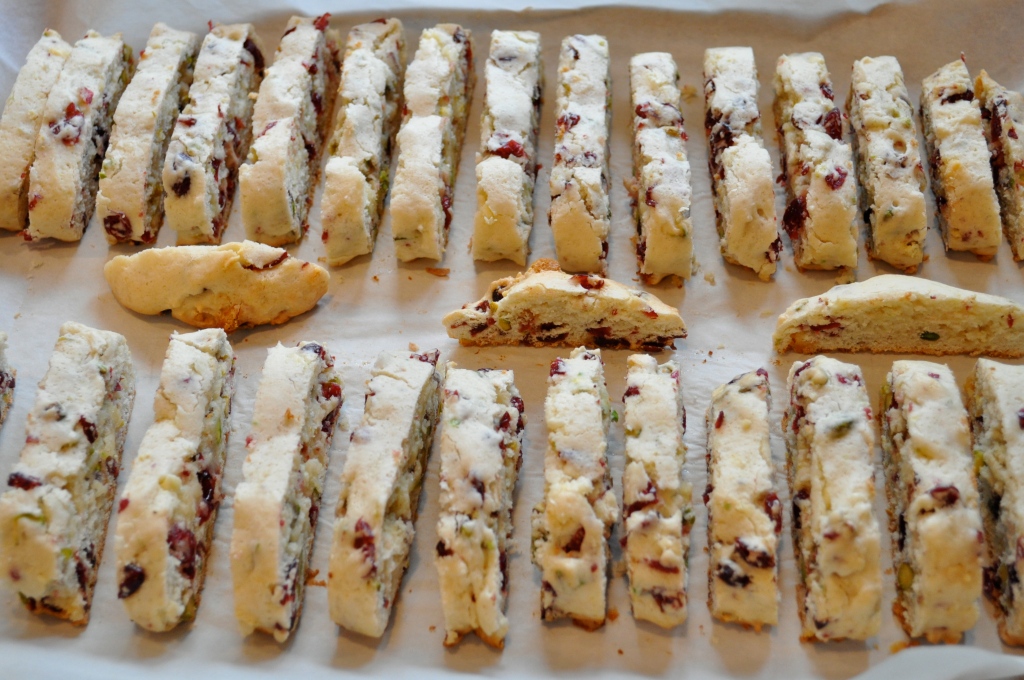
My mom brought these delectable treats to the cookie exchange last weekend. I spent the afternoon in the kitchen with her the day before, and we worked through the recipe together (neither of us had ever made biscotti before). This biscotti is quite delightful, if I do say so myself. The original recipe called for dried raspberries or strawberries, but my mom could not find either, no matter how hard she looked, so we improvised and used cranberries. The biscotti are loaded with pistachios, cranberries, and little bits of white chocolate, making them look rather festive and fitting for the holiday season! Not to mention the fact that they are delicious, especially with a nice cup of coffee or tea.

Never made biscotti before? Have no fear! They are fairly simple to make, just more time-consuming since they are baked twice. Stay inside where it’s warm, take an afternoon to bake these, and fill your home with the delicious scent of biscotti! These would taste great at any time of year I am sure, but the colors and ingredients fit with the holidays perfectly. Happy eating!


Pistachio, Cranberry, and White Chocolate Biscotti (adapted from Bon Appétit magazine, Dec. 2005)

3 cups all-purpose flour

2 TBSP. canola oil

2 tsp. baking powder

2 ½ tsp. almond extract

½ tsp. salt

¾ cup shelled raw unsalted natural pistachios

1 cup sugar

1 cup dried cranberries

3 large eggs

½ cup chopped high-quality white chocolate (such as Lindt or Perugina)

8 ounces high-quality white chocolate (such as Lindt or Perugina) and/or 8 ounces bittersweet or semisweet chocolate, chopped

Preheat oven to 350oF. Line a large baking sheet with parchment paper. Whisk flour, baking powder, and salt in a medium bowl to blend. Using an electric mixer, beat sugar, eggs, oil, and almond extract in a large bowl until well blended. Add flour mixture and beat until smooth. Stir in pistachios, dried cranberries, and ½ cup white chocolate. Drop dough by heaping tablespoonfuls in two 12-inch long strips on prepared baking sheet, spacing strips 3 inches apart. Using wet fingertips, shape each strip into a 3-inch-wide log, pressing evenly (logs may look slightly lumpy). Bake logs until lightly browned and almost firm to the touch, about 30 minutes. Cool logs for 30 minutes. Reduce oven temperature to 325oF.

Carefully transfer the logs to a cutting board. Use the same parchment-lined baking sheet. Cut each log crosswise into generous ½-inch-thick slices. Stand biscotti upright, spacing about ¼ inch apart, in 3 rows on baking sheet. Bake until pale golden (biscotti may be soft but will firm as they cool), about 20 minutes. Cool completely.

Line another large baking sheet with parchment paper. Place 8 ounces chopped white (or bittersweet) chocolate in medium glass bowl. Microwave for 20-second intervals just until chocolate is soft to touch, about 40 seconds total (do not overheat or chocolate will burn or seize). Stir chocolate until smooth. Dip 1 end or 1 side of each biscotti in chocolate; place on baking sheet. Chill until chocolate has set, about 30 minutes. To store, arrange in single layer in airtight container and chill up to 5 days or freeze up to 2 weeks.  Makes about 3 dozen.

The Exchange | Neapolitan Cookies

Ready for more cookie recipes yet? ‘Cause there are a few coming down the pipe! Today I hosted a cookie exchange with some of my favorite family and friends. There were so many delicious cookies to share – I fear that I may end up eating my body weight in baked goods in the coming weeks! Clearly the afternoon was a success – check out my haul!

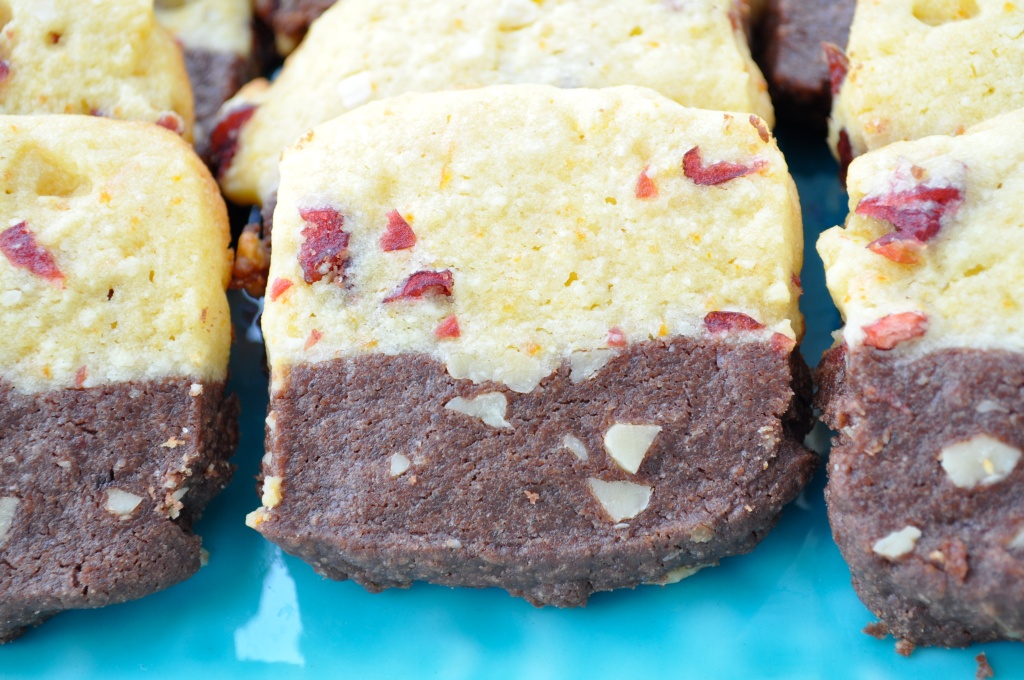
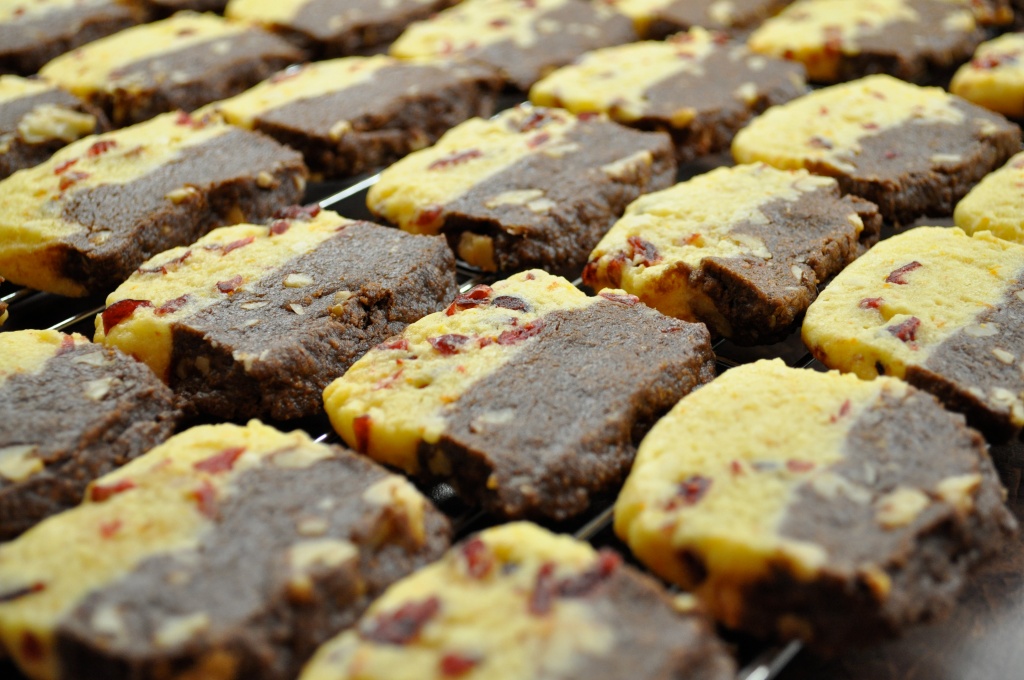
So many amazing treats – I can’t wait to try them all! I decided to share a recipe that I came across last holiday season – Martha Stewart’s Neapolitan cookies. I adapted the original recipe slightly (it also called for espresso powder in the chocolate half of the cookie, but I wanted to keep it a little more simple). The cookies were very well received last year, so I definitely wanted to share them with everyone this year. They take a little bit of time to make, but overall are quite easy, and they taste wonderful. The flavor of the orange, almonds, and cranberries blend perfectly with the chocolate and walnuts. These would make such a lovely homemade gift!


Christmas can be such a stressful time of year, with many demands (cooking, preparing for guests, shopping for gifts), but baking cookies is such a relaxing experience for me. I better be careful – at this rate I may end up with an insane amount of cookies to eat. But that would just mean more for sharing, one of my favorite holiday activities. Wouldn’t you love to receive a tin of homemade cookies from a friend? Try sharing these cookies (or making them for yourself). You won’t be disappointed. Happy eating!

Neapolitan Cookies (adapted from Martha Stewart)

For the orange-sable dough:                                         For the chocolate-walnut dough:

1 ¼ cups whole blanched almonds                              1 ½ cups all-purpose flour

1 cup sugar                                                                           ½ cup Dutch-process cocoa powder

¾ cup unsalted butter, room temp.                               1 cup unsalted butter, room temp.

3 TBSP. finely grated orange zest (2-3 oranges)       1 cup sugar

1 large egg                                                                            1 tsp. vanilla extract

1 TBSP. freshly squeezed lemon juice                           1 cup walnuts, coarsely chopped

1 ½ cups all-purpose flour

1 cup dried cranberries, roughly chopped

To make the orange-sable dough: Place almonds and sugar in the bowl of a food processor. Process until the mixture resembles coarse cornmeal. Add the flour and set aside. Place the butter and zest in a bowl and mix using an electric mixer. Beat on medium speed until white and fluffy, 2-3 minutes. On low speed, add the almond mixture; beat until combined. Add egg and lemon juice; combine. Wrap in plastic and store in the refrigerator until ready to use.

To make the chocolate dough: Sift flour and cocoa powder into a large bowl and set aside. Using an electric mixer, beat the butter, sugar, and vanilla until creamy, 3-4 minutes. Working in additions, gradually beat in flour mixture, scraping down sides of bowl twice. Wrap in plastic and store in refrigerator until ready to use.

Line an 8-inch square baking pan with plastic wrap. In a large bowl, stir the cranberries into the orange-sable dough. In another large bowl, stir the walnuts into the chocolate dough. Press the orange mixture into the bottom of the pan. Using an offset spatula, (or wet fingers) smooth top evenly. Spread chocolate mixture over the orange mixture and smooth evenly. Cover with plastic wrap and chill for at least 2 hours.

Heat oven to 350oF. Line two baking sheets with parchment paper. Shake the dough out of the pan and remove plastic. Cut into 2-by-8-inch bricks; cut bricks into ¼-inch-thick slices. Place slices on sheets, spaced 1 ½ inches apart. Bake for 12-15 minutes, or until firm to the touch. Transfer cookies to a wire rack to cool. Store in an airtight container.  Makes about 6 dozen.

PS. Later this week…Christmas Biscotti!

PPS. What is your favorite Christmas cookie recipe?

The Baking Begins | Cherry Almond Butter Cookies

There is something about holiday baking that just gets me feelin’ the Christmas spirit. Maybe it’s the warmth that comes from the oven and fills the kitchen in contrast with the cold outside, maybe it’s the sweet scent of baking butter and sugar that teases your tummy, or maybe it’s the thoughts of sharing delicious cookies and treats with friends and family as you get together to celebrate the season. Whatever it is, I adore it and can’t seem to get enough.

Baking is a big Christmas tradition in my family, and there is never a shortage of sweet treats to choose from. In fact, one might be inclined to skimp on turkey and mashed potatoes in an effort to leave extra room for cookies and squares and tarts!

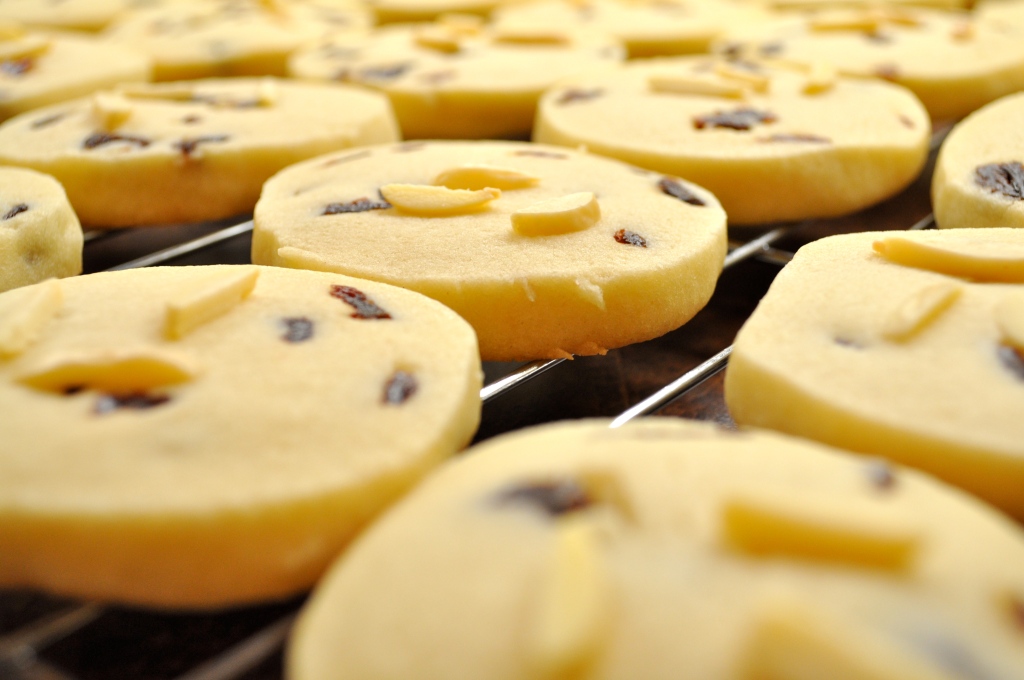
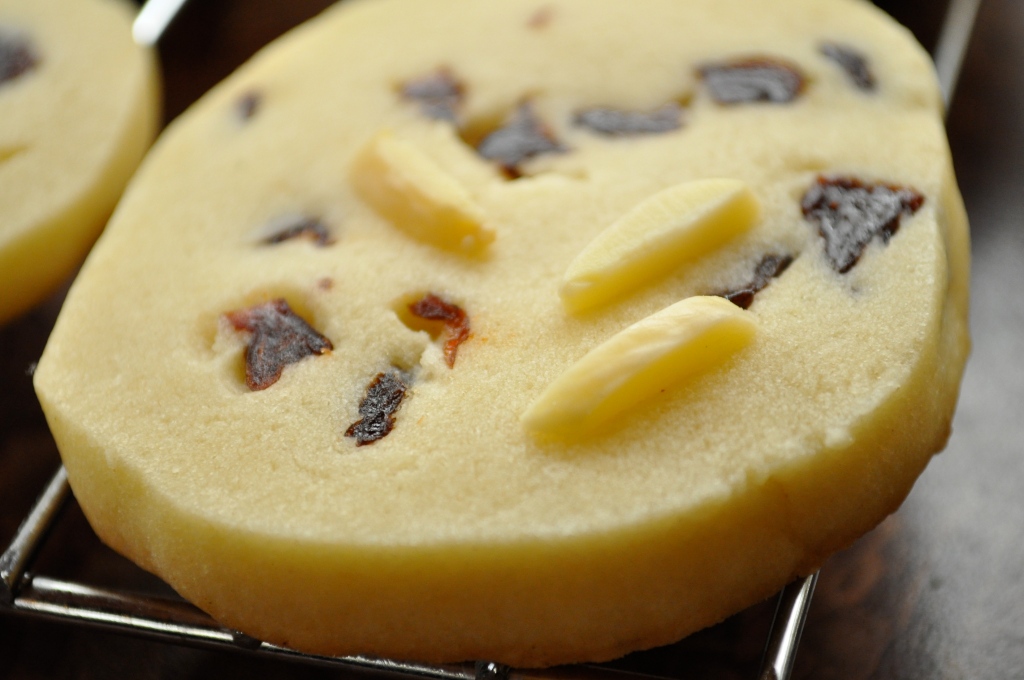
There are a few Christmas cookie recipes that I turn to year after year, but I also try to pick a couple of new recipes to try every holiday season. These cookies, Cherry Almond Butter Cookies, joined my recipe stash a few years ago when I impulsively bought the Company’s Coming Most Loved Cookies cookbook right before Christmas. Their butter content might make you think of shortbread, and they have a similar buttery sweetness, but the addition of tart dried cherries and crunchy toasted almonds give them a delicate uniqueness. They have become one of my favorites, and if you give them a try, they might become one of your favorites too!

Cherry Almond Butter Cookies (from Company’s Coming Most Loved Cookies)

2 cups of butter, softened (room temperature)

1 1/2 cups of sugar

1 egg

2 tsp. vanilla

5 cups of all-purpose flour

2 tsp. baking powder

1/2 tsp. salt

1 1/3 cups of dried cherries (roughly chopped)

1 cup of toasted slivered almonds

Cream the butter and sugar together in a large bowl. Add the egg and beat well. Add the vanilla and beat until smooth. Combine the flour, baking powder, and salt together in a medium bowl. Add to the butter mixture in 3 additions, mixing well after each addition until no dry flour remains.

Add the cherries and mix well. Divide the dough into 3 portions. Shape each portion into an 8-inch (20 cm) long log. Wrap each log with waxed paper. Chill for at least 6 hours or overnight.  (This is an important step as it makes the cookie dough firm and easy to slice before baking). When ready to bake, discard the wax paper from each log. Cut into 1/3-inch (1 cm) slices. (I was able to get about 20 slices out of each log, for a total of 60 cookies). Arrange about 2 inches (5cm) apart on cookie sheets lined with parchment paper.

Gently press 2 or 3 almond slivers* in a decorative pattern on top of each slice. Bake at 350 degrees F for about 10 minutes or until just golden. Let stand on cookie sheets for 5 minutes before removing to wire racks to cool.

*To toast the almond slivers, spread them evenly in an ungreased shallow pan. Bake in a 350 degree F oven for 5-10 minutes, stirring or shaking often, until lightly golden.

PS. Honey just informed me that when he found these in the freezer this afternoon, he polished off 8 cookies in one sitting. Hide these if you want them to make it until Christmas!

PPS. I apologize for the terrible light in my photos. I have zero natural light in my condo, and since I do much of my cooking/baking in the evening after work, the light is even worse! The odd Saturday or Sunday cooking venture might yield more favorable results, but I’m not going to limit myself to just those two days per week.


%d bloggers like this: