This Year… | Morrocan-Style Turkey and Chickpeas


….I will drink more water. I will not be deterred by the fact that I may have to visit the little ladies’ room 132 times per day, but that’s the price you pay to be hydrated. Now, if you’ll excuse me for a moment, I have to pee.

…I will find more reasons to celebrate. After the most fantastic New Year’s Day (full of lobster tail and steak, and champagne with wild hibiscus flowers – mega-awesome start to the new year), I have concluded that it’s important to celebrate more often. Obviously not every day, and not to the extent of overpriced shellfish and bubbly, but…who says you need to wait until a holiday to celebrate? This year, I will find more reasons to celebrate. Big and small. And I will drink more champagne (duh).

…I will be more kind. To others and to myself.


….I will challenge myself more in the kitchen. I’m going to stretch a little outside of my comfort zone this year. Watch out yeast! You’re mine. Scallops, I’m going to learn how to cook you into mouth-watering goodness. And I will become a better cupcake decorator.

…I will be more organized. People who know me would probably roll their eyes at this statement. Most people think I’m super organized. But it’s all a big front…I’m floundering just as much as the rest of you. But this year, time to tighten up. I’m going to start by tackling that dang room.

…I will get more sleep, so that I need less caffeine to get through the day. I’ve developed an unhealthy coffee habit that needs to be brought under control. I blame my lovely little french press.

…I will try to achieve at least one of the aforementioned goals. Goals, people. Not resolutions. Resolutions tend to fail before the words even leave my lips. But these are just goals, and the world ain’t gonna end if I don’t achieve them. But I’m gonna try.

That is all.


As part of my “get more organized” goal, I have been making weekly meal plans for myself. I make my plan, buy my groceries, and try to follow the plan for each day. Hopefully this will translate into healthier meals, and less eating out. And of course, fewer dinners comprised solely of cereal or cookies. 

Moroccan-Style Turkey and Chickpeas (adapted from Cooking Light magazine, Dec. 2011)

1 pound ground turkey

1 TBSP. olive oil

2 medium onions, sliced vertically

1 large carrot, peeled and cut diagonally

1 1/2 tsp. ground cumin

3/4 tsp. ground cinnamon

1/2 tsp. ground coriander

1/2 tsp. black pepper

Pinch cayenne pepper (or more if you like it hot)

2 cups chicken broth

1/2 cup raisins

3 TBSP. tomato paste

Zest of one lemon

1/2-1 tsp. salt (to taste)

1 can of chickpeas, drained and rinsed

Juice from half a lemon

1/2 cup fresh cilantro or parsley, chopped

In a large skillet over medium-high heat, cook the ground turkey until browned. Remove from the pan and set aside. Heat the olive oil over medium high heat. Add the onions and carrot, and saute for about 4 minutes. Add in the spices (cumin, cinnamon, coriander, black pepper, and cayenne) and cook for another minute, stirring constantly. Return the ground turkey to the pan. Add in the chicken broth, raisins, tomato paste, lemon zest, salt, and chickpeas. Allow to simmer for 8-10 minutes, or until slightly thickened. Remove from heat, add in the lemon juice and cilantro or parsley (if desired). Enjoy immediately over rice, couscous, quinoa, or whatever your little heart desires.

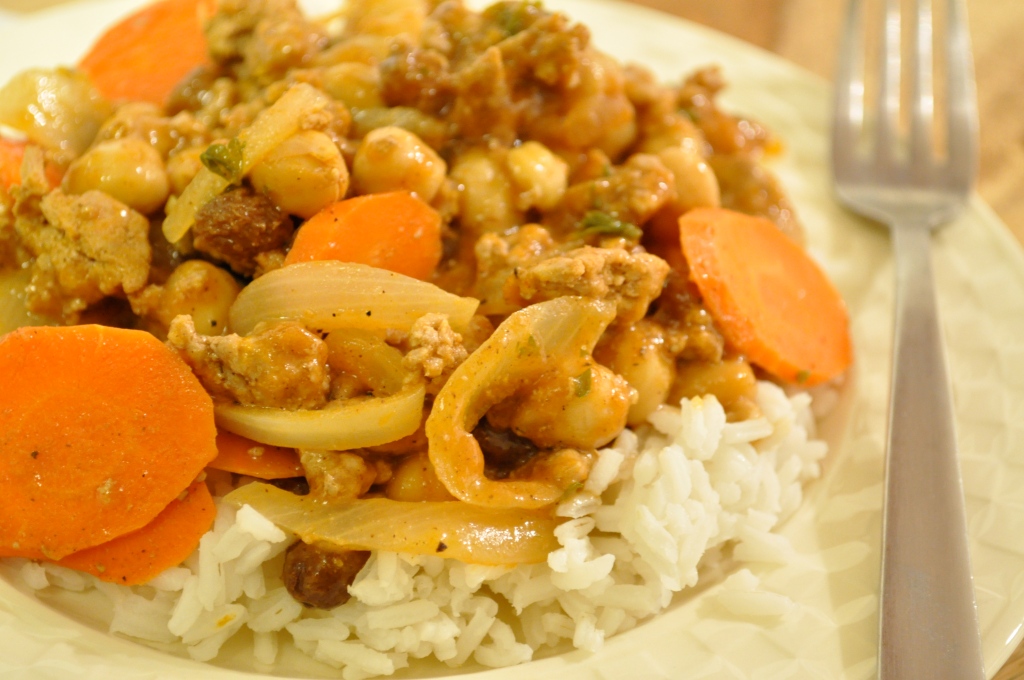
This really is a warm and comforting dish, and so easy to prepare. I ate leftovers for a couple of days afterwards, and the flavors really become more pronounced after a little nap in the fridge. Apologies for the horrendous lighting situation (the sun is still setting before I drag my butt home from work), but a solution is on the way! And no, I’m not quitting my job. 
Anything Goes Pasta | The Fall Edition

Hi folks. Just a quick lil’ post for you today. Happy October 1st! Which, if you live in Alberta, means only a few more weeks until the first snowfall of the season. 🙁 This girl is not looking forward to another winter. Alas…

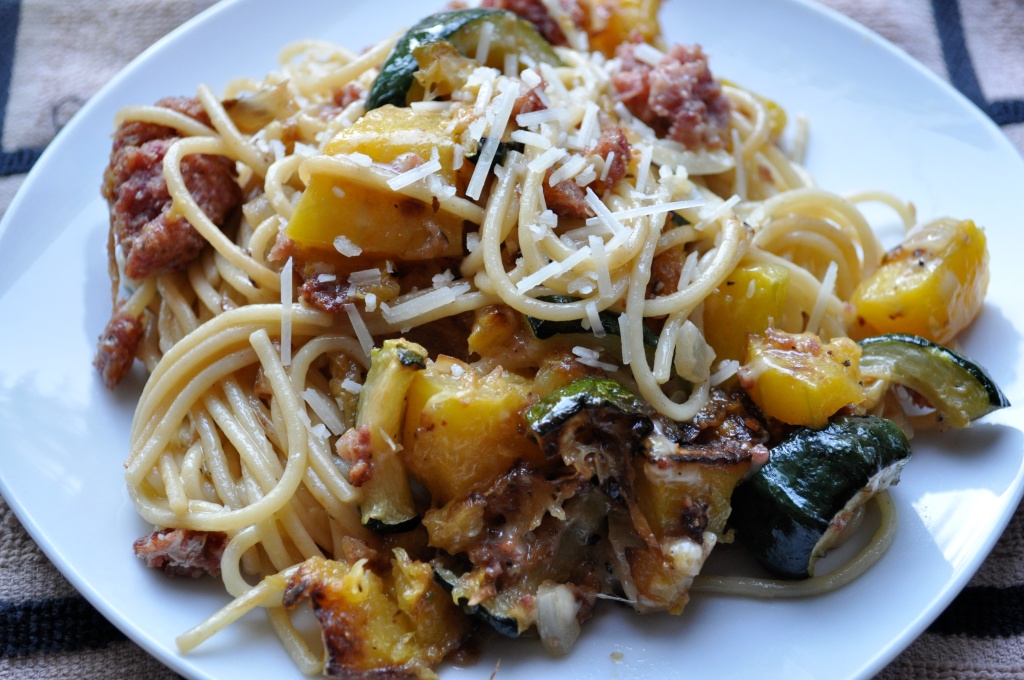
I wanted to share a quick recipe with you. I made this pasta dish one night earlier this week when I was rushed for time between work and going out for the evening. Most often, I don’t follow a recipe in the kitchen. One of my favorite things to do is look through my fridge and cupboards and pull something together using the ingredients I have on hand. On this particular evening, I was working with half a butternut squash, a zucchini, half a ring of garlic sausage, and a half-box of spaghetti. I wasn’t planning on sharing the “recipe”, but the end result was really good – a great speedy meal for a Fall evening. And it all came together in the time it took to boil the water and cook the pasta. That’s my kind of dinner!

Anything Goes Pasta (Fall)

1 onion, chopped

3 cloves of garlic, minced

Half of a butternut squash, peeled and cubed (about 2 cups)

1 medium zucchini, cubed

Your favorite garlic sausage, sliced (about 2 cups)

Spaghetti or your favorite pasta, cooked al dente (about 250g)

2 TBSP. olive oil, divided

1 TBSP. butter

1/2 cup (or more) parmesan cheese

Salt and pepper, to taste

Get a large pot of water boiling on the stove. Preheat your oven to 450°F. Combine the butternut squash and zucchini on a large baking sheet, toss with 1 TBSP. of the olive oil, and season with salt and pepper. Bake for about 15-20 minutes (or until tender and slightly browned), turning once halfway through. Melt the butter and the remaining 1 TBSP. of olive oil in a large frying pan. Add in the chopped onion and cook for about 5 minutes, until the onion softens. Add in the garlic and the sausage, allowing to cook for about 10 minutes. Once the squash and zucchini are ready, add them into the pan. Toss the whole mash with the cooked pasta, reserving about 1/2 cup of the pasta water to help everything come together. Add in the cheese, and season with salt and pepper (and another tablespoon of butter, if you’re feeling naughty). Fill your face. Delish!

Up next, more pumpkin! Stay tuned…

Hello BBQ Season | Southwestern Black Bean Burgers

Black beans have been making many appearances on this little blog of mine lately, I just noticed. What can I say, I must be a fan of sources of dietary fiber and antioxidants. Black beans are also very versatile, partnering well with many different ingredients and flavors. I came across this recipe for Southwestern Black Bean burgers last summer when perusing one of my favorite blogs, Everybody Likes Sandwiches. My vegetarian best friend, and her vegetarian husband were coming over for dinner, and I wanted to knock their socks off with a delicious and unique vegetarian entree.

Despite a couple of failures during the assembly phase (a food processor that died halfway through its duties, and a new BBQ that wouldn’t work), the burgers came together in the end and were incredible! Great flavor, awesome texture, and easily adaptable to various toppings. I served the burgers with fresh avacado and tomato, salsa, and a chili-lime mayonnaise that I whipped up at the last moment. Coupled with homemade baked fries, the meal was a hit. However, these could easily be topped with run-of-the-mill burger condiments (ketchup, mustard, relish, even cheese), and would still be dynamite. You can throw the burgers on the BBQ or cook them stovetop, whichever you prefer. Keep this recipe in mind for your BBQs this season!

Southwestern Black Bean Burgers (adapted from Everybody Likes Sandwiches)

2 cans of black beans, drained and rinsed
4 cloves garlic, chopped
1 TBSP. cumin
2 TBSP. chili powder
1/4 tsp. cayenne powder (more if you like it spicy)
A few dashes of your favorite hot sauce (ie. tobasco)
1/2 tsp. salt
3 TBSP. greek low-fat yogurt
3/4 cup oat bran
1/4 cup wheat germ
1 TBSP. ground flax seeds
1/4 cup fresh cilantro, chopped
Juice of 1 lime
8 hamburger buns, warmed

Blend together 1 can of beans, garlic, yogurt and spices in a food processor or blender. Dump into a bowl and add the second can of beans, oat bran, wheat germ, flax, cilantro and lime. Stir everything together until well mixed. If your mixture is too soft to form patties, add a little bit more oat bran. If it is too stiff, add a little bit of water. Form into 8 patties and chill in the refrigerator for at least 15 minutes.

If cooking the burgers on the stovetop, heat 2 TBSP. of olive oil in a skillet over medium-high heat and brown each side, about 3 minutes per side or until slightly crispy. If cooking on the BBQ, throw the burgers on a medium-high grill, but line your grill with tin foil (brushed with oil or sprayed with cooking spray, to avoid sticking), and cook for 3 minutes per side, or until browned and crispy. Top cooked burgers with whatever your little heart desires and enjoy!

*For an easy chili-lime mayonnaise, combine 1/2 cup mayonnaise with the juice of half a lime, 1 TBSP. chili powder, and salt and pepper to taste. Add in a little cayenne pepper for some extra heat, if that tickles your fancy.

On another note, spring seems to have finally sprung around here. The sun is out, the temperatures are warm(er), and it feels like winter might finally be behind us. The little stinker is obsessed with the smells that are being uncovered by melted snow and warmth. She looks angelic here, but looks can be very deceiving. Happy Good Friday!


Meatless Mexican | Black Bean Quesadillas

Meat and potatoes people. MAPPs.

People who think that a meal without meat cannot be filling and satisfying.

If you know any such people (*cough cough* ie. men *cough cough*), you must introduce them to Mr. Black Bean of the Legume family. Other members of the Legume family include lentils, peas, soy, and even peanuts. All are great sources of protein, and protein helps to give you that satisfied feeling (because protein takes longer to digest than carbohydrate). When taking meat out of a meal, or out of your diet entirely, it is important to replace the protein with other sources. Now, I know you didn’t come here for a science or nutrition lesson, so let’s get on to the good stuff! PS. Rattle off that scientific mumbo-jumbo to the MAPPs in your life when you make this recipe for them.


 A couple of years ago, when honey and I were in the throes of our vegetarian challenge (no meat for one year), we practically lived off of legumes. This black bean quesadilla recipe was one of the first dishes that I discovered during our challenge, and we have eaten it many times since then. It is so easy, so delicious, and I promise you won’t even miss the meat! Try it. Now.

Please and thank you. 🙂

Black Bean Quesadillas (slightly adapted from canadianliving.com)

1 TBSP. olive oil

1 onion, chopped

1 green pepper, diced

1 TBSP. chili powder

1 tsp. ground cumin

1/4 tsp. salt

1/4 tsp. pepper

2 cans black beans, drained and rinsed

1 cup salsa (mild, medium, or hot!)

1 can corn kernels

6-8 whole wheat flour tortillas

2 cups sharp cheddar cheese, shredded

Sour cream and salsa, on the side

Preheat the oven to 425°F. Heat the oil over medium heat in a large skillet. Add the onion, green pepper, chili powder, cumin, salt, and pepper. Cook until softened, about 8 minutes. Add the black beans, salsa, and corn, and stir until heated through (about 5 minutes).

Lay out your tortillas and spoon the mixture onto one half of each tortilla. I usually make 6 tortillas, so they end up being quite full. However, you can make 8 tortillas and fill each with a little bit less. Sprinkle the cheese overtop of the mixture, then fold the tortillas over. Place on a lined or greased baking sheet. Bake for 15 minutes, turning the tortillas over halfway through. Serve with sour cream and more salsa. Enjoy!

Another Keeper | Sweet Potato Chickpea Curry

Hello lovelies! I hope you are all having a great weekend. If you are in Edmonton, you are probably digging your way out of all of the snow over the past week. Where is it all coming from? I can’t remember the last winter that saw us getting several feet of snow at once! Makes me want to just hibernate and wake up in April. Only 3 more months to go. *sigh*

Cold weather warrants warm, spicy, and fragrant stews around here. Honey and I are big curry fans, and typically eat some type of curry concoction at least once per week. We also try to eat a couple of vegetarian meals each week. This sweet potato chickpea curry kills two birds with one stone and has a lovely flavor from the peanut butter and orange juice. Not to mention the thai curry paste. I’m not a huge fan of very spicy dishes, but if you like your curries on the hotter side, increase the amount of curry paste you use. You could also substitute green or yellow curry paste, depending on your preference (green is the spiciest, yellow is the mildest). Enjoy my friends ~ happy eating!

Sweet Potato Chickpea Curry (adapted from The Best of Chef at Home, Michael Smith)

A splash of vegetable oil

1 large onion, diced

4 cloves of garlic, chopped

A small knob of frozen ginger

2 tsp. of Thai red curry paste

2 sweet potatoes, peeled and cubed

1 19-oz. can of chickpeas, drained

1 14-oz. can of coconut milk

1 cup of orange juice

1/2 cup of peanut butter

1/2 tsp. sea salt

1 cup frozen green peas

Several handfuls of baby spinach

Chopped cilantro

Add a splash of vegetable oil to a stockpot over medium-high heat. Toss in the onion and garlic and saute them until they are lightly browned, about 5 minutes.

Grate the frozen ginger into the pan and add the Thai curry paste. Continue cooking until the spices are heated through and fragrant, another few minutes.

Add the sweet potatoes, chickpeas, coconut milk, orange juice, peanut butter, and salt. Brig to a simmer, lower the heat and continue simmering until the sweet potatoes are tender, about 30 minutes. Stir in the peas, spinach, and cilantro. Serve over rice.

Pleasure in the Belly | My Spaghetti Sauce

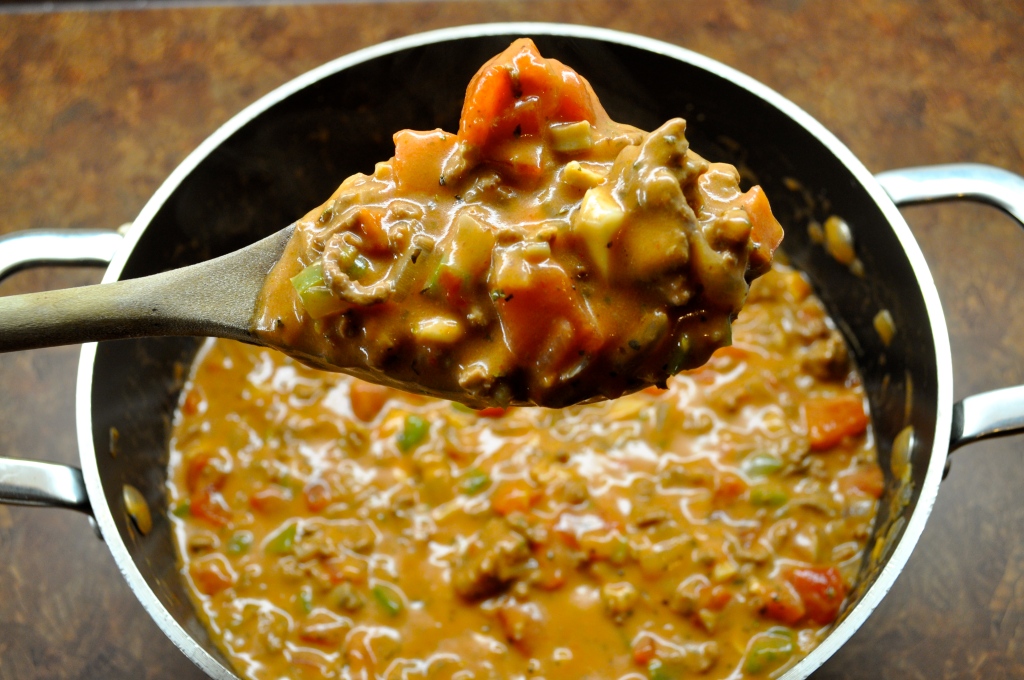
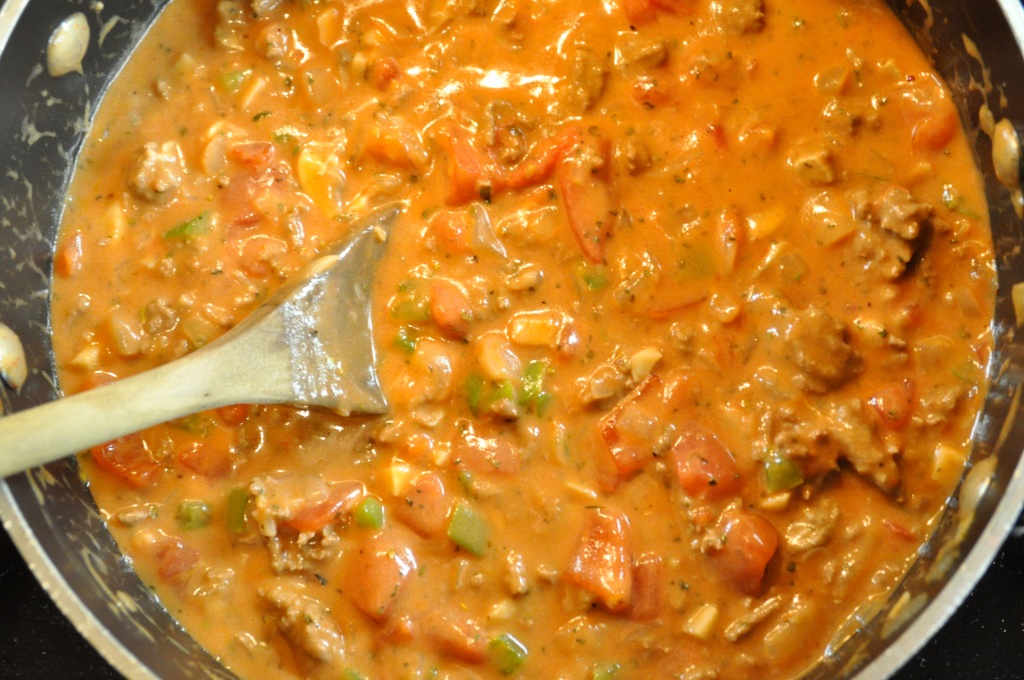
Spaghetti is one of my favorite comfort foods. Nothing feels quite as wonderful and comforting as a belly full of spaghetti and homemade sauce. This recipe originally came from my Nana, but it has evolved as it has been passed down through the generations. To be honest, I never make it the exact same way twice! There is room for some flexibility, depending on personal preference. Therefore, I give you the basic recipe, and suggest possible additions. Plus, it is so quick to prepare – perfect for the days before Christmas when you’re running around and barely have time to think about what to make for dinner!

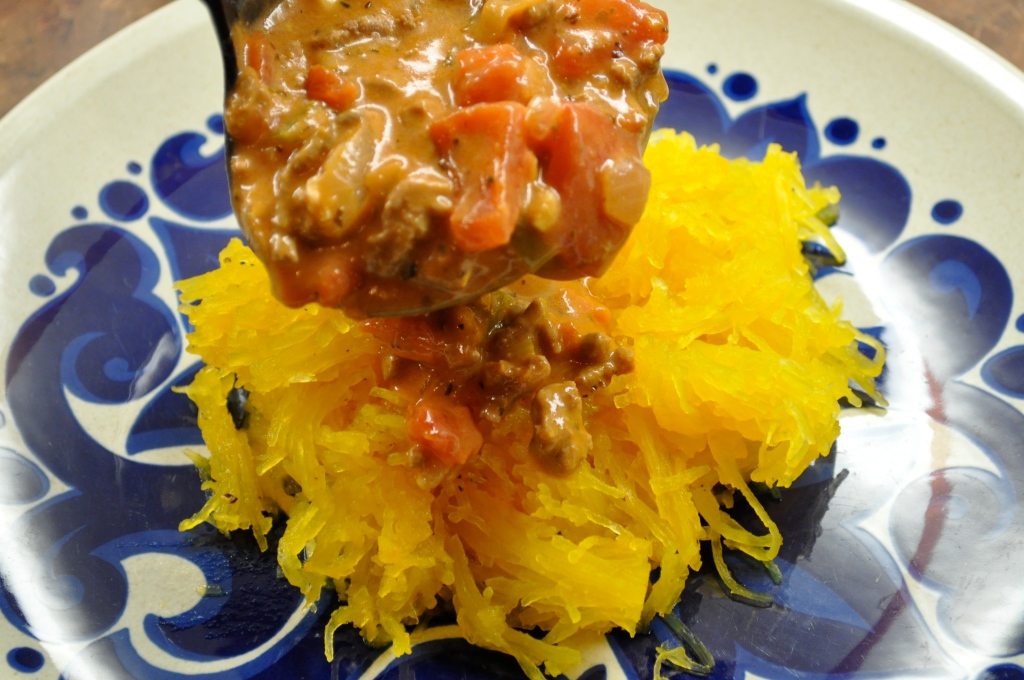
When I made this batch of sauce a few weeks ago, honey and I were still in the throes of our no-grains challenge, and so we ate the sauce over spaghetti squash. It certainly wasn’t better than pasta, but it was definitely a good substitute!


My Spaghetti Sauce

1 onion, diced small

6 cloves of garlic, minced

1 pound lean ground beef

1 large can of diced tomatoes

1 can of condensed tomato soup

1 can condensed cream of mushroom soup

1 tsp. dried basil

1 tsp. dried oregano

Salt and freshly ground pepper, to taste

Add-in options: 2 stalks celery (diced small), 1 green pepper (diced small), 20 mushrooms (sliced), 1 cup frozen peas, a couple of handfuls of fresh spinach.

Brown the ground beef and drain. Set aside. In a big pot, saute the onion for a couple of minutes in a little bit of olive oil over medium-high heat. Add the garlic and cook for one minute. If using celery, green pepper, or mushrooms, add them in now. When the veggies are tender, add the cooked ground beef, followed by the tomatoes, soups, and spices. (If you like your sauce really tomato-y, feel free to add a second can of diced tomatoes). Simmer over low heat for at least 30 minutes, longer if possible. If using the peas and/or spinach, add in at the end and allow to warm (peas) or wilt (spinach). Serve over your favorite pasta (or spaghetti squash), and enjoy with fresh bread. Happy eating!

PS. Only 1 more sleep until Christmas!

Chicken Etiquette | Classy Chicken

Although I do have another couple of cookie recipes that I want to share (and still might try to squeeze in before Christmas), I thought I better share something different and give your sweet tooths (teeth?) a break! This casserole is quick and yummy, and great for a quick dinner during the holiday season.

How to turn your chicken into a classy bird: Classy Chicken. This recipe is SO tasty and SO easy – definitely one of the most simple and delicious chicken dinners you can throw together quickly. I have made this recipe many times since it was introduced to me by a family friend, and it has never disappointed. The slight note of curry gives it some dimension, and the cream of chicken soup lends lots of flavor.

Do me a favor though and please do not use the low-fat cream of chicken soup or fat-free mayonnaise! I have tried this tactic before and it just does not lead to a dish quite as delicious as using the higher-fat alternatives. You can spare the extra calories for this dish, just trust me.

This dish is also great for sharing with a friend. If someone in your life is going through a bit of a rough time, why not take the task of making dinner off their hands? Prepare the dish up until the baking point, cover it with foil, attach baking instructions, and drop it off at their place. Include some rice if you so desire. Wouldn’t that be a nice delivery? “It’s not delivery, it’s Classy Chicken!” 😀

PS. Aren’t you just incredibly jealous of the awful lighting in these photos? Argh. My kitchen is a cave! Oh well, it doesn’t stop me from enjoying all of this food.

PPS. You can also whip this up the night before. Dinner will be a snap – get home from work/school/whatever, throw this bad boy in the oven, put on a pot of rice, and 30 minutes later dinner will be ready!

Classy Chicken (from The Best of the Best, vol. 1)

3 chicken breasts, cut into bite-sized pieces

Fresh ground pepper to taste

3 TBSP. oil

1-10 ounce package of frozen asparagus or broccoli (I always make this with a whole head of fresh broccoli)

1 can of cream of chicken soup (NOT low-fat)

1/2 cup light mayonnaise (NOT fat-free)

1 tsp. curry powder

1 tsp. fresh lemon juice

1/2 to 1 cup grated cheddar cheese

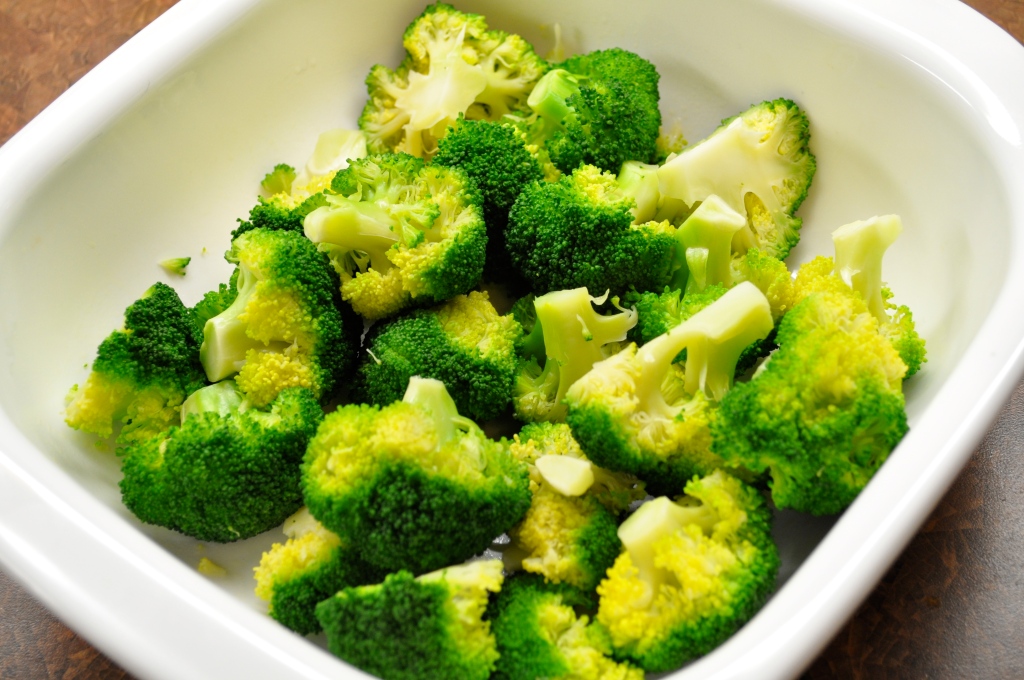
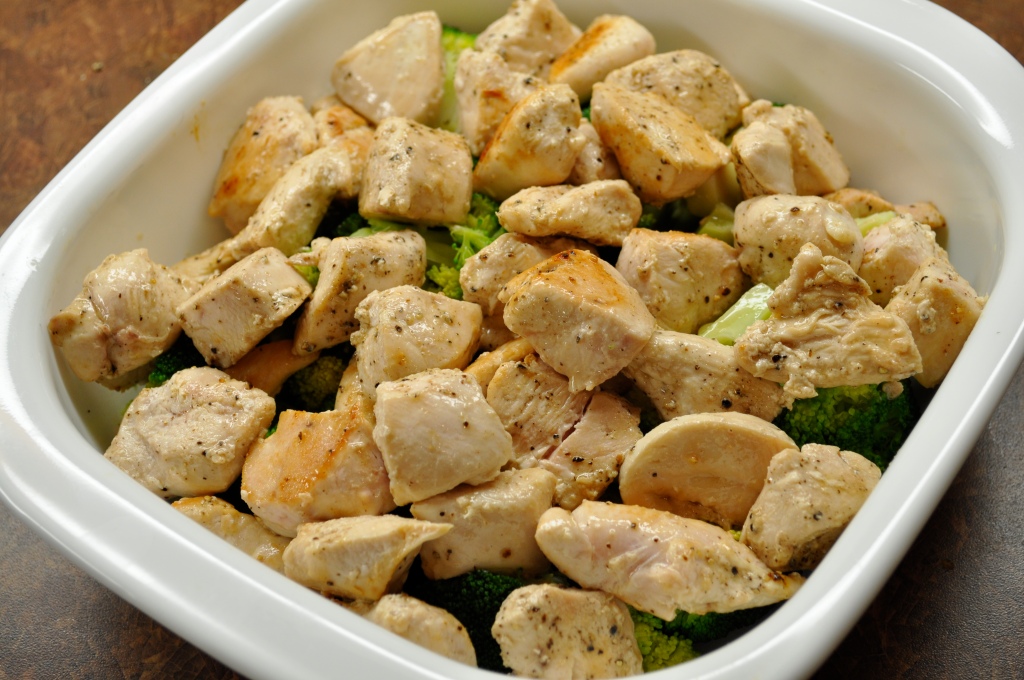
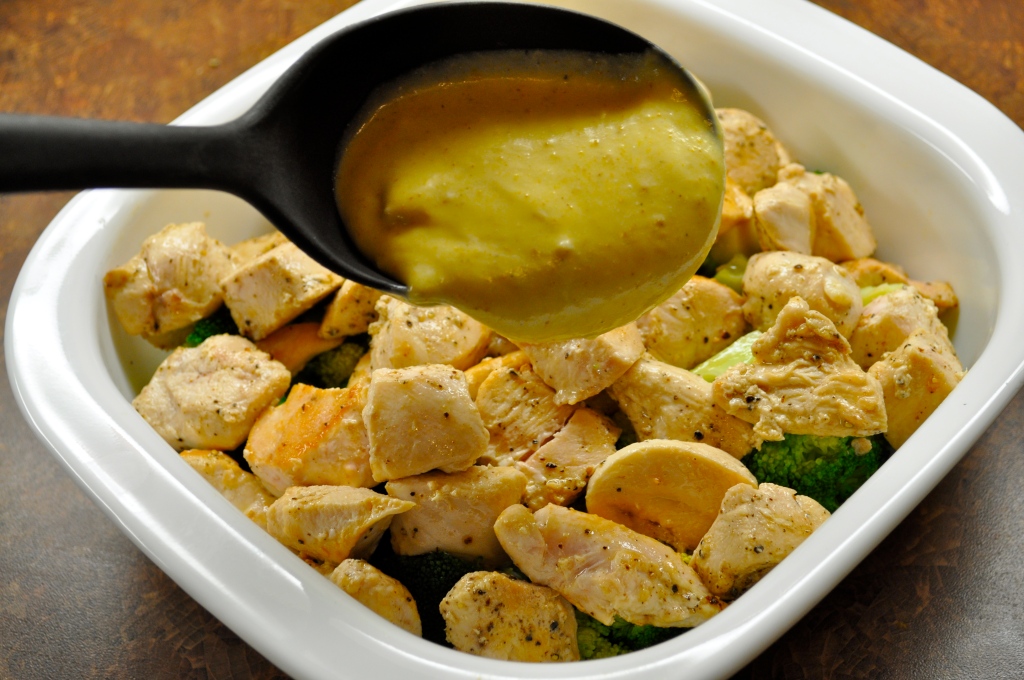
Sprinkle the bite-sized chicken pieces with freshly ground black pepper. Saute quickly in olive oil over medium heat just until opaque. Don’t overcook or the chicken will get tough! Drain. Cook the broccoli (or asparagus) until crunchy. I usually steam my broccoli just until it turns bright green. Drain the broccoli and arrange it in the bottom of a buttered casserole. Place the chicken on top. Mix together the soup, mayonnaise, curry, and lemon juice and pour over the chicken. Sprinkle with cheddar cheese and bake, uncovered, at 350 degrees F for 30-35 minutes. Serve alone, or over rice. Happy eating!

Winner Winner, Chicken Dinner! | Chicken Pot Pie.

With the colder weather over the past few days (hello Winter!), I was craving something hearty and warm for dinner last night. I came across this recipe for Chicken Pot Pie, from Ina Garten (also known as Barefoot Contessa). I have a complete fear of pastry, and have never, ever in my life attempted to make a pie crust from scratch. What better way to start the new venture of a blog than by attempting to conquer a culinary fear? Call me crazy, but this recipe was therapy. The finished product was incredible, resulting in some oohs and aahs in the lunchroom at work today when I brought leftovers. A few shared tastes led to further compliments and requests for the recipe. Here it is ladies! These pot pies would also make a fabulous meal for guests, as the individual servings make for quite a delightful presentation. Imagine being able to dig in to your own little pie, made just for you! Either way, give these a try, you won’t regret it. Happy eating!

Chicken Pot Pie (adapted from Ina Garten)

6 chicken breasts, cut into chunks

1 TBSP. olive oil

Salt and pepper (preferably sea salt and freshly ground pepper)

5 cups chicken stock

2 chicken bouillon cubes (or 4 tsp. of bouillon powder)

1/4 cup unsalted butter

2 cups of chopped yellow onions

3/4 cup all-purpose flour

1/4 cup half & half cream (or heavy cream if you like it really rich)

2 cups medium-diced carrots

2 cups frozen peas

Glug of white wine (optional)

1/2 cup minced fresh parsley leaves (or 1 tsp. dried)

For the pastry:

3 cups all-purpose flour

1/2 tsp. sea salt

1 tsp. baking powder

1 cup cold unsalted butter, diced

1/2 to 2/3 cup ice water

1 egg beaten with 1 TBSP. water, for egg wash

Sea salt and freshly ground black pepper

Heat the olive oil in a pan over medium-high heat. Throw in the diced chicken and sprinkle with salt and pepper. Once the chicken is cooked through, set aside.

In a small saucepan, heat the chicken stock and dissolve the bouillon cubes in the stock. In a large pot or Dutch oven, melt the butter and saute the onions over medium-low heat for 10-15 minutes, until translucent. Add the flour and cook over low heat, stirring constantly, for 2 minutes. Add the hot chicken stock to the sauce. Simmer over low heat for 1 more minute, stirring, until thick (this will only take a couple of minutes). Add 1 tsp. salt, 1/2 tsp. pepper, and the cream. Add the cubed chicken, carrots, peas, parsley, and the white wine, if you’re using it. Mix well.

For the pastry, mix the flour, salt, and baking powder in a bowl. Add the butter and cut it into the flour mixture with a pastry blender until the butter is the size of peas. Slowly add in the ice water; you only want to add enough to moisten the dough and have it just come together. Dump the dough out onto a floured surface and knead quickly into a ball. Wrap the dough in plastic and allow it to rest in the fridge for 30 minutes (or you can make it a day in advance).

Preheat the oven to 375 F. Divide the filling equally among 4 ovenproof bowls (I think it would work equally well to make two large pies, if that is your preference – I only had one ovenproof small bowl, so I made one small and one very large). Divide the dough into quarters (or in half if making two large pies), and then roll each piece into an 8-inch circle. Brush the outside edges of each bowl with the egg wash, then place the dough on top. Trim the circle to 1/2-inch larger than the top of the bowl. Crimp the dough to fold over the side, pressing it to make it stick. Brush the dough with the egg wash and make 3 slits in the top with a sharp knife. Sprinkle with sea salt and freshly ground black pepper. Place on a baking sheet and bake for 1 hour, or until the top is golden brown and the filling is bubbling hot. Then try not to burn yourself as you proceed to start shoveling this goodness into your mouth. Enjoy!

%d bloggers like this: