Super Easy Velvety Chocolate Pots

Velvety Chocolate Pots | Once Upon a Recipe

Happy Love Day, lovers!

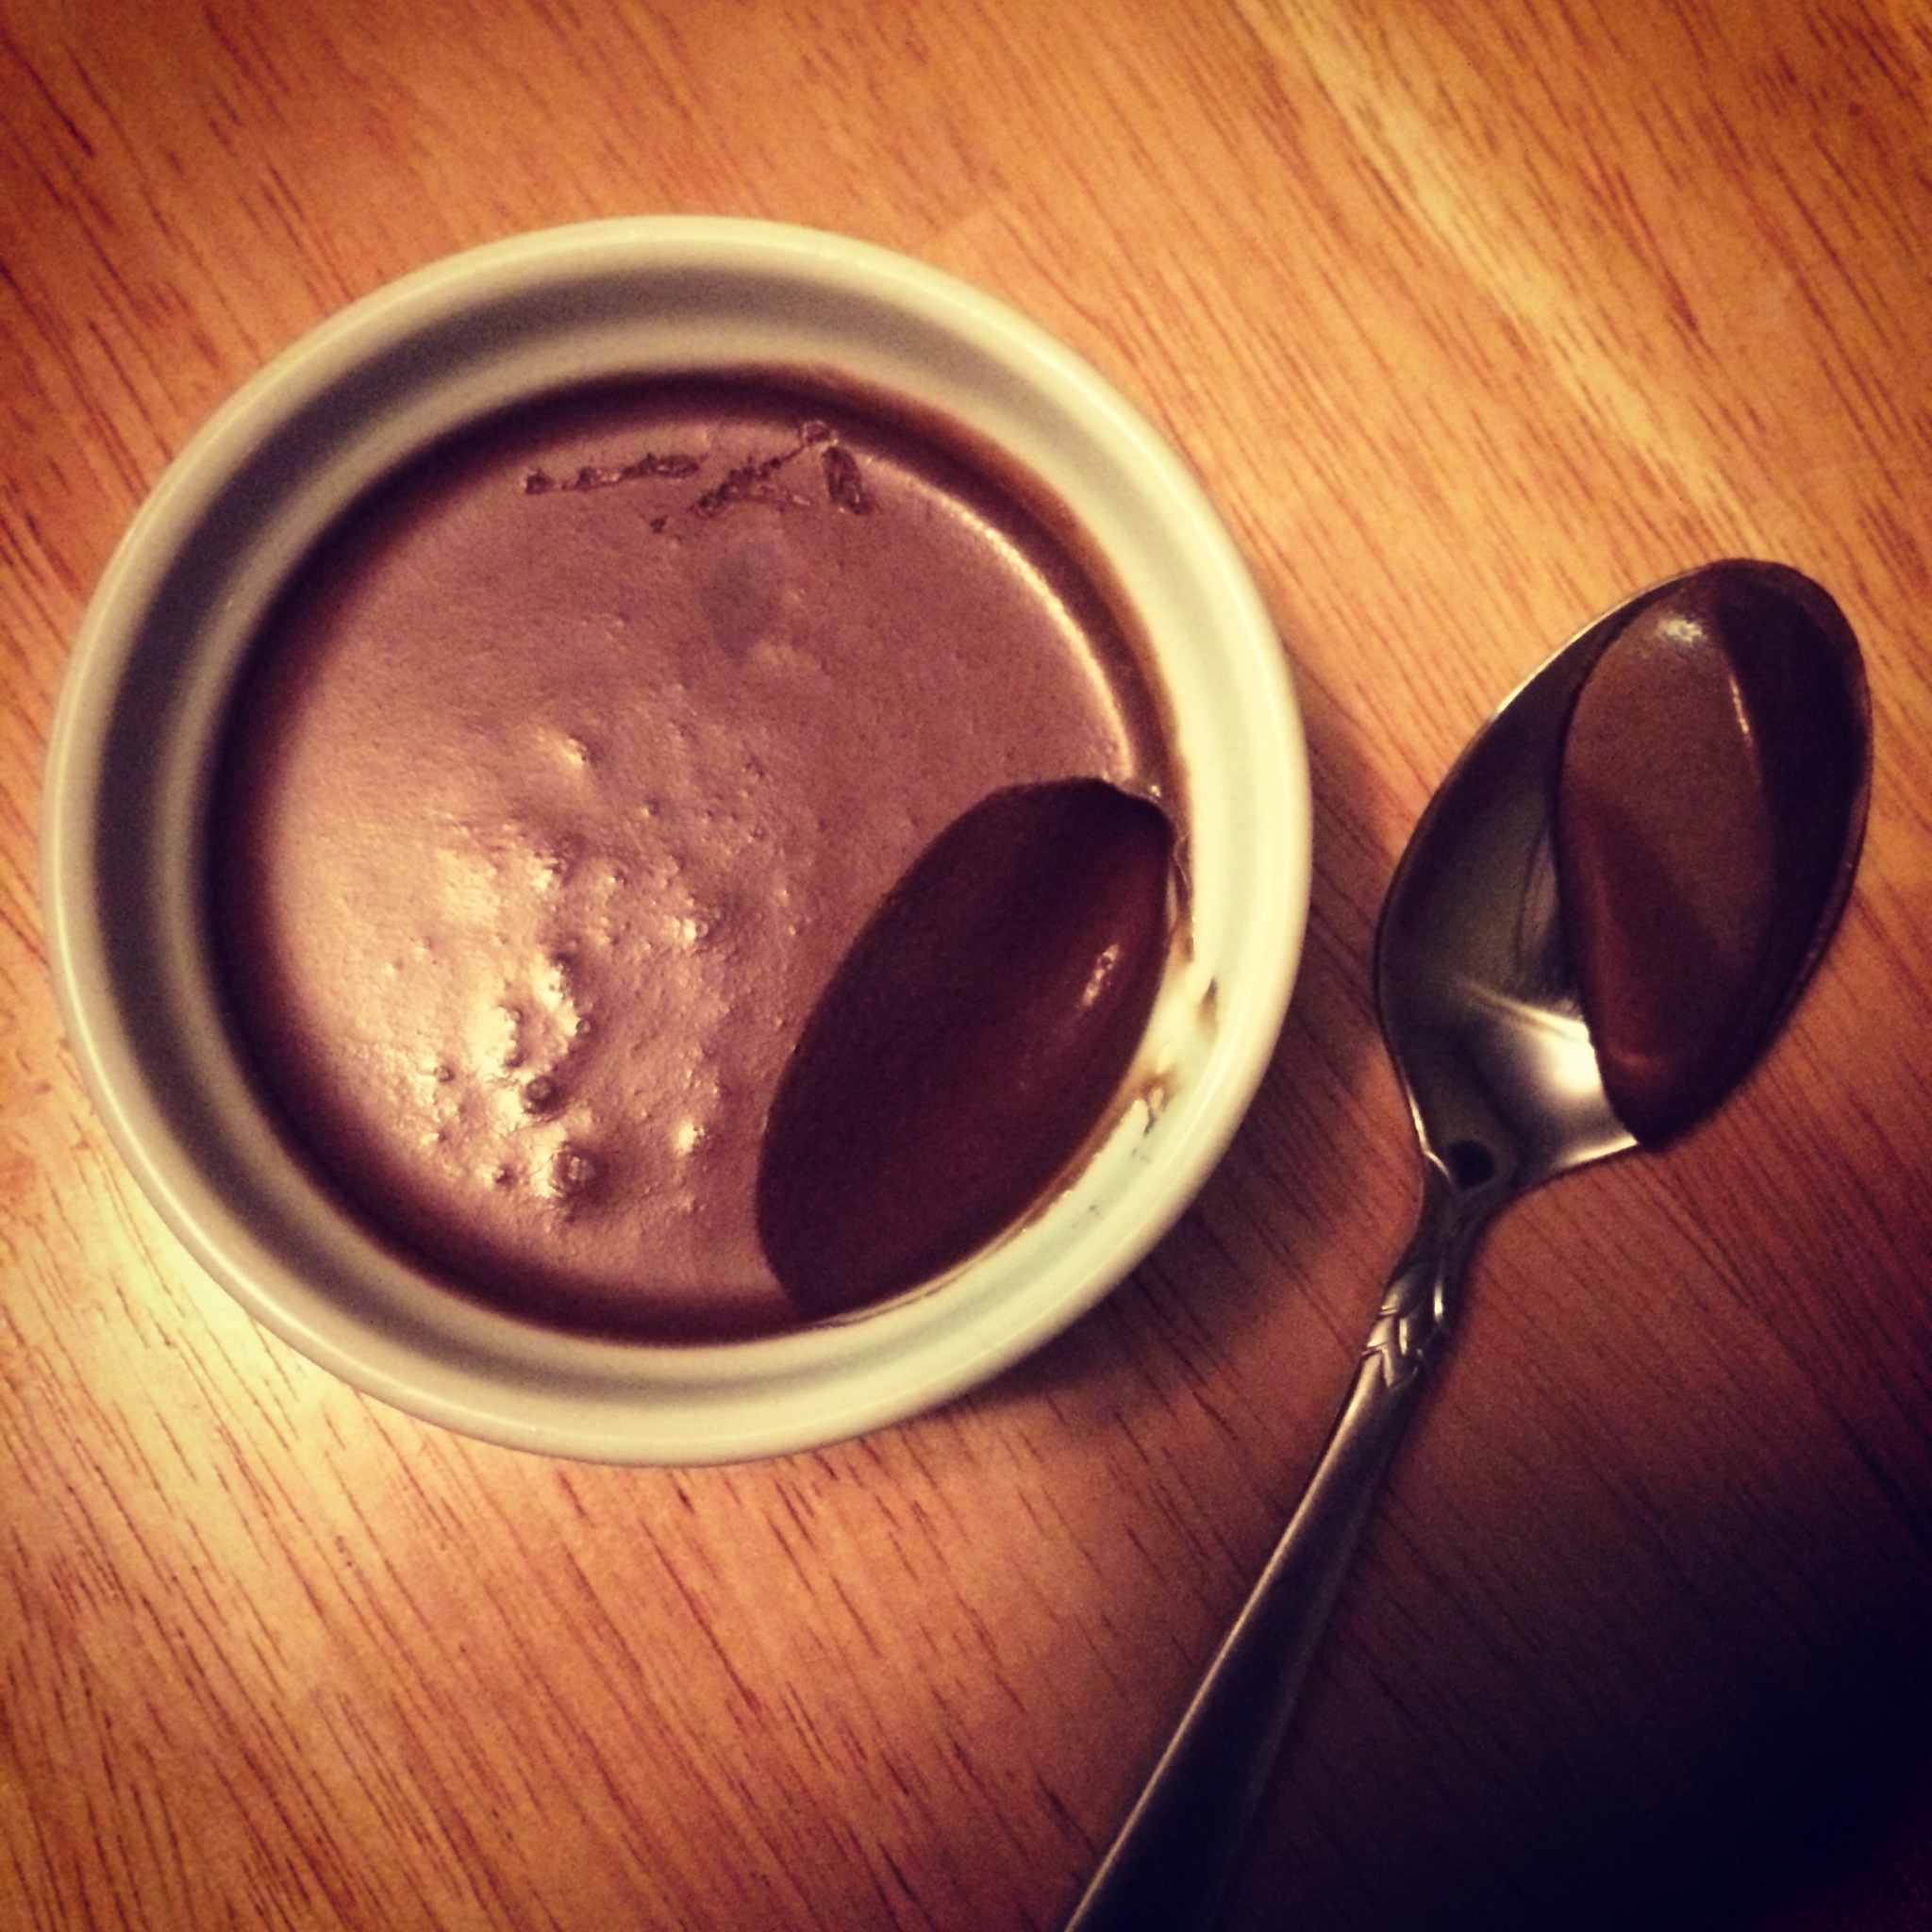
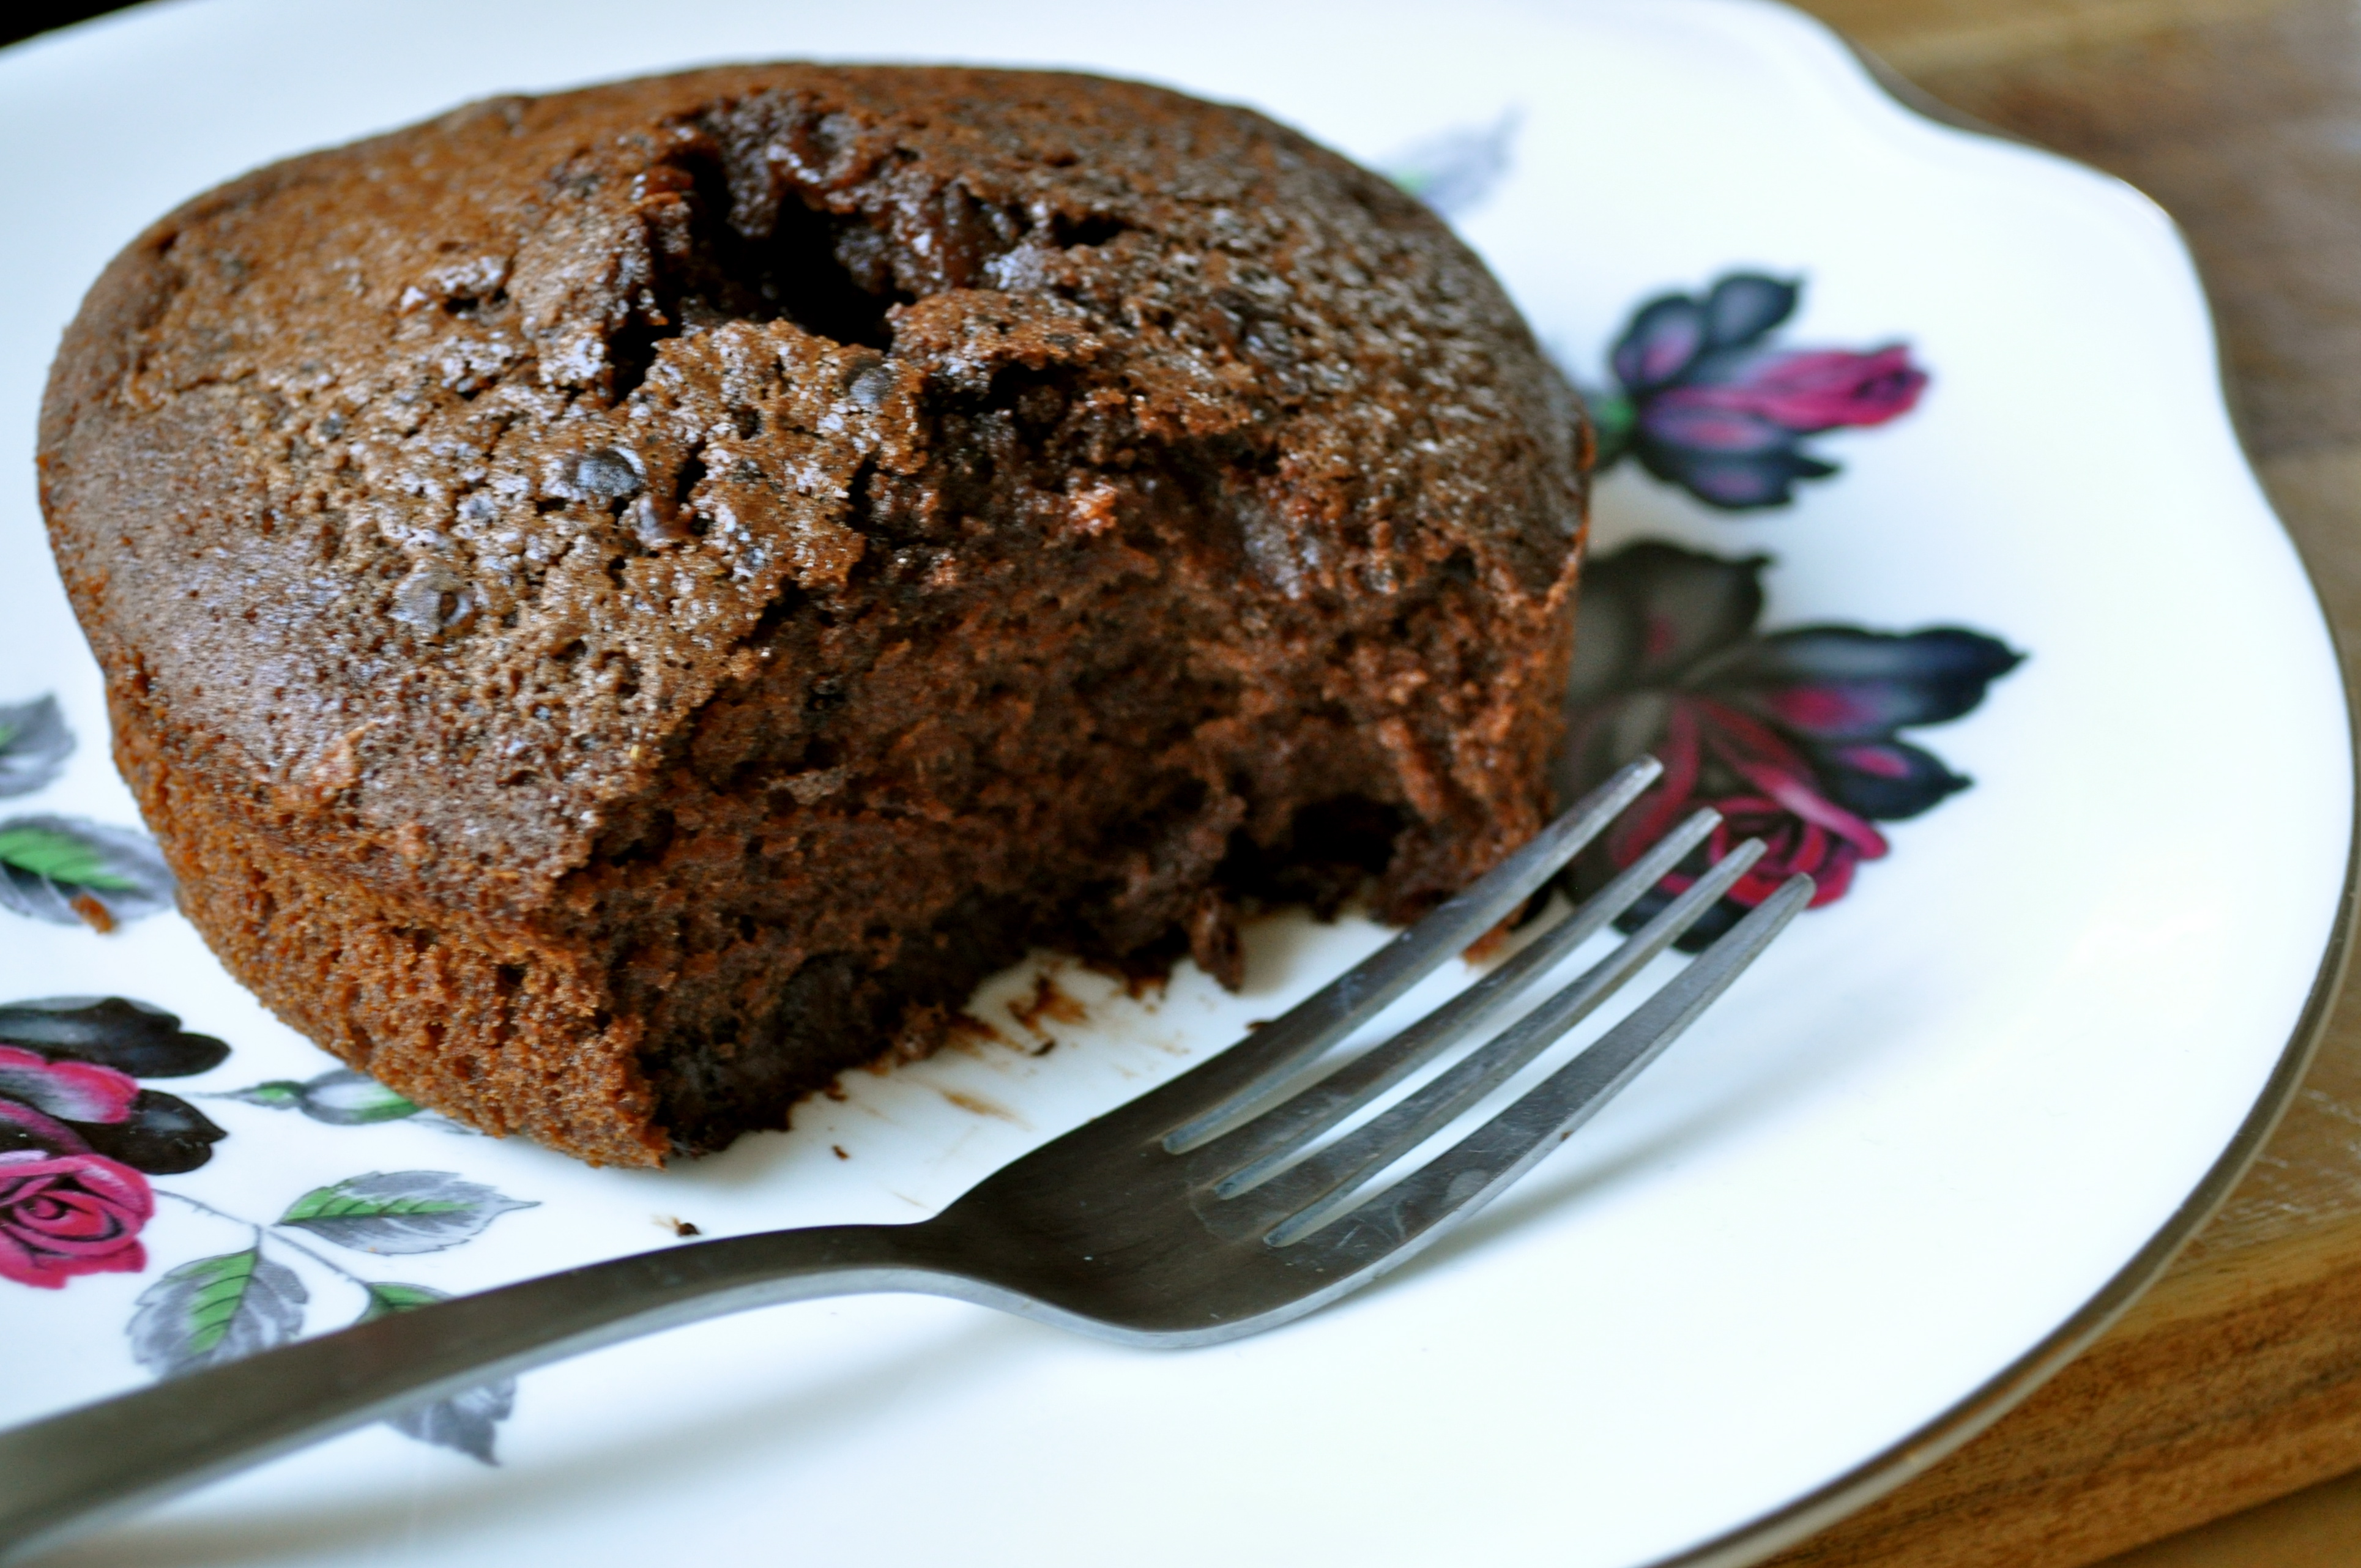
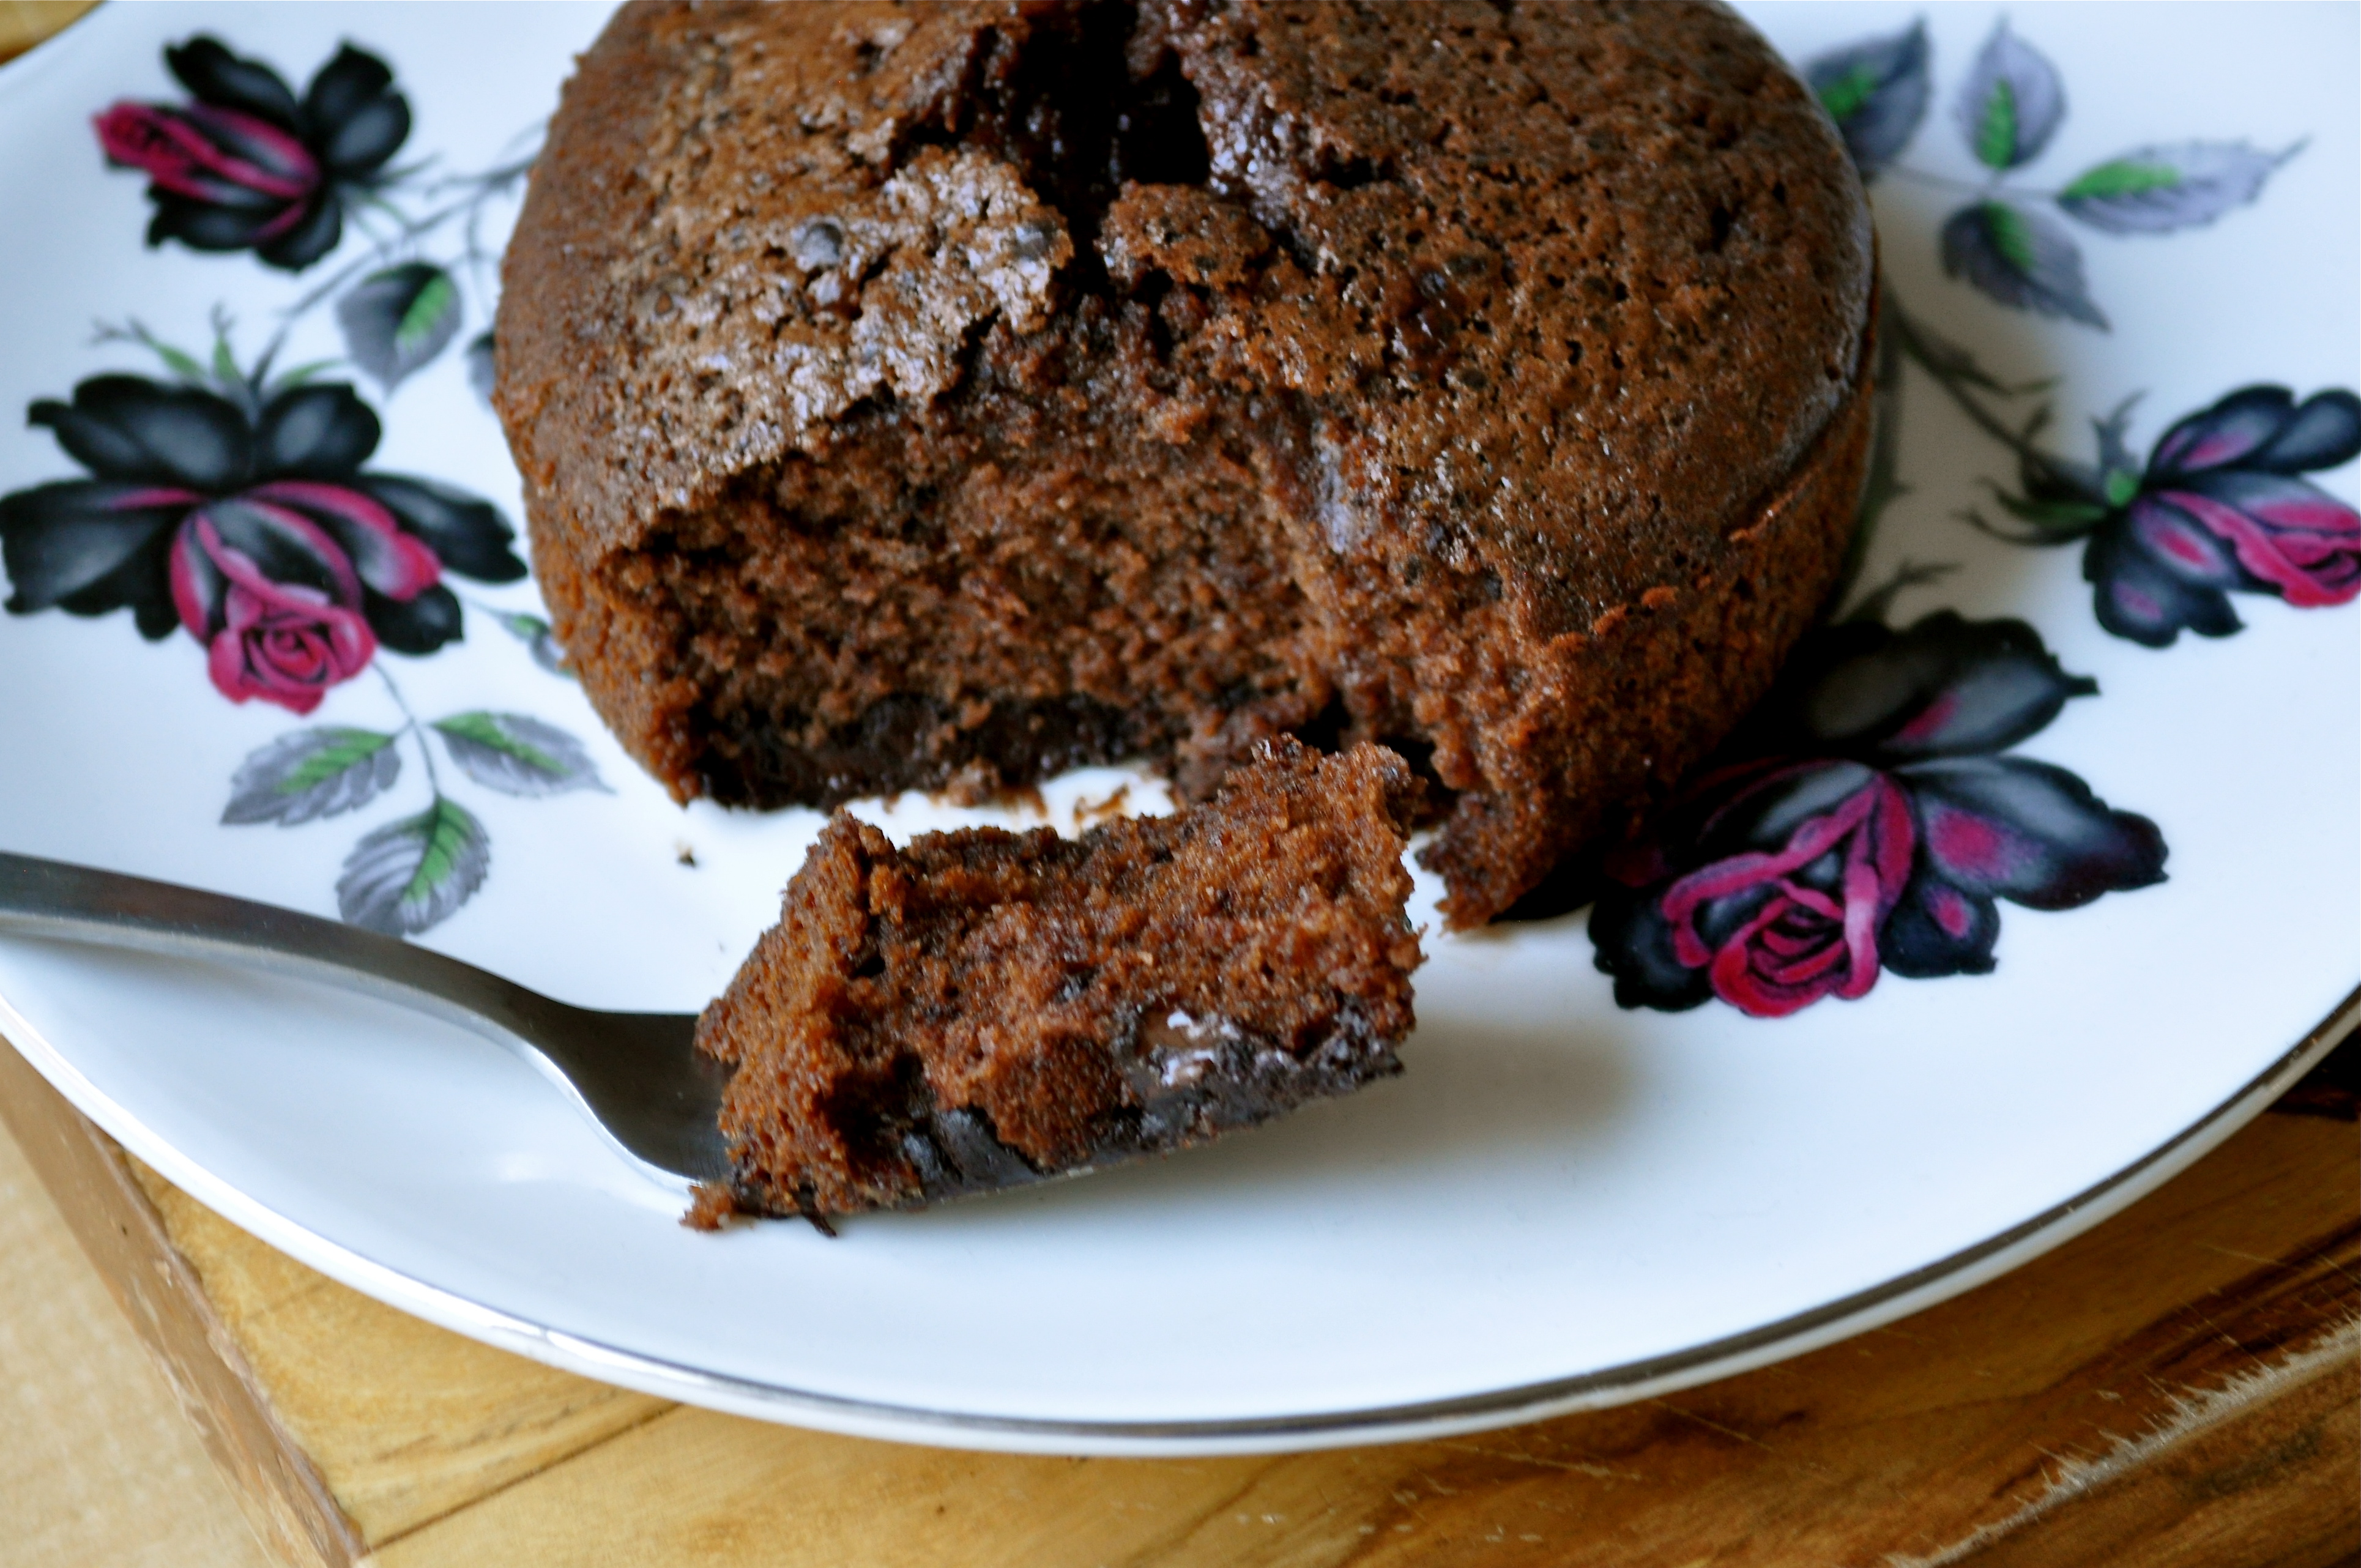
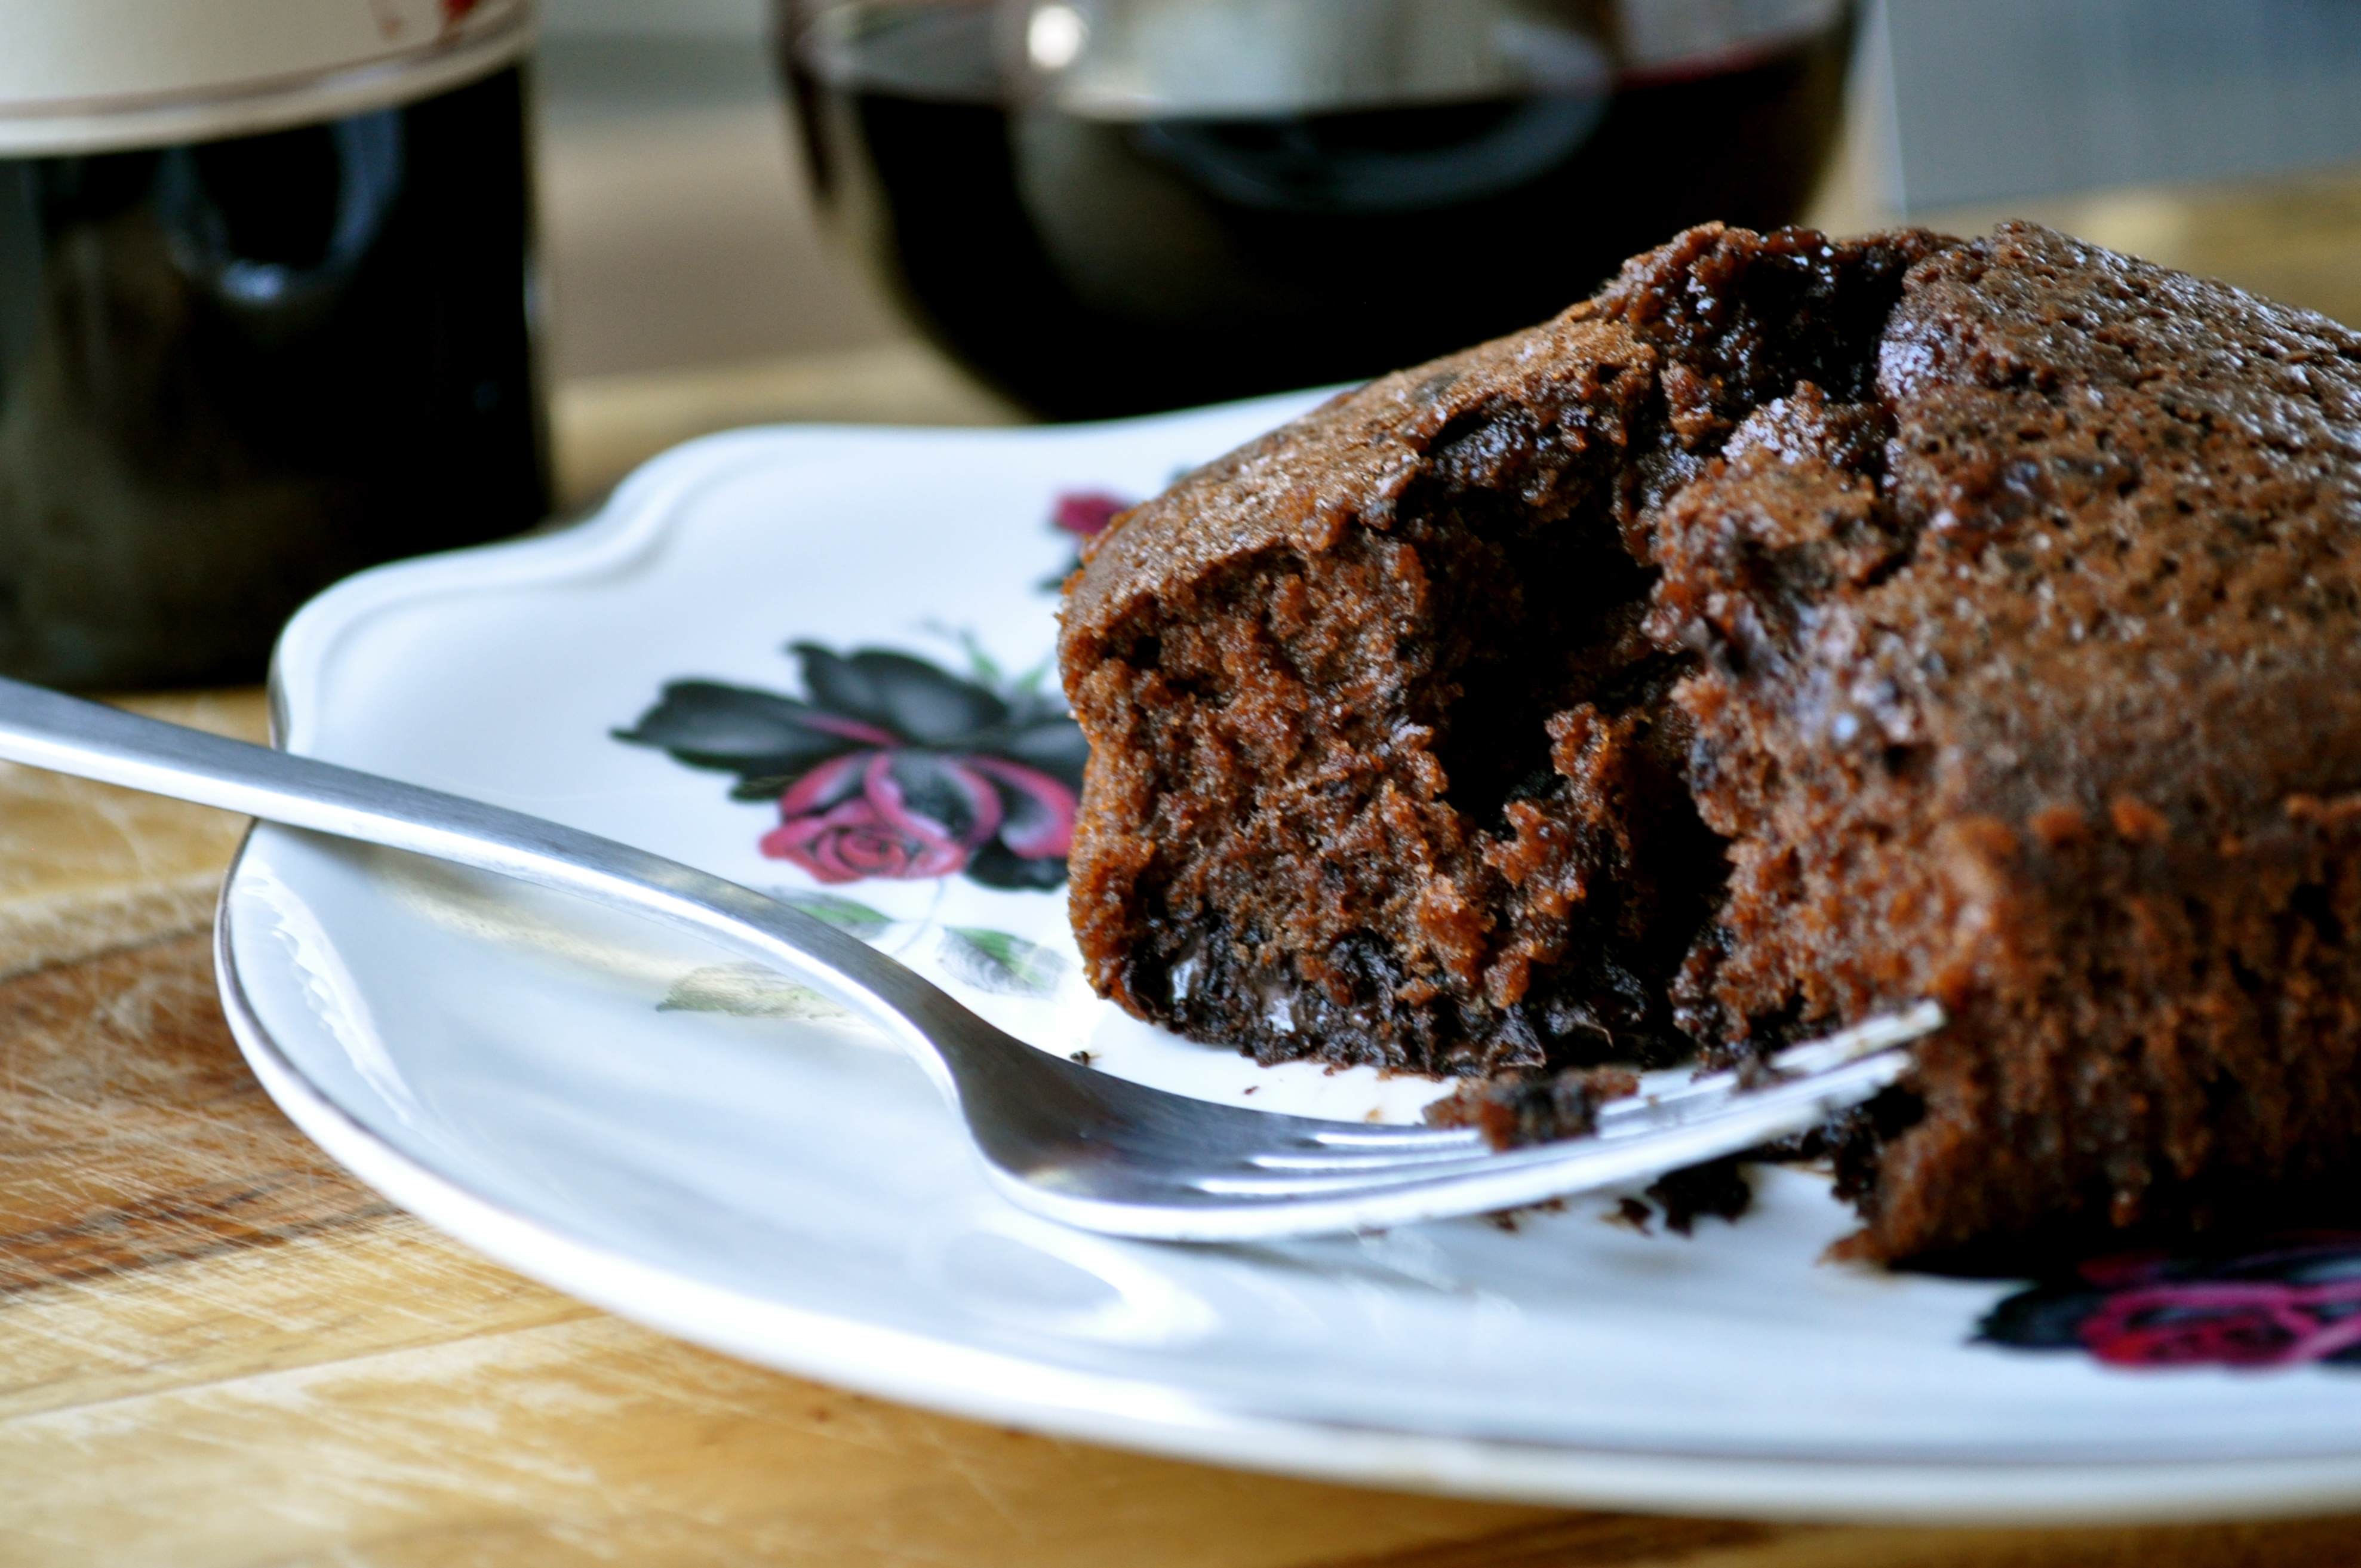
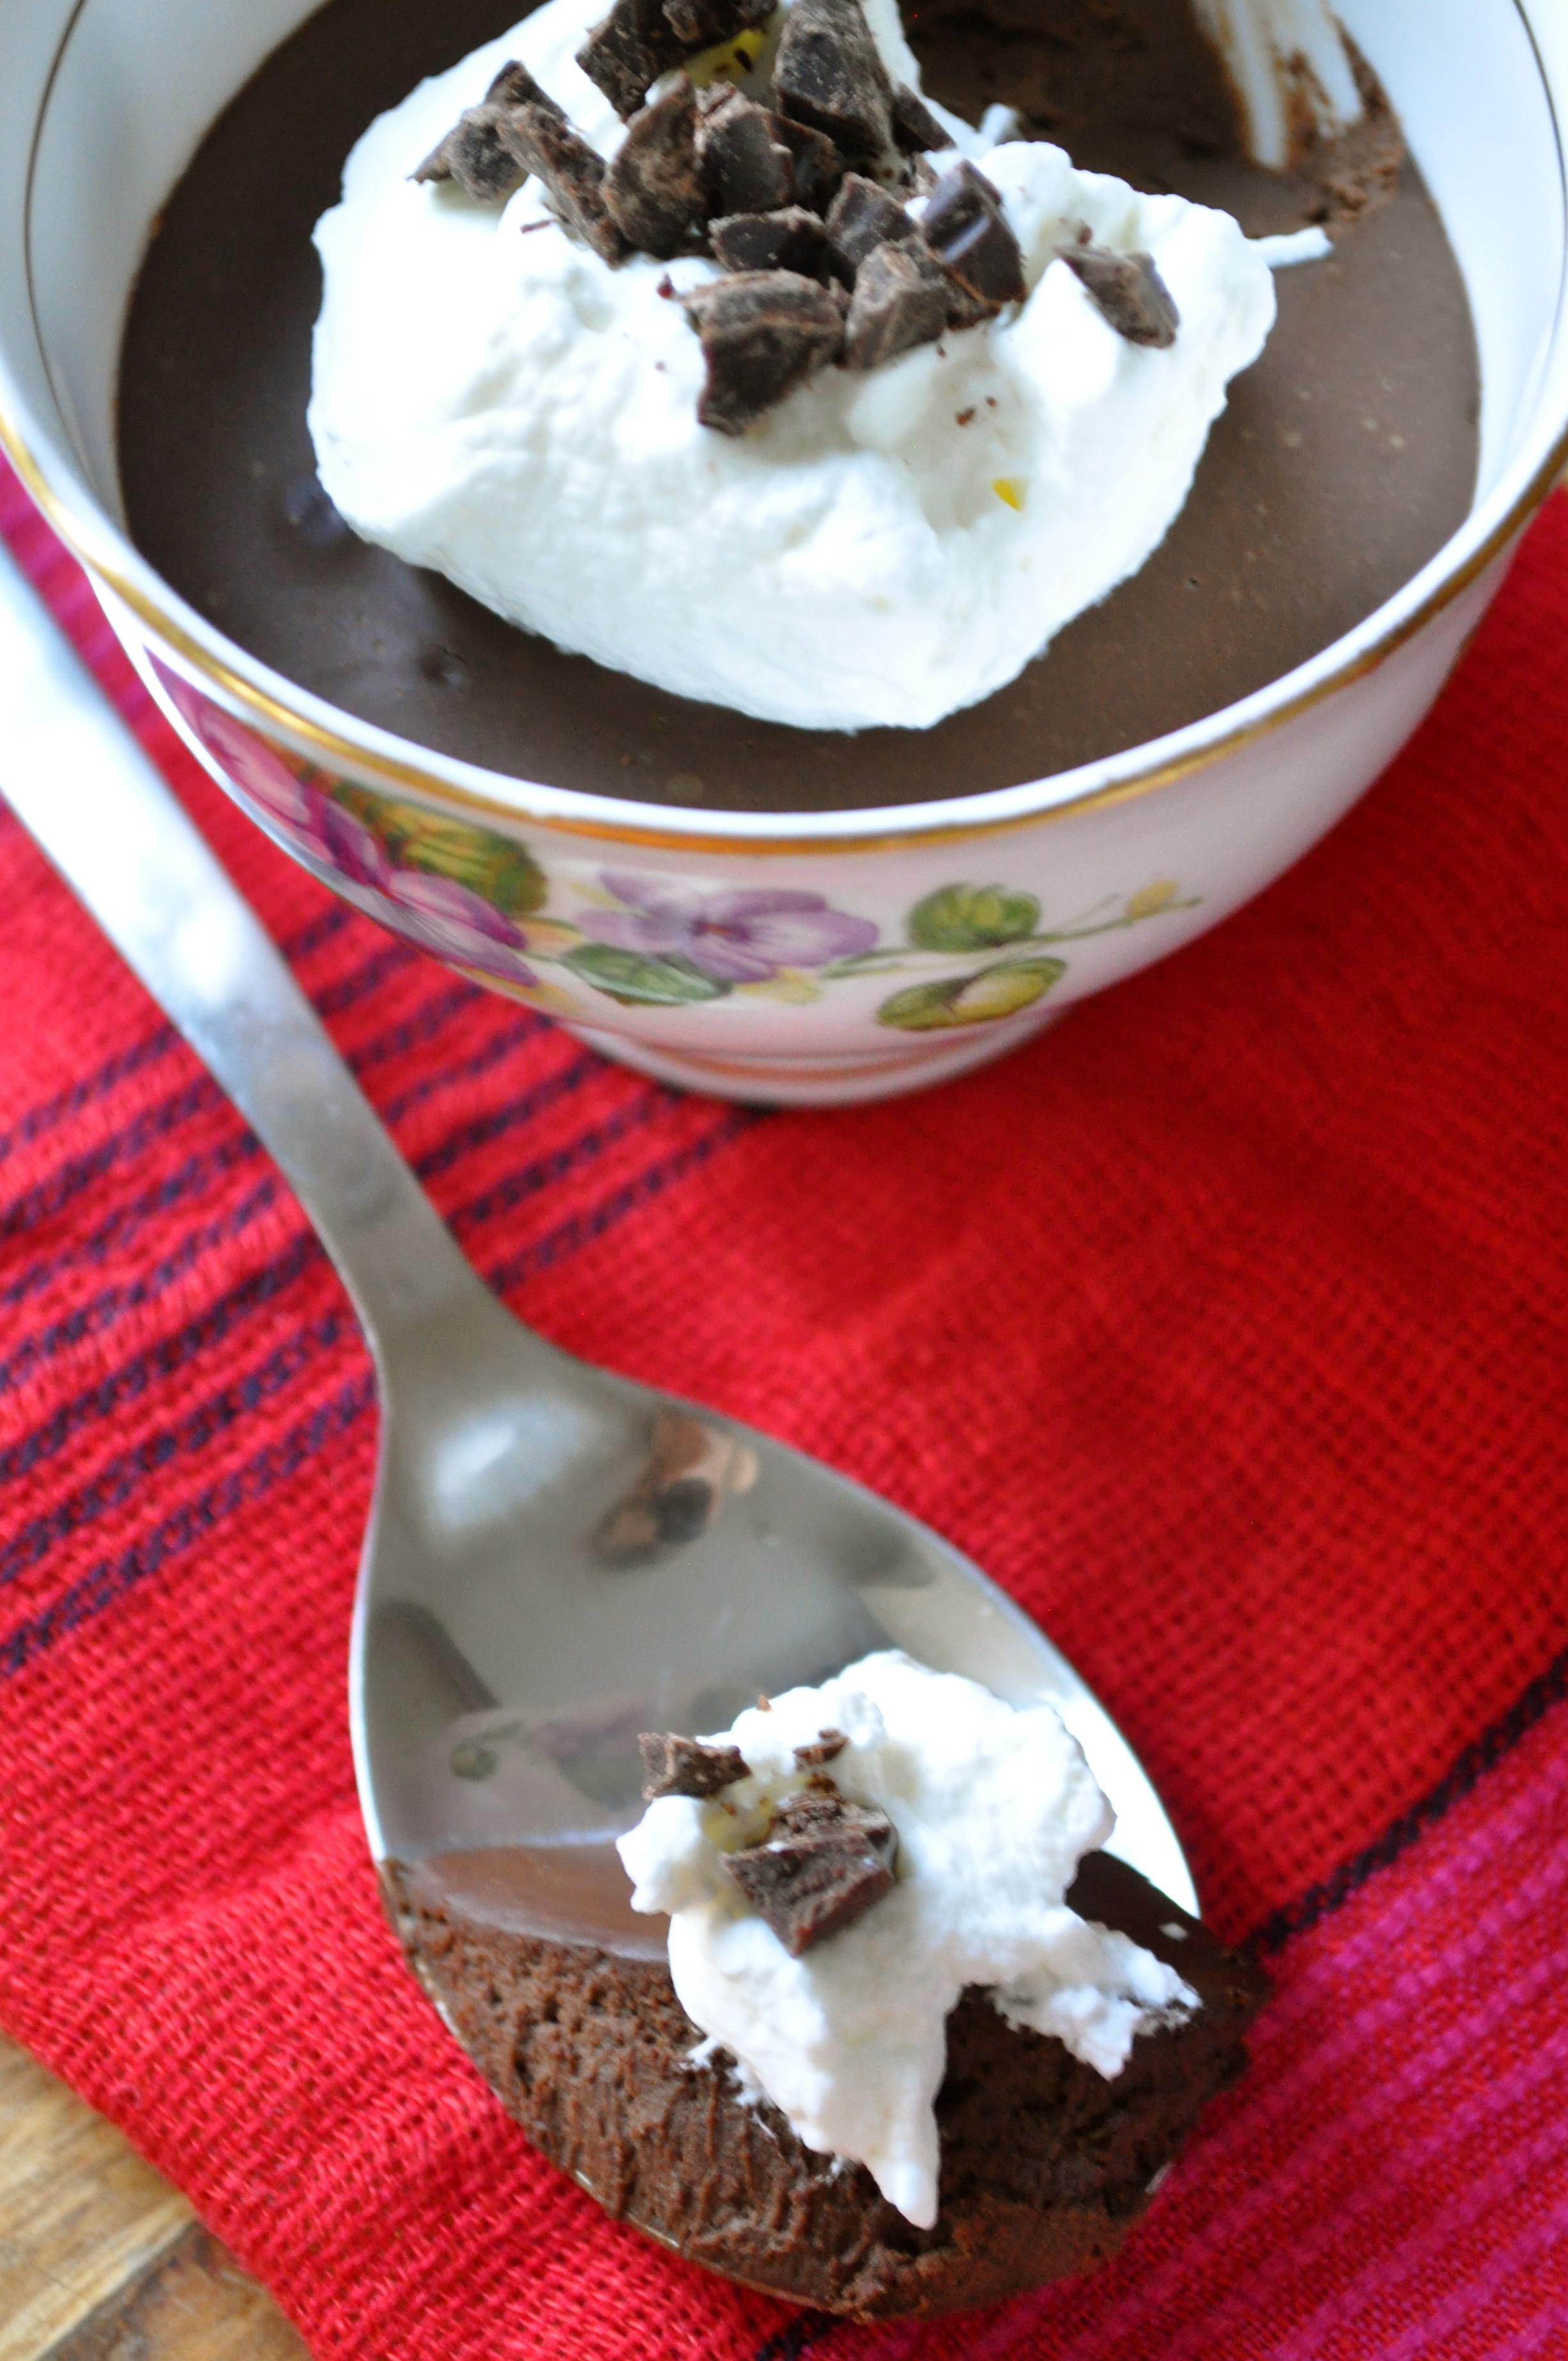
Here we are again, February 14, Valentine’s Day, the day of L-O-V-E! As promised, I’m sharing another chocolate recipe today. Behold these velvety chocolate pots! They taste just like they sound: rich and chocolate-y and oh. so. smooth. Like buttah, baby!

Velvety Chocolate Pots | Once Upon a Recipe

Velvety Chocolate Pots | Once Upon a Recipe   Velvety Chocolate Pots | Once Upon a Recipe

Maybe you’re still undecided about your Valentine’s Day menu with your honey. Maybe you’re a big procrastinator (like me) and waited until the big day to pick a sweet and decadent treat to celebrate the occasion. Or maybe you don’t give a flying fart about Valentine’s Day, but you have a chocolate craving that you just can’t curb. Whatever the reason, or even if there is no reason at all, let’s all enjoy these velvety chocolate pots together, mmmk? They’re super easy to whip up – we’re talking less than 5 minutes – and mega delicious.

Velvety Chocolate Pots | Once Upon a Recipe   Velvety Chocolate Pots | Once Upon a Recipe

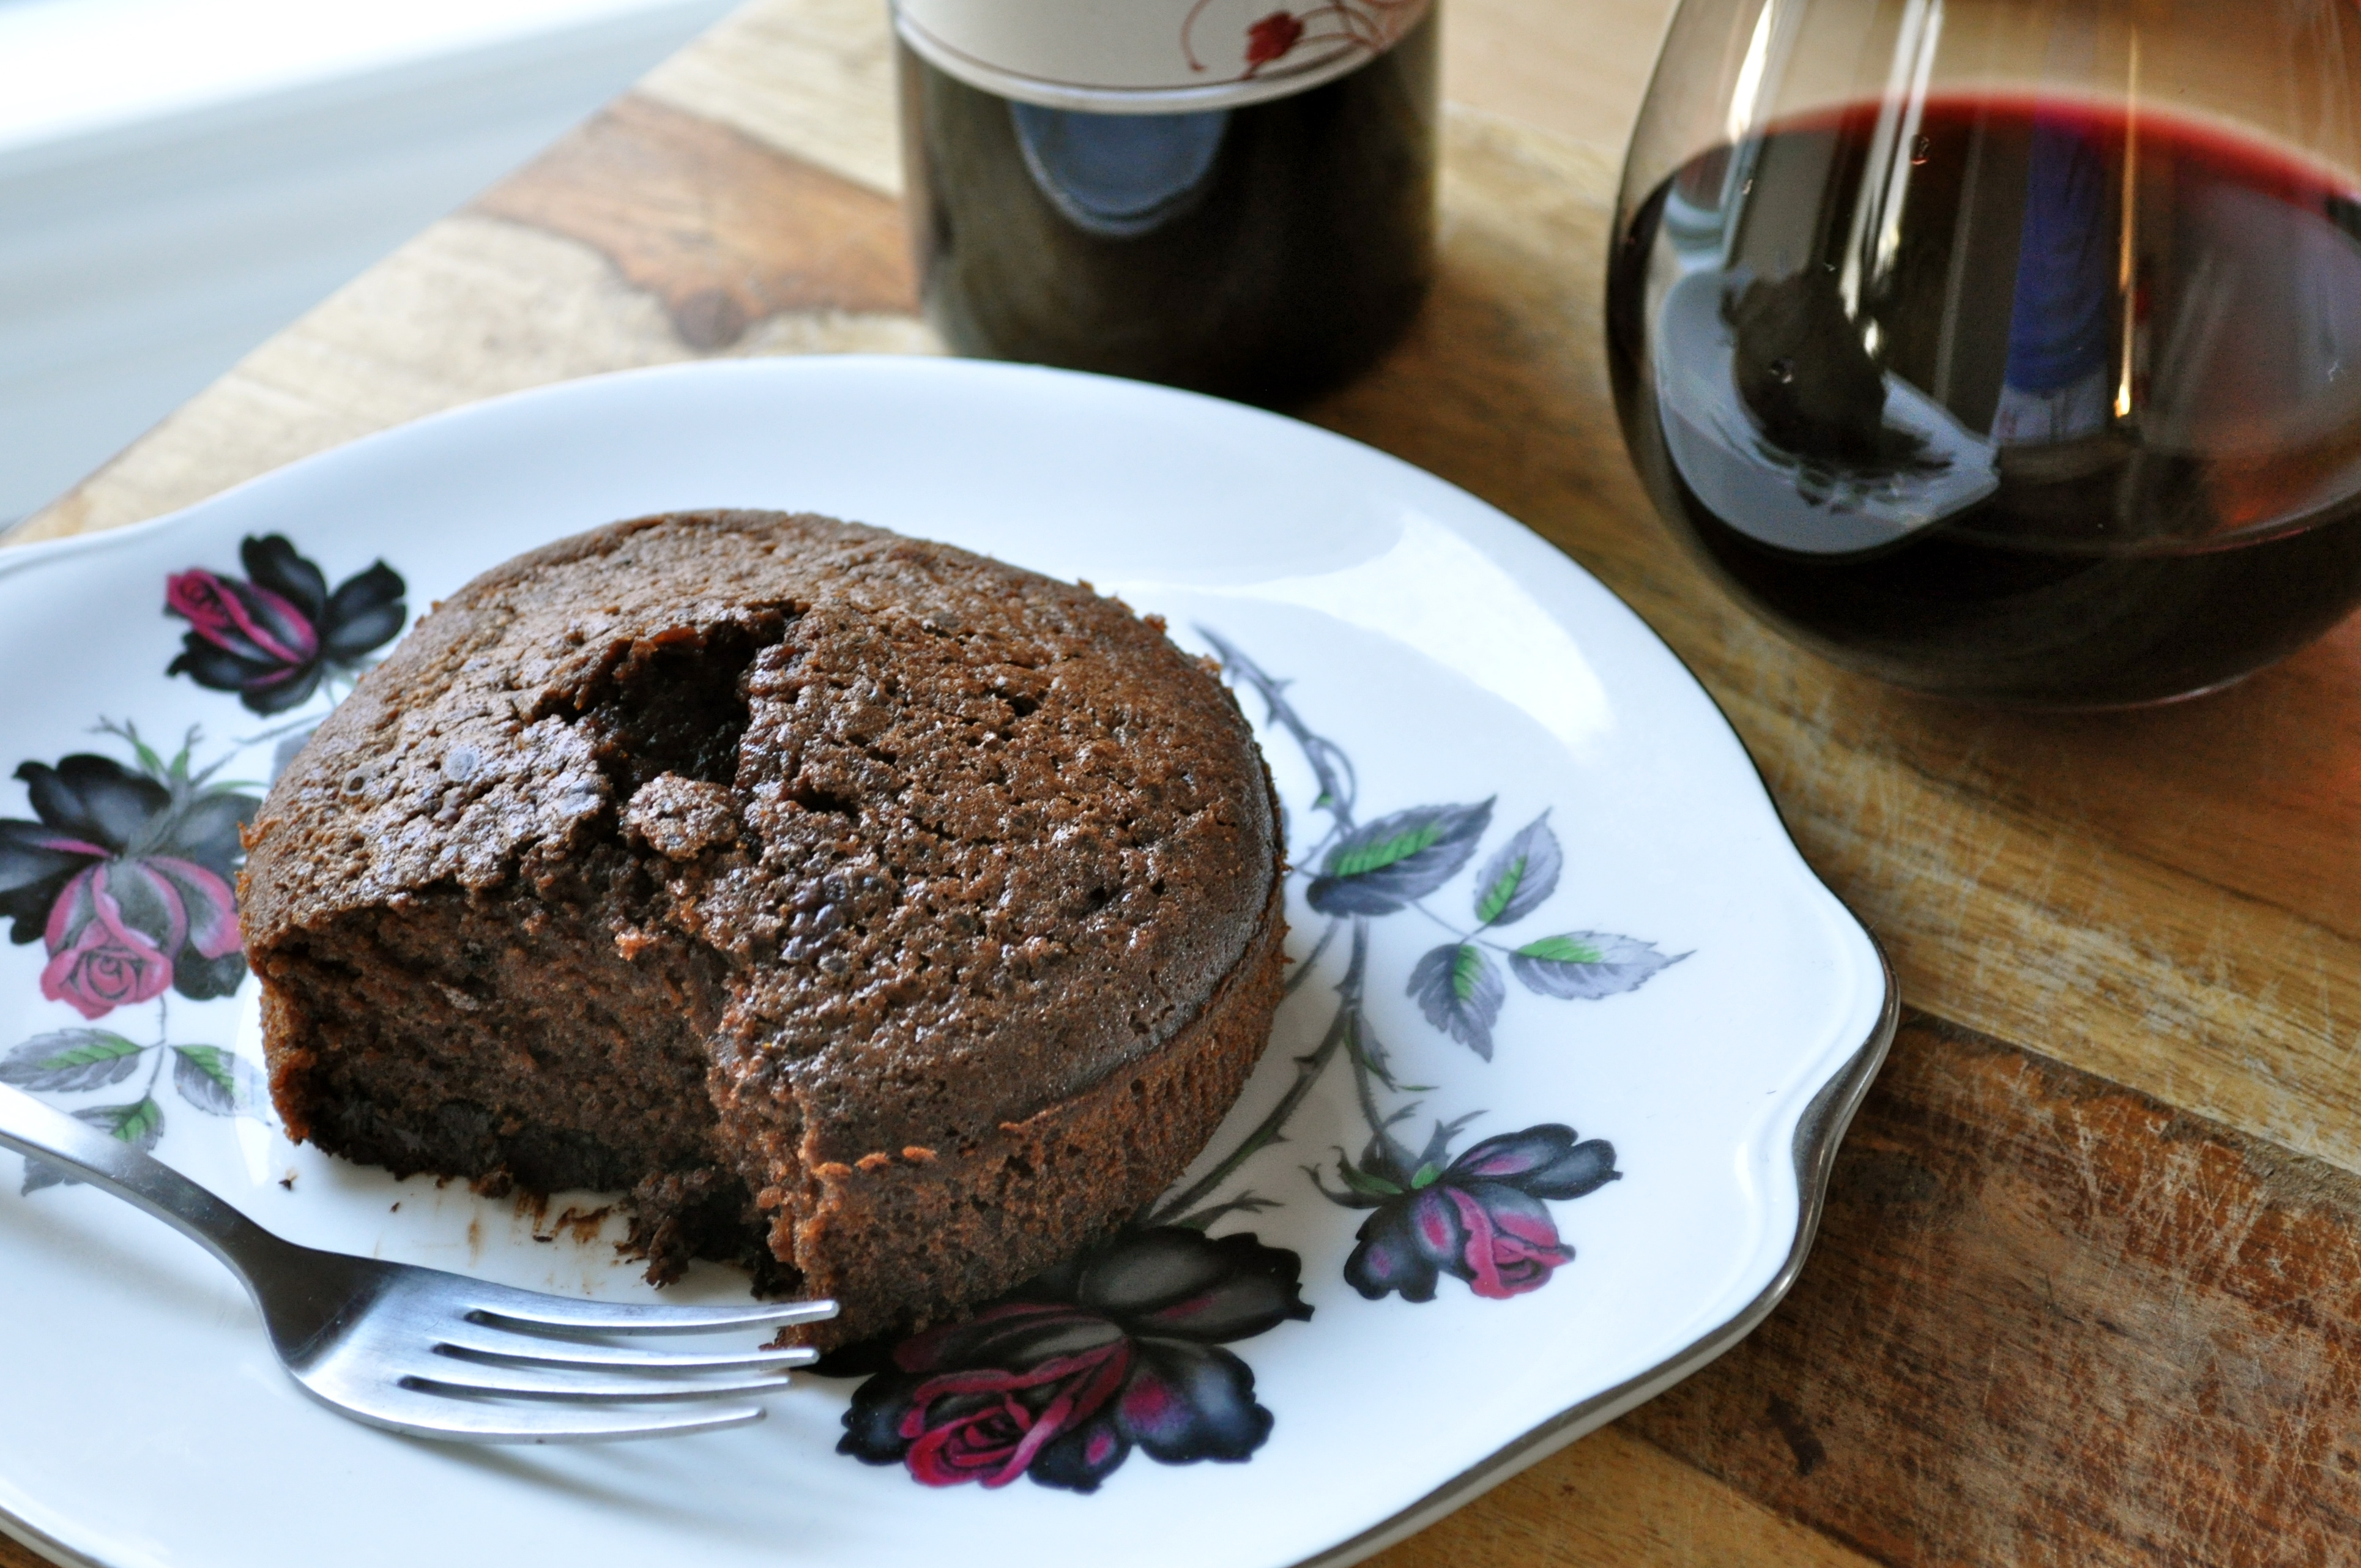
I’ll bring the chocolate, you bring the wine, and let’s all just celebrate the wonderful thing that is love. I’m grateful to call you all my valentines. Now go tell your favorites how much you love them! <3

Super Easy Velvety Chocolate Pots (adapted from The Pioneer Woman)

Makes 4. This recipe is easy to halve or double, depending on the number of servings you require. You can also switch up the flavor by using flavored coffee, different liqueurs, and different kinds of chocolate (ie. milk vs. dark). I used Madeira wine for my liqueur and vanilla macadamia nut coffee. Experiment away!

6 ounces dark chocolate (~70% cocoa), chopped

2 eggs

A pinch of salt

1 TBSP. liqueur (optional)

1/2 cup very hot coffee

In a food processor or blender, combine the chocolate, eggs, salt, and liqueur (if using). Blend until well mixed. With the food processor or blender still running, slowly add the coffee and blend until smooth. Pour the mixture into four 4-ounce ramekins (or tea cups, if you want to get fancy), and refrigerate until cold and set (about 4 hours). Top with whipped cream and more chopped chocolate. Dive in!

Velvety Chocolate Pots | Once Upon a Recipe

Be My Schmalentine | Quick Sticky Chocolate Cake for One (or Two)

Sticky Chocolate Cake for One | Once Upon a Recipe

Here we are again. It’s almost February 14. Schmalentine’s Day. Hooray.

I’ve said it before, and I’ll say it again, Valentine’s Day just ain’t my jam. It kind of makes me want to gag. I am a big believer in giving and receiving love every damn day of the year, and therefore I fail to see the point of devoting an entire day to over-the-top demonstrations of love when it’s much nicer to spread it around all year. Flowers? Yes, I’d like to receive them a little more regularly, please and thank you. Chocolate? I already eat it nearly every day. A nice dinner out? Let’s do it. Weekly. Jewelry? I’m not really into it. Jewelry makes my body feel…cluttered.

Sticky Chocolate Cake for One | Once Upon a Recipe

Simple acts of love? Now we’re talking. Slip a sweet note into my coat pocket. Make me a simple dinner at home. Pick up a nice bottle of wine to enjoy with dinner. And don’t wait for February 14 to do it.

Whether or not you have a significant other to celebrate with this Valentine’s Day, you’re probably looking for a sweet treat to enjoy. If nothing else, V-day is a total excuse to eat as much chocolate as your little heart desires. How about this quick and dirty chocolate cake? I came across this recipe for chocolate cake for one in the beautiful cookbook “Home Made Winter” by Yvette van Boven. The recipe is described as a 3-minute chocolate mug cake.

Sticky Chocolate Cake for One | Once Upon a Recipe


Cringe. Friends, I don’t do mug cakes. The microwave, while useful for many things, does not cook cakes very well. Have you ever tried it? The texture is just…ugh. Gummy. Spongy. Yuck. But what intrigued me about this recipe is the fact that Yvette suggested that the cake could be baked in the oven for those who find microwave cakes to be off-putting. For the record, I tried the cake both ways. And I maintain my sentiments about microwave cakes. But you may wish to give it a try, especially if you’re in a pinch for time.

For me, this cake serves a particular purpose. Either you’re having a mad craving for chocolate cake and you don’t want to go to the trouble of making a big cake, and then be left with an entire cake to entice you until it’s gone. Or, you’re in a pinch for a quick dessert for one or two. The cake batter comes together in a flash, and even if you choose to bake it in the oven, it will be ready within 20 minutes. Go the microwave route, and you’ll be taking your first bite in just over 3 minutes. The best part? No leftovers!

Sticky Chocolate Cake for One | Once Upon a Recipe

Quick Sticky Chocolate Cake for One (or Two) ~ adapted from Home Made Winter

3 TBSP. all-purpose flour

1/4 tsp. baking power

Pinch of salt

3 TBSP. sugar

2 TBSP. cocoa powder

1 egg

1/2 tsp. vanilla

3 TBSP. milk

3 TBSP. vegetable oil

3 TBSP. dark chocolate chips

If using the oven, preheat it to 350°F and spray your baking dish with non-stick spray (I used a large ramekin dish). If using the microwave, pick a large microwave safe mug. Use a separate bowl to mix together all of the ingredients and pour into the baking dish. If using a mug, you can simply add everything into the mug and mix it together. No clean-up! However, with the microwave technique, you can omit the baking powder and salt. Bake your cake for about 20 minutes, or until a toothpick inserted into the centre of the cake comes out clean. If using the microwave, pop your mug into the microwave and cook on high for 3 minutes. The cake will rise over the rim of the mug, but don’t sweat it.

Enjoy the cake while still warm, and definitely feel free to add a scoop of ice cream on top. I’m a bit of a chocolate cake purist and prefer to eat it straight up.

Sticky Chocolate Cake for One | Once Upon a Recipe

______________________________________

Need some other Valentine’s Day ideas? I suggest that you start your day with Banana Bread Oatmeal Pancakes or my Nana’s Cinnamon Buns. If you’re in the mood for a love day beverage, I highly recommend a Red Lotus Martini (or two) or a big glass of Red Wine Sangria.

Cooking together is so romantic (in my opinion). Get in the kitchen with your significant other or your friends and make some heart-shaped pizzas with this Whole Wheat Pizza Dough. For a festively colored side dish, try this creamy and dreamy Beet Risotto.

Sweet treats? These Red Velvet Sandwiches are delicious and easy. If you’ve got a little more time on your hands, make some decadent Rice Pudding. Or Homemade Snickers Bars. Or Bourbon Pecan Pie Brownies. For something a little lighter, try Fruit Salsa and Cinnamon Chips. And diving into this Skillet Chocolate Chip Cookie might just be the most delicious thing you can do on February 14.

Happy love day, my friends. And remember to share some love, each and every day of the year. <3

From My Heart To Yours | Whole Wheat Pizza Dough

Obnoxious jewelry ads. Restaurants offering special menus for one night only. Chocolatiers and flower shops preparing for their most lucrative day of the year. An overload of pink and red.

Kids, this can only mean one thing.

(Insert scary music here.) Valentine’s Day.

As suggested by the scary music, Valentine’s Day is not my favorite holiday. Single or attached, this big, commercial, overdone holiday has always failed to wow me. More importantly, I’m a big believer in showing the special people in my life that I love them on a fairly regular basis.

Are you pickin’ up what I’m throwin’ down?

But rather than babble on about this, I want you to do me a favor. Mmmk?

Step One: Mix up some warm water with a little sugar, then sprinkle with yeast. Let these cats get to know each other a little. Maybe they’ll like each other.

After 10 minutes, things will be getting a little foamy. That means there was a love connection. Bow-chica-bow-wow. Things are getting sexy.

Step two: Add in some flour, and mix things up. Get your hands in there, and start kneading. Add a little more flour and work it in there. This is a great opportunity to work out some of your frustrations! Like being single on Valentine’s Day! And when people innocently ask you what you’re doing to celebrate the day of love, you want to yell about drinking copious amounts of wine and eating Chinese takeout over your kitchen sink. (Don’t worry, I’m definitely not going to be doing that tomorrow.) But if I had any frustration about anything, kneading would totally help. Win! After a few minutes, you’ll have a beautiful ball of dough.

Step 3: The dough needs her beauty rest. Cover her up nice and let her rest for about an hour. Go give yourself a manicure, have a glass of wine, relax. You deserve it after all of that kneading!

When you come back, things will look a little something like this.

Pretty, yes? You just made dough! So easy right?!

Step 4: Divide the dough into two equal parts, and let rise again. It’s almost time to make pizza!

Step 5: Cover these sweet things and let them rise again, this time for about 45 minutes.

Get your pizza toppings ready. It’s time to get crazy!

Stretch out the dough, and if you’re feeling the love, why not shape things into a heart? In my opinion, that is how you show someone that you love them. By taking the time to create something with your own hands and your own time. Serve it all up with a bottle (or two) of wine, a few candles, and your wonderful company, and you’ve got yourself a mighty fine Valentine’s Day, or any day of the year.

However you spend February 14, I hope your day is filled with love and happiness. I’ll be drinking wine and eating a ridiculous amount of chocolate. <3

Whole Wheat Pizza Dough (adapted from allrecipes.com)

This pizza dough is perfect – crispy on the outside, light and fluffy on the inside. And it’s made with whole wheat flour, so you can totally feel good about eating an extra slice. Feel free to experiment by adding different flavors into the dough along with the flour (like dried basil or oregano, or even a little parmesan cheese). 

1 1/2 cups warm water (110 degrees F/45 degrees C)

1 tsp. sugar

1 TBSP. active dry yeast

1 TBSP. olive oil

1 tsp. salt

1 tsp. garlic powder

2 cups whole wheat flour

1 1/2 cups all-purpose flour, divided

In a large bowl, dissolve the sugar in warm water. Sprinkle the yeast over the top, and let stand for about 10 minutes, until foamy. Add in the olive oil, salt, and garlic powder, and stir to mix. Add the whole wheat flour plus one cup of the all-purpose flour, and stir until the dough begins to come together. Tip the dough out onto a surface floured with the remaining all-purpose flour, and knead until all of the flour has been absorbed, and the ball of dough becomes smooth, about 5 minutes. Add a bit more flour if the dough is too sticky. Place the dough in an oiled bowl, and turn to coat the surface. Cover loosely with a towel, and let stand in a warm place until doubled in size, about 1 hour.

When the dough is doubled, tip the dough out onto a lightly floured surface, and divide into 2 pieces for 2 thin crust, or leave whole to make one thick crust. Form into a tight ball. Cover with a towel and let rise for about 45 minutes, until doubled.

Stretch the dough out into the desired shape. Place each crust on a baking sheet that has been sprayed with a little bit of oil and sprinkled with corn meal (my newest pizza secret!). Top with your desired sauce and toppings – the possibilities are endless here. Bake at 425°F for 16-20 minutes, or until golden brown and bubbling.

Looking for something sweet to make your Valentine? Allow me to suggest red velvet sandwiches, the perfect chocolate chip cookie, fruit salsa with cinnamon chips, chocolate skor cookie dough toasted marshmallow cupcakes, or bourbon pecan pie brownies. Why choose? Make ’em all! 🙂

A few of the photos in this post were taken with the Instagram app on my iPhone. If you are an Instragram-er, and want to follow the daily happenings of my foodie life, you can find me @onceuponarecipe. 

Love Tastes Good | Red Velvet Sandwiches

It’s that time of year again. The time where card, flower, chocolate, and lingerie shops make a killing off of the lovestruck population. Truth be told, Valentine’s Day doesn’t hold that much meaning in my life. Single or attached, I’ve never been blown away by what the love holiday has to offer. I mean, shouldn’t every day be Valentine’s Day? Shouldn’t we take every opportunity we can to show our love for the special people in our lives?

This year, I’m going to share my love via baked goods! Instead of supporting the traditional V-day market, I’m going to make homemade goodies for the special people in my life. What better way is there to share love  than through the belly? I came across this recipe on Bakerella and decided to give it a try, based on two things. 1. It looked easy. And 2. It looked delicious. I had no idea there was a mix for red velvet cake. And unfortunately, my local grocery store didn’t have it, so I decided to improvise with a chocolate cake mix and red food coloring. I was slightly concerned when my cookie dough became a sticky gum once everything was mixed together, but I decided to forge ahead. I’m sure glad that I did, because these babies are rather tasty. My cookies were a bit more dense than Bakerella’s cakey creations, likely due to the necessary changes that I made. So, if you decide to try this (and I definitely suggest that you do), try and find a red velvet cake mix. But if that task proves impossible, try my adaptation! Happy eating! And happy love day! <3

Red Velvet Sandwiches (adapted from Bakerella)

1 box red velvet cake mix (or 1 box chocolate cake mix plus 1 oz. red food coloring)

1/2 cup butter, softened

2 eggs

Preheat the oven to 350°F. Combine all of the ingredients in a large bowl and mix together. Spoon the dough onto prepared baking sheets. Bakerella suggests using a mini ice cream scoop – I just used 2 small spoons. Bake for 10-12 minutes. Cool on wire racks until completely cooled. Fill with the icing recipe below. Makes 24 cookies, and therefore, 12 sandwiches.

Cream Cheese Icing

8 oz. cream cheese

1/2 cup butter, softened

1 tsp. vanilla

1 box powdered sugar

Cream the cream cheese and butter together. Add the vanilla. Gradually add the powdered sugar until desired consistency is reached. Spread between two cookies and sandwich them together. Eat and enjoy!

*This makes a large quantity of icing. I doubled the cookie recipe and found that the amount of icing was just right. However, if you’re just making one batch of cookies, it might be wise to cut the icing recipe in half.

%d bloggers like this: