Coconut Chana Saag (Vegan, GF)

Coconut Chana Saag | Once Upon a Recipe

Hello friends!

How is 2014 treating you so far? Made any resolutions yet? Come up with any goals for the new year? Or maybe you’re easing into January by slowly decreasing your chocolate/cookie/wine intake in preparation for new healthy habits.

Coconut Chana Saag | Once Upon a Recipe

Personally, I’m easing into 2014 gently. There are still cookies and salted caramel bark in my freezer that need to be eaten, yo! And champagne in my fridge that needs drankin’. However, despite the way I present myself and my eating habits on this blog (cookies and cakes and sweet things galore), I actually eat fairly healthy on the regular.

One of my goals for 2014 is to give you, my dear readers, a more accurate representation of the way I typically eat. Generally speaking, I try to focus on the 80/20 rule – 80 percent of the time I try to eat healthy and wholesome – veggies, fruits, lean proteins, and whole grains, and 20 percent of the time I allow myself to indulge. Some days, the scale tips more in favor of indulging, and other days, it tips more in favor of eating healthy. It’s all about balance, friends.

Coconut Chana Saag | Once Upon a Recipe

Coconut Chana Saag | Once Upon a Recipe    Coconut Chana Saag | Once Upon a Recipe

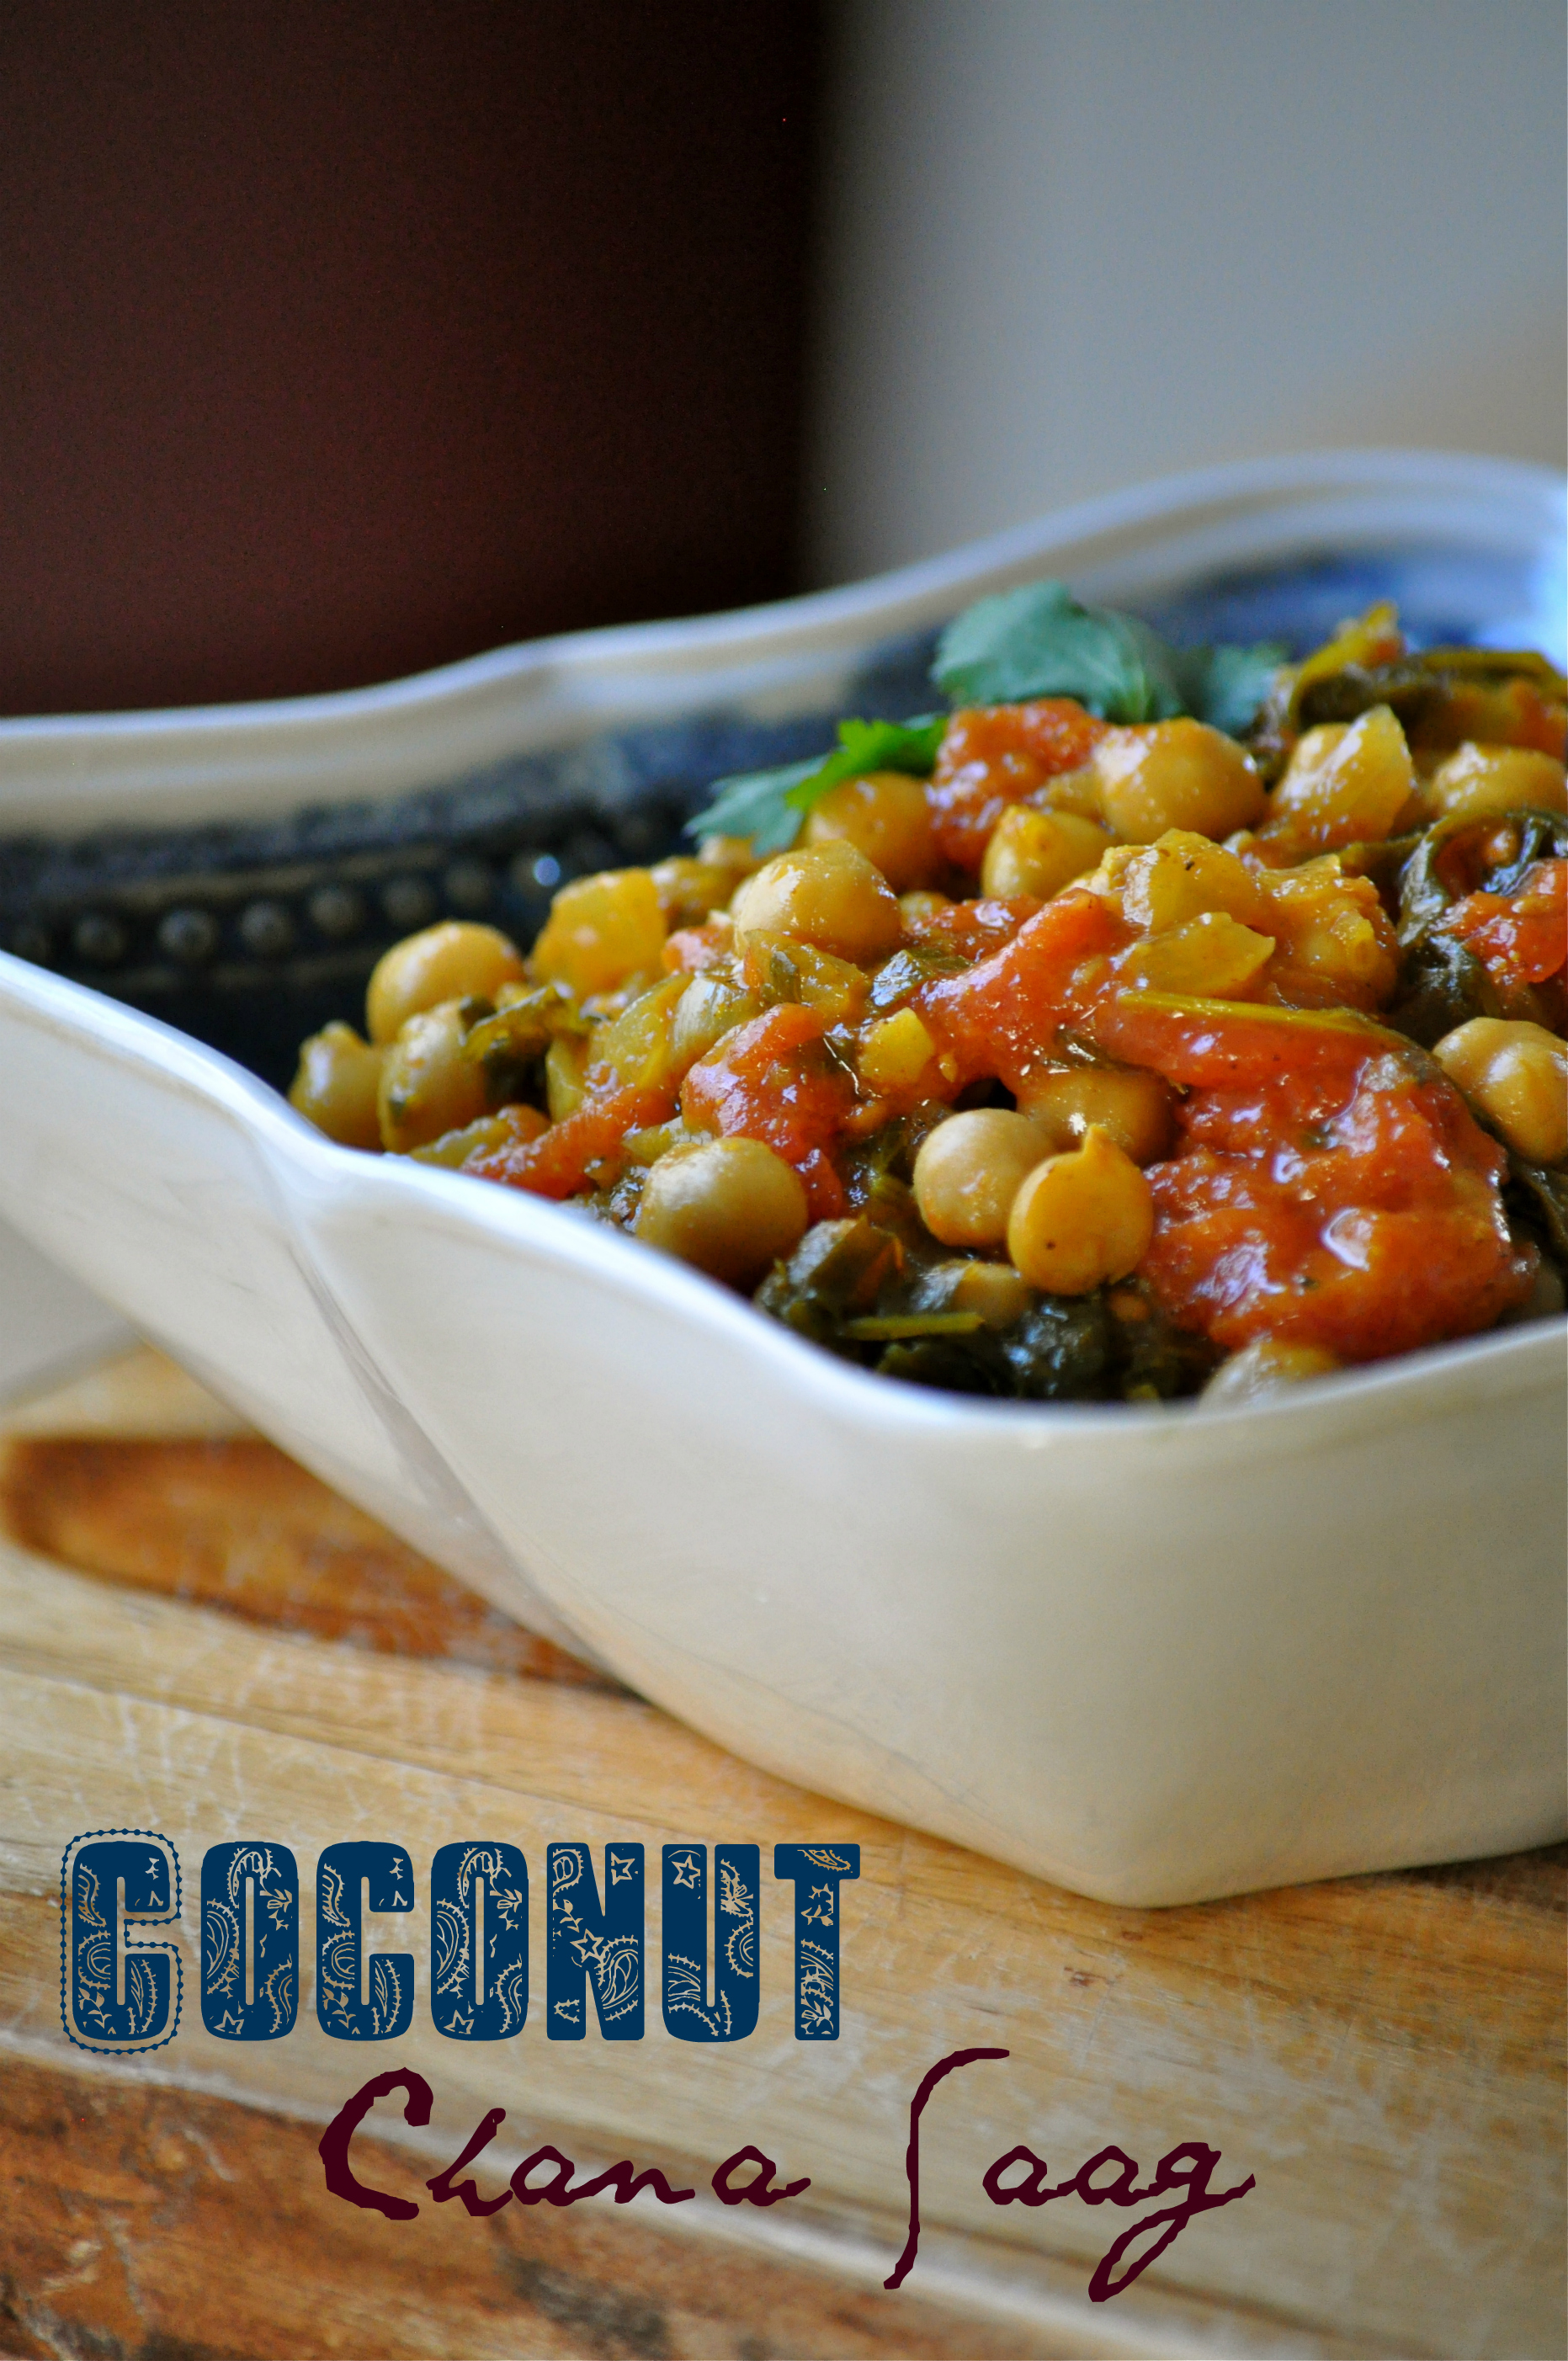
This recipe for Coconut Chana Saag is wonderfully reflective of the way I tent to eat. Simple ingredients, easy preparation, and lots of flavor. I was gifted a new cookbook for Christmas – Isa Does it by Isa Chandra Moskowitz. Isa Does It is full of easy and delicious vegan recipes, and I have already bookmarked about 20 recipes to try. If any of them are half as delicious as this Coconut Chana Saag, I have a very tasty 2014 ahead. And so do you!

Coconut Chana Saag | Once Upon a Recipe

Coconut Chana Saag (slightly adapted from Isa Does It by Isa Chandra Moskowitz)

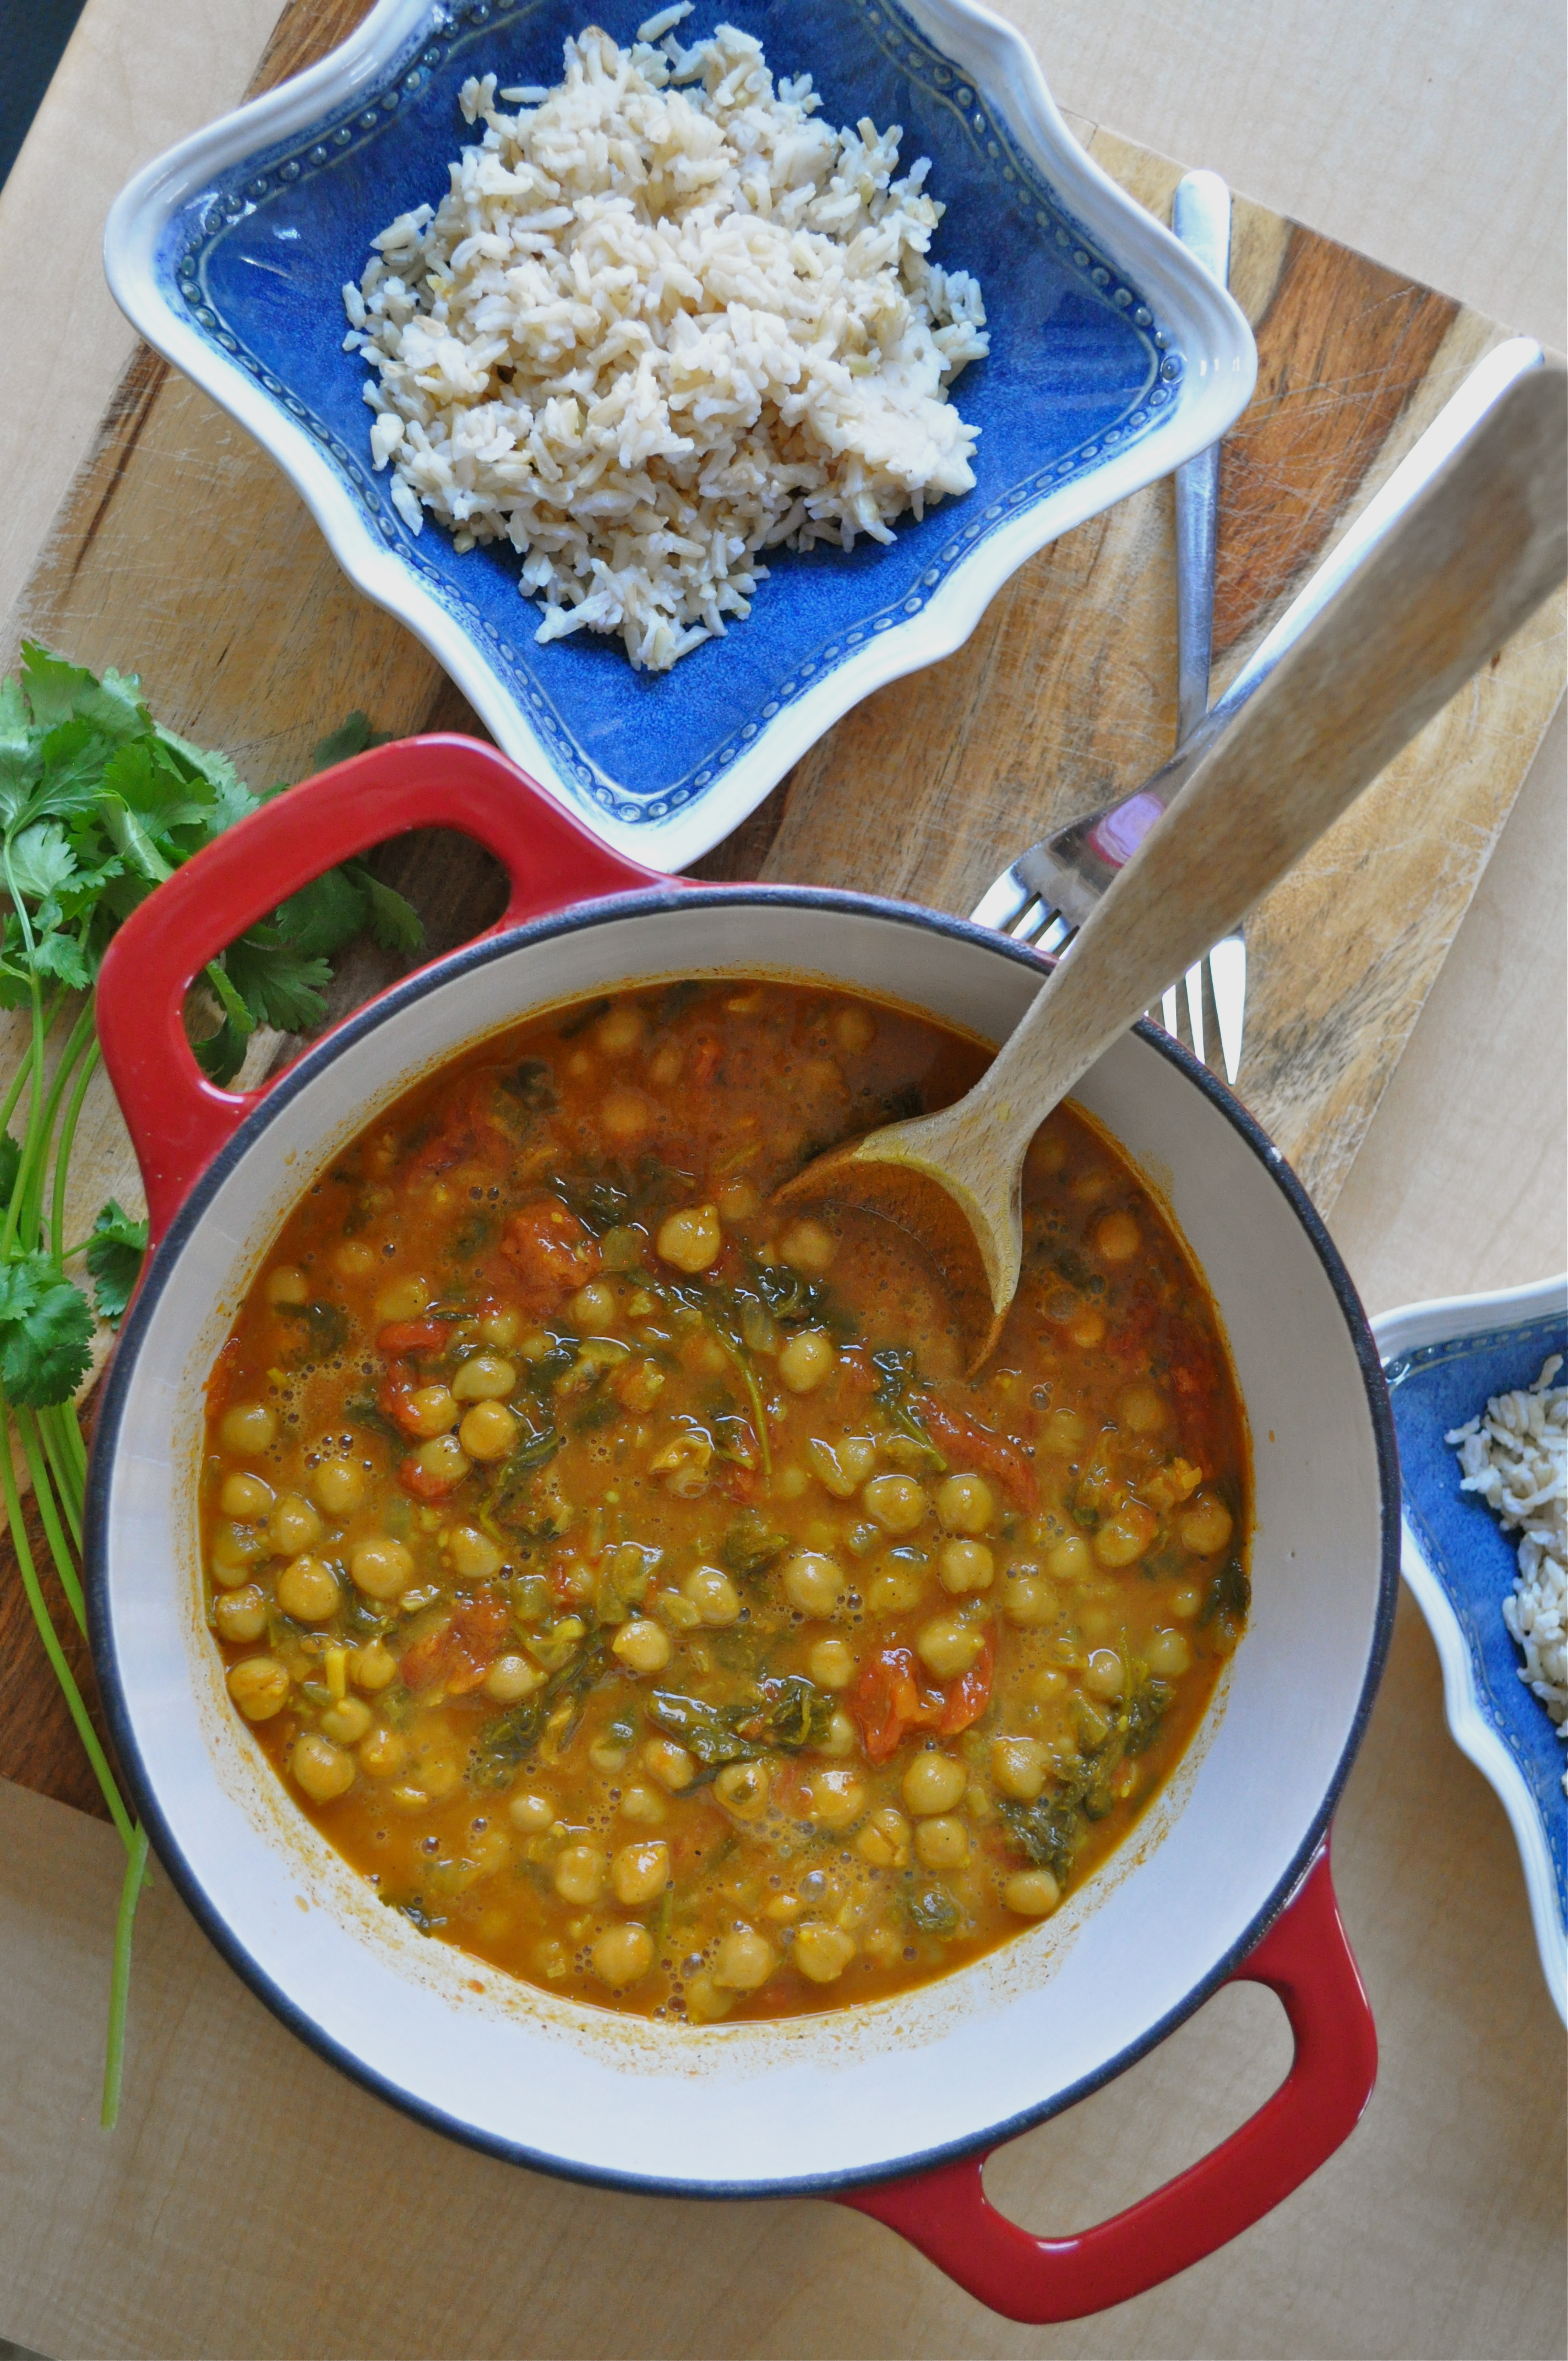
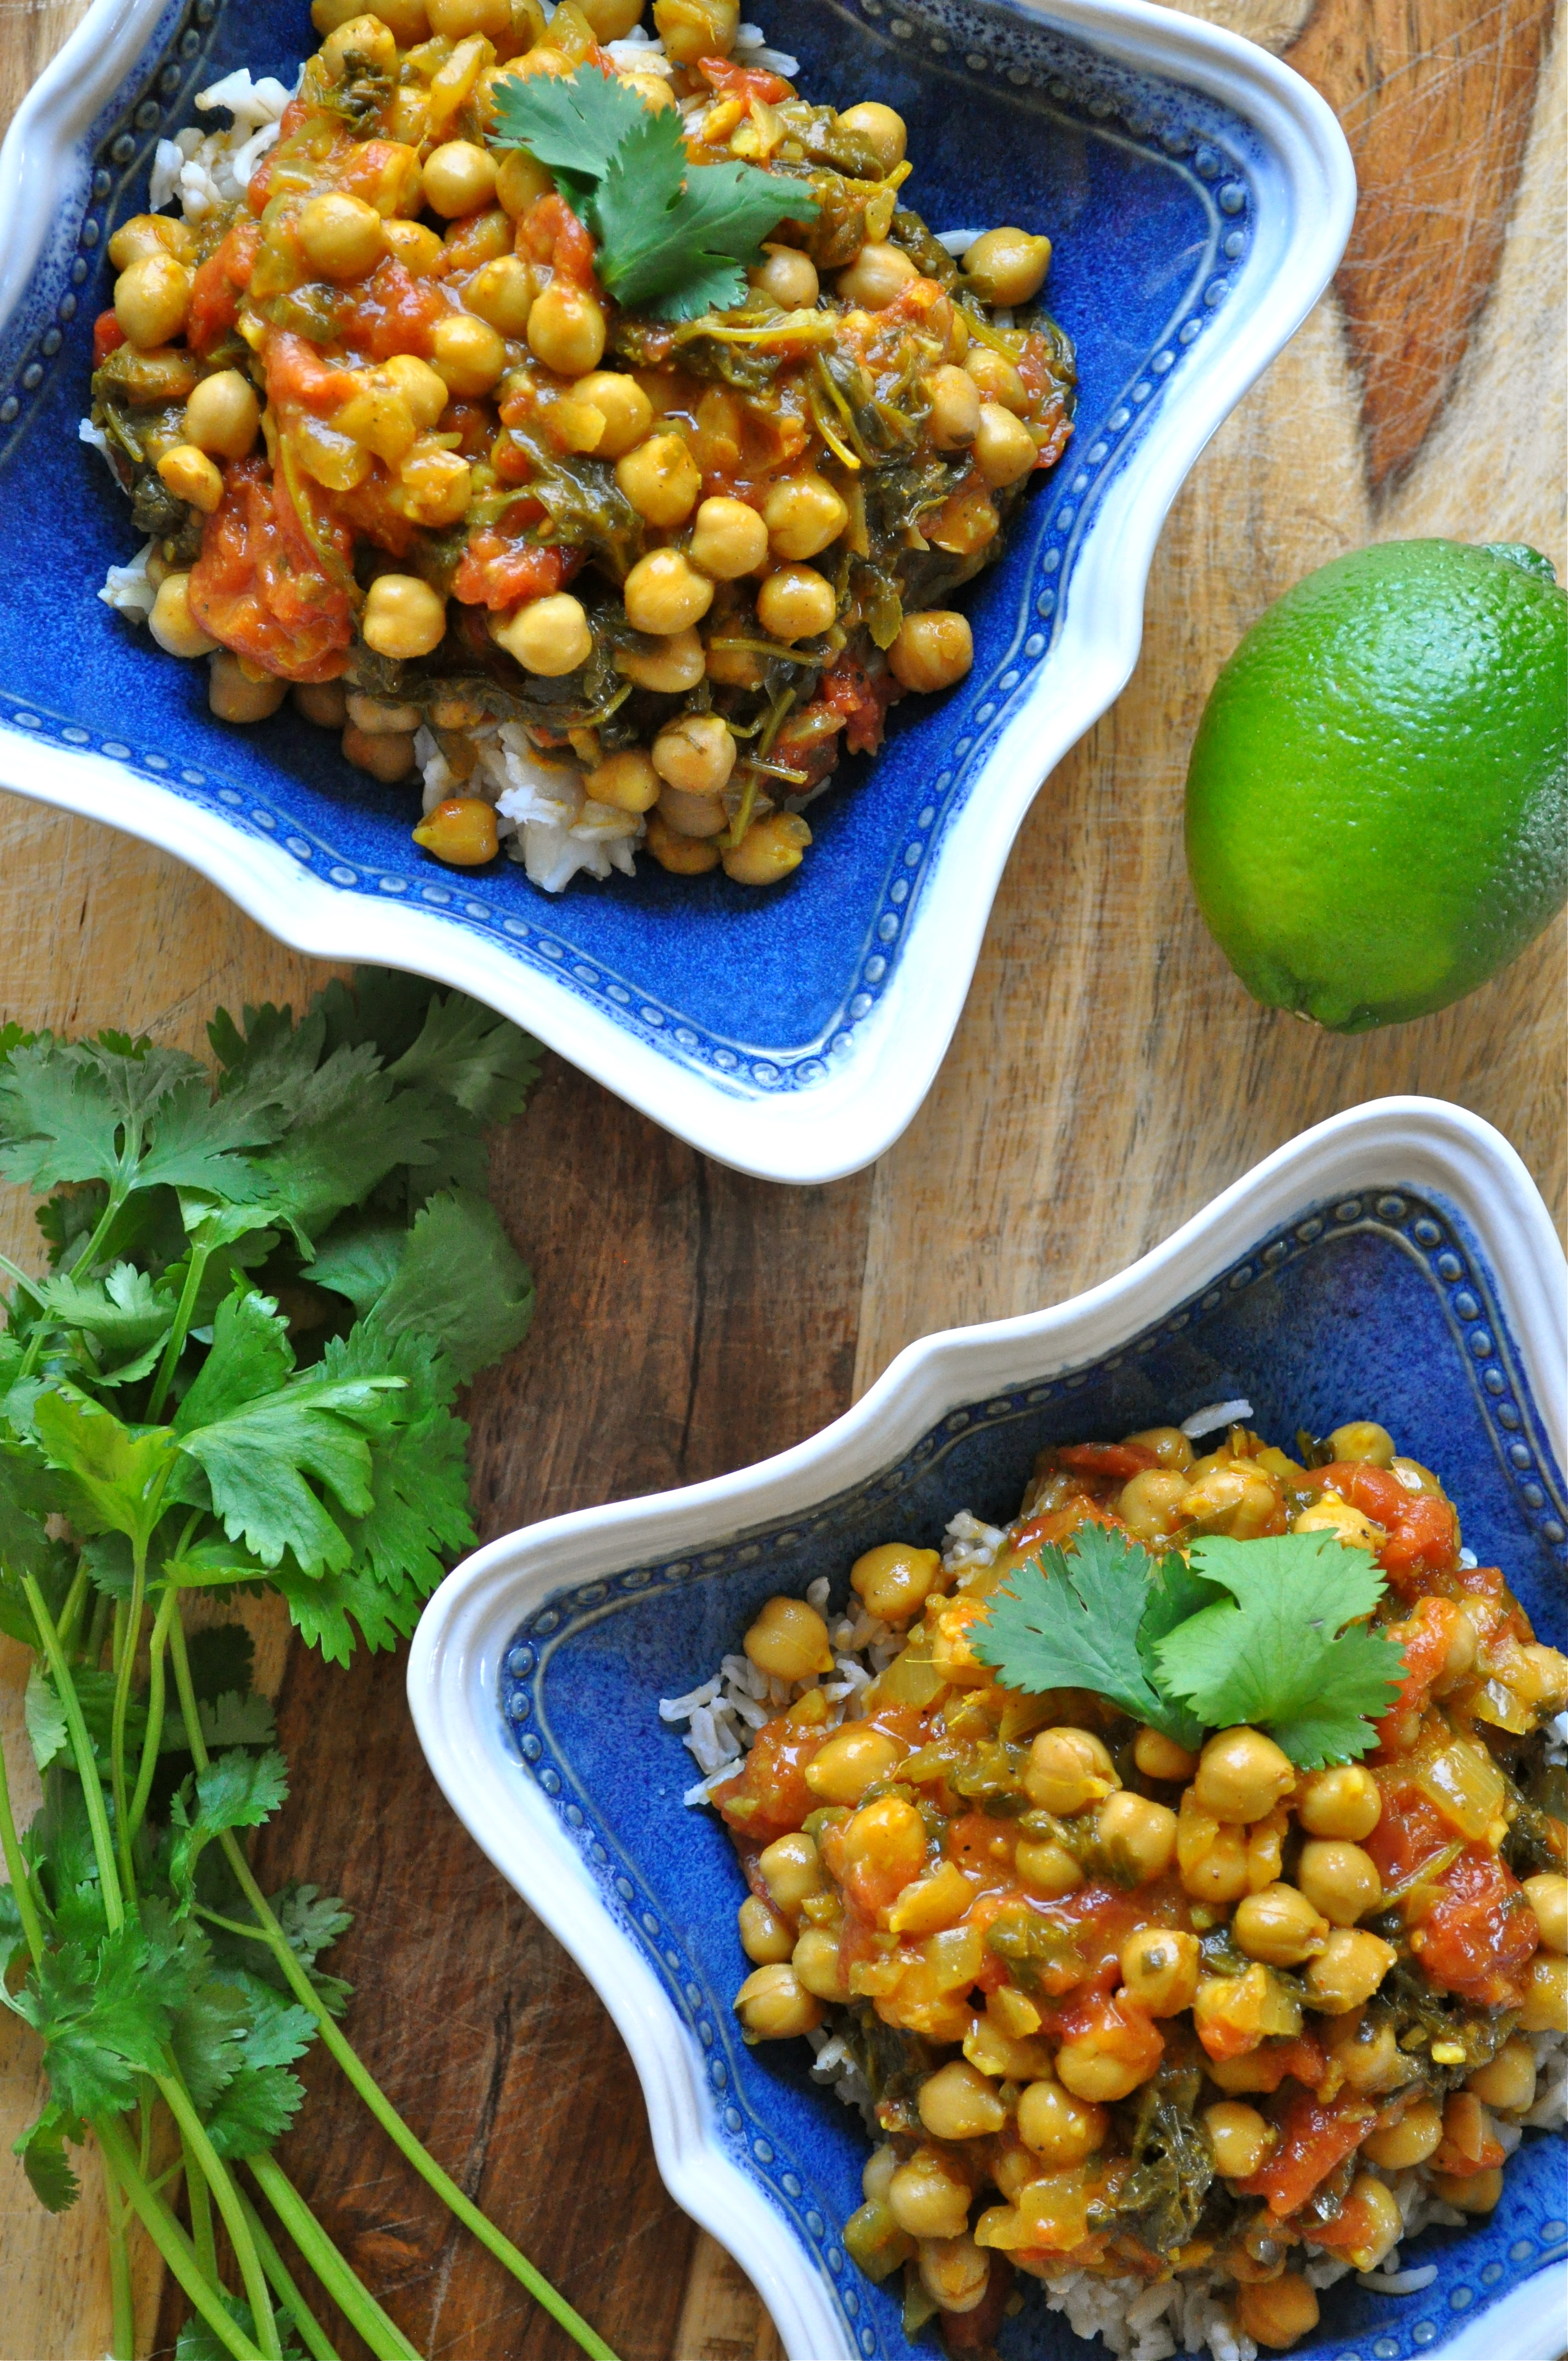
This Coconut Chana Saag comes together quickly and easily. I served it over brown basmati rice, but you could also use quinoa, jasmine rice, or your favorite grain. Store leftovers in a sealed container and refrigerate, then enjoy throughout the week! Serves 6.

2 TBSP. coconut oil

1 medium onion, diced

4 cloves garlic, minced

A knob of fresh ginger, minced (about 2 TBSP.)

2 TBSP. curry powder (I used Moghul curry powder)

1 tsp. salt

Freshly ground pepper, to taste

1/2 tsp. crushed fennel seeds

1/4 tsp. garam masala

1/2 tsp. ground cumin

A pinch of cayenne pepper

1 24-ounce can whole tomatoes

2 15-ounce cans of chickpeas, drained and rinsed

8 ounces of baby kale

1 14-ounce can of lite coconut milk

1/4 cup fresh cilantro, chopped (plus more for serving)

Juice of 1 lime

Cooked brown basmati rice (for serving)

Heat the coconut oil in a large pot over medium-high heat. Add the onion and saute for about 7 minutes, until lightly browned. Add the garlic and ginger, and saute until fragrant (about 30 seconds). Add the curry powder, salt, pepper, fennel seeds, garam masala, cumin, and cayenne and mix well. Allow the spices to roast for about a minute.

Add the tomato juice from the can, and scrape the bottom of the pan to deglaze. Add the tomatoes from the can, squishing them with your fingers or mashing with a wooden spoon. Add the chickpeas and mix well. Cover the pot and increase the heat to medium-high. Let simmer for about 10 minutes, stirring occasionally. Add the kale and stir until wilted, and then simmer for about 5 minutes more.

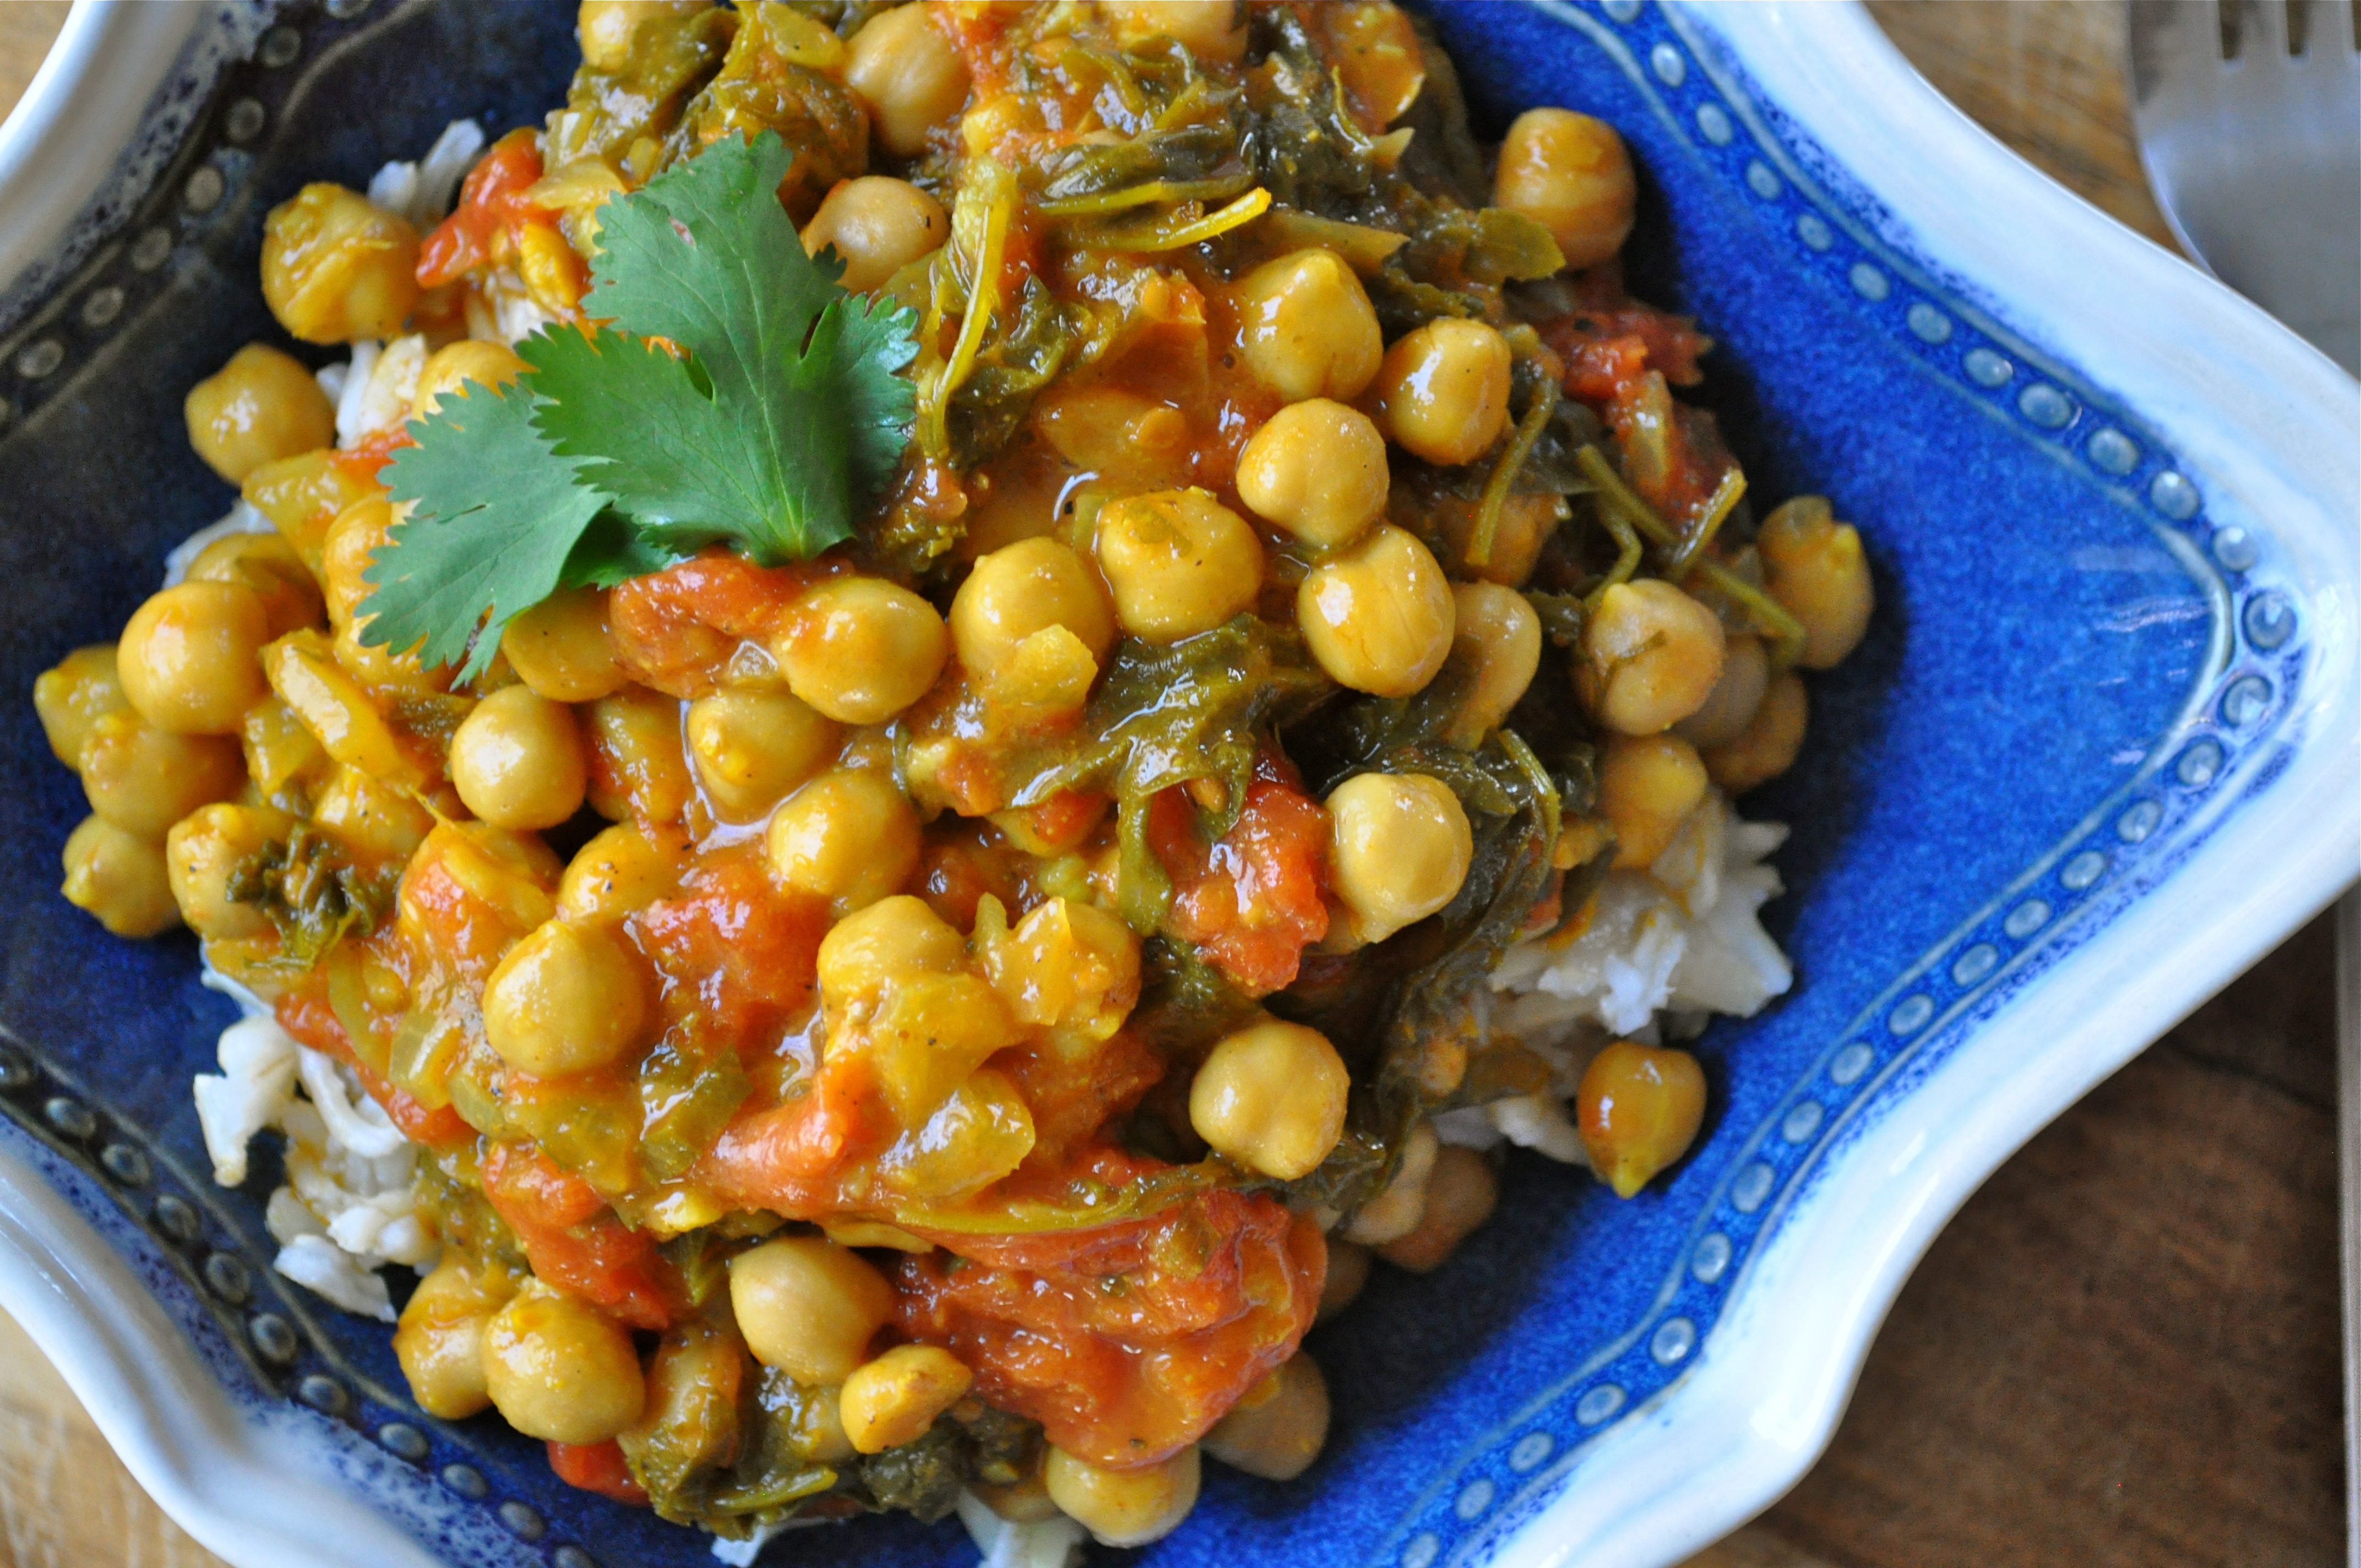
Add the coconut milk, cilantro, and lime juice and heat through. Taste for seasoning. Allow to sit for 10-20 minutes (if possible), so that the flavors can mingle. It tastes even better the next day. Serve over brown basmati rice and add more fresh cilantro, if desired.

Have a great week! 🙂

The Deadly Sins of Grocery Shopping | Warm Goat Cheese Salad with Sweet Onion Vinaigrette

Can I tell you something that I’m really bad at? And by bad I mean that I don’t do it “right”.

Grocery shopping.

It seems a bit ironic, considering how much time I spend in the kitchen. One would think I would be very organized. But the truth is, I fly by the seat of my pants when it comes to grocery shopping.

In fact, I tend to frequently commit several of the “deadly sins” of grocery shopping. [Dun dun duuunnn!] There, I said it. My name is Amanda and I stink at grocery shopping.

Now, don’t get me wrong. The good intentions are there. I start with a list, the first rule of smart grocery shopping. Nevermind the fact that I am usually scrawling my list down on a scrap of paper at my desk at work before leaving for the day. With little memory of what might already be lurking within my fridge and cupboards. “I think there’s sour cream somewhere in there…oh, whatever, I’ll grab some just in case.” (Which ultimately leads to the discovery of three containers of moldy sour cream taking up precious real estate in my fridge a month later). And nevermind that fact that I rarely have an actual meal plan at this point, other than the meal ideas floating around in my head. But I have a list.

Unfortunately, it all goes a bit downhill from there. First of all, I rarely go grocery shopping when I’m not hungry. In fact, I’m typically starving as I stalk the aisles for satisfying solutions. (This mad hunger typically results in me tearing open a box of cereal in the car and shoving handfuls of it in my mouth as I make the 5-minute drive home). But hungry grocery shopping can be so fun! The sense of adventure! The magnified desire to try totally unnecessary, typically expensive new things!

Secondly, coupons? What now? I know that I could supposedly cut my grocery bill in half by poring over the flyers that show up on my doorstep each week. But honestly, I don’t have the patience for it. Those flyers go straight from my mailbox into the recycle bin. I show them no mercy.

Thirdly, I spend way too much time in there. I saunter through the aisles, checking things out, and give myself way too much time to find completely unnecessary things. Completely. Unnecessary. Me and impulse buys are likethis. Which leads me to commit yet another sin: not sticking to my list.

Did I mention that sometimes I look up recipes while I’m strolling the aisles? Damn you iPhone, why do you make it so easy?!

Clearly, I’m far from perfect. But I totally pulled my act together last week when I came across this salad recipe in a cookbook lent to me by a coworker called Whitewater Cooks at Home. I am a big lover of goat cheese, so the thought of creamy goat cheese coated in bread crumbs and then fried until golden brown caught my attention, and everything else was just gravy. So I made myself a list, I went to the grocery store, and I came out only with what I needed. Success!

And then I went home and I made this salad. I ate nearly the entire thing because while I had planned well for the salad, I had not made any plans for what would accompany it. Small steps, right? Dinner was followed by watching Harry Potter and eating these cookies. Does that sound like a perfect evening or what?

Warm Goat Cheese Salad with Sweet Onion Vinaigrette (adapted from Whitewater Cooks at Home)

This salad does not have quite enough heft to be eaten as a meal, but makes for a wonderful side dish or starter salad. Or feel free to give it some oomph by adding a grilled chicken breast or another form of protein. 

For the salad:

8 cups of mixed greens

2/3 cup Panko breadcrumbs

1 1/2 tsp. dried basil

1/2 tsp. salt

1/2 tsp. freshly cracked black pepper

1 egg mixed with 1 TBSP. water

6 oz. soft goat cheese

1/2 cup dried cherries

1/4 cup pinenuts, toasted

For the dressing: 

2 TBSP. olive oil

1/2 cup sweet white onion, diced finely

1/4 cup white wine vinegar

2 TBSP. maple syrup

1/3 cup olive oil

Salt and pepper, to taste

1/4 cup vegetable oil, for frying

Mix together the breadcrumbs, dried basil, salt, and pepper in a small bowl. Put the egg mixture into another small bowl. Roll the goat cheese into small balls (about 1 TBSP. each), for a total of 12 balls of cheese. Dip the cheese balls into the egg mixture, then into the breadcrumb mixture, pressing the breadcrumbs into the cheese to coat it. Cover and refrigerate for at least one hour (longer if possible).

Prepare the dressing by heating the 2 TBSP. of olive oil and sautéing the onion until softened and golden brown. Add in the white wine vinegar and maple syrup and reduce for a couple of minutes. Remove from the heat and whisk in the 1/3 cup olive oil. Season to taste with salt and pepper. Set aside.

Heat the vegetable oil in a frying pan over medium-high heat. It’s important to get the oil hot here, so that you can quickly brown each cheese ball on all sides without melting the cheese! Go for it – you can do it! When done frying, place the balls on a plate lined with a paper towel while you assemble the rest of the salad.

To assemble the salad, toss the greens with the dressing (you may not need all of the dressing) and divide the greens between 4 plates. Place 3 balls of cheese on each plate and sprinkle with the dried cherries and pine nuts. Serve immediately.

PS. It is totally important to eat salads the week before you run a half marathon. At least, I’m pretty sure it is. I’m off to the mountains on Saturday to run mine (eek!) so I’ll let you know the final verdict next week! xoxo

PPS. Are you a “good” grocery shopper? Tell me your secrets!

Enough Said | Black Bean Chili and Cheddar Cornbread

There really is no explanation needed for the meal pictured above.

It’s Winter. It’s cold out, it gets dark much too early, and most often, leads to cravings for warm, hearty soups and stews. Now, I know that there are a kazillion chili recipes out there, and this might not look like anything special. But it was definitely the best pot of chili I’ve ever made, and so I thought I’d share what went into it. And the cornbread? Chili’s most reliable wingman.

About a year ago, I started adding cocoa into my chili after reading a recipe by Deb from Smitten Kitchen. It might sound strange at first, but the cocoa adds a beautiful richness to the chili. I haven’t made a batch without it since. Don’t be afraid – give it a shot! I promise the chili won’t taste like a chocolate bar. Even though that would be pretty awesome.

Can you believe that I used to hate cornbread?! I claimed that it was disgusting and dry…and then came to the realization that the last time I ate cornbread was at a rather questionable establishment, and that perhaps I should try making my own. Guided by reliable sources, such as Ree and Jenna, I realized that it ain’t so bad. In fact, it’s really good! Now me and cornbread are likethis. This particular cornbread recipe gets a little extra somethin’ from the addition of some sharp cheddar cheese. Served warm with butter and a drizzle of honey. Total magic. For realsies.

Friends, if you’re looking for a comforting meal this winter, give this dynamic duo a try. Maybe this weekend? I hear there’s a big football game on…or something like that…and chili is wicked sports party food! Alongside a pint (or four) of beer, you just can’t go wrong.

Black Bean Chili

2 TBSP. olive oil

1 onion, chopped

4 garlic cloves, crushed

1 medium zucchini, cut into small chunks

2 carrots, chopped small

1 cup mushrooms, sliced

4 TBSP. chili powder

2 TBSP. cumin

1 tsp. smoked paprika

2 TBSP. cocoa

Pinch of cayenne pepper (optional)

1 tsp. salt

Pepper to taste

1 large can diced tomatoes

2 cans black beans, drained and rinsed

1 can brown beans in tomato sauce

2 TBSP. tomato paste

In a large pot over medium-high heat, heat the olive oil and add the onions, cooking for a few minutes, until soft. Add in the garlic, zucchini, carrots, mushrooms and cook for a few minutes longer. Add in the spices, cooking for a minute more. Add the tomatoes, beans, and tomato paste and stir well to combine. Allow everything to simmer for at least 30 minutes (longer if possible), stirring occasionally. This is the perfect time to prepare the cornbread!

PS. I added the zucchini, carrots and mushrooms for extra bulk and nutrition, but feel free to substitute for whatever tickles your fancy.

Cheddar Cornbread  (adapted ever-so-slightly from Eat Live Run)

1 cup yellow cornmeal

1 cup all-purpose flour

2 tsp. baking powder

1 tsp. baking soda

1 tsp. salt

1/4 cup sugar

1 (heaping) cup grated sharp cheddar cheese

2 eggs

1 cup buttermilk*

1/4 cup butter, melted

Preheat your oven to 400°F. Whisk together the cornmeal, flour, cheese, baking powder, baking soda, salt and sugar. Add the buttermilk, eggs and melted butter and mix well to combine. Pour the batter into a greased 9-inch baking dish and bake for 30 minutes, or until golden brown. Serve immediately with butter and honey (and chili)!

*If you don’t have buttermilk, combine 1 cup of milk with 1 TBSP. white vinegar and allow to sit for a few minutes before adding to the rest of the ingredients. Instant buttermilk!

%d bloggers like this: