Weekend Favorites

Weekend Favorites

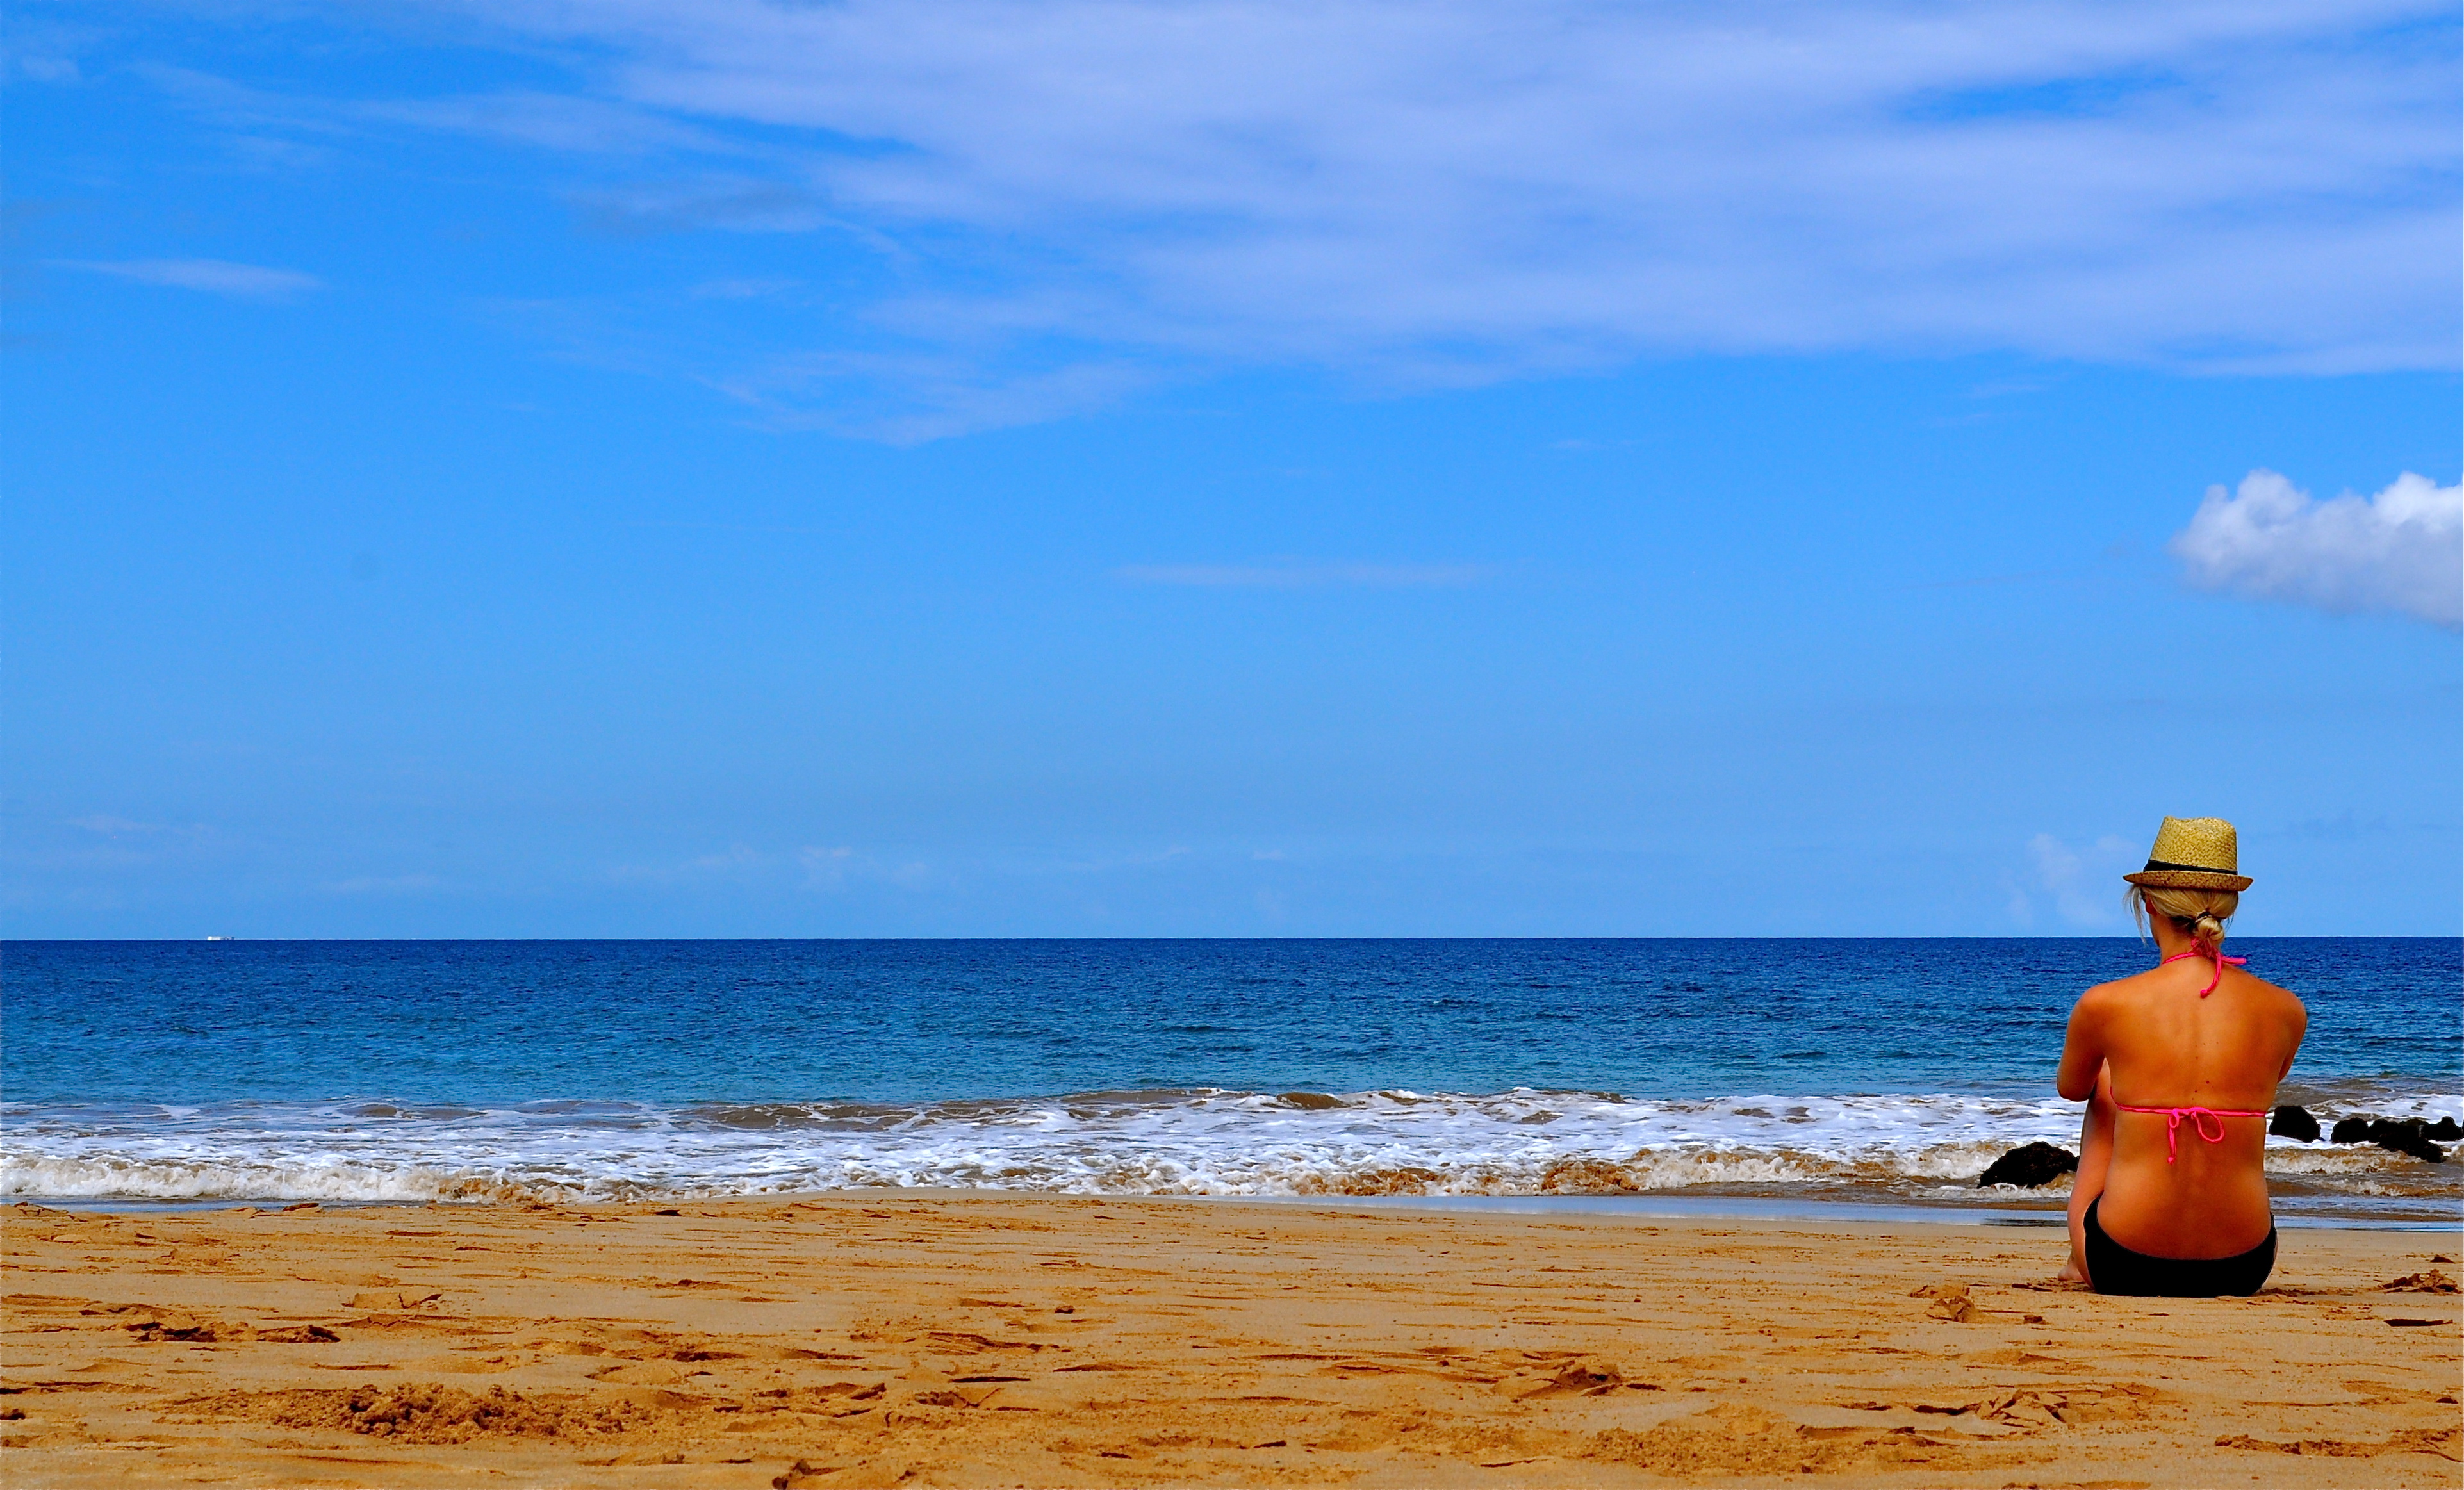
Friends, I’m home! Back from Hawaii, the land of sand, sun, and beautiful things. The last two weeks were filled with rest and relaxation, lots of good food, and a drink or ten (per day, of course). I came home with a happy heart, a rested mind, and many many freckles (oh, and amazing coffee and macadamia nuts, too!). If you’ve never been to Hawaii, I highly recommend that you get your arse there as soon as humanely possible. I spent my time in Maui and it was absolutely fantastic. The condo we stayed at was a hop, skip, and a jump from the beach, plus we had access to a beautiful pool. We rented a car, but were able to walk quite a bit too. And the weather? Amaze balls. I can’t wait to go back!

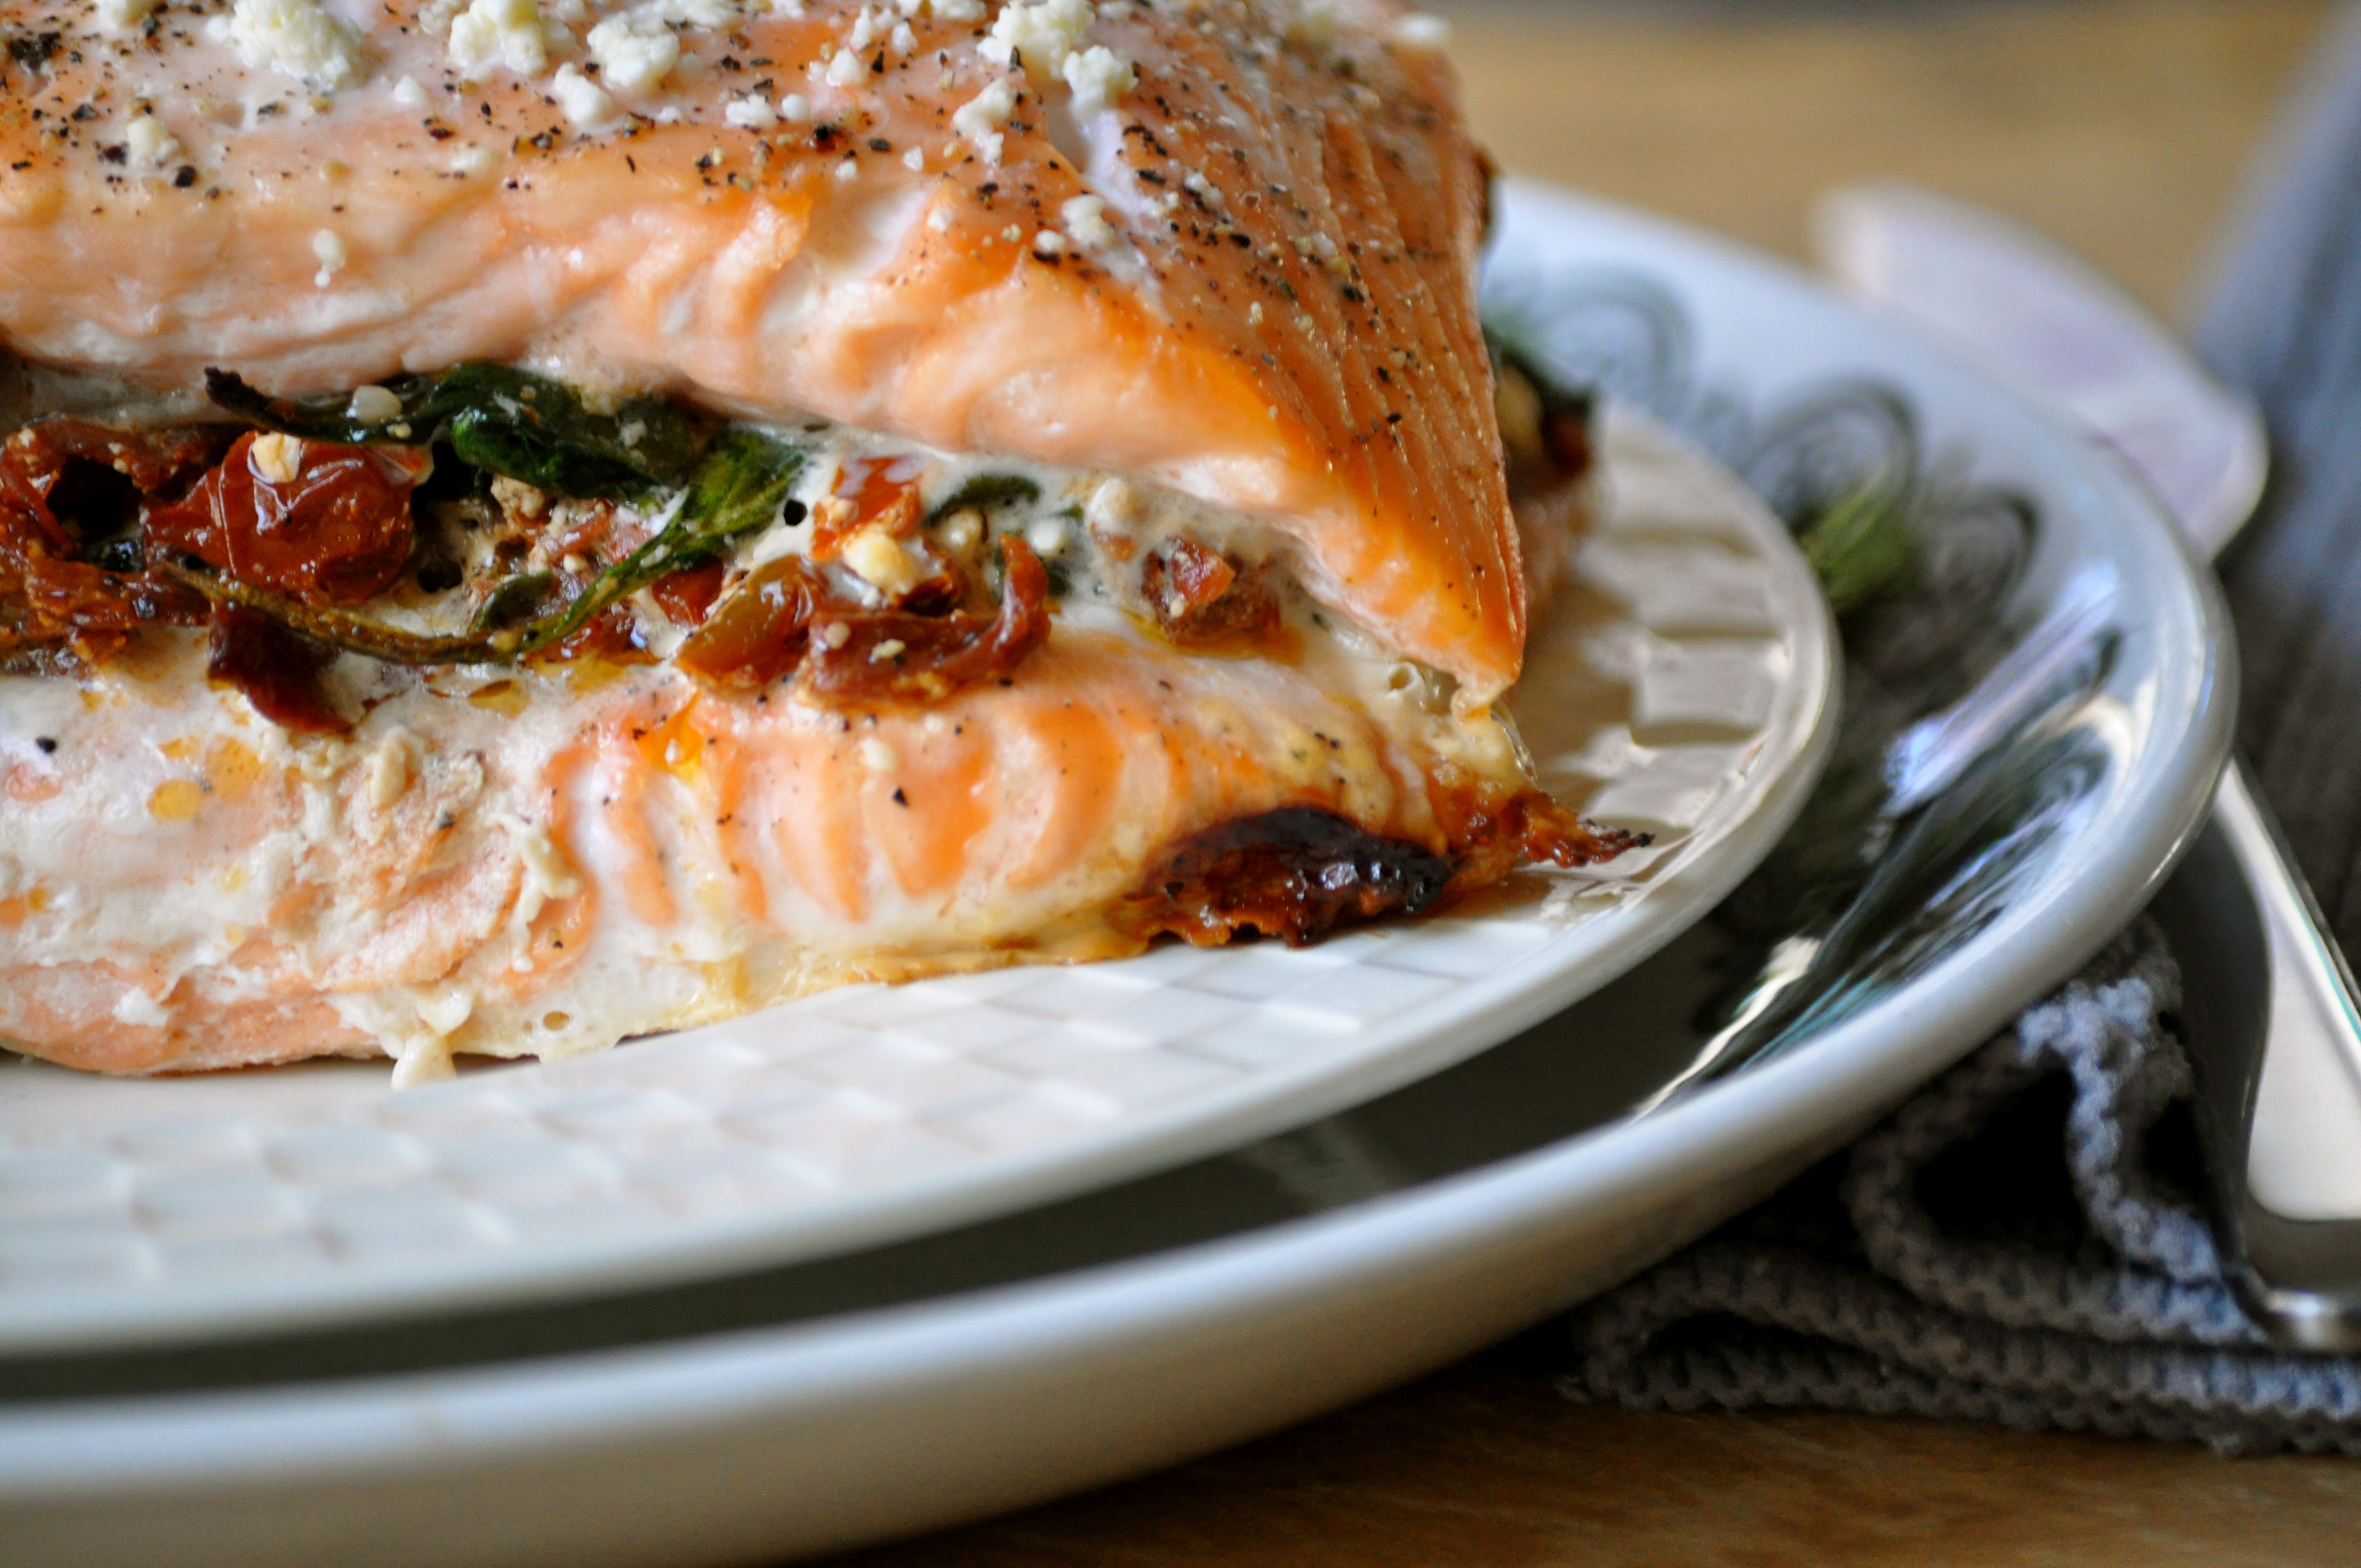
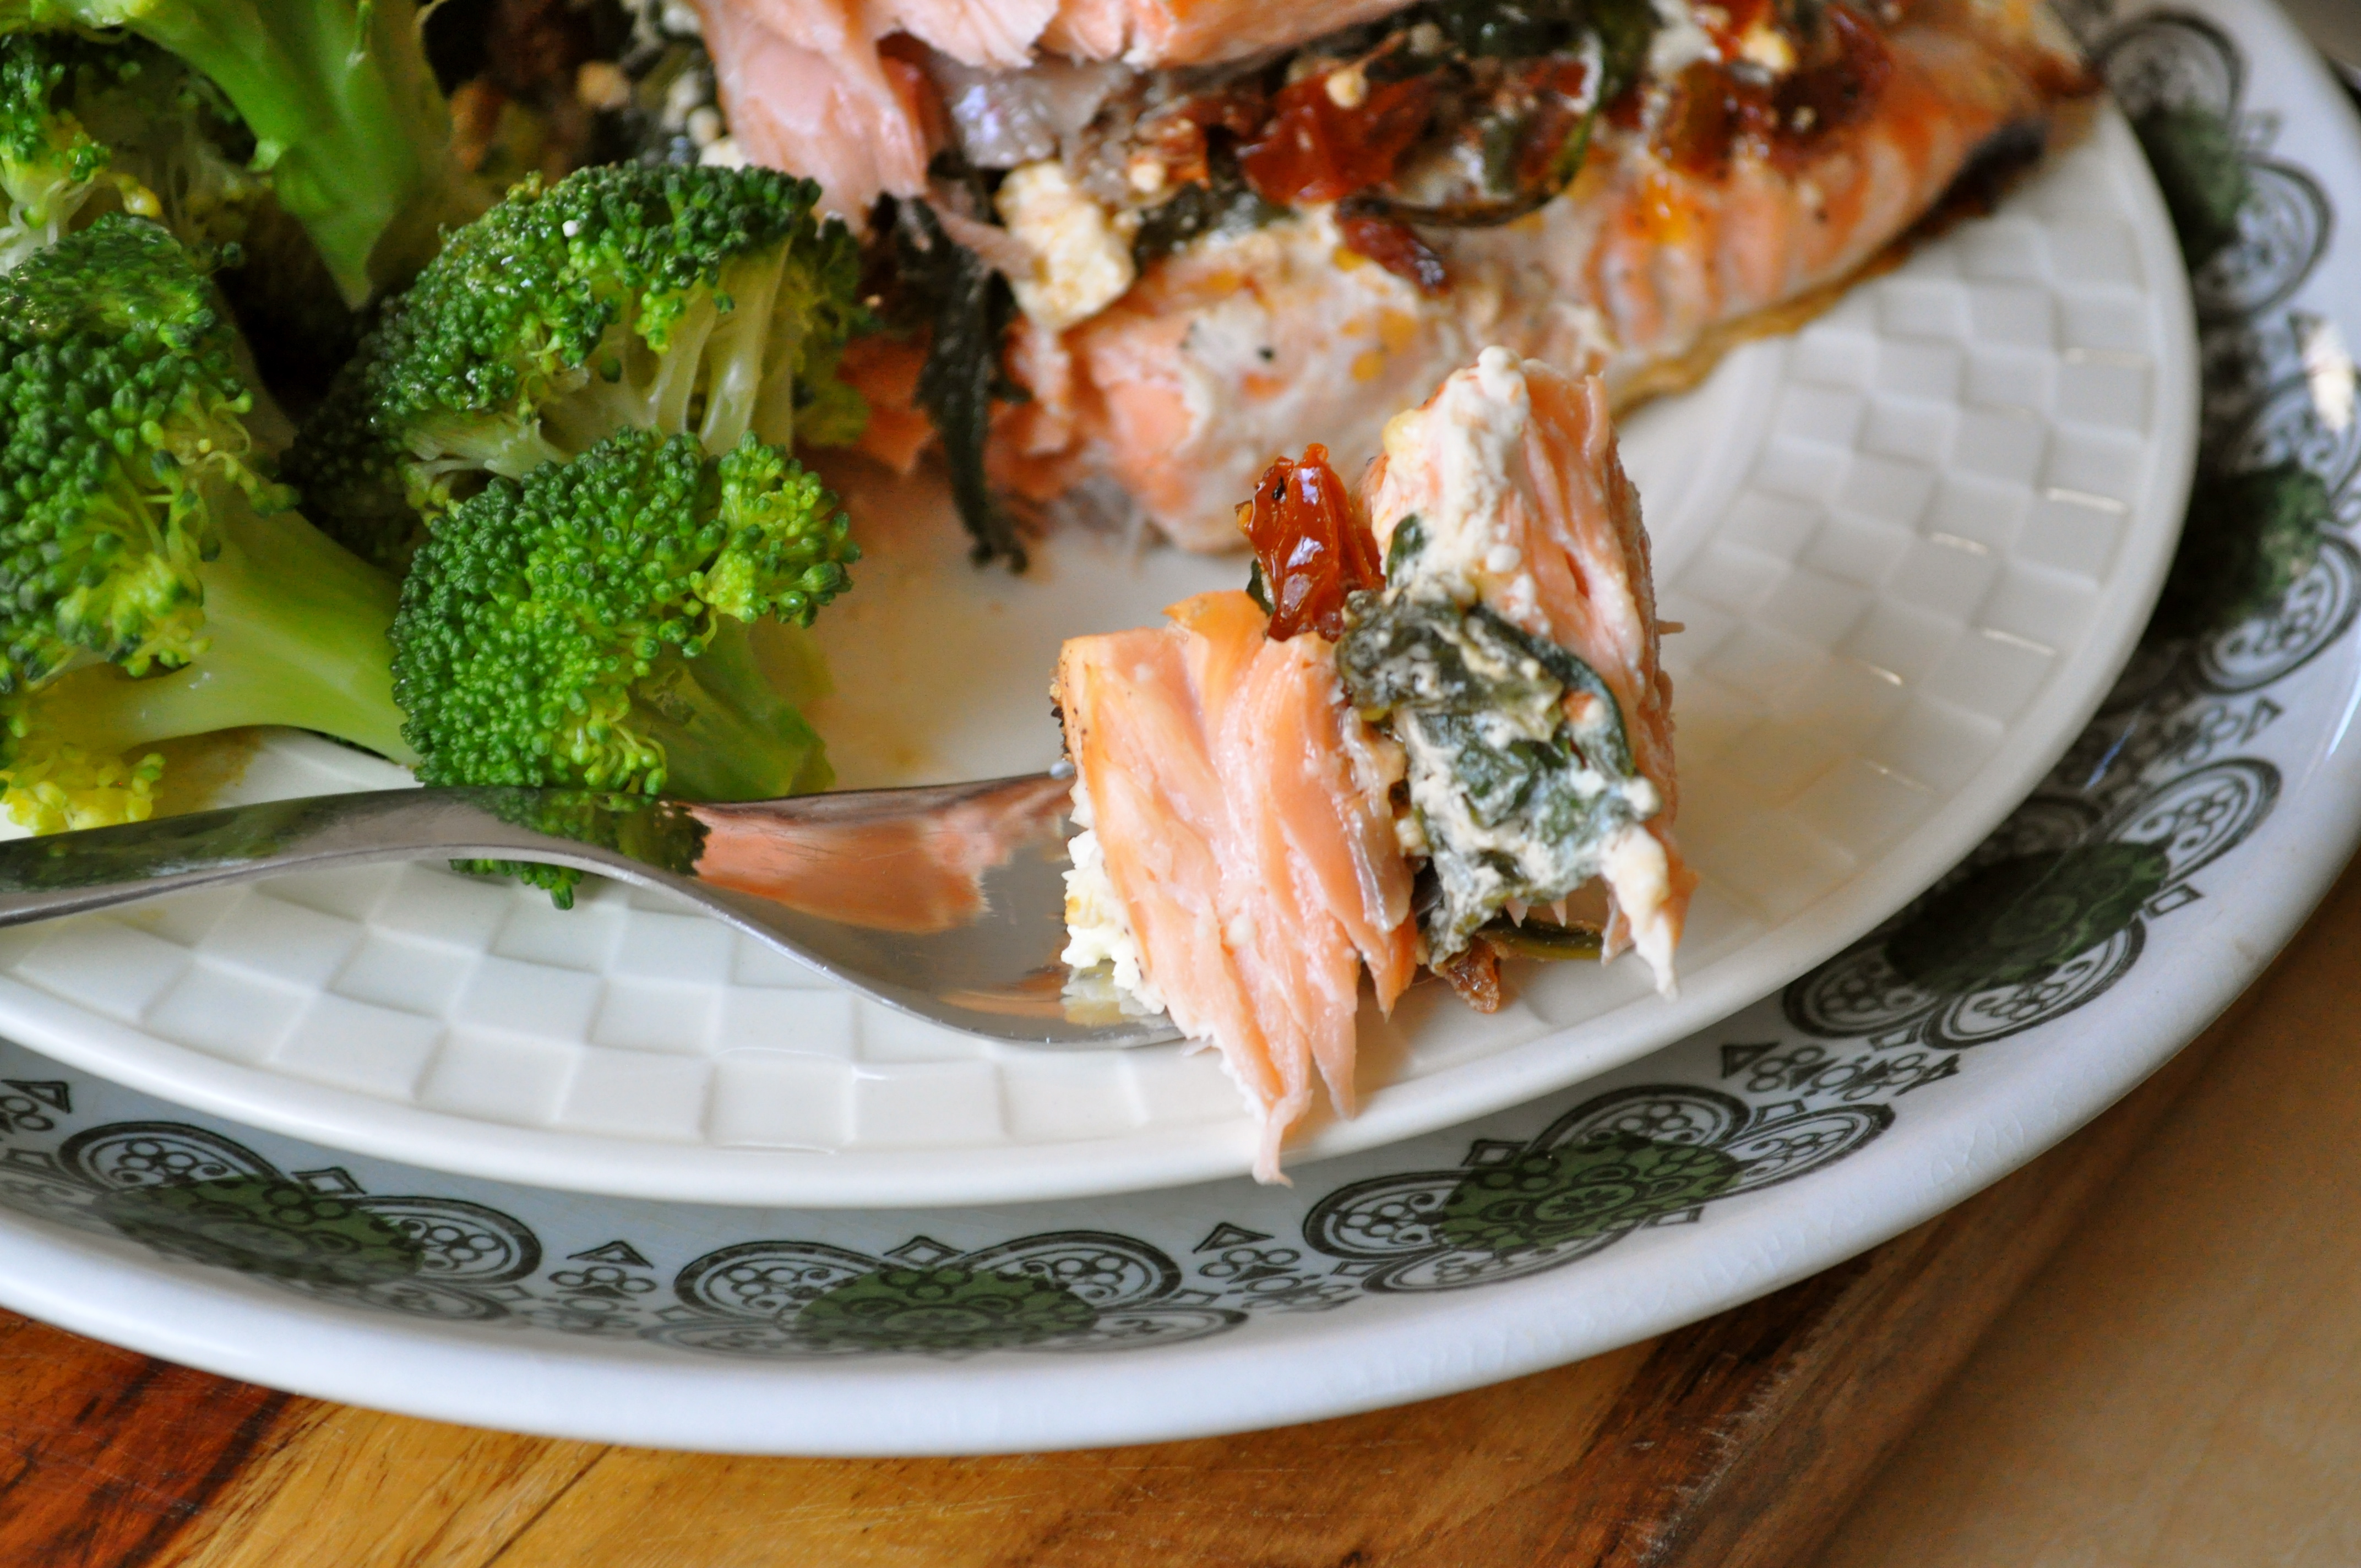
I am getting back in the kitchen this week to bring you some new recipes, including an attempt at recreating one of the most incredible desserts that I enjoyed while on vacation. In the meantime, here is another edition of weekend favorites!

  • My trip to Maui led me to develop a serious infatuation with fish tacos. Like, mega. If you’re ever in Maui, be sure to visit Fred’s Mexican Café and Coconuts Fish Café, both located on South Kihei Road. If you happen to have a bombshell recipe for fish tacos, please send it my way and I will love you forever!
  • Can openers hate me. Seriously. Rarely am I able to cut around the circumference of a can on the first try. And sometimes not even on the second or third. It’s annoying. Perhaps I should try this method. It just might be faster for me.
  • Aloneness is not loneliness. At least, not always. Being a single gal myself, I like this. I like it a lot. Being single has its perks!
  • This recipe makes me excited for rhubarb season.
  • 10 Second Rant Alert. What is the deal with hash tags? I mean, I know what they’re for. I even use one or two from time to time. But there seems to be an epidemic of hash tag overload. I understand posting a picture of a sunset and using the hash tag sunset or beautiful. But what the heck does friends or ice cream or monkeys or shoes have to do with a sunset?! Seriously peeps, tone it down a notch.
  • I went snorkeling while on vacation. We visited a place called Turtle Town. We saw a sea turtle. Which led to approximately 137 reenactments of this video. It just never got old.
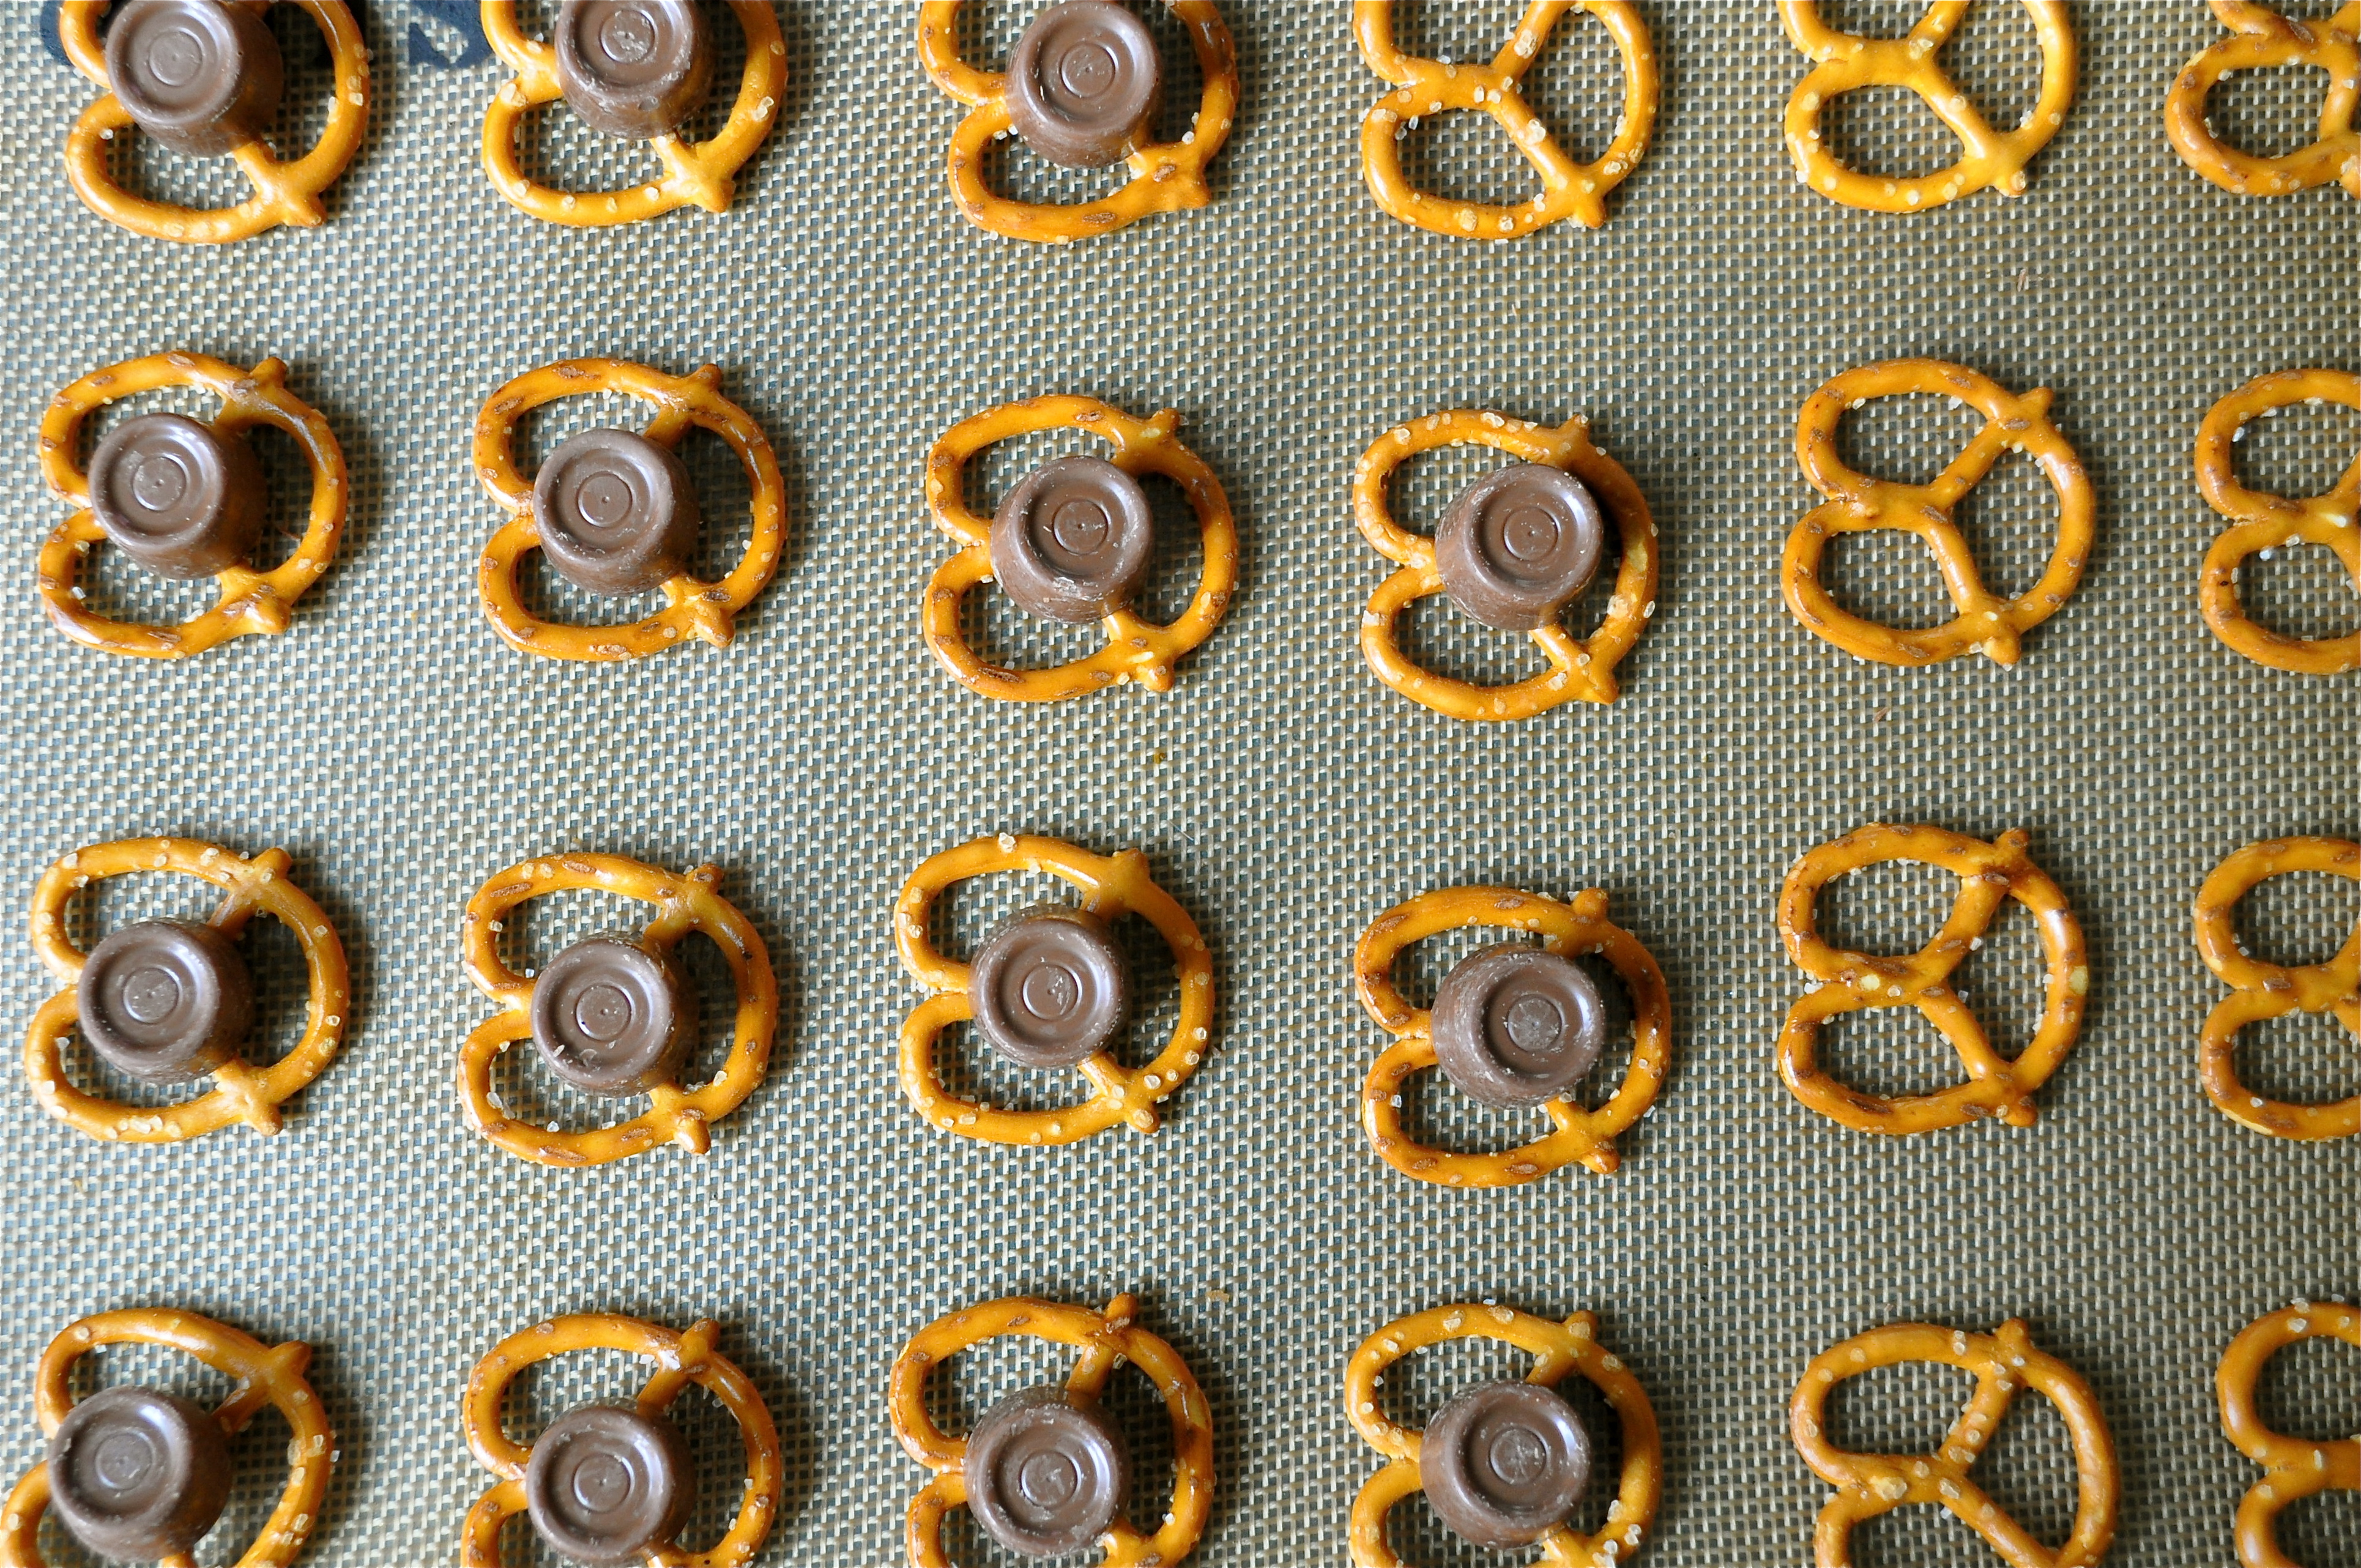
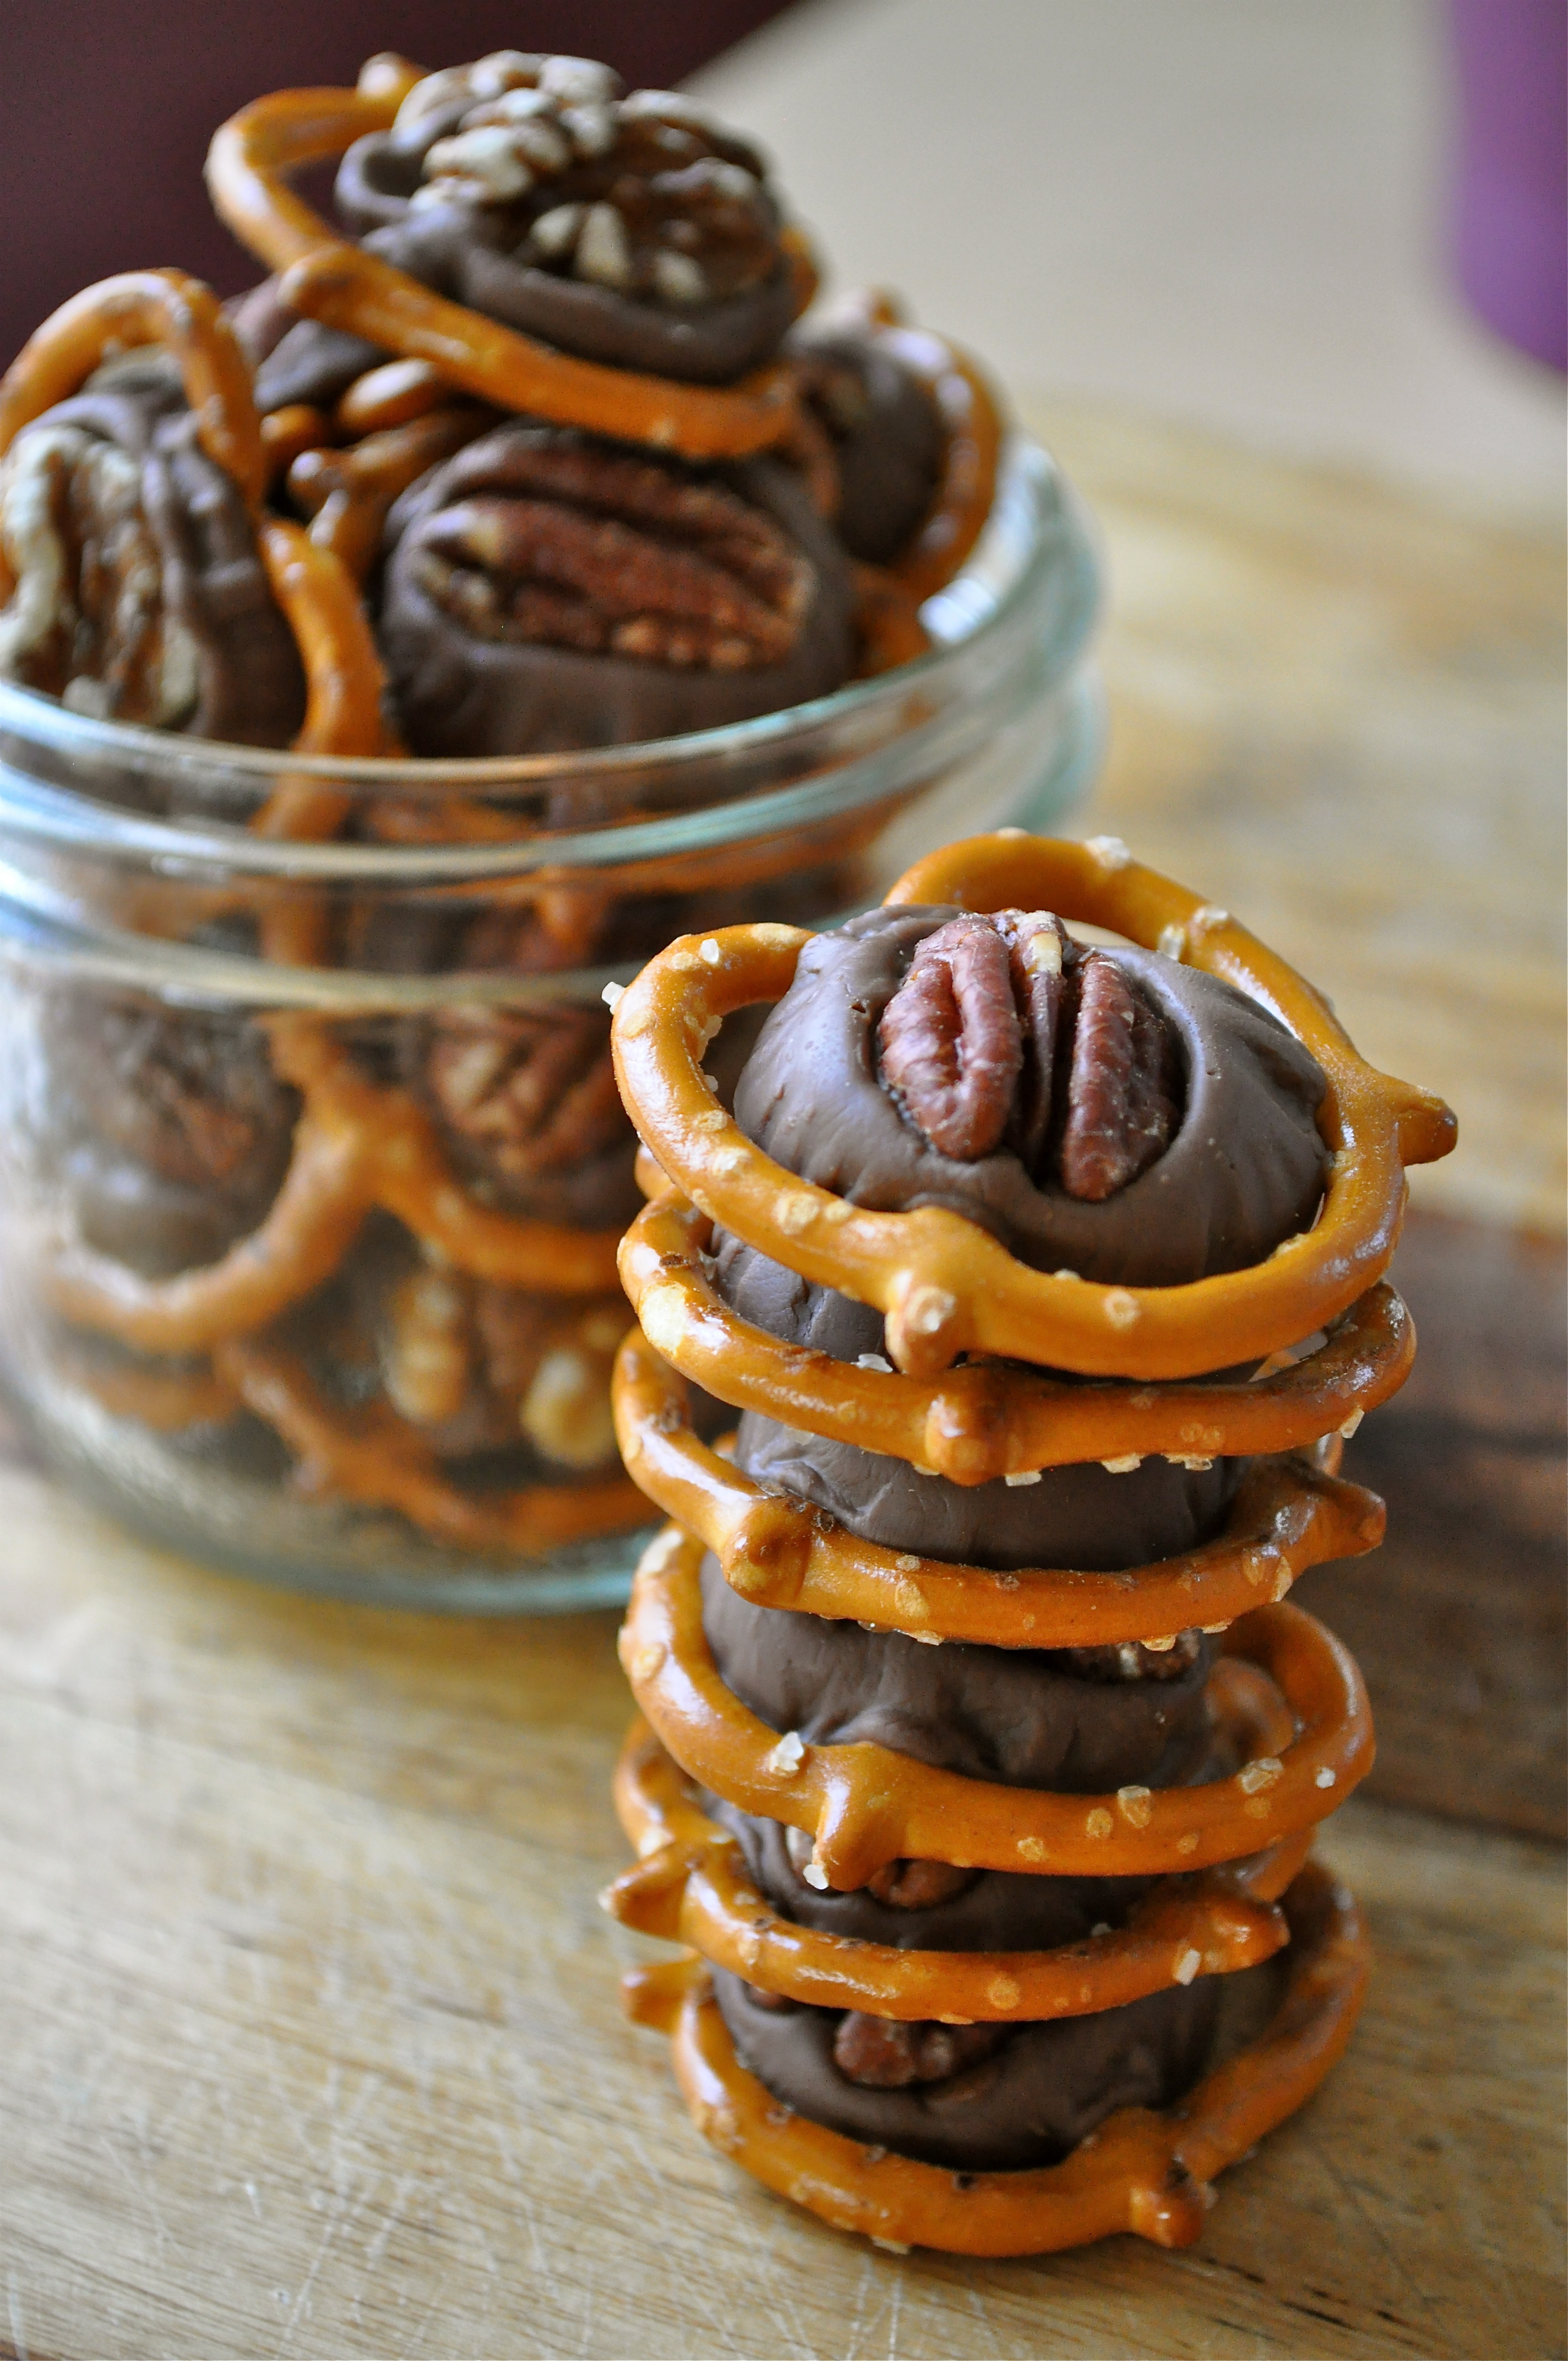
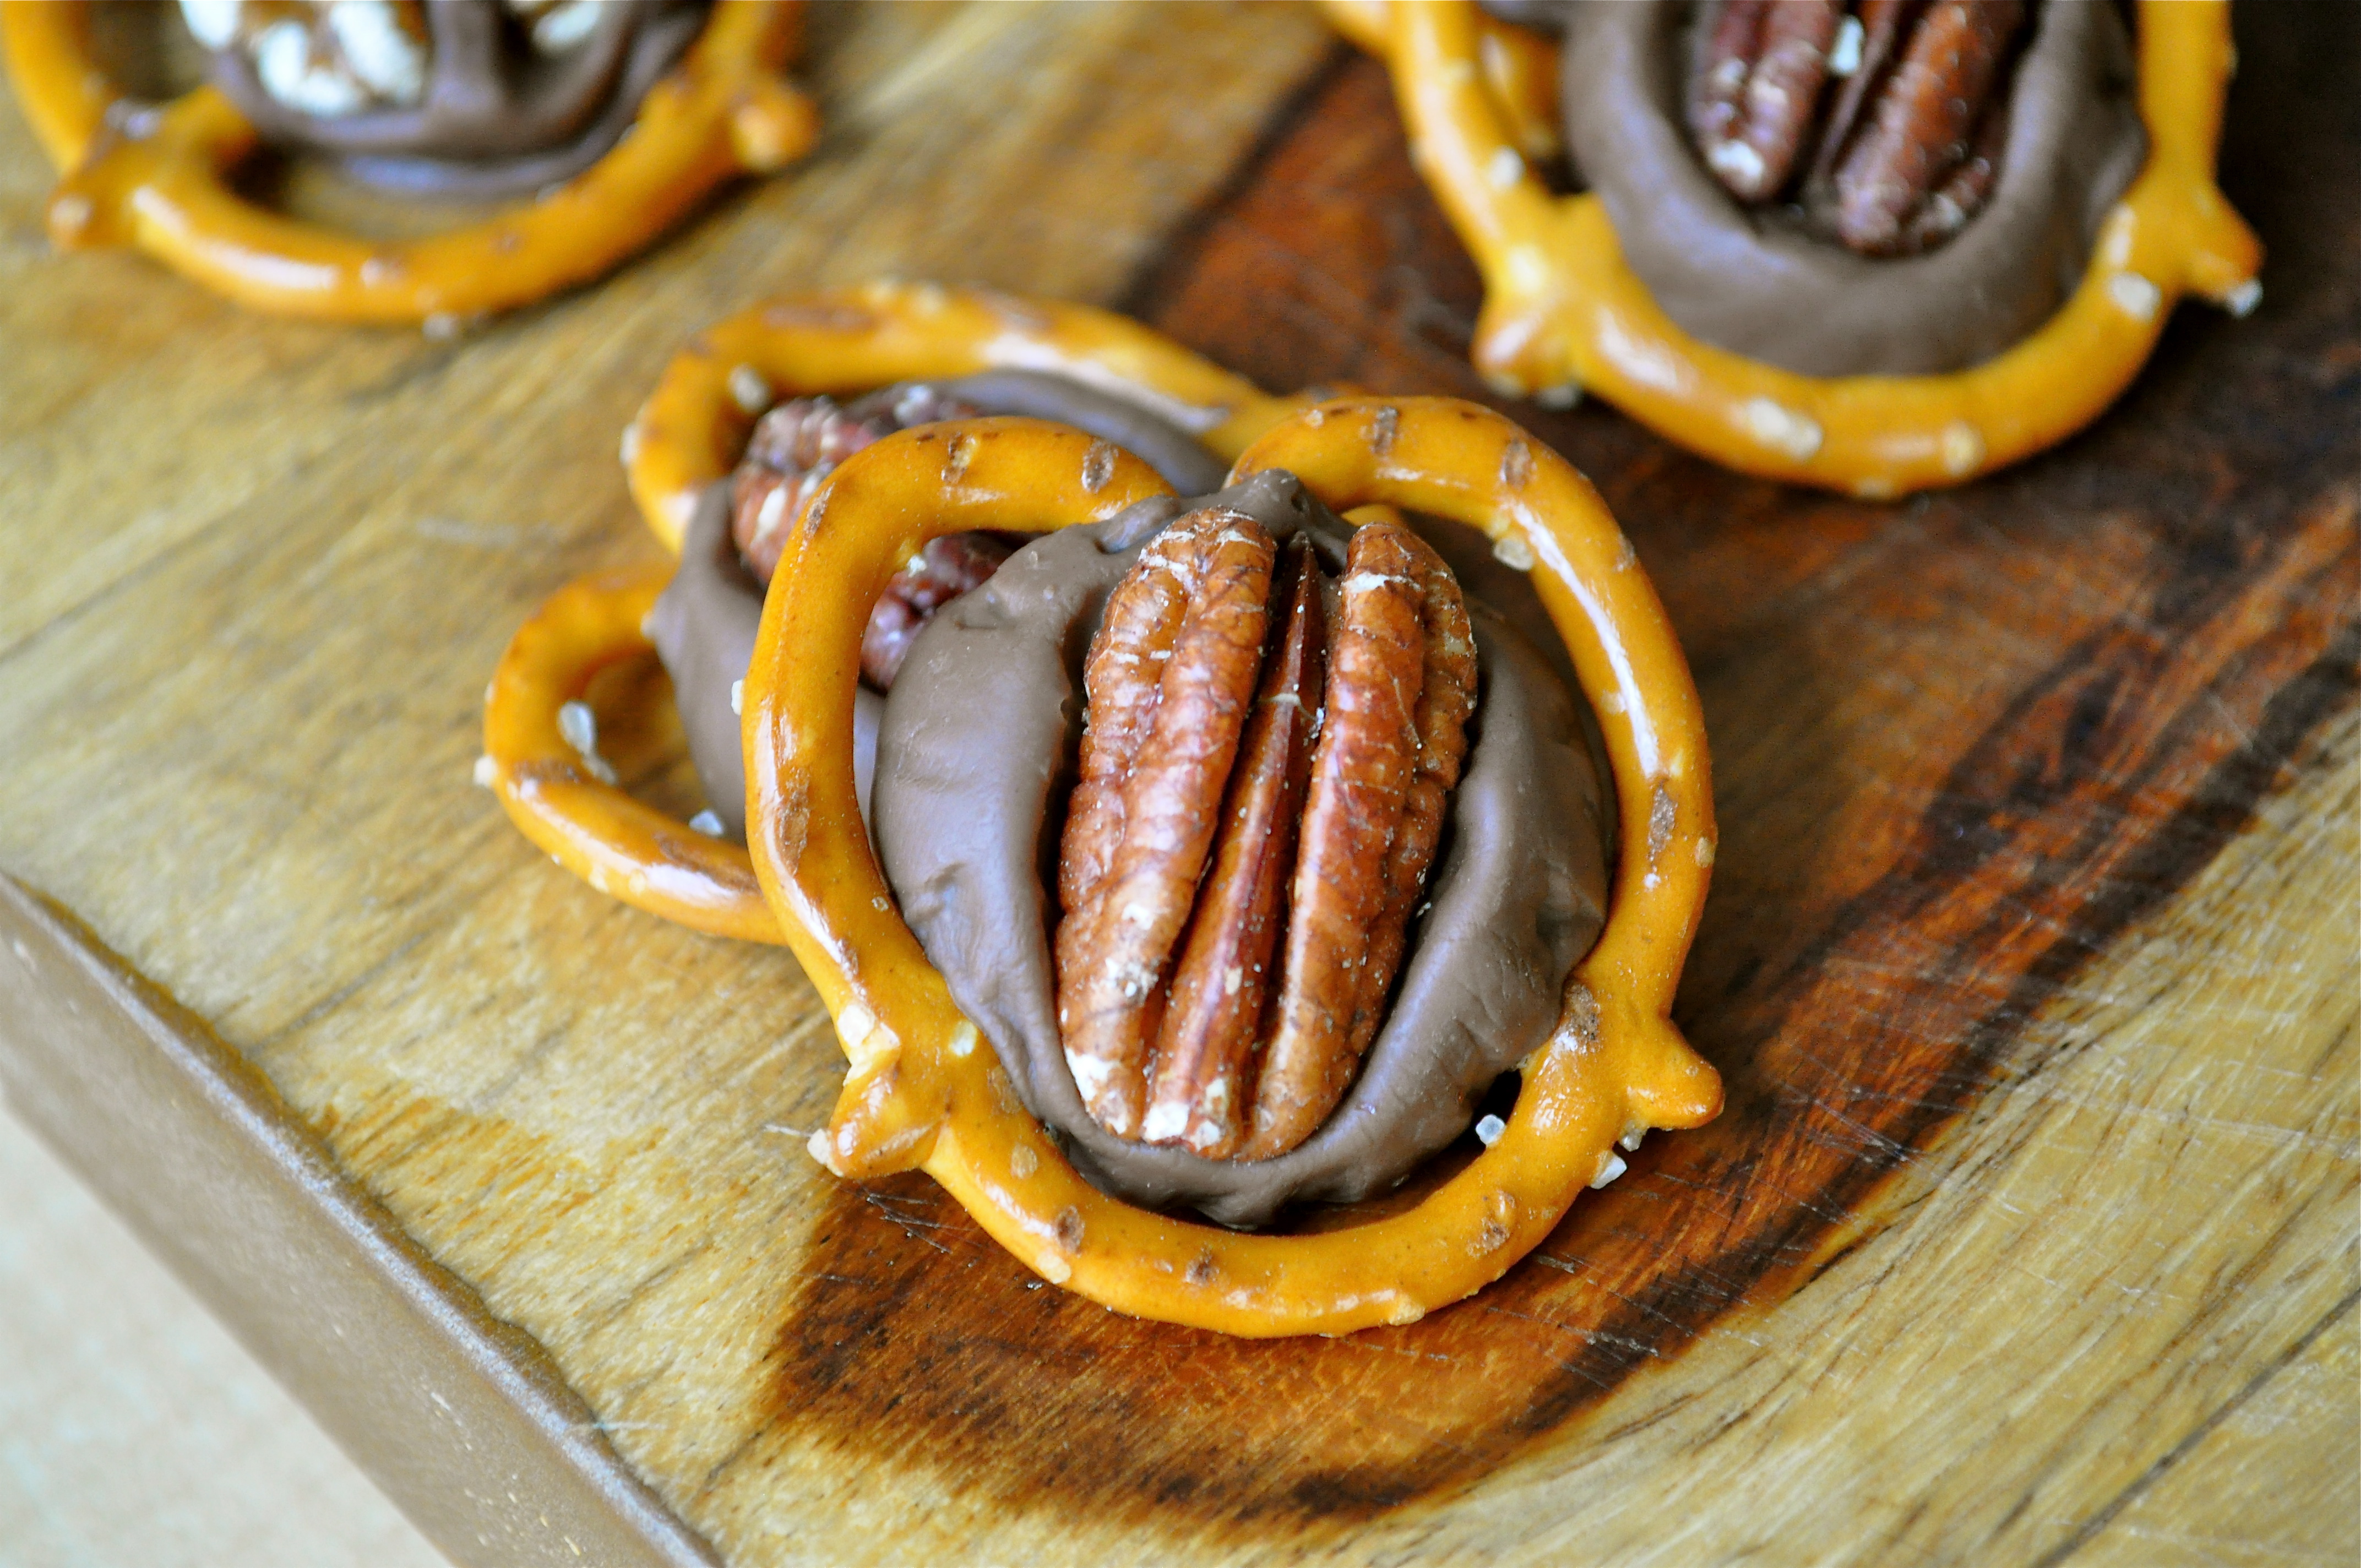
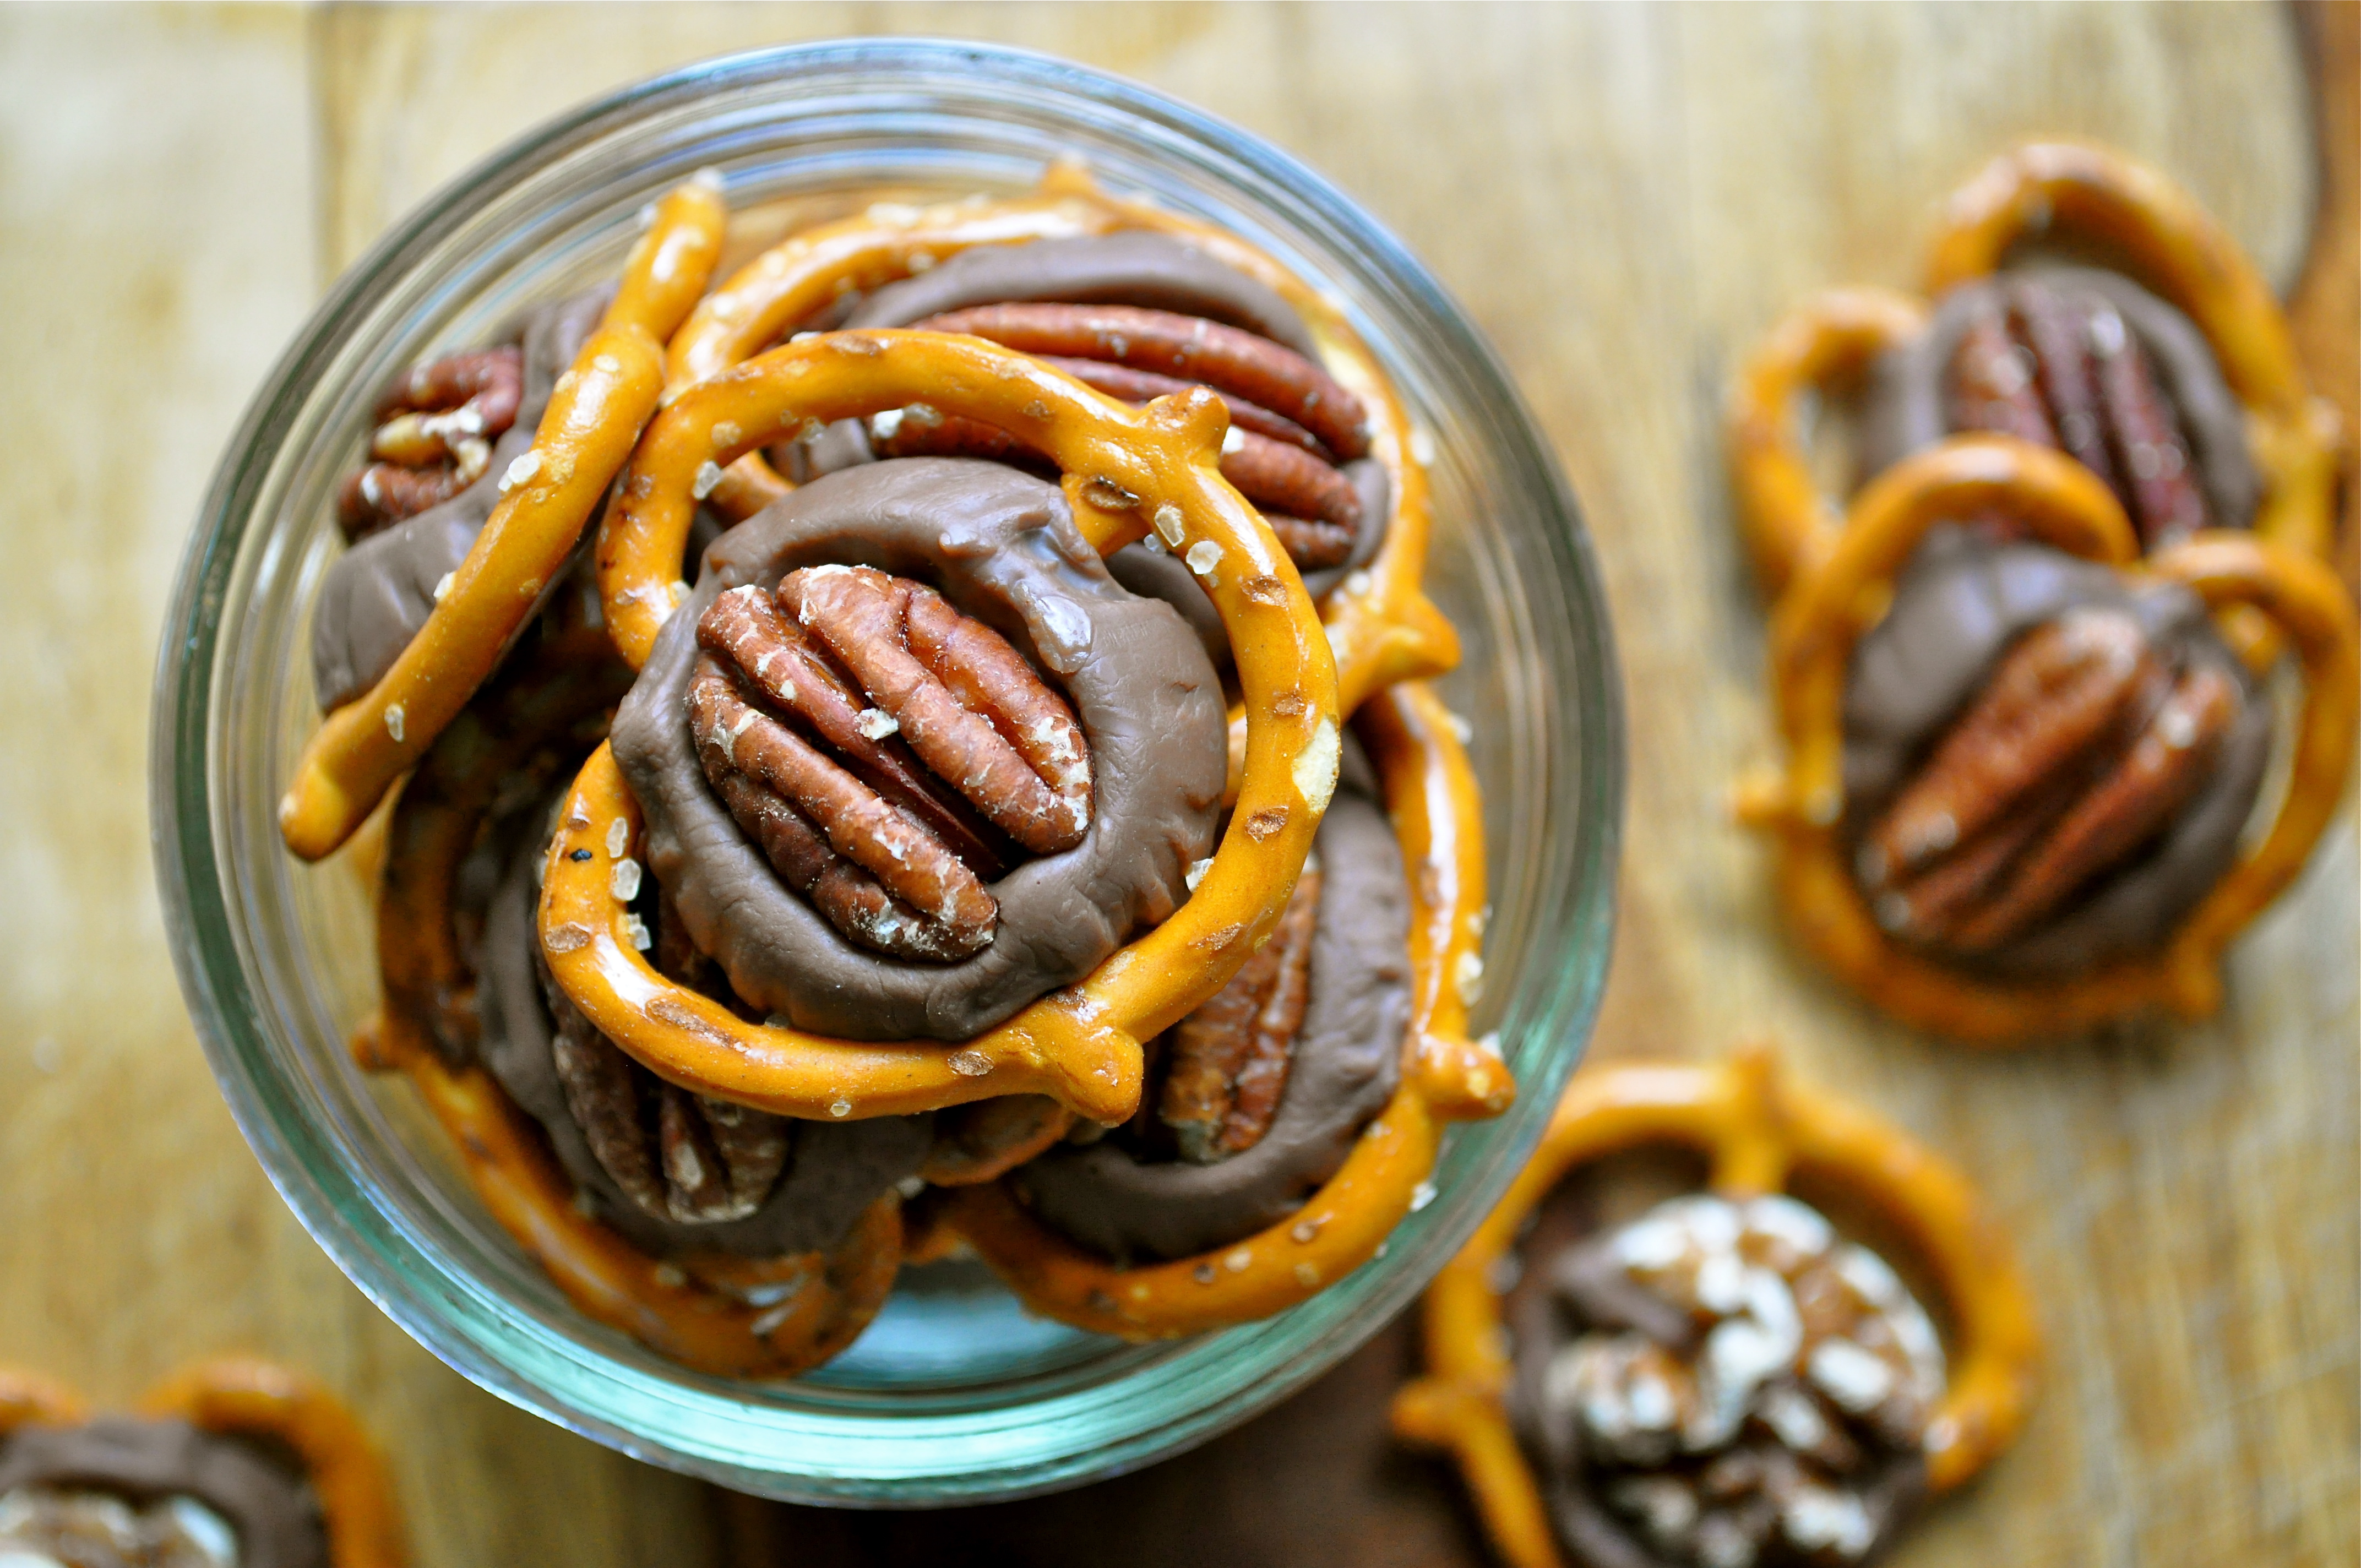
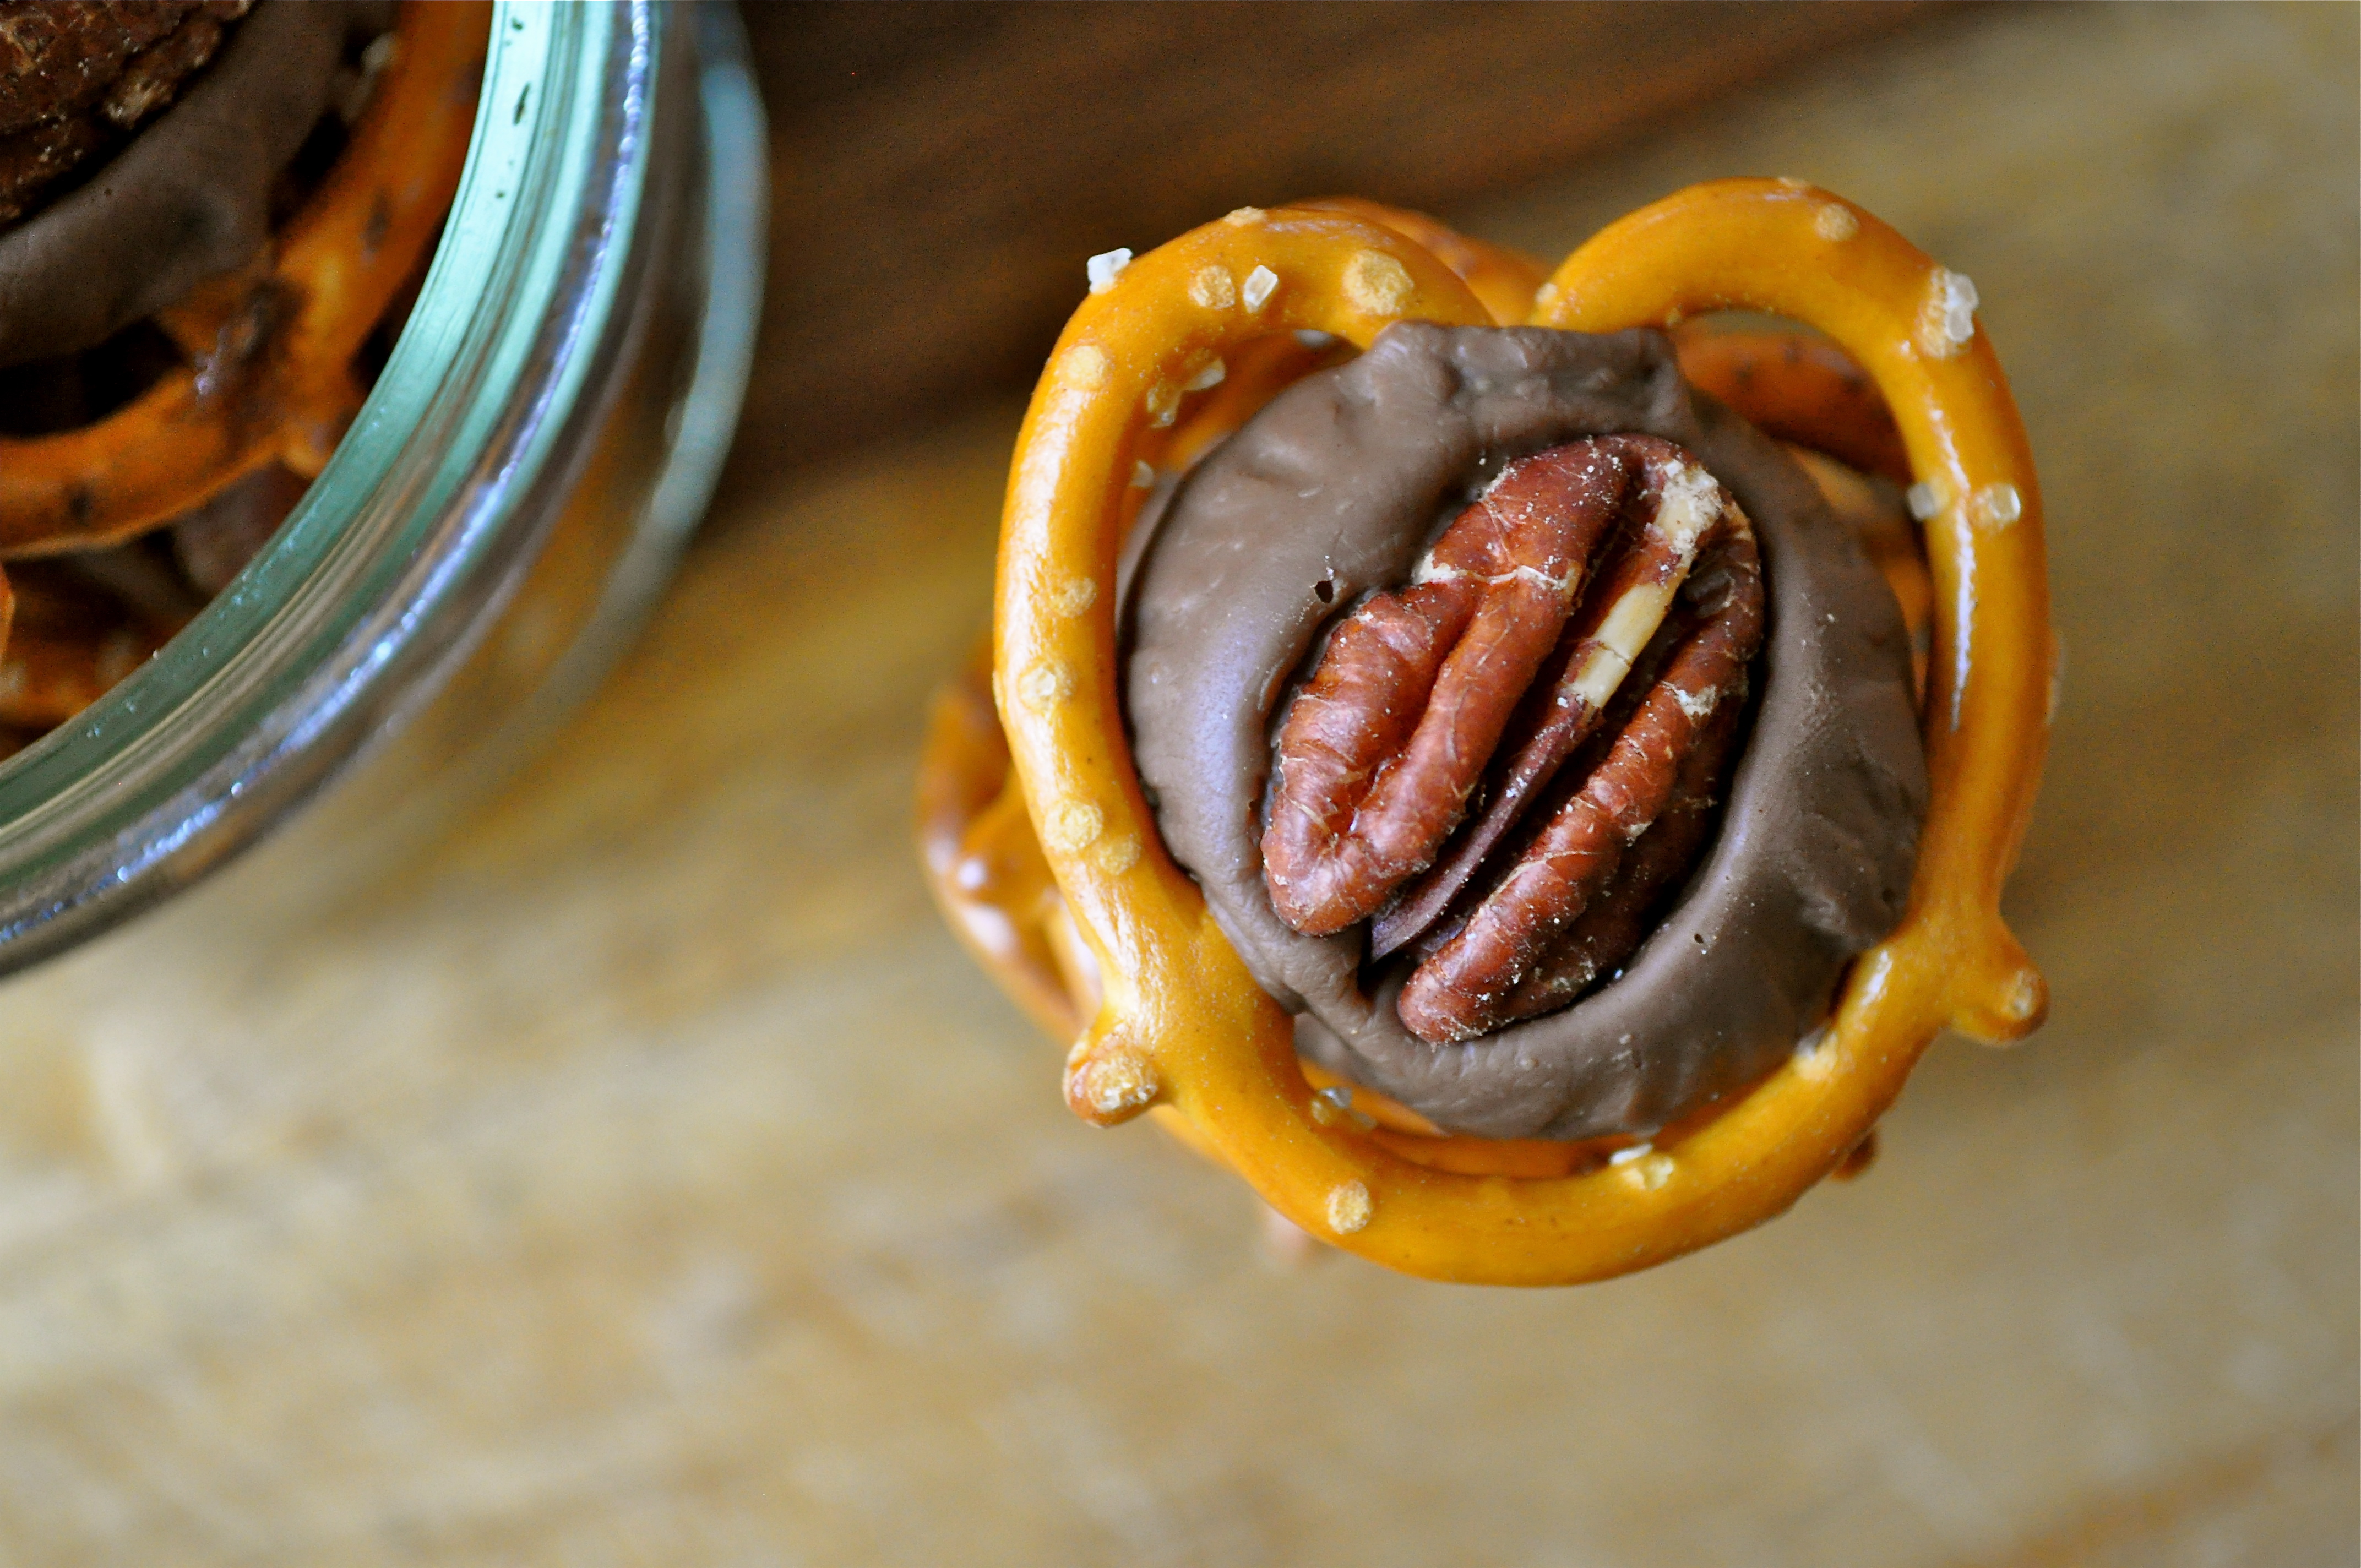
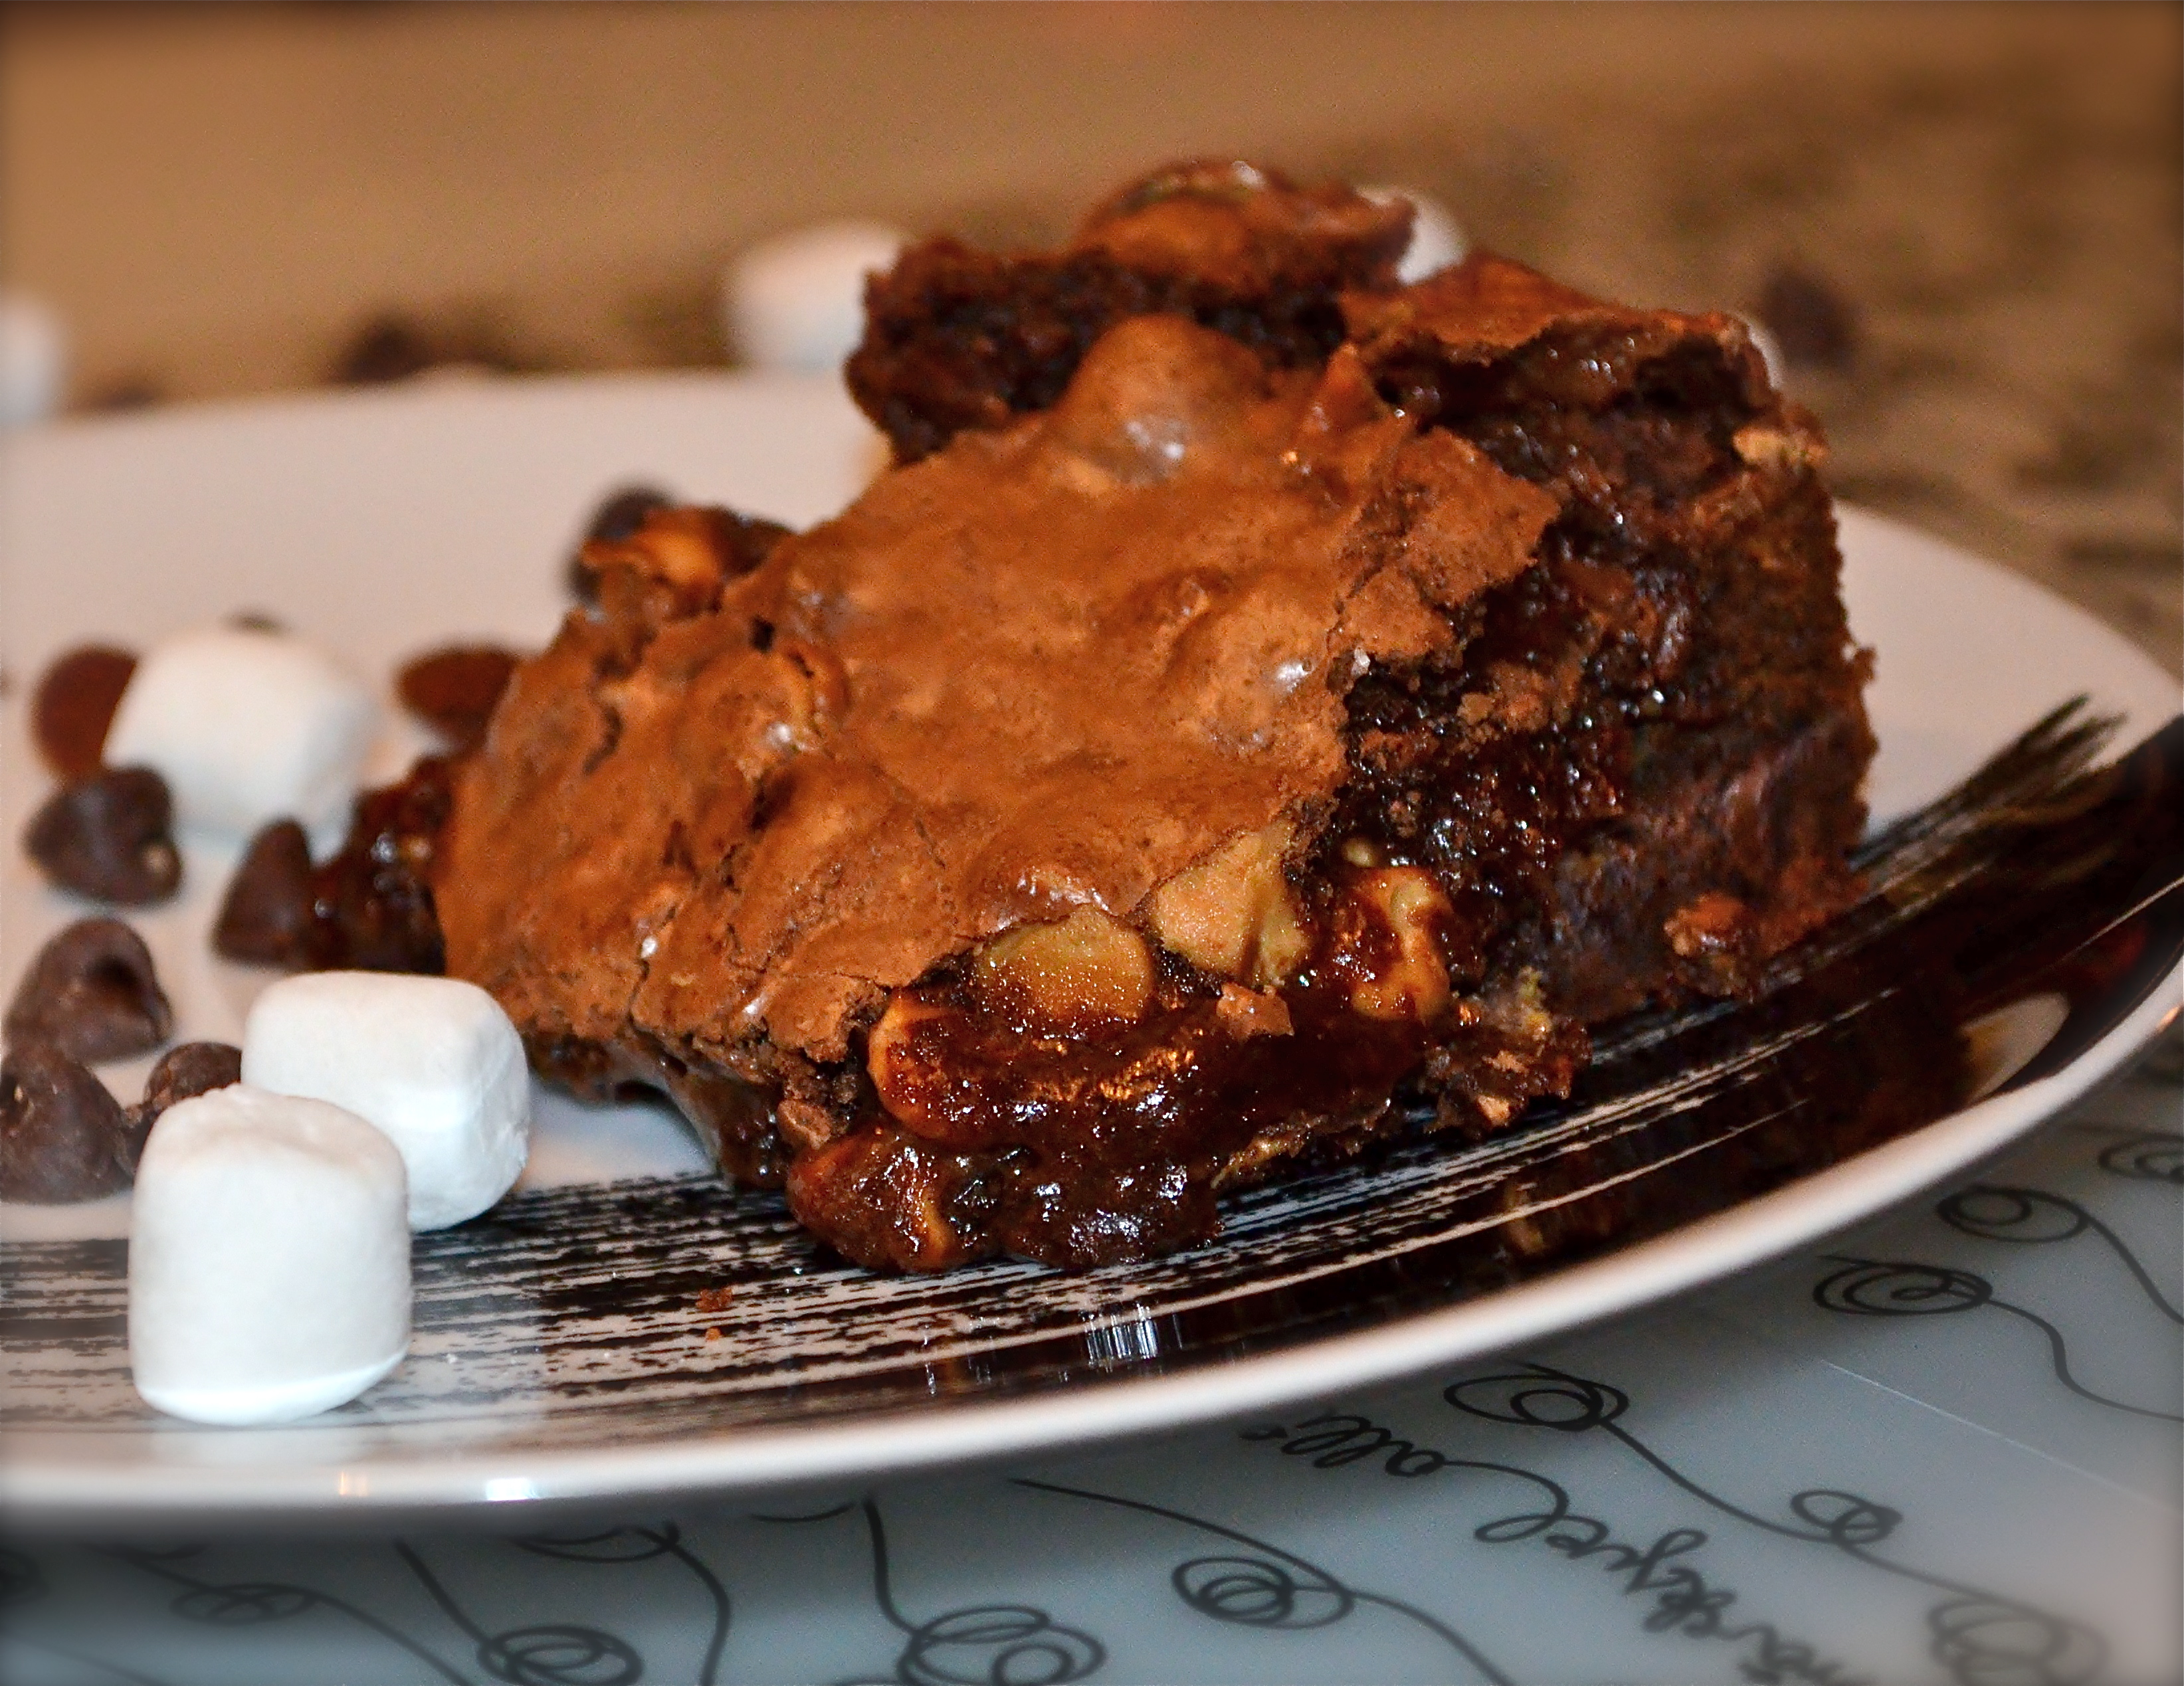
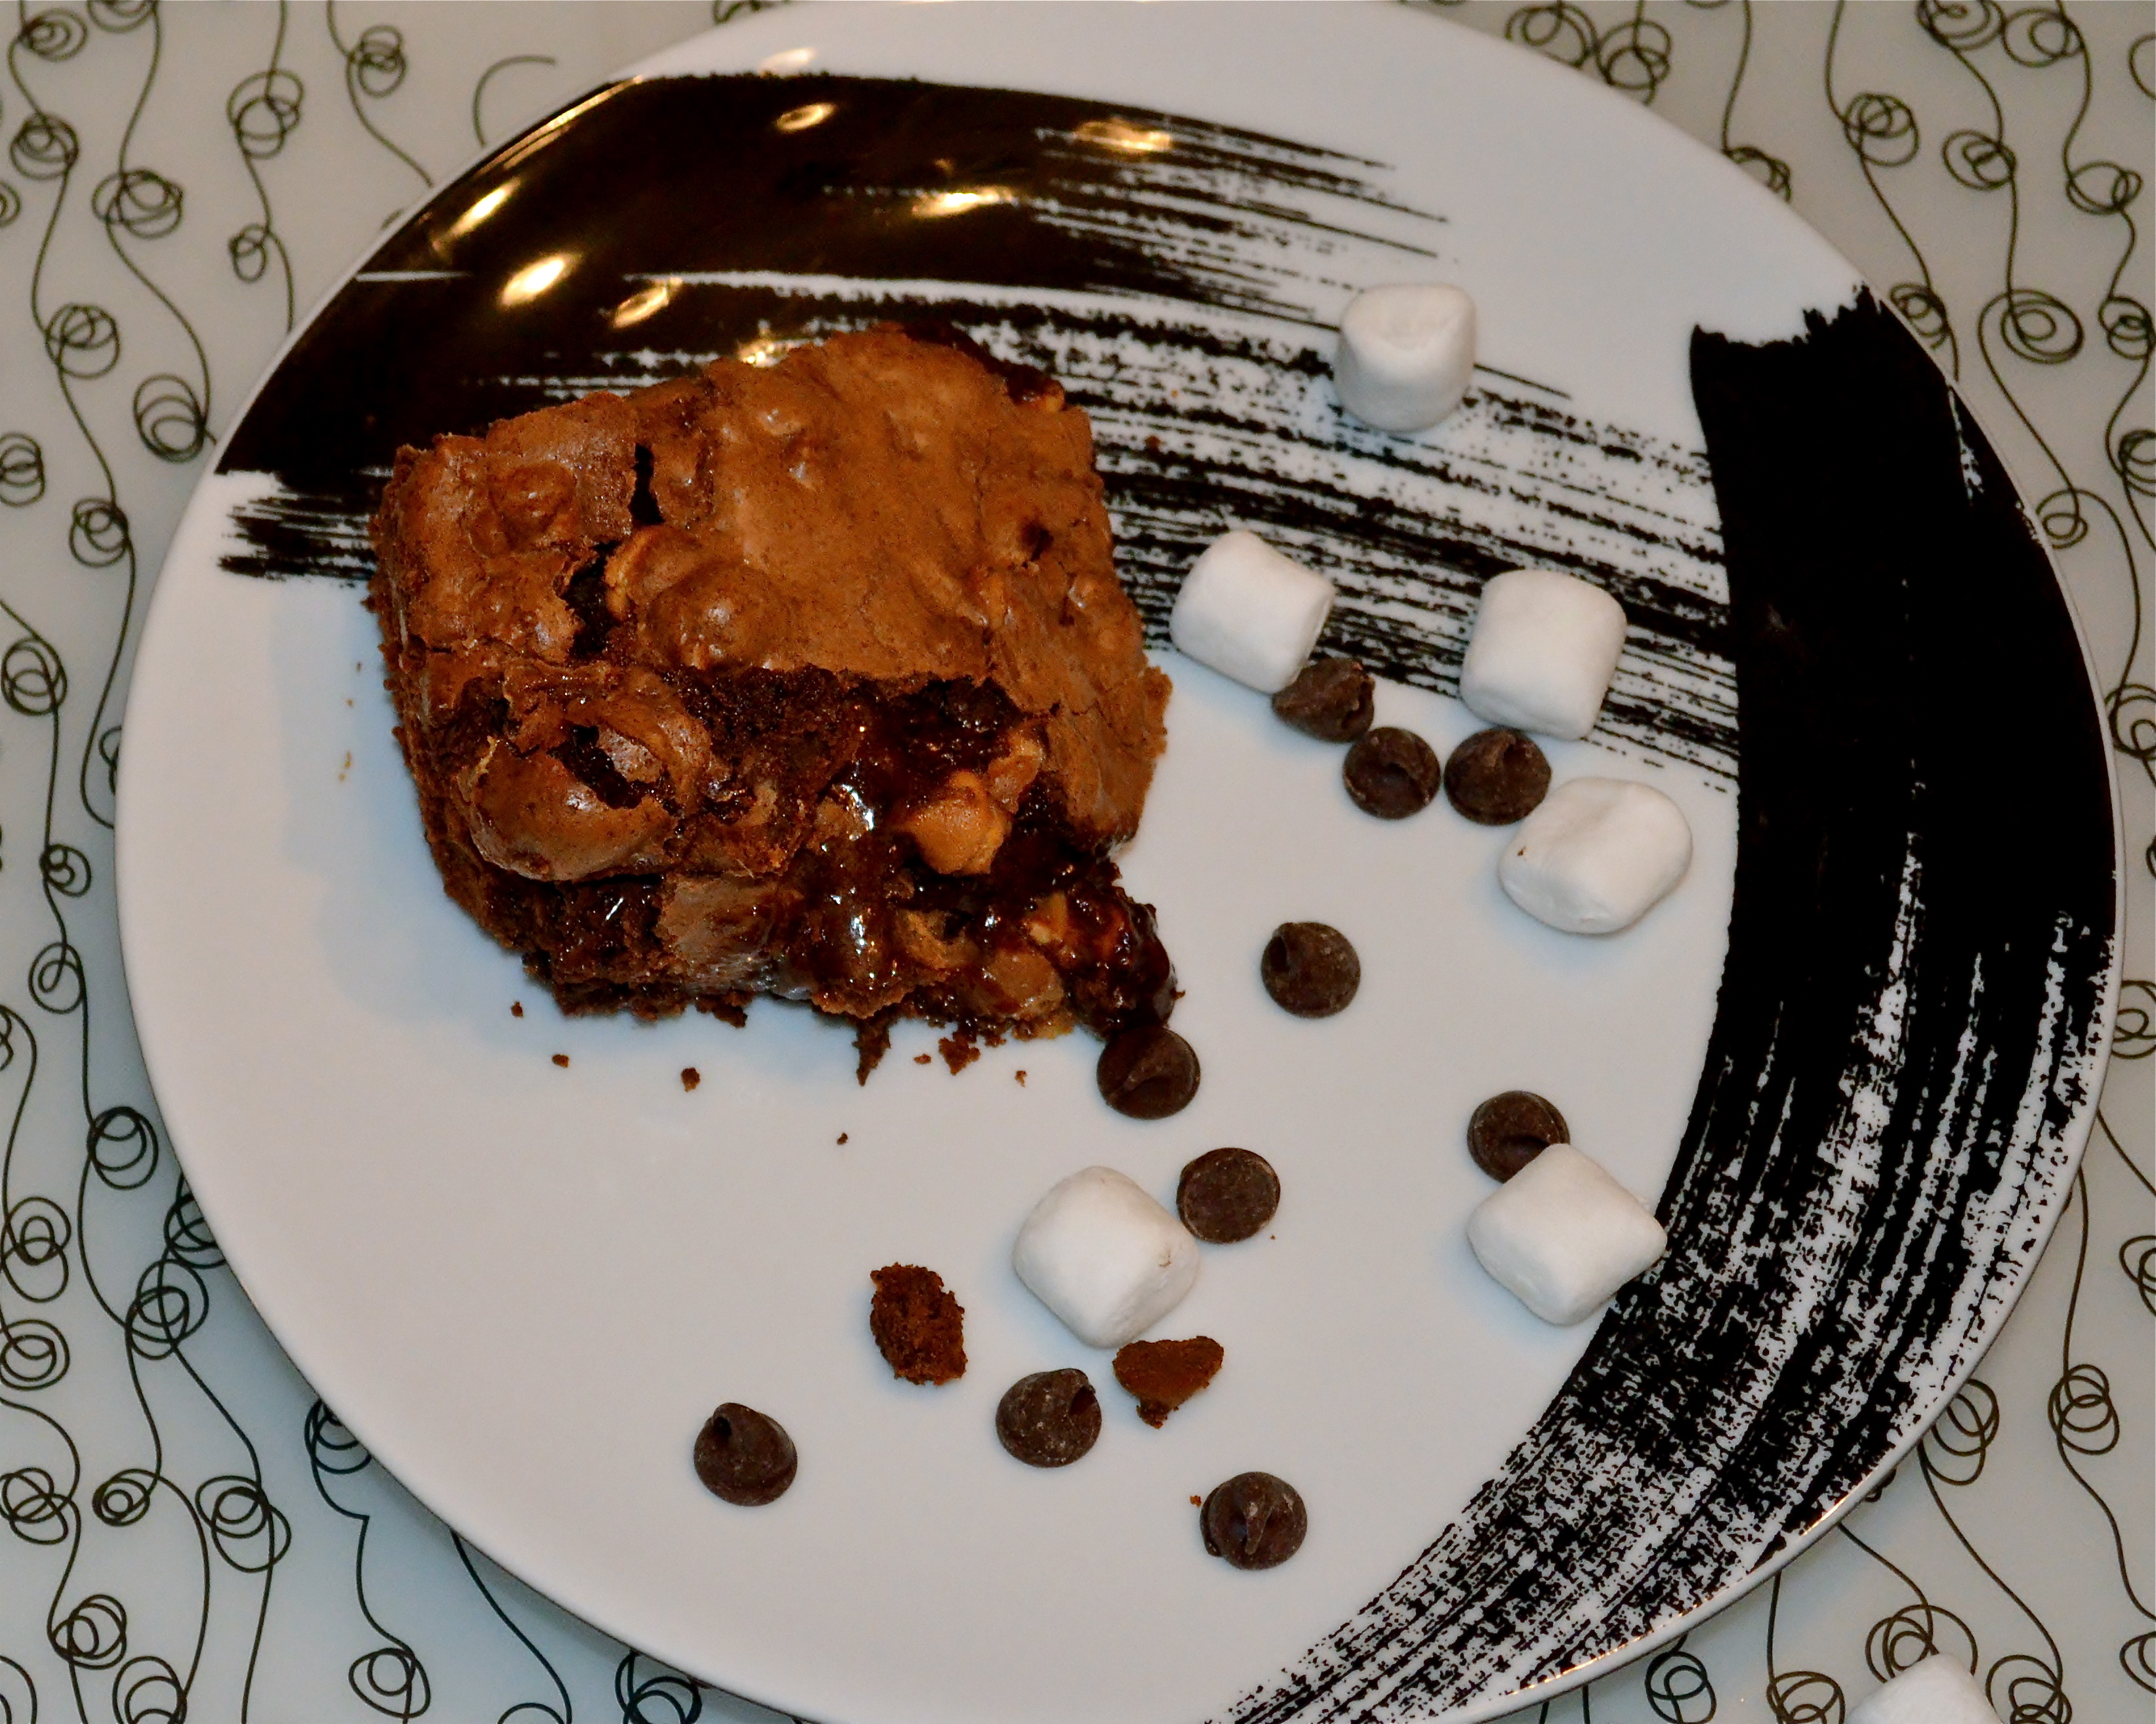
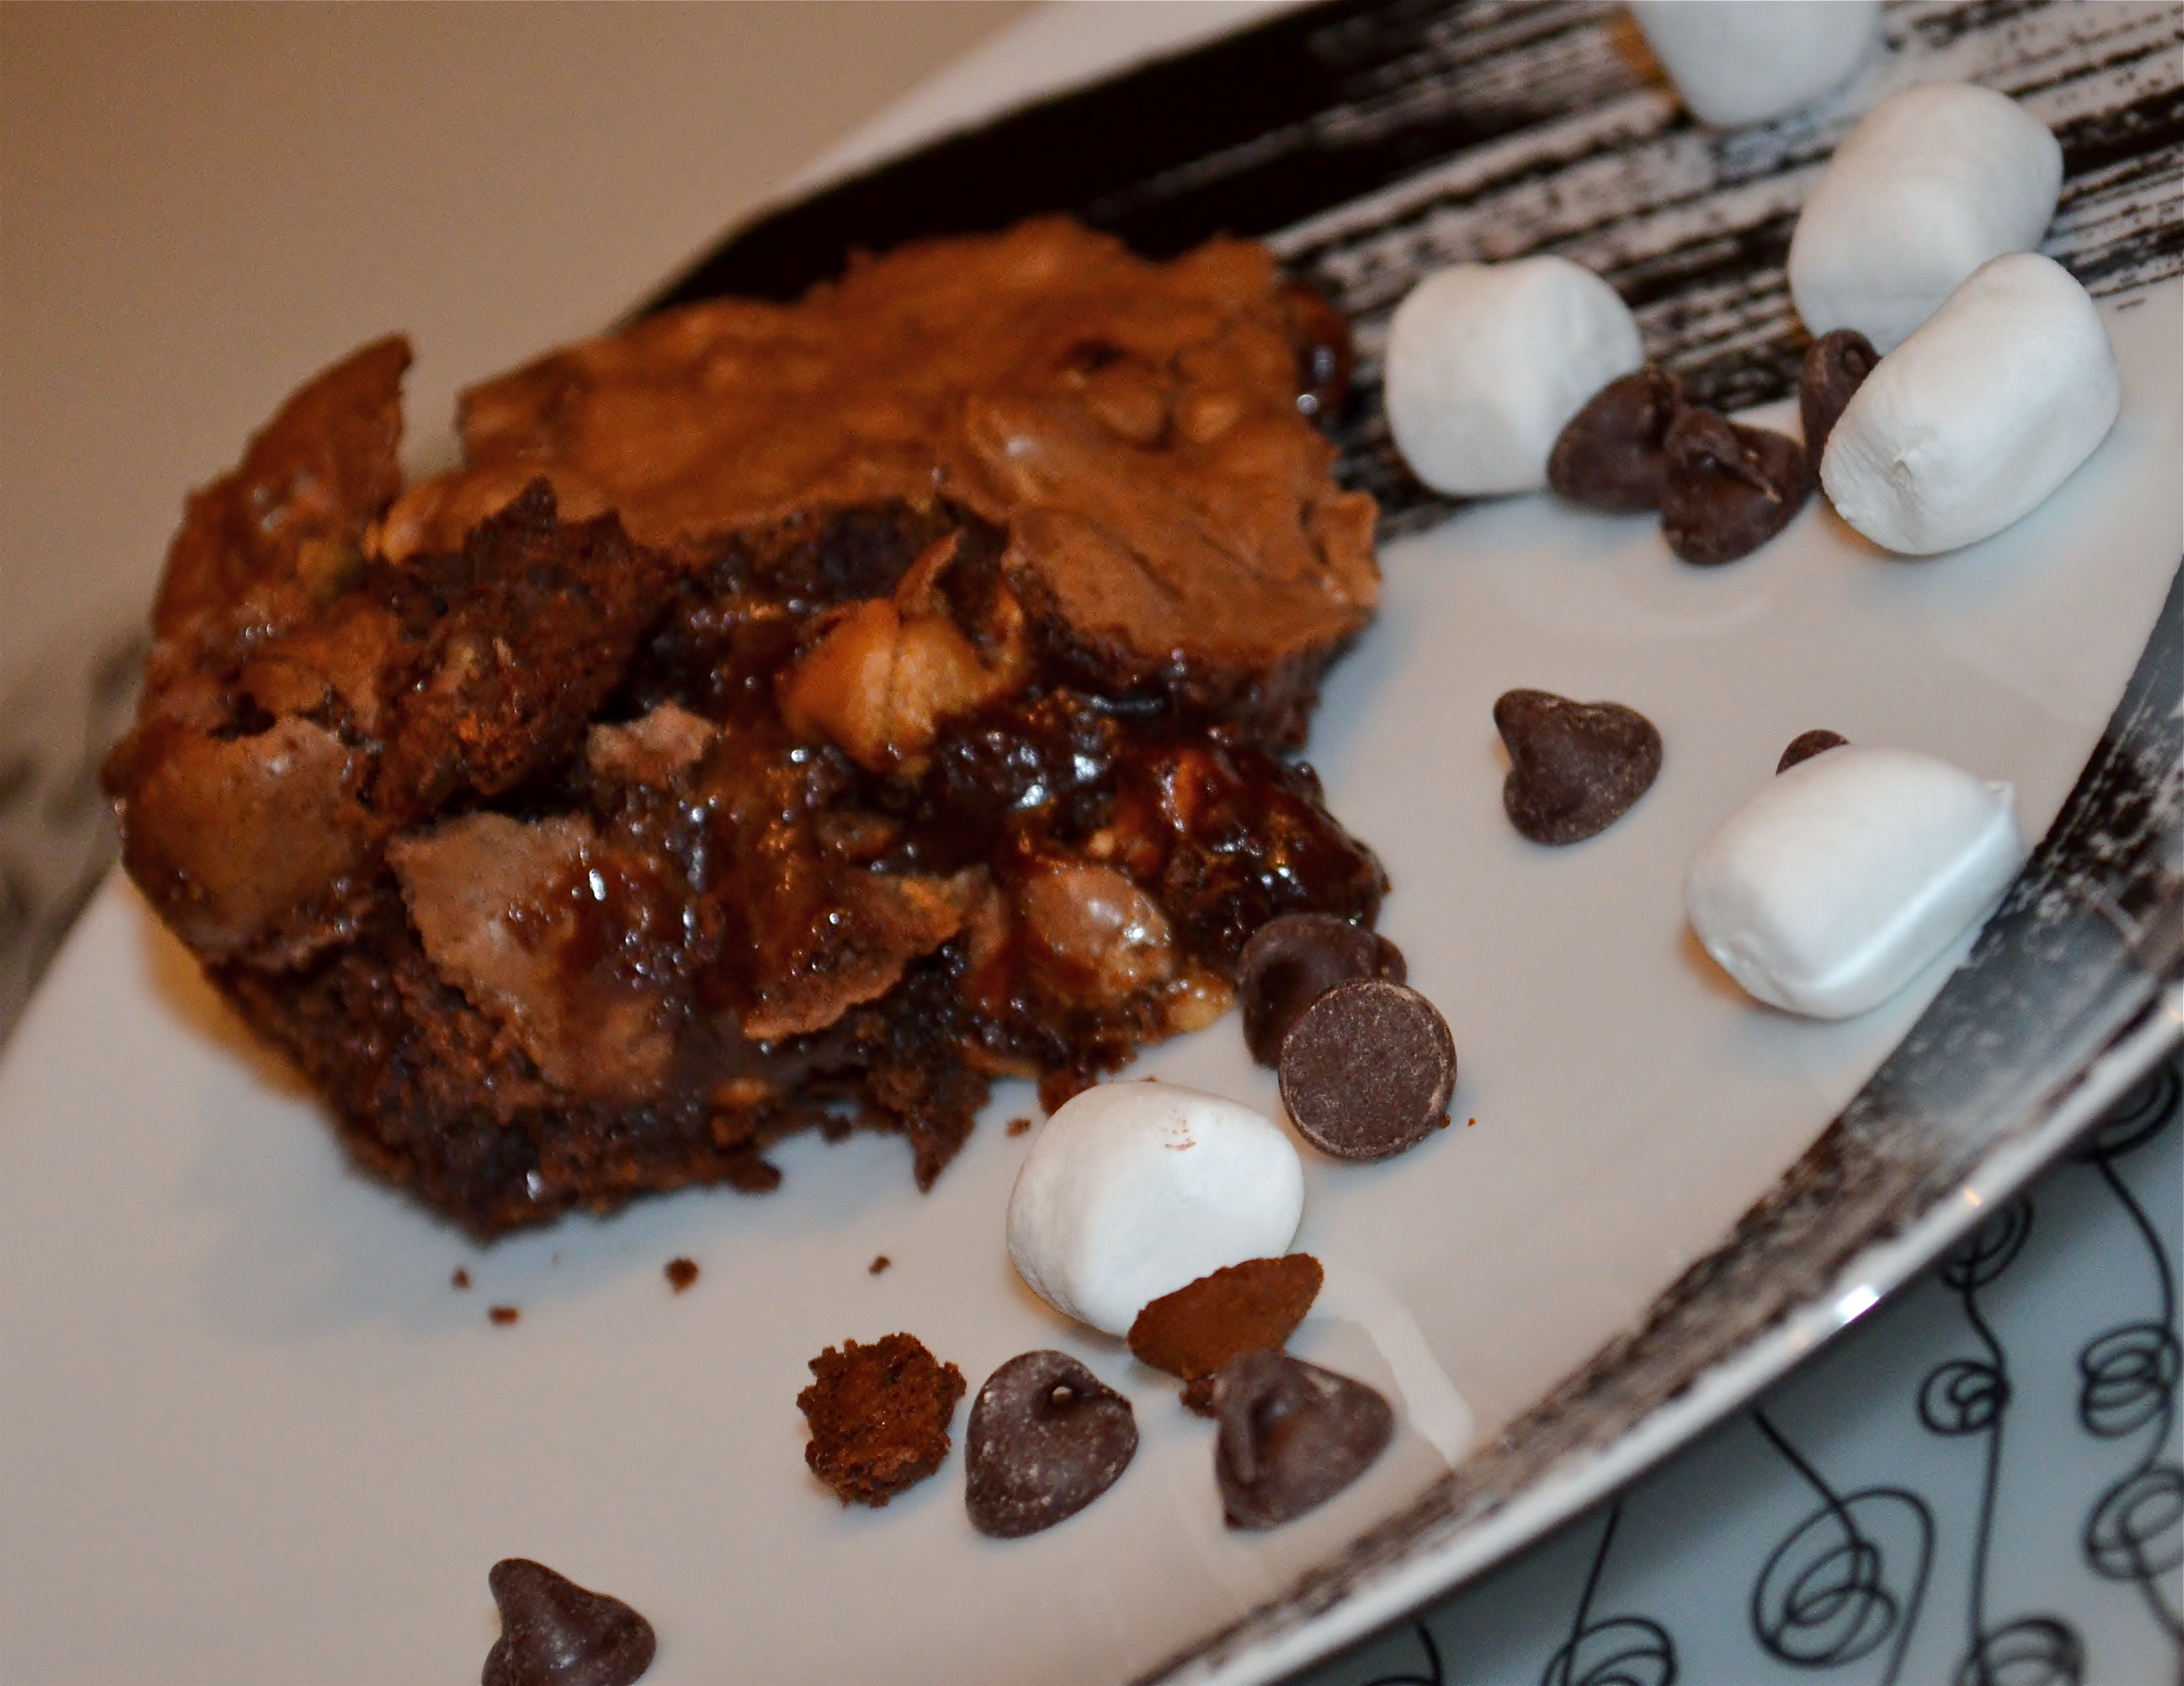
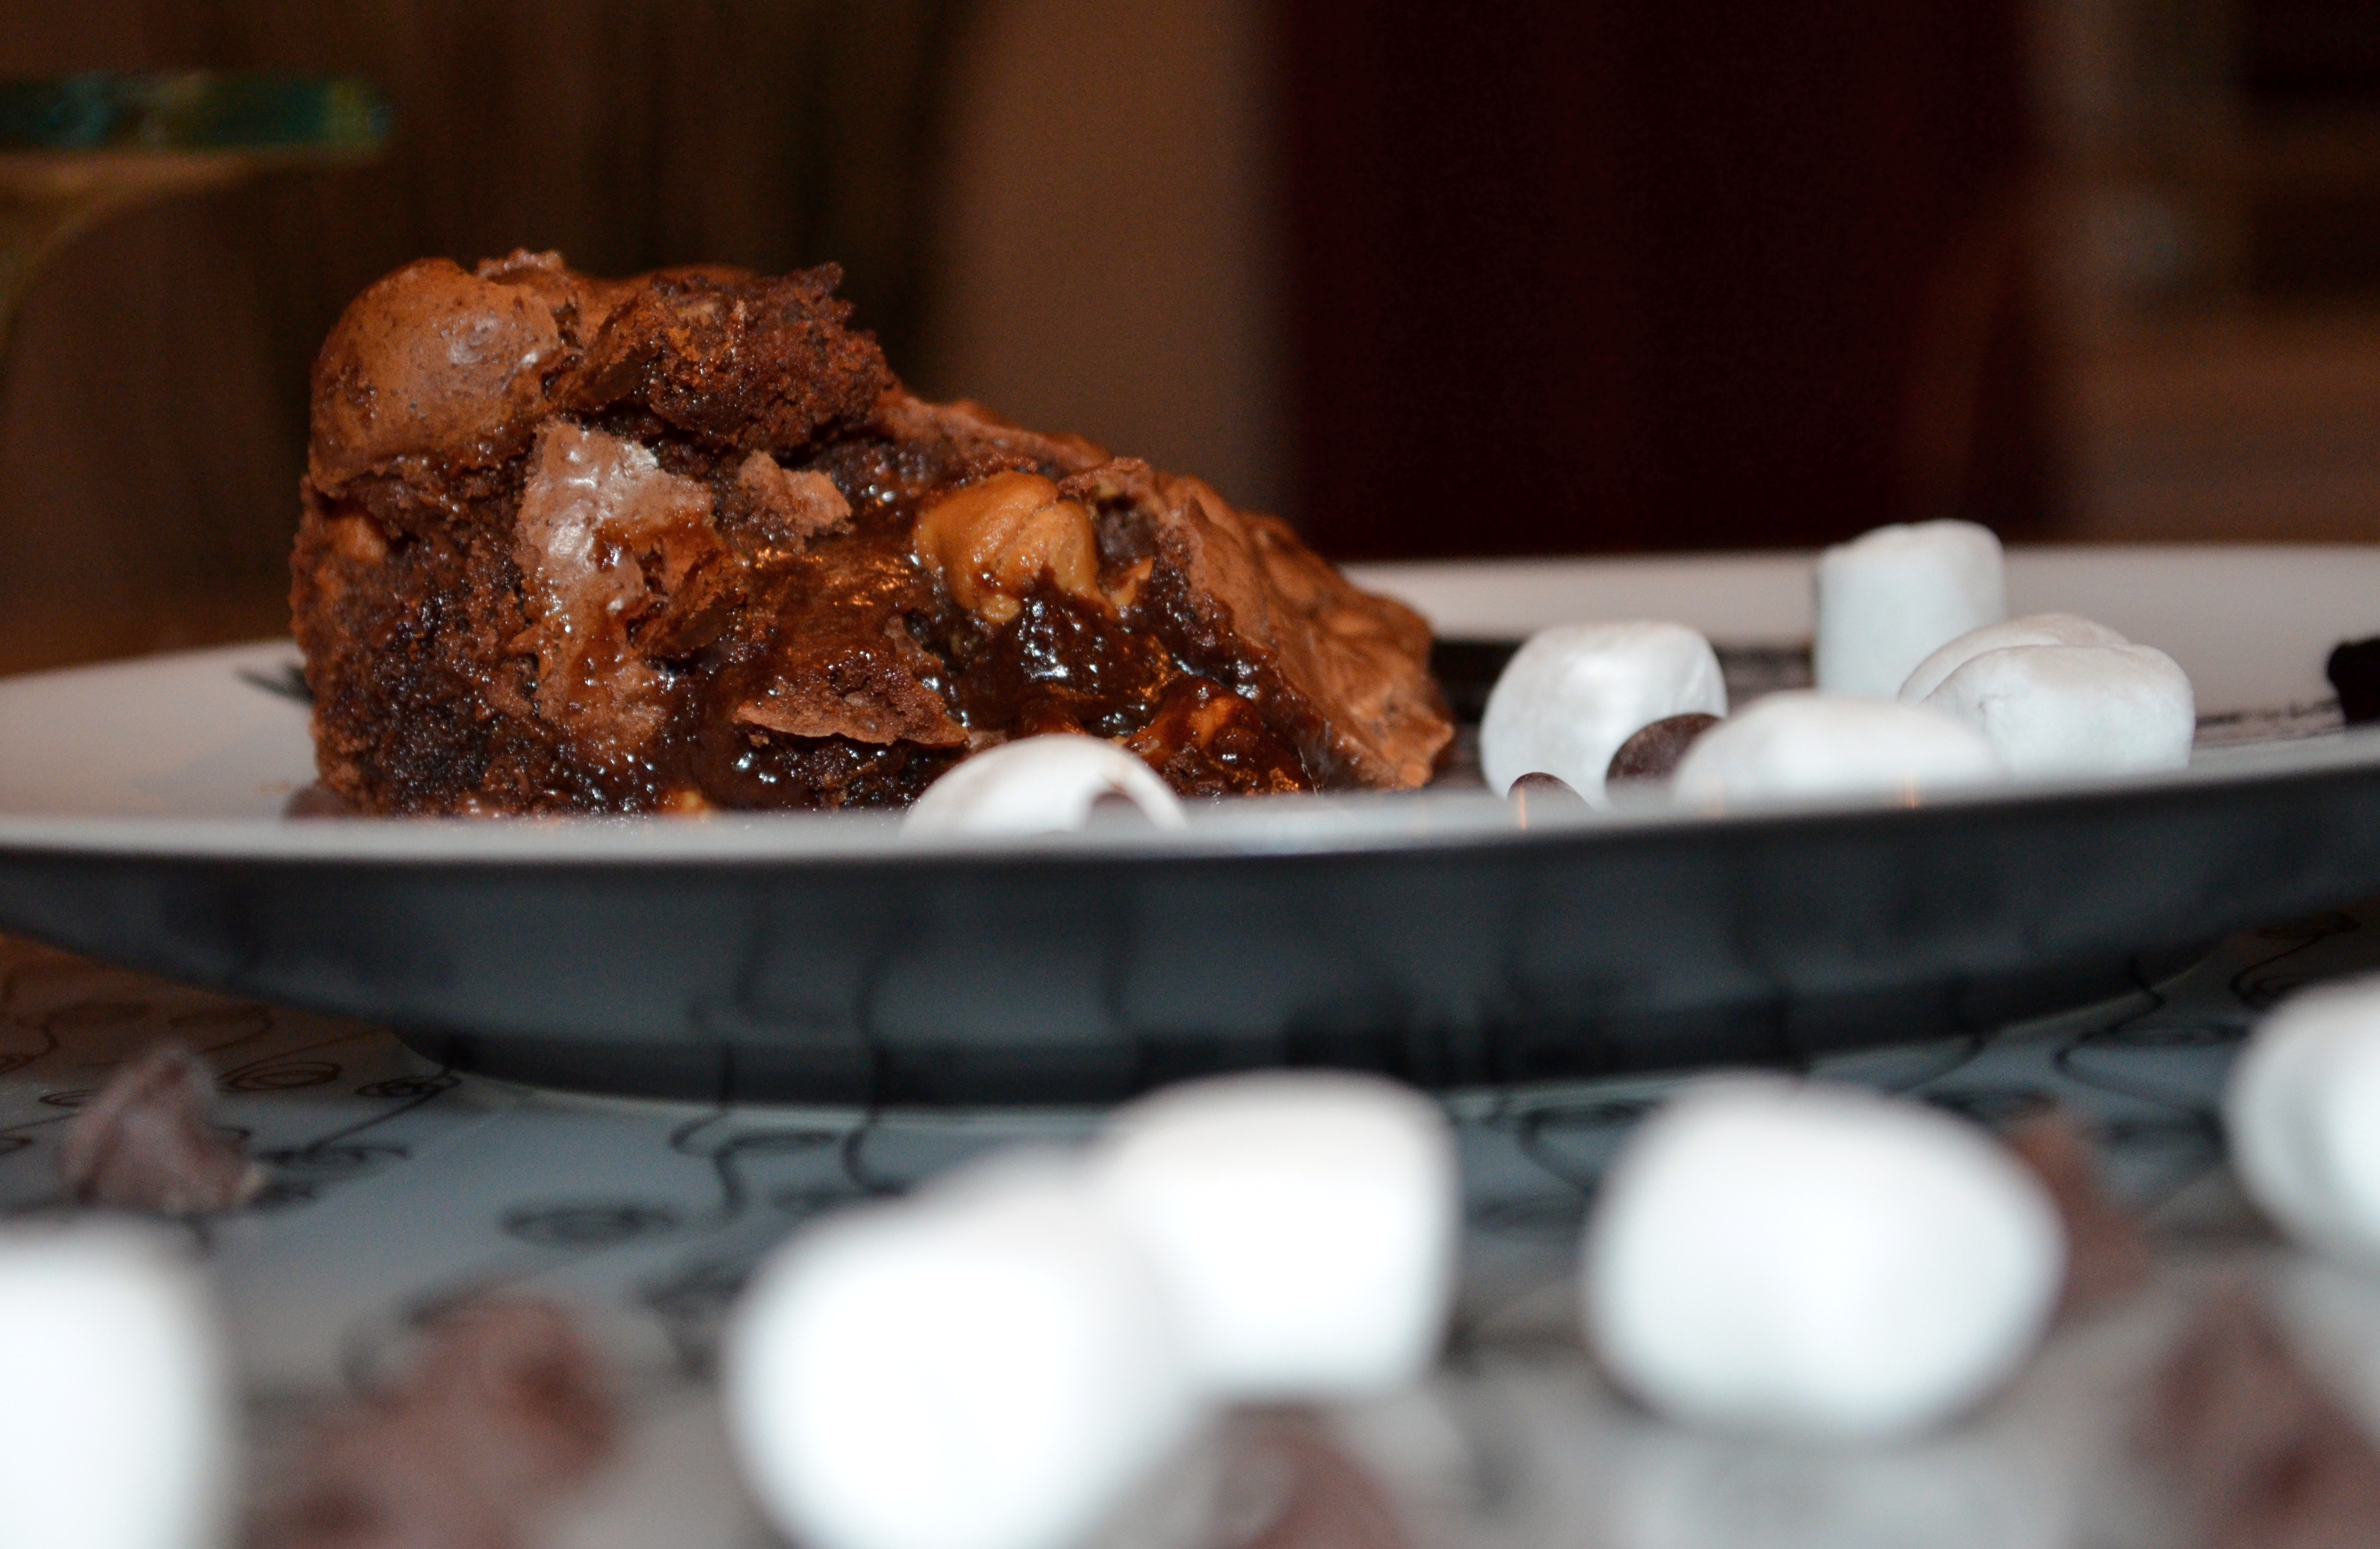
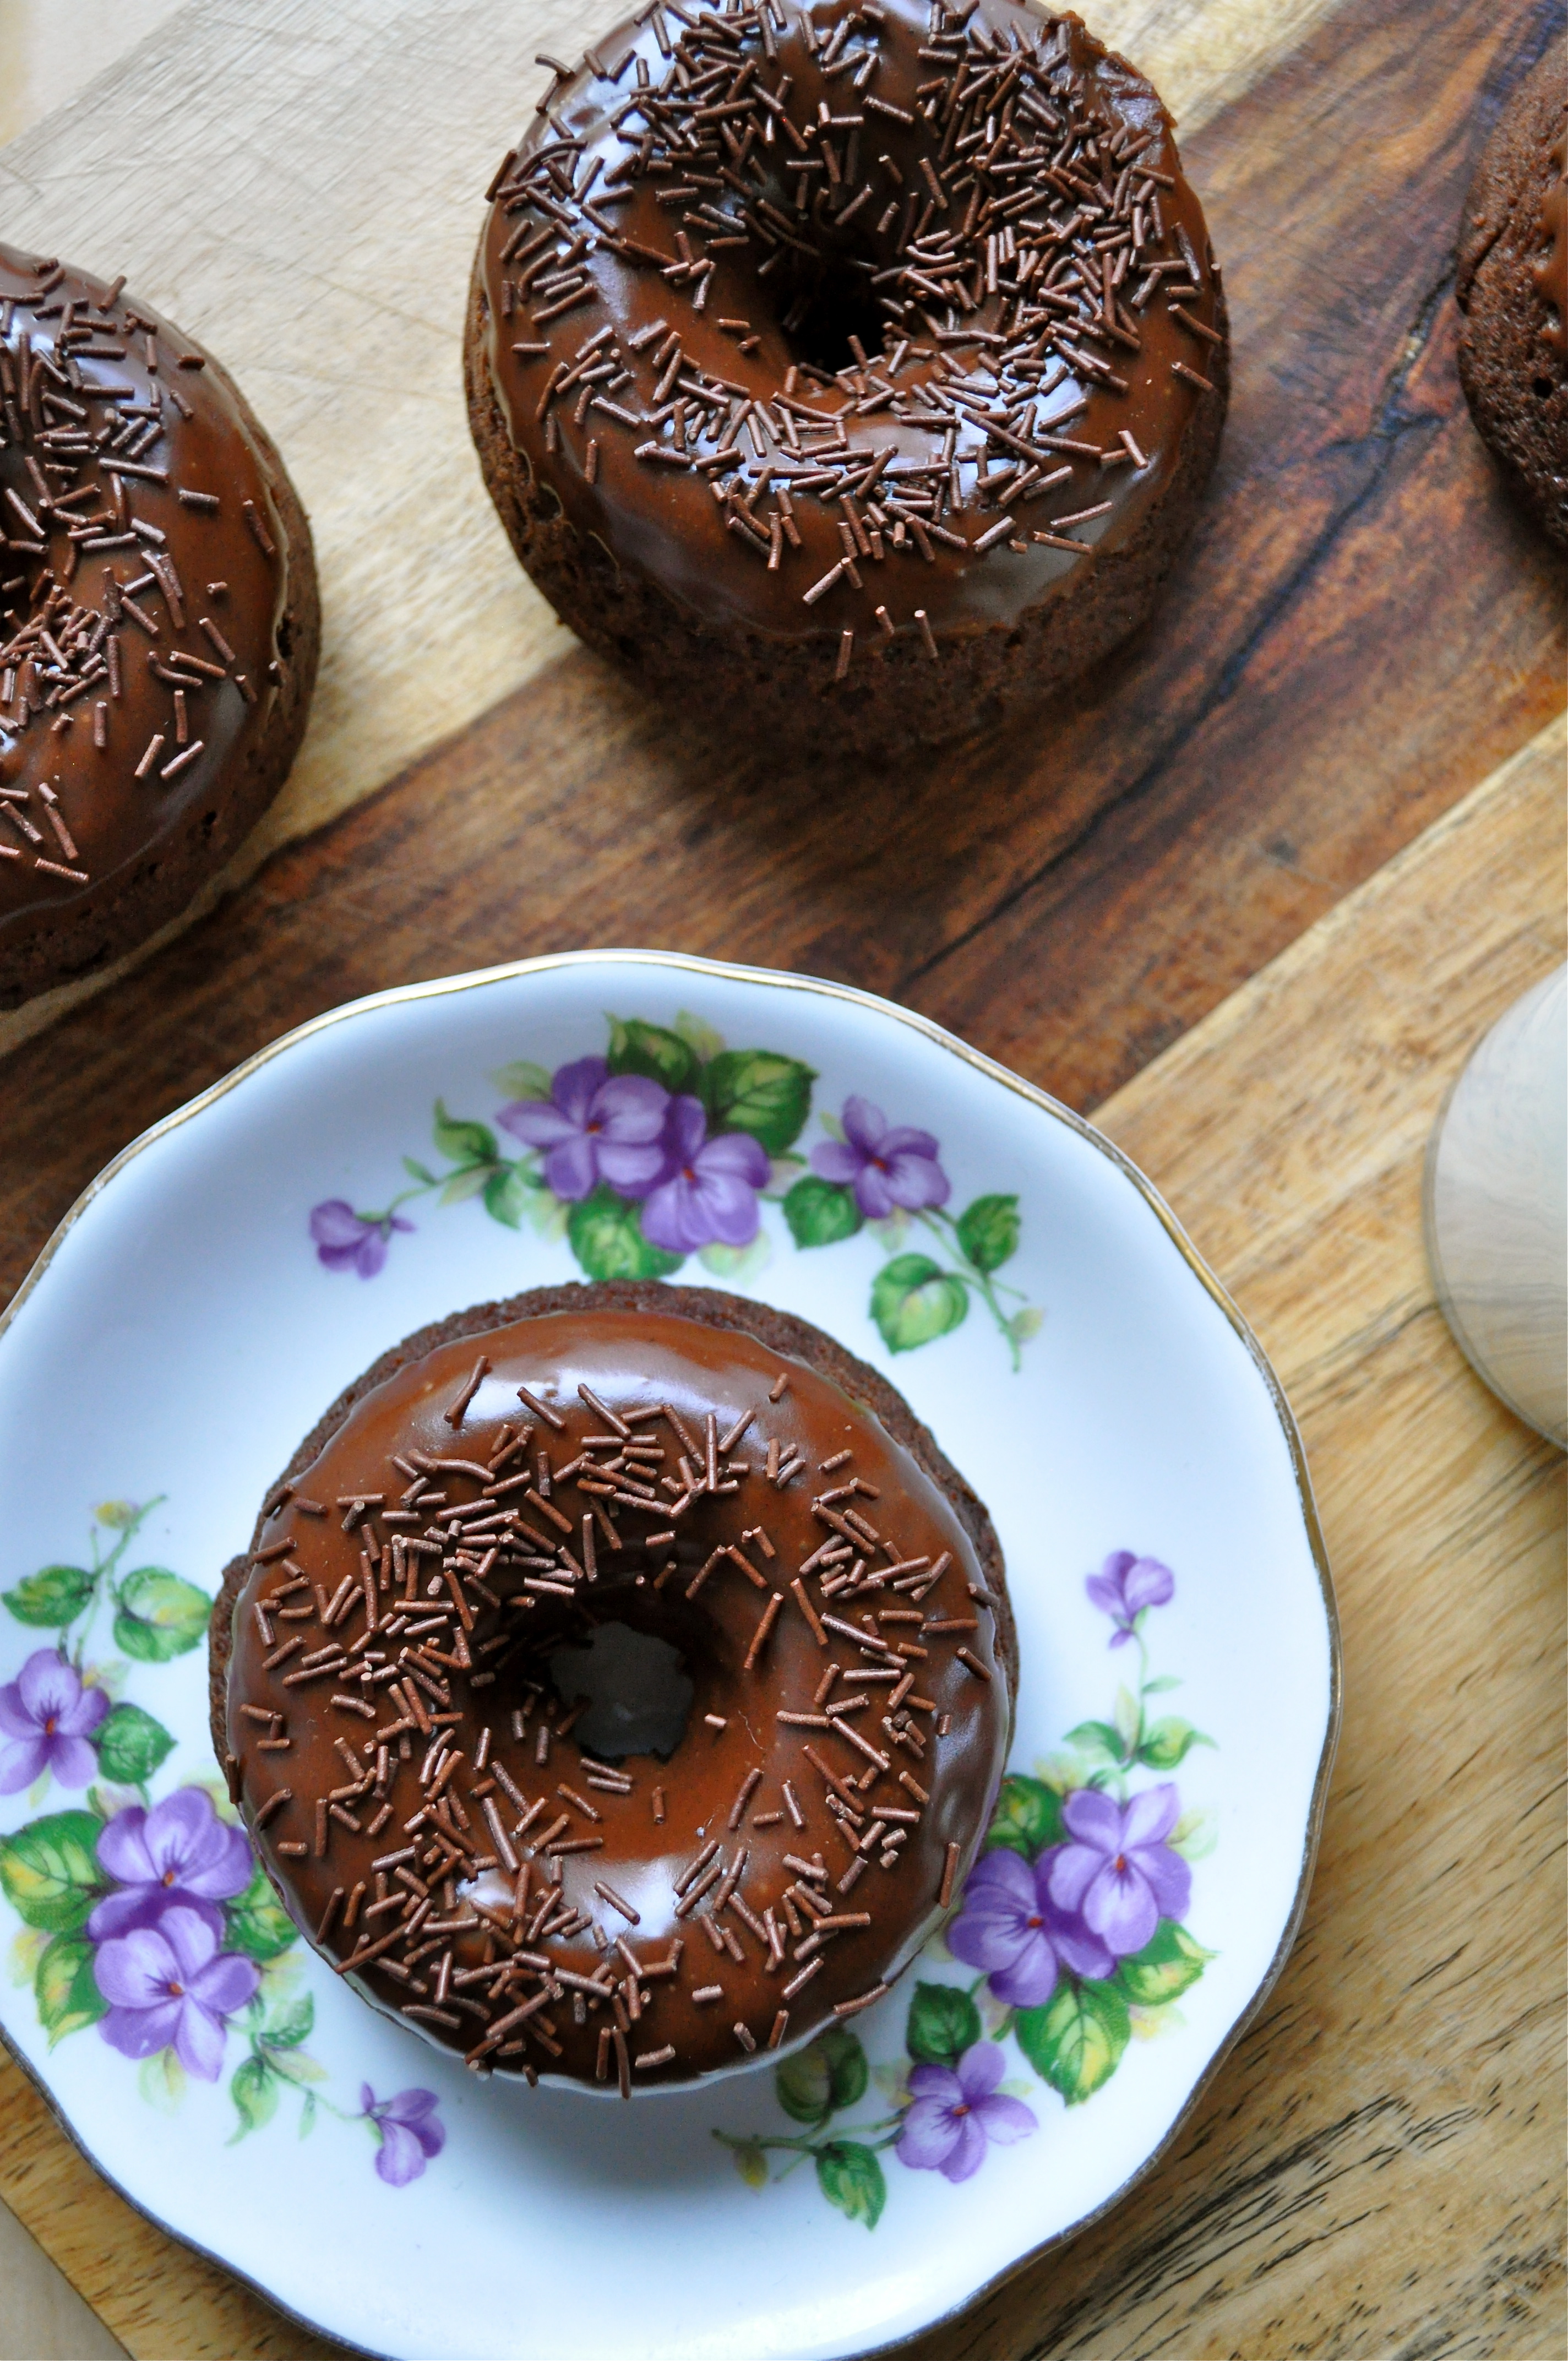
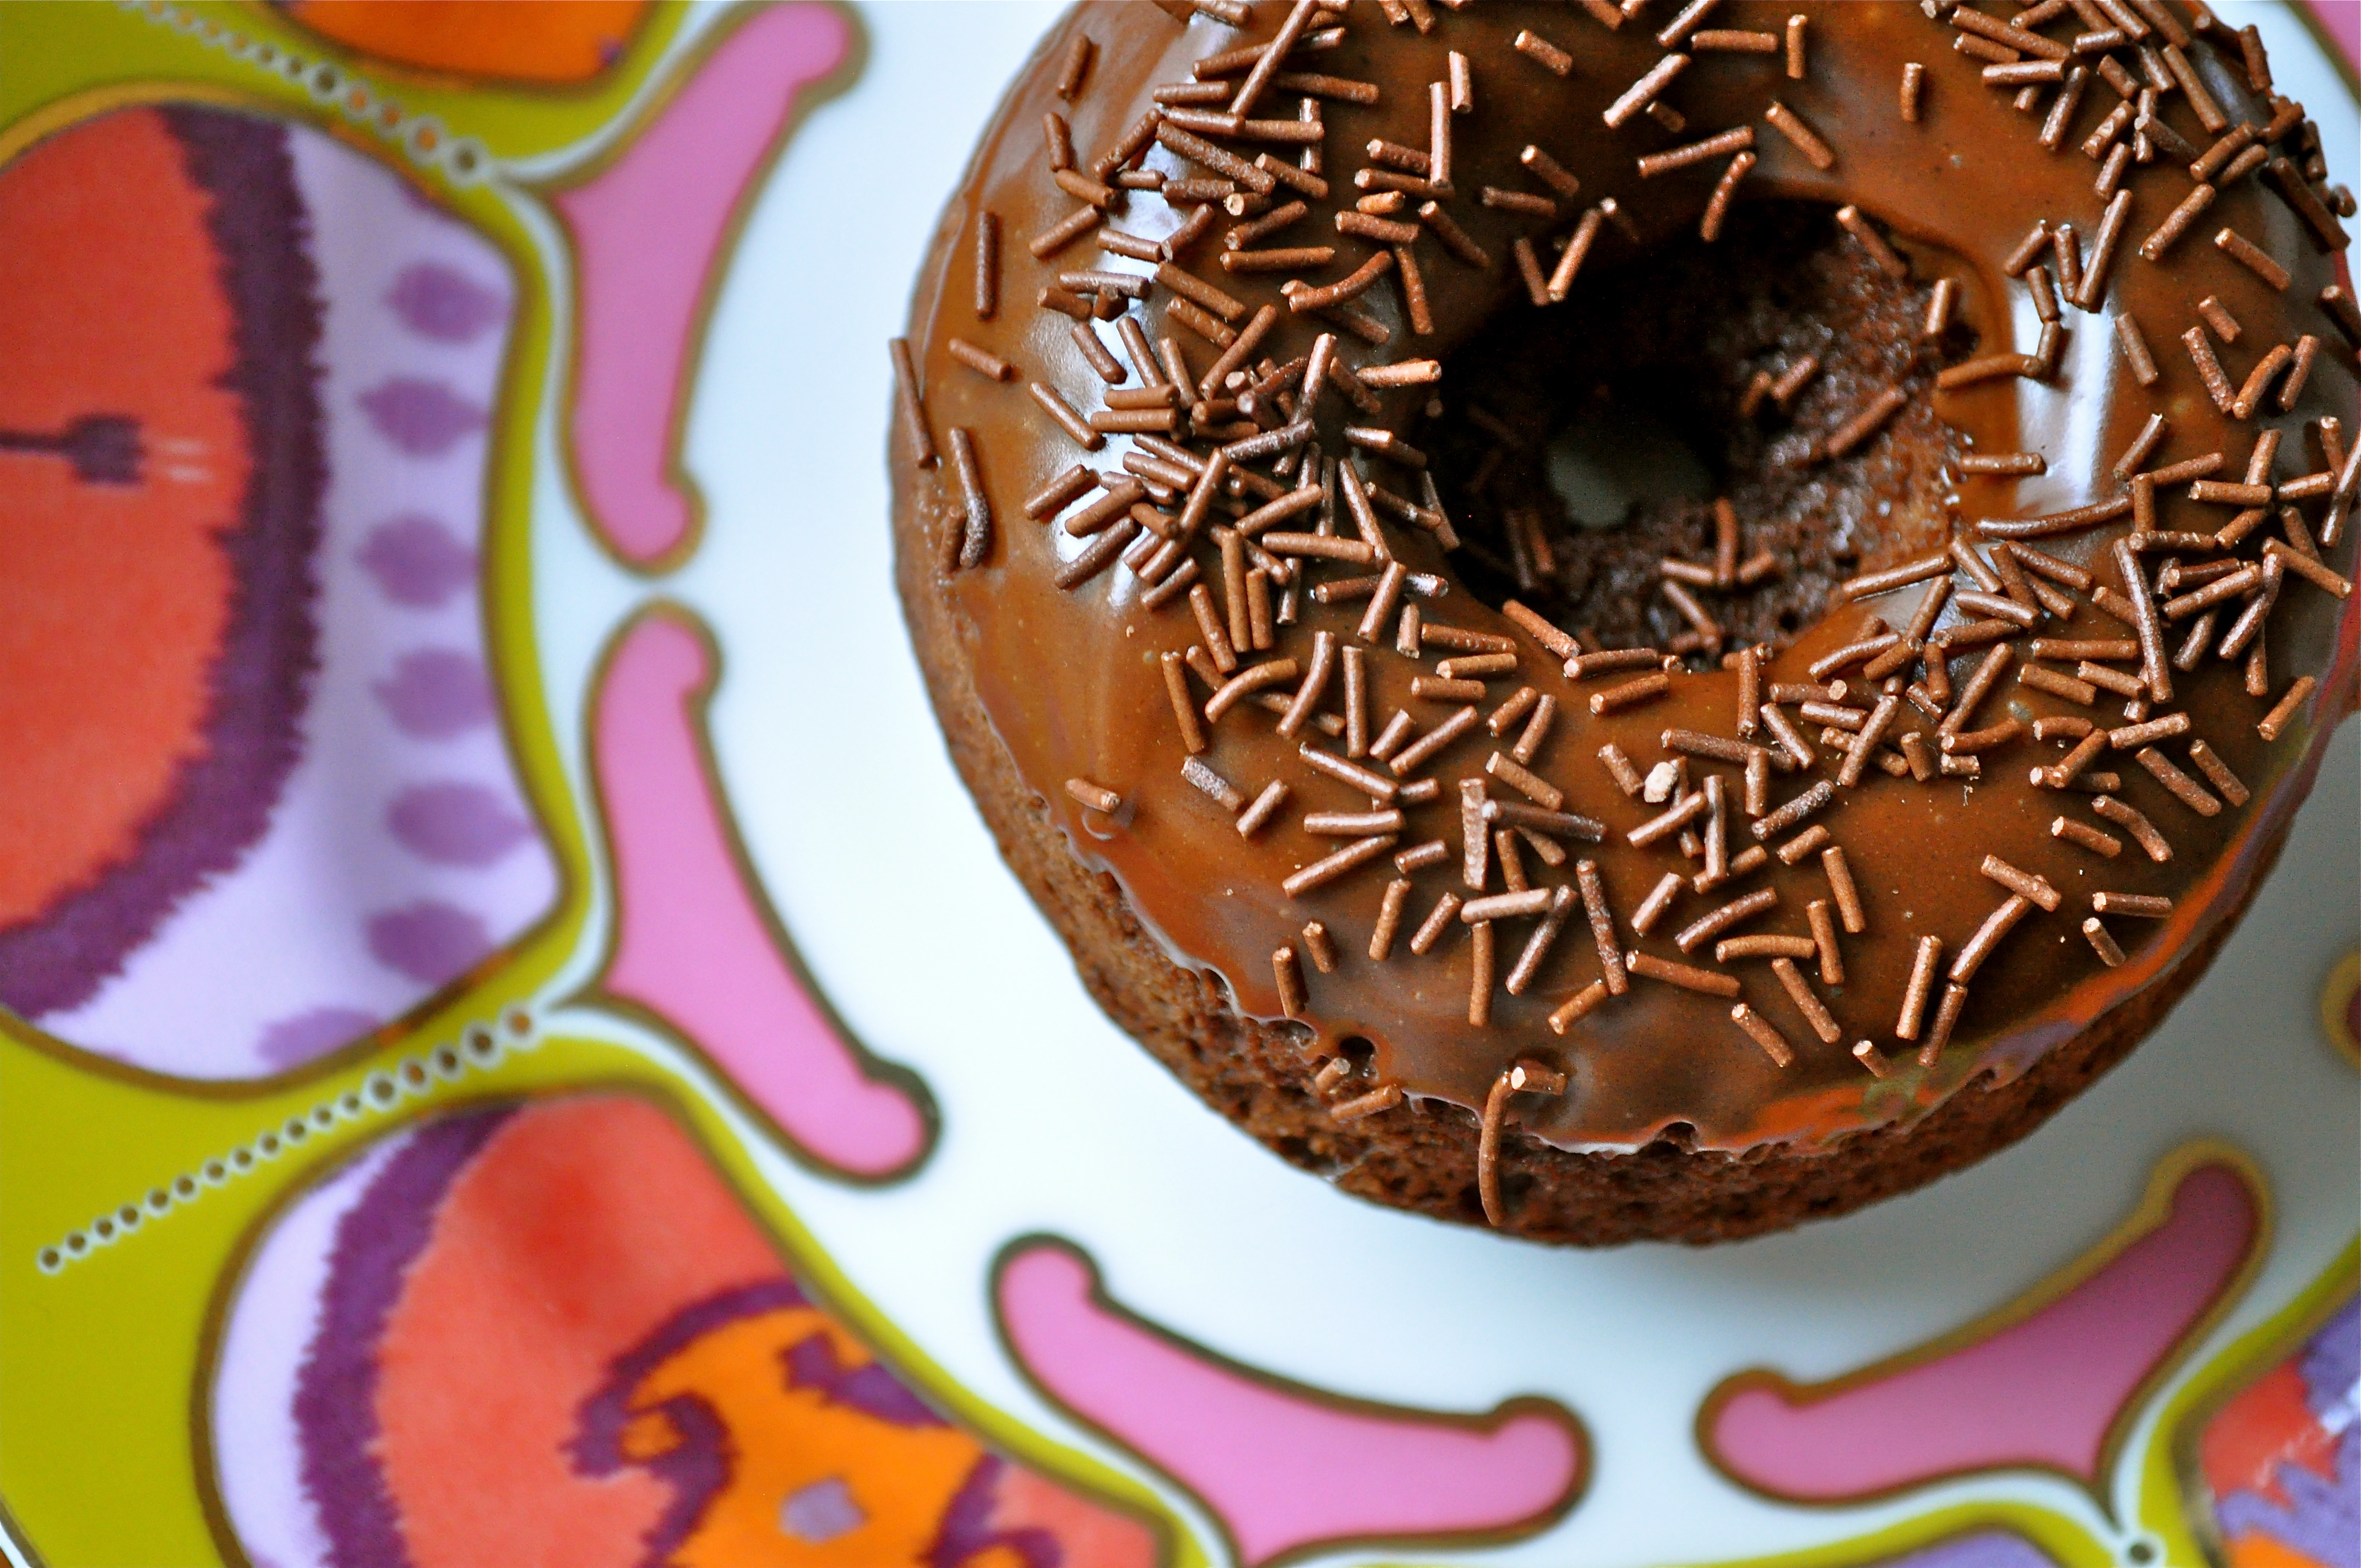
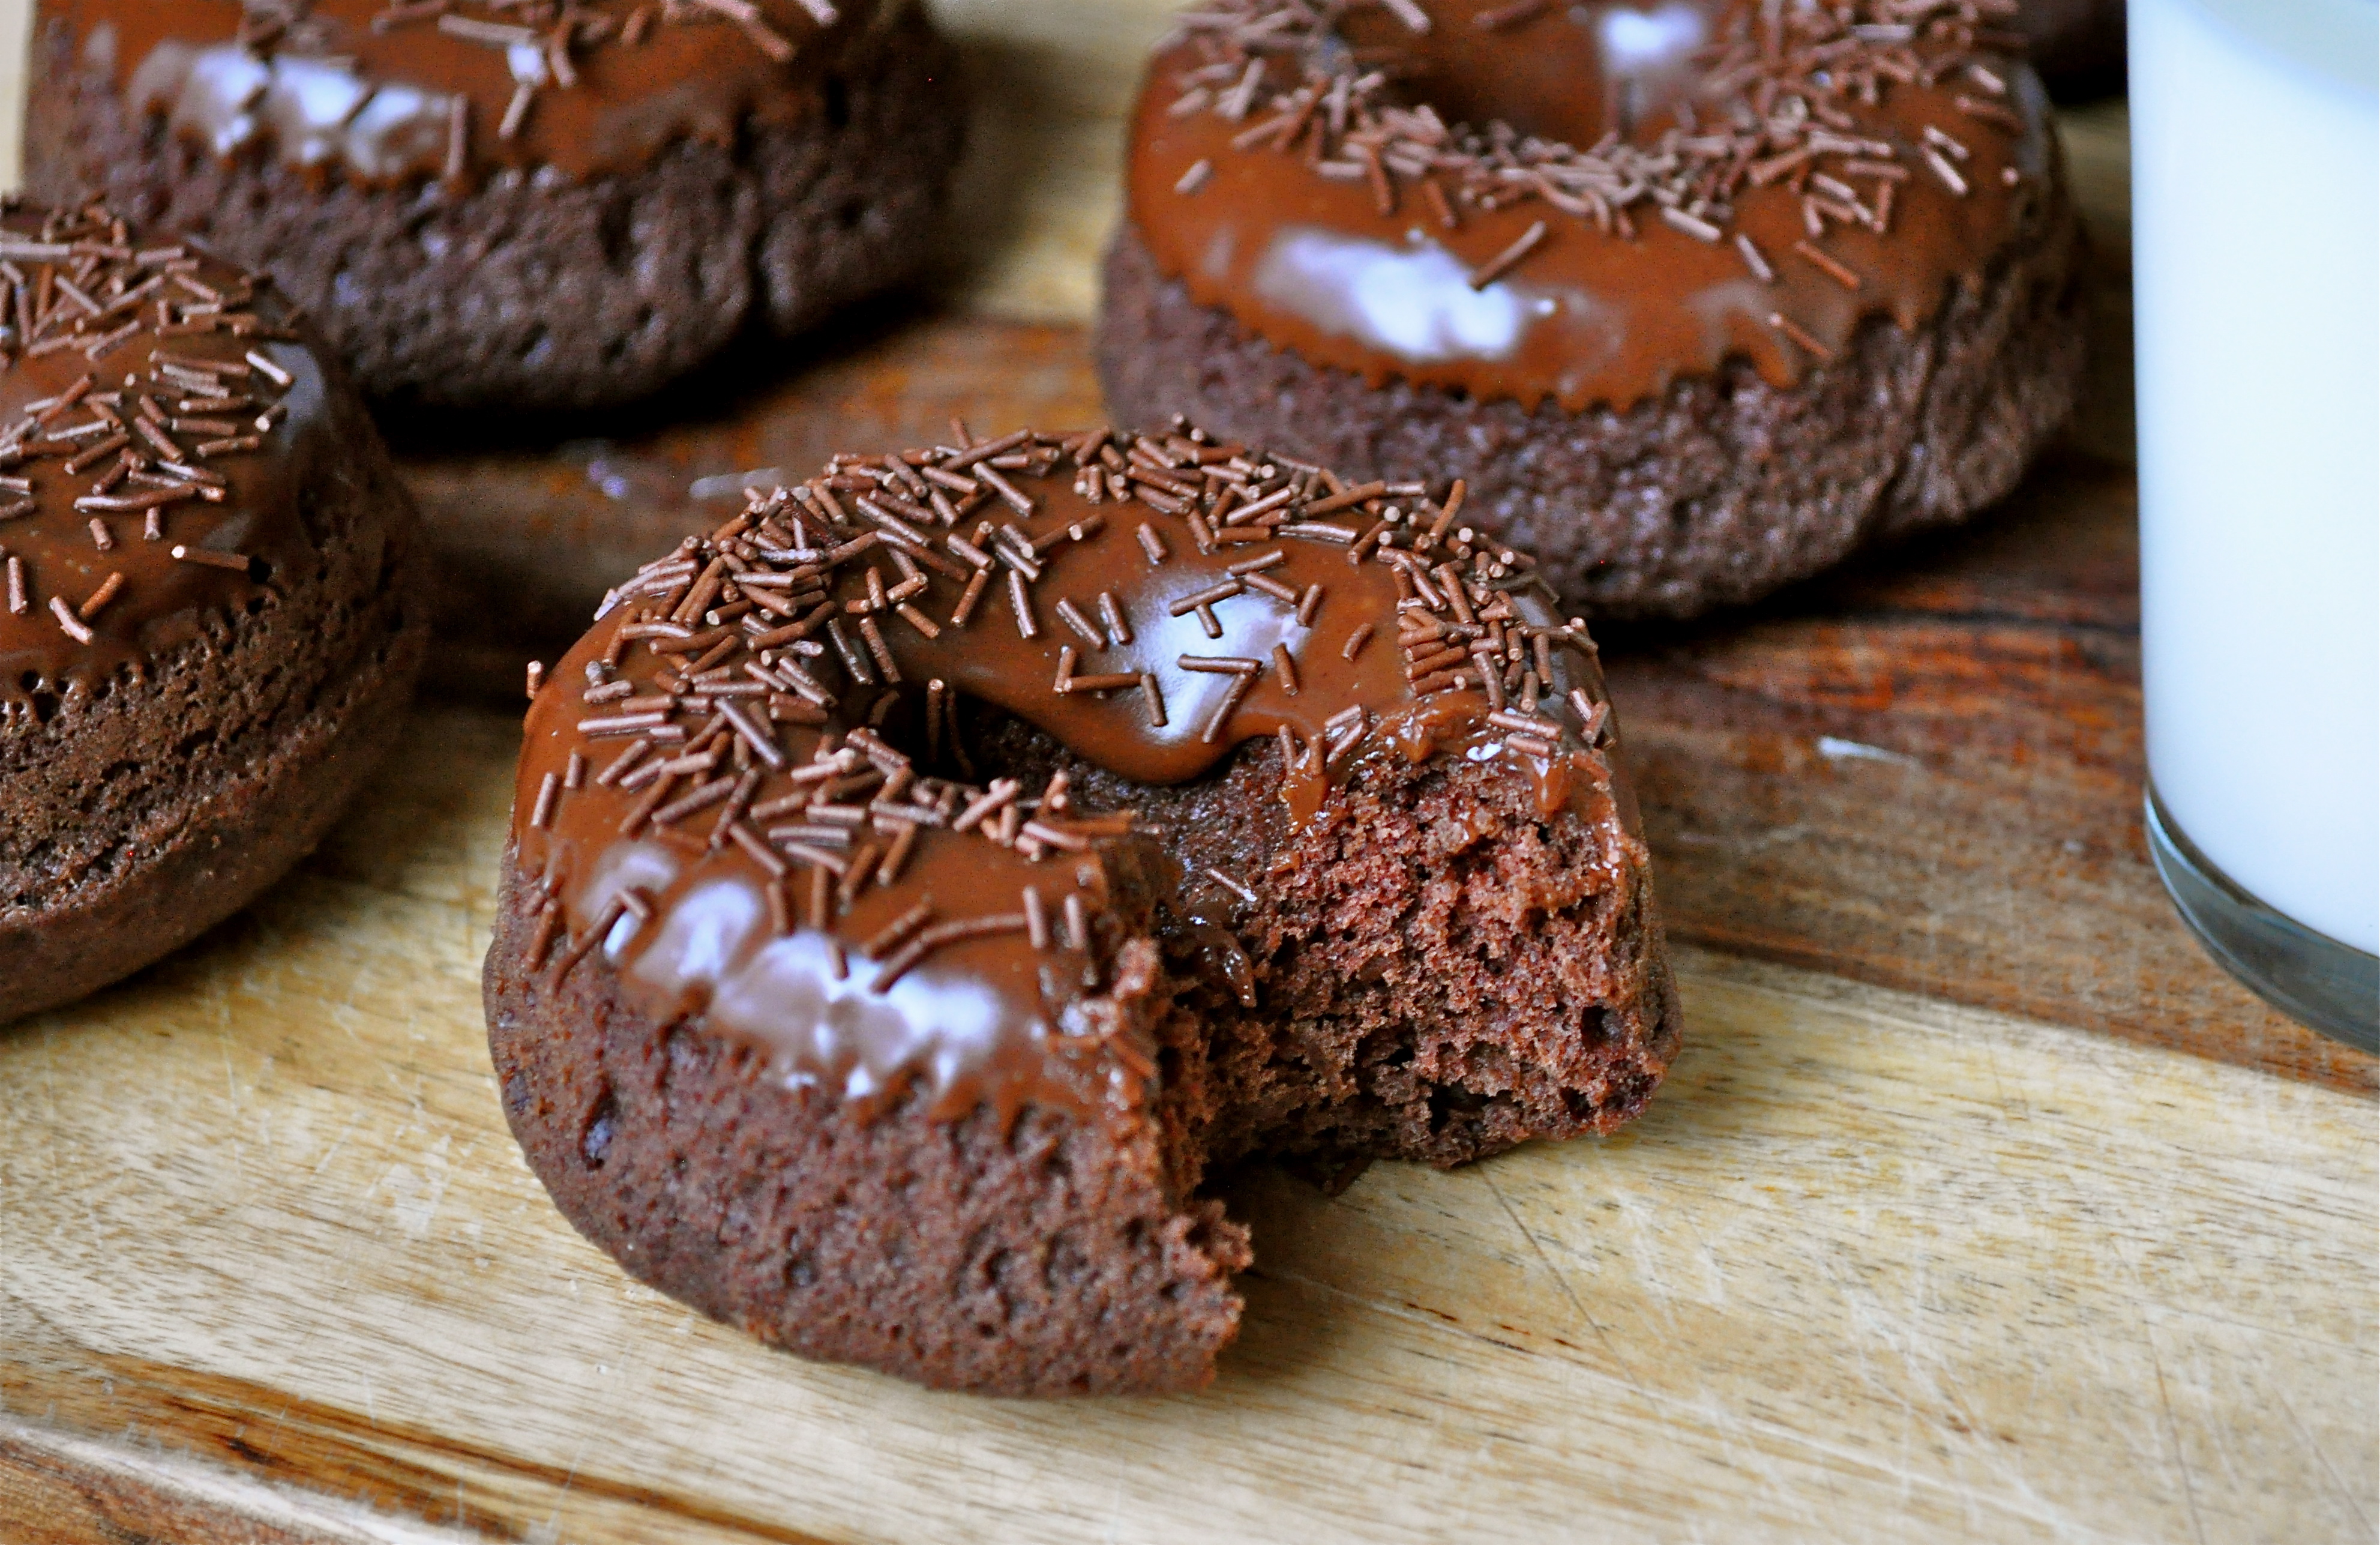
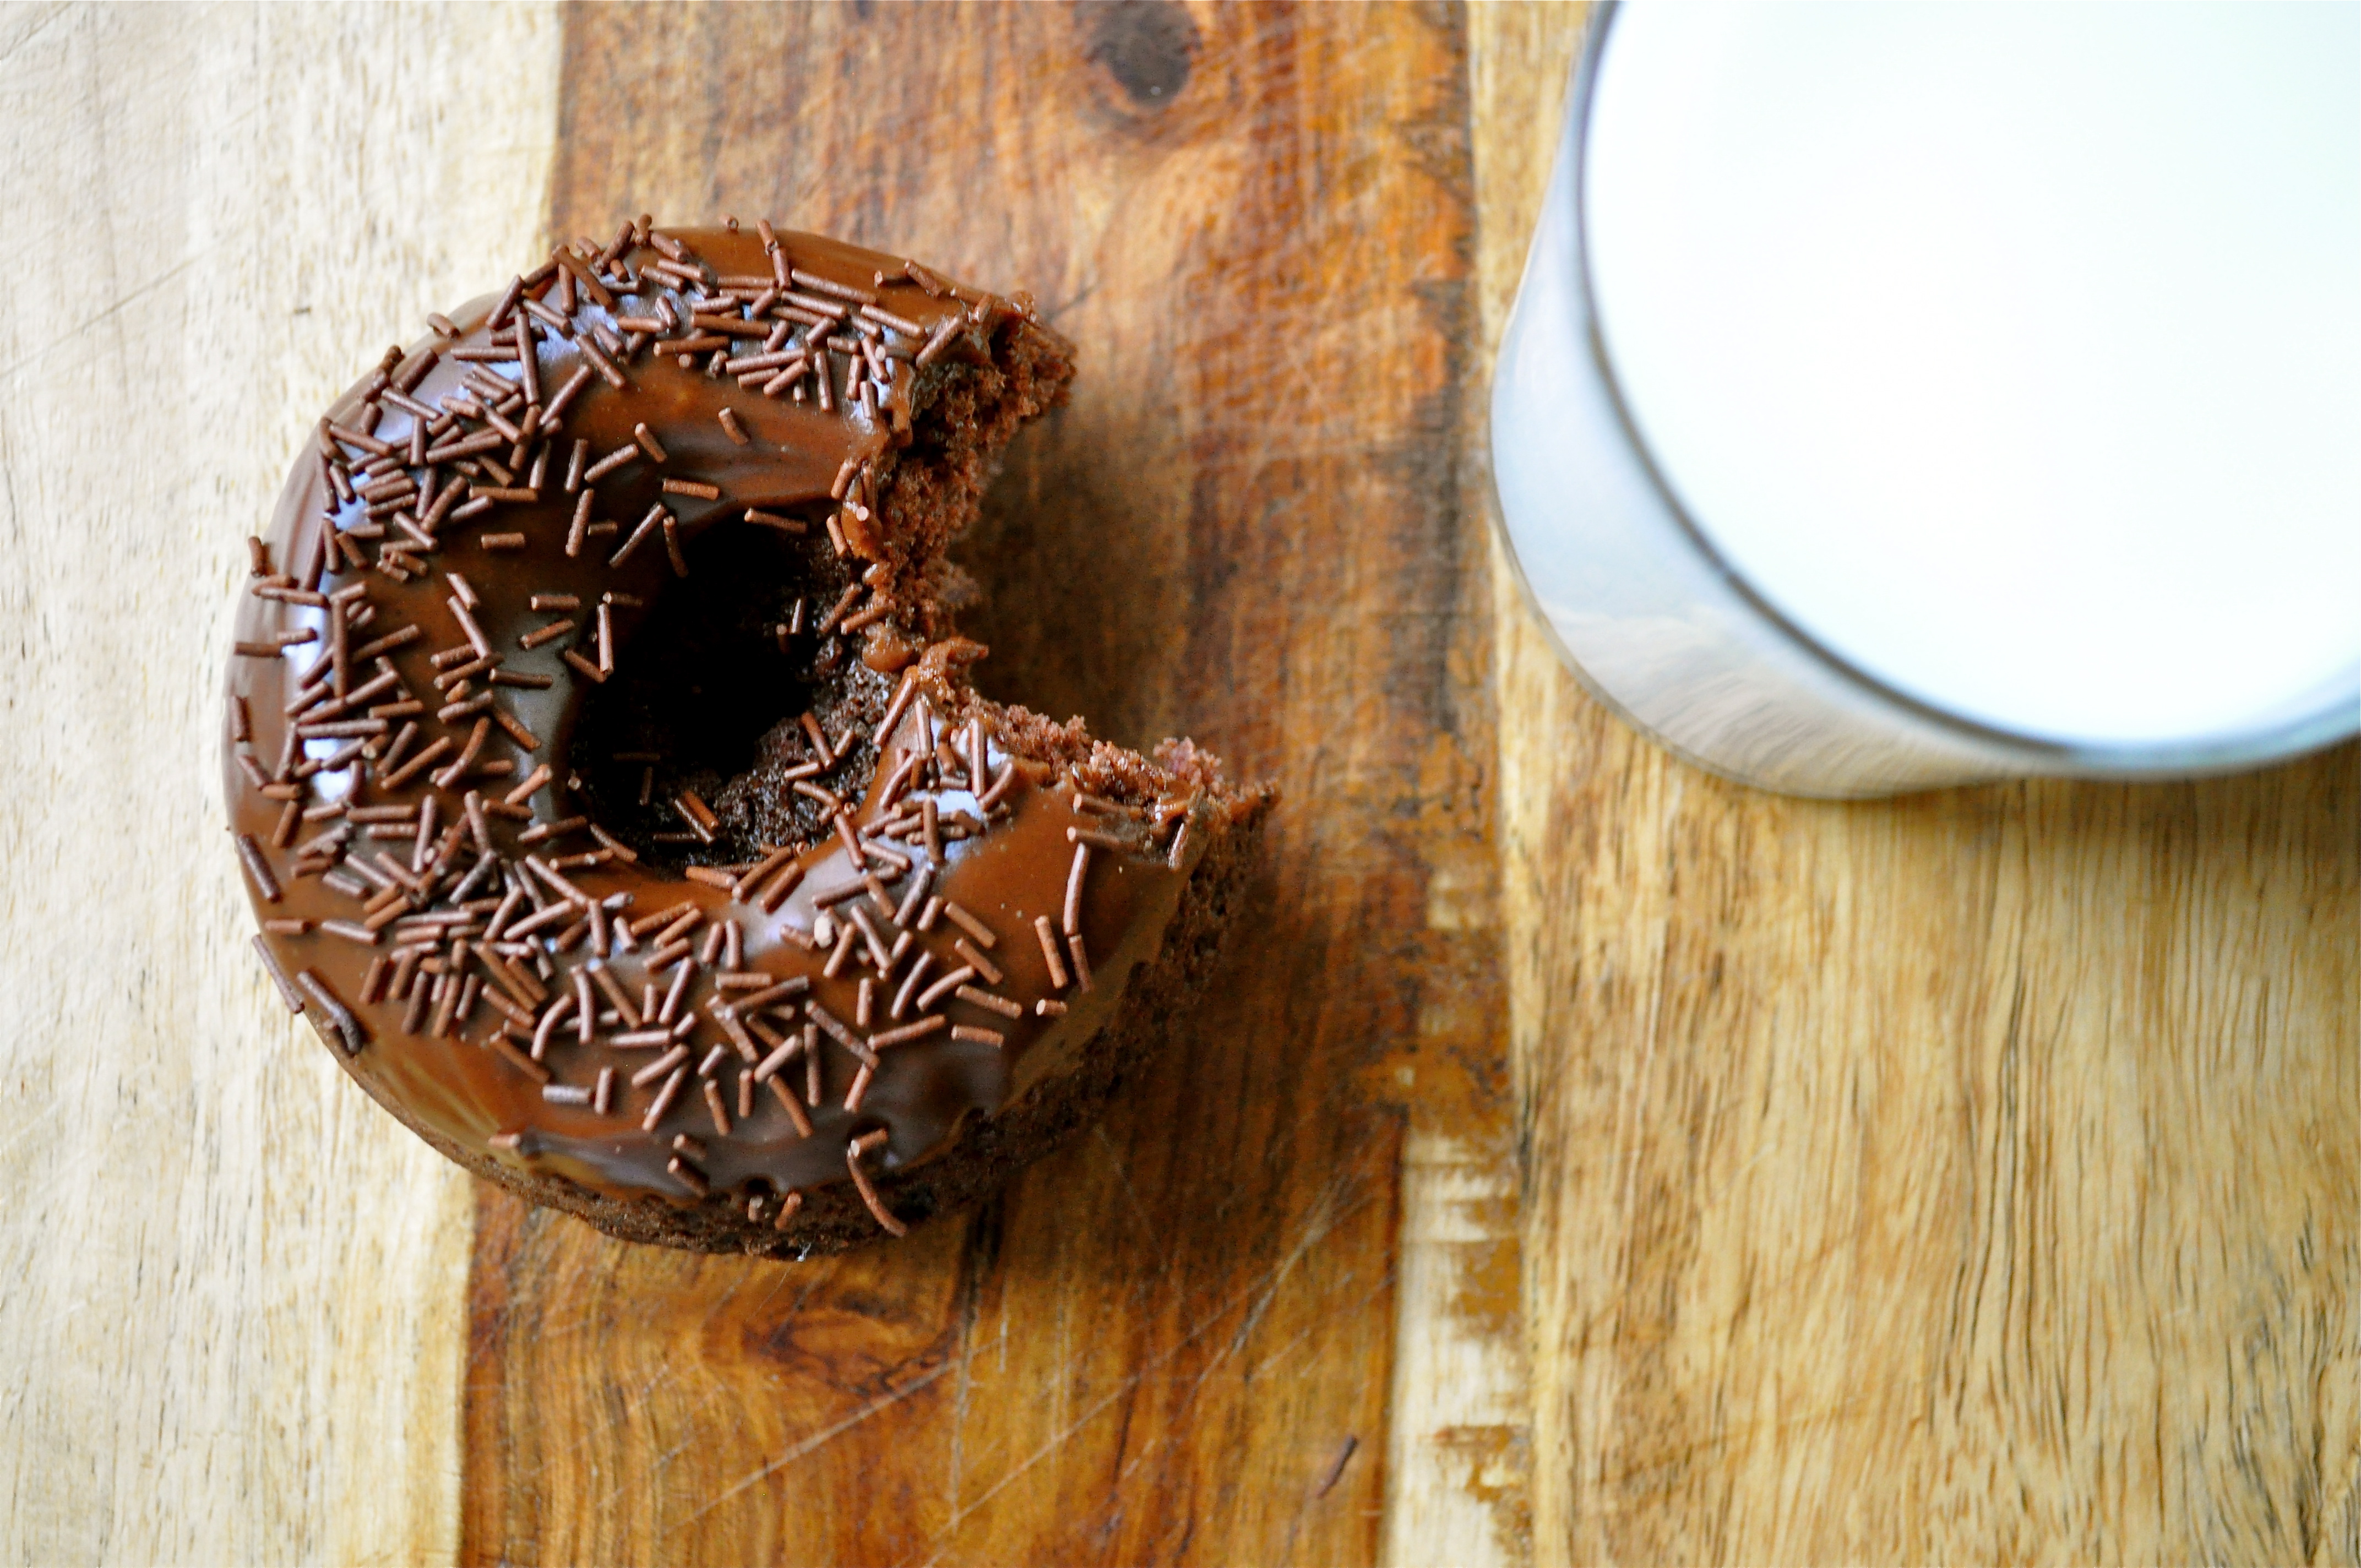
  • So apparently one is supposed to “detox” after a vacation filled with copious amounts of food and alcohol. Detoxes be damned! I want these, these, this, and this, in that order. Cookies for appetizers…yes!

Hope you’re having the loveliest of weekends. xo

Gettin’ Tarty | Brûléed Lemon Tart

Brûléed Lemon Tart | Once Upon a Recipe

Ladies and gentlemen, behold one of the most fabulous things I have ever baked and eaten. The brûléed lemon tart.

I think I may have just made that word up: brûléed. I’m rather certain that brûlée is a noun and that I just used it as a verb. Wait, is that right? Suddenly, I am having difficulty recalling the basics of English grammar. But I don’t care. It sounds kinda catchy.

Bruleed Lemon Tart | Once Upon a Recipe

And this tart is pretty damn catchy. As in, you’ll want to catch it in your mouth because it’s damn delicious.

My apologies, the words aren’t exactly flowing well at the moment. My mind is a bit preoccupied with the fact that in less than 24 hours, I will be on a plane en route to Hawaii, where I will enjoy two weeks of uninterrupted bliss with some very fun people. My body is here, but my brain is already in the sun, sand, and Mai Tais.

Bruleed Lemon Tart | Once Upon a Recipe

But before I go, I must share this tart with you. It may look simple, but it is rather magnificent. A buttery shortbread crust filled with a sweet/tart creamy lemon filling, topped with a sugar crust akin to the one you’d find atop another delectable dessert, crème brûlée. I first made this tart last summer for my mom’s birthday. I topped it with blackberries. It received rave reviews. I made it again as part of the rather gluttonous Easter Feaster a couple of weeks ago, and it did not survive the Easter Feaster table.

Bruleed Lemon Tart | Once Upon a Recipe

If you’ve never made a tart before, fear not. It’s ridiculously simple. The crust comes together in a flash in a food processor. After chilling out in the fridge for a couple of hours, it gets rolled out and pressed into a tart pan. Bake ‘er up. Mix the filling ingredients together. Pour over crust. Bake again. Sprinkle with sugar. Torch it up. Badabing, badaboom.

Brûléed Lemon Tart | Once Upon a Recipe

Despite the large quantities of cream, butter, sugar, and eggs in this recipe, the end result is surprisingly light. And this tart comes with a guarantee: It will not survive more than 24 hours. You have been warned. Either invite some friends over or be prepared to eat this thing until it’s gone. No judgment here if you choose the latter.

Brûléed Lemon Tart | Once Upon a Recipe

A quick note: I will be spending the next two weeks in paradise, and while I would love to promise that I will update the blog a time or two, if the Mai Tais and Pina Coladas are calling to me, I’m not going to ignore them. However, I can guarantee that I will be sharing tidbits from my adventures on Instagram and Twitter, so follow me there if you’re so inclined. The adventures will include a visit here. Have a fabulous couple of weeks, friends! xo.

Brûléed Lemon Tart | Once Upon a Recipe

Brûléed Lemon Tart (from Epicurious, originally printed in Bon Appétit, April 2004)

Makes one 10-inch tart. Feel free to jazz up the finished product with fresh fruit, such as blackberries or blueberries. With that said, it’s just as delicious without any additions. 

For the crust:

1 cup all-purpose flour

1/4 cup icing sugar

Pinch of salt

6 TBSP. unsalted butter, cold and cut into cubes

6 tsp. whipping cream

For the filling:

3/4 cup + 2 TBSP. sugar, divided

3/4 cup whipping cream

4 egg yolks (reserve one egg white)

2 whole eggs

Juice + zest from 2 large lemons (about 1/2 cup juice + 1 TBSP. zest)

For the crust: Combine the flour, icing sugar, and salt in a food processor and pulse for a few seconds until blended. Add the butter and pulse until the mixture looks like coarse meal. Add the whipping cream and blend until moist clumps form. If the dough is too dry, add more whipping cream one teaspoon at a time. Gather the dough into a ball, flatten into a disc, and then wrap in plastic wrap and refrigerate for two hours.

Preheat the oven to 350°F. Remove the dough from the fridge and roll out onto a floured surface. I used a 10-inch tart pan with a removable bottom, but a 9-inch tart pan would work fine too. Roll the dough thin enough to cover the bottom of the pan and create double-thick sides. Press into the tart pan. Poke the bottom of the tart shell all over with a fork. Bake for 18 minutes. Brush the inside of the tart shell with the reserved beaten egg white. Maintain the oven temperature.

For the filling: Combine the 3/4 cup sugar, whipping cream, egg yolks, eggs, and lemon juice and zest in a large bowl and whisk together until combined. Pour the filling into the warm tart shell and return to the oven. Bake for 30-35 minutes, or until the filling is slightly puffed at the edges and set in the center. Cool for about an hour.

Sprinkle the remaining 2 TBSP. of sugar over the filling. Use a kitchen torch to caramelize the sugar, as if you were making crème brûlée. If you do not have a kitchen torch, you can use your broiler to achieve a similar effect. Be very careful, checking the tart after a minute or two, and turning the pan for even browning. It may also be wise to cover the edges of the crust with tin foil to prevent the crust from getting too brown. Allow the tart to cool for another hour, until the topping is crisp. Slice and serve!

Brûléed Lemon Tart | Once Upon a Recipe

Easter Feaster Detox | Coconut Oil Granola

Coconut Oil Granola | Once Upon a Recipe

So…I may have overdone it this weekend. You know, with the whole eating thing. One word: bruleedlemontartbananacreampiehotcrossbunscarrotcakechocolatejellybeans. Please tell me that your weekend was like this too.

It was?! Excellent! I have the perfect recipe to help you get back on track.

Coconut Oil Granola | Once Upon a Recipe Coconut Oil Granola | Once Upon a Recipe

After every holiday, I find myself itching to get back on the healthy eating wagon. Let’s face it – every holiday is practically an excuse to stuff your face with All. The. Things. At least, it is for me. And I’ve discovered that when I start my day with a healthy breakfast, I am much more inclined to keep eating healthy throughout the day. Likewise, if I start the day off with something unhealthy, or unfulfilling, then my habits throughout the rest of the day tend to snowball into something less than pretty. Funny how that works. I know I haven’t rubbed the following fact in your face for a while, but I’m going to Hawaii in a mere eight days.  And I intend to live in my bikini by the pool or beach for a large portion of my two week holiday. It’s time to detox from Easter Feaster.

Coconut Oil Granola | Once Upon a Recipe

One of my absolute favorite breakfasts is granola with yogurt and fruit. And dudes, granola is darn easy to make yourself! In fact, you’re likely to save yourself a bunch of fat, calories, and sugar when you make your own granola versus buying the packaged crap filled with ingredients that you can’t pronounce. I have been making this granola for a couple of years now, and it was my go-to granola recipe…until I came across the recipe you see below. I have been using coconut oil more often in my baking and couldn’t wait to try using it in granola.

Coconut Oil Granola | Once Upon a Recipe

Furthermore, the recipe comes highly recommended by two ladies that I trust when it comes to all things food. Why? Because they just know what’s up. If you haven’t already visited Megan or Cindy, get on it, STAT. I have never been disappointed by a recipe shared by either one of these lovelies, and this granola was no exception.

Coconut Oil Granola | Once Upon a Recipe

It is such a simple recipe, yet it packs so much flavor and crunch. Oh, the crunch! I seriously could not stop eating it by the handful the first time I made it. The coconut oil imparts a nice flavor, yet isn’t overpowering. Don’t take my word for it, try it for yourself! Jump aboard the healthy granola train!

Coconut Oil Granola (slightly adapted from Take a Megabite, which was adapted from Hungry Girl Por Vida)

3 cups oats

2/3 cup sliced almonds

2/3 cup sunflower seeds

1 cup shredded unsweetened coconut

1/4 tsp. salt

1 tsp. cinnamon

1/2 tsp. ground cardamom

A pinch of nutmeg

1/2 cup coconut oil

1/4 cup honey

1/4 cup brown sugar

1 tsp. vanilla

1 cup dried fruit (optional)

Preheat your oven to 325°F. Line a large baking sheet with parchment paper.

In a large bowl, stir together the oats, almonds, sunflower seeds, coconut, salt, and spices. In a small saucepan over medium heat, melt the coconut oil with the honey, brown sugar, and vanilla. Pour over the oat mixture and stir to evenly coat.

Spread the mixture out evenly on the prepared baking sheet. Bake for 15 minutes. Stir and continue to bake at 10 minute intervals until golden brown. (Mine took 15 extra minutes).

Megan and Cindy suggest adding one cup of dried fruit after baking, if desired. I added dried cranberries and chopped dried apricots the first time I made this recipe, and it was delicious. Serve your granola with milk, over greek yogurt with fruit, or from hand to mouth. It will be pretty much impossible not to do the latter.

Coconut Oil Granola | Once Upon a Recipe

Sometimes I eat as though I was raised in a barn. So sue me. 

Take Out Fake Out | Beef with Snow Peas

Beef with Snow Peas | Once Upon a Recipe

Dudes, it’s Tuesday. And in case you didn’t know/needed a reminder, this week is a short one thanks to Good Friday. Which means, it’s basically hump day TODAY. Which means, we’re halfway to the weekend. I have big plans to pig out on ham (no pun intended) and chocolate this weekend. Easter Feaster!

Just call me the bearer of good news. I am here to make you smile.

Beef with Snow Peas | Once Upon a Recipe

And if a short work week + a long weekend isn’t enough to turn the corners of your mouth upwards into a $%@#-eating grin, then I’ve got a back-up plan.

Take out fake out!

Beef with Snow Peas | Once Upon a Recipe

Indeed friends, you are mere minutes away from creating a delicious take-out-esque meal right in the comfort of your own kitchen. Put those Chinese food menus aside and your phones down. In all honesty, I’m not a big fan of Chinese take-out. I rarely crave it, and when I do eat it – as good as it may taste during it’s consumption – I always feel less than great about an hour afterwards. Thanks MSG…not.

Beef with Snow Peas | Once Upon a Recipe

This recipe comes from trusty Ree over at The Pioneer Woman. I first made this dish many months ago and was stunned by how easy and flavorful it is, despite its short ingredient list and quick prep and cook time. Yesterday, after a hectic day at work and a severe case of the Monday blues, I was ready to give in to a dinner of cereal/toast/cookies, or some combination of the three, when this dish came to mind. A quick stop at the grocery store + 20 minutes in my kitchen = saved. Before I knew it I was planted in front of my TV watching the Girls season finale (recorded from last weekend – umm, loved it!) with a tasty meal. This is good stuff people.

Life is short. Make yourself a delicious dinner.

Beef with Snow Peas | Once Upon a Recipe

Beef with Snow Peas (slightly adapted from The Pioneer Woman)

Serves 4-6.

1 pound flank steak, sliced very thin

1/2 cup soy sauce

3 TBSP. rice vinegar

2 TBSP. brown sugar

2 TBSP. cornstarch

1 TBSP. fresh ginger, minced

1 garlic clove, minced

2 cups fresh snow peas, ends trimmed

1/2 cup chopped scallions (about 4-5)

2 TBSP. olive oil

4 cups cooked jasmine rice

Combine the soy sauce, rice vinegar, brown sugar, cornstarch, ginger, and garlic in a small bowl. Place the sliced flank steak in a large bowl and pour half of the mixture over top, tossing to coat. Set the remainder of the marinade aside.

Heat the olive oil in a wok over hight heat. Add the snow peas and cook for about a minute, stirring constantly. Transfer the cooked snow peas to a plate and set aside. Allow the pan to heat up again to cook the steak. Add half of the steak to the pan in a single layer, along with half of the scallions. Allow the steak to cook for a minute and then turn over, cooking for an additional 30 seconds. Transfer to a clean plate. Repeat with the remaining steak and scallions.

Add the first batch of steak back to the wok, along with the snow peas and remaining marinade. Stir for another minute, then remove from heat. Serve immediately over rice.

Beef with Snow Peas | Once Upon a Recipe

PS. I am on dessert-making duty for two Easter dinners this weekend. Any suggestions?!

Check This Out | Pretzel Rolo Nut Bites

Pretzel Rolo Nut Bites | Once Upon a Recipe

Happpppppppy Friday!

The balmy temperatures of late had me caught up in some serious daydreaming of patios with friends this weekend (a bit prematurely, I am aware), but the larger than necessary dump of snow we received yesterday really pounded the final nail into that coffin of dreams. *sigh* Why must you mock me, Mother Nature? Ah well, my Hawaii countdown will keep my spirits high. Only 26 days left to go!

Not to worry, I won’t rub it in any more for now at least. While Erin was popping by to share those incredible Super-Rocky Rocky Road Brownies, I was sharing a little somethin’ somethin’ over in her neck of the woods. I’ll let the pictures do the talking.

Pretzel Rolo Nut Bites | Once Upon a Recipe

Pretzel Rolo Nut Bites | Once Upon a Recipe

Pretzel Rolo Nut Bites | Once Upon a Recipe

Pretzel Rolo Nut Bites | Once Upon a Recipe

Pretzel Rolo Nut Bites | Once Upon a Recipe

Pretzel Rolo Nut Bites | Once Upon a Recipe

Now why don’t you let your fingers do some walking on over to Read, Eat, Create to check out the full post? These wickedly easy, scrumptious, and addictive Pretzel Rolo Nut Bites await you!

Have a great weekend friends!

Guest Post: Erin from Read, Eat, Create: Super-Rocky Rocky Road Brownies

Happy hump day friends!

Today I have a special guest here to share a sweet recipe. Take it away, Erin!

Guest Post - Read, Eat, Create - Rocky Road Brownies

Hi all you Once Upon a Recipe readers! I’m so excited that Amanda let me invade her cute space for the day! I absolutely love her blog and the recipes on here are just to die for! I suppose I should introduce myself. My name is Erin and I blog over at Read, Eat, Create. I’m still working on the “create” part though. Pinterest is just a little too intimidating if you know what I mean.

I’m here to share my love for sweet treats. Now I’m not really a big cupcake or cake lover and I have to be in the mood for cookies (say whaaaa?) but I have a serious soft spot in my heart for brownies. Another soft spot when it comes to sweets for me is ice cream, specifically Rocky Road ice cream. Anyone else with me on this?

So I figured I would combine the two to make one seriously delicious bite.The best part is these are really easy to make!

Guest Post - Read, Eat, Create - Rocky Road Brownies Guest Post - Read, Eat, Create - Rocky Road Brownies

Super-Rocky Rocky Road Brownies

2  1-ounce squares unsweetened chocolate

2/3 cup all-purpose flour

½ tsp. baking powder

¼ tsp. salt

¼ cup (1/2 stick) butter, softened

1 cup granulated sugar

2 eggs

1 tsp. vanilla extract

1  6-ounce package semi-sweet chocolate morsels

1 cup peanut butter chips

1 cup mini marshmallows

Non-stick cooking spray

1. Preheat oven to 350 degrees.

2. Melt chocolate squares in a double boiler. If you don’t have one you can put a metal bowl over the top of a small kettle of boiling water and melt the chocolate in the bowl that way. Set aside to cool slightly.

3. In a large mixing bowl, beat together the butter and the sugar until they’re well blended. Add eggs, one at a time, mixing well after each egg.

4. Gradually add the melted chocolate and mix well. Beat in the vanilla.

5. Slowly add the flour mixture to the bowl and mix thoroughly.

6. Fold in the chocolate chips, peanut butter chips, and marshmallows.

7. Pour the batter into an 8×8 inch pan that has a good coat of non-stick spray.

8. Bake for 40 minutes.  You can tell that they are done if you put a wooden toothpick near the center and it comes out clean.

Thanks so much for letting me stop by Amanda! Want more kitchen fun (and a peek into my life of never ending randomness)?  Come on over for a visit at Read, Eat, Create. Hope to see you all there!

Baked, Not Fried | Double Chocolate Baked Doughnuts

Double Chocolate Baked Doughnuts | Once Upon a Recipe

Hi friends, happy Friday!

My brain is full of pressing questions. First of all, is it doughnut or donut? Is it simply a matter of preference or is there one correct answer? These are the questions that keep me awake at night. Just kidding…sort of. #firstworldproblems

Secondly, why the blazes has it taken me so long to make baked doughnuts? I mean, I realize that I’m a little late to the party. In my defense, I bought my doughnut pan approximately 11 months ago, when baked doughnuts were gaining popularity. Prior to the creation of the lovely specimen you see above, I used my doughnut pan approximately once. It was a massive fail of a recipe, so perhaps I began to equate my doughnut pan with failure and consequently shoved it to the very back of my cupboard to suffer with the mice poop and other dusty dishes. Just kidding, I don’t have mice poop in my cupboards. At least, not to my knowledge. What you don’t know can’t hurt you!

Double Chocolate Baked Doughnuts | Once Upon a Recipe

In any case, earlier this week I decided to give my doughnut pan another shot. And proceeded to become extremely frustrated when my doughnuts came out of the oven with muffin tops, making them resemble anything but a doughnut. Argh. The doughnuts tasted good, but they didn’t look like doughnuts, and I kind of thought that defeated the purpose. I mean, I may as well make muffins if my baked doughnuts aren’t going to resemble actual doughnuts.

Fortunately, instead of giving up, I pressed on. And I figured out the problem. The key to pretty little baked doughnuts is to refrain from overfilling the pan. Those bad boys rise up in the oven, and you’ve got to give ’em some room! It really helps to put the batter into a piping bag and pipe it into the pan. Spooning it into the pan just might cause you to have a frustration/impatience-induced stroke. Words of wisdom friends.

Double Chocolate Baked Doughnuts | Once Upon a Recipe

If you don’t already own a doughnut pan, I highly recommend the $10 investment. (I have this pan). Baked doughnuts look freaking boss! I mean, they look like a doughnut, which is inherently impressive given the amount of time and energy that goes into making real doughnuts (the amazingly delicious fried kind). But the kicker is, they’re baked, not fried, meaning they take way less effort and they’re way less bad for you to consume. Winning!

They’re cute too, no? Cute food. It’s the little things that make life worth living.

Double Chocolate Baked Doughnuts | Once Upon a Recipe

Don’t even try to tell me that you don’t want to stick your face right into that up there. I’ll totally call your bluff.

Double Chocolate Baked Doughnuts | Once Upon a Recipe

Bonus: These baked doughnuts aren’t all that bad for you. I’m not calling them health food, but they’ll provide you with the satisfaction of enjoying a delicious treat (a doughnut!) without the kind of abuse to your waistline caused by their fried cousins. And the recipe makes six doughnuts. Even if you completely lack any self control, you’ll only have consumed six doughnuts. There are worse things you could do. Just sayin’…

Double Chocolate Baked Doughnuts | Once Upon a Recipe

Double Chocolate Baked Doughnuts

Makes six doughnuts. If you don’t have a doughnut pan, you could make these into muffins (you’ll have to bake them a bit longer), but that really wouldn’t be as much fun, in my opinion. 

For the doughnuts (adapted from Food Family Finds):

1 cup all-purpose flour

¼ cup + 2 TBSP. granulated sugar

¼ cup cocoa powder

½ tsp. baking powder

½ tsp. baking soda

½ tsp. salt

¼ cup + 3 TBSP. milk

1 egg, beaten

½ tsp. vanilla

1 TBSP. unsalted butter, melted

For the glaze (from my fried doughnut recipe):

2 TBSP. unsalted butter

1 TBSP. milk

1 tsp. honey

1/2 tsp. vanilla

1 ounce semi-sweet chocolate, chopped

2/3 cup icing sugar, sifted

Sprinkles!

Preheat the oven to 325°F. Spray a 6-count doughnut pan with non-stick spray. Set aside.

For the doughnuts: In a medium bowl, sift the dry ingredients together. In a separate bowl, combine the wet ingredients. Add the wet ingredients to the dry ingredients and stir until just combined. The batter will be very thick. Divide the batter between the six doughnut cavities (each should be about 3/4 full). I recommend piping the batter into the cavities. Bake for about 12 minutes or until a toothpick inserted into one of the doughnuts comes out clean. Allow the doughnuts to cool in the pan for a few minutes and then invert them onto a cooling rack.

For the glaze, combine the butter, milk, honey, and vanilla in a small saucepan over medium heat. Once the butter has melted, add in the chocolate and whisk until smooth. Remove from heat and add the icing sugar, stirring until combined. Dip the cooled doughnuts into the glaze and cover with chocolate sprinkles. Enjoy immediately! Leftovers can be stored in an airtight container for a couple of days.

Double Chocolate Baked Doughnuts | Once Upon a Recipe

Looking for more baked doughnut inspiration?

I highly recommend these baked cinnamon sugar doughnuts by Shutterbean (seriously amazing) and these blueberry doughnuts with lemon and cream cheese glaze (yes please!) by Hungry Girl Por Vida. Bomb. If that doesn’t inspire you to buy a doughnut pan, I don’t know what will. Have a great weekend!

Get Excited About Salad!

Get Excited About Salad! | Once Upon a Recipe

So I have this pet peeve. Something that really irks me. You wanna know what it is?

I’m going to tell you anyways. I mean, that’s why you’re here right? You allow me to talk incessantly about the crap that runs through my brain 18 hours per day and I reward you at the end of it all with a tasty recipe. It’s a mutually beneficial relationship we’ve got going on here. Capiche?

Back to the pet peeve. Restaurants that serve you a bowl of lettuce with a sprinkle of shredded carrots and call it a side salad. Dude, that’s not a salad. That’s lettuce with some shredded carrots on it.

Get Excited About Salad! | Once Upon a Recipe

In fact, I blame restaurants that make fake salads for turning people off of salads. Giving them a bad rep. Lettuce with shredded carrots on it isn’t exciting! It’s rabbit food!

But adding fun toppings like nuts, cheese, veggies, dried fruit, and a delicious dressing? Now that’s something to get excited about. Take the salad you see here, for instance. A bed of mixed greens is totally more exciting than plain ol’ lettuce. Toasted walnuts – yes. Dried cranberries – wicked. Creamy goat cheese – yes siree. Crumbled bacon – heck yeah. Top it off with a homemade vinaigrette and a hardboiled egg or two for some added protein and that right there is a complete and fantastic meal.

Get Excited About Salad! | Once Upon a Recipe

Dudes will like this salad too! (I credit the bacon for that one) I took this salad to a dinner party to serve as its own course (minus the hardboiled egg). It was a HUGE hit with the ladies and the dudes. The flavors work really well together and the whole thing is just so darn satisfying. I also included halved cherry tomatoes, but didn’t have any on hand when I made it again last weekend. I highly recommend that you add them as they provide a sweet little juicy pop.

Get Excited About Salad! | Once Upon a Recipe

Feel free to play around too! Think of this recipe as a guideline for creating a really well-balanced and flavorful salad. If you don’t like walnuts, try almonds or pecans. Not a fan of goat cheese? Try feta or parmesan cheese. Want to make this vegetarian? Omit the bacon. If you’re making a meal out of it, trying adding grilled chicken in place of the egg. Or grilled tofu! Tuna or salmon! The possibilities are endless. Get into it!

Get Excited About Salad! | Once Upon a Recipe

The Get Excited About Salad Salad (adapted from Oprah.com)

The cherry tomatoes aren’t shown here, but please add them if you can. As mentioned, if you’re making this as a side salad or for a salad course, the hardboiled egg or added protein can be left out. But if you’re making this salad into a meal, definitely add your protein of choice to ensure hunger satisfaction. The dressing is wonderful and could really be used on any salad. It will make more than you need for this recipe, so store any leftovers in a tightly sealed jar in the fridge and use on other salads throughout the week.

For the dressing:

  • 1/4 cup red wine vinegar
  • 1 shallot, finely chopped
  • 1 tsp. Dijon mustard
  • 1 tsp. honey
  • 1/4 teaspoon salt
  • 1/8 teaspoon freshly ground black pepper
  • 1/3 cup plus 1 tablespoon extra-virgin olive oil

For the salad (serves 2 as a meal, 4 as a side):

  • 1/4 cup walnuts, toasted and chopped
  • 3 cups mixed greens
  • 1/4 cup cherry tomatoes, halved
  • 1 ounce of goat cheese, crumbled
  • 4 strips of thick-cut bacon, cooked and crumbled
  • 1/4 cup dried cranberries
  • 2 eggs, hardboiled (optional)

To toast the walnuts, spread them out onto a baking sheet and toast them in the oven at 350°F for about 8-10 minutes. Combine all of the dressing ingredients, minus the olive oil, in a small bowl. Slowly add the olive oil, whisking constantly as you do so. Set aside.

Combine the mixed greens, toasted walnuts, cherry tomatoes, and dried cranberries in a large bowl. Add the dressing (to taste – you will not need all of it) and toss to coat. Split the salad onto 2 (or 4) plates and then evenly sprinkle with the goat cheese and bacon. Slice the hardboiled egg and add one egg to each salad. Enjoy!

PS. I totally just made this again for dinner last night and added a fried egg. It was mega!

PPS. What makes a salad great for you?

Stuffed to the Gills | Salmon Stuffed with Spinach, Sun-Dried Tomatoes, and Feta

Stuffed Salmon | Once Upon a Recipe

Da-dun-tss. I’m not sure what is more hilarious – my lame pun (stuffed to the gills) or the fact that da-dun-tss is actually defined by Urban Dictionary and my name is totally used in the example. Check it. Anyways…

Want to know how to really impress someone? Anyone…a family member? A friend? A member of the opposite sex (or same sex, if that’s your thing)? (whether or not you’re trying to woo said person is totally optional, but preferred)

…cook for them! And don’t just cook anything. Cook something that totally looks and tastes like you put way more effort into it than you actually did!

Stuffed Salmon | Once Upon a Recipe Stuffed Salmon | Once Upon a Recipe

This salmon is a fine example. I mean, look at it. Two thick salmon fillets, perfectly cooked, and sandwiched around a ridiculously delicious filling of spinach, sun-dried tomatoes, and feta cheese. It’s beautiful! And totally looks and tastes gour-met. I’m confident enough in the wow-factor of this salmon that I’m prepared to give you a money-back guarantee. If you make this for someone and they don’t like love it, I will have a batch of freshly baked cookies couriered to your doorstep. Call it a cookie-back guarantee. (But play nice and refrain from testing my theory on someone who is opposed to fish, ’cause obviously that ain’t gonna work).

Stuffed Salmon | Once Upon a Recipe

Seriously. My Dad makes a mean grilled salmon, but this comes in at a very close second. And it’s as easy as can be! The inspiration came from a dinner I had at a friend’s place (hi Bev!), where she made a similar stuffed salmon, but with goat cheese. I never got her recipe but tried to recreate it at home and decided to use feta, since that’s what I had on hand. The feta is a little bit less overpowering than goat cheese, which worked really well here, since some of the other flavors (like the sweetness of the sun-dried tomatoes) were able to shine through. Serve the salmon with Orzo with Parmesan and Basil, and a steamed green like broccoli or asparagus, and you’ve got yourself an incredible, yet supremely easy meal. Sure to win over the hearts of many.

Please take me up on my offer. I like being right.

Stuffed Salmon | Once Upon a Recipe

Salmon Stuffed with Spinach, Sun-Dried Tomatoes, and Feta

Serves 2-3 generously. If feeding a larger group, increase the size of the salmon fillets and double or triple the filling ingredients. Also be prepared to adjust the baking time. Make sure that your fillets are very similar in size and have a relatively even thickness throughout. If the fillets are thick in the centre and thin at the ends, you will end up with cooked ends and an uncooked centre, or a cooked centre and overcooked ends, which would be a real shame. 

2 fresh salmon fillets (skinless), about 1/2 pound each and 1 inch thick

1 TBSP. olive oil

2 heaping cups of fresh baby spinach, roughly chopped

1/3 cup sun-dried tomatoes, packed in oil (drained and roughly chopped)

1/3 cup + 2 TBSP. crumbled feta cheese

2 cloves of garlic, minced

1 lemon, halved

Salt and pepper, to taste

Preheat the oven to 375°F. Spray a shallow casserole dish or baking sheet with non-stick spray. Lay one of the fillets down in the baking dish. Heat the olive oil in a skillet over medium-heat and saute the spinach until just wilted, about 1 minute. Add the sun-dried tomatoes and the garlic, and stir for another minute. Remove from heat and stir in 1/3 cup of feta cheese.

Spread the mixture evenly on top of the fillet. Squeeze half of the lemon over top of the filling. Lay the second fillet over top of the first, lining it up as evenly as possible. Squeeze the other half of the lemon over top, and then liberally sprinkle with salt, pepper, and the remaining feta cheese. Bake for 25-30 minutes, or until the salmon is just cooked through. Please note that the baking time will vary greatly depending on the size and thickness of your salmon fillets, so adjust accordingly. I suggest keeping a close eye on it after the first 20 minutes.

Stuffed Salmon | Once Upon a Recipe

Now get to that woo-ing.

Weekend Favorites

Weekend Favorites

Hi friends!

Happy weekend! It’s a long weekend around these parts, and I am so excited to have an extra day to relax and enjoy. I have a few new recipes that I’m hoping to make and photograph to share with you in the next couple of weeks.

I’m also going to try a little something new around here. A few of my fellow bloggers have started doing weekly posts to share their favorite finds from around the web, chat about what they’re loving lately, and so on. I find these kinds of posts really fun to read and thought I might give it a shot myself. At this point I don’t plan on making it a weekly feature, but rather something that I will try to do once a month.

So with that said, here are some of favorite finds from around the Internets lately! Have a fantastic weekend!

  • With this little bit of extra time on my hands this weekend, I am going to use my not-at-all-new-but-barely-used-doughnut-pan to make these. I have a very good feeling about this.
  • I read this post about love a while ago, and well, I loved it. Very well said, Emma.
  • You must watch this video. OMG, beyond hilarious. The road goes both ways, boys!
  • I had big plans to travel to Italy this Spring. For financial + other reasons, I’ve had to postpone those plans for the time being. However, that doesn’t mean I’m not going to blow this popsicle stand for a couple of weeks in the near future. I just booked a trip friends! Guess where I’m going? Hint: I just ordered 3 new bikinis. And I’m gonna get lei’d.
  • So how about that meteoroid that broke up over Russia on Friday? What the? Apparently it was too small to be detected in advance (150 feet in diameter), and NASA limits its watch to objects larger than 140 meters in diameter, as that is the size deemed to have the ability to be “regionally devastating.” Does anyone else find this a bit disconcerting?
  • I want to stick my face in this. And these. And this. In that order. And then repeat.
  • One of my favorite things about the blogging world is the sense of community and support that I feel from connecting with other bloggers. I remember starting Once Upon a Recipe with absolutely no idea what I was doing, and no followers, except for a few family members and friends. It’s so important to support one another! One of my readers recently contacted me about some advice for starting a new blog. Her name is Lindsi and she blogs over at Every Day Sugar High. Lindsi has recently posted some seriously delicious-looking treats. Why don’t you all pop on over to say hi to Lindsi and show her some love? xo.
%d bloggers like this: