Rhubarb Crumble Baked Donuts

Rhubarb Crumble Baked Donuts | Once Upon a Recipe

Hello friends!

Spring has sprung! Our Easter weekend started with a snowfall (yes, SNOW), but thankfully Mother Nature smartened up and we were rewarded with a couple of beautiful days of sunshine and warm temperatures. I went out in a t-shirt, soaked up some sun, and all felt right in the world. I ate my way through two Easter dinners and a brunch, swore I would never eat again, and then promptly broke that oath a couple of hours later. It was a glorious weekend, I tell you. How was your weekend? Did you eat all the things too?

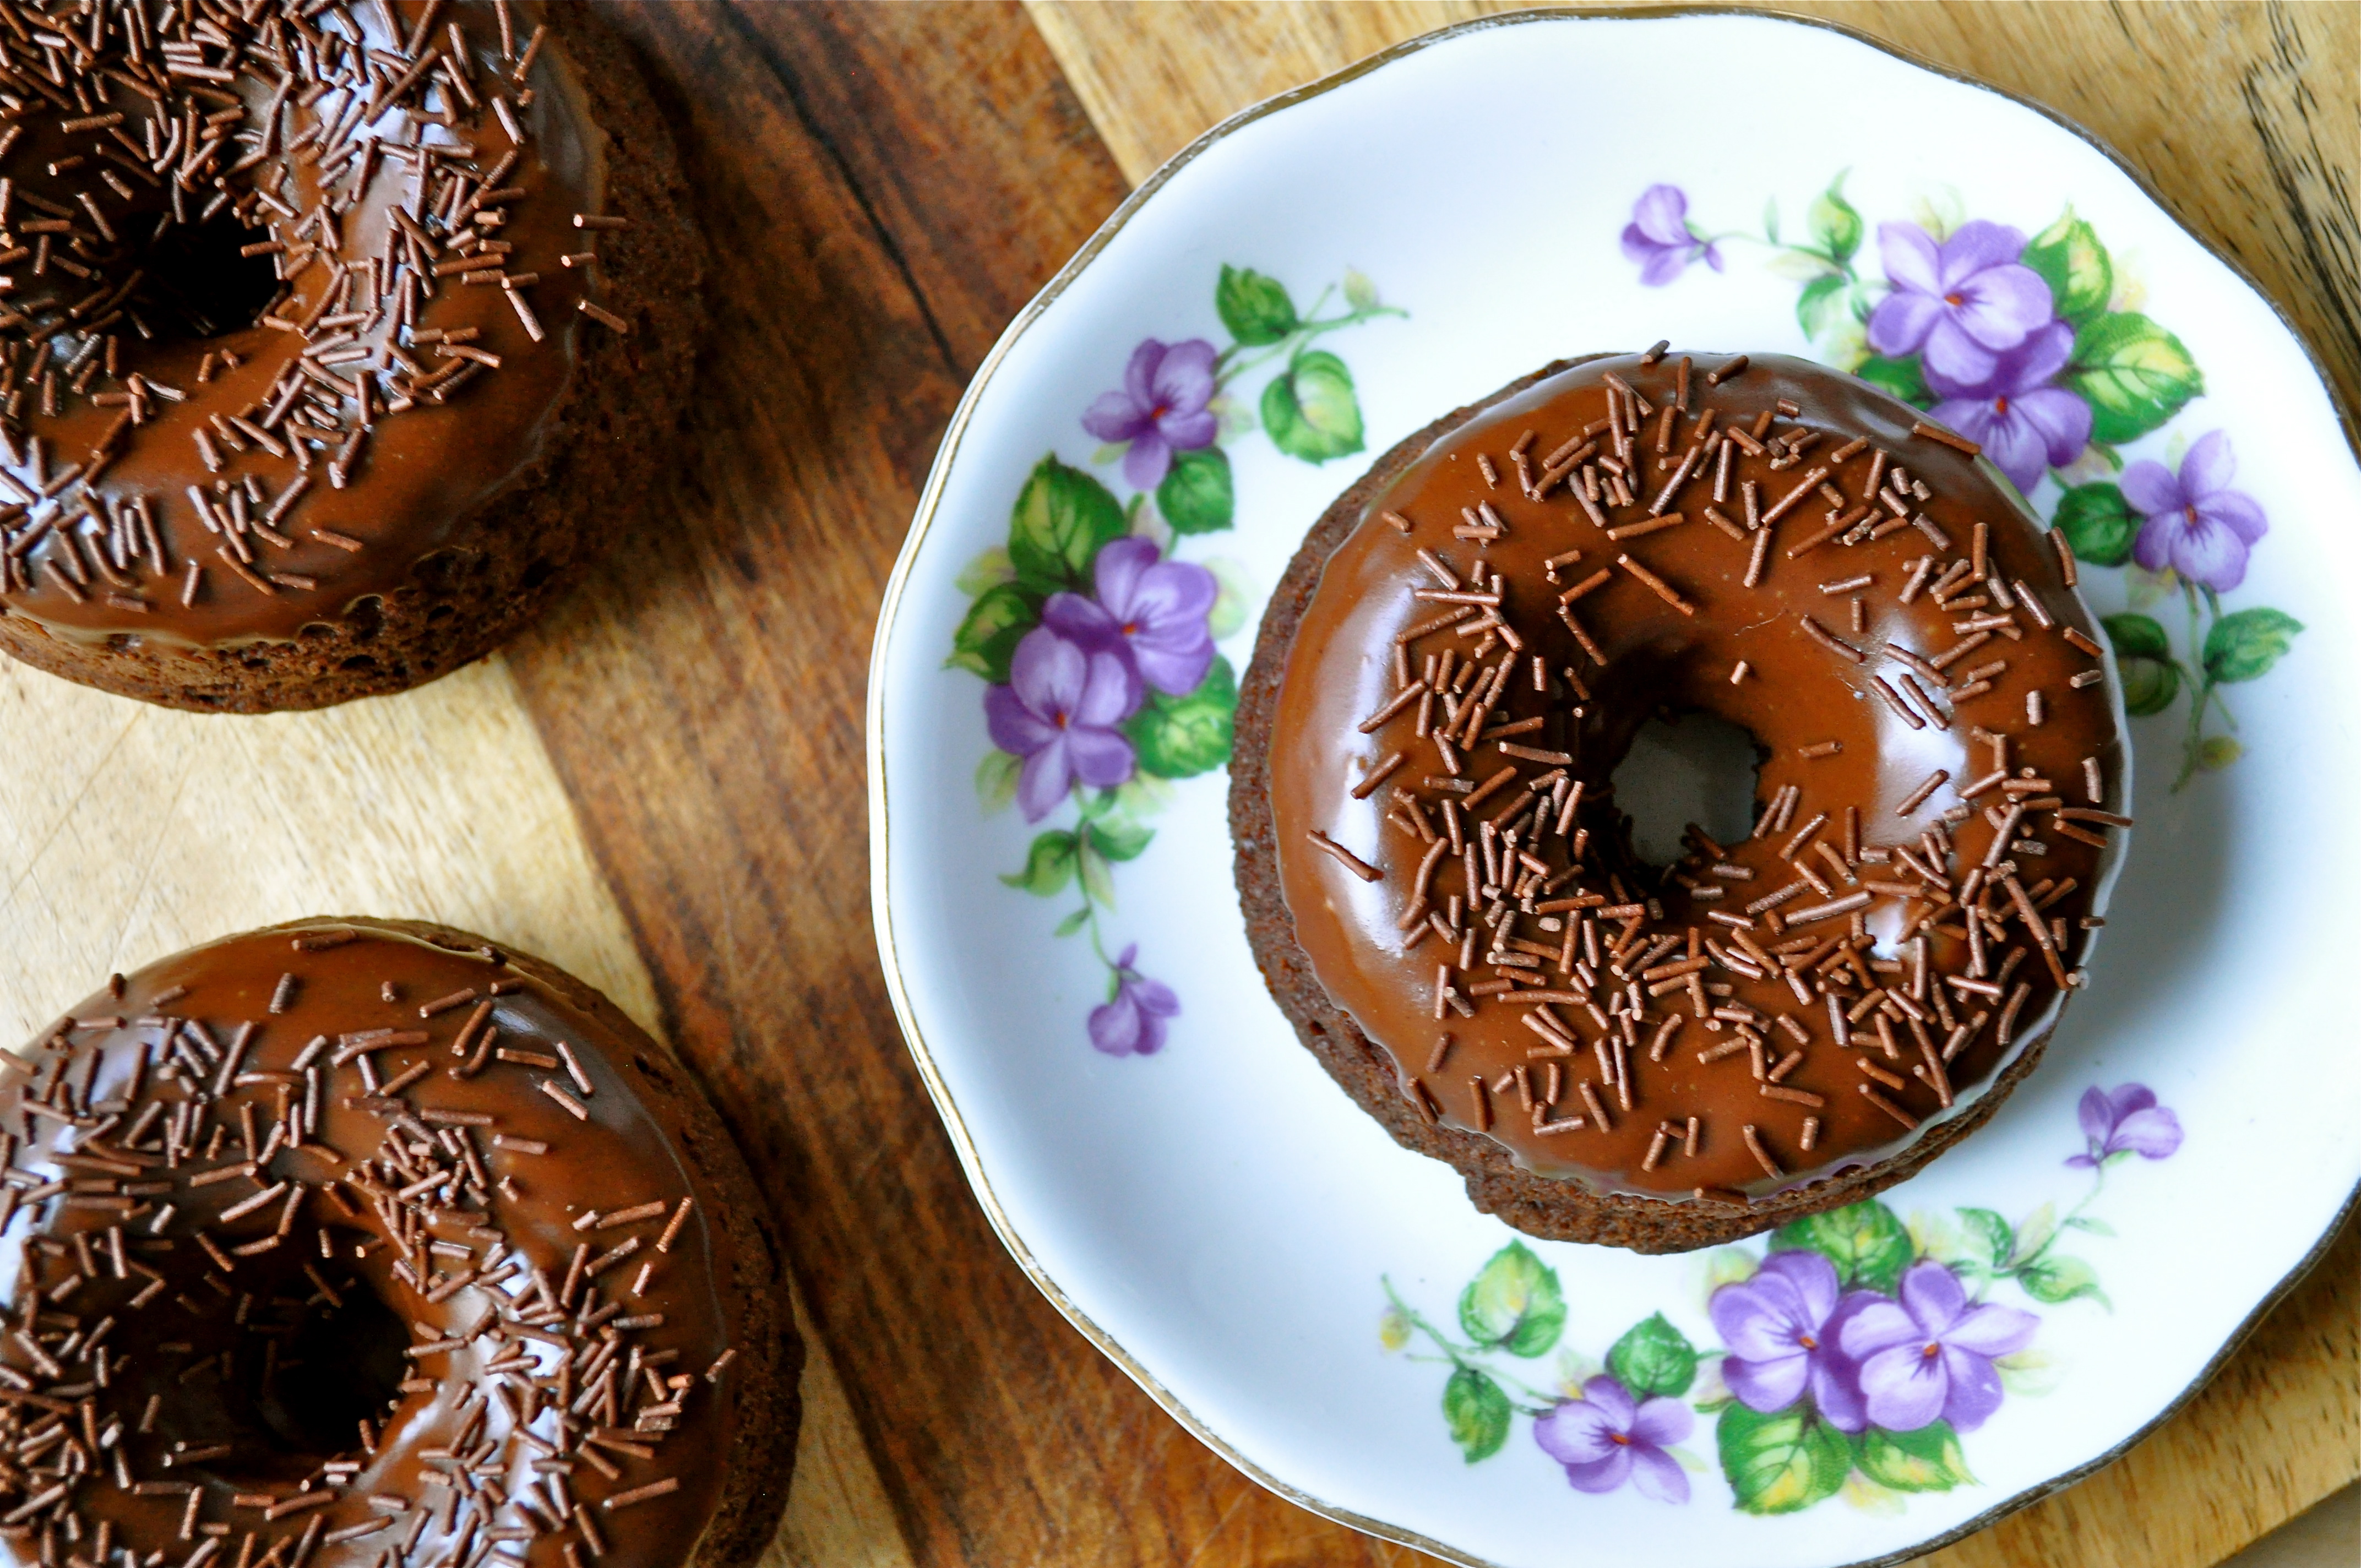
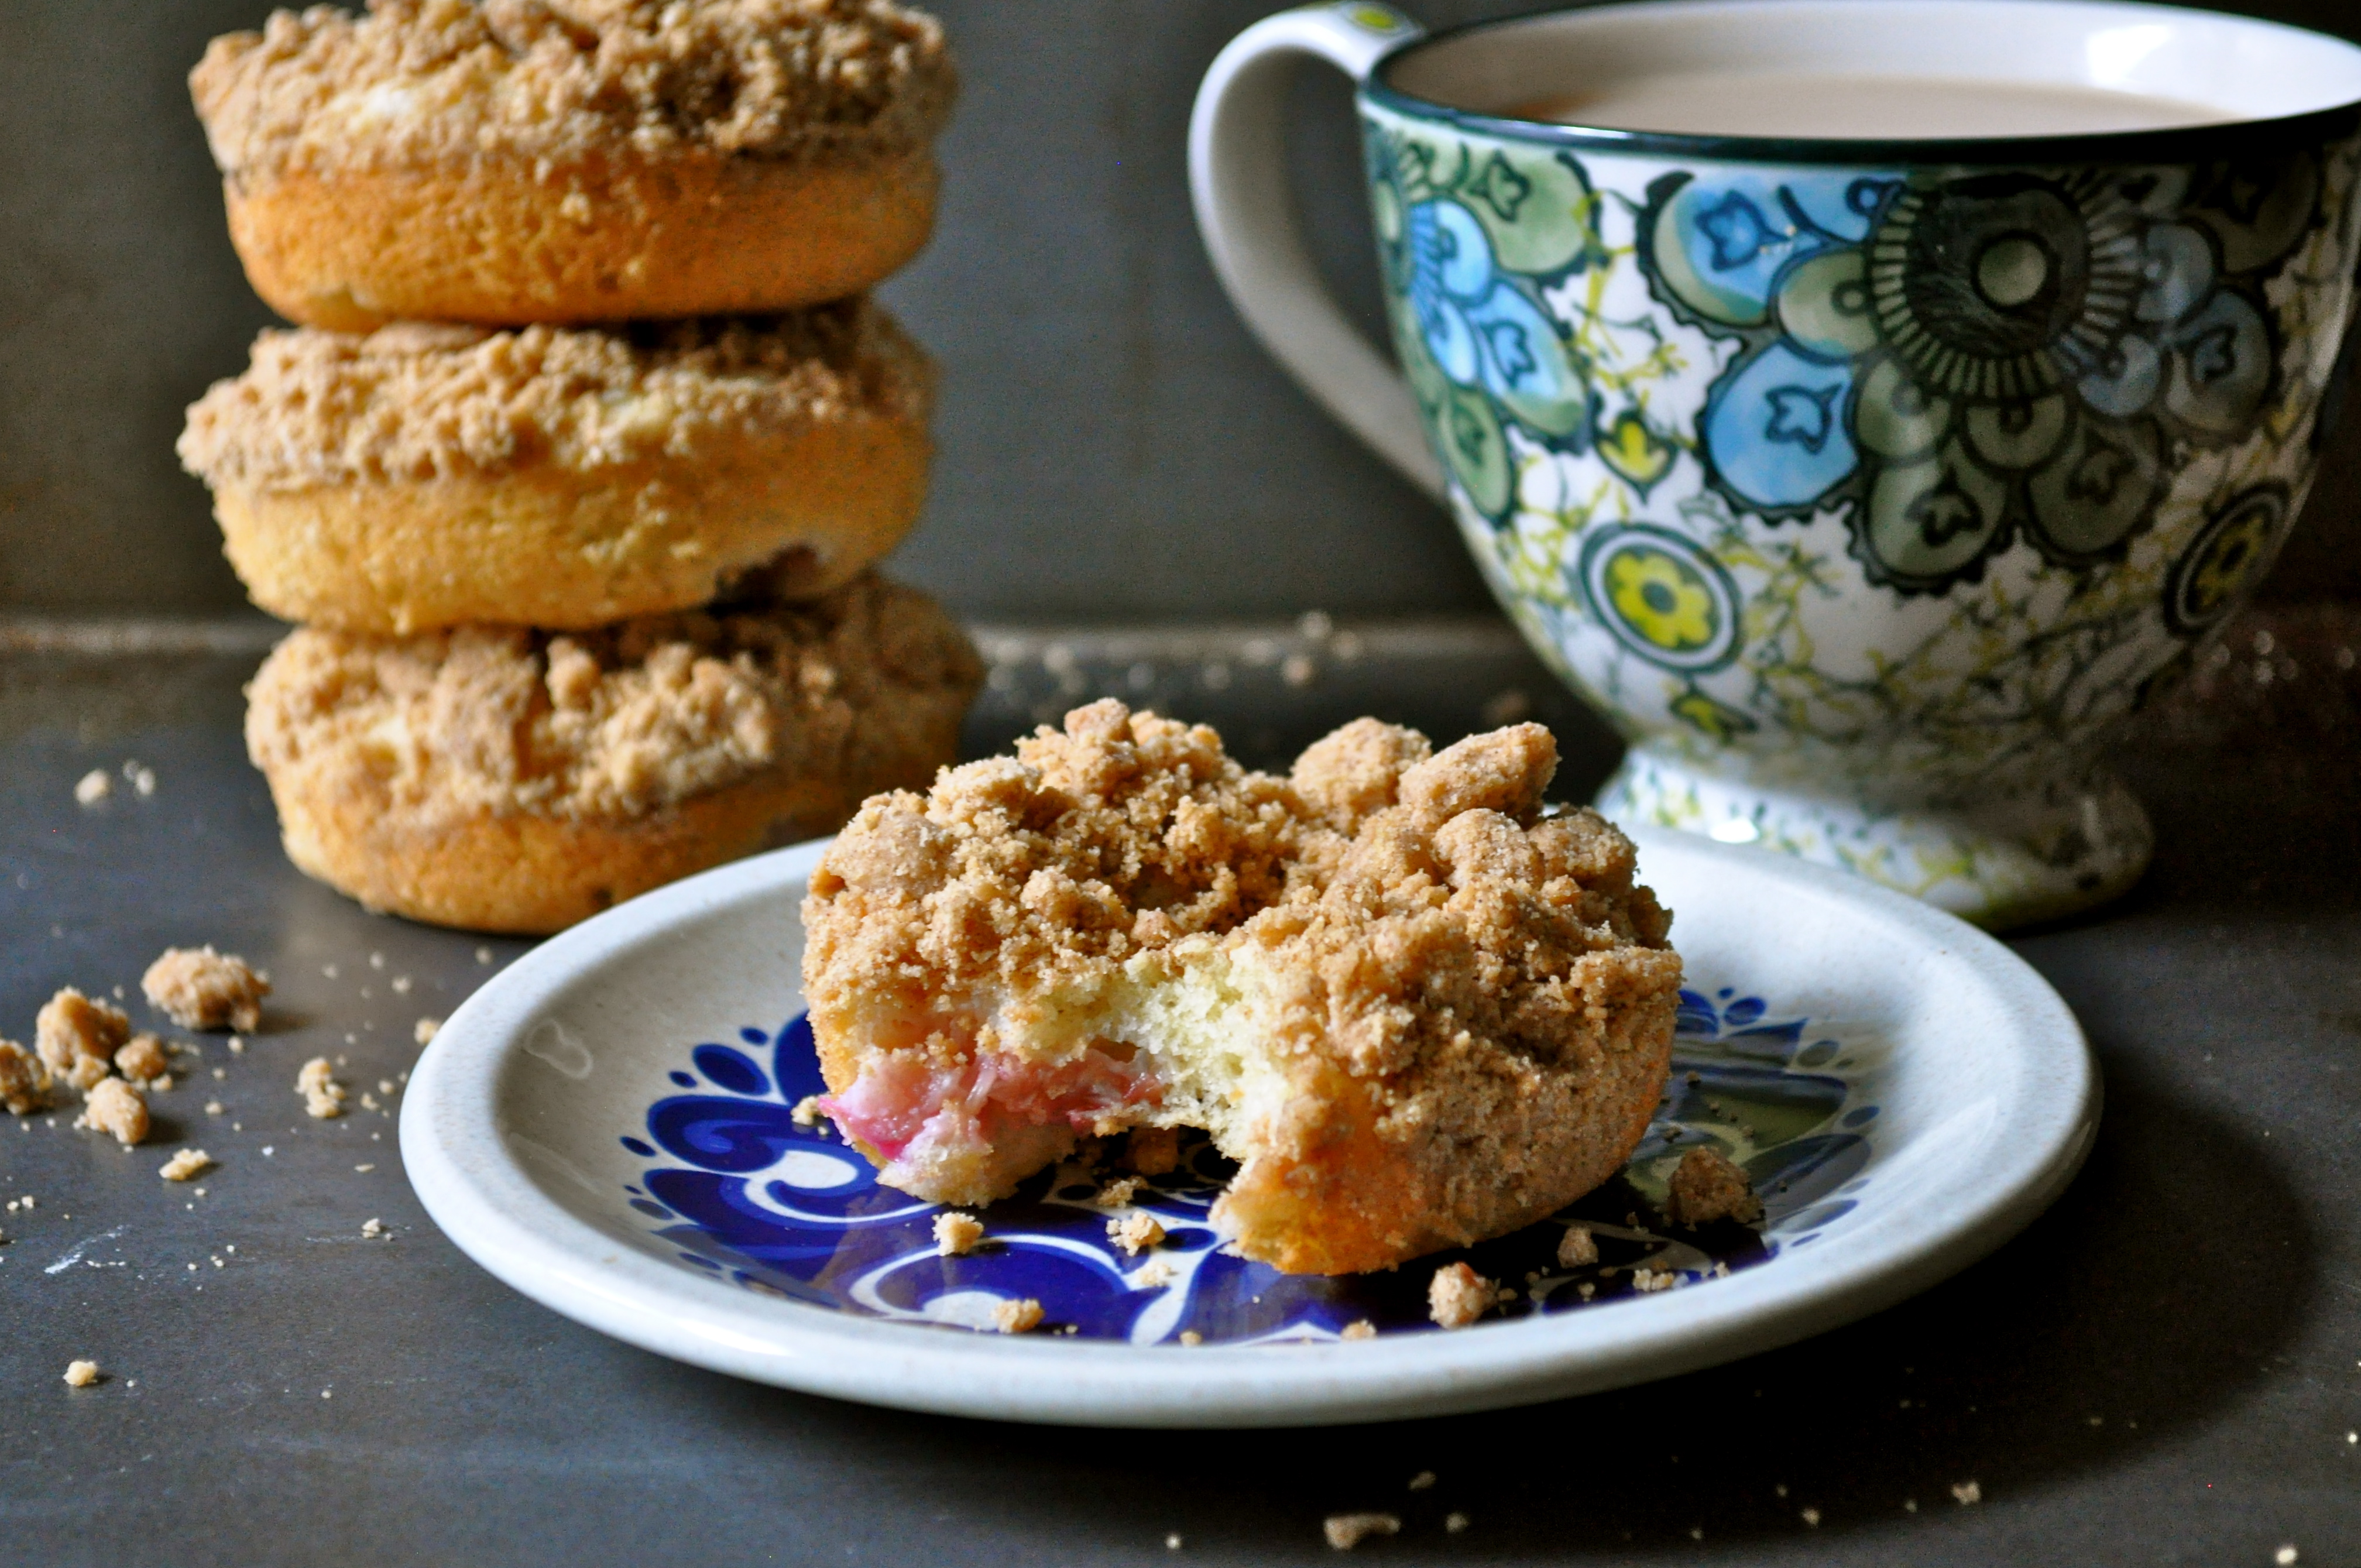
These donuts were part of my glorious weekend. When I first spotted glorious red stalks of rhubarb at the grocery store a couple of weeks ago, I internally squealed with delight. I adore the stuff and enjoy baking with it so much. I knew immediately that I wanted to make some type of rhubarb coffee cake (among other things). The tart rhubarb pairs so well with the buttery and sweet crumble that tops most coffee cakes. But then came the idea to create these rhubarb crumble donuts. Quick to bake, and easy to stuff from hand to face – what more do you need in a baked good?

Rhubarb Crumble Baked Donuts | Once Upon a Recipe

Rhubarb Crumble Baked Donuts | Once Upon a Recipe

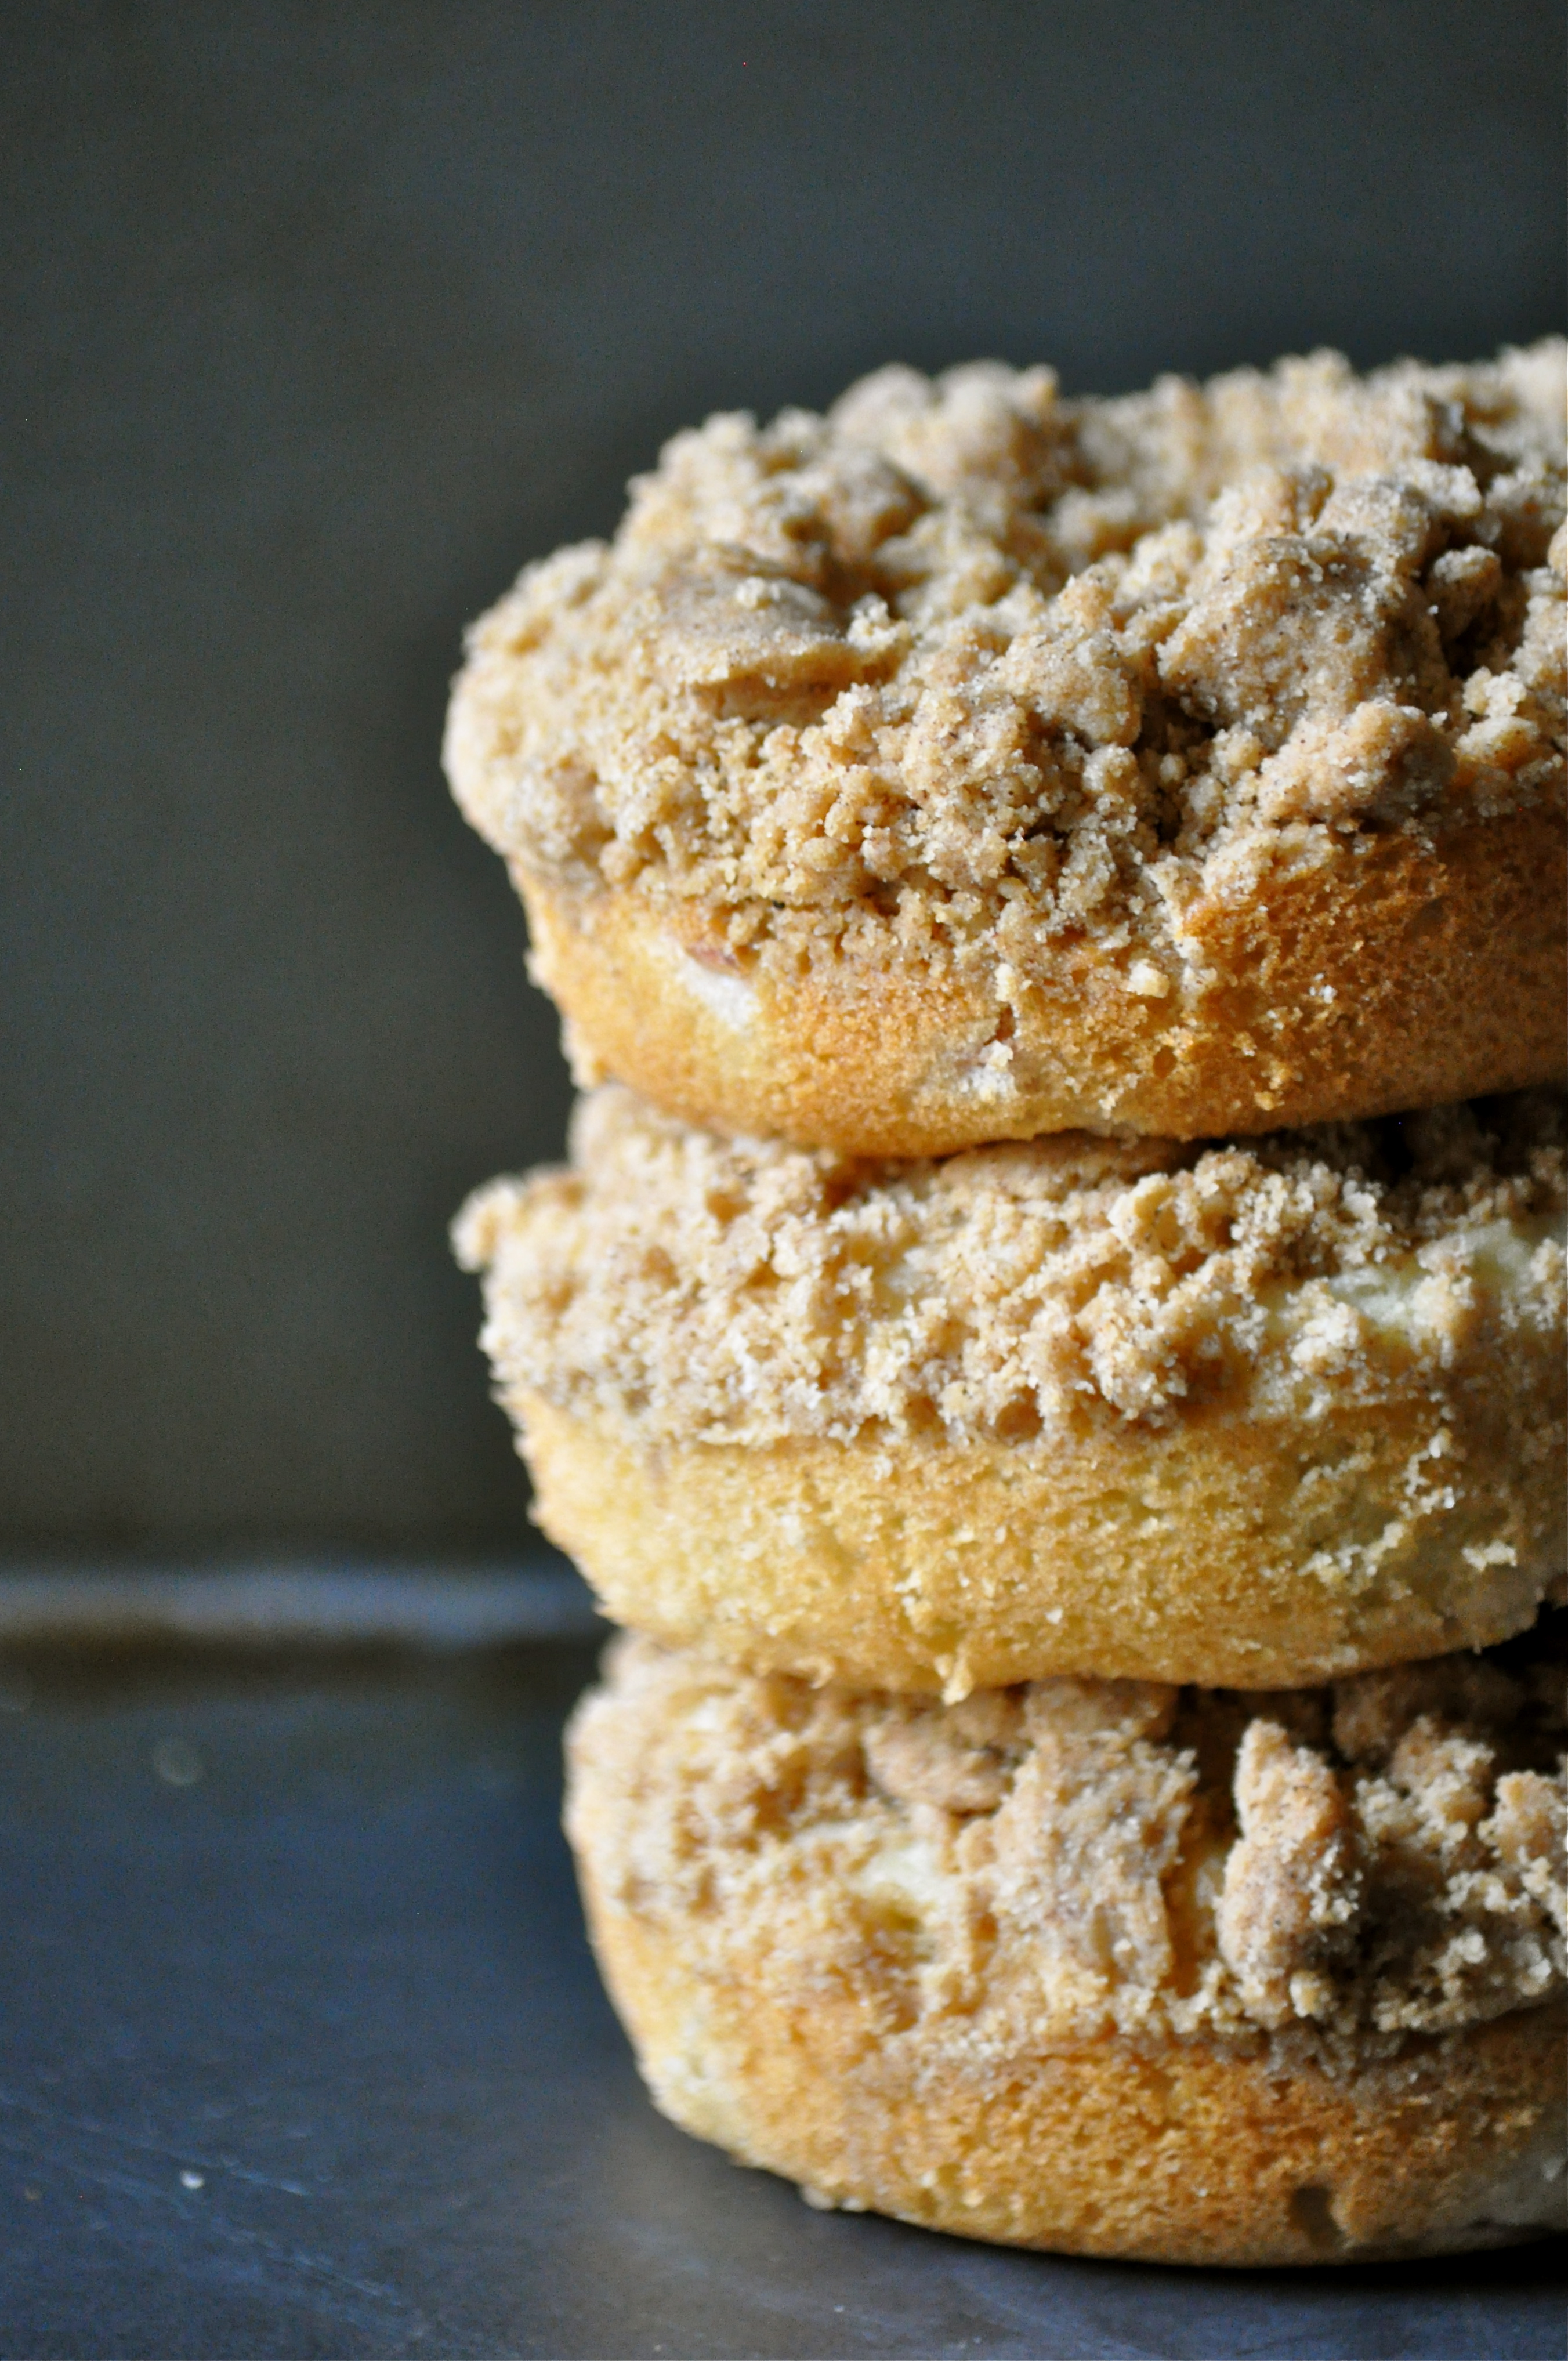
I played around with the recipe a few times in search of maximum rhubarb flavor. I’ve crammed a whole cup of rhubarb into these donuts, which was no easy feat considering how small the cavities of my donut tin are. And the donut to crumble ratio is pretty ridiculous, in the best way possible. I’m really pleased with the end result.

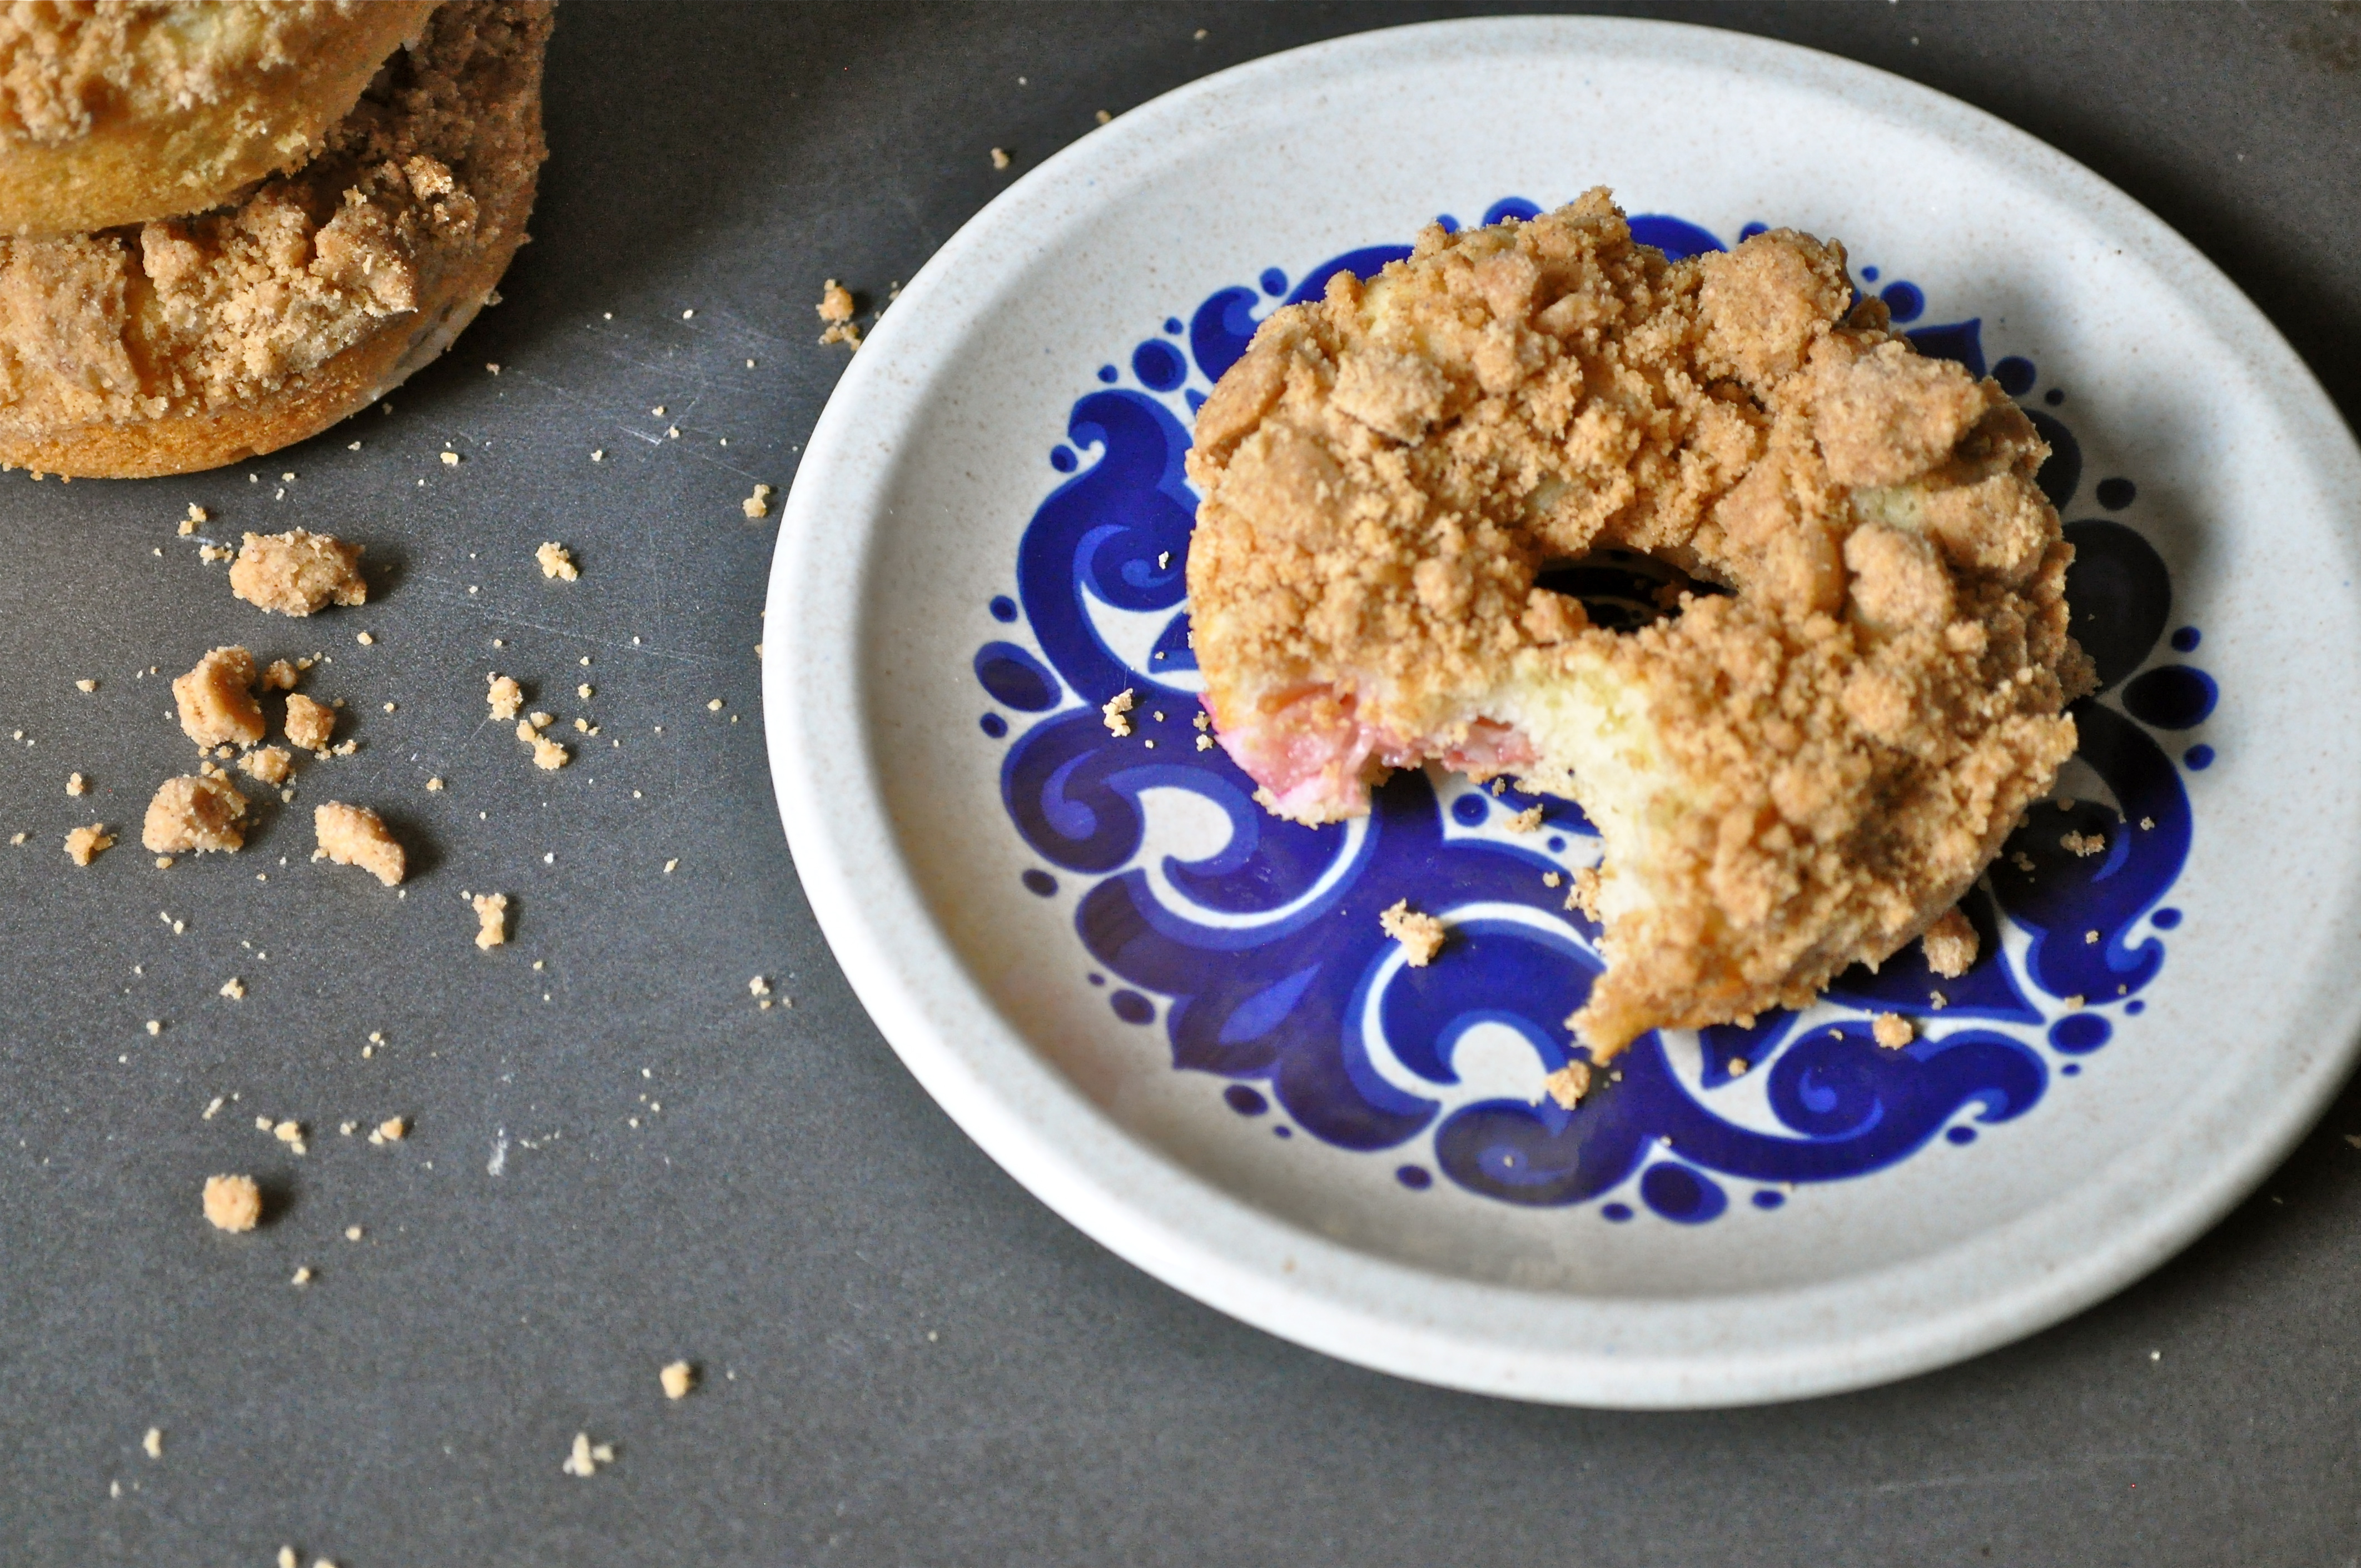
These little gems are the perfect lazy weekend breakfast, yet also make a great afternoon pick-me-up snack with a hot cup of coffee or tea. I suggest you get your hands on some rhubarb as quickly as possible and then make yourself some rhubarb crumble baked donuts. Cool?

Rhubarb Crumble Baked Donuts | Once Upon a Recipe

Rhubarb Crumble Baked Donuts | Once Upon a Recipe

Rhubarb Crumble Baked Donuts (donut recipe adapted from Offbeat + Inspired, crumble recipe adapted from The Sugar Hit)

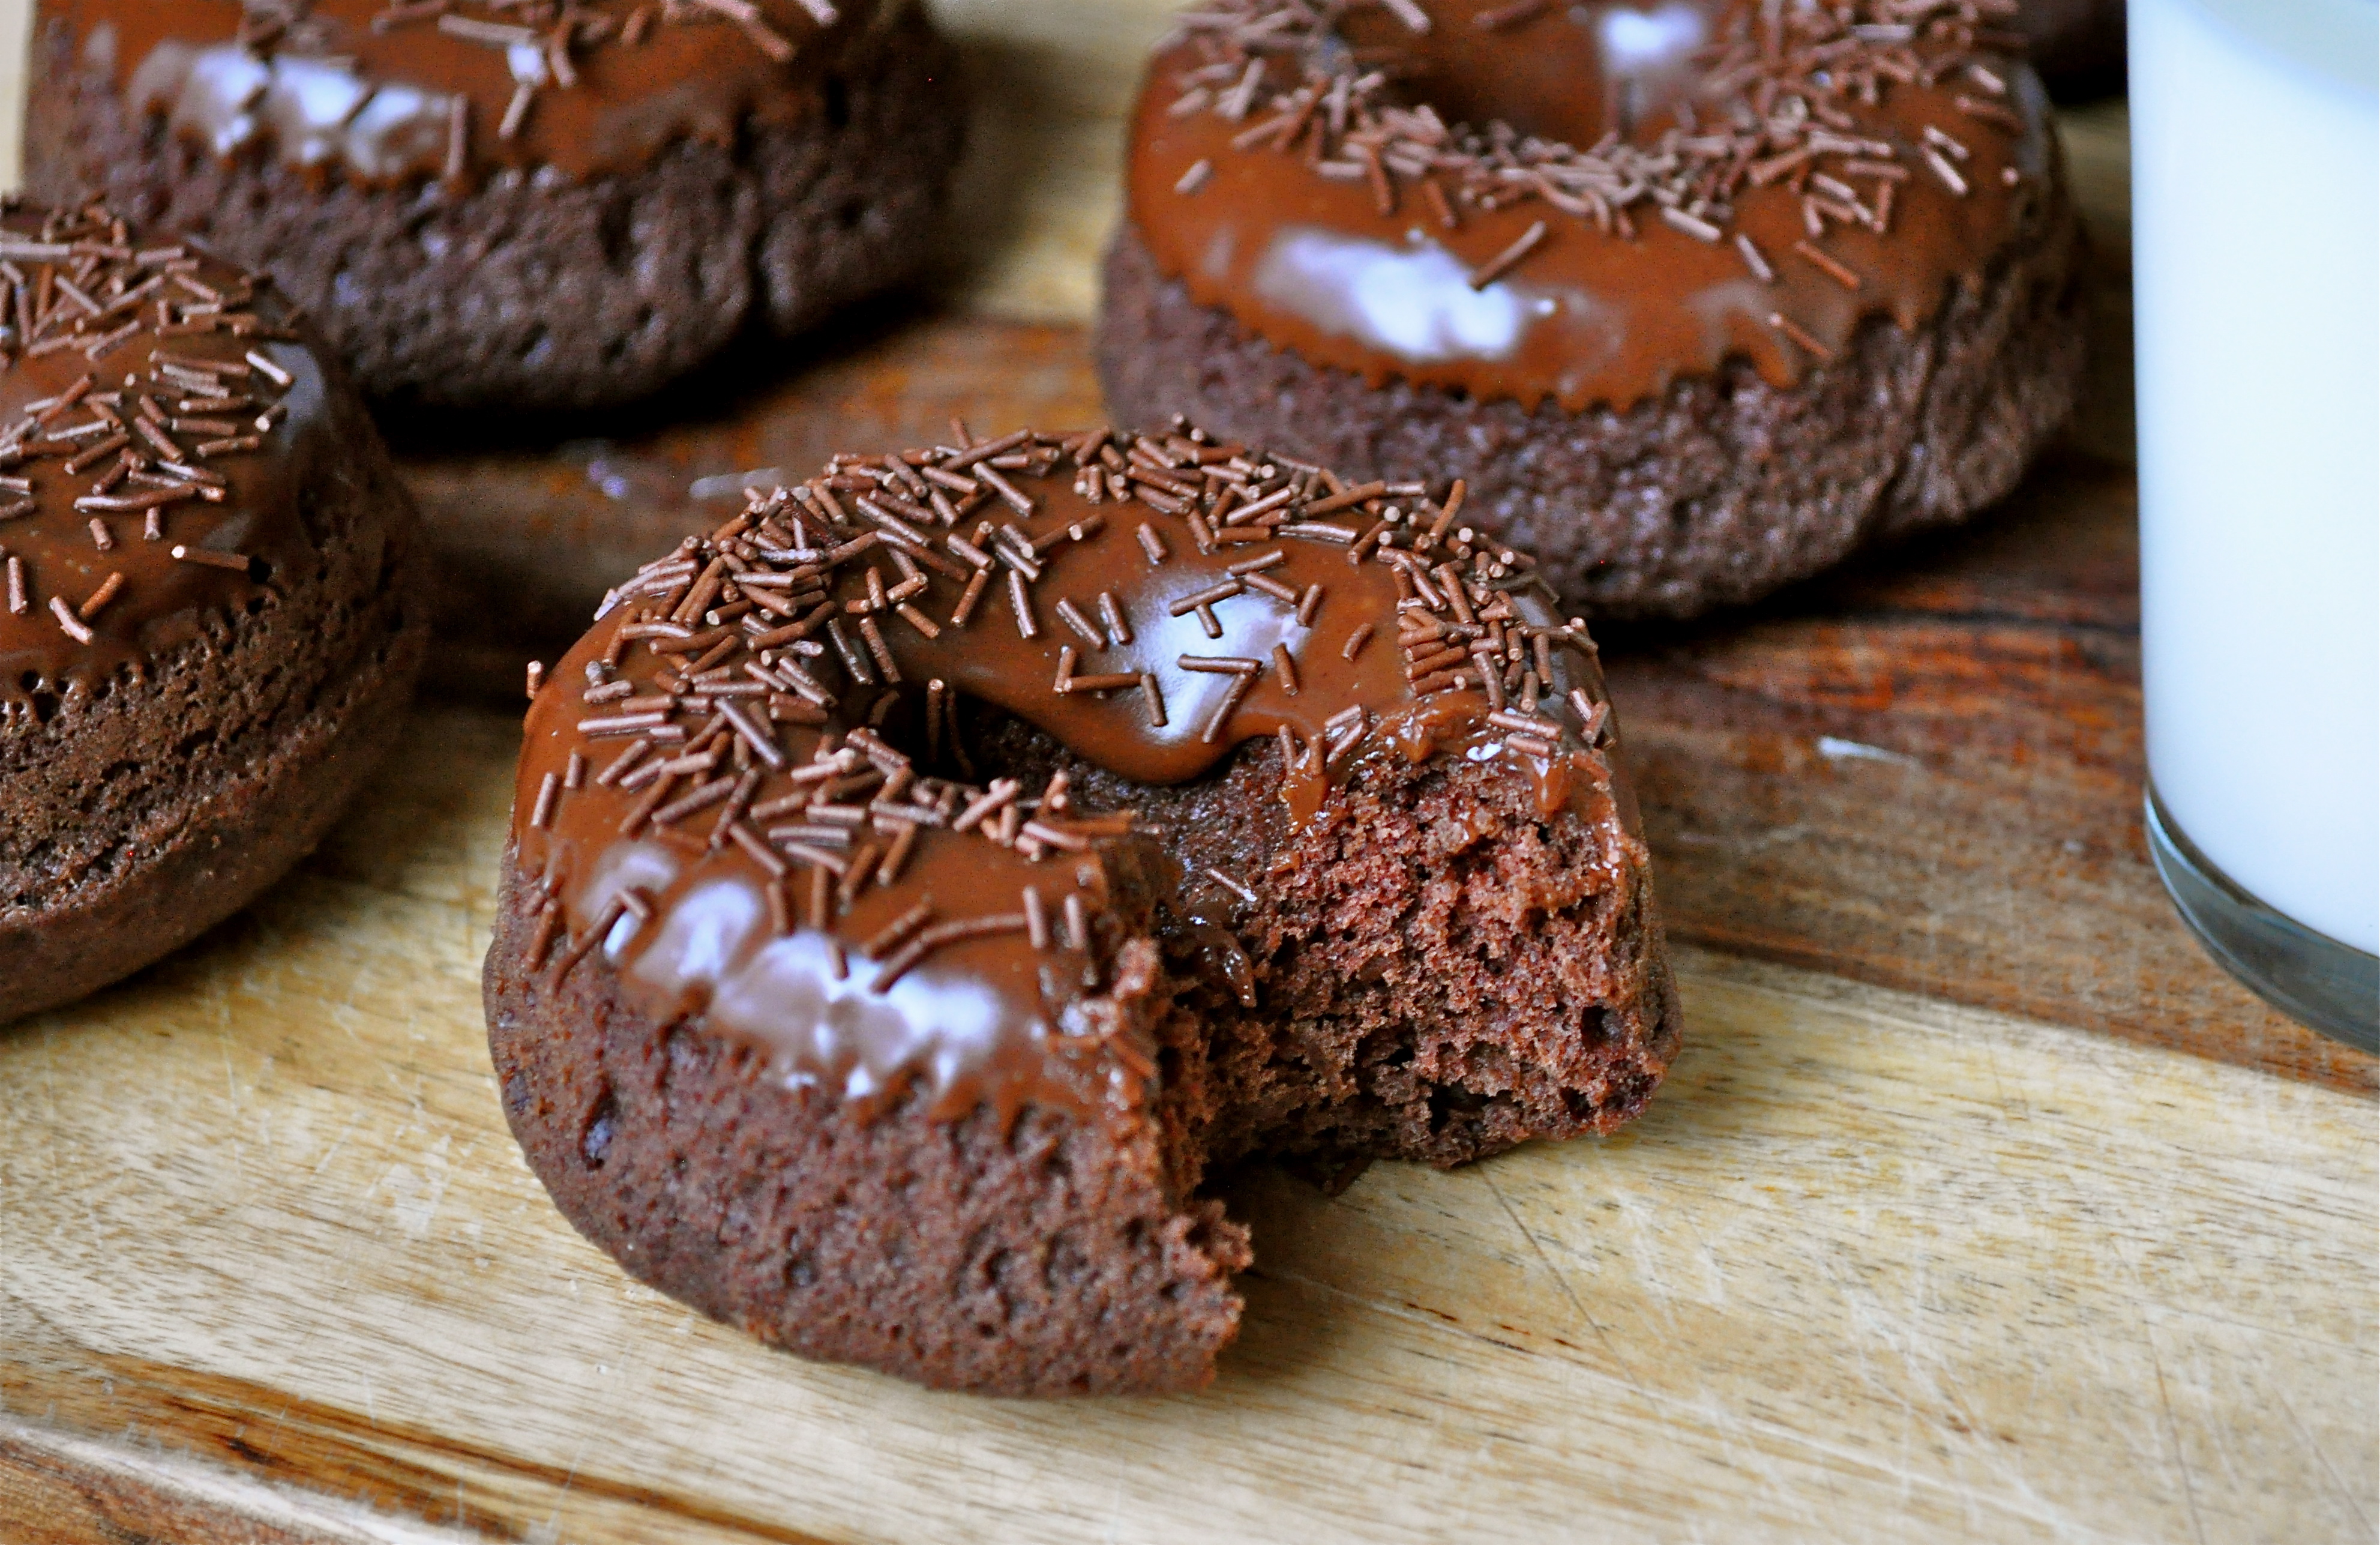
These donuts taste best when still warm from the oven, but they will keep just fine for a couple of days in an airtight container. I do recommend sticking them in the fridge though, as I find that rhubarb tends to get a bit dodgy when it sits at room temperature after being baked. Makes 6 donuts. 

For the crumble:

1/3 cup brown sugar

1 tsp. cinnamon

Pinch of salt

1 cup cake flour

1/3 cup butter, melted

For the donuts:

3 TBSP. butter, softened

1/4 cup sugar

1 egg

1/2 tsp. vanilla

3 TBSP. plain Greek yogurt

½ cup + 2 TBSP. cake flour

¼ tsp. baking soda

Pinch of salt

1 cup rhubarb, chopped small

Preheat oven to 325°F. Spray a 6-count donut pan with non-stick spray. Combine the crumble ingredients in a small bowl and set aside. In a separate bowl, combine the sugar and butter and mix with a hand mixer until fluffy. Add the egg, yogurt, and vanilla and mix again. Add the dry ingredients and mix until just combined. Gently fold in the rhubarb.

Pipe the batter into the donut tins using a piping bag or Ziploc bag with the end cut off. Very generously top each donut with the crumble topping (like seriously pile that crumble on). Bake for about 20 minutes, or until a toothpick inserted into the donut comes out clean. Allow the donuts to cool in the pan for a good 15 minutes or so before carefully removing them from the pan. Cool completely on a wire rack – or preferably, enjoy while still warm!

Rhubarb Crumble Baked Donuts | Once Upon a Recipe

Enjoy your week! xo

Guest Post: Lemon Yogurt Baked Donuts

Lemon Yogurt Baked Donuts | Once Upon a Recipe

Lemon Yogurt Baked Donuts | Once Upon a Recipe

Lemon Yogurt Baked Donuts | Once Upon a Recipe

Lemon Yogurt Baked Donuts | Once Upon a Recipe

Lemon Yogurt Baked Donuts | Once Upon a Recipe

Lemon Yogurt Baked Donuts | Once Upon a Recipe

Happy Friday friends! We made it!

This week has been a bit of a wild one, and I am looking forward to unwinding and letting loose for a couple of days. I foresee a weekend filled with wine and good food! What are you up to this weekend? Please share!

But first! The lovely Renee over at Re: Creative asked me to do a guest post this week! Renee also featured me as her Weekly Crush a few weeks ago and had me blushing big time. Renee is super sweet, stylish, and is a fellow Canadian. You should totally check out her blog for all things fashion, design, art, food, party decor, and fun DIY projects!

And you’ll also find out a little bit more about those cute little donuts up there – Lemon Yogurt Baked Donuts to be exact. Hop on over to Re: Creative to check out the recipe! And have yourselves a lovely weekend! xo

Baked, Not Fried | Double Chocolate Baked Doughnuts

Double Chocolate Baked Doughnuts | Once Upon a Recipe

Hi friends, happy Friday!

My brain is full of pressing questions. First of all, is it doughnut or donut? Is it simply a matter of preference or is there one correct answer? These are the questions that keep me awake at night. Just kidding…sort of. #firstworldproblems

Secondly, why the blazes has it taken me so long to make baked doughnuts? I mean, I realize that I’m a little late to the party. In my defense, I bought my doughnut pan approximately 11 months ago, when baked doughnuts were gaining popularity. Prior to the creation of the lovely specimen you see above, I used my doughnut pan approximately once. It was a massive fail of a recipe, so perhaps I began to equate my doughnut pan with failure and consequently shoved it to the very back of my cupboard to suffer with the mice poop and other dusty dishes. Just kidding, I don’t have mice poop in my cupboards. At least, not to my knowledge. What you don’t know can’t hurt you!

Double Chocolate Baked Doughnuts | Once Upon a Recipe

In any case, earlier this week I decided to give my doughnut pan another shot. And proceeded to become extremely frustrated when my doughnuts came out of the oven with muffin tops, making them resemble anything but a doughnut. Argh. The doughnuts tasted good, but they didn’t look like doughnuts, and I kind of thought that defeated the purpose. I mean, I may as well make muffins if my baked doughnuts aren’t going to resemble actual doughnuts.

Fortunately, instead of giving up, I pressed on. And I figured out the problem. The key to pretty little baked doughnuts is to refrain from overfilling the pan. Those bad boys rise up in the oven, and you’ve got to give ’em some room! It really helps to put the batter into a piping bag and pipe it into the pan. Spooning it into the pan just might cause you to have a frustration/impatience-induced stroke. Words of wisdom friends.

Double Chocolate Baked Doughnuts | Once Upon a Recipe

If you don’t already own a doughnut pan, I highly recommend the $10 investment. (I have this pan). Baked doughnuts look freaking boss! I mean, they look like a doughnut, which is inherently impressive given the amount of time and energy that goes into making real doughnuts (the amazingly delicious fried kind). But the kicker is, they’re baked, not fried, meaning they take way less effort and they’re way less bad for you to consume. Winning!

They’re cute too, no? Cute food. It’s the little things that make life worth living.

Double Chocolate Baked Doughnuts | Once Upon a Recipe

Don’t even try to tell me that you don’t want to stick your face right into that up there. I’ll totally call your bluff.

Double Chocolate Baked Doughnuts | Once Upon a Recipe

Bonus: These baked doughnuts aren’t all that bad for you. I’m not calling them health food, but they’ll provide you with the satisfaction of enjoying a delicious treat (a doughnut!) without the kind of abuse to your waistline caused by their fried cousins. And the recipe makes six doughnuts. Even if you completely lack any self control, you’ll only have consumed six doughnuts. There are worse things you could do. Just sayin’…

Double Chocolate Baked Doughnuts | Once Upon a Recipe

Double Chocolate Baked Doughnuts

Makes six doughnuts. If you don’t have a doughnut pan, you could make these into muffins (you’ll have to bake them a bit longer), but that really wouldn’t be as much fun, in my opinion. 

For the doughnuts (adapted from Food Family Finds):

1 cup all-purpose flour

¼ cup + 2 TBSP. granulated sugar

¼ cup cocoa powder

½ tsp. baking powder

½ tsp. baking soda

½ tsp. salt

¼ cup + 3 TBSP. milk

1 egg, beaten

½ tsp. vanilla

1 TBSP. unsalted butter, melted

For the glaze (from my fried doughnut recipe):

2 TBSP. unsalted butter

1 TBSP. milk

1 tsp. honey

1/2 tsp. vanilla

1 ounce semi-sweet chocolate, chopped

2/3 cup icing sugar, sifted

Sprinkles!

Preheat the oven to 325°F. Spray a 6-count doughnut pan with non-stick spray. Set aside.

For the doughnuts: In a medium bowl, sift the dry ingredients together. In a separate bowl, combine the wet ingredients. Add the wet ingredients to the dry ingredients and stir until just combined. The batter will be very thick. Divide the batter between the six doughnut cavities (each should be about 3/4 full). I recommend piping the batter into the cavities. Bake for about 12 minutes or until a toothpick inserted into one of the doughnuts comes out clean. Allow the doughnuts to cool in the pan for a few minutes and then invert them onto a cooling rack.

For the glaze, combine the butter, milk, honey, and vanilla in a small saucepan over medium heat. Once the butter has melted, add in the chocolate and whisk until smooth. Remove from heat and add the icing sugar, stirring until combined. Dip the cooled doughnuts into the glaze and cover with chocolate sprinkles. Enjoy immediately! Leftovers can be stored in an airtight container for a couple of days.

Double Chocolate Baked Doughnuts | Once Upon a Recipe

Looking for more baked doughnut inspiration?

I highly recommend these baked cinnamon sugar doughnuts by Shutterbean (seriously amazing) and these blueberry doughnuts with lemon and cream cheese glaze (yes please!) by Hungry Girl Por Vida. Bomb. If that doesn’t inspire you to buy a doughnut pan, I don’t know what will. Have a great weekend!

Choose Your Own Adventure | Mac ‘N Cheese, Your Way

Remember those “choose your own adventure” books that were popular when you were a kid? The ones that allowed you to determine the main character’s actions and the plot’s outcome? Every few pages you would be given two or three choices, each leading to more choices and ultimately to one of many different endings.

Life is kind of like those books, when you think about it. Every day we are faced with choices. What to have for breakfast, which route to take to work, to strap on those running shoes and pound out that run or sit on the couch and drink wine, what to make for dinner, whether or not to smile at a stranger (which is almost always a good idea, in my opinion).

And all of these choices, no matter how small they might seem at the time, affect the larger twists and turns that our lives take. The moral of the story? Choose wisely friends. But at the same time, don’t take life too seriously. Having fun is important too.

Did you know that you can have fun with mac ‘n cheese? Did you have any idea how many choices you are presented with when it comes to making this delicious and comforting dish?

Let’s talk about these choices, shall we?

First, let’s talk about cheese. You can go the traditional route with a sharp Cheddar, or you can change it up with Gruyère, Fontina, Havarti, Gouda, you name it! Don’t forget an accent cheese, like Parmigiano-Reggiano, Feta, or Goat cheese.

How about pasta? Macaroni, shells, penne, rotini, any small pasta will do!

And not that cheese and pasta require any help in the deliciousness department, but there are some flavorful and fun things that you can add to the mix! Herbs and spices like fresh thyme, rosemary, sage, parsely, dry mustard, cayenne pepper, and nutmeg add some extra flavor, while add-ins like peas, carrots, brussel sprouts, mushrooms, spinach, bacon, and artichokes give a little more beef to the final product.

Finally, don’t forget the irresistible crispy topping, created with breadcrumbs, butter and garlic!

The possibilities are truly endless! Choose your own adventure friends. Have fun with life, and with your food!

Choose Your Own Adventure Mac ‘N Cheese (adapted from Fine Cooking magazine, Feb./Mar. 2012)

Now, this recipe takes some time to prepare, but I promise you, it is so worth it. Especially if you’re single like me – the leftovers fed me for lunch all week!

Step One: Mix the topping!

1 garlic clove, minced

3 TBSP. butter, melted

2 cups Panko bread crumbs, lightly toasted

Salt and pepper

2 TBSP. finely grated Parmigiano-Reggiano (optional)

Stir the garlic into the melted butter. Put the breadcrumbs into a medium bowl and drizzle the butter over top. Add in the salt and pepper, and Parmigiano-Reggiano (if using). Mix well and set aside.

Step Two: Make the cheese sauce!

4 TBSP. butter

1/4 cup all-purpose flour

3 1/2 cups milk (at least 1%)

Salt, to taste

4 cups cheese of your choice, plus up to one cup of an accent cheese

Herbs and spices (up to three, and up to 1 tsp. of each, depending on what you’re using)

Melt the butter in a heavy saucepan over low heat. Whisk in the flour and continue to whisk over low heat for about 3 minutes. The mixture will be bubbly and frothy. Slowly add the milk, whisking constantly until the sauce is smooth and has the consistency of heavy cream, about 6 minutes. Increase the heat to medium and bring the sauce to a simmer, whisking constantly. Lower the heat to maintain a gentle simmer and cook, whisking occasionally, for about 10 minutes. Remove from heat and add the cheese, as well as the herbs and spices (if using). Season to taste with salt. Set aside, but keep warm.

Step Three: Cook the pasta!

Bring a large pot of water to a boil over high heat. Add 1 lb. of your choice of pasta and cook, stirring occasionally, until al dente, about 1 minute less than indicated on the package. Drain well and return to the pot.

Step Four: Mix it all together!

Add the cheese sauce and your choice of add-ins (up to 3 cups total) to the pasta and gently stir to combine. If you’re using bacon, pancetta, or bacon, cook ’em up first. If you’re using any veggies, like brussels or asparagus, steam or sauté them before adding them in.

Step Five: Bake!

Transfer the pasta mixture to a 9×13 inch baking dish that has been sprayed with non-stick spray. Evenly sprinkle the breadcrumbs over top. Bake at 350°F until the top is golden, about 15-20 minutes. Serve immediately.

For the batch of mac ‘n cheese pictured here, I used small shell pasta, Gruyère and Fontina cheese (accented with Parmigiana-Reggiano), fresh parsely and a pinch of cayenne, and brussel sprouts and pancetta. It was a true masterpiece! Next time, I’m going to try sharp Cheddar with peas and ham, and elbow macaroni for a more traditional mac ‘n cheese. See? Endless possibilities. Let your imagination run wild!

A Match Made In Heaven | Baked Apple and Brie in Puff Pastry

Holla friends.

Just a quick little ditty for you, I’m off to a family reunion this weekend. In a wee little hall, in a fairly little town.

After I finish making 6 dozen of these. My kitchen is a mess of flour, butter, and cinnamon. I have brown sugar on the bottoms of my feet. It’s delightful.

Speaking of cinnamon and delightful things, check this out.

I came across this recipe on Annie’s Eats a few months ago. Annie calls it Baked Brie en Croûte with Apple Compote. I’m calling it Baked Apple and Brie in Puff Pastry. I’m keeping it simple. I’m a simple girl.

But whatever you call it, the combination of apples, sugar, brie, and puff pastry is delicious. Total party in your mouth. I added a little cinnamon for some extra dimension. It works.

This is an appetizer, to be served with crackers and of course, wine. However, I could honestly eat this for dessert. Or as a meal. It is just so good.

Good good good.

Take it to a party and I guarantee everyone will love it. The peeps at the party I took this to sure did.

Now, if you’ll excuse me, I have some family reunioning and wine drinking to do. Ciao!

Baked Apple and Brie in Puff Pastry (slightly adapted from Annie’s Eats)

1 TBSP. butter

3 golden delicious apples, peeled, cored, and diced small

1/4 cup white sugar

1/2 tsp. cinnamon

A pinch of nutmeg

1 pkg. puff pastry (round or square), rolled to 1/4-inch thickness

1 round of brie (6-8 oz.)

1 egg beaten with 1 TBSP. water

Crackers of your choice, for serving

In a medium saucepan, melt the butter over medium heat. Add the diced apples and cook, stirring occasionally for about about 5-7 minutes. Add in the sugar, cinnamon, and nutmeg. Mix well and continue to cook, stirring occasionally, until most of the liquid has evaporated, about 12-15 more minutes. Remove from the heat and let the mixture cool to room temperature.

Preheat the oven to 375˚F. Prepare a baking sheet (or pie plate, like me) by coating it lightly with cooking spray, or lining it with parchment paper or a silicone baking mat. Transfer the puff pastry to the prepared baking pan. Cut the brie in half horizontally to create two thinner rounds. Place the bottom half of the brie in the center of the puff pastry. Top with about half of the apple mixture. Place the other round of the cheese over top, covering with the remaining apple mixture. Bring the puff pastry up around the edges of the brie-apple tower. Fold and pinch the edges in the centre to hold everything together. Brush the surface of the puff pastry lightly with the egg wash. Bake for about 40-45 minutes, or until the puff pastry is golden brown, crisp, and bubbling with goodness. Your kitchen will smell amazing. Remove from the oven and allow it to cool for about 10 minutes before serving. Eat!

Holy Oats! | Favorite Granola

Granola is an old friend of mine. We’ve been having breakfast together for the past, oh, 10 years or so. We usually invite yogurt to the party, and occasionally milk. Unfortunately, I only discovered making homemade granola within the past few years. Kind of ridiculous, considering how easy it is to make, and definitely a travesty when considering all of the delicious varieties of granola you can make it your own kitchen.

 It was love at first bite with this granola. Sweet, chewy clusters with the crunch of whole nuts and dried fruit. Tastes amazing with plain yogurt or milk, and fantastic over ice cream. Yes, this granola doubles as dessert! You might even catch yourself eating handfuls of it as a snack! This recipe is doubled from the original because even with a double recipe, I can still eat my way through a batch of this in less than a week. Give it a try – granola loves to make new friends. Happy eating!

Favorite Granola (adapted from Baked: New Frontiers in Baking)

4 cups oats

2 tsp. cinnamon

1 tsp. salt

Pinch of nutmeg

1/4 cup canola oil

1/2 cup honey

1/2 cup firmly packed brown sugar

2 tsp. vanilla

2/3 cup whole almonds (and/or hazelnuts)

2/3 cup raisins (and/or dried cherries)

Preheat the oven to 325°F. Line a baking sheet with parchment paper. In a large bowl, toss the oats with the cinnamon, salt, and nutmeg. In a medium bowl, stir together the oil, honey, brown sugar, and vanilla. Whisk until completely combined. Pour the honey mixture over the oats mixture and use your hands to combine them (oh yeah!).

Pour the mixture onto the prepared baking sheet. Spread it out evenly, but leave a few clumps here and there for texture. Bake for 10 minutes, then remove from the oven and use a metal spatula to lift and flip the granola. Sprinkle the almonds (and/or hazelnuts) over the granola and return the baking sheet to the oven. Bake for 5 minutes, then remove from the oven and flip again. Sprinkle the raisins over the granola and return the baking sheet to the oven for another 5 minutes. Let cool completely, then transfer to an airtight container.

%d bloggers like this: