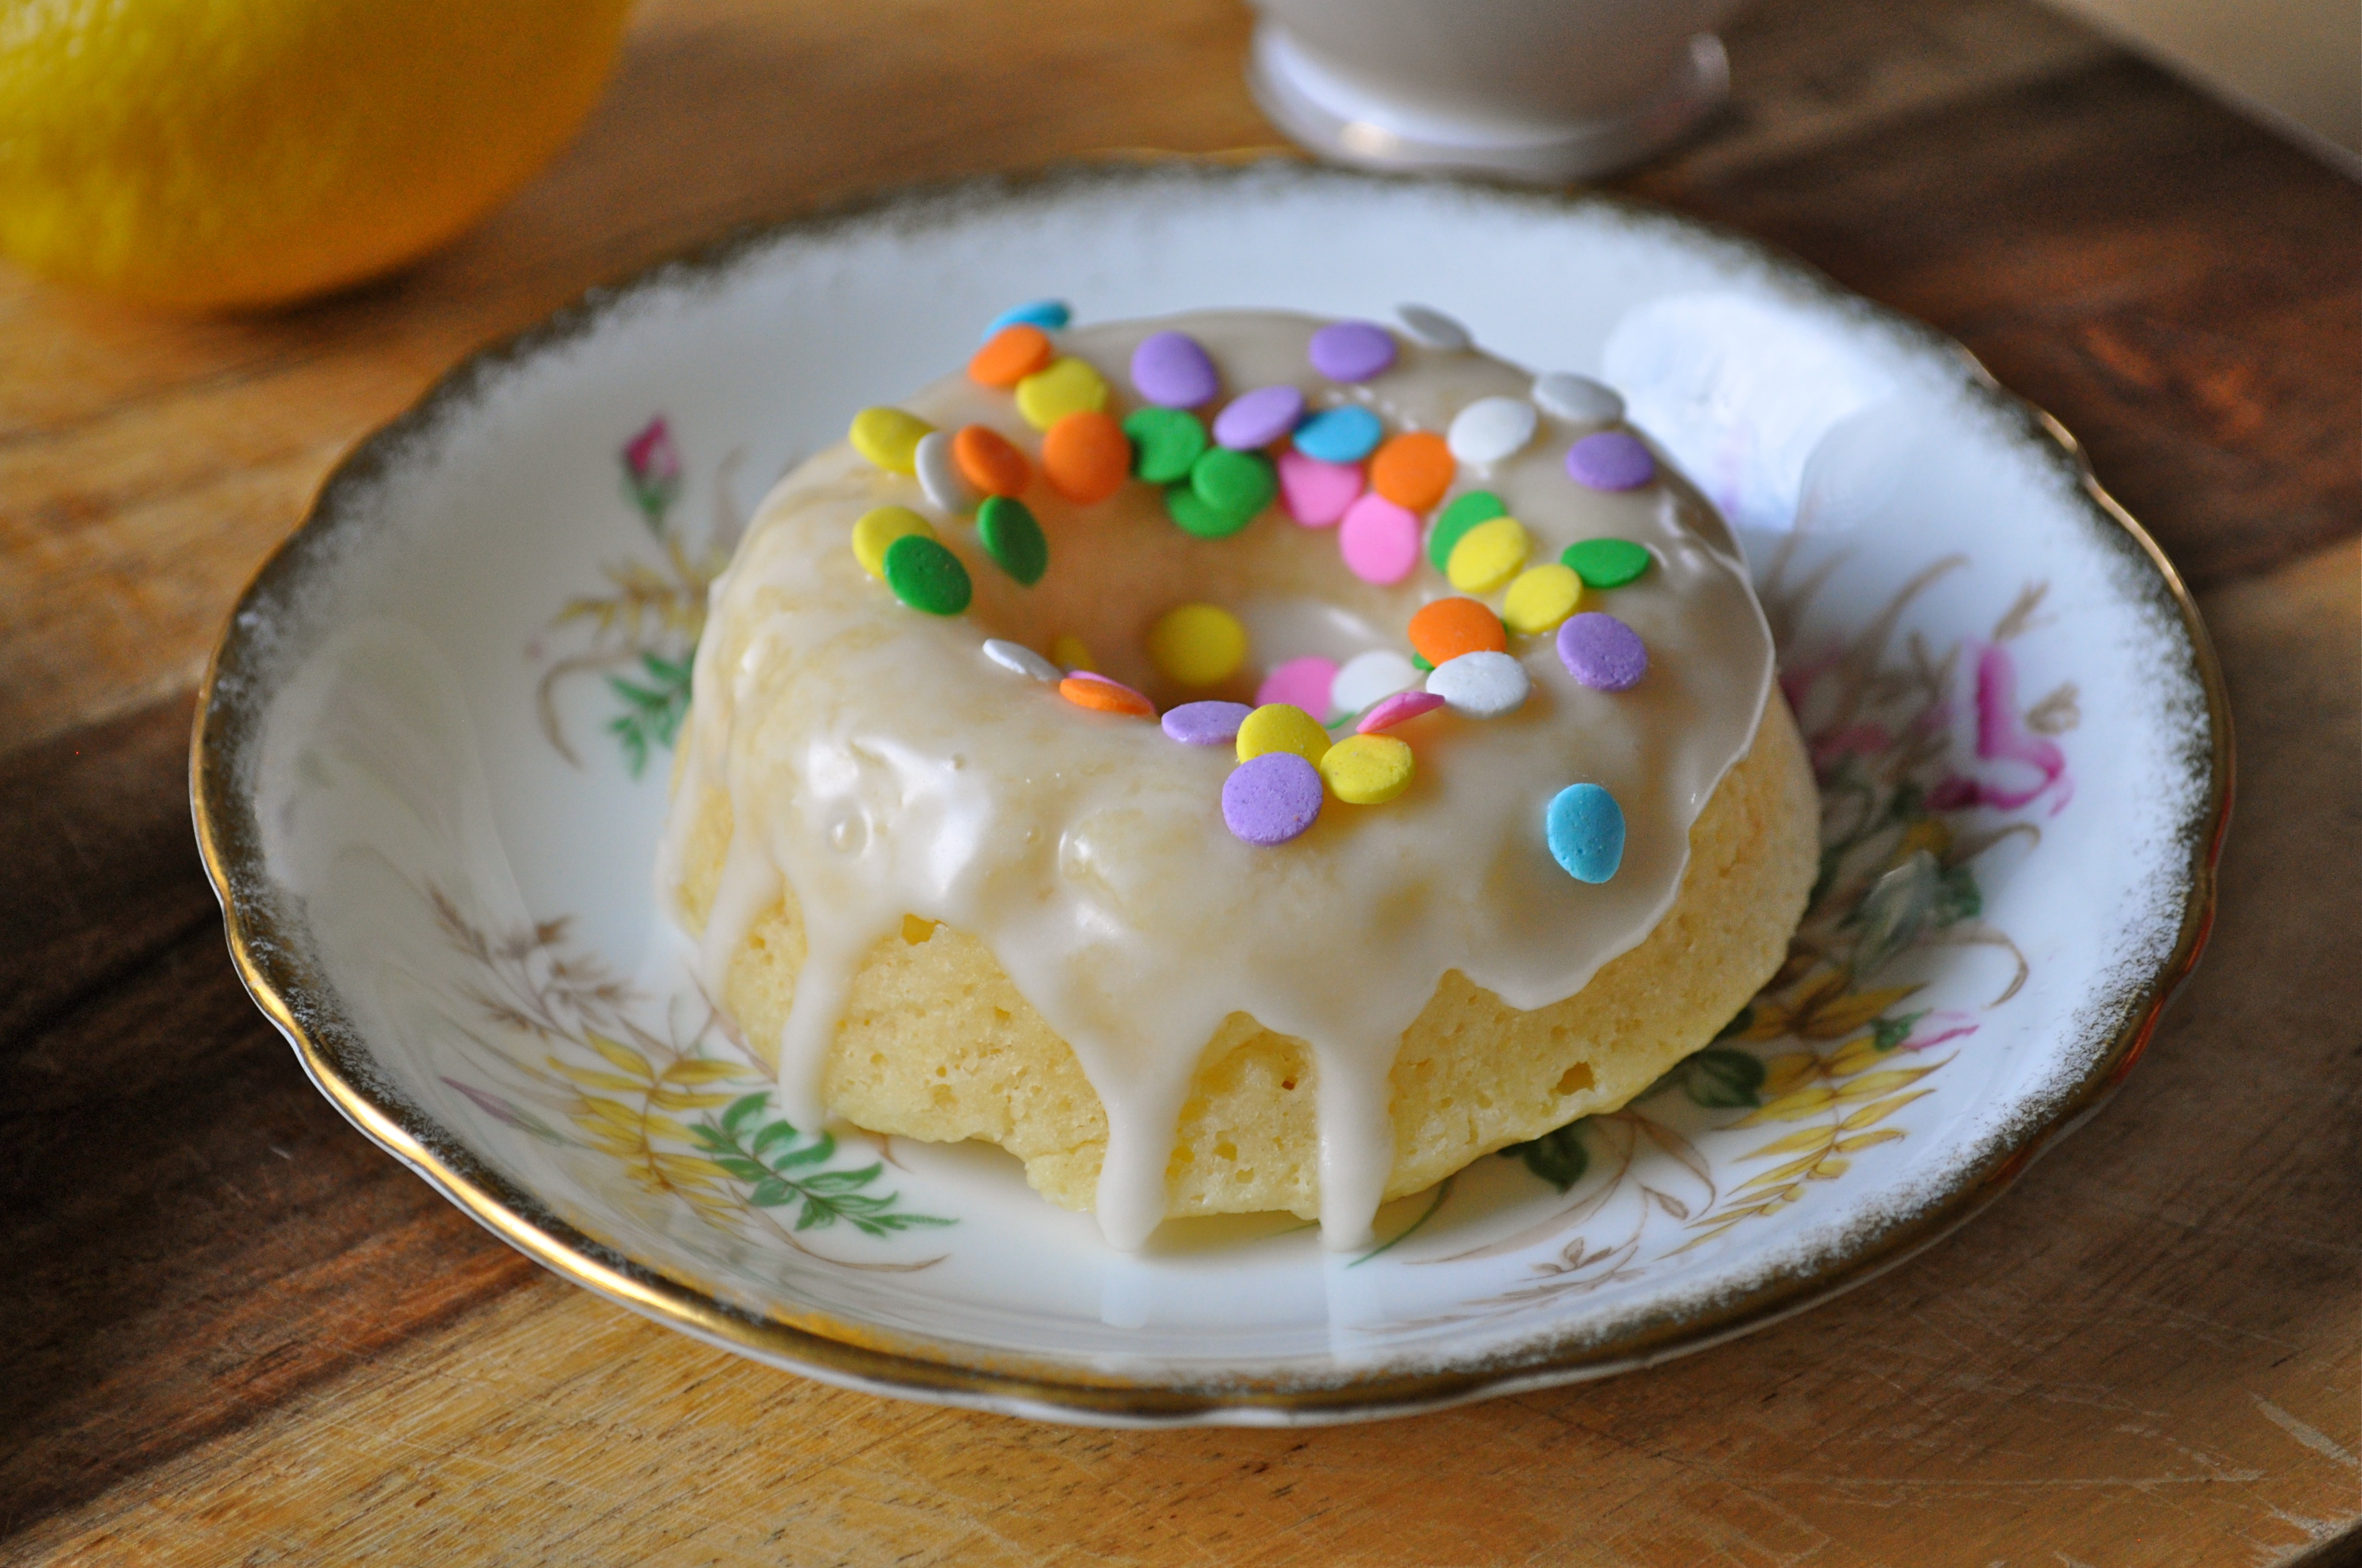
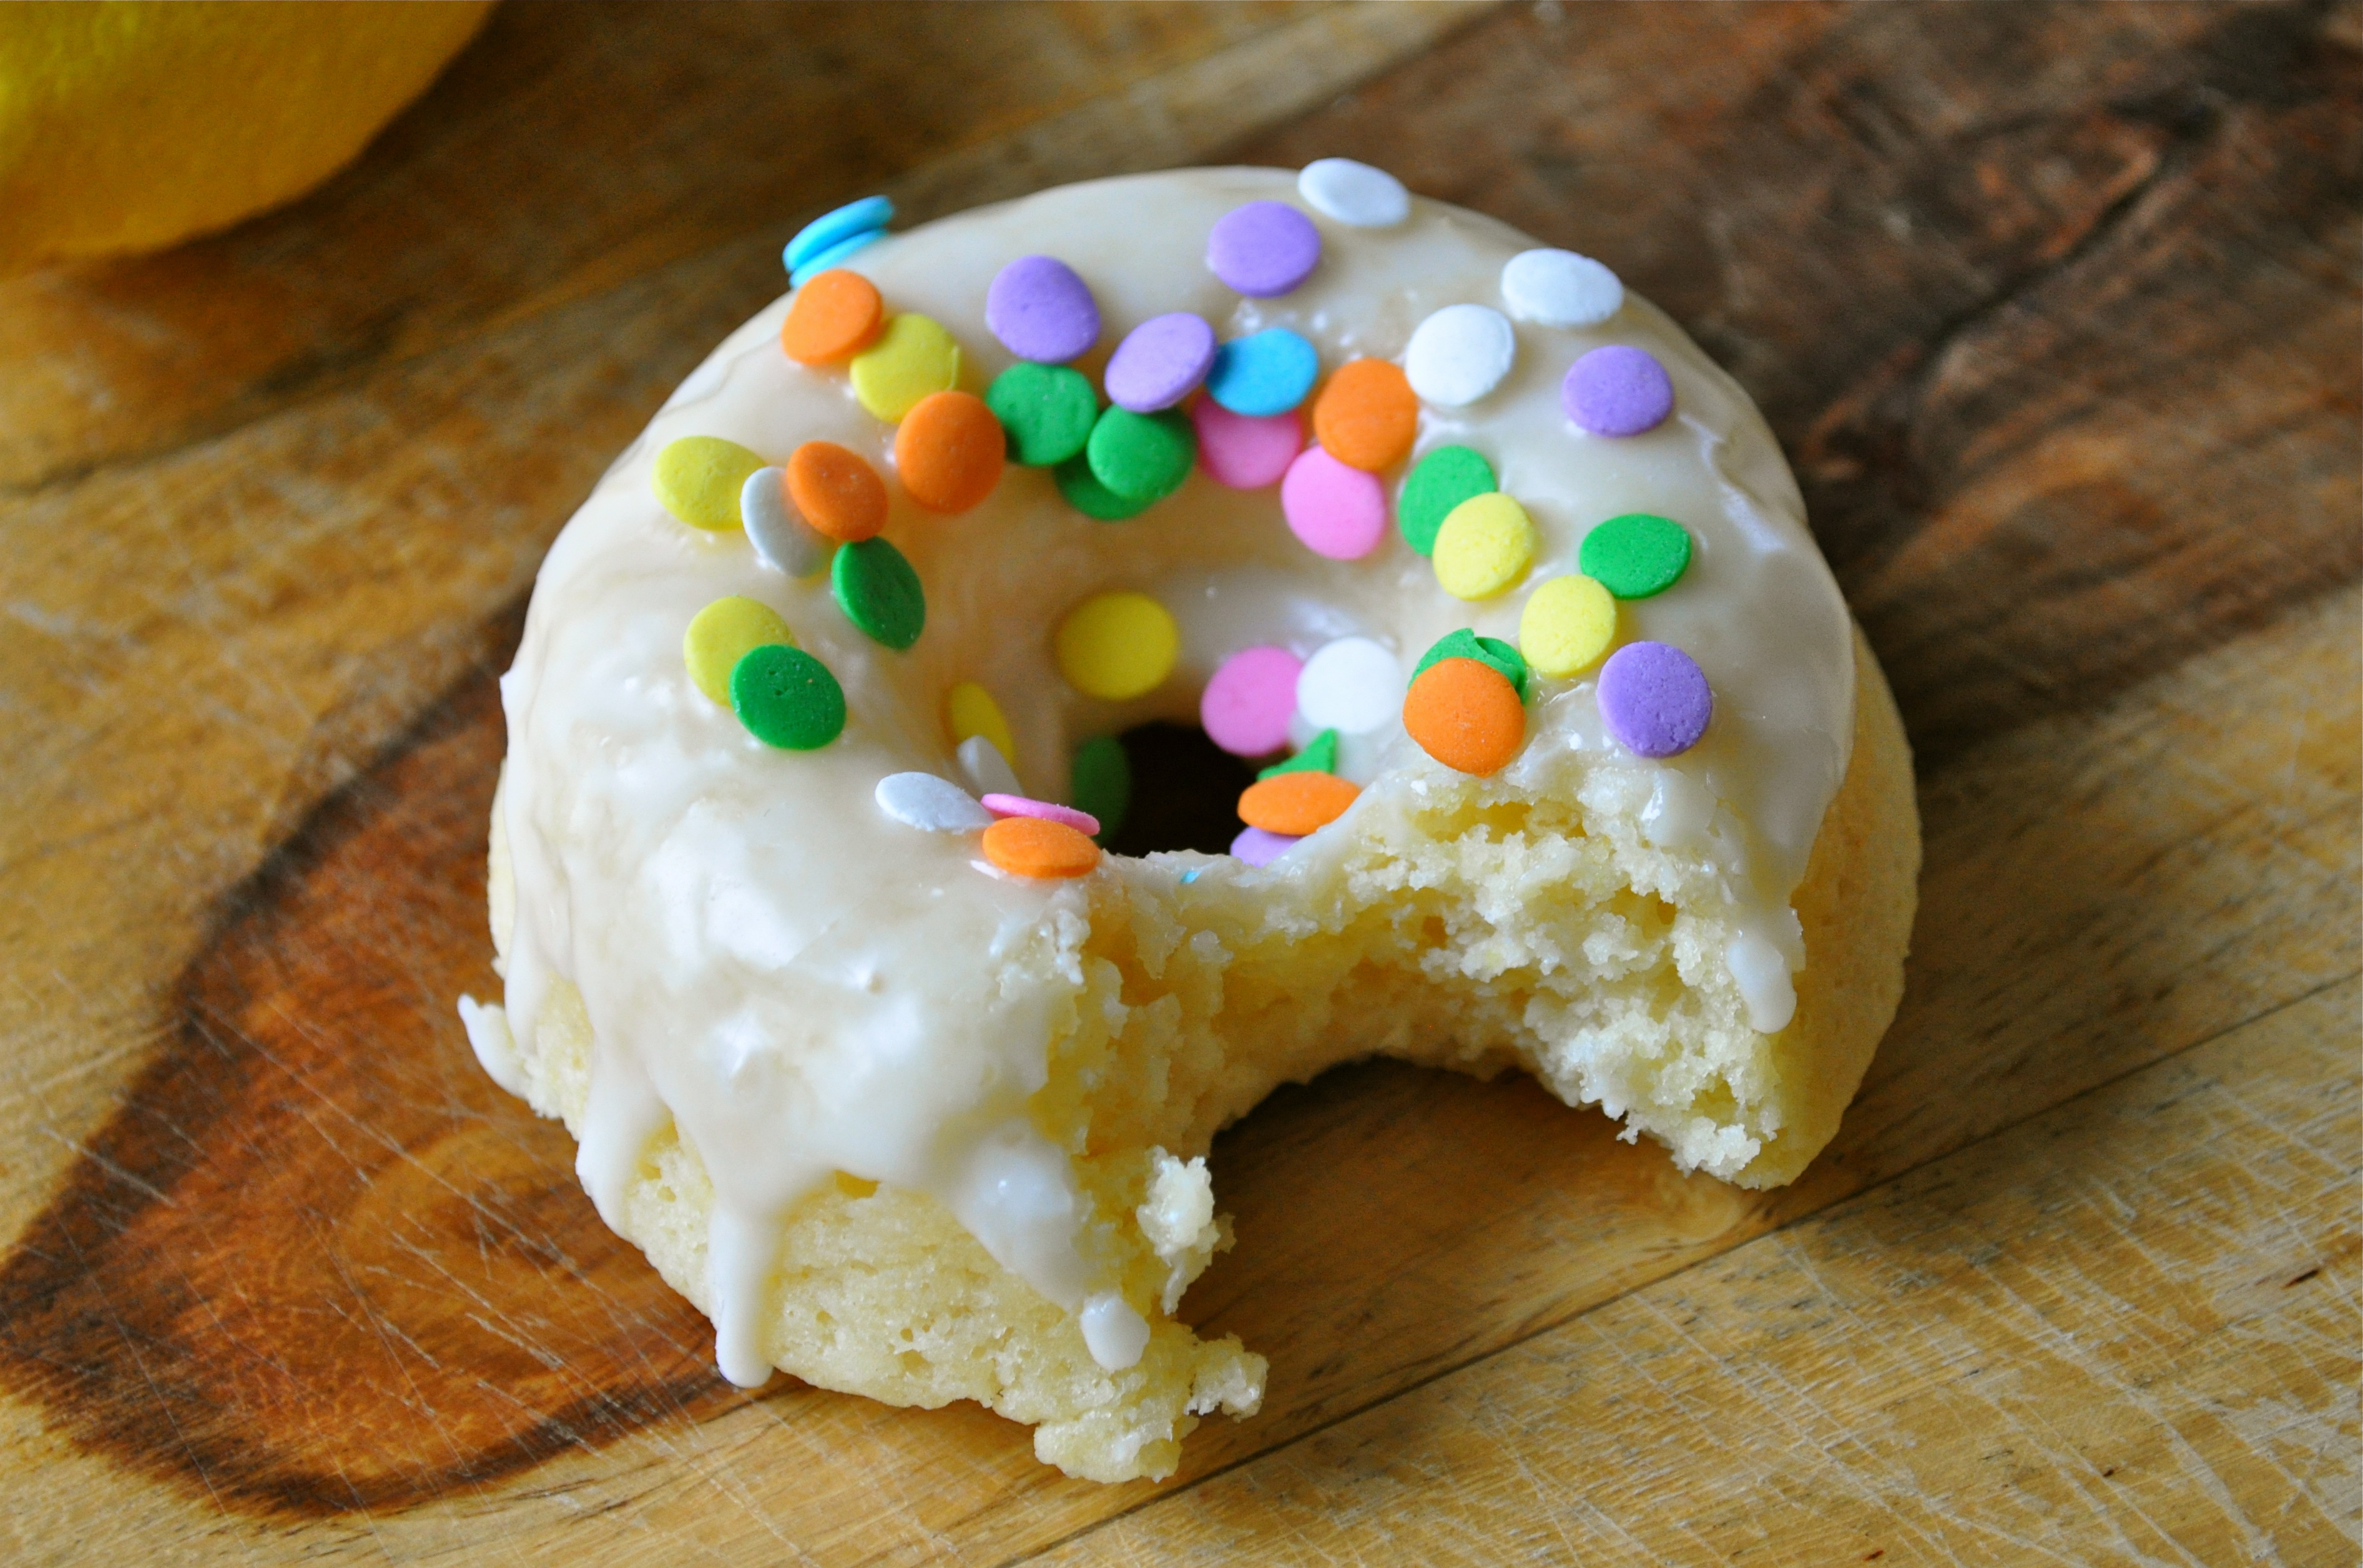
Rhubarb Crumble Ice Cream

Rhubarb Crumble Ice Cream | Once Upon a Recipe

Well, hello July!

The last few months have flown by in a flurry of boxes, trips to the eco-station and Good Will, buying furniture, and unpacking. I always forget just how much I detest moving until I’m right in the thick of it. It’s amazing just how much stuff one can accumulate after living in a space for a few years and how much crap can fit into the tiniest nooks and crannies of a home.

Rhubarb Crumble Ice Cream | Once Upon a Recipe

However, all annoyances aside, we moved into our new home in the middle of May and we are completely in love with it! The house is still coming together, we are still organizing and setting up particular rooms, but we are slowly getting there. The new place has so much more space and light than either of us are used to, and it has been really fun (and a bit overwhelming) to start to make it our own. Blending the styles of two different people certainly has its challenges, but thankfully my love and I are both pretty laid back people. Plus, he can totally sense when he’s fighting a losing battle and leaves the final decision to me. (What can I say, the man is a saint.) The fur children are also adjusting, but I’d say overall they love their new backyard and don’t seem to be having any difficulties with making their mark on the new space (and by mark I mean pee spots on the lawn and scratches on the hardwood floors). They have certainly added a bit of, erm…character to our home.

Rhubarb Crumble Ice Cream | Once Upon a Recipe

Rhubarb Crumble Ice Cream | Once Upon a Recipe

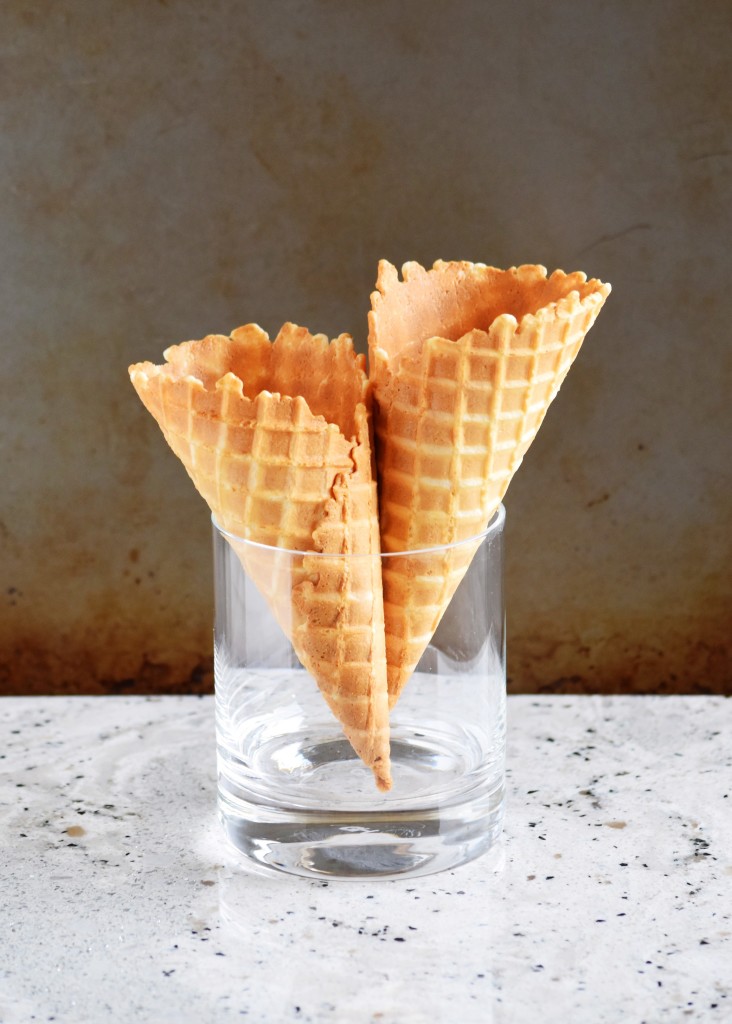
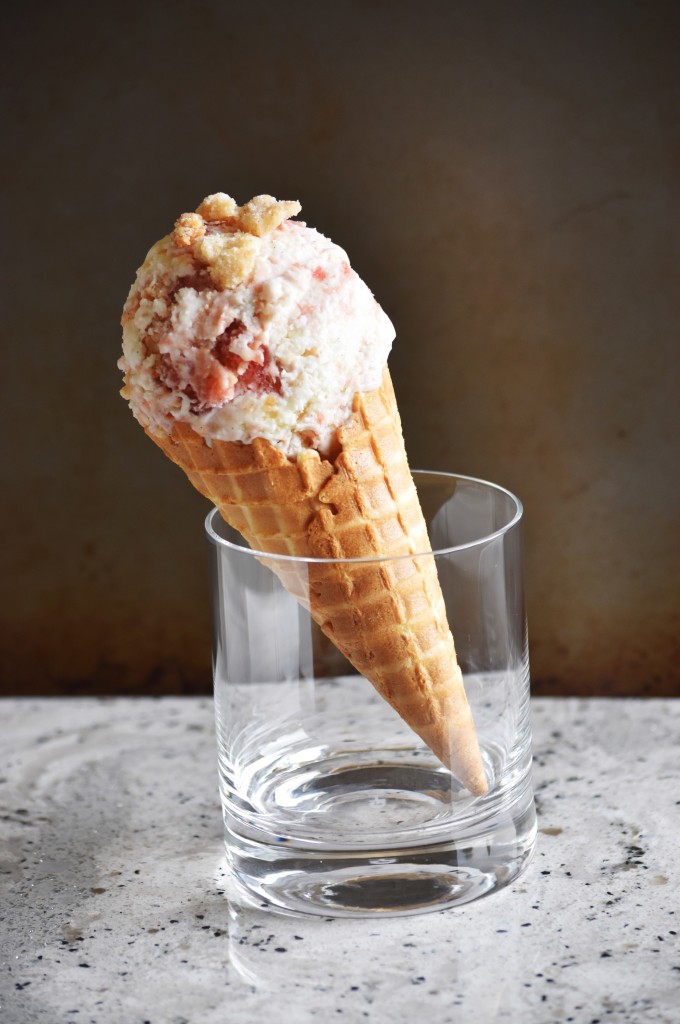
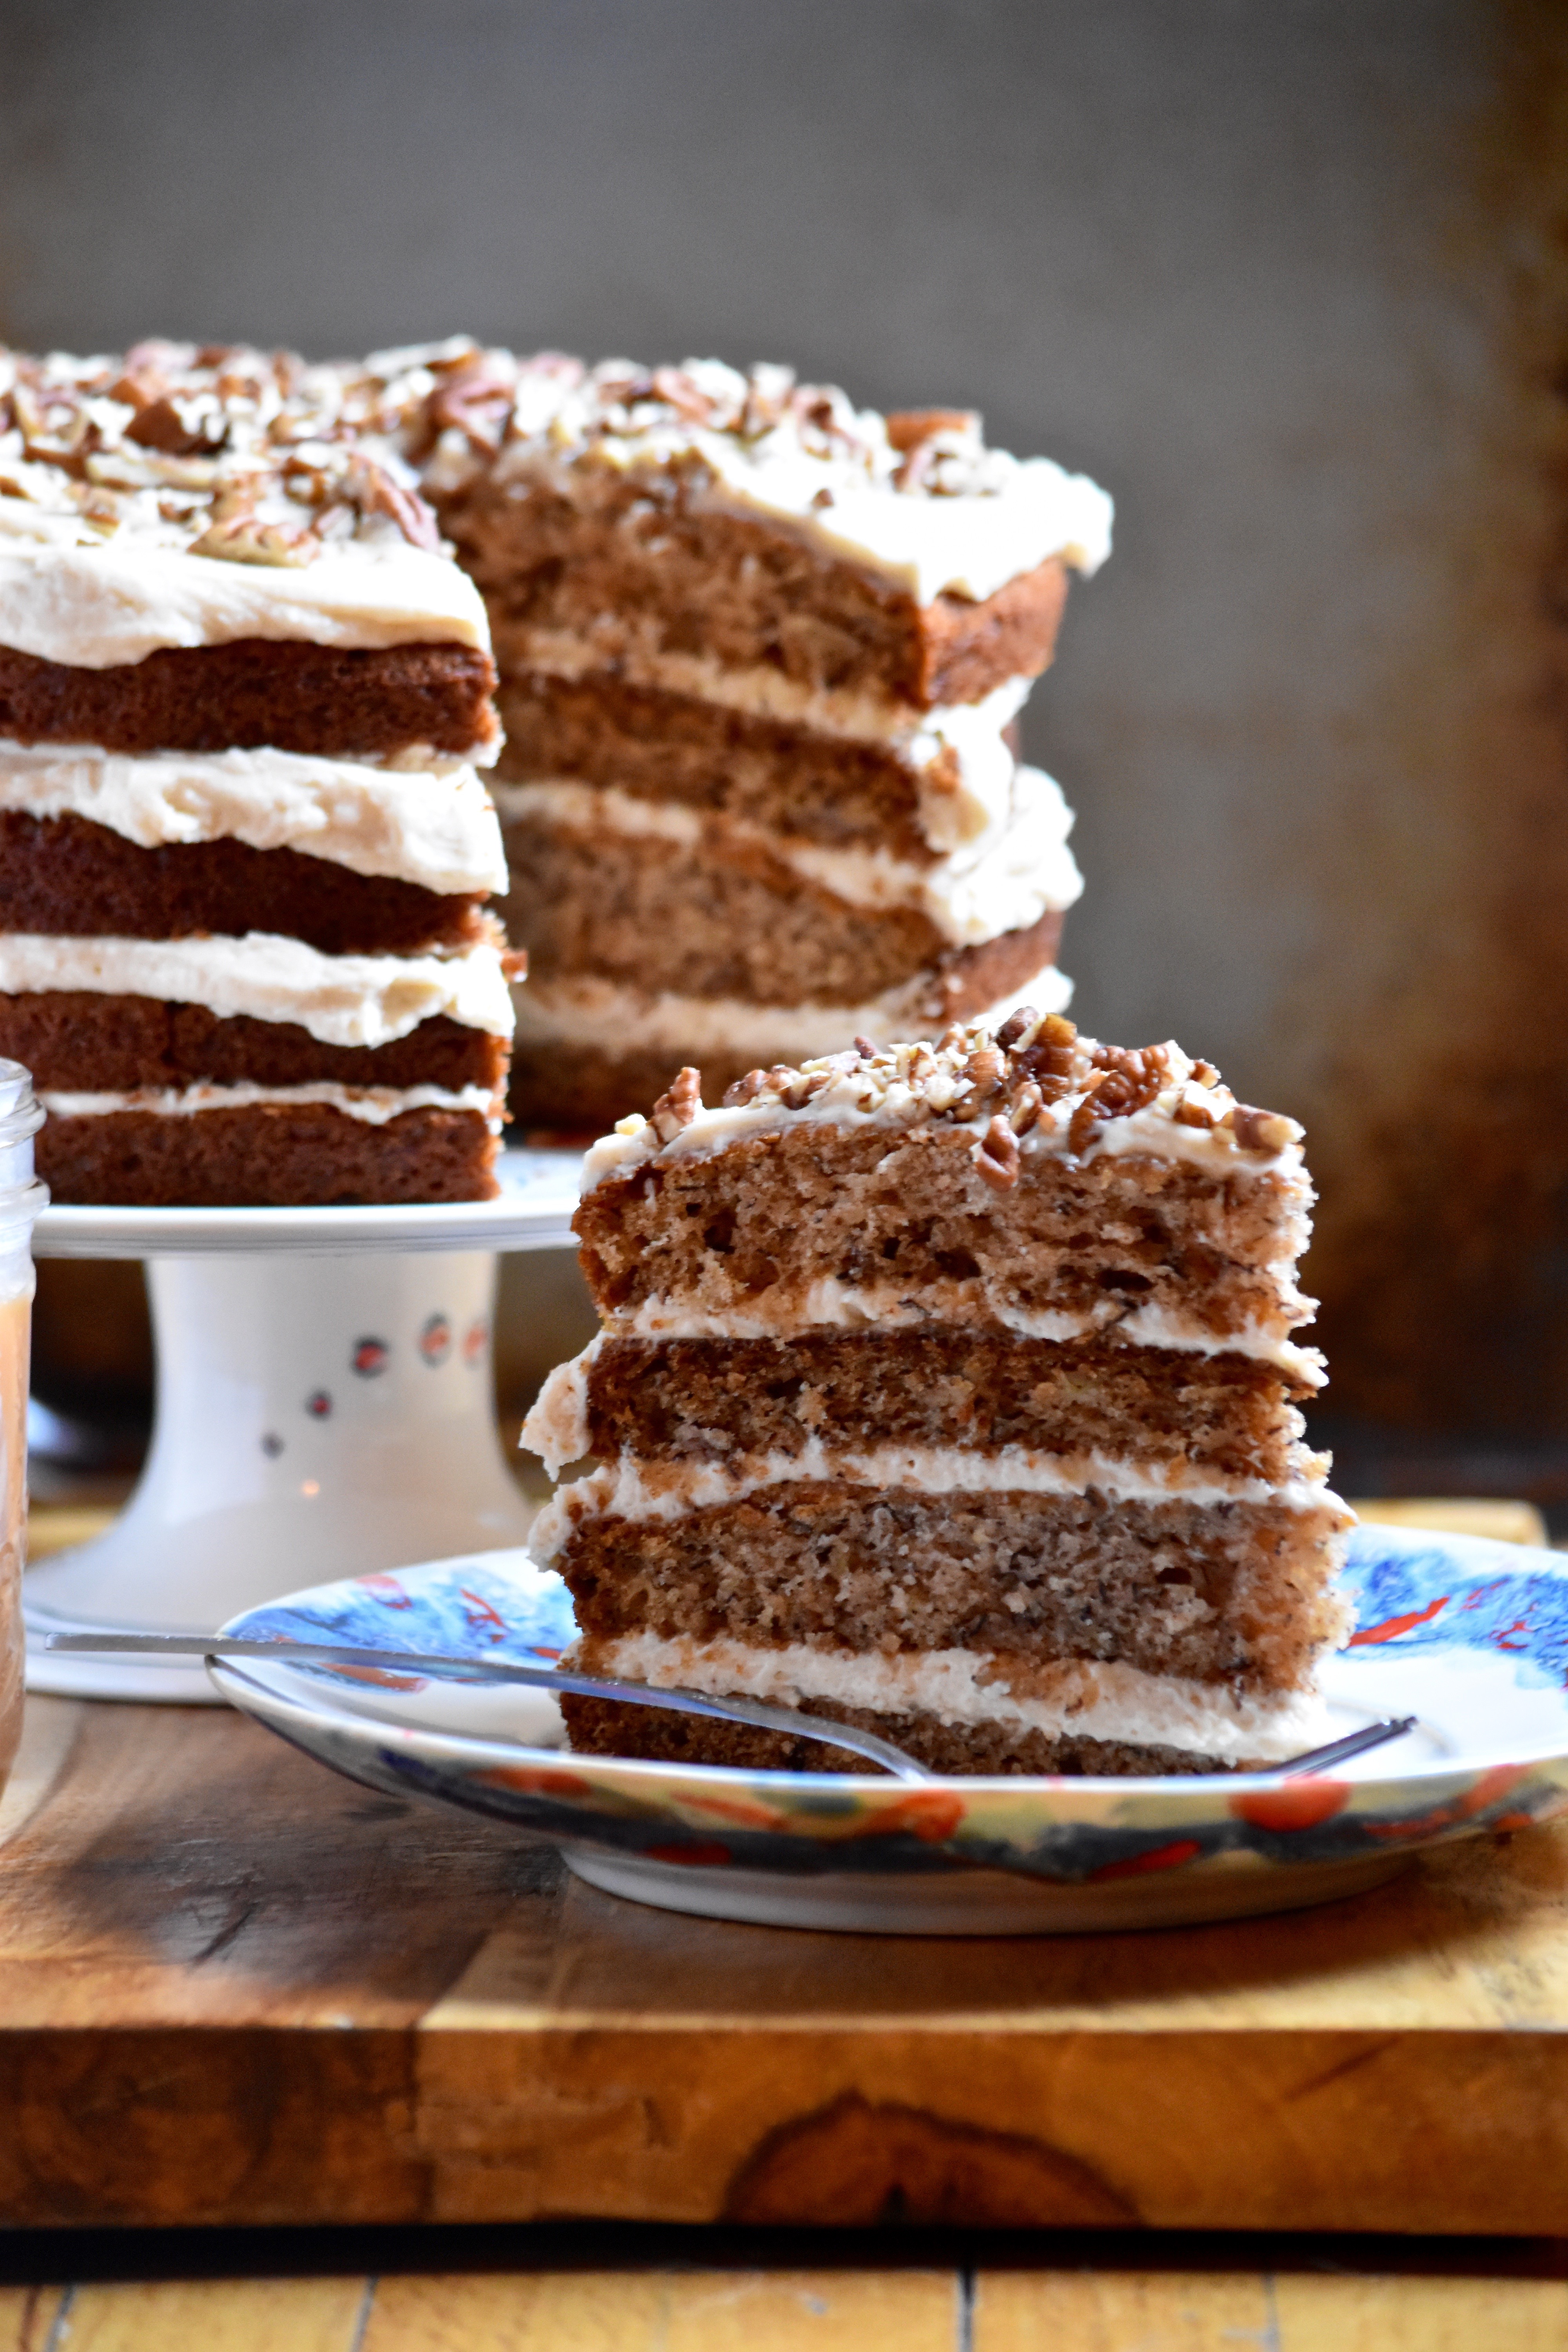
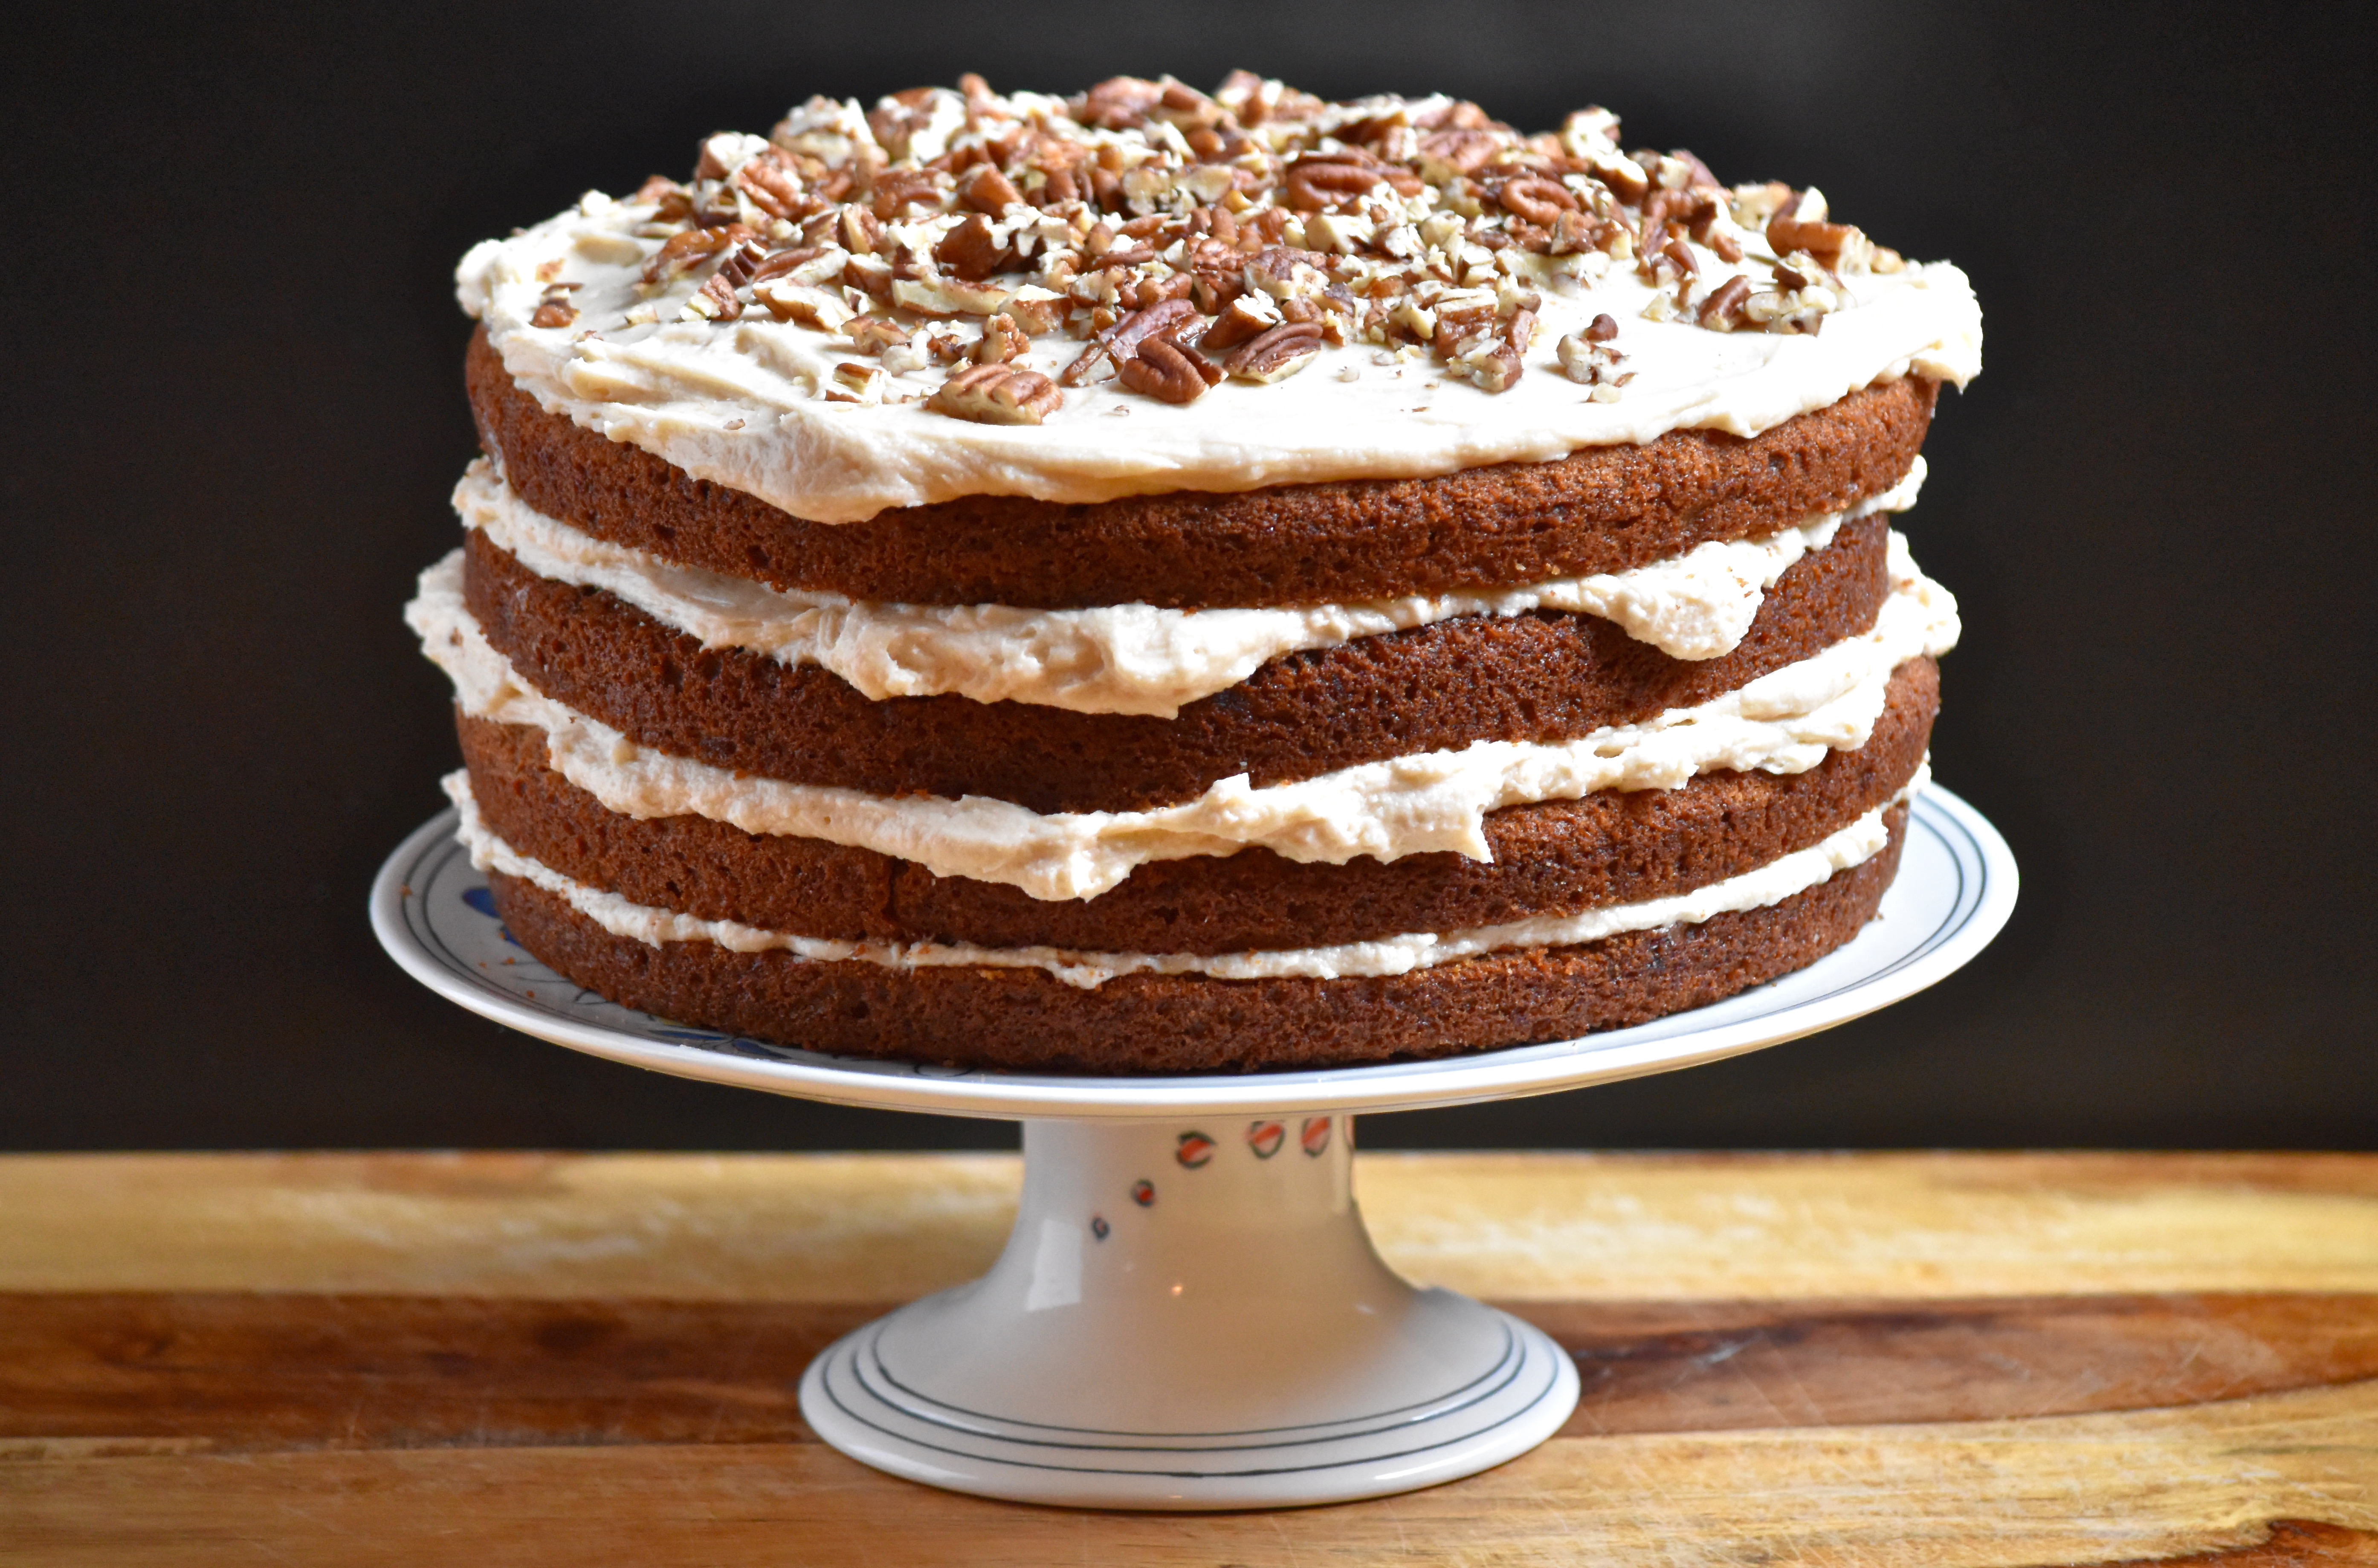
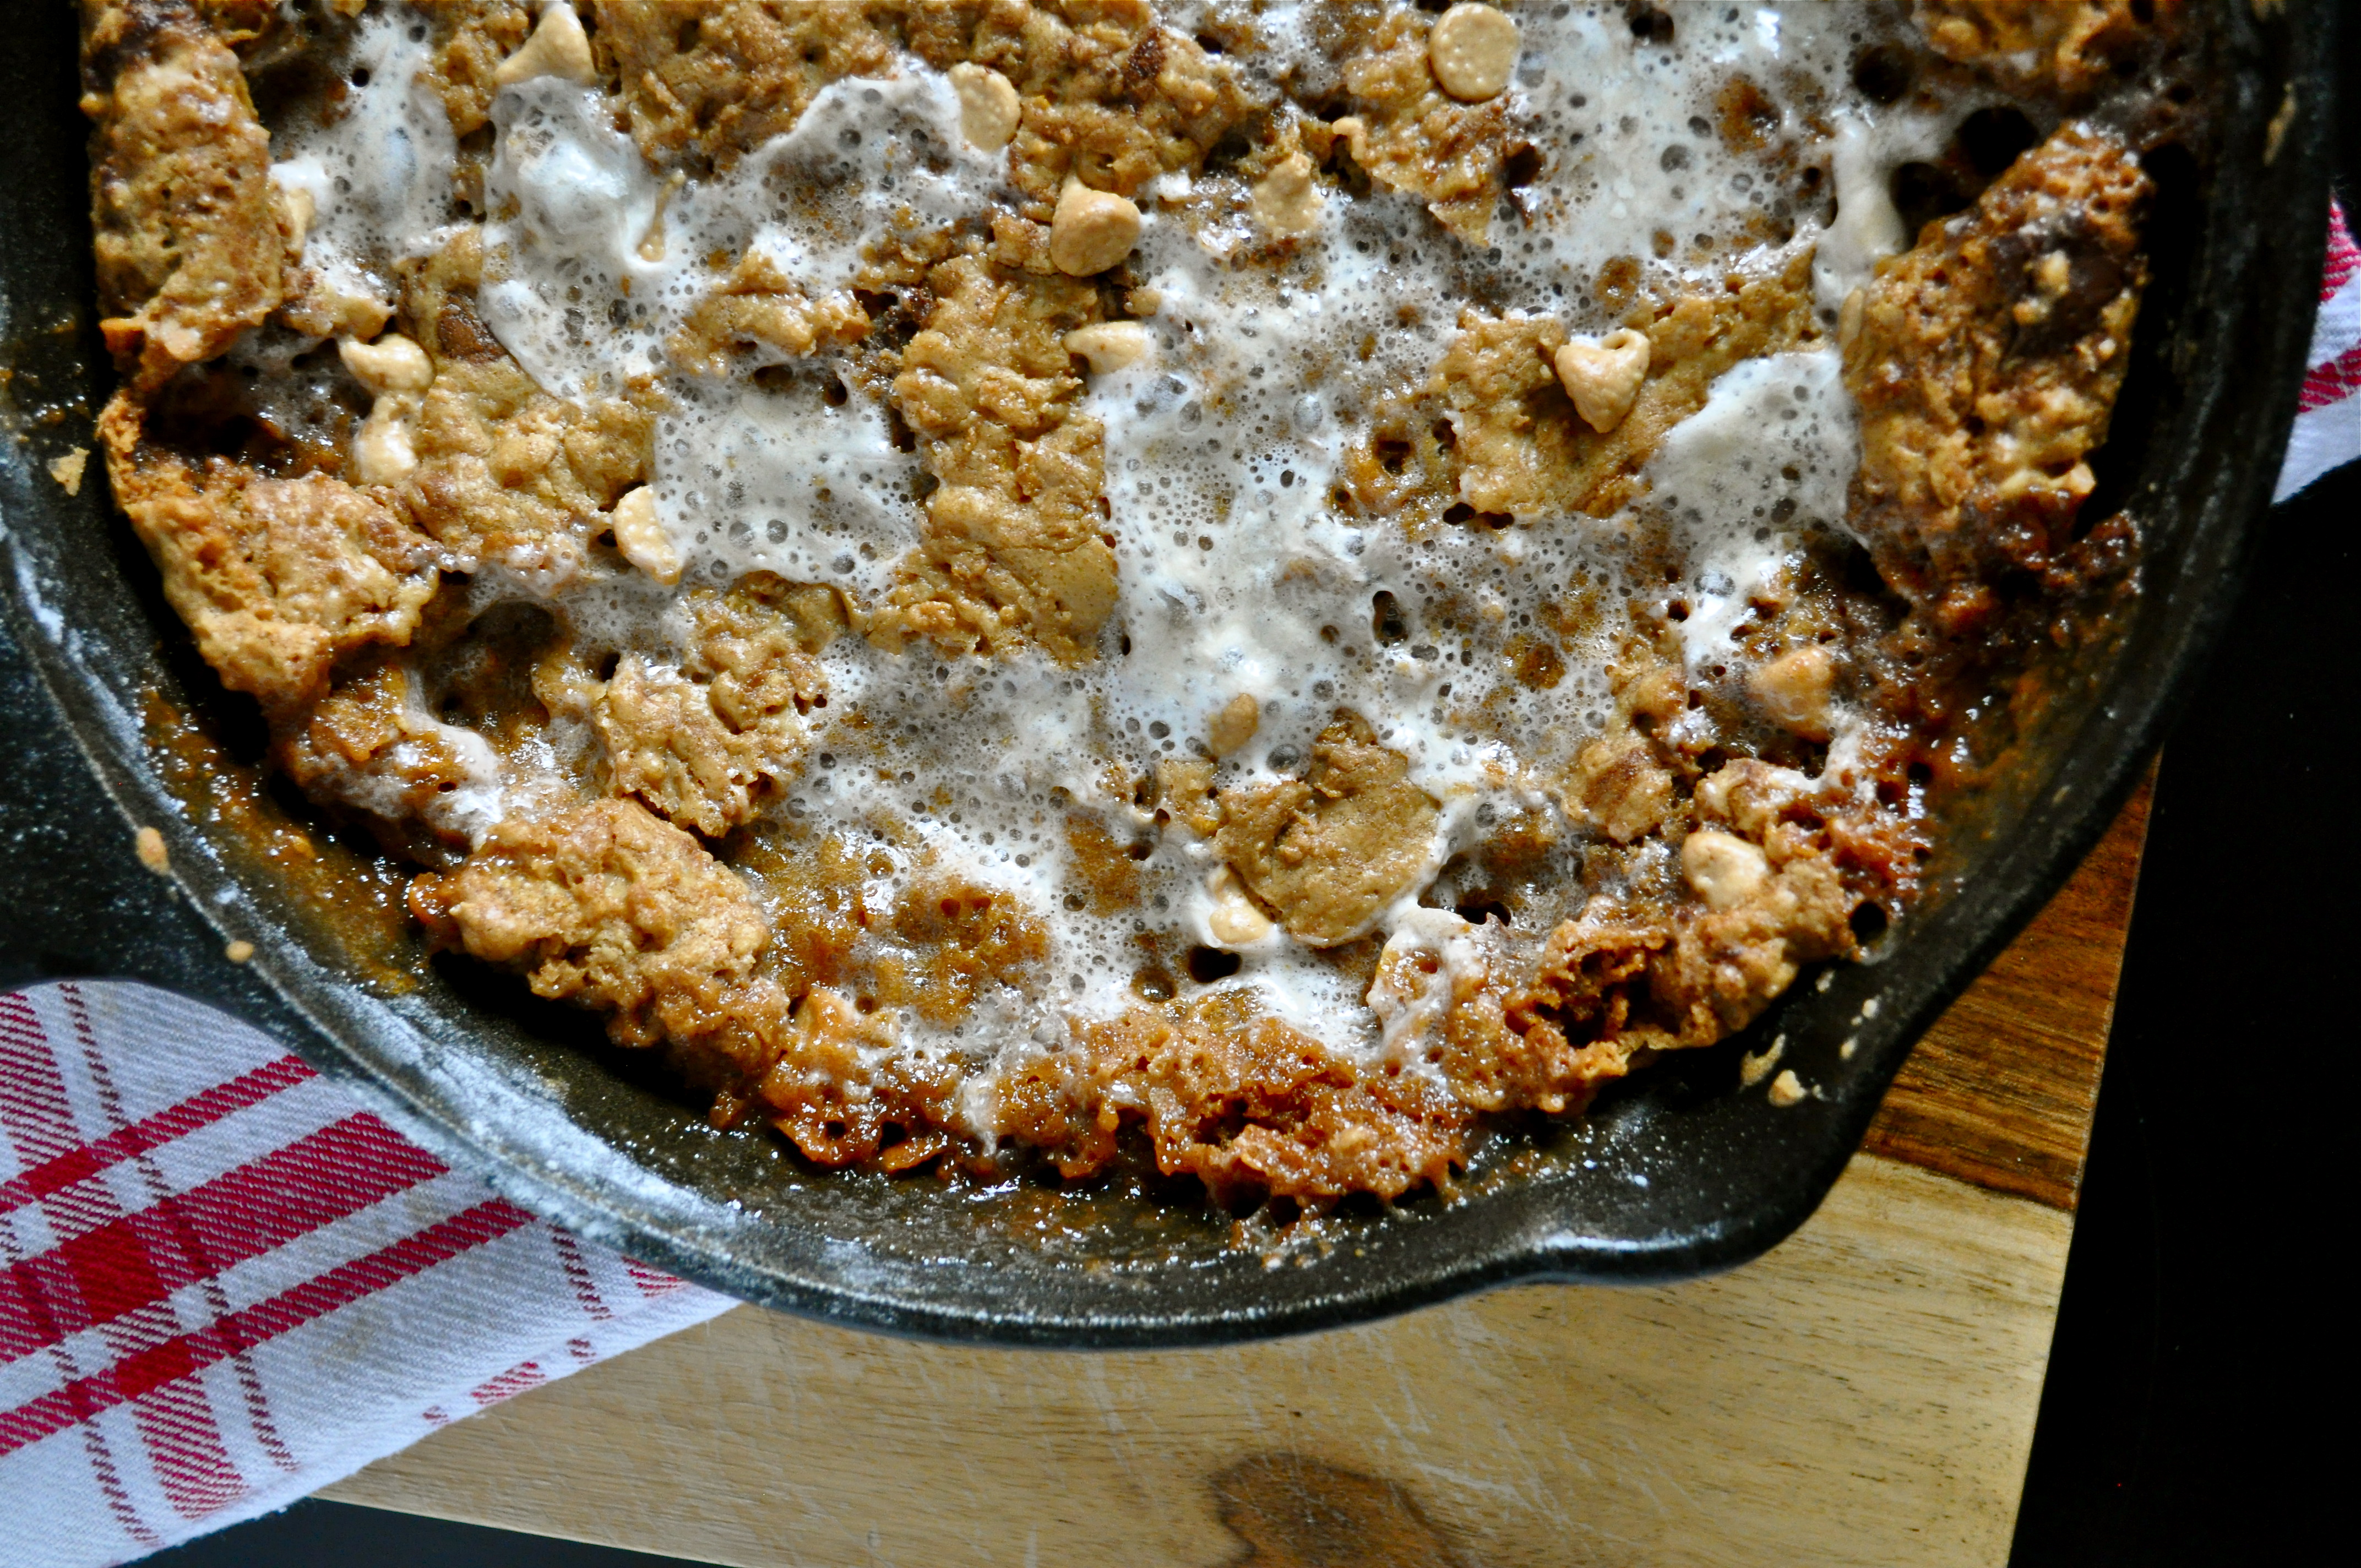
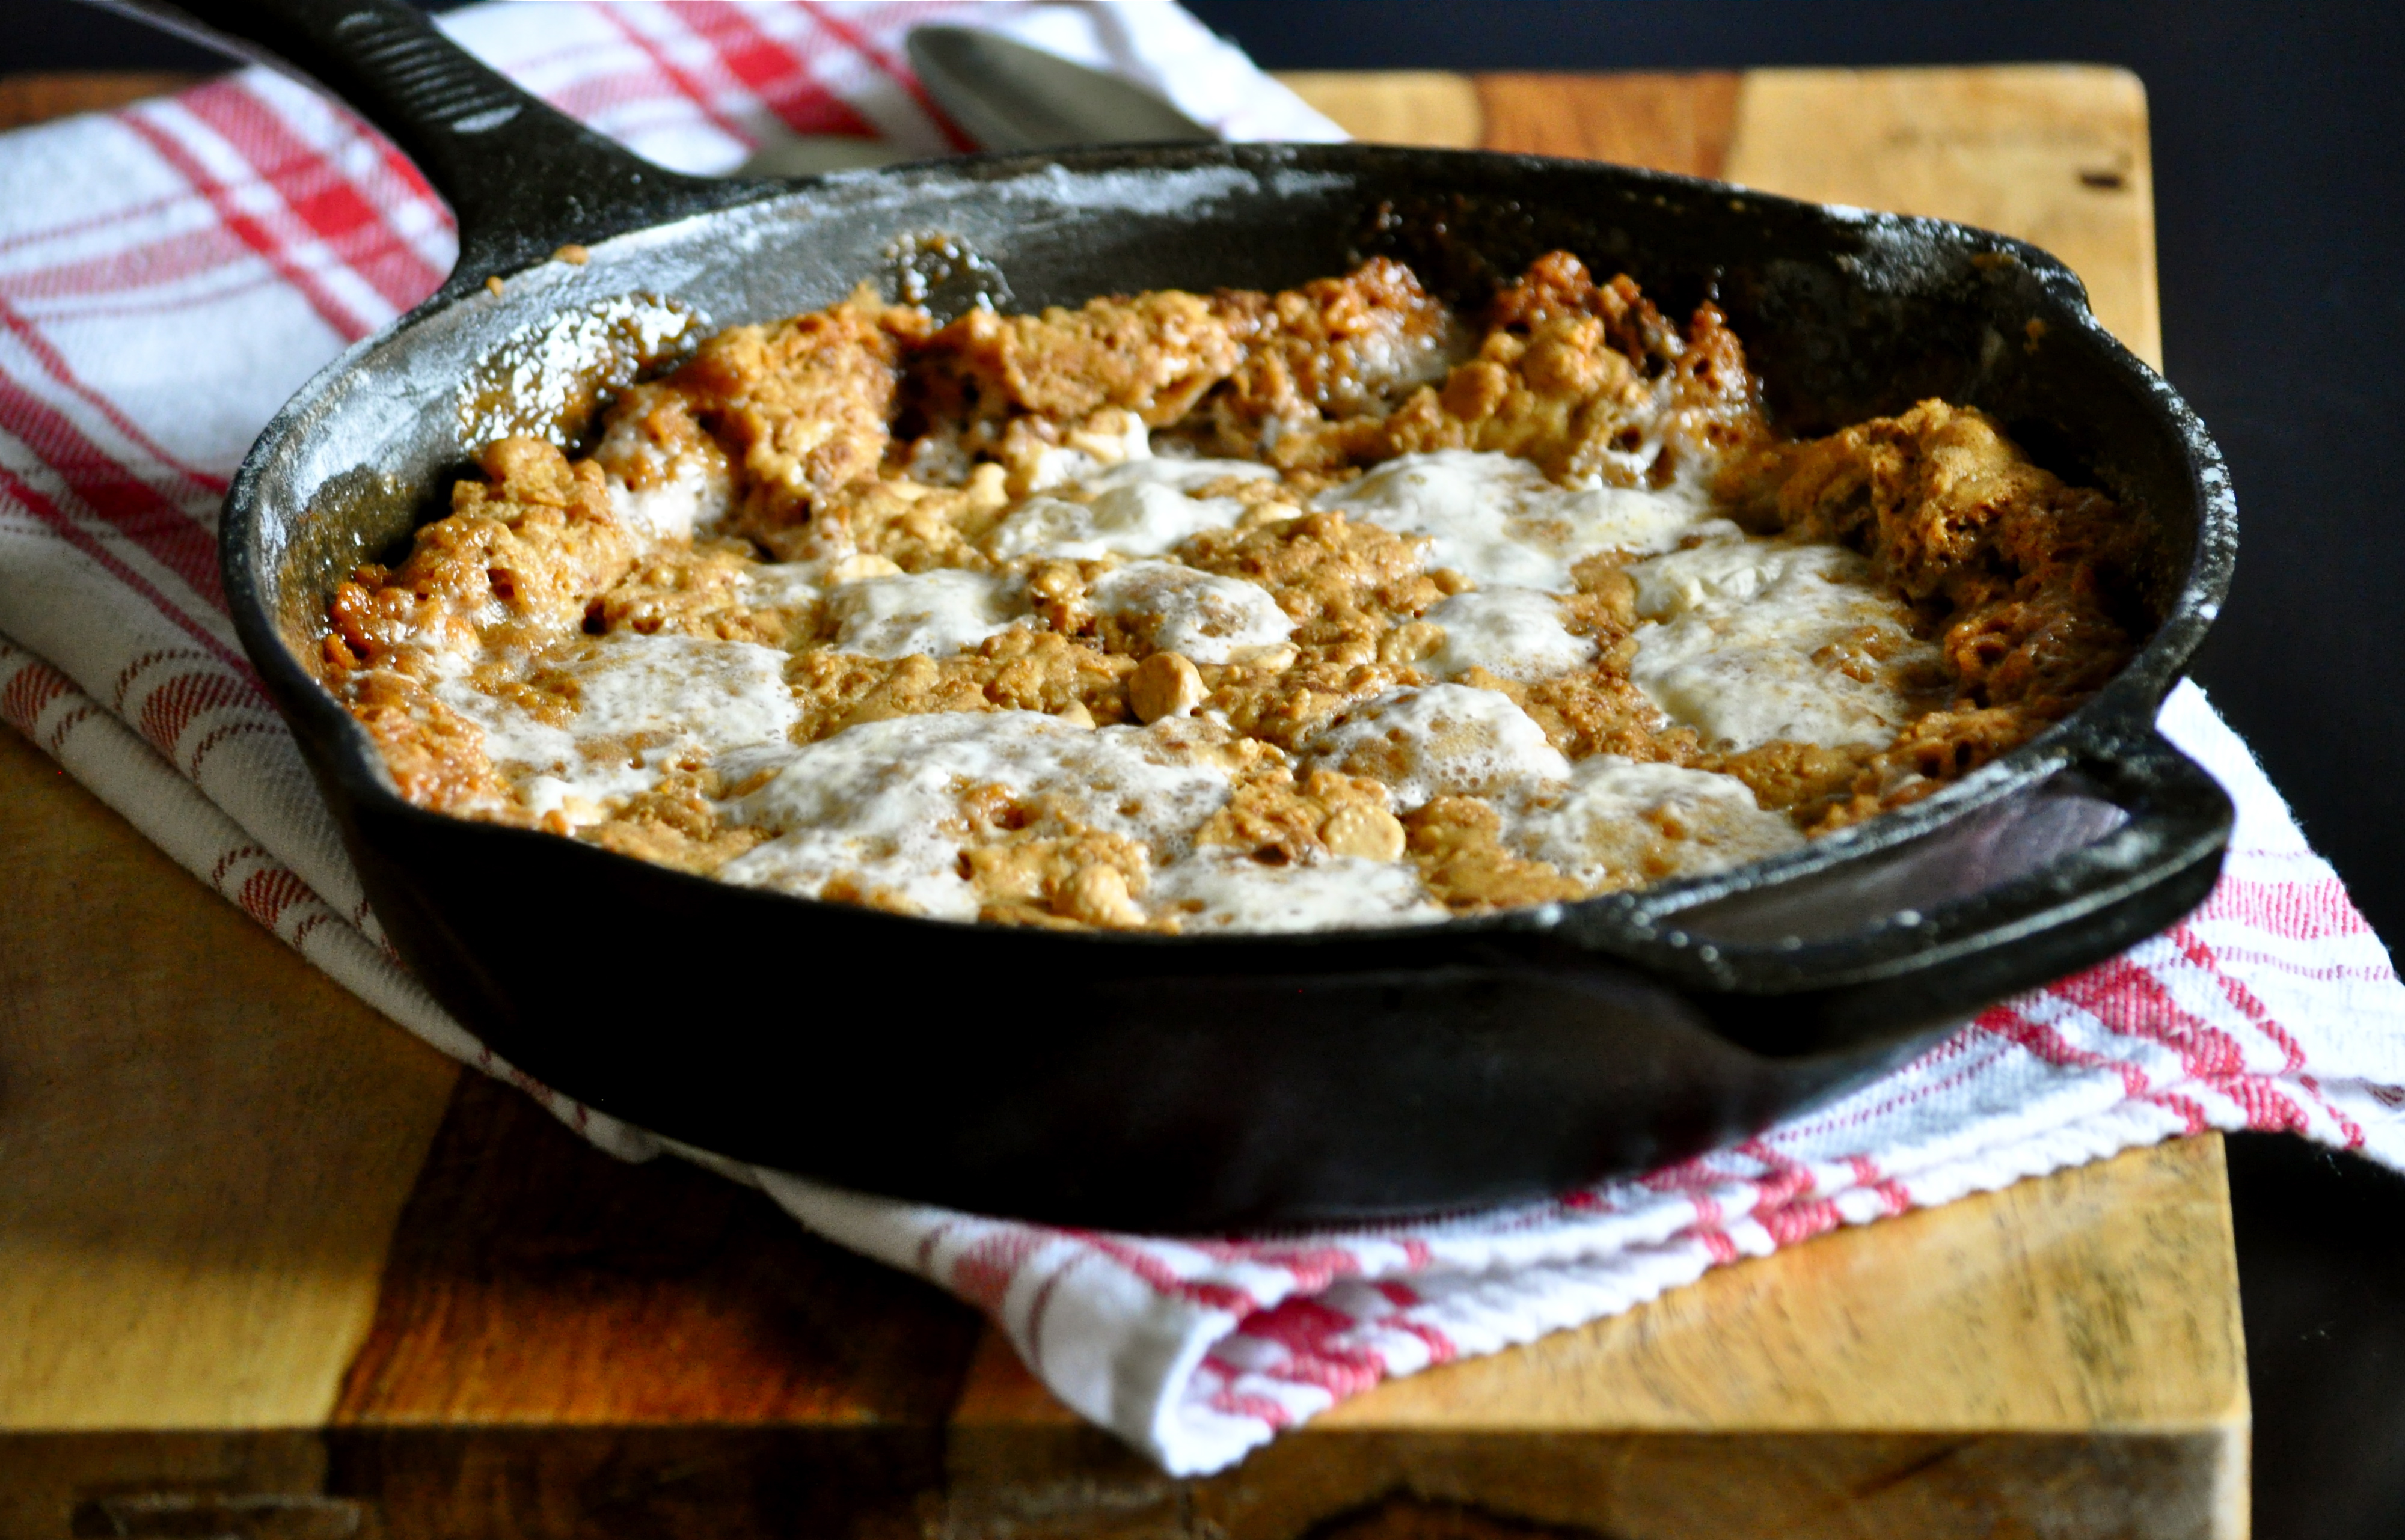
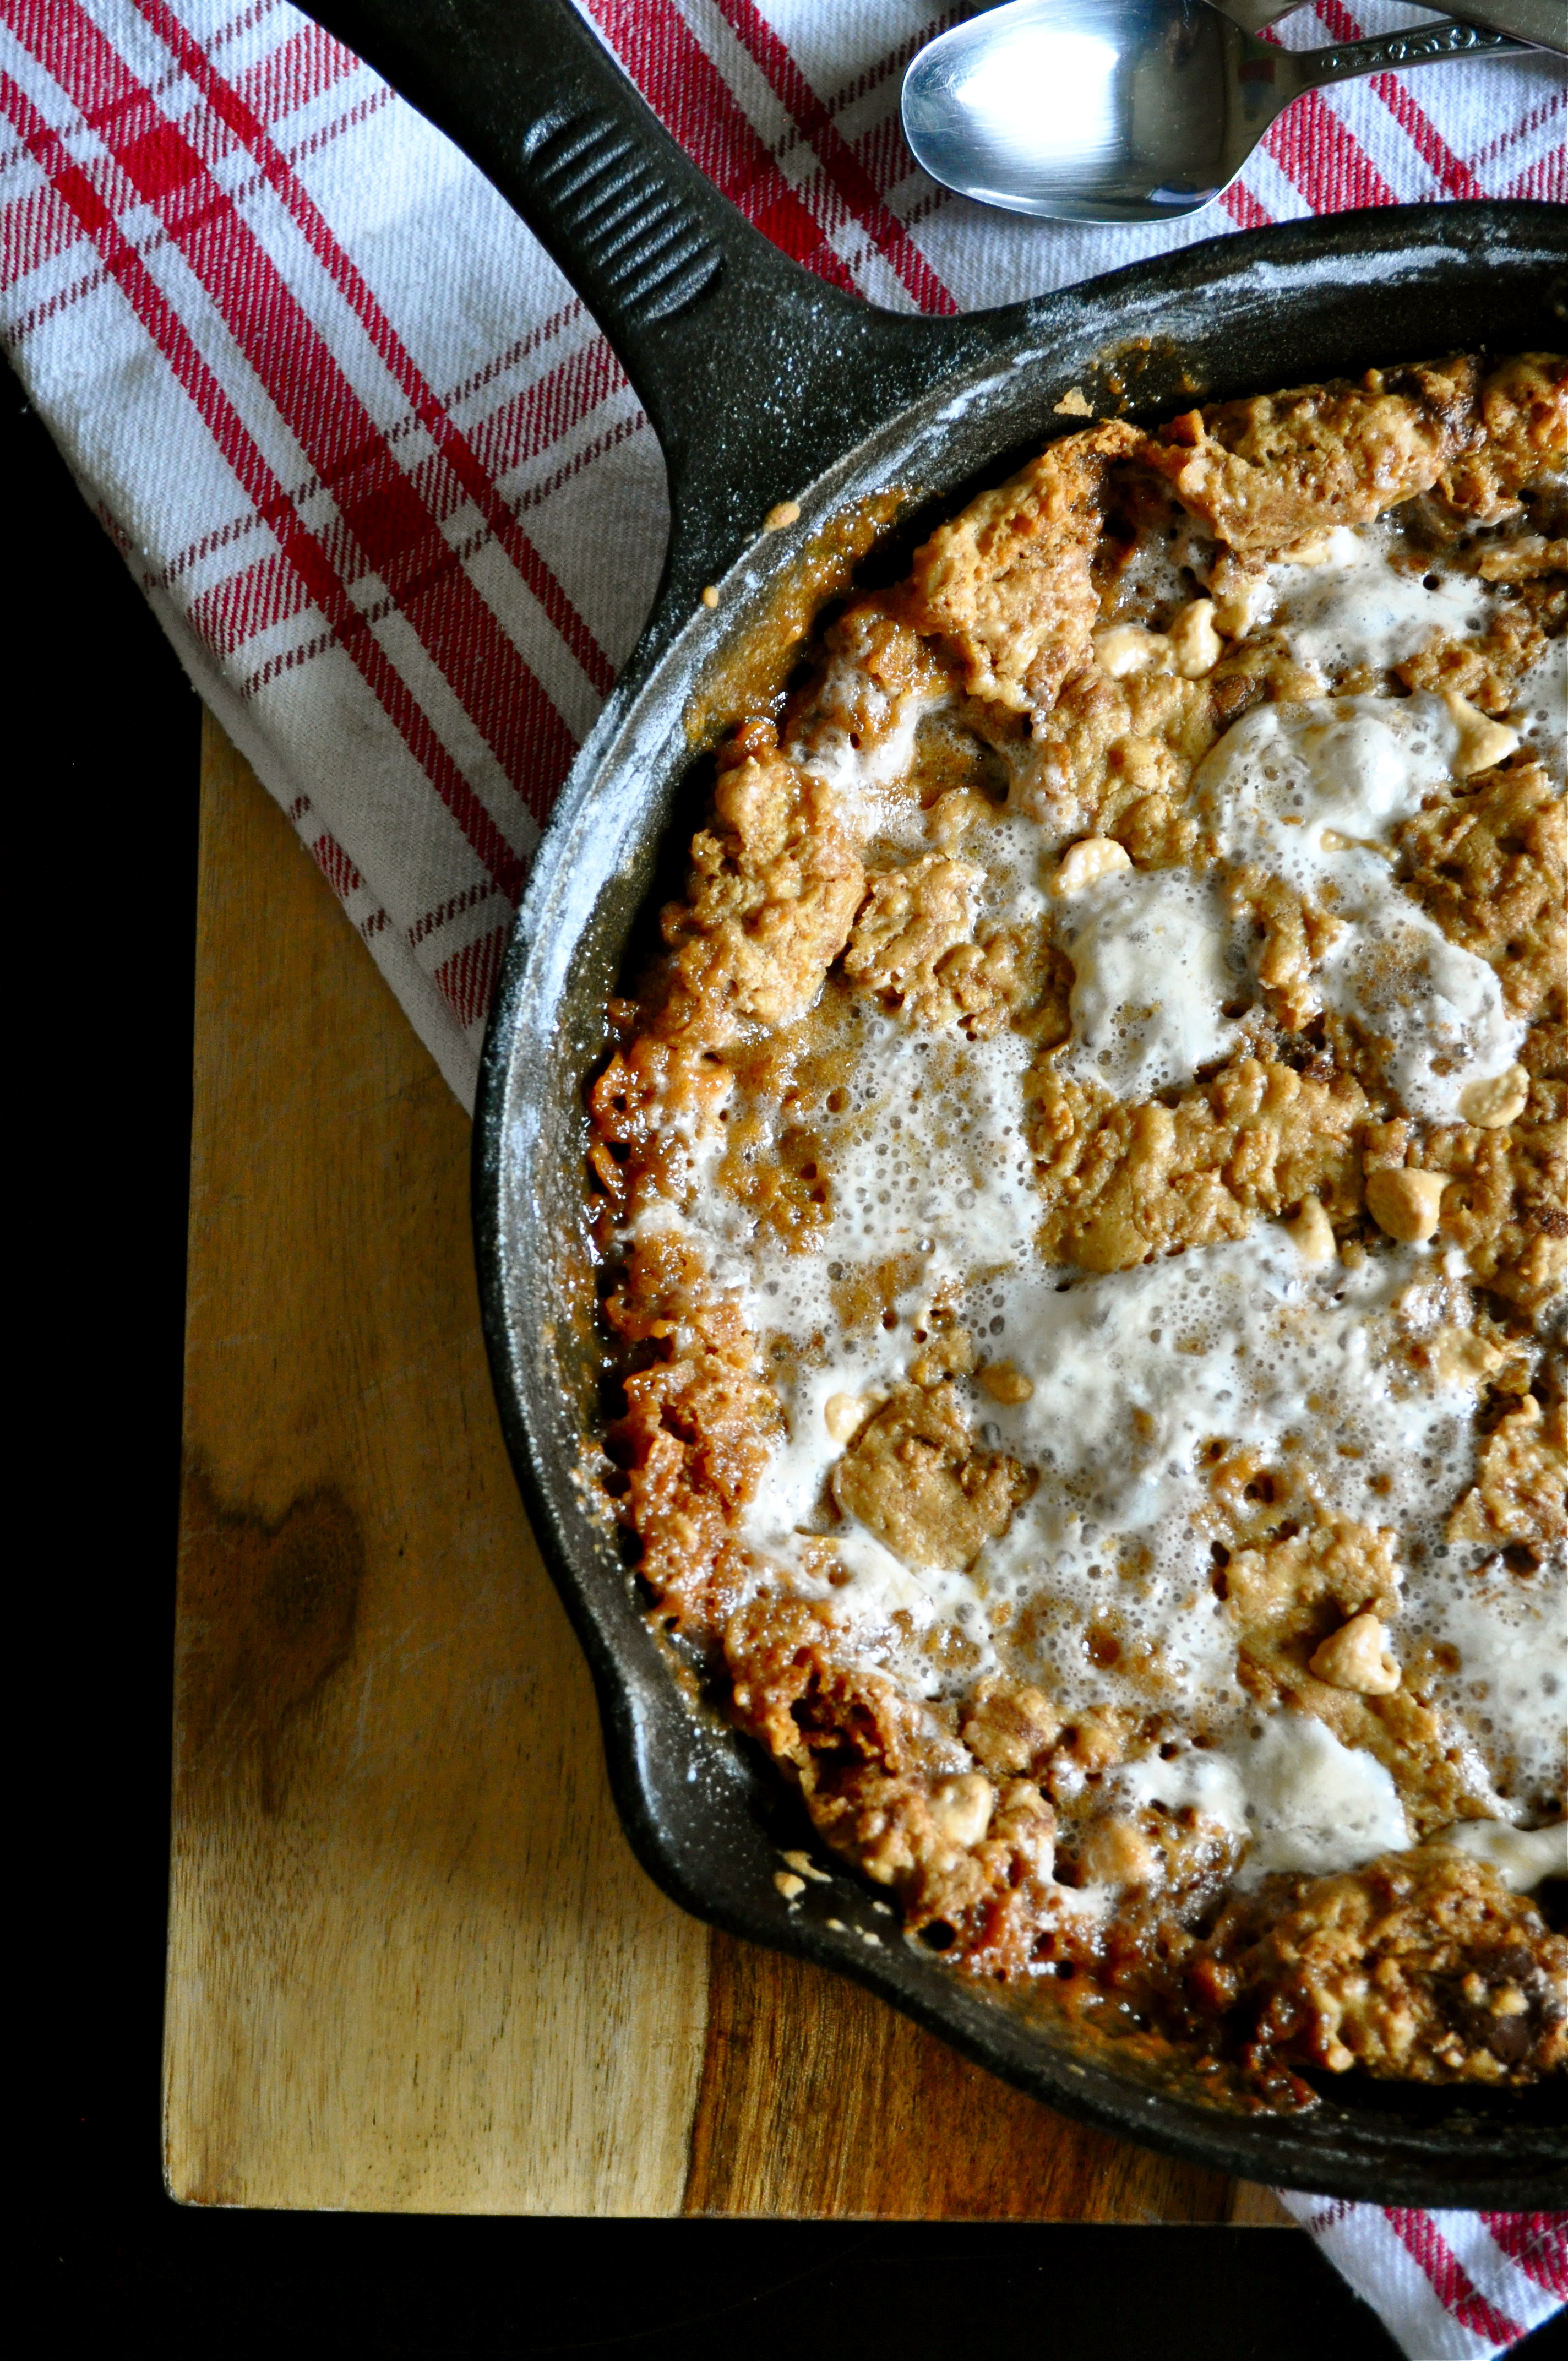
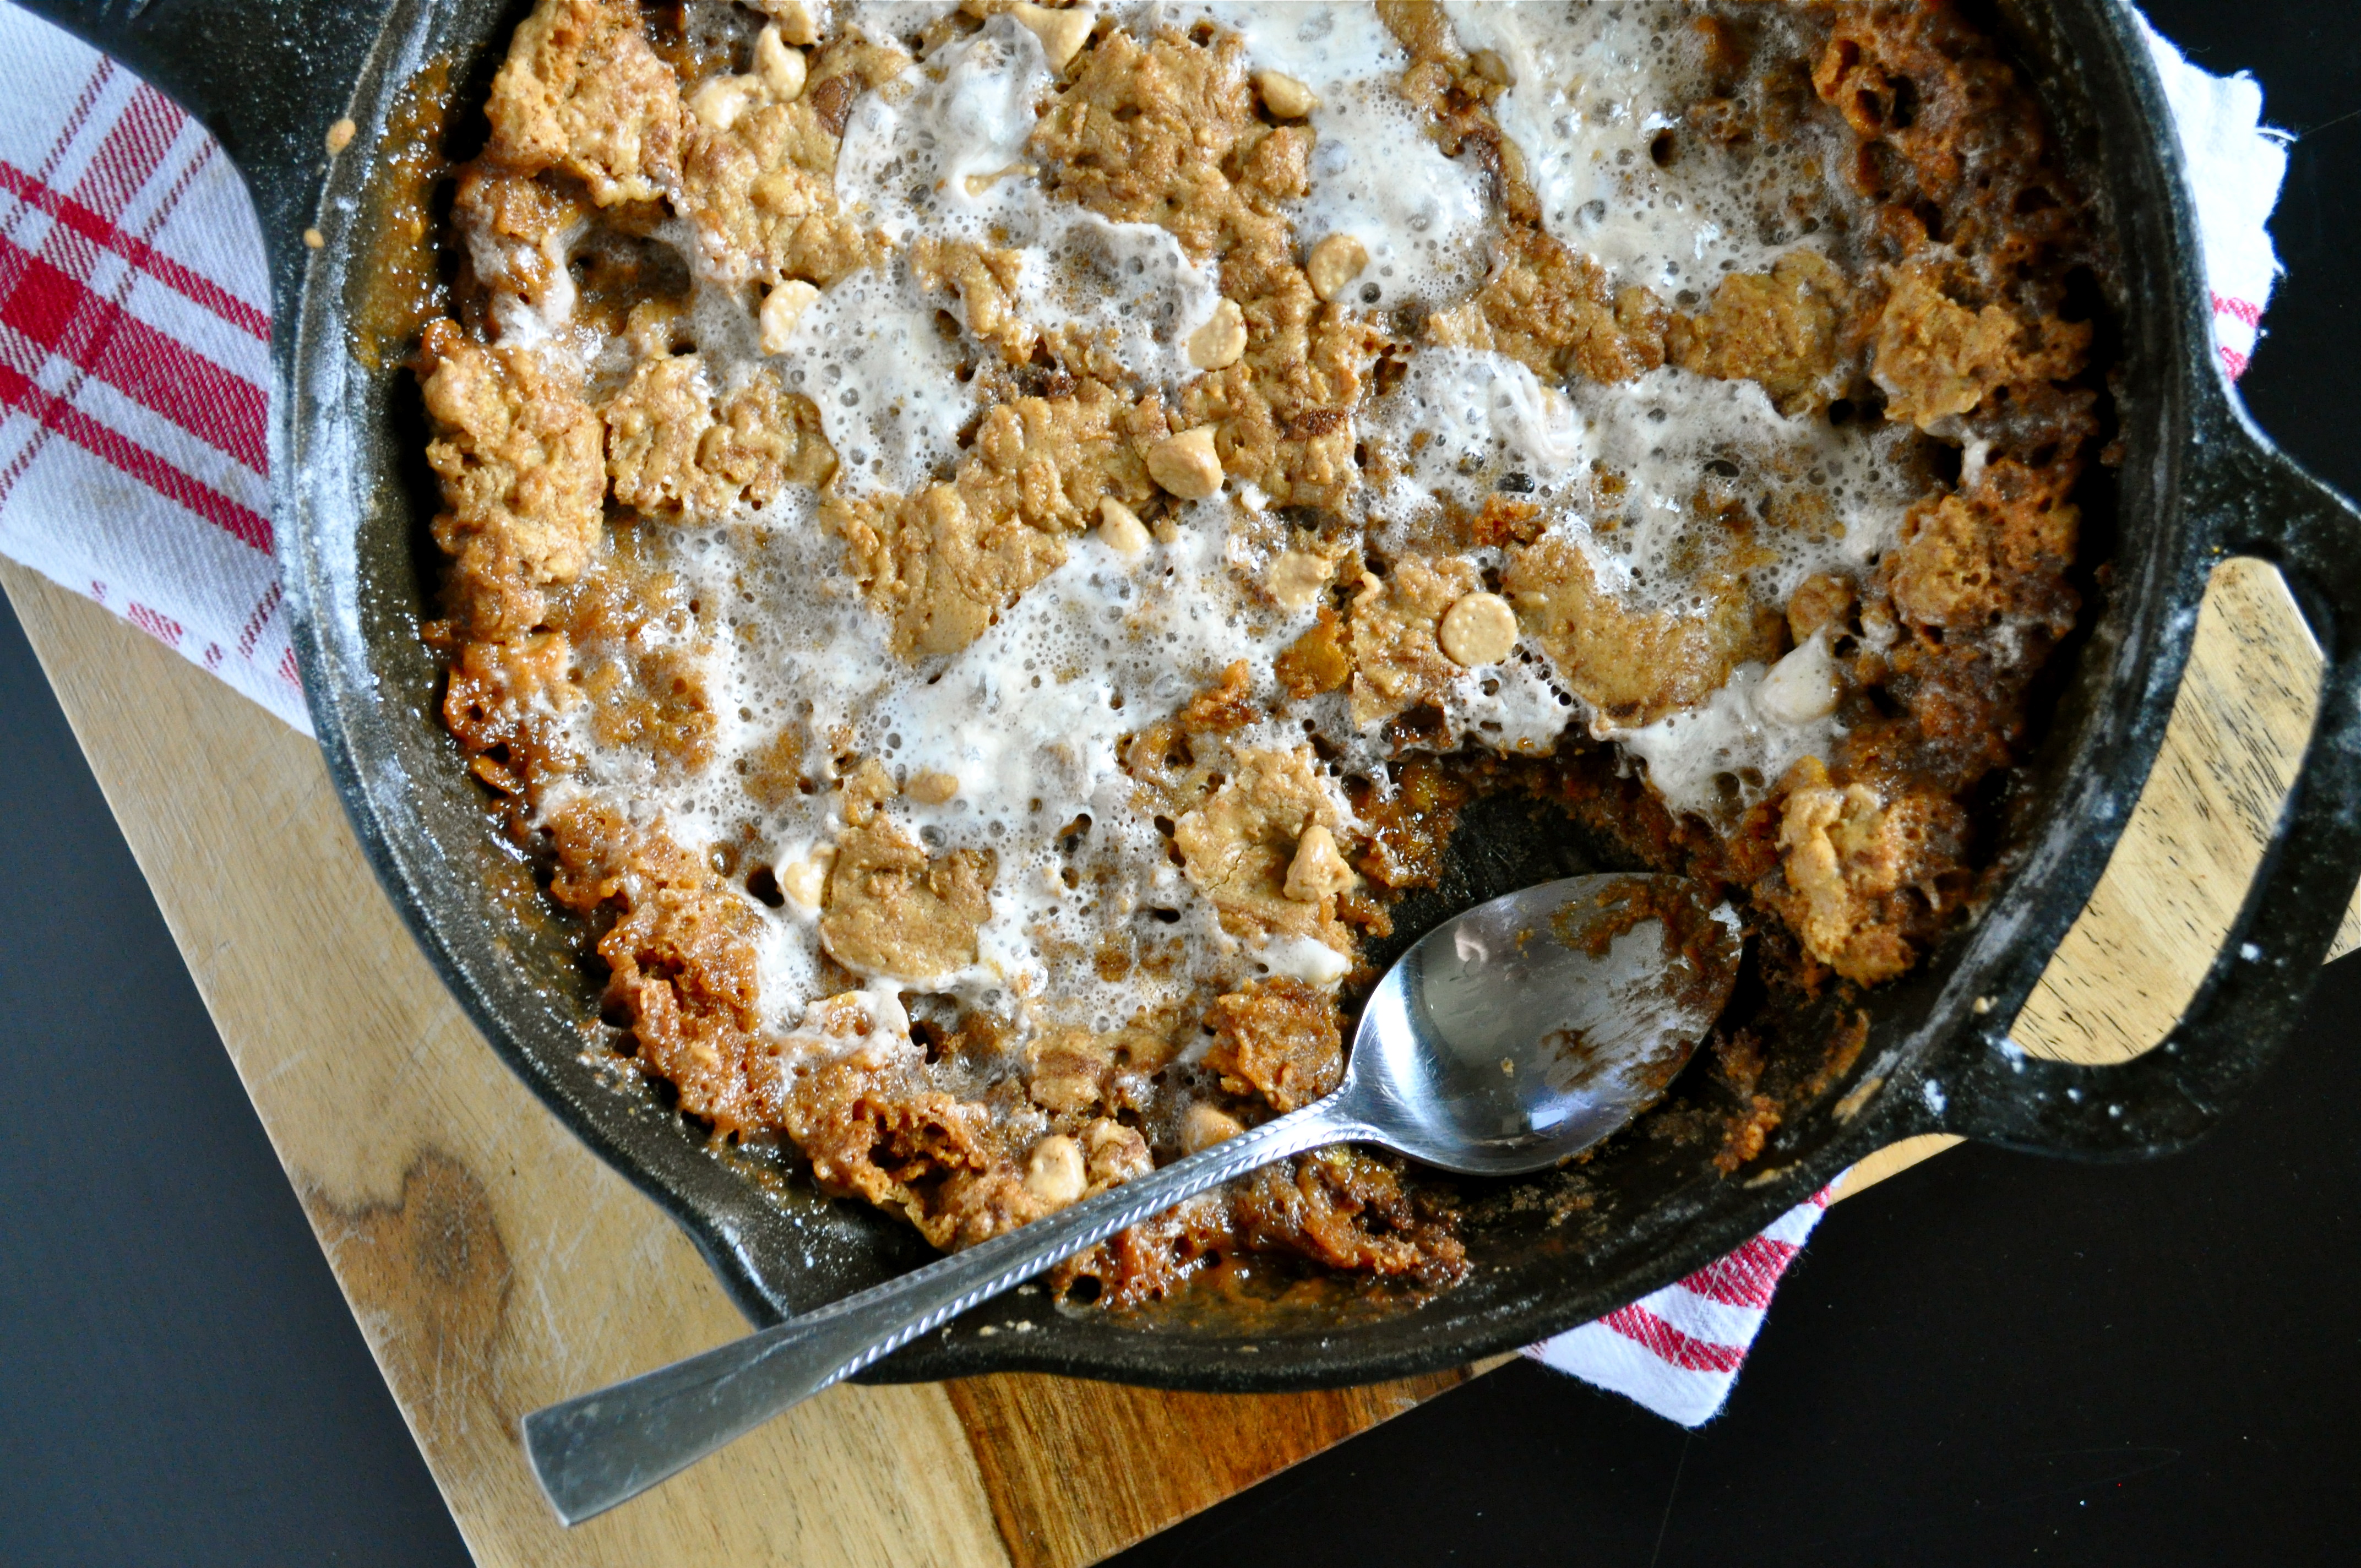
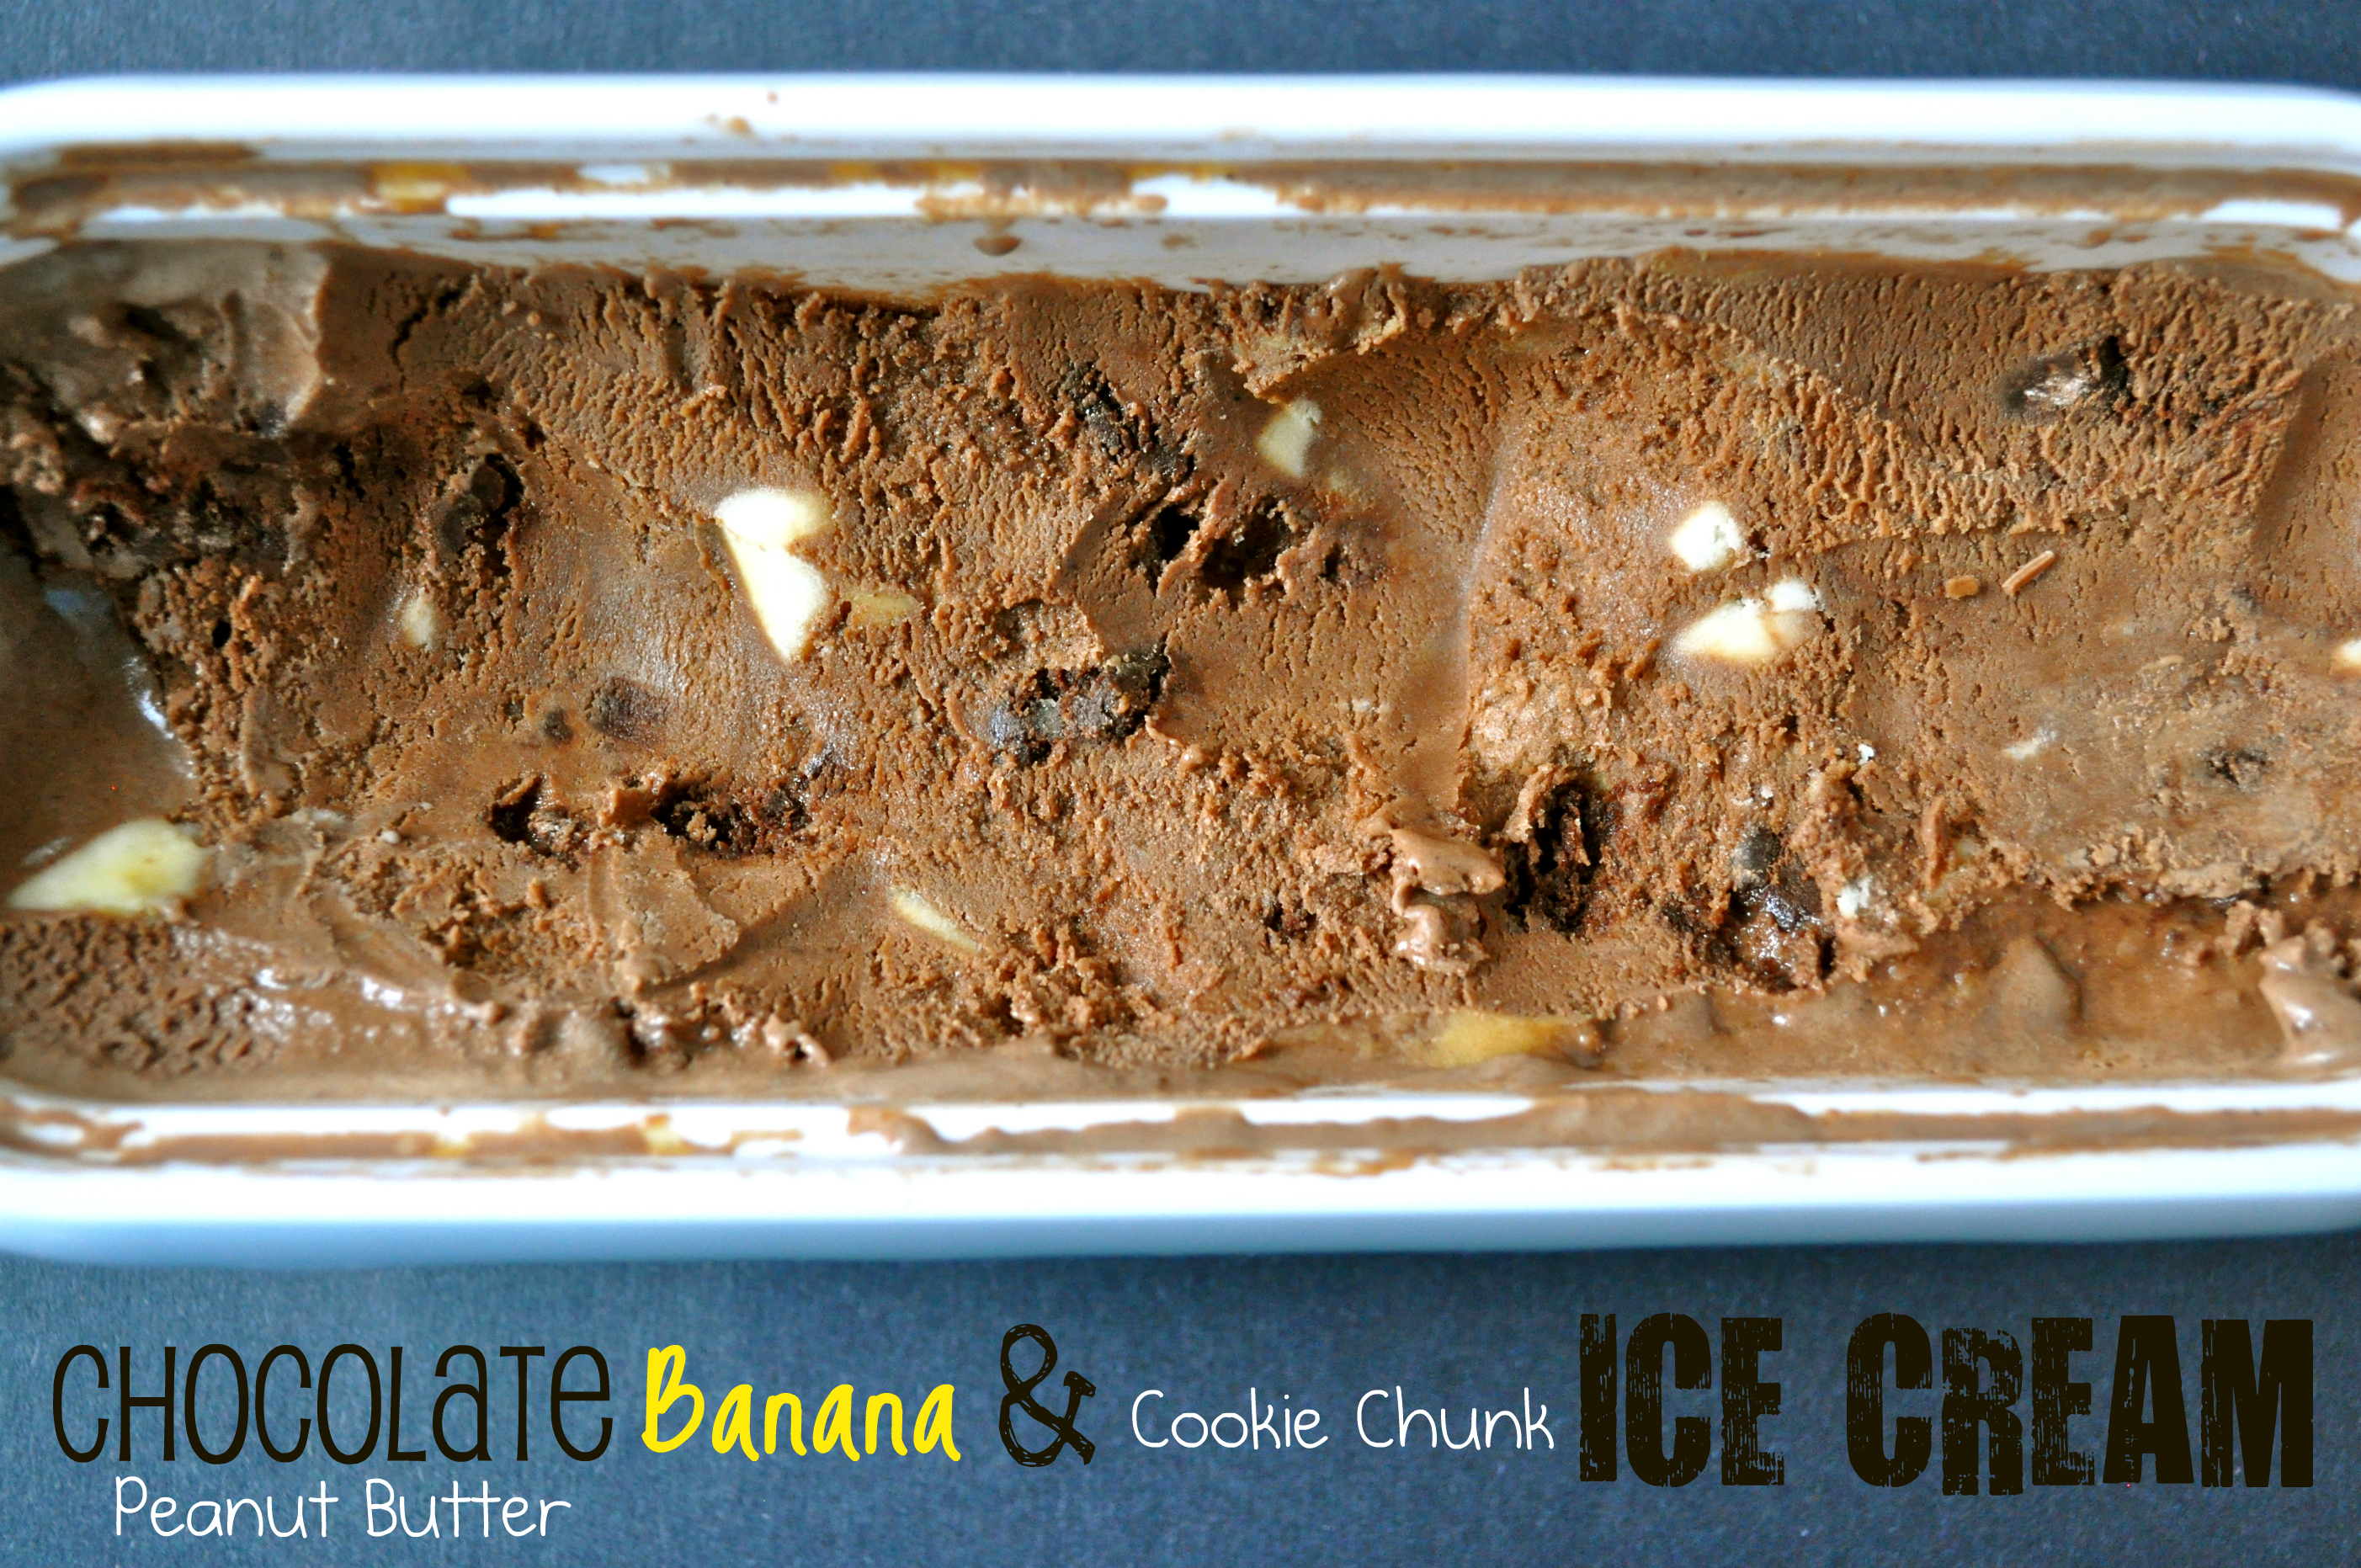
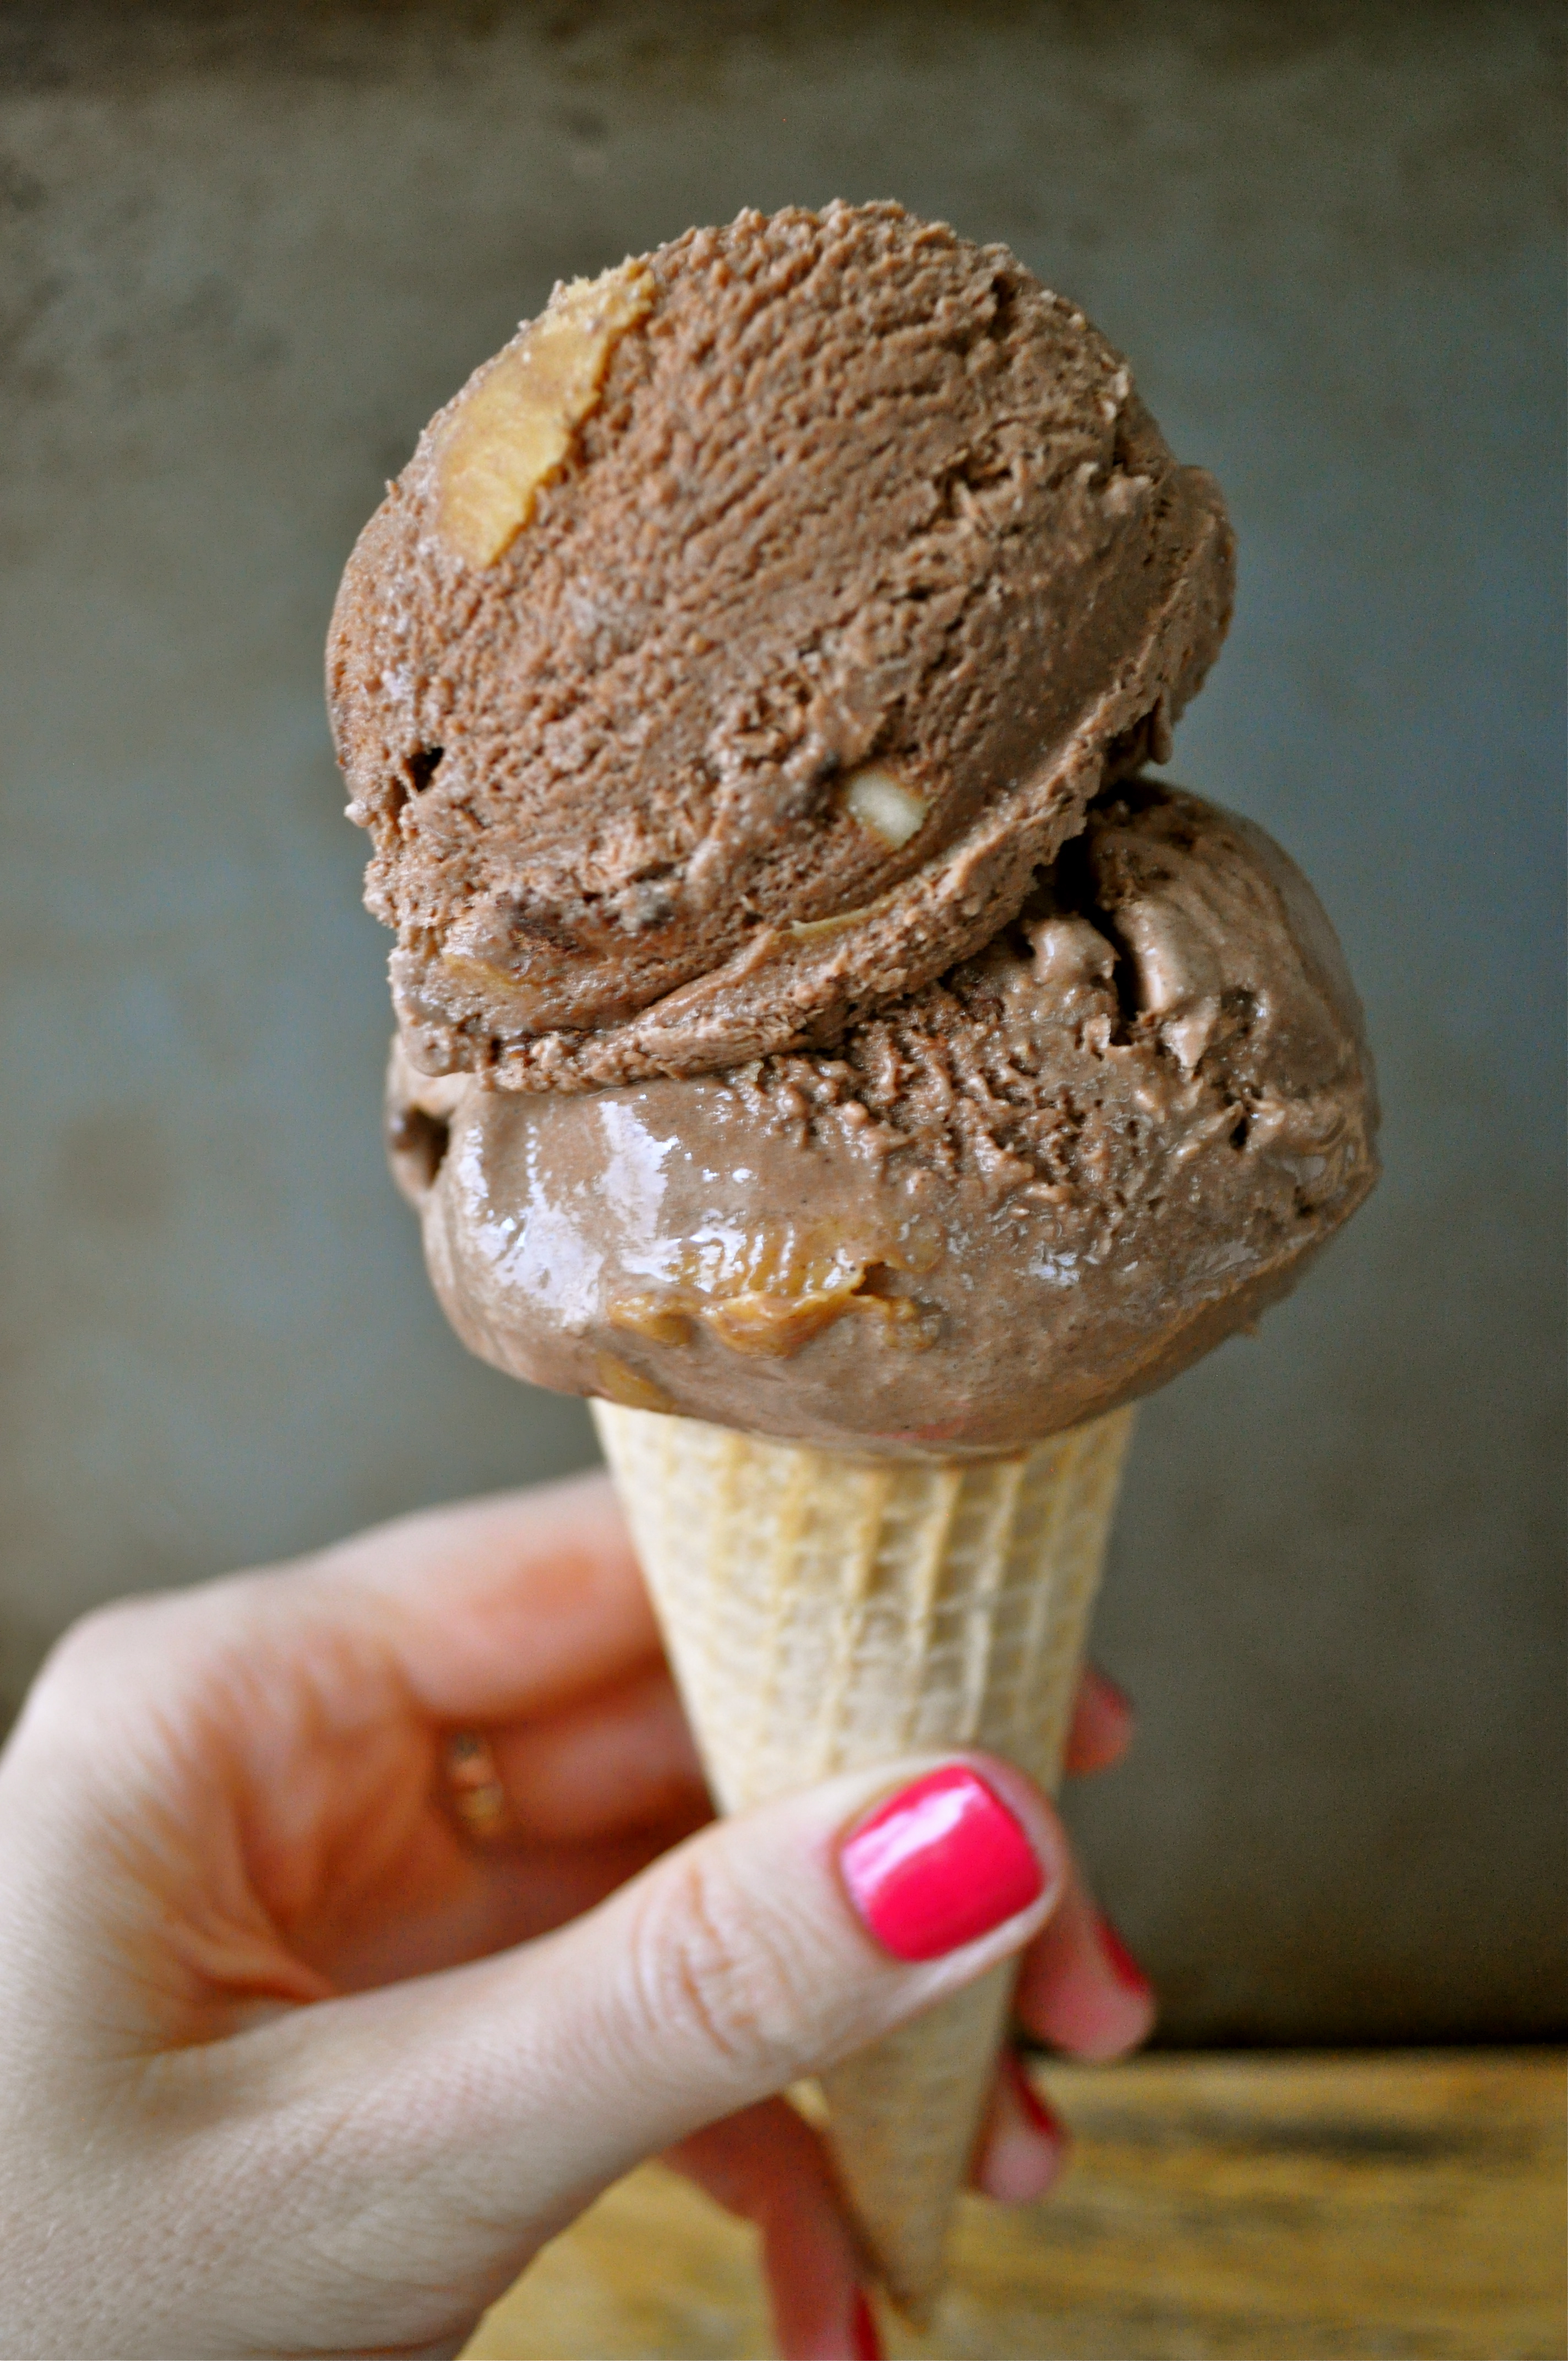
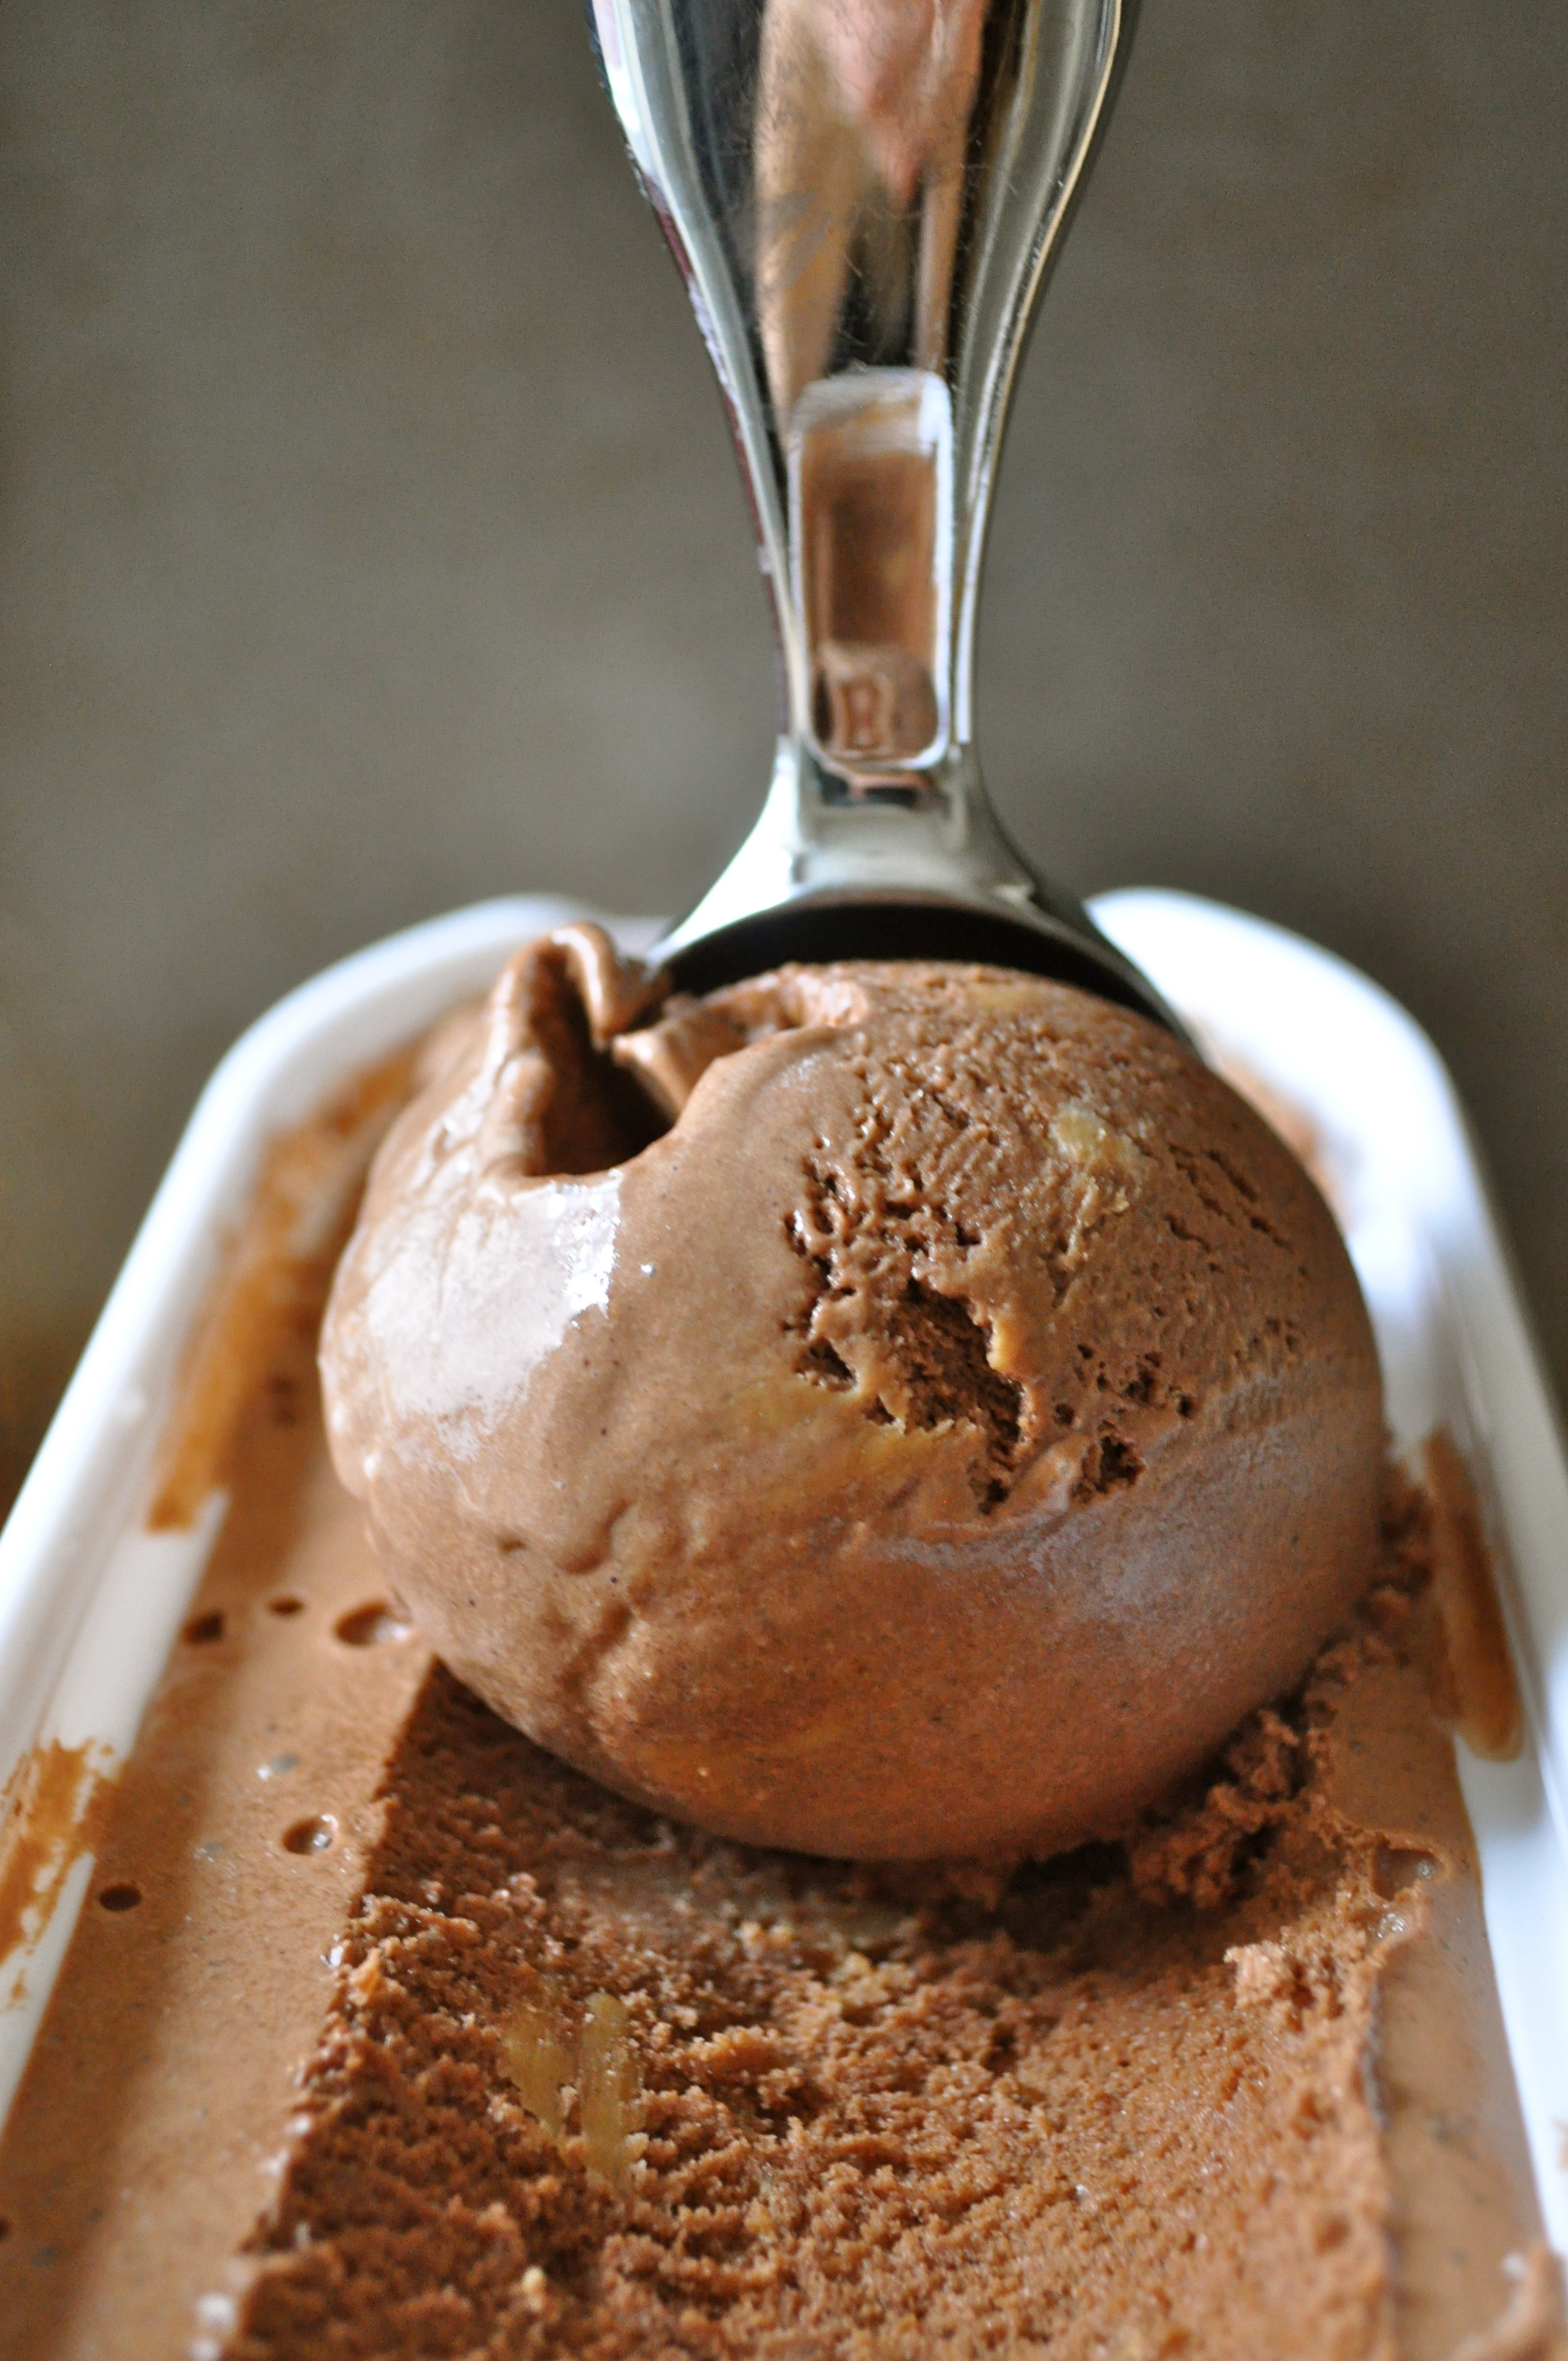
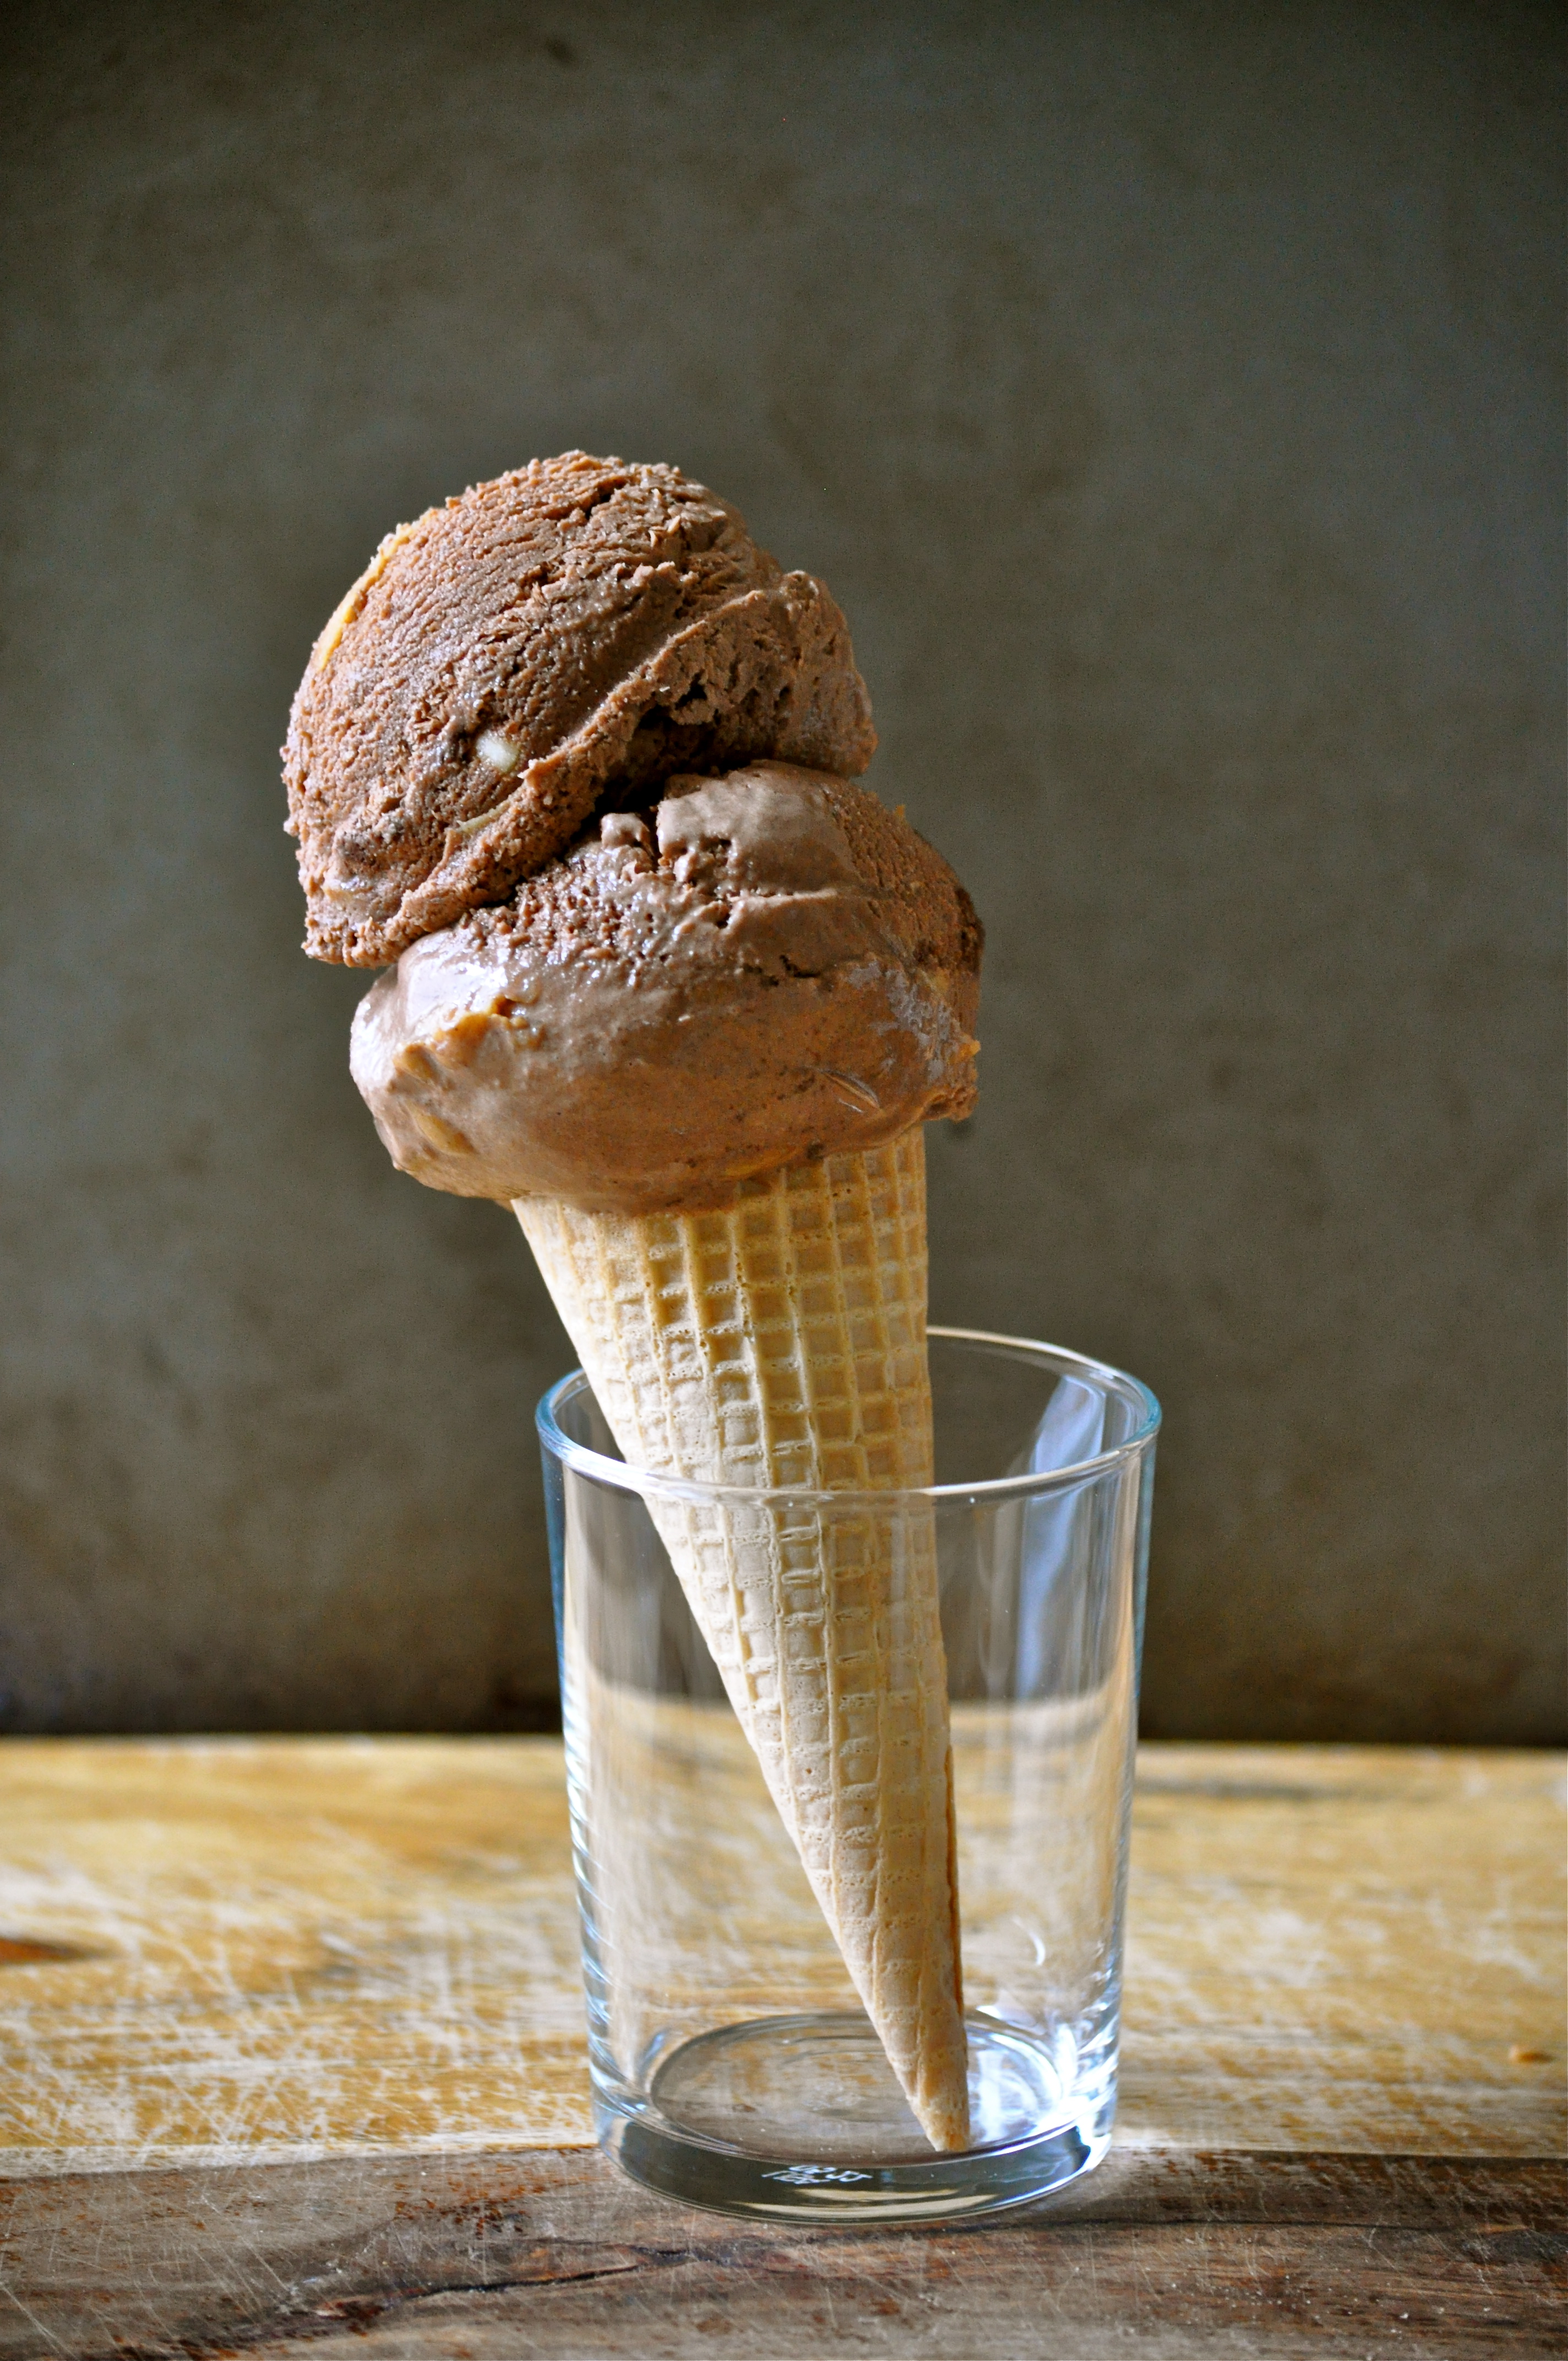
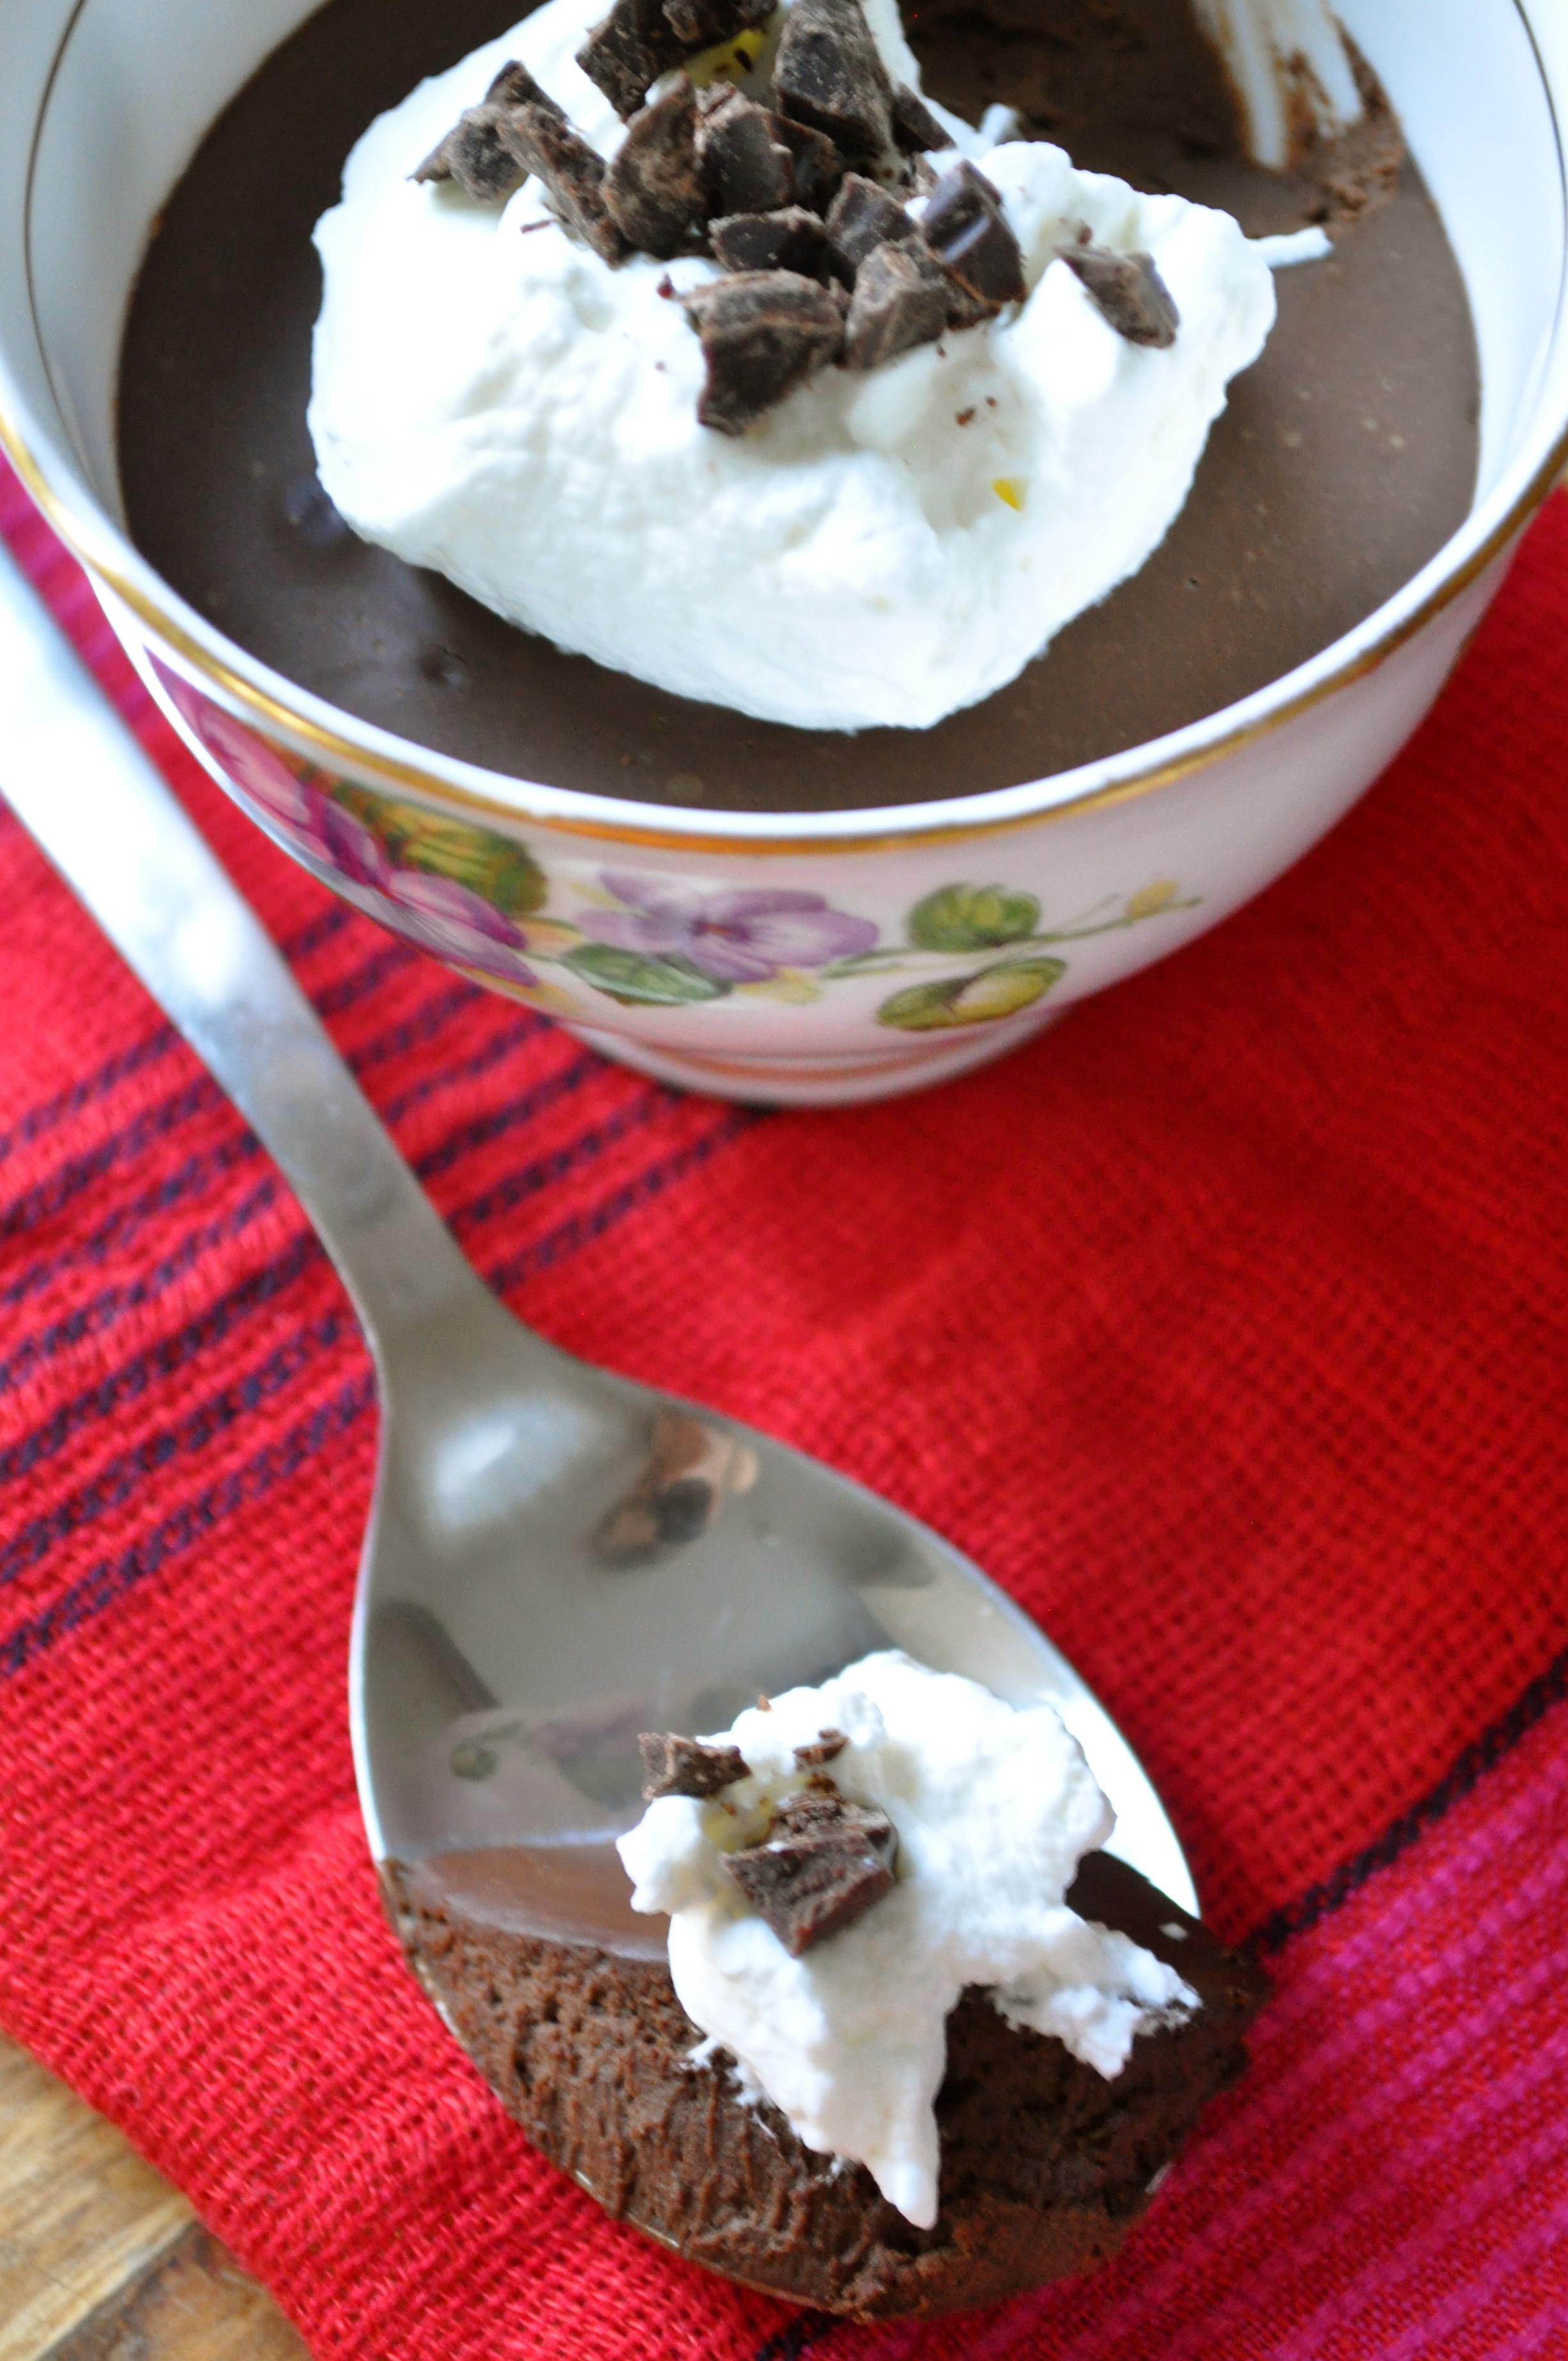
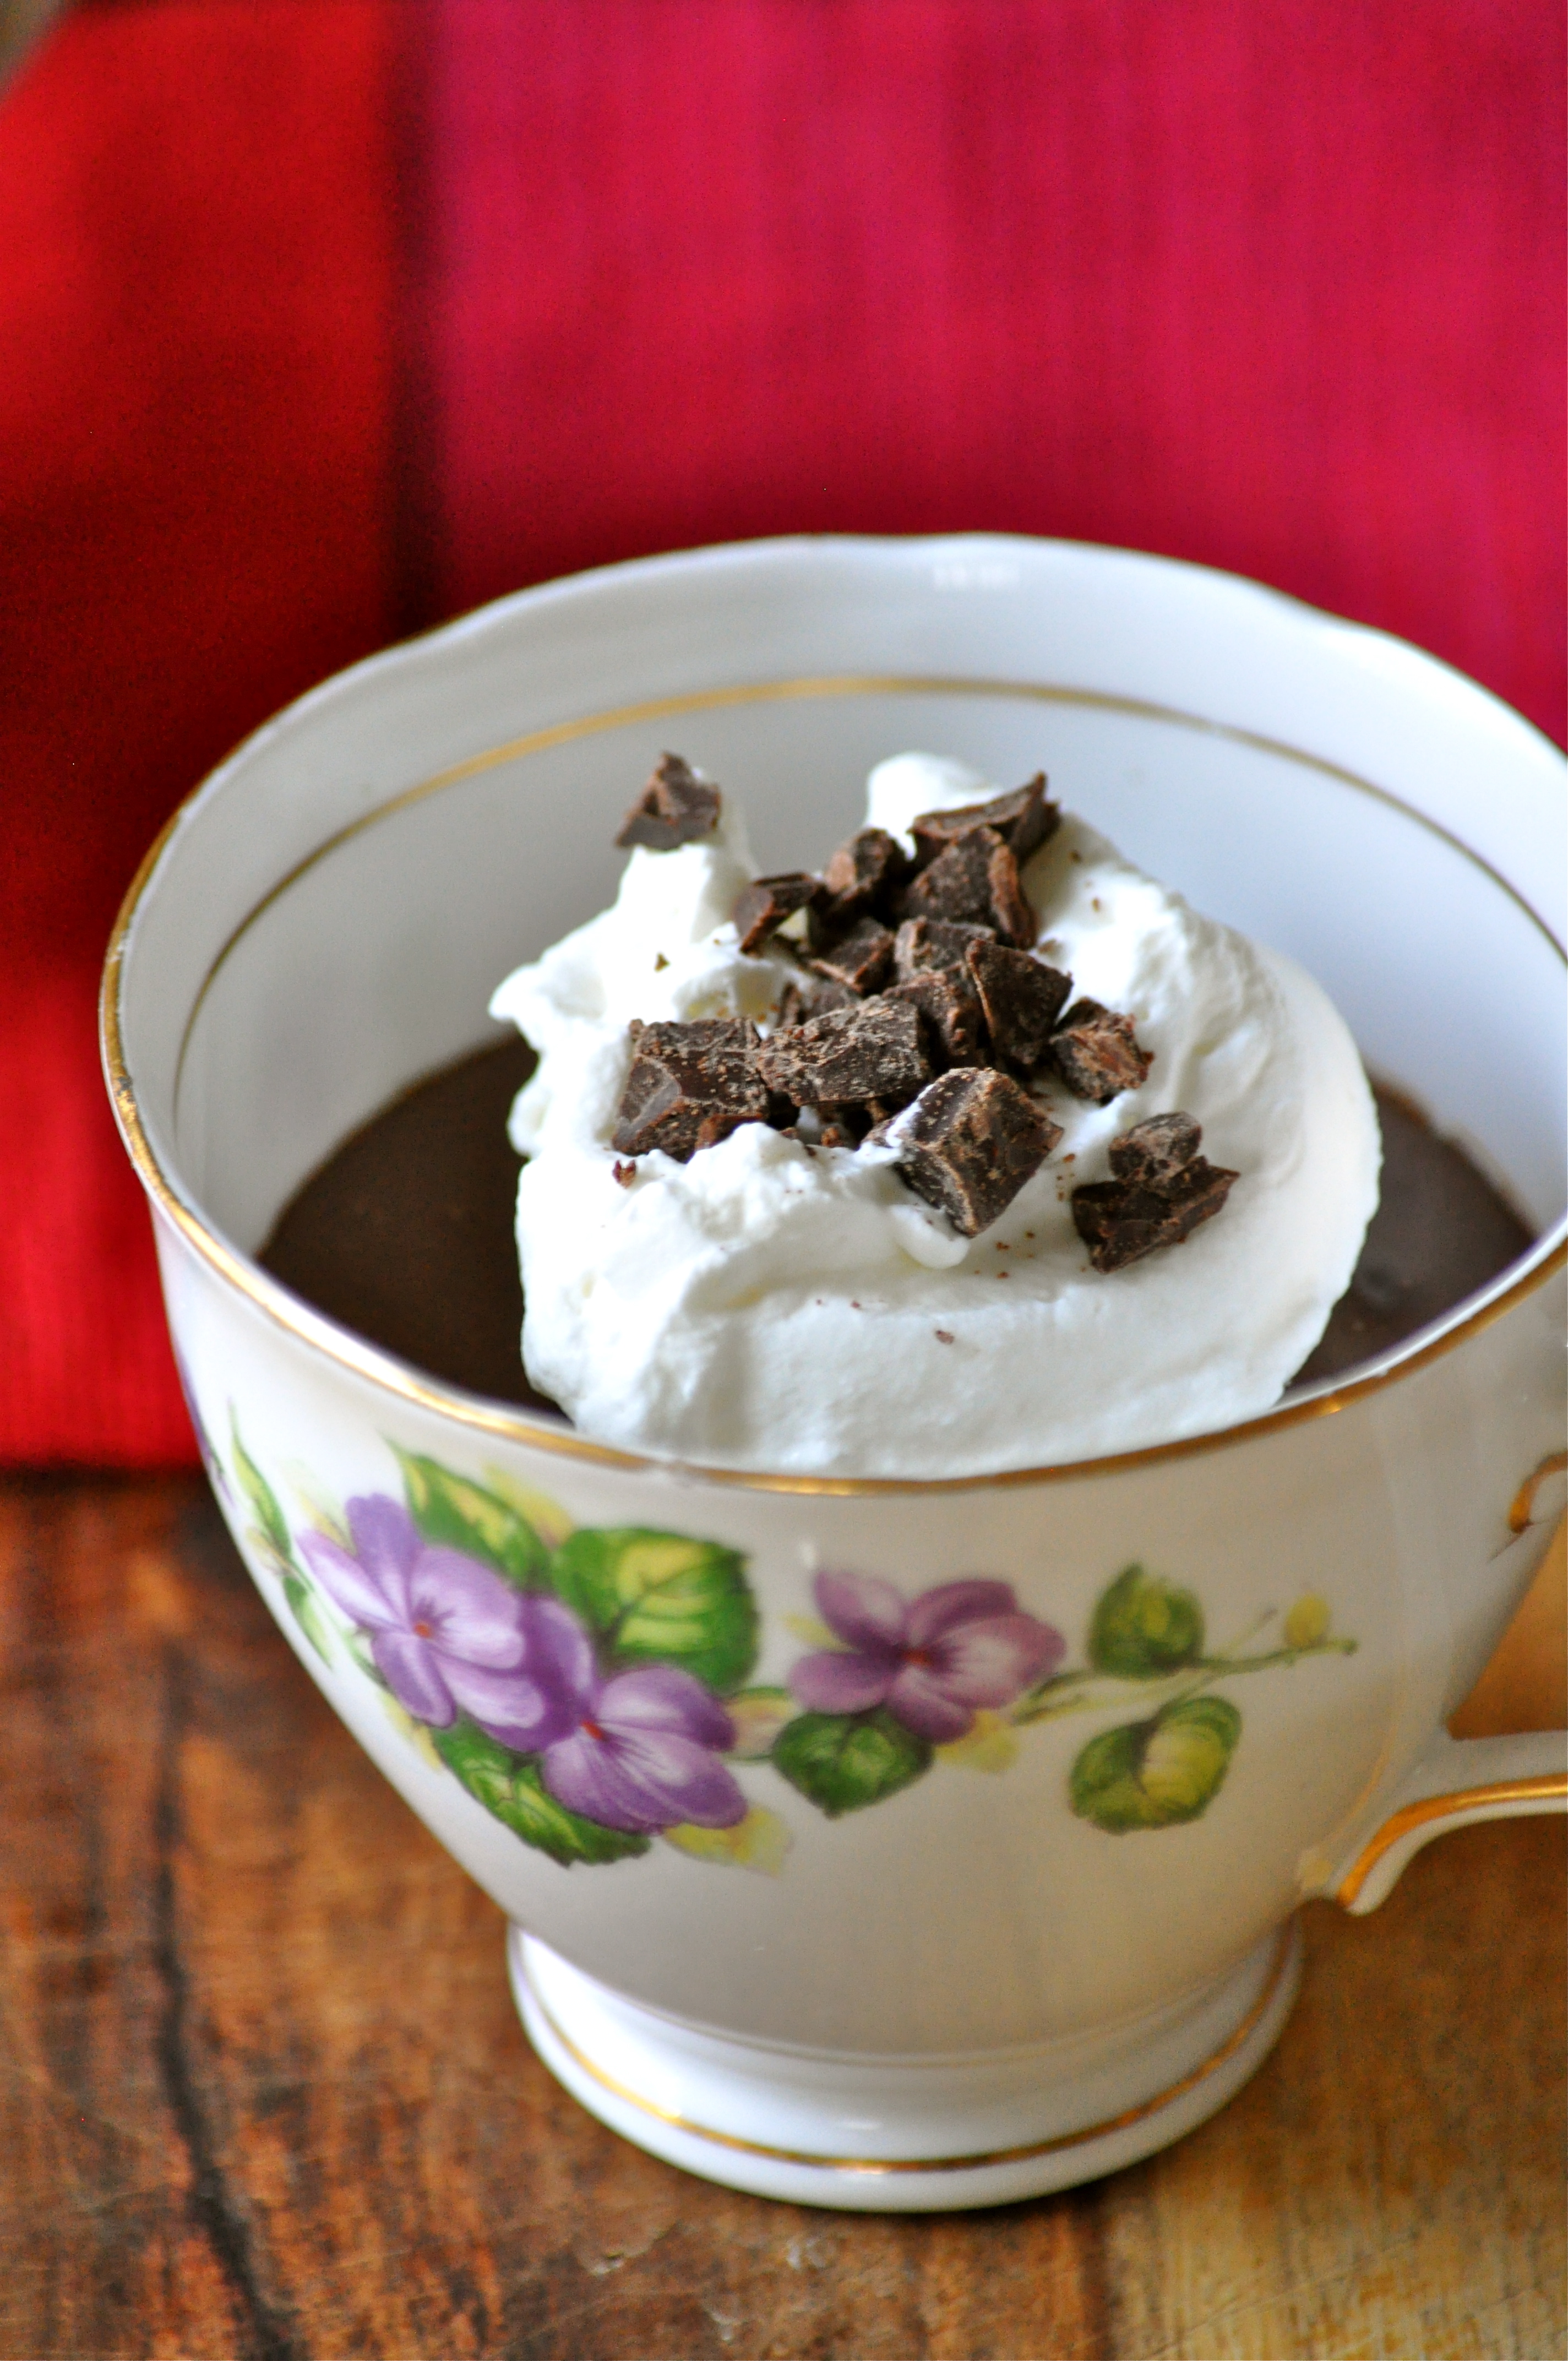
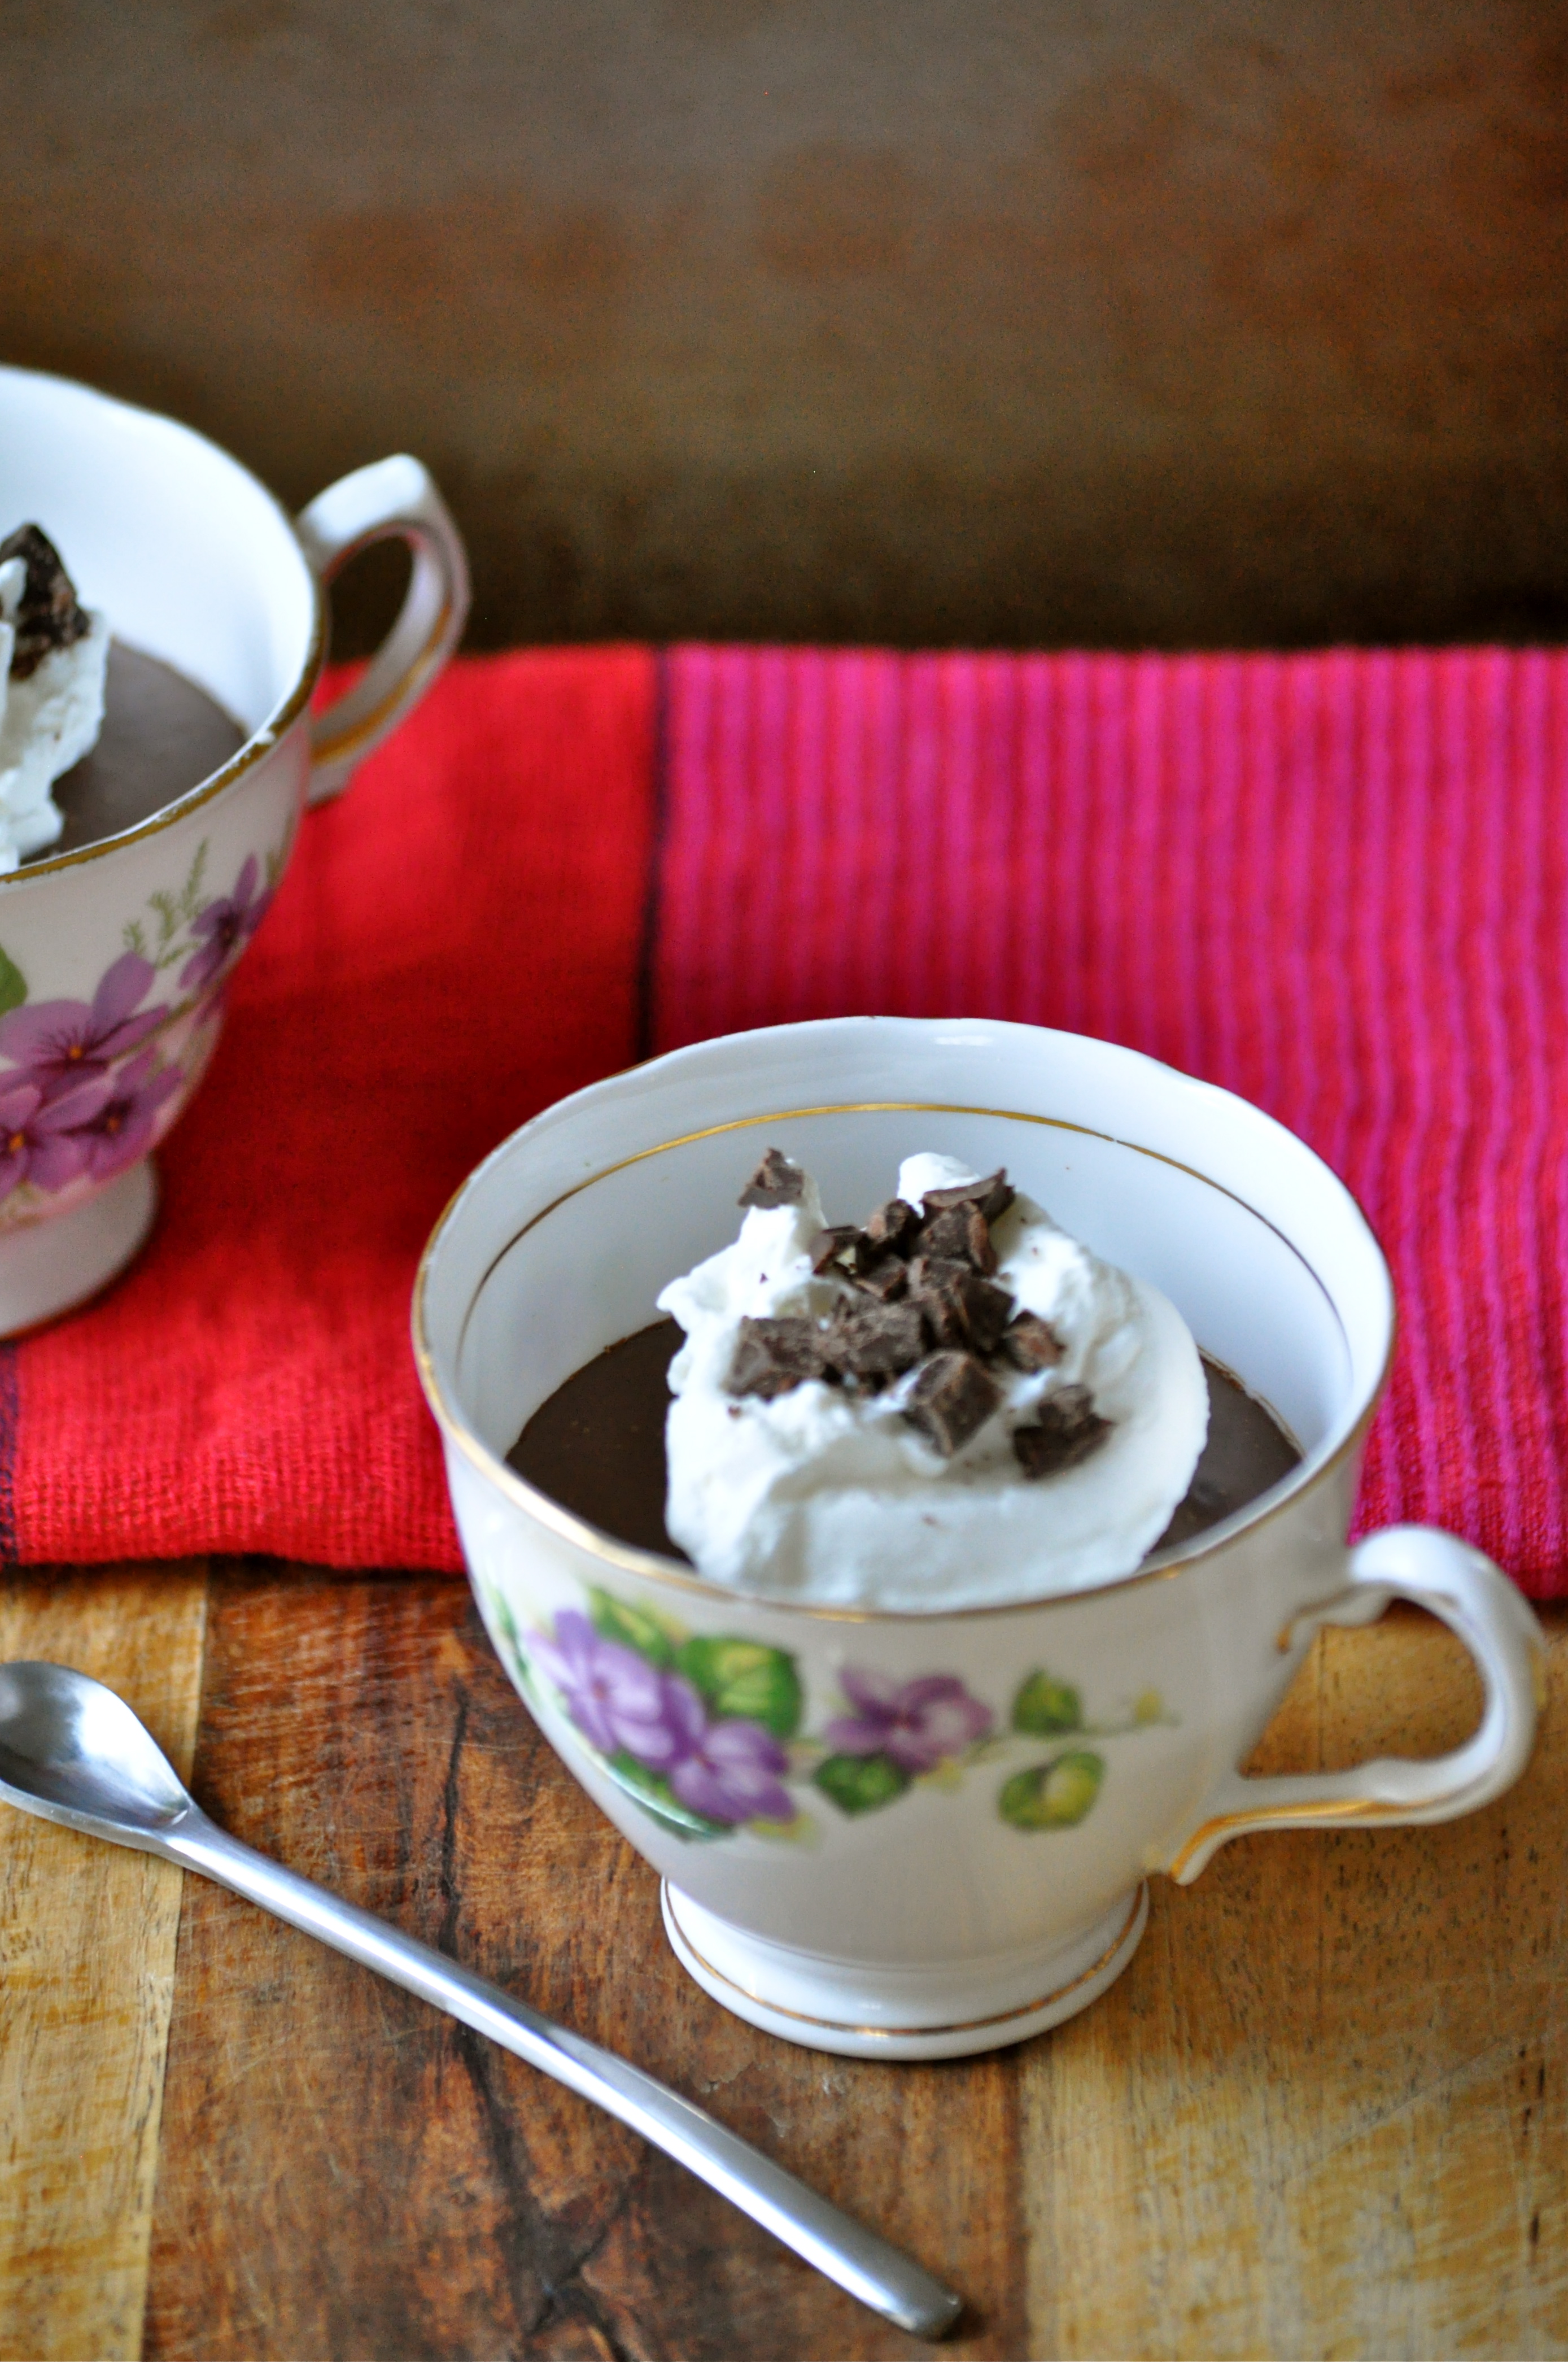
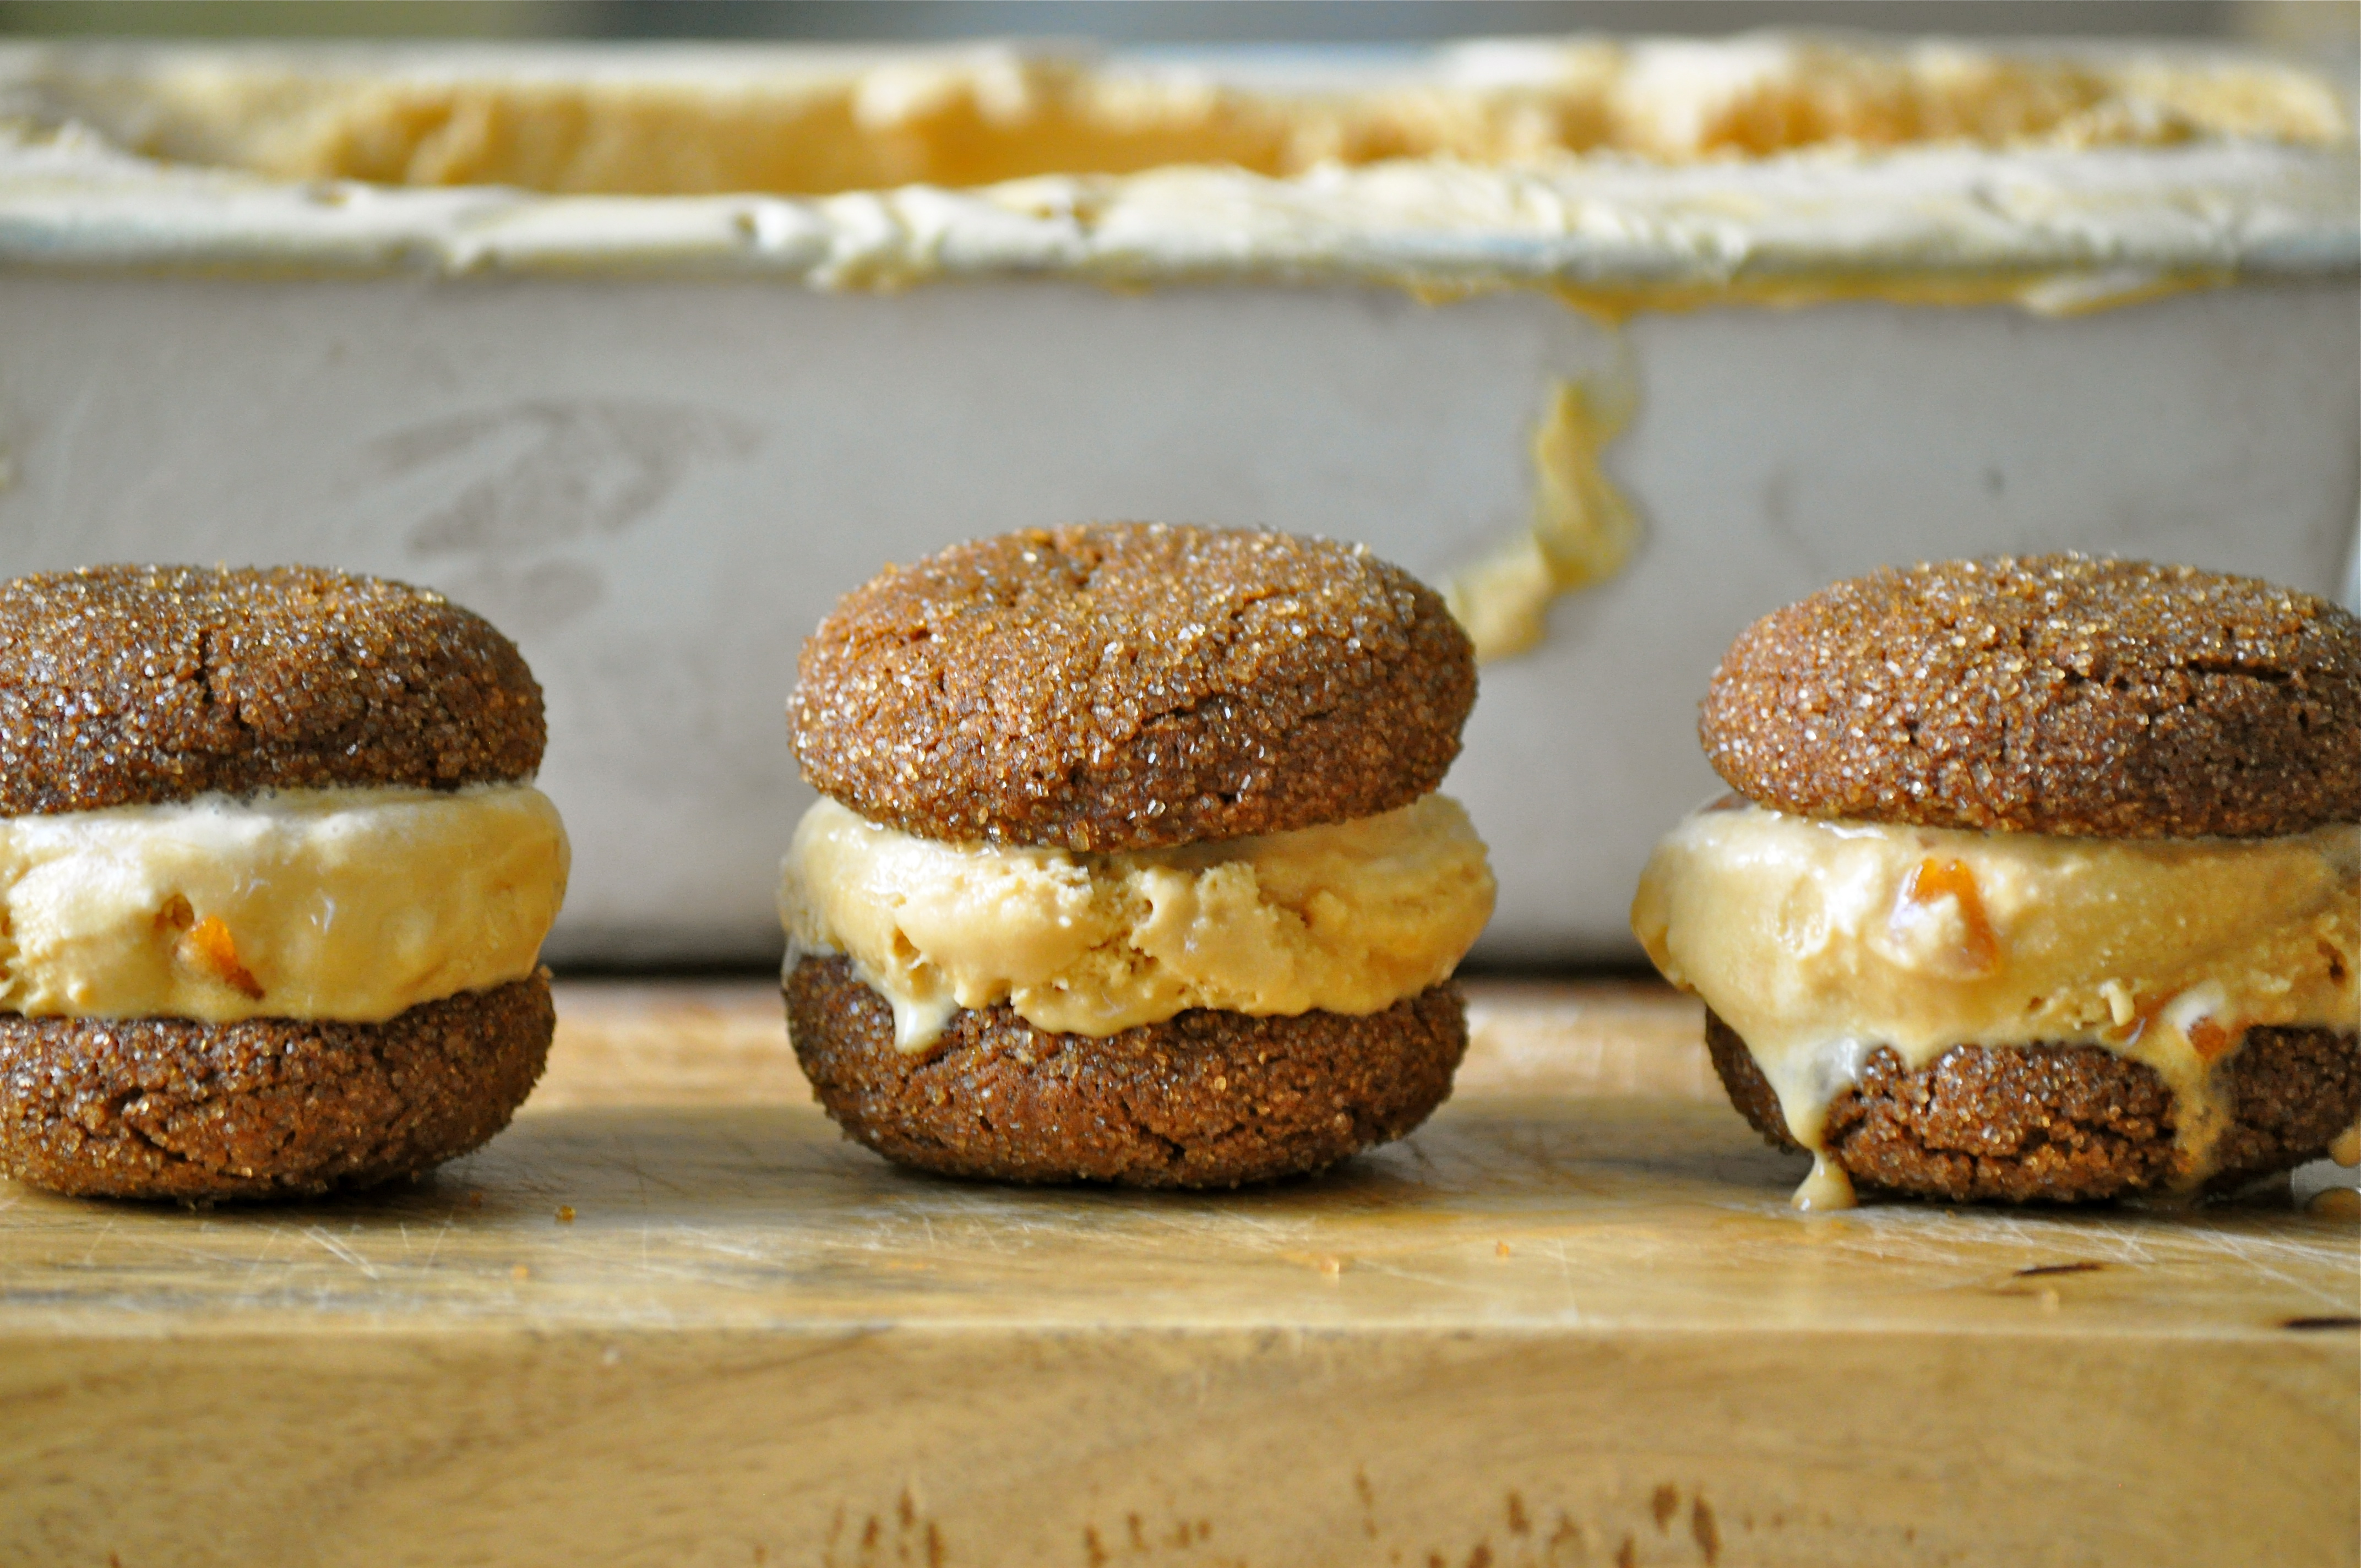
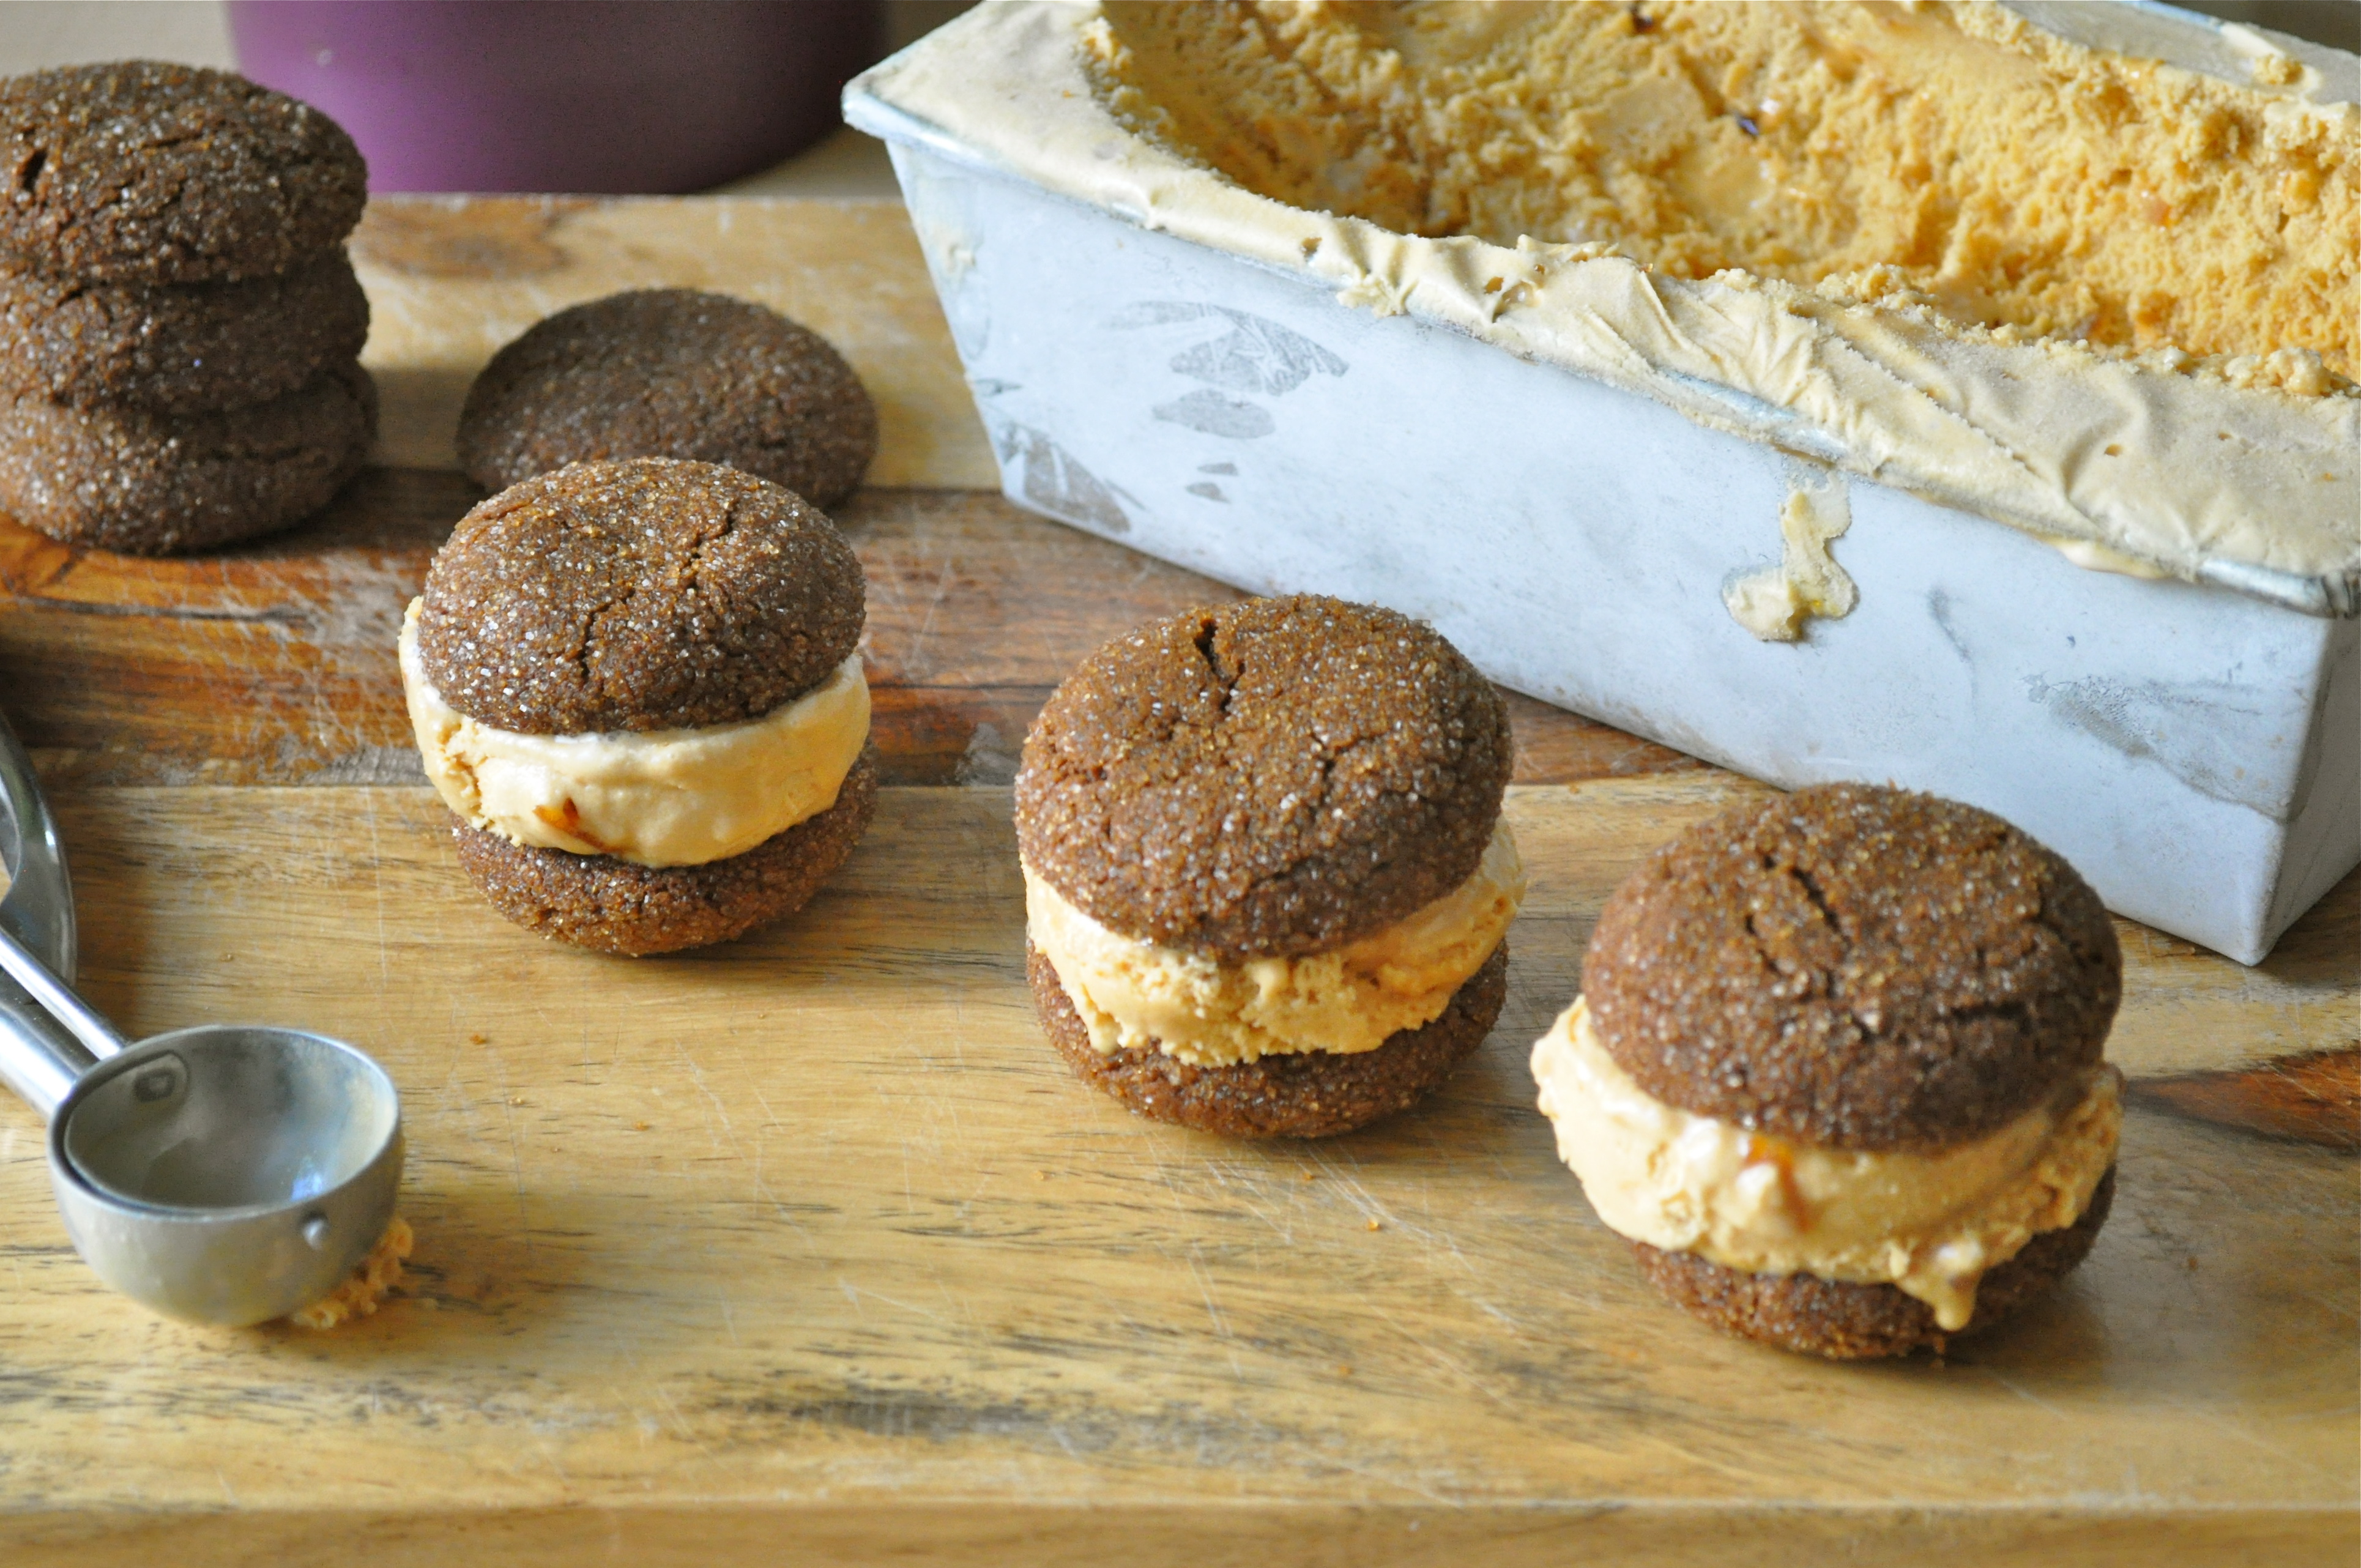
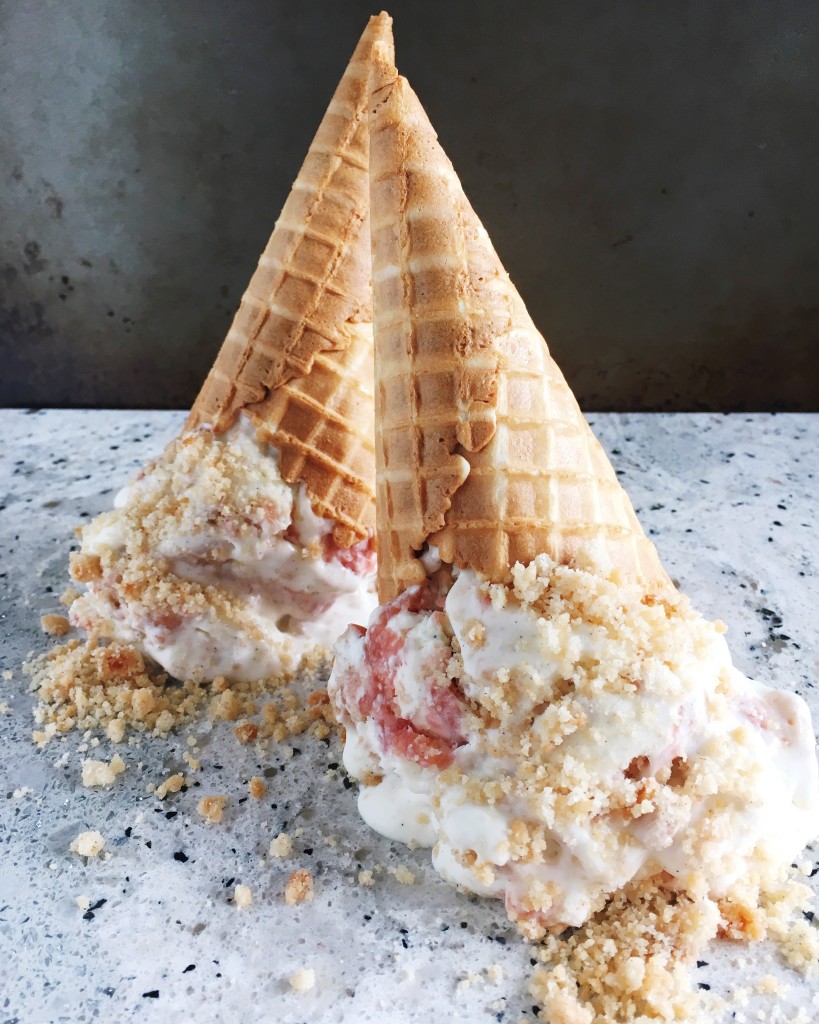
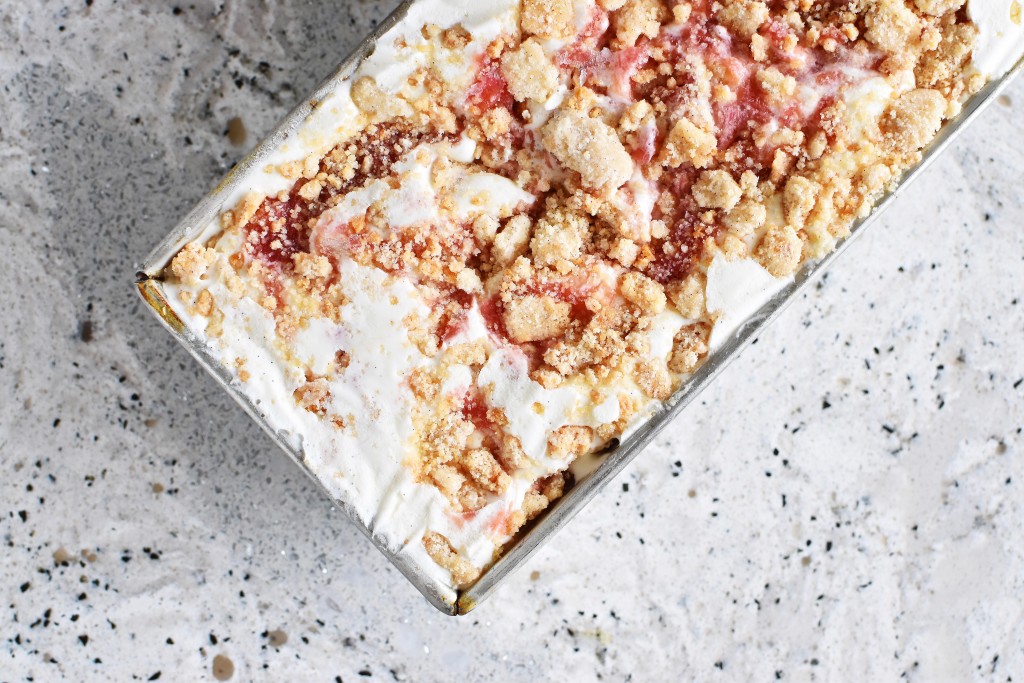
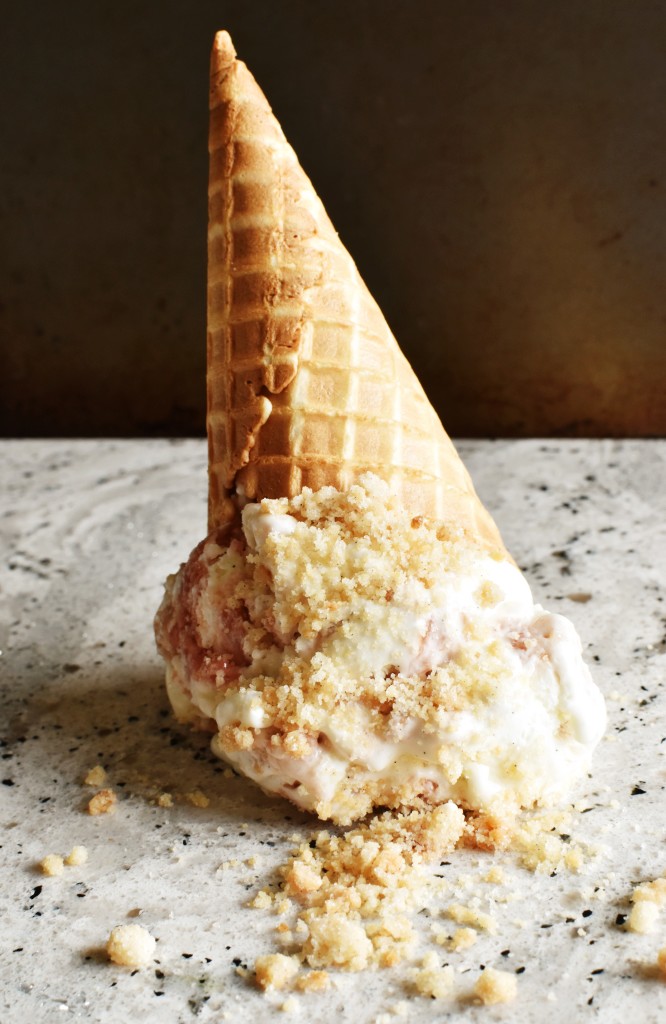
As soon as we moved in I was itching to make use of the kitchen. So much counter space, so much light! It’s wonderful. And just when I thought life couldn’t get any better, I discovered that our backyard has a rhubarb plant that is practically the size of a small car. Naturally, I am in heaven. I have already made several batches of rhubarb strawberry jam, rhubarb coffee cake, rhubarb compote, and several rhubarb berry crisps. And my latest creation: this rhubarb crumble ice cream. Aka. heaven on a spoon.

You start with a creamy vanilla base. I used this base from my peach cinnamon swirl ice cream from a few summers ago, but added a vanilla bean for a little oomph. Then you make a quick and easy rhubarb compote, bake up an addictive cookie crumble, and swirl it all together. The end result is basically rhubarb crumble à la mode, and you might just find yourself unable to stop eating the stuff. Plus, how pretty is that pink rhubarb swirl?!

Rhubarb Crumble Ice Cream | Once Upon a Recipe

I know I’ve said it a million times over the past year or so, but now that we are finally getting settled, I really do hope to be able to pay a little bit more attention to this blog. I’ve got so many recipes that I’d like to share. It really is just a matter of carving out the time to do it. Wish me luck!

Rhubarb Crumble Ice Cream | Once Upon a Recipe

Rhubarb Crumble Ice Cream (ice cream base slightly adapted from saveur.com by Jeni Britton, and cookie crumble from Take a Megabite)

For the ice cream:

2 cups whole milk
4 tsp. cornstarch
1 1/4 cups heavy cream
2/3 cup sugar
2 tbsp. light corn syrup
1 vanilla bean, scraped out
1/4 tsp. salt
3 tbsp. cream cheese, softened

Combine 1/4 cup of the milk and the cornstarch in a small bowl and mix well; set slurry aside. In a large saucepan, whisk together the remaining milk along with the cream, sugar, corn syrup, vanilla bean, and salt. Bring the mixture to a boil over medium-high heat. Cook for 4 minutes, then add in the slurry. Return to a boil and cook, stirring, until thickened, for about 2 minutes. In a large bowl, combine the cream cheese with about 1/4 cup of the hot milk mixture and whisk until smooth, then whisk in the remaining milk mixture. Cover the bowl and refrigerate until the mixture is chilled, or overnight. Churn the ice cream in your ice cream maker according to manufacturer’s instructions until it has the consistency of soft serve (mine took about 25 minutes).

For the rhubarb compote:

6 cups rhubarb (approx. 8-10 stalks), chopped
1/2 cup sugar
1/2 cup honey
1/4 cup water
1 tsp. vanilla

Combine the rhubarb, sugar, honey, water and vanilla in a large saucepan. Bring to a boil, then lower the heat and simmer for about 20 minutes (the rhubarb will break down). Remove the pan from the heat and cool completely.

For the crumble:

1 cup flour
1 cup sugar
1/4 tsp. salt
1/2 cup (1 stick) butter
1/2 tsp. cinnamon

Preheat oven to 350°F. Line a cookie sheet with parchment paper. Whisk together the flour, sugar, salt and cinnamon into a medium bowl. Cut butter into flour mixture with a pastry blender until mixture resembles a coarse meal. Transfer to the prepared baking sheet, spread out, and bake for about 30 minutes, tossing every 10 minutes, or until golden. Cool completely.

Layer the ice cream, rhubarb compote, and cookie crumble in a container. Use a knife or spoon to swirl the layers together. Cover with plastic wrap and allow the plastic to touch the ice cream – this will help prevent ice crystals from forming. Freeze for at least 4 hours. Scoop and enjoy!

What are your favourite rhubarb recipes? If you’ve got a good one, please send it my way!

Butter Celebrates! Banana Pecan Caramel Cake and a Giveaway! {Giveaway Closed}

Butter Celebrates! Banana Caramel Pecan Cake

So I have this friend. She likes cake.

She likes cake so much that she eats a slice every. single. day. She takes her cake eating very seriously. If she’s out for dinner, she’ll order a slice of cake for dessert. If she’s eating in she’ll buy a slice of cake on the way home. If she comes over for dinner, she’ll always bring a cake. She’s a good friend to have.

(I seriously have a friend like this. I’m not talking about myself. Although you can usually count on me for sweet treats. I also really really like cake.)

And this banana pecan caramel cake is the perfect cake for cake lovers. Just look at it. First of all, the layers. There’s four of them. FOUR! Four layers of moist (yep, I said it) banana cake studded with pecans. And in between each layer is a thick schmear of caramel buttercream frosting. CARAMEL BUTTERCREAM. Also known as the lovechild of fluffy buttercream and caramel sauce. Four layers of cake means four layers of buttercream. It’s just math.

Butter Celebrates! Banana Caramel Pecan Cake

You can find the recipe for this luxurious cake on page 113 in the “Welcome Wagon” chapter of Butter Celebrates! Rosie Daykin’s latest cookbook. In case you don’t already know Rosie, allow me to introduce you. Rosie Daykin is the owner of the Butter Baked Goods bakery in Vancouver. Next time I find myself in Vancouver, you can bet I will be making a stop at Butter. Rosie’s first cookbook, Butter Baked Goods was released in 2013 and is a national best seller. Her latest creation, Butter Celebrates! A Year of Sweet Recipes to Share takes us through the seasons and shares recipes for delectable treats to enjoy during various holidays and special occasions. Rosie covers everything from Valentine’s Day to Mother’s Day to Summer Celebrations to Halloween to Christmas, and even shares a few recipes for our furry friends, inspired by her rescue pup, Zelda. (My girl Bella is already begging me to test out those treats). It might be the most beautiful cookbook I have ever owned, with 259 pages of gorgeous photos and mouthwatering recipes. And can I get an amen for a cookbook that includes a photo of every single recipe? I mean, how can I be sure that a recipe wasn’t a massive fail if I have no idea what the thing is supposed to look like when I’m finished? Rosie’s got us covered.

Butter Celebrates! Banana Caramel Pecan Cake

In her book, Rosie encourages us all to take the time to celebrate the little and big moments in life, preferably with cake. Now that’s a life goal that I can get behind.

Butter Celebrates! Banana Caramel Pecan Cake

Choosing a recipe to share was damn near impossible, as I flagged nearly every other page during my first flip through the book. I honestly cannot wait to try everything. Alas, I had to make a decision, and settled on this banana pecan caramel cake. My inability to consume bananas before they get too ripe for every day eating means I almost always have bananas on hand to bake with. The idea of an indulgent cake instead of my usual healthy banana muffins or banana bread just seemed too good to pass up. And holy heck, this cake did not disappoint.

The good news is that there is an opportunity for one of you lucky devils to win this glorious cookbook along with a box of goodies from Rosie’s bakery. If that isn’t an early Merry Christmas, I don’t know what is!

Butter Celebrates! Banana Caramel Pecan Cake

Good luck to all of you and happy holidays!

Please be sure to check out more incredible treats from my fellow Butter Celebrates! blogger pals in celebration of this gorgeous cookbook!

And now, for the giveaway!

One lucky reader will win a personally signed Butter Celebrates! cookbook from the lovely Rosie herself along with a delicious box of goodies from her bakery in Vancouver. Umm, yum! More details are listed below. Good luck!

Simply leave a comment below and tell me your favourite holiday tradition (mandatory). Be sure to click the widget options below for both mandatory and optional bonus entries.

a Rafflecopter giveaway

This giveaway is open to all legal residents of Canada who have reached the age of majority at the time of the contest in the province or territory in which they reside. Void in Quebec.

Winner must answer a skill-testing question.

No purchase necessary to enter.

Giveaway will run from Wednesday, November 25, 2015 at 12:01am to Wednesday, December 2, 2015 at 11:59pm. Winner will be contacted via email and name will be displayed on Rafflecopter widget. Email address will never be given out to any third party or anyone for that matter.

Prize value is approximately $125.

Butter Celebrates! Banana Caramel Pecan Cake

A big warm thank-you to Jenny Jack of the Brunette Baker for organizing this blog hop and Rosie Daykin of Butter Baked Goods for providing this super sweet giveaway!

Disclosure: The Butter Celebrates! A Year of Sweet Recipes to Share cookbook was provided to me by Random House of Canada Limited for review at no cost. All opinions are my own. I truly adore this book.

Almond Shortbread Bars

Almond Shortbread Bars | Once Upon a Recipe

Only four days left until Christmas!

Every year, Christmas seems to sneak up on me. This year has been no different and despite the whirlwind of shopping, baking, and holiday-partying, I can’t believe we are so close to the big day. Nevermind the fact that 2014 is rapidly coming to a close. Seriously, where did the year go?

Almond Shortbread Bars | Once Upon a Recipe

I’m hoping to share a couple more recipes during this final countdown to the big day. If you’re looking for quick and easy sweets to add to your holiday dessert table, look no further. These almond shortbread bars are wonderful. They start with an easy shortbread base and are topped with sliced almonds that have taken a little swim in butter and brown sugar, creating a little caramel-y goodness.

Almond Shortbread Bars | Once Upon a Recipe

Every Christmas needs a little shortbread, in my opinion. Think of these bars as shortbread’s older, wiser, and hotter older brother. Yeah, you know what I’m talking about.

Almond Shortbread Bars | Once Upon a Recipe

Almond Shortbread Bars (adapted from Love Write Now)

Shortbread bars that get a little extra pizazz from a caramel-almond topping. These bars freeze well when stored in an airtight container. 

1 1/2 cups butter, divided

1 cup icing sugar

2 cups all-purpose flour

Pinch of salt

1 cup brown sugar

2 tsp. lemon juice

1 TBSP. water

1 1/2 cups sliced almonds

1 tsp. vanilla

Preheat the oven to 350°F. Cream together 1 cup of butter and the icing sugar. Add the flour and salt and mix together. Press the mixture into an ungreased 9″ x 13″ pan. Bake for 12-15 minutes or until lightly browned.

In the meantime, melt the remaining 1/2 cup butter in a saucepan over medium heat. Add the brown sugar, lemon juice, and water. Bring to a boil, stirring constantly. Remove from heat and add the almonds and vanilla. Spread the mixture evenly over the base and bake for another 12-15 minutes, until golden brown. Allow to cool and then cut into bars.

What are your go-to last-minute holiday treat recipes?

Brown Butter Cornflake Marshmallow Skillet Cookie

Brown Butter Cornflake Marshmallow Skillet Cookie | Once Upon a Recipe

Friendssssss! Happy October!

I’ve got a skillet cookie for yer face today! You’ve seen those cornflake marshmallow cookies from Momofuku Milk Bar around the interwebs, yes? The chewy, amazing, foodgasm-inducing, cornflake/chocolate/peanut butter chip/marshmallow-studded cookies as big as your hand. Yep, those are the ones.

Brown Butter Cornflake Marshmallow Skillet Cookie | Once Upon a Recipe

Well those cookies really are all they’re cracked up to be. In fact, they’re kind of like crack. Ridiculously addicting and really not good for you at all. Why is it that things that taste so good have to be so bad? You know me though – all about the balance. Eat some kale salad, go for a run, eat a skillet cookie. Yep, balance.

Brown Butter Cornflake Marshmallow Skillet Cookie | Once Upon a Recipe

Brown Butter Cornflake Marshmallow Skillet Cookie | Once Upon a Recipe

Basically I took that cookie and turned it into a no-bowl required skillet cookie. Skillet cookies are my jam. I mean seriously, a big, warm, gooey cookie that is best served with good friends and many spoons – it doesn’t get much better. And I browned my butter, ’cause brown butter is still the cat’s meow. Annnnddd, it’s ready in about 30 minutes. So grab a few of your faves, throw this bad boy in the oven, and dig in! Treat yo’ self!

Brown Butter Cornflake Marshmallow Skillet Cookie | Once Upon a Recipe

Brown Butter Cornflake Marshmallow Skillet Cookie (adapted from Shutterbean, which was adapted from Momofuku Milk Bar)

A gooey skillet cookie full of cornflakes, dark chocolate, peanut butter chips, and marshmallows. No bowl required! Serves as few or as many as you want! 

1/2 cup (1 stick) unsalted butter
1/2 cup granulated sugar
1/3 cup brown sugar, packed
1 large egg
1/2 tsp. vanilla
3/4 cup all-purpose flour
1/4 tsp. sea salt
1/2 teaspoon baking powder
1/4 teaspoon baking soda
1 1/2 cups cornflakes
2 TBSP. dark chocolate, chopped
2 TBSP. peanut butter chips
3/4 cup mini marshmallows

Preheat oven to 350°F. Place the butter in a 10-inch cast iron skillet over medium heat. Melt and brown the butter, stirring until golden brown and fragrant (about 5-7 minutes). Remove from heat. Add the sugars and mix well. Add the egg and vanilla and stir. Add the flour, salt, baking powder, and baking soda and mix well. Fold in the cornflakes, chocolate, and peanut butter chips. Spread the batter out evenly in the skillet. Sprinkle with marshmallows. Bake for  20-25 minutes, or until golden brown. Don’t over bake, as the goal is a gooey cookie! Allow to cool slightly and then eat straight out of the skillet. Bliss!

Brown Butter Cornflake Marshmallow Skillet Cookie | Once Upon a Recipe

Blueberry Lemon Shortcakes with Lemon Whipped Cream

If I was asked which baked breakfast good I would not want to live without, I think it would be a tie between cinnamon buns and scones.
.
And that’s serious business because I love breakfast and all of its choices so very much. But…scones. They are just perfect little breakfast packages, whether made sweet or savory. You can eat them as is, slather them with butter or jam, or sandwich them around eggs and cheese and bacon. Scones are just a breakfast dream, waiting to happen.
And if you want to make a scone decidely breakfast-inappropriate, you could serve it alongside a cloud of freshly whipped cream and a pile of berries. (Although I totally wouldn’t judge you if you ate it for breakfast. In fact, I’d probably high-five you).
.
Last week I had a bunch of blueberries that were about to go past their prime. I had also bought a giant bag of lemons the week before. Sidenote: I never seem to have a lemon on hand when I really need one, so I decided that it would be a great idea to buy a huge bag of them and use lemon in everything (fresh lemon water, homemade salad dressings, etc.). And of course, once I had a copious amount of lemons I failed to use them in all the ways I had imagined. Why does the world work this way? Anyways…so there I was with blueberries and lemons that needed a good home. The idea of fresh blueberry scones with a little lemon zip got me started. As the scones were baking in the oven, I got an invite to dinner that evening and offered to bring dessert. It was divine intervention, really. The only solution was to make the scones even better by turning them into shortcakes!
And dang, they did not disappoint. I added a little more lemon zest to the freshly whipped cream, which really brought out the lemon flavor in the scones themselves. These little shortcakes were the perfect summer evening dessert and were so easy to put together. They’re pretty too! I am envisioning many blueberry shortcakes in my future this summer! Maybe even for breakfast.
Blueberry Lemon Shortcakes with Lemon Whipped Cream 
.
These scones are lovely on their own with a cup of coffee or tea, but the whipped cream and extra blueberries take them to a whole other level. Either way, try to enjoy them on the same day that they are made. Makes 9 scones/shortcakes.
.
For the Blueberry Lemon Scones (adapted from Kitchen Trial and Error):
1 3/4 cup flour
2 TBSP. sugar
1 1/2 TBSP. baking powder
pinch of salt
1/2 cup (1 stick) unsalted butter, cold
1 1/2 cups blueberries, fresh or frozen
1/2 cup whole milk
1 tsp. vanilla extract
Zest from one lemon
.
For the glaze:
1/4 cup freshly squeezed lemon juice
1 cup icing sugar, sifted
1 TBSP. unsalted butter, melted
Zest from one lemon
.
Preheat the oven to 375°F. Line a large baking sheet with parchment paper or a silicone baking mat. In a large bowl, whisk together the flour, sugar, baking powder, salt, and zest. Cut the butter into the flour mixture using a pastry blender until the mixture resembles coarse crumbs.  Add the blueberries. Add the milk and vanilla and bring the dough together. Turn out onto a floured surface and shape it into a square. Cut into 9 pieces. One thing I did not do here but will the next time I make these is to brush to the tops of the scones with more milk (to help the tops brown a little bit more in the oven). Bake for 15-20 minutes or until lightly browned. Whisk the glaze ingredients together in a small bowl and drizzle over the scones while they are still warm. Cool completely on a wire rack.
.
To make the shortcakes:
1 cup whipping cream
1 TBSP. sugar
Zest from two lemons
1-2 cups fresh blueberries
.
Whip the cream until soft peaks form. Fold in the sugar and zest. Slice each scone in half. Top the bottom half with a couple spoonfuls of the whipped cream, sprinkle with blueberries, and top with the other half.

Lemon White Chocolate Crème Brûlée

Lemon White Chocolate Crème Brûlée | Once Upon a Recipe

My love affair with crème brûlée started a few years ago. I was visiting my friend Sam, and her husband – Josh, being the dear (and very talented chef) that he is, had whipped us up a couple of pots of crème brûlée to enjoy with our wine. At the time, I wasn’t so sure that I liked crème brûlée, having only eaten it a few times before, and feeling less than impressed with what I had tried. But being one who rarely (if ever) turns down a sweet treat, I dug right into that pot of creamy goodness. It was insanely delicious, what with the perfectly torched sugar crust on top that gave way to the luscious perfection below. I distinctly remember saying to Josh that very night – “You must teach me how to make this.”

Lemon White Chocolate Crème Brûlée | Once Upon a Recipe

For I had tried to make crème brûlée once or twice before, but had encountered difficulty with getting everything to set up properly (crème brûlée soup, anyone?) and had never mastered that perfectly torched sugar topping. I didn’t have the tools or the know-how, and had ended up with an unevenly burnt top, courtesy of my oven’s broiler. It was never a pretty scenario.

Fast forward to several years later, and Josh and I finally made that lesson happen. I have made this recipe a few times since then, and it has turned out perfect every time. The recipe provides a great base for a variety of flavor combinations. Josh also made a dark chocolate raspberry version that was incredible. However, the lemon lover in me had to share this lemon white chocolate version.

Lemon White Chocolate Crème Brûlée | Once Upon a Recipe

Thank you Josh for sharing your crème brûlée know-how! Now, onto the recipe…

I’ve written the recipe in detail, just to ensure that it’s clear. Forgive me if this information or technique is not new to you. I’ve seen a variety of crème brûlée recipes out there, but this is my go-to. It’s foolproof!

Lemon White Chocolate Crème Brûlée | Once Upon a Recipe

Lemon White Chocolate Crème Brûlée

This recipe makes enough to fill 4 small ramekins. It can easily be doubled or tripled, according to the number you require. Just remember to stick to the ratio of 5 egg yolks for every cup of whipping cream. As I mentioned before, this recipe is a great base for other flavor combinations. For example, for a dark chocolate raspberry version, sub in dark chocolate for the white chocolate and omit the lemon. Drop spoonfuls of smashed raspberries into the ramekins pre-bake. Also, the most important step is the chilling process. Be sure to prepare this recipe the night before you wish to serve it, so that the crème brûlée has about 24 hours to chill thoroughly and properly set. 

1 cup whipping cream

5 egg yolks

1/4 cup granulated sugar + more for topping

1 TBSP. vanilla

1/2 cup white chocolate pieces

4 lemons, divided

Preheat the oven to 325°F. Place the four ramekins (or shallow jars) into a baking dish.

In a small saucepan, add the whipping cream, white chocolate pieces, 1 tsp. fresh lemon juice, and the rind* of two lemons. Place the saucepan over medium heat. Stir regularly, and remove from the heat just when the mixture begins to bubble around the edges. In the meantime, in a medium-sized bowl, whisk together the egg yolks, sugar, and vanilla until pale. Very gradually, add the cream mixture to the eggs, stirring constantly. Do not add the cream too quickly, as you are trying to temper the eggs (not scramble them!). Strain the mixture into a bowl (or a large measuring cup with a spout, for ease of pouring) and discard the pieces of lemon rind. Zest the remaining two lemons and add the zest to the cream, stirring to combine. Divide the mixture evenly between the four ramekins.

Place into the oven and then very carefully pour boiling water into the baking dish, until it reaches halfway up the sides of the ramekins. Be careful not to splash any water into the ramekins. Place a cookie sheet over top of the baking dish (to cover). This is optional, but will prevent the tops of the crème brûlée from browning. Bake for about 20-25 minutes, or until the ramekins are almost set, and only a wee bit jiggly in the center. Cool on the counter, and then cover and refrigerate overnight (about 24 hours).

Just before serving, sprinkle the top of each ramekin with about 1 tsp. of granulated sugar. Use a blow torch to carefully melt and brown the sugar on top. Enjoy!

*Using a sharp knife, remove the skin of the lemon in large pieces, avoiding the pith (the white part, which is bitter) as much as possible.

Lemon White Chocolate Crème Brûlée | Once Upon a Recipe

Hope you’re having a great week, friends!

Chocolate Peanut Butter Banana & Cookie Chunk Ice Cream

Chocolate Peanut Butter Banana & Cookie Chunk Ice Cream | Once Upon a Recipe

Friends! Hello! How are you?

Please forgive me for my absence over the past few weeks. Things got a little hectic there for a while, I got a little tired, and this ol’ blog was forced to the back burner for a wee time. But, I spent the weekend in the kitchen and I have a batch of recipes to share with you, so let’s get to it!

Chocolate Peanut Butter Banana & Cookie Chunk Ice Cream | Once Upon a Recipe

http://www.onceuponarecipeblog.com/2013/12/the-great-food-blogger-cookie-swap-nutella-and-rolo-stuffed-double-chocolate-chip-cookies/

This ice cream. Oh, this ice cream.

I’m no purist when it comes to ice cream. I like my ice cream trashy. Full of different flavors and textures, especially big chunks of chewy cookie. I may or may not dig around in the container in search of the chunky bits. Except that I totally do. This ice cream has a creamy chocolate base that gets all trashed up with swirls of peanut butter and chunks of banana and chocolate cookies. I mean?!

Chocolate Peanut Butter Banana & Cookie Chunk Ice Cream | Once Upon a Recipe

Chocolate Peanut Butter Banana & Cookie Chunk Ice Cream | Once Upon a Recipe

Let’s just say that after having my first taste of this ice cream, I promptly shared it with anyone who was willing to eat it, simply so that I wouldn’t devour the whole thing myself.

Despite the fact that we’re dealing with more cold temperatures and another round of snow, I know that Spring is around the corner somewhere. So I’m just going to keep making ice cream and margaritas and pretend that it’s already here. If we believe it, it will come!

Chocolate Peanut Butter Banana & Cookie Chunk Ice Cream

Chocolate ice cream base from The Kitchn, which was adapted from Jeni Britton. Makes just over 1 quart.

8 oz. good-quality semi-sweet chocolate, chopped
3 1/2 cups half and half
1 TBSP. plus 1 tsp. cornstarch
2 ounces cream cheese, softened (about 1/4 cup)
1/4 cup sugar
pinch salt

Mix-ins: 1 banana (chopped small), 1/2 cup chocolate cookies* (chopped), and about 1/2 cup peanut butter

*I used these cookies (minus the centers) because I had some left over, but you can use any homemade or storebought chewy chocolate cookies.

In a small bowl, mix 2 TBSP. of the half and half with the cornstarch. Set aside.

In a large saucepan, combine the remaining half and half with the sugar. Bring the milk mixture to a boil and cook over medium heat until the sugar dissolves, about 4 minutes. Remove from heat, and gradually whisk in the cornstarch mixture. Return to heat, bring to a boil and cook over medium high heat until the mixture is slightly thickened, about 1 minute.

In a separate bowl, combine the chocolate and cream cheese. Pour just enough of the hot milk over the chopped chocolate and cream cheese to cover it. Whisk until the chocolate is melted and the mixture is smooth. Add the salt. Gradually add the remaining hot milk mixture and whisk well. Cover the mixture and chill completely, preferably overnight.

Pour the ice cream base into an ice cream maker and freeze according to the manufacturer’s instructions. Stir in the banana and cookie chunks. Layer in a container, along with spoonfuls of the peanut butter (I microwaved my peanut butter for about 20 seconds to make it thinner and easier to work with), then swirl with a knife. Freeze for an additional four hours (or more) in an airtight container. Scoop and serve!

Chocolate Peanut Butter Banana & Cookie Chunk Ice Cream | Once Upon a Recipe

Super Easy Velvety Chocolate Pots

Velvety Chocolate Pots | Once Upon a Recipe

Happy Love Day, lovers!

Here we are again, February 14, Valentine’s Day, the day of L-O-V-E! As promised, I’m sharing another chocolate recipe today. Behold these velvety chocolate pots! They taste just like they sound: rich and chocolate-y and oh. so. smooth. Like buttah, baby!

Velvety Chocolate Pots | Once Upon a Recipe

Velvety Chocolate Pots | Once Upon a Recipe   Velvety Chocolate Pots | Once Upon a Recipe

Maybe you’re still undecided about your Valentine’s Day menu with your honey. Maybe you’re a big procrastinator (like me) and waited until the big day to pick a sweet and decadent treat to celebrate the occasion. Or maybe you don’t give a flying fart about Valentine’s Day, but you have a chocolate craving that you just can’t curb. Whatever the reason, or even if there is no reason at all, let’s all enjoy these velvety chocolate pots together, mmmk? They’re super easy to whip up – we’re talking less than 5 minutes – and mega delicious.

Velvety Chocolate Pots | Once Upon a Recipe   Velvety Chocolate Pots | Once Upon a Recipe

I’ll bring the chocolate, you bring the wine, and let’s all just celebrate the wonderful thing that is love. I’m grateful to call you all my valentines. Now go tell your favorites how much you love them! <3

Super Easy Velvety Chocolate Pots (adapted from The Pioneer Woman)

Makes 4. This recipe is easy to halve or double, depending on the number of servings you require. You can also switch up the flavor by using flavored coffee, different liqueurs, and different kinds of chocolate (ie. milk vs. dark). I used Madeira wine for my liqueur and vanilla macadamia nut coffee. Experiment away!

6 ounces dark chocolate (~70% cocoa), chopped

2 eggs

A pinch of salt

1 TBSP. liqueur (optional)

1/2 cup very hot coffee

In a food processor or blender, combine the chocolate, eggs, salt, and liqueur (if using). Blend until well mixed. With the food processor or blender still running, slowly add the coffee and blend until smooth. Pour the mixture into four 4-ounce ramekins (or tea cups, if you want to get fancy), and refrigerate until cold and set (about 4 hours). Top with whipped cream and more chopped chocolate. Dive in!

Velvety Chocolate Pots | Once Upon a Recipe

Guest Post: Lemon Yogurt Baked Donuts

Lemon Yogurt Baked Donuts | Once Upon a Recipe

Lemon Yogurt Baked Donuts | Once Upon a Recipe

Lemon Yogurt Baked Donuts | Once Upon a Recipe

Lemon Yogurt Baked Donuts | Once Upon a Recipe

Lemon Yogurt Baked Donuts | Once Upon a Recipe

Lemon Yogurt Baked Donuts | Once Upon a Recipe

Happy Friday friends! We made it!

This week has been a bit of a wild one, and I am looking forward to unwinding and letting loose for a couple of days. I foresee a weekend filled with wine and good food! What are you up to this weekend? Please share!

But first! The lovely Renee over at Re: Creative asked me to do a guest post this week! Renee also featured me as her Weekly Crush a few weeks ago and had me blushing big time. Renee is super sweet, stylish, and is a fellow Canadian. You should totally check out her blog for all things fashion, design, art, food, party decor, and fun DIY projects!

And you’ll also find out a little bit more about those cute little donuts up there – Lemon Yogurt Baked Donuts to be exact. Hop on over to Re: Creative to check out the recipe! And have yourselves a lovely weekend! xo

Ginger Cookie and Salted Caramel Ice Cream Sandwiches

Ginger Cookie and Salted Caramel Ice Cream Sandwiches | Once Upon a Recipe

Oh heyyyyyyyyyy. I’m…sorry.

Yes, consider this your advance apology for the recipe I am about to share with you.

Ginger Cookie and Salted Caramel Ice Cream Sandwiches | Once Upon a Recipe

I’m sorry for ruining your diet. I’m sorry for kiboshing your plans to start eating healthier after a summer full of patio beer-drinking and ice cream-eating. I’m sorry for giving you a cold recipe just when the weather is starting to turn cooler (much cooler, if you live in my part of the world) and you’re craving all things warm and toasty. But mostly, I’m sorry for not appreciating the amazingness that is salted caramel a hell of a lot sooner.

Ginger Cookie and Salted Caramel Ice Cream Sandwiches | Once Upon a Recipe

I realize that salted caramel everything has been rather trendy for the past while, but in all honesty it didn’t really appeal to me. Sure, I like caramel. And yes, I am a big fan of the salty/sweet combination. But as my wise mama said, “if all of your friends jumped off a bridge, would you do it too?” And so while everyone else was choosing salted caramel ice cream, I was sticking to ye old faithful – chocolate chip cookie dough. Or mint chip. I would not be sucked in by this new salted caramel kid on the block.

Ginger Cookie and Salted Caramel Ice Cream Sandwiches | Once Upon a Recipe

But then I came across a recipe for Salted Butter Caramel Ice Cream by David Lebovitz. (The word “butter” may or may not have been mostly responsible for capturing my attention). One look at photos of the creamy, deep caramel-colored ice cream dotted with little rivers of gooey caramel was enough to change my tune. It was time to see what all the fuss was about.

And dangggggggg. You trendy foodies know your stuff. (Not that I ever questioned your expertise). I’m tempted to say that this is some of the best ice cream I have ever tasted. Like, ever. My words will not do this ice cream justice. You simply must try it for yourself.

But I couldn’t stop there. Chewy ginger cookies are one of my favorites in the Fall and Winter months due to their spicy flavor profile. I had the sense that ginger cookies with a scoop of salted caramel ice cream smashed between them would be rather epic and I was right. But again, don’t take my word for it.

Ginger Cookie and Salted Caramel Ice Cream Sandwiches | Once Upon a Recipe

A couple of notes about these two recipes: First of all, be warned – the ice cream recipe is a bit involved and will take you some time. However, I can promise you that it is worth the effort. Please be careful though, as the salted caramel is as hot as Hades and will hurt (a lot) if you splatter yourself with it. I have a rather sizable war wound from a stray droplet that found its way onto my hand while I was scraping the caramel praline mixture onto the cookie sheet. Ouch! Secondly, both the ice cream and the cookies are lovely on their own. The ice cream tastes magnificent scooped into a sugar cone or a plain ol’ bowl, and the cookies are wonderful with a cup of coffee or tea. In fact, this is my new favorite ginger cookie recipe – the raw cane sugar adds an incredible texture and crunch to the outside of the chewy cookie. So if making the ice cream sandwiches seems like too much all at once, pick one part and have fun with it!

Ginger Cookie and Salted Caramel Ice Cream Sandwiches 

For the Salted Caramel Ice Cream (from David Lebovitz)

Makes 1 generous quart.

For the caramel praline (mix-in):

½ cup sugar

¾ tsp. good quality sea salt, such as fleur de sel

For the ice cream:

2 cups whole milk, divided

1½ cups sugar

4 TBSP. salted butter

½ tsp. sea salt

1 cup heavy cream

5 large egg yolks

¾ tsp. vanilla

To make the caramel praline, spread the ½ cup of sugar in an even layer in a medium-sized heavy duty saucepan. Line a baking sheet with a silicone baking mat or brush it sparingly with unflavored oil. Heat the sugar over medium heat until the edges begin to melt. Use a heatproof utensil to gently stir the liquefied sugar from the bottom and edges towards the center, until all the sugar is dissolved. Continue to cook, stirring infrequently until the caramel starts smoking and begins to smell like it’s just about to burn (this doesn’t take long). Working quickly, sprinkle in the ¾ teaspoon of salt without stirring, then pour the caramel onto the prepared baking sheet and lift up the baking sheet immediately, tilting and swirling it almost vertically to encourage the caramel to form as thin a layer as possible. Set aside to harden and cool.

To make the ice cream, prepare an ice bath (fill a large bowl about a third full with ice cubes and add a cup or so of water to cause the ice cubes to float). Nest a smaller metal bowl (at least 2 quarts) over the ice, pour 1 cup of the milk into the inner bowl, and rest a mesh strainer on top of it. Spread 1½ cups sugar in the saucepan in an even layer. Cook over moderate heat, until caramelized, using the same method described for the caramel praline. Once caramelized, remove from heat and stir in the butter and salt, until butter is melted, then gradually whisk in the cream, stirring as you go. The caramel may harden and seize, but return it to the heat and continue to stir over low heat until any hard caramel is melted. This happened to me, but be patient! It will become smooth with time. Stir in the second cup of milk.

Whisk the yolks in a small bowl and gradually pour some of the warm caramel mixture over the yolks, stirring constantly. Scrape the warmed yolks back into the saucepan and stir constantly to cook the custard (scraping the bottom as you stir) until the mixture thickens. If using an instant-read thermometer, it should read 160-170°F.

Pour the custard through the strainer into the milk set over the ice bath, add the vanilla, then stir frequently until the mixture is cooled down. Cover and refrigerate the mixture overnight. Freeze the mixture in your ice cream maker according to the manufacturer’s instructions. While the ice cream is churning, crumble the hardened caramel praline into small pieces. Once your caramel ice cream is churned, quickly stir in the crushed caramel, then spread into a container to chill in the freezer until firm. Cover with plastic wrap and allow the plastic wrap to touch the surface of the ice cream to prevent ice crystals from forming.

For the Ginger Cookies (adapted from A Couple Cooks)

Makes about 24 cookies.

2 1/4 cups all-purpose flour

2 tsp. baking soda

1 tsp. cinnamon

1 tsp. ginger

1 tsp. allspice

1/2 tsp. ground cloves

1/2 tsp. salt

3/4 cup unsalted butter

3/4 cup raw cane sugar (plus extra, for rolling)

1 egg

1/2 cup molasses

In a large bowl, combine the dry ingredients (flour through to salt) and mix well. In the bowl of an electric mixer, beat together the butter and 3/4 cup raw cane sugar until light and fluffy, about 3 minutes. Add the egg and molasses and mix well. Stir in the dry ingredients. Refrigerate the cookie dough for 1 hour.
Preheat the oven to 375°F. Roll the dough into small balls (about  1 1/2-inch), then roll the balls in the raw cane sugar to coat. Arrange on a prepared baking sheet (with a Silpat or parchment paper). Bake until set and crinkled on top, about 10-12 minutes. Do not overbake. Remove from oven and allow to cool for a few minutes before transferring to a wire rack to cool completely.
To assemble the ice cream sandwiches: Place a small scoop of ice cream between two cookies and press together gently. Carefully wrap each sandwich in plastic wrap and place in freezer for a couple of hours.

Ginger Cookie and Salted Caramel Ice Cream Sandwiches | Once Upon a Recipe

Enjoy the rest of your week, friends!

%d bloggers like this: