The Great Food Blogger Cookie Swap: Beurre and Sel Jammers

The Great Food Blogger Cookie Swap: Beurre and Sel Jammers | Once Upon a Recipe

Son of a bee sting, it’s that time of year again!  This year I had the pleasure of participating in the Great Food Blogger Cookie Swap for the third time. The swap is hosted by two lovely ladies, The Little Kitchen and Love & Olive Oil. If you have no idea what the Great Food Blogger Cookie Swap is, allow me bring you up to speed. It’s a worldwide food blogger cookie swap! Basically, you sign up, get matched with three other bloggers, and send each blogger a dozen homemade cookies. Then you must wait patiently to receive three dozen delicious cookies from the bloggers that received your name. The swap also raises money for Cookies for Kids’ Cancer! Sending cookies around the world + supporting a good cause = Christmas magic and lots of fun.

The Great Food Blogger Cookie Swap: Beurre and Sel Jammers | Once Upon a Recipe

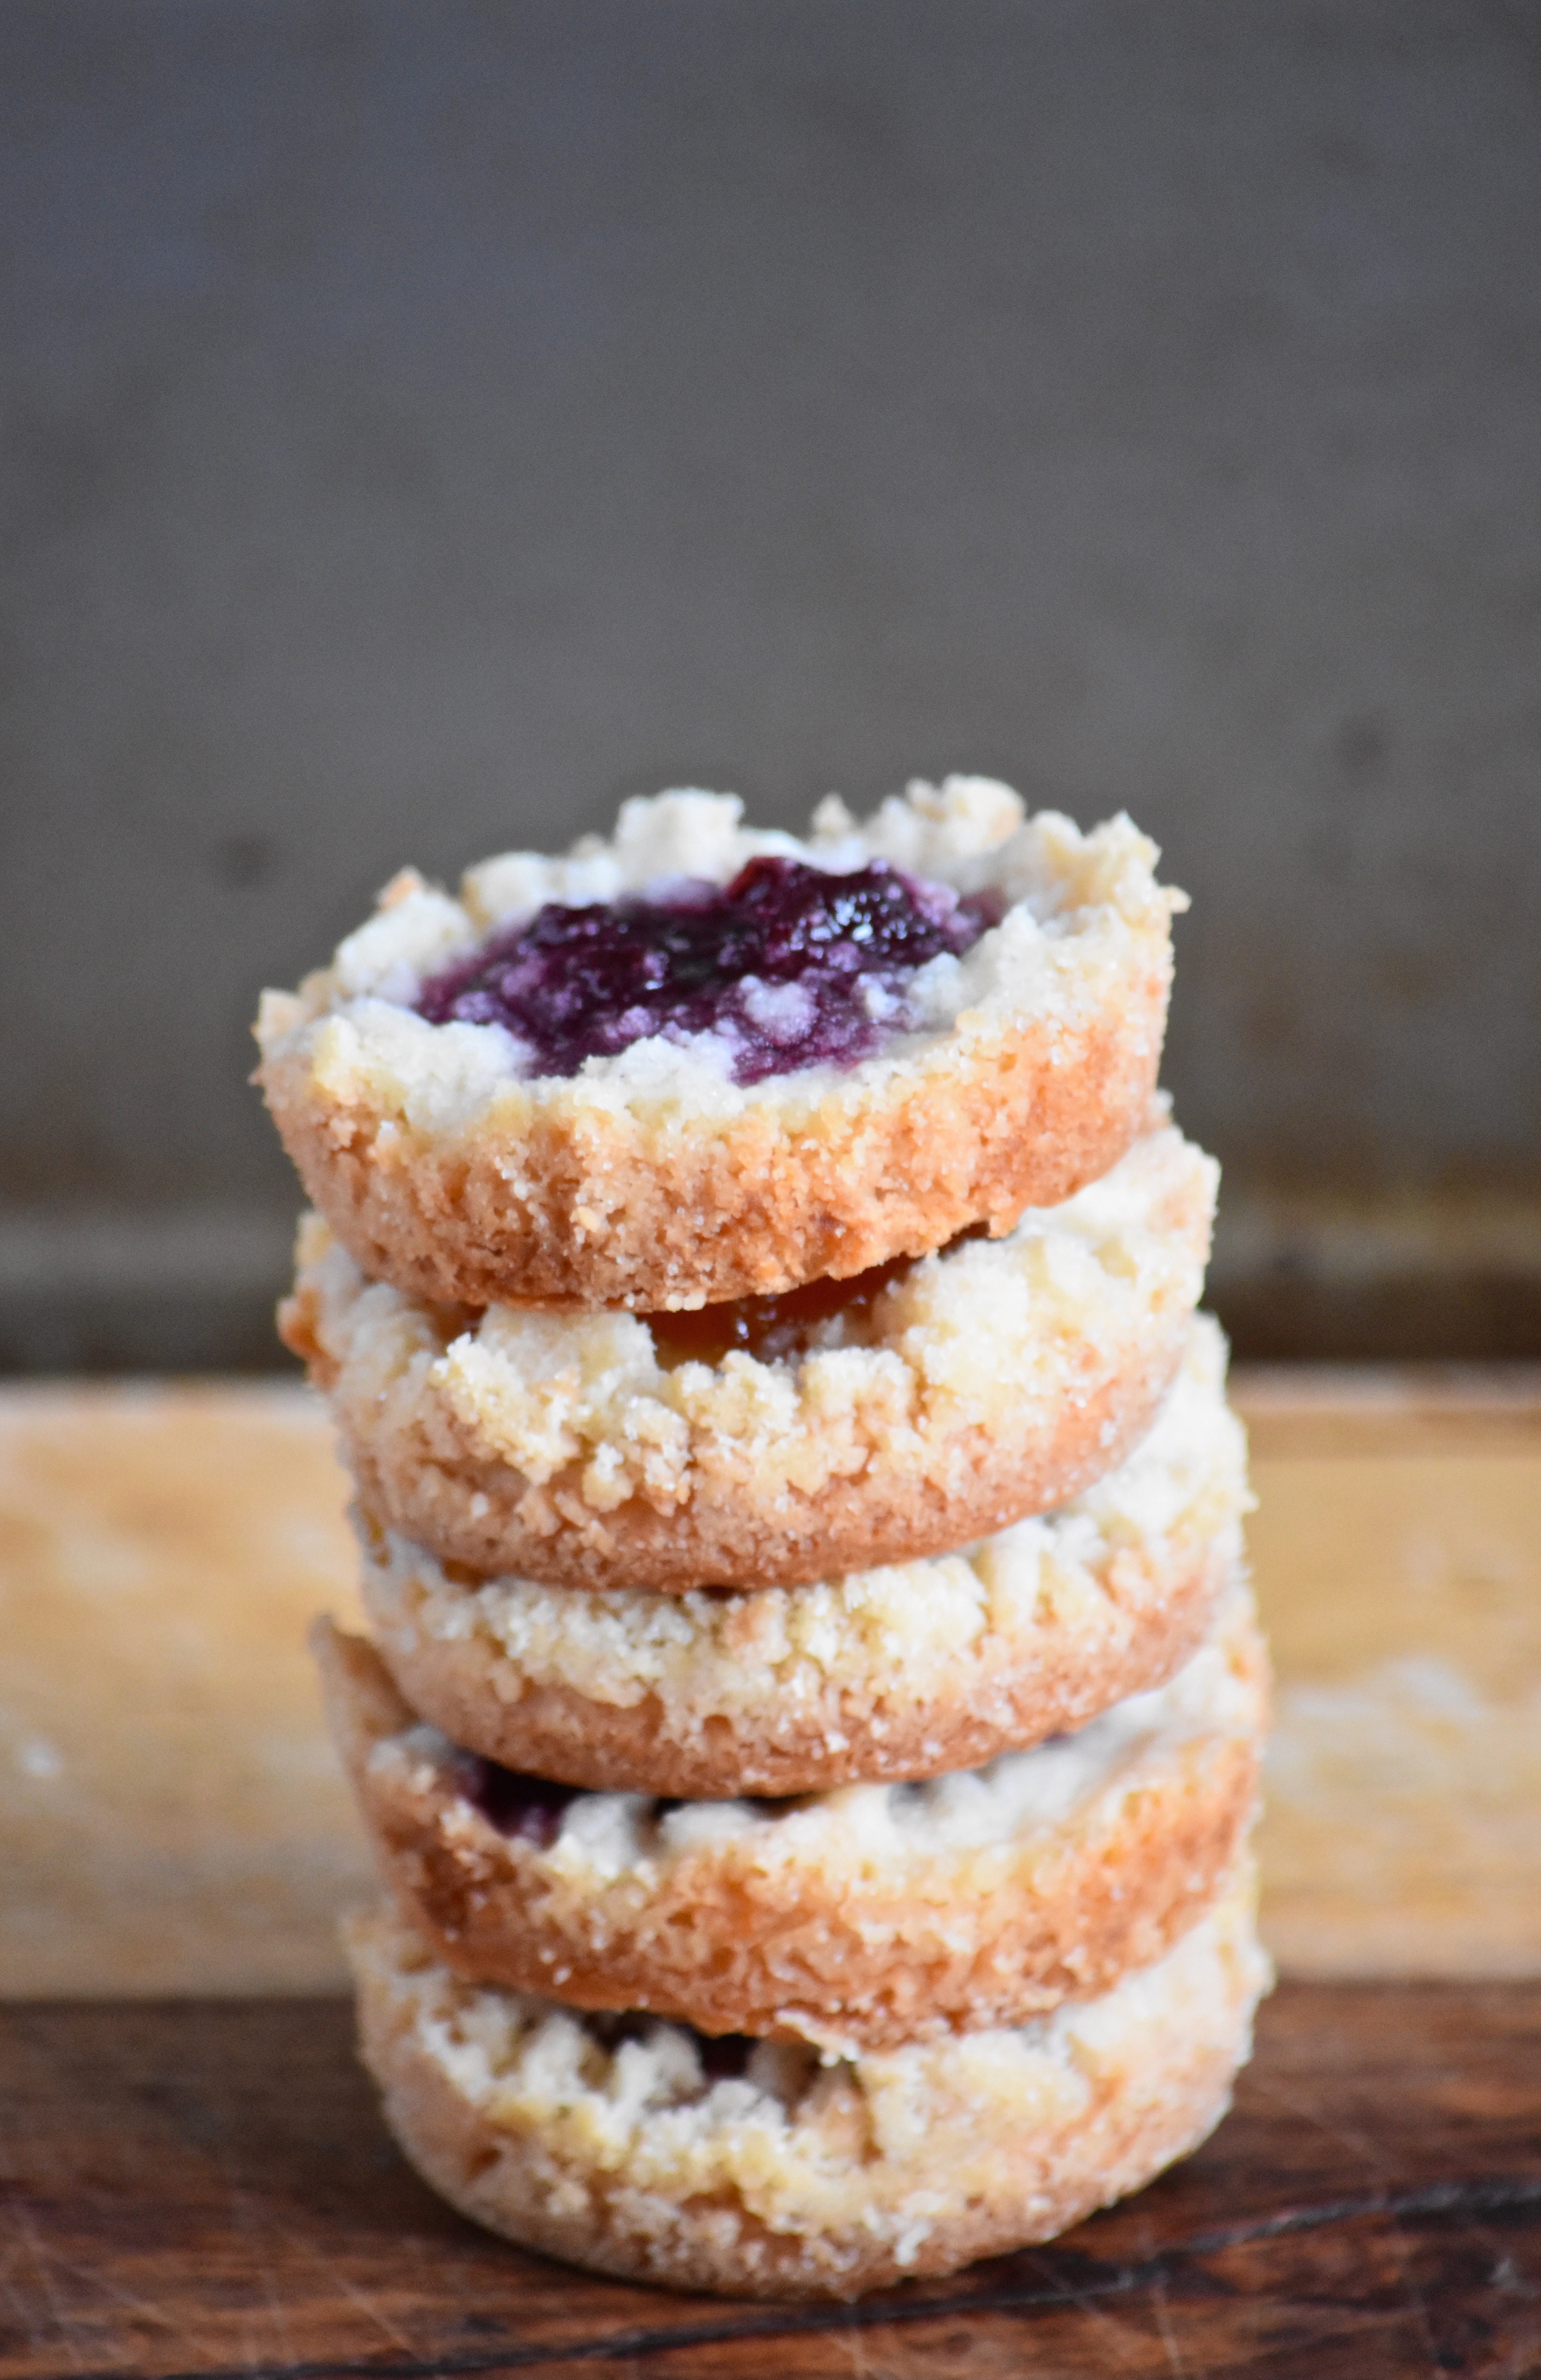
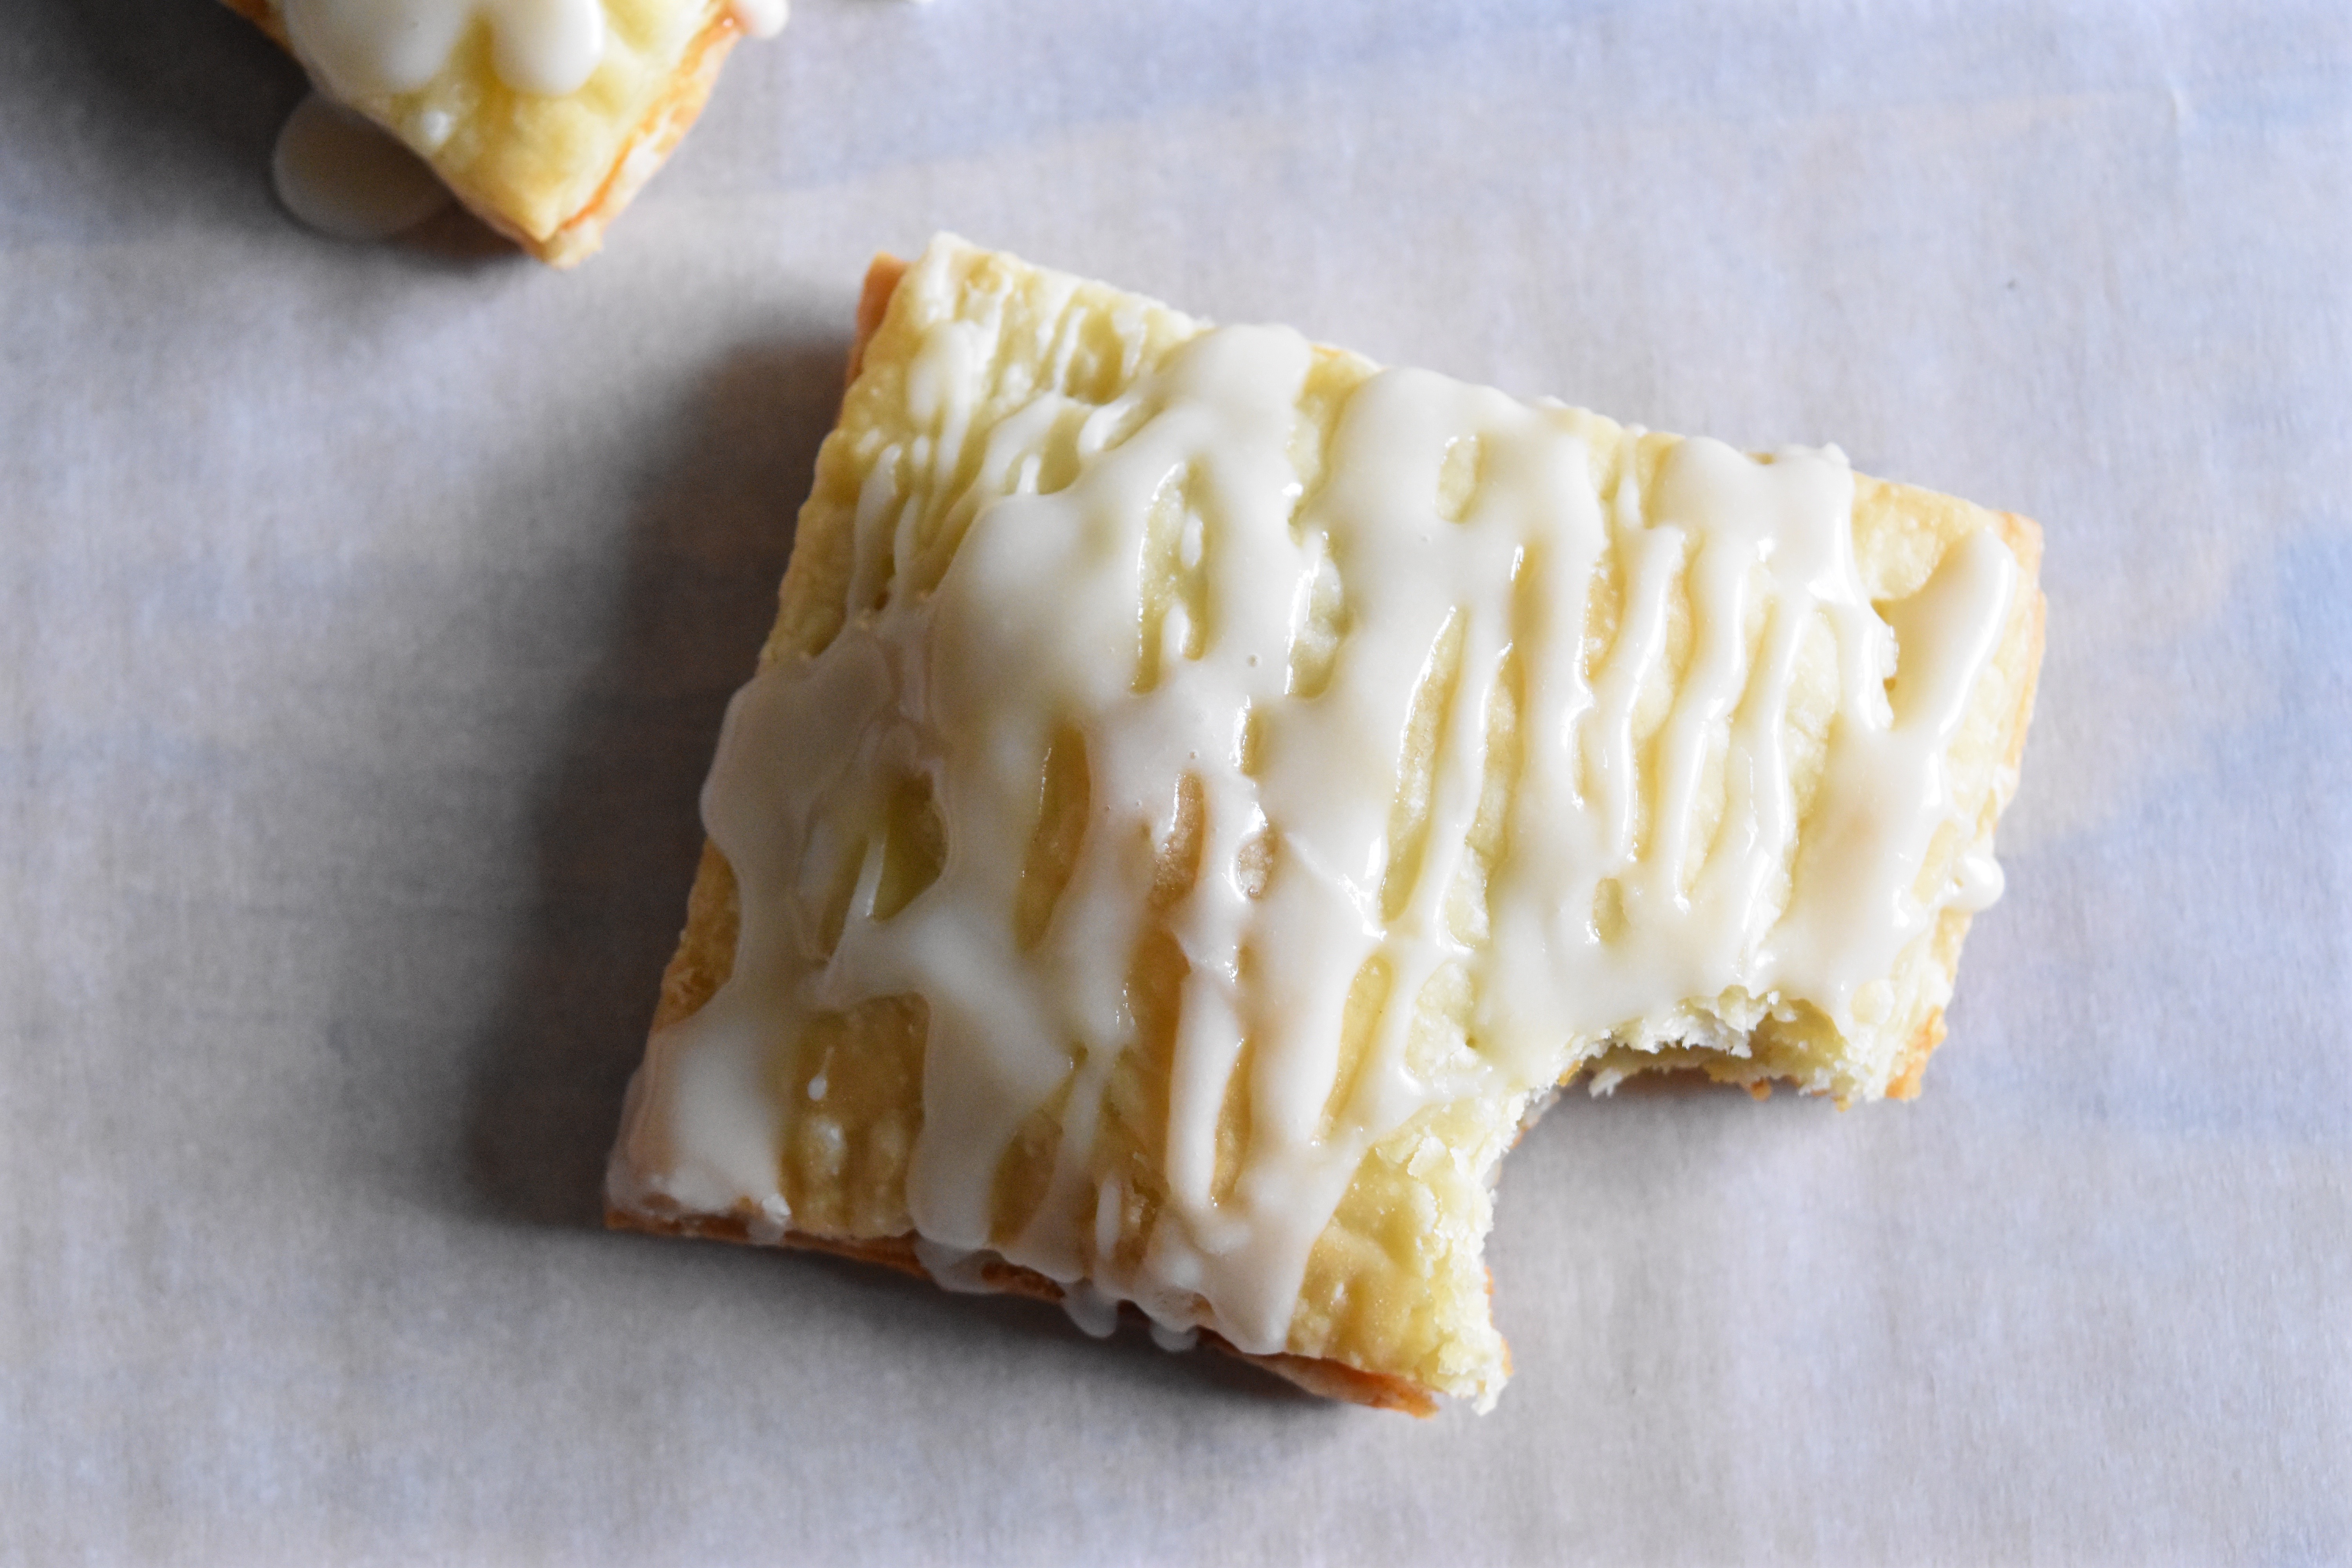
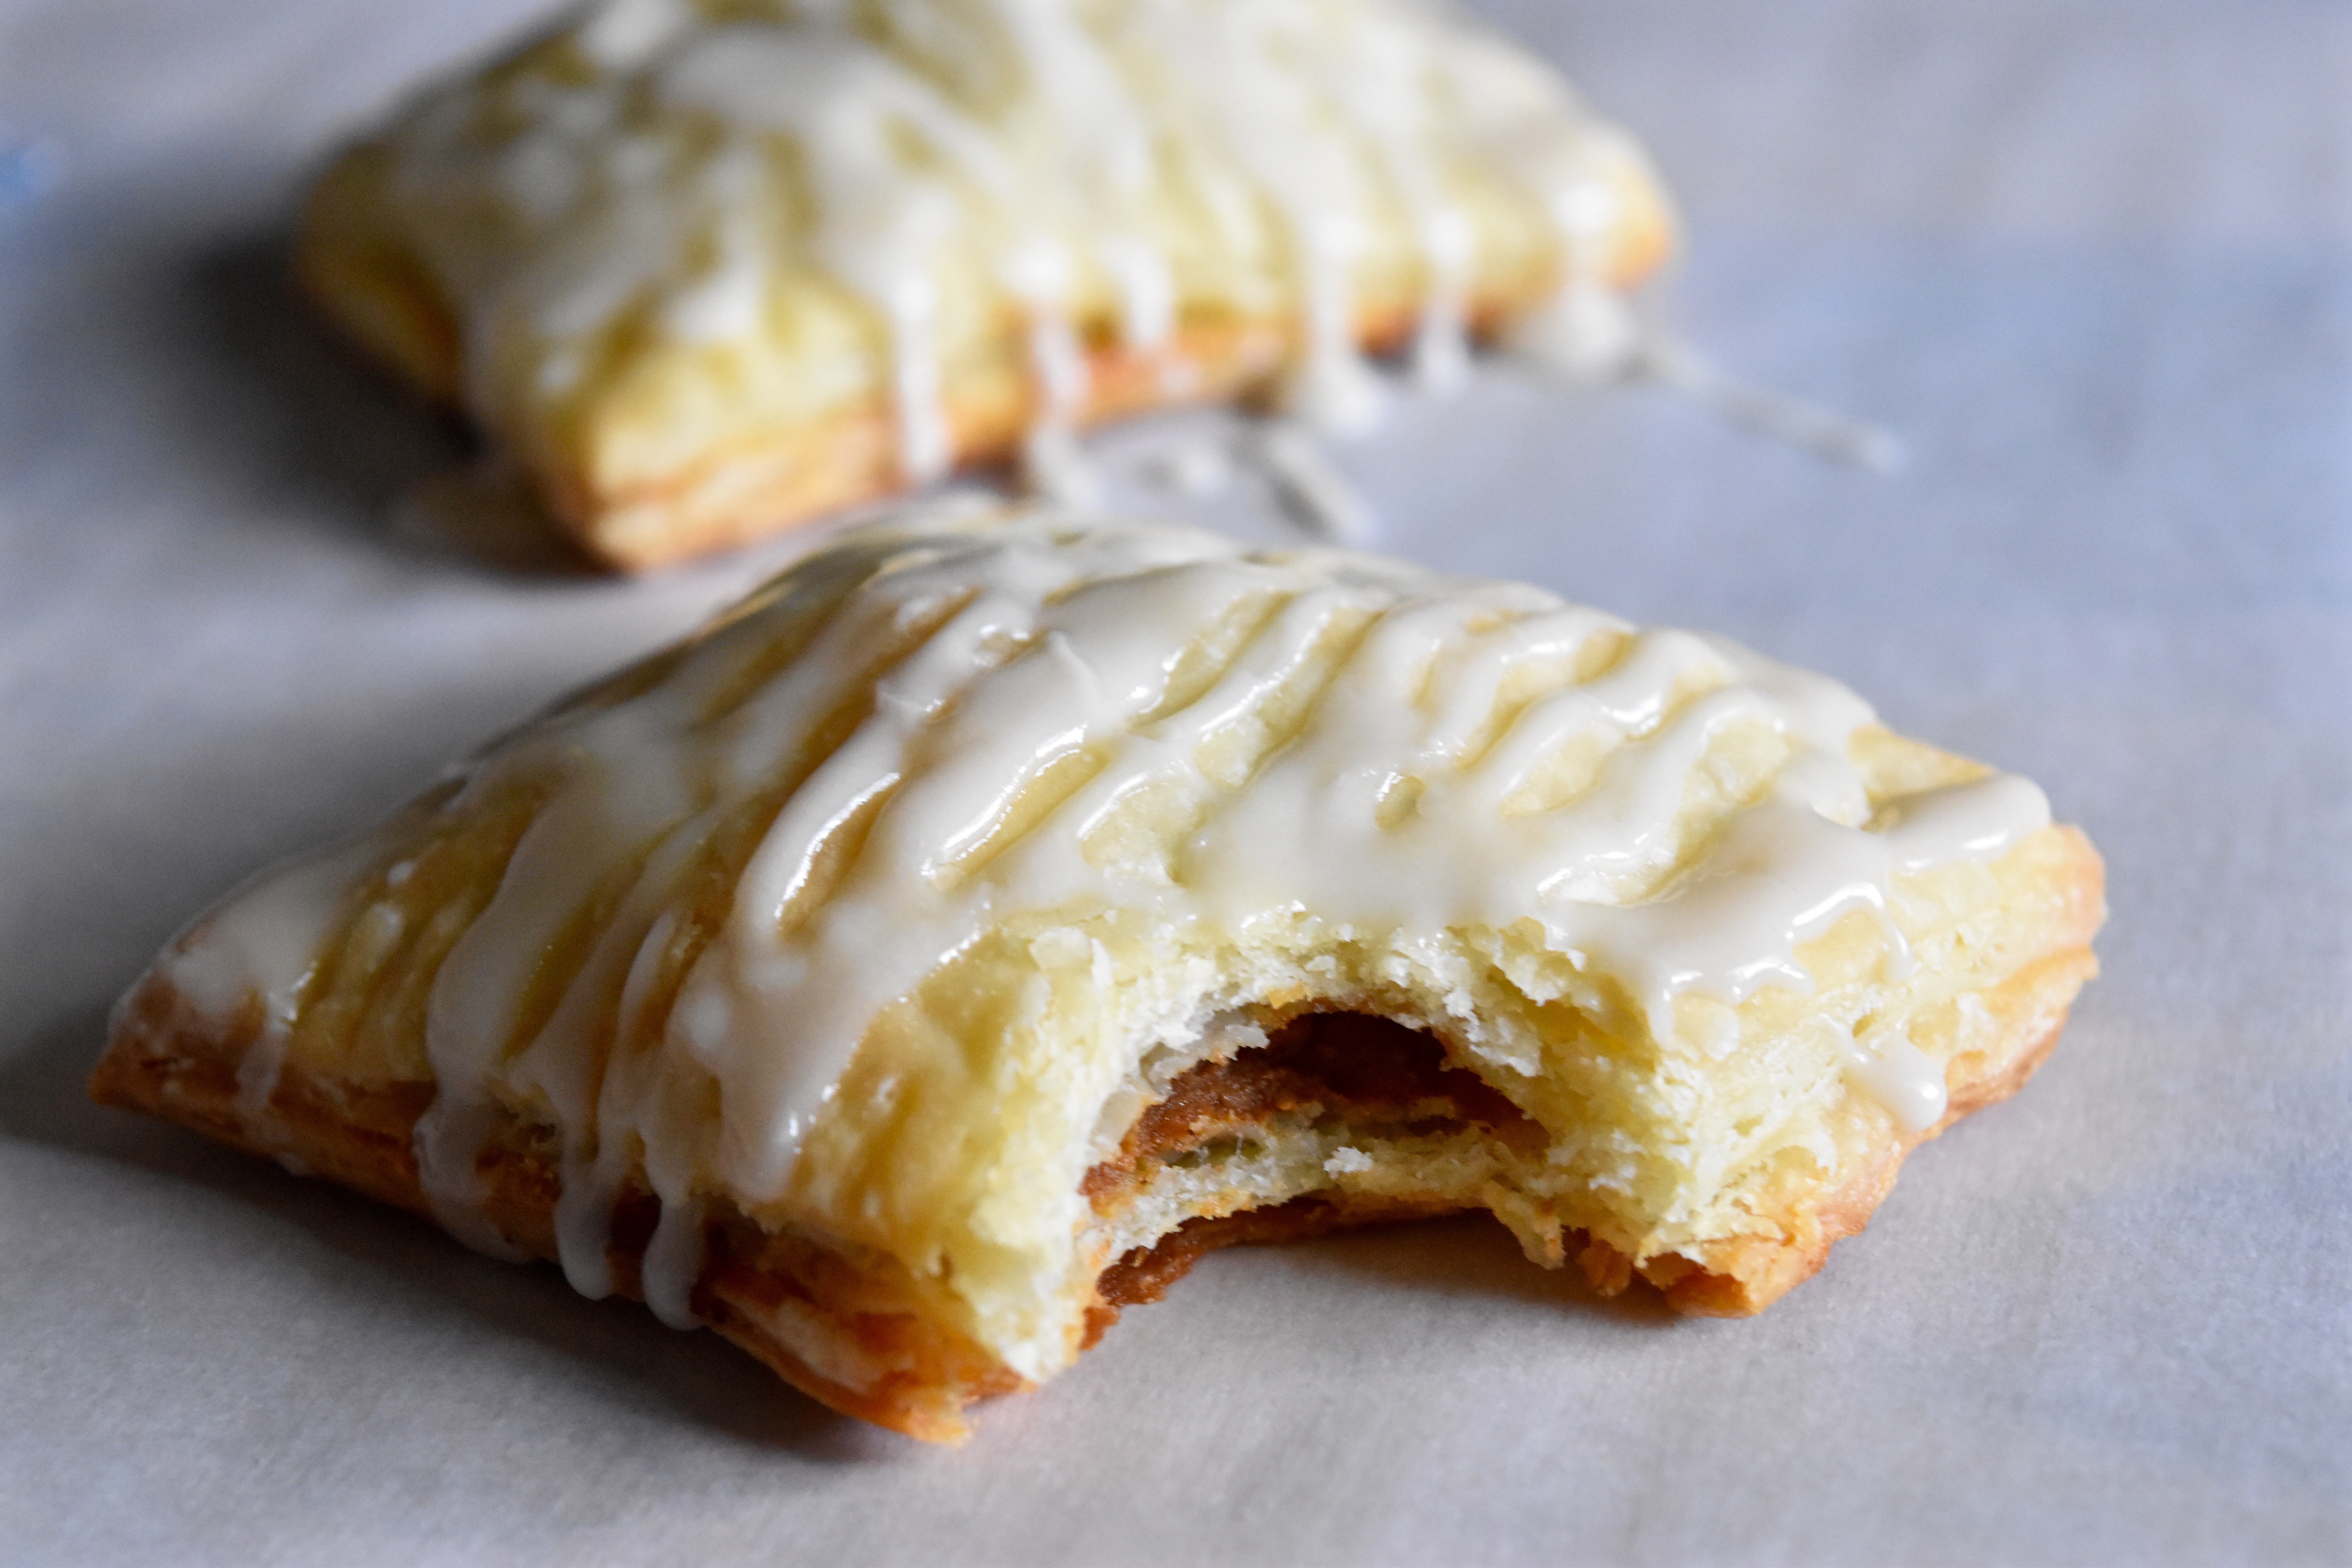
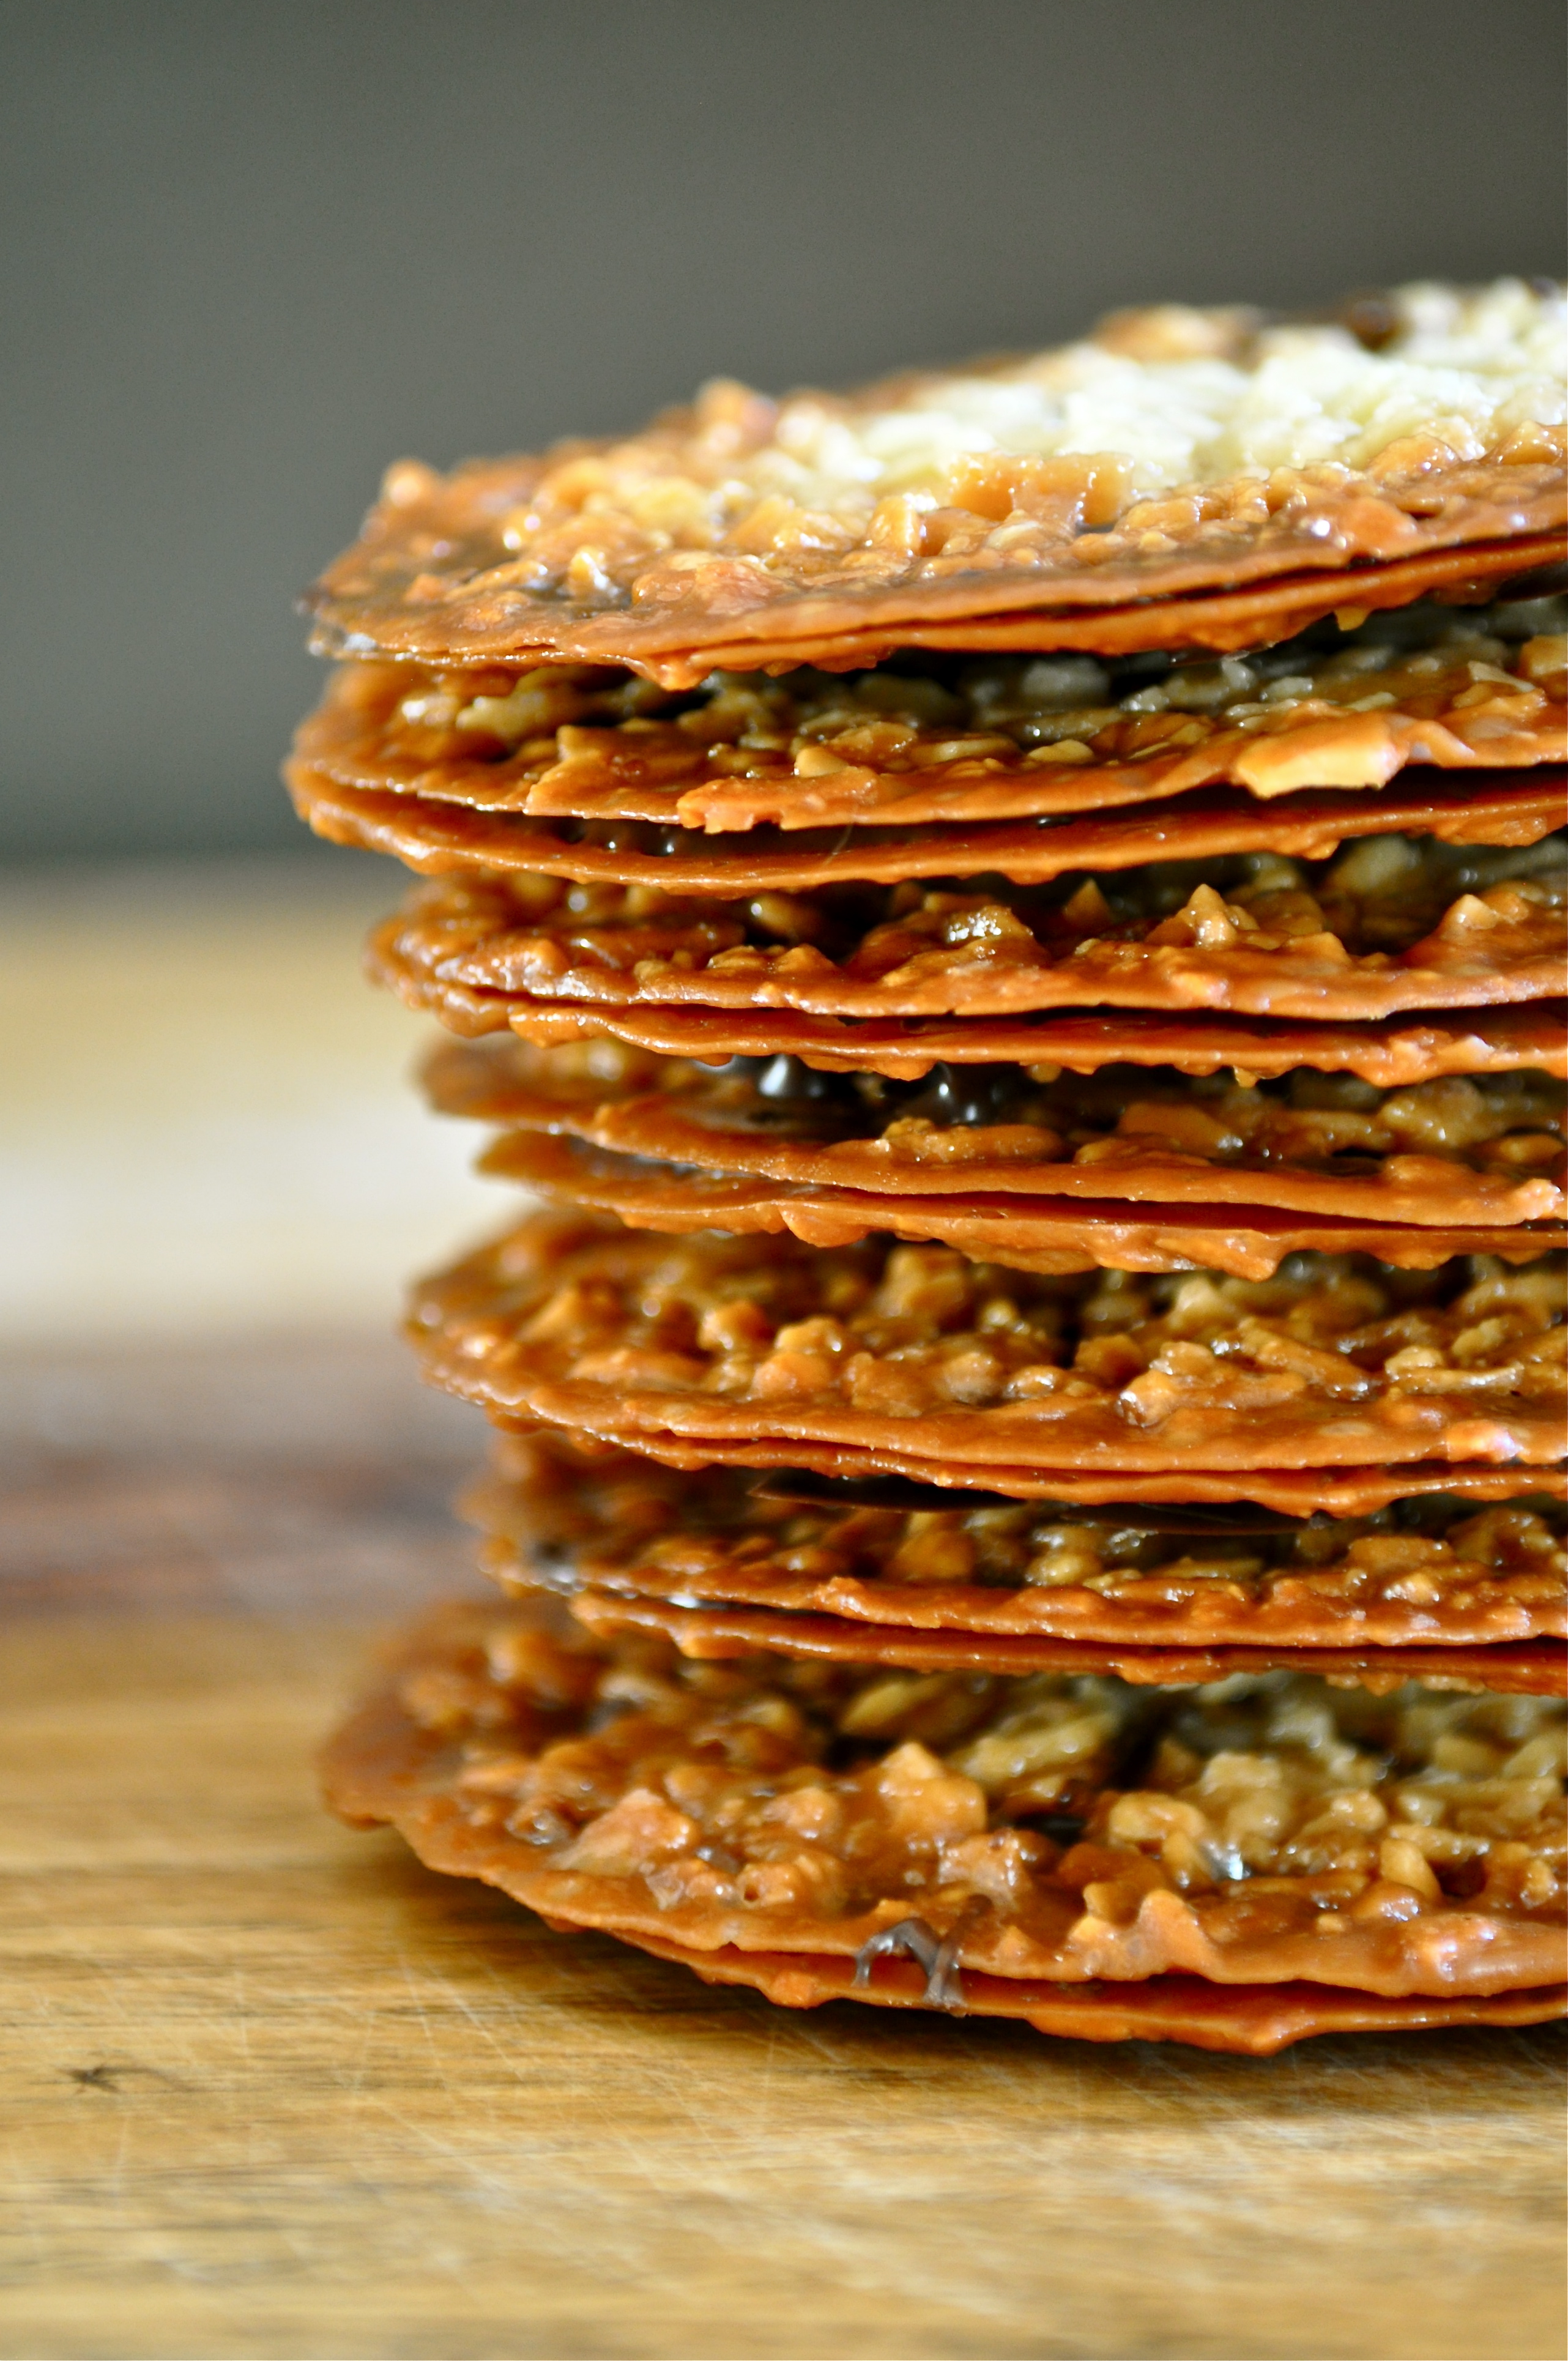
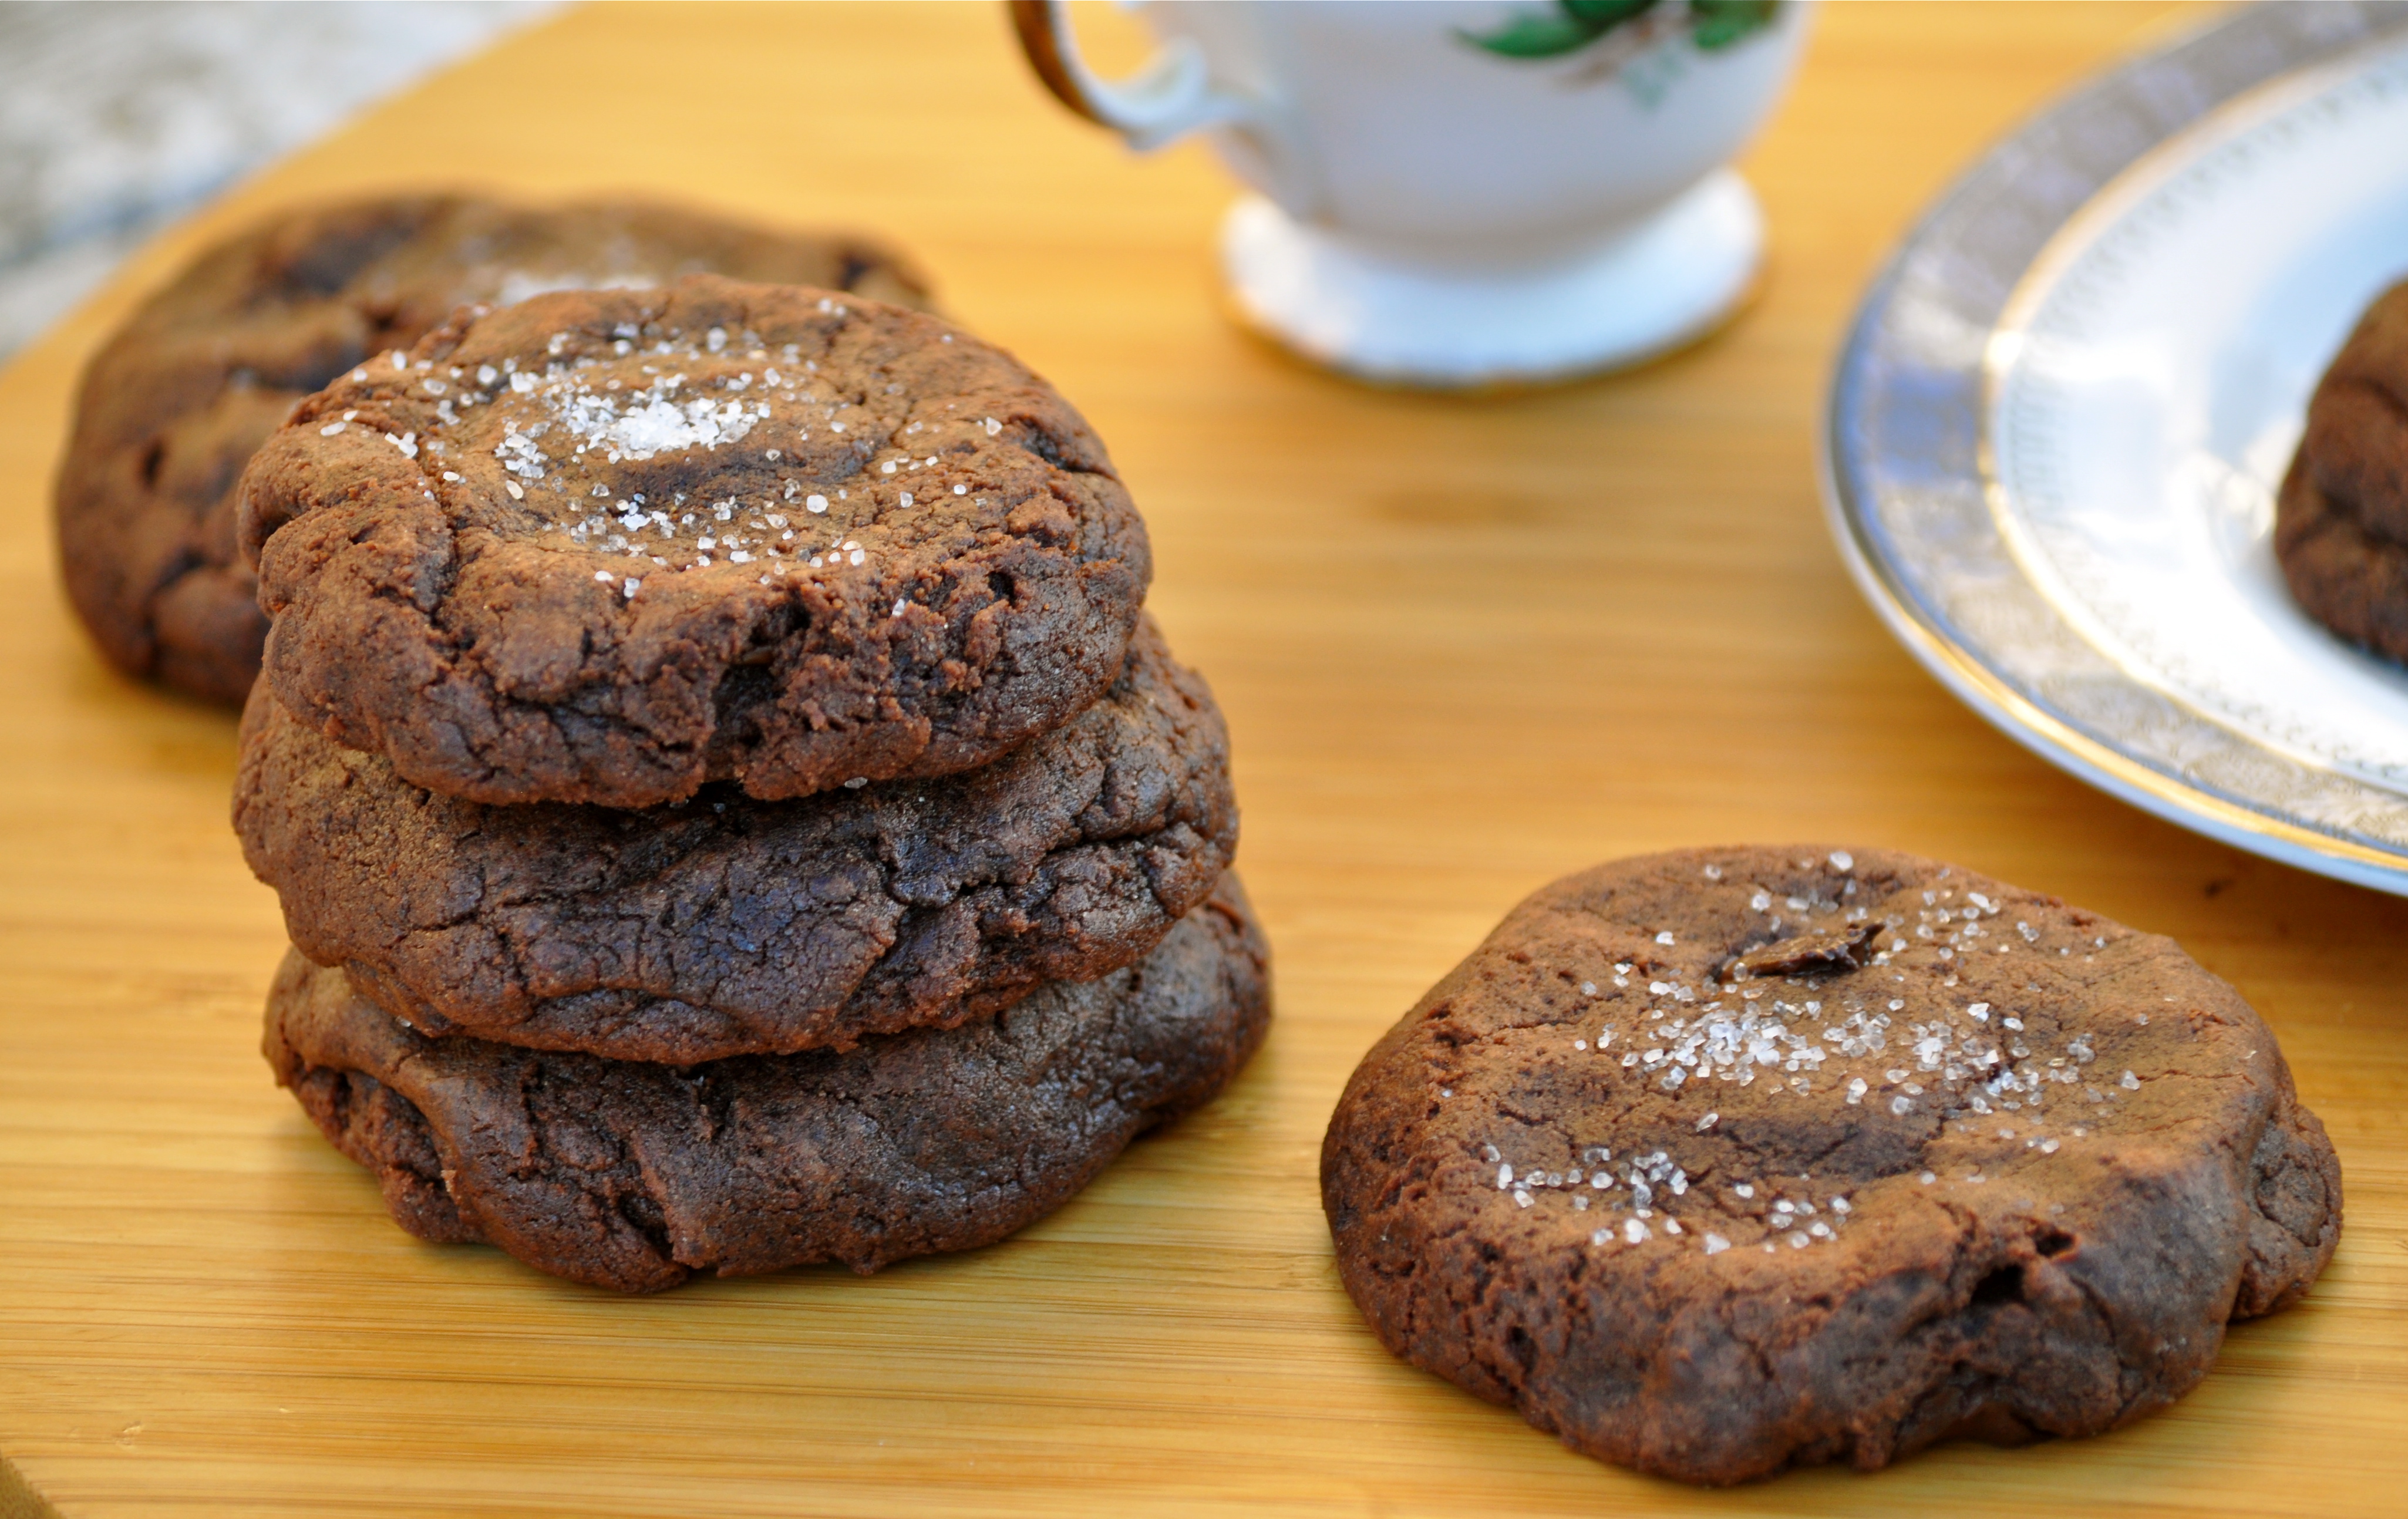
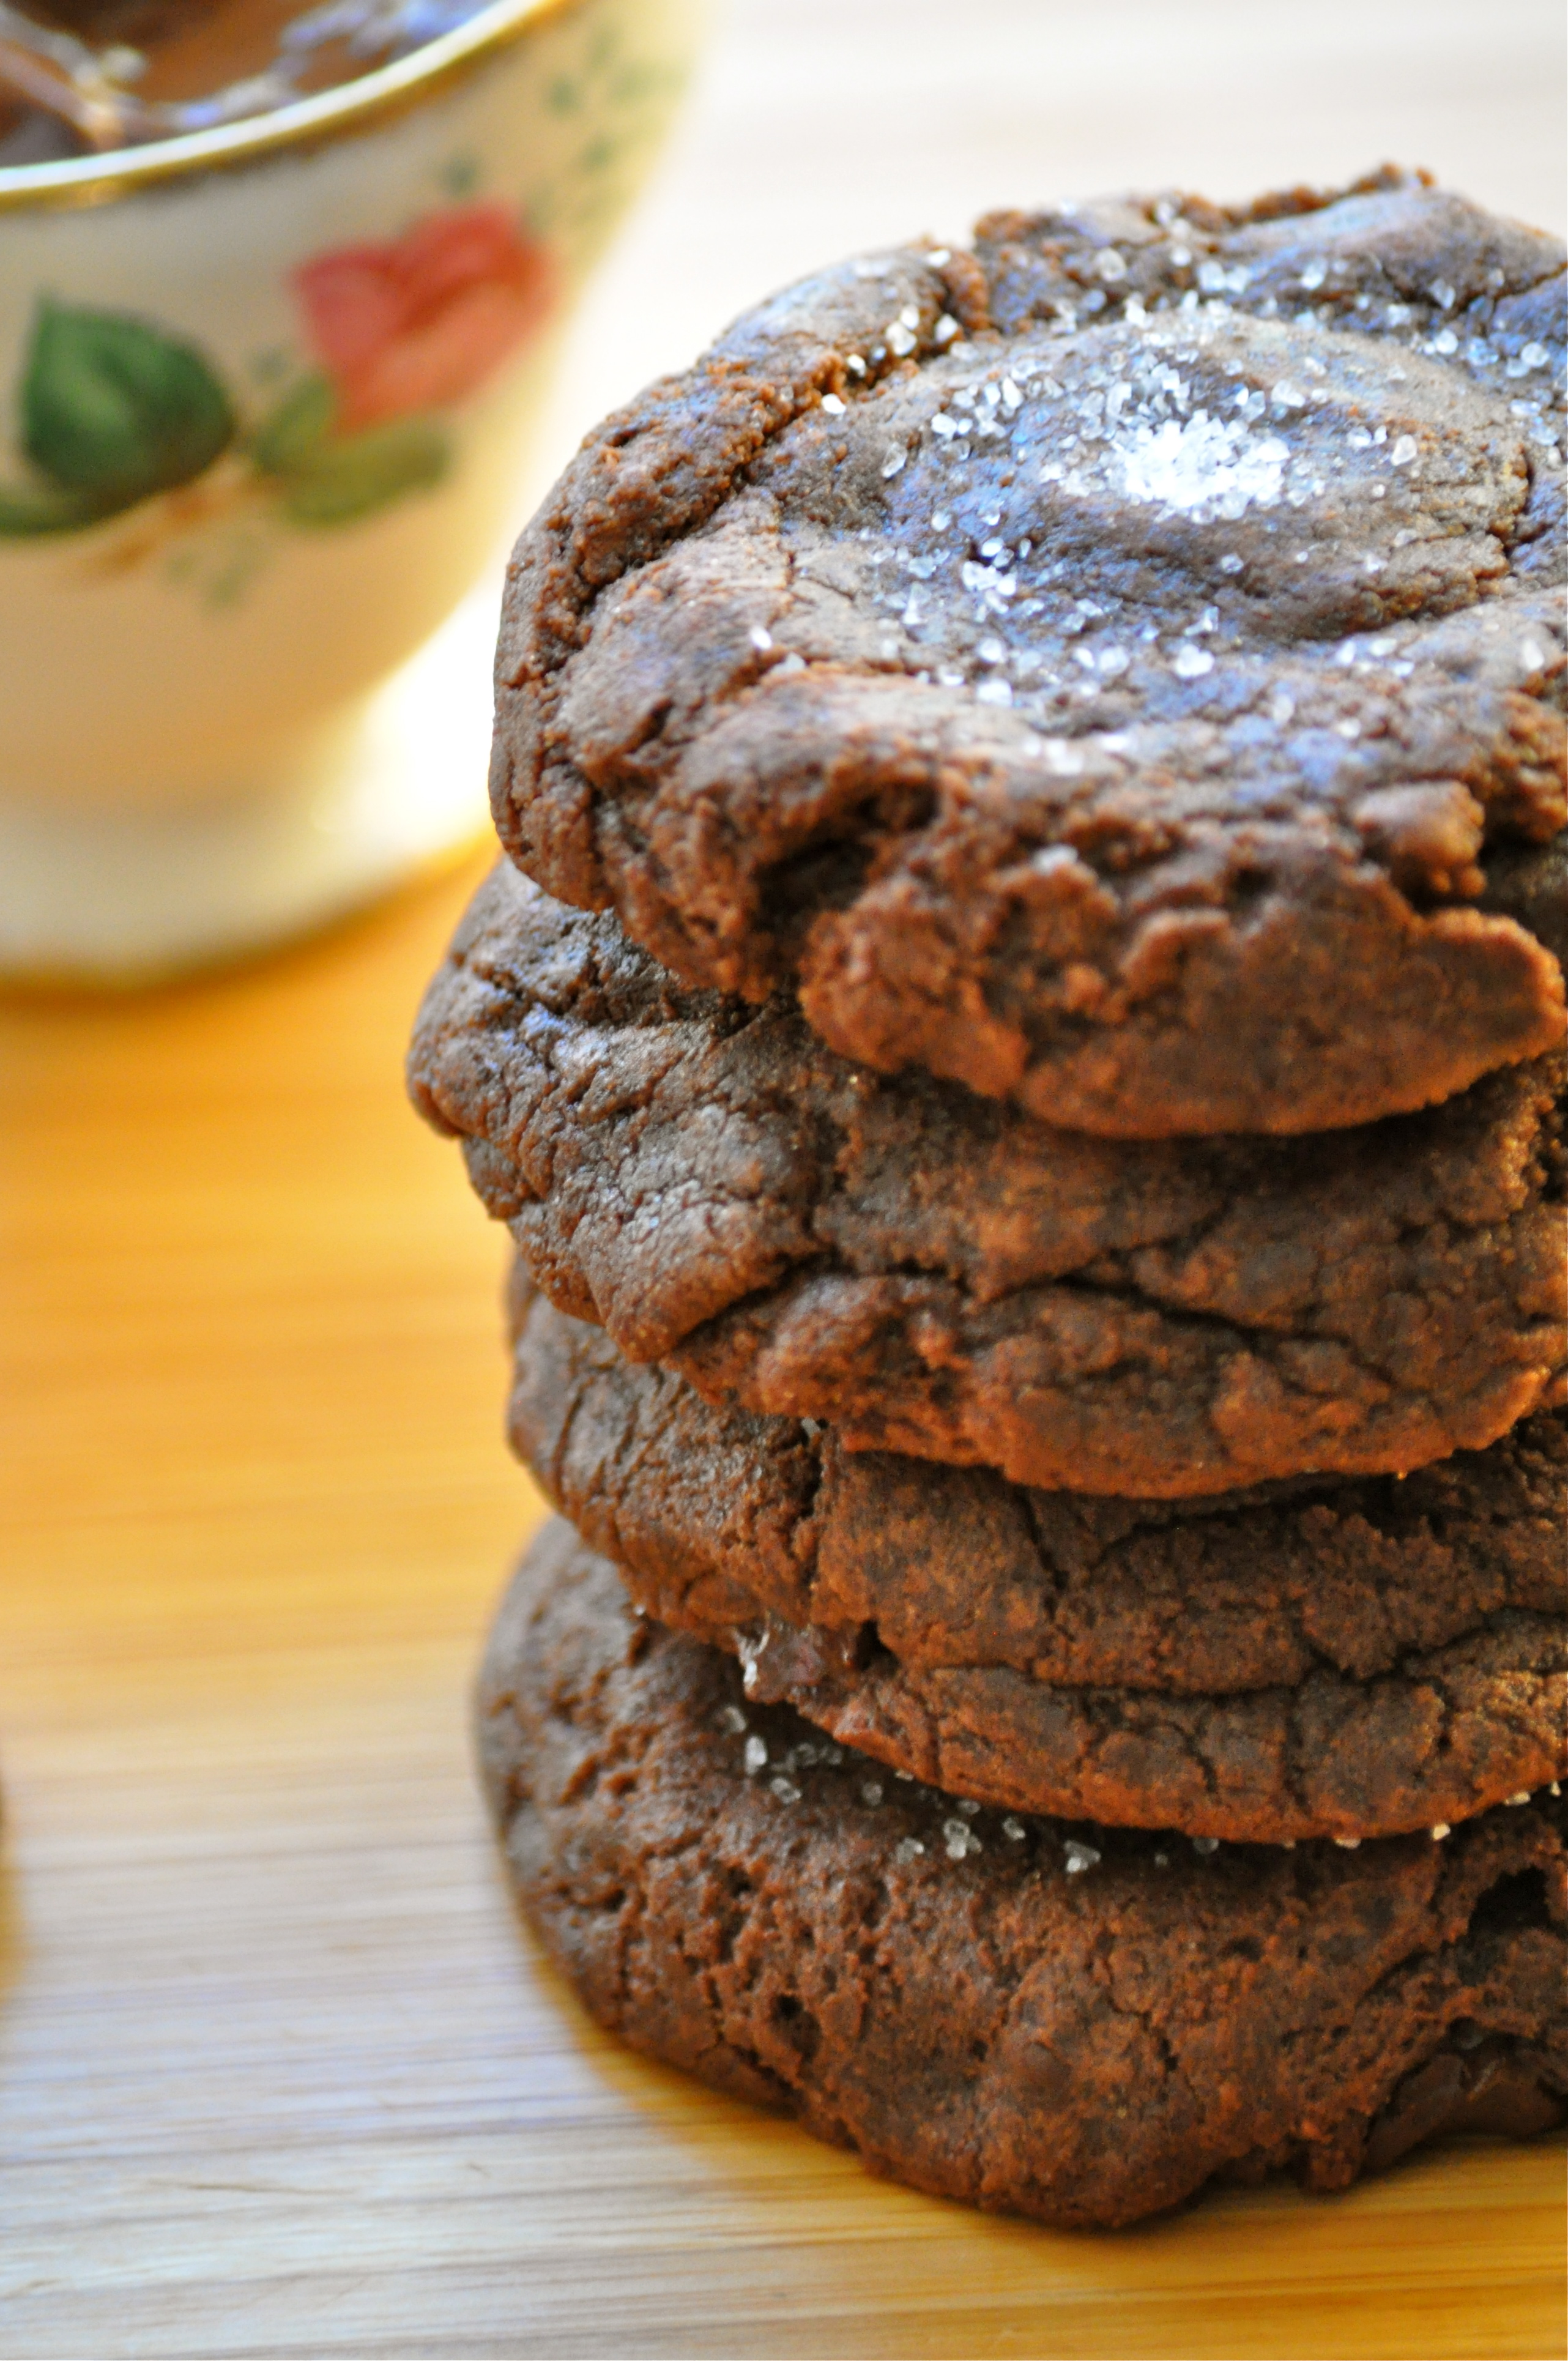
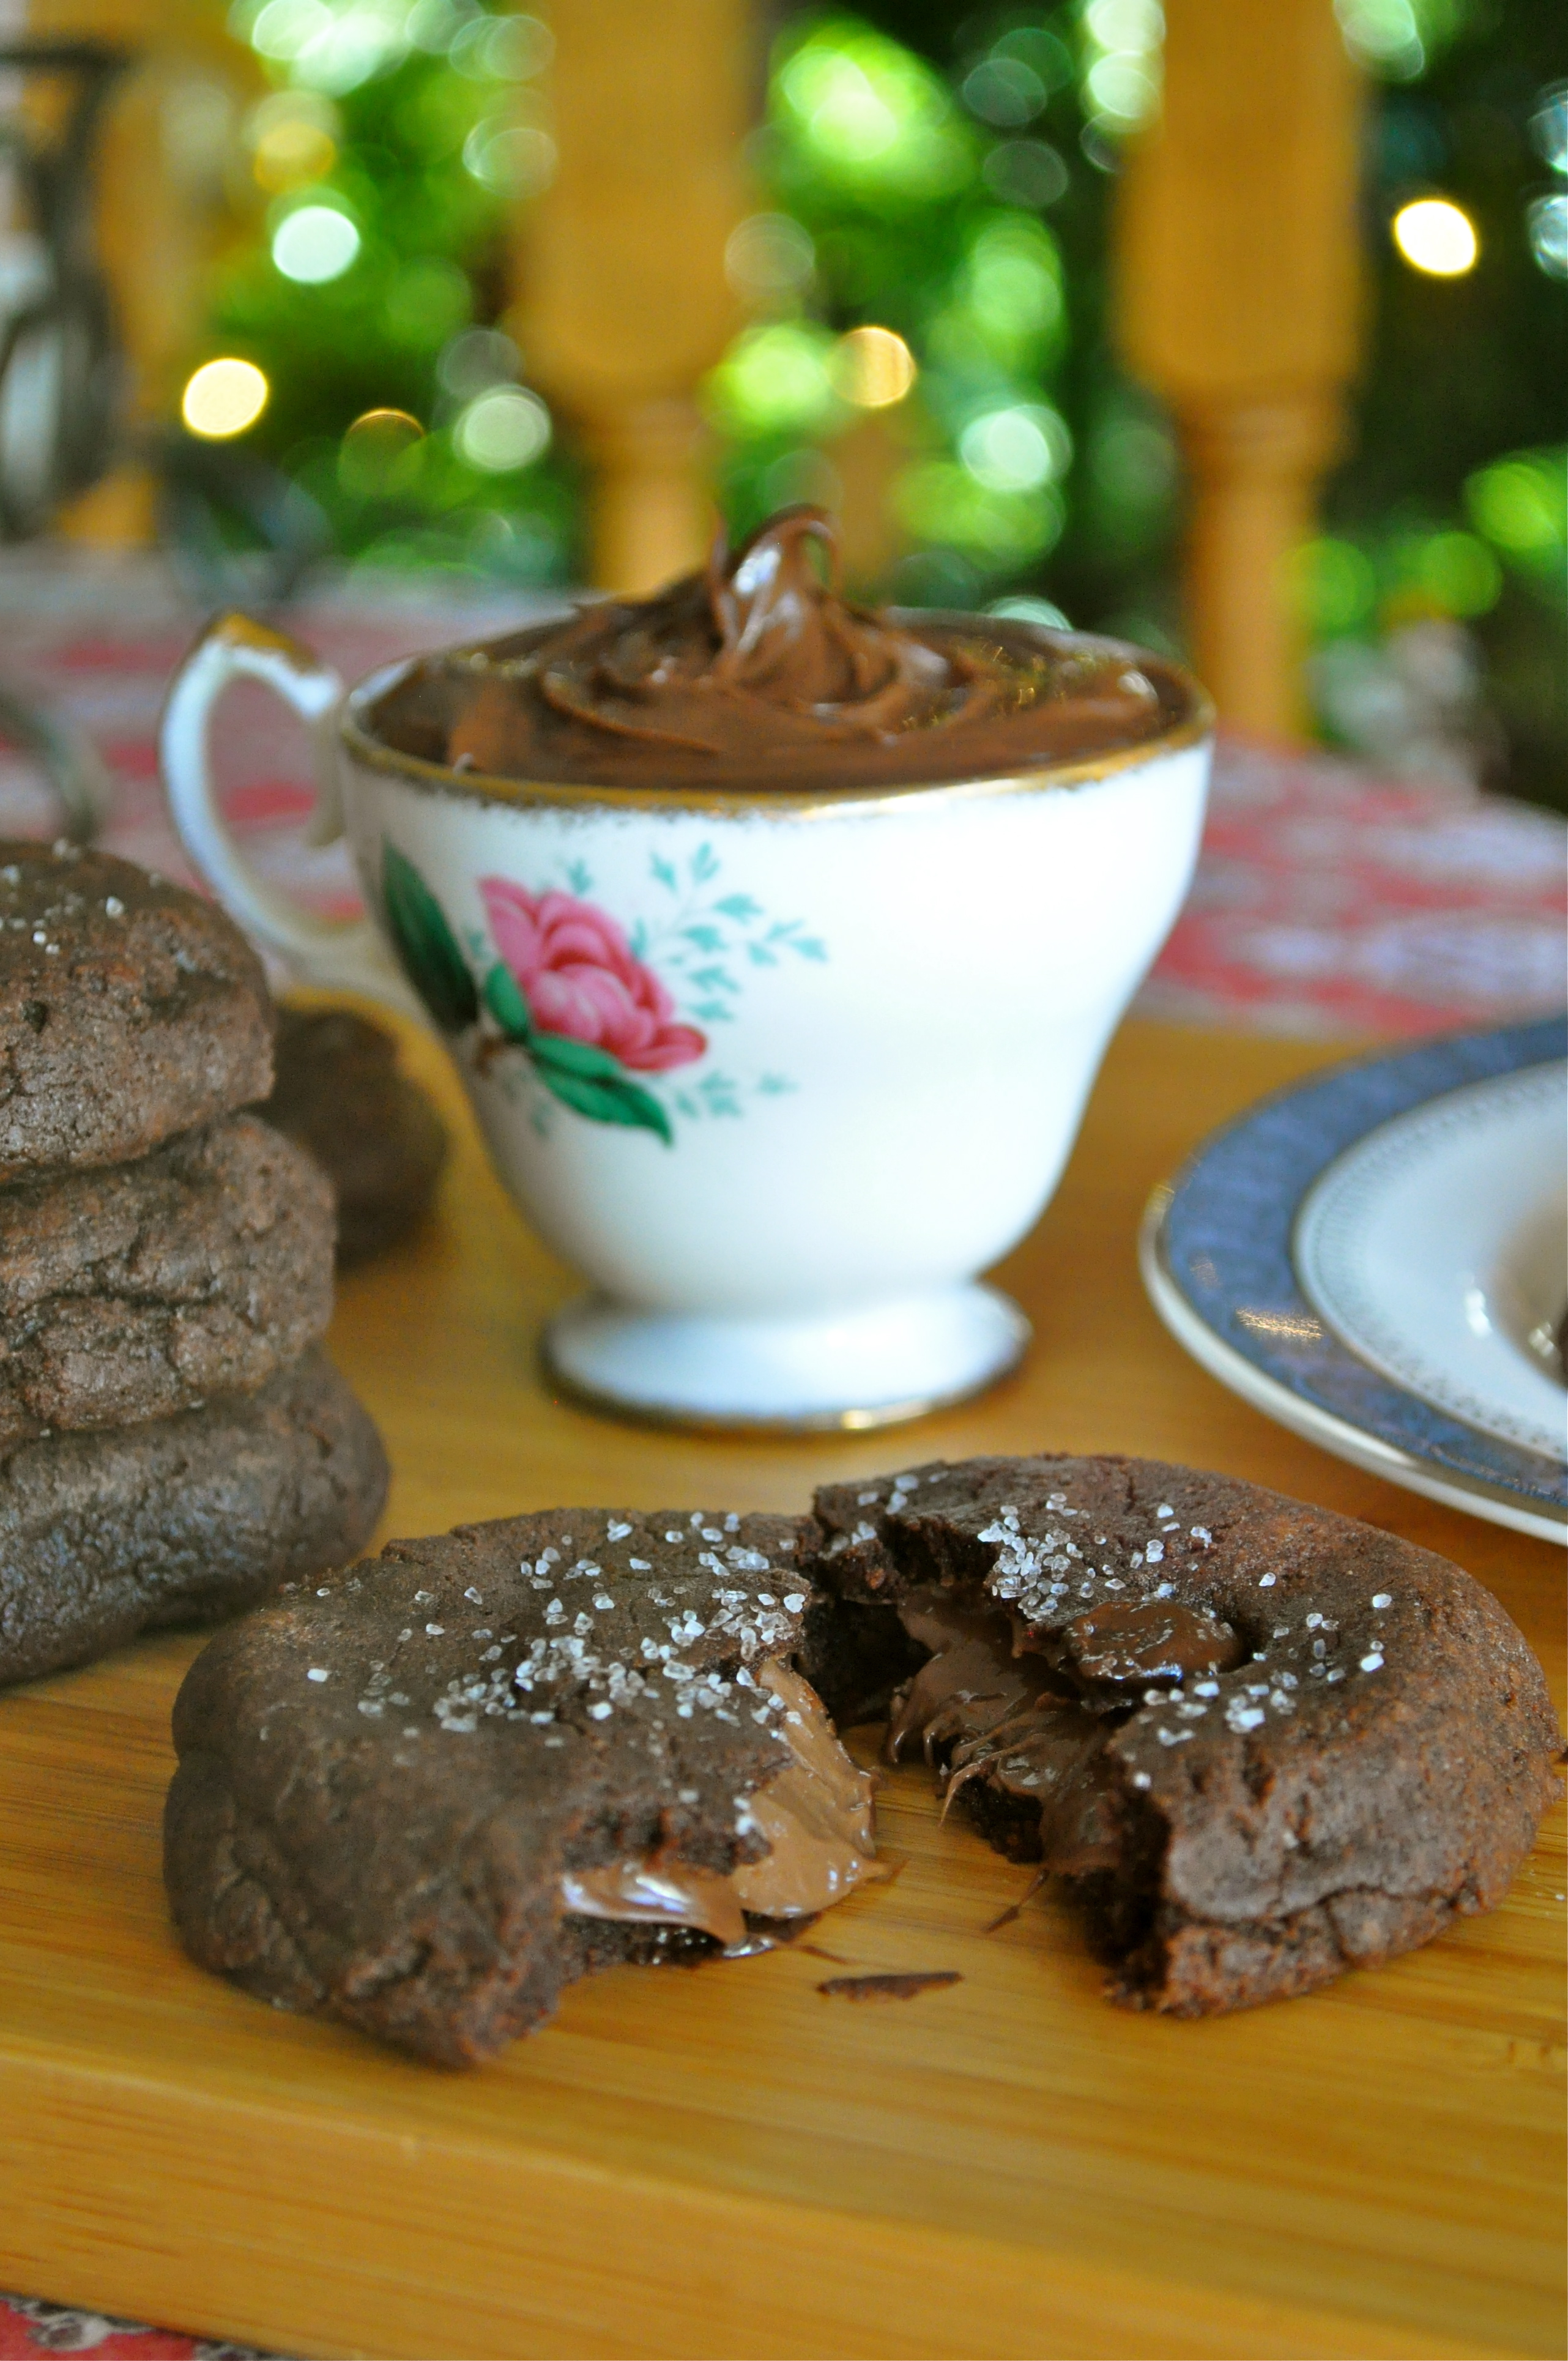
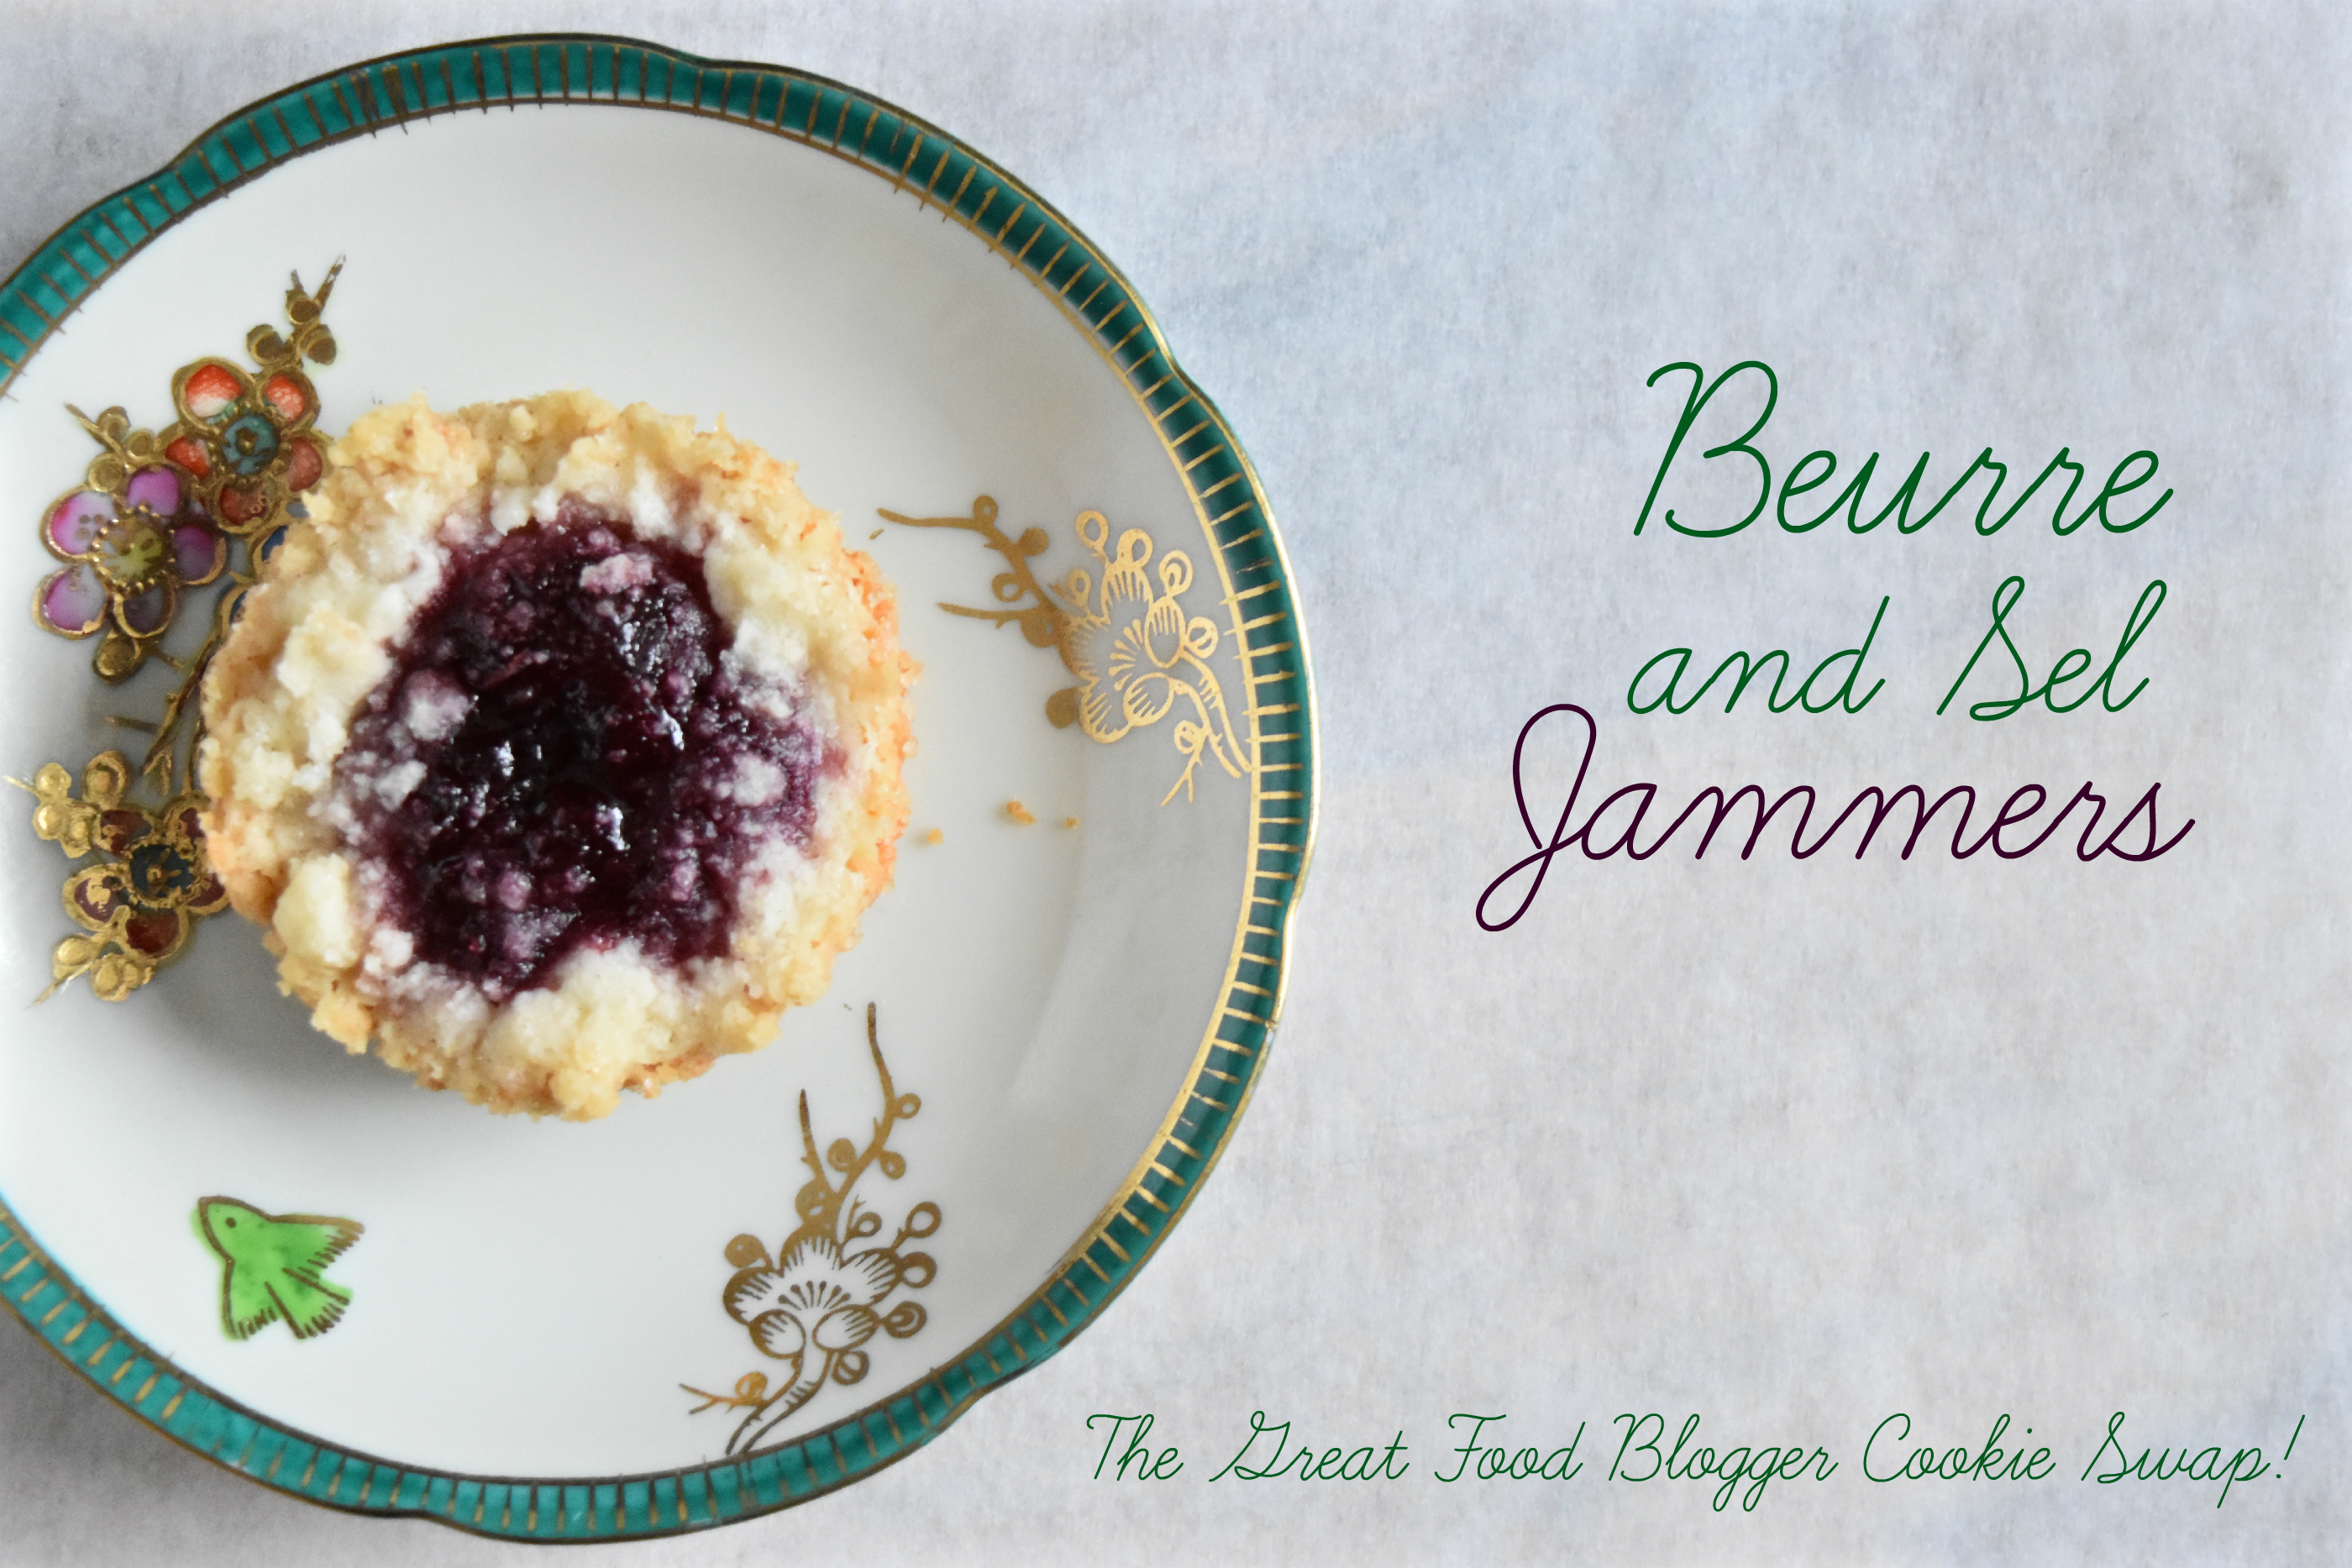
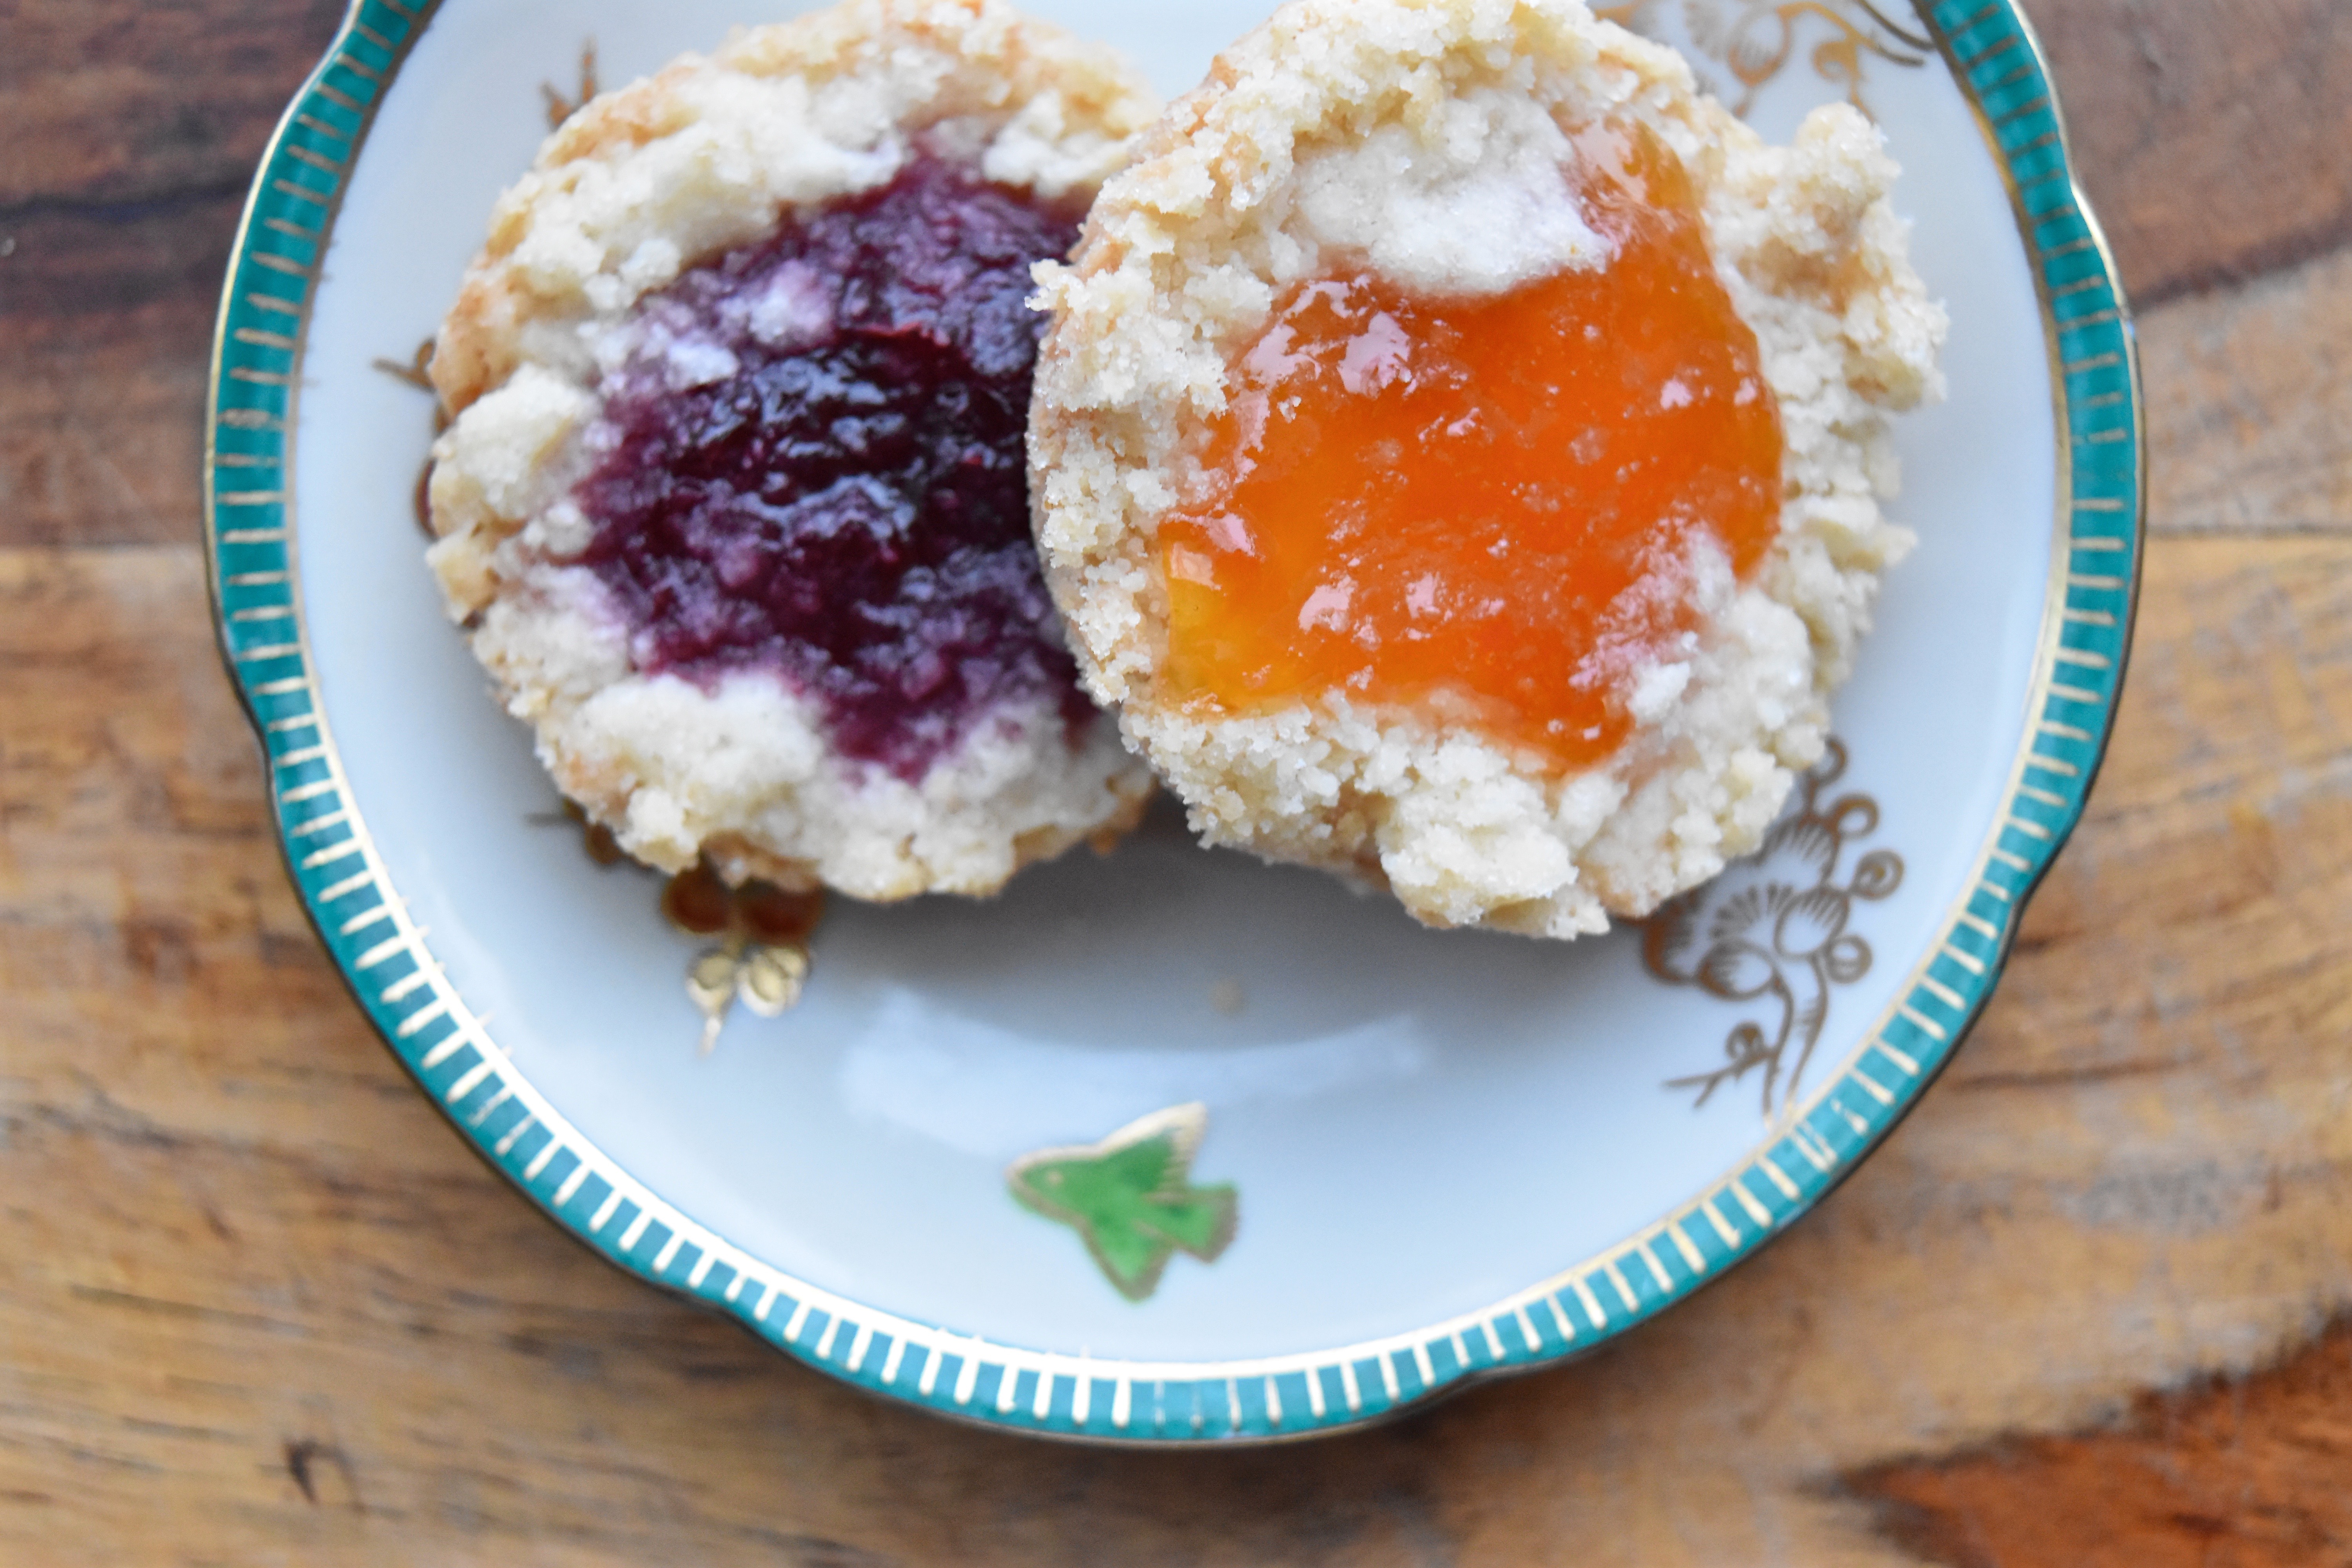
This year I chose to make these Beurre and Sel Jammers from Dorie Greenspan. I actually received these cookies during my first year in the swap and have not been able to get them off my mind since! Imagine a buttery deep dish shortbread cookie topped with tart jam that has been nestled within a ring of buttery streusel. Have I got your attention yet?

The Great Food Blogger Cookie Swap: Beurre and Sel Jammers | Once Upon a Recipe

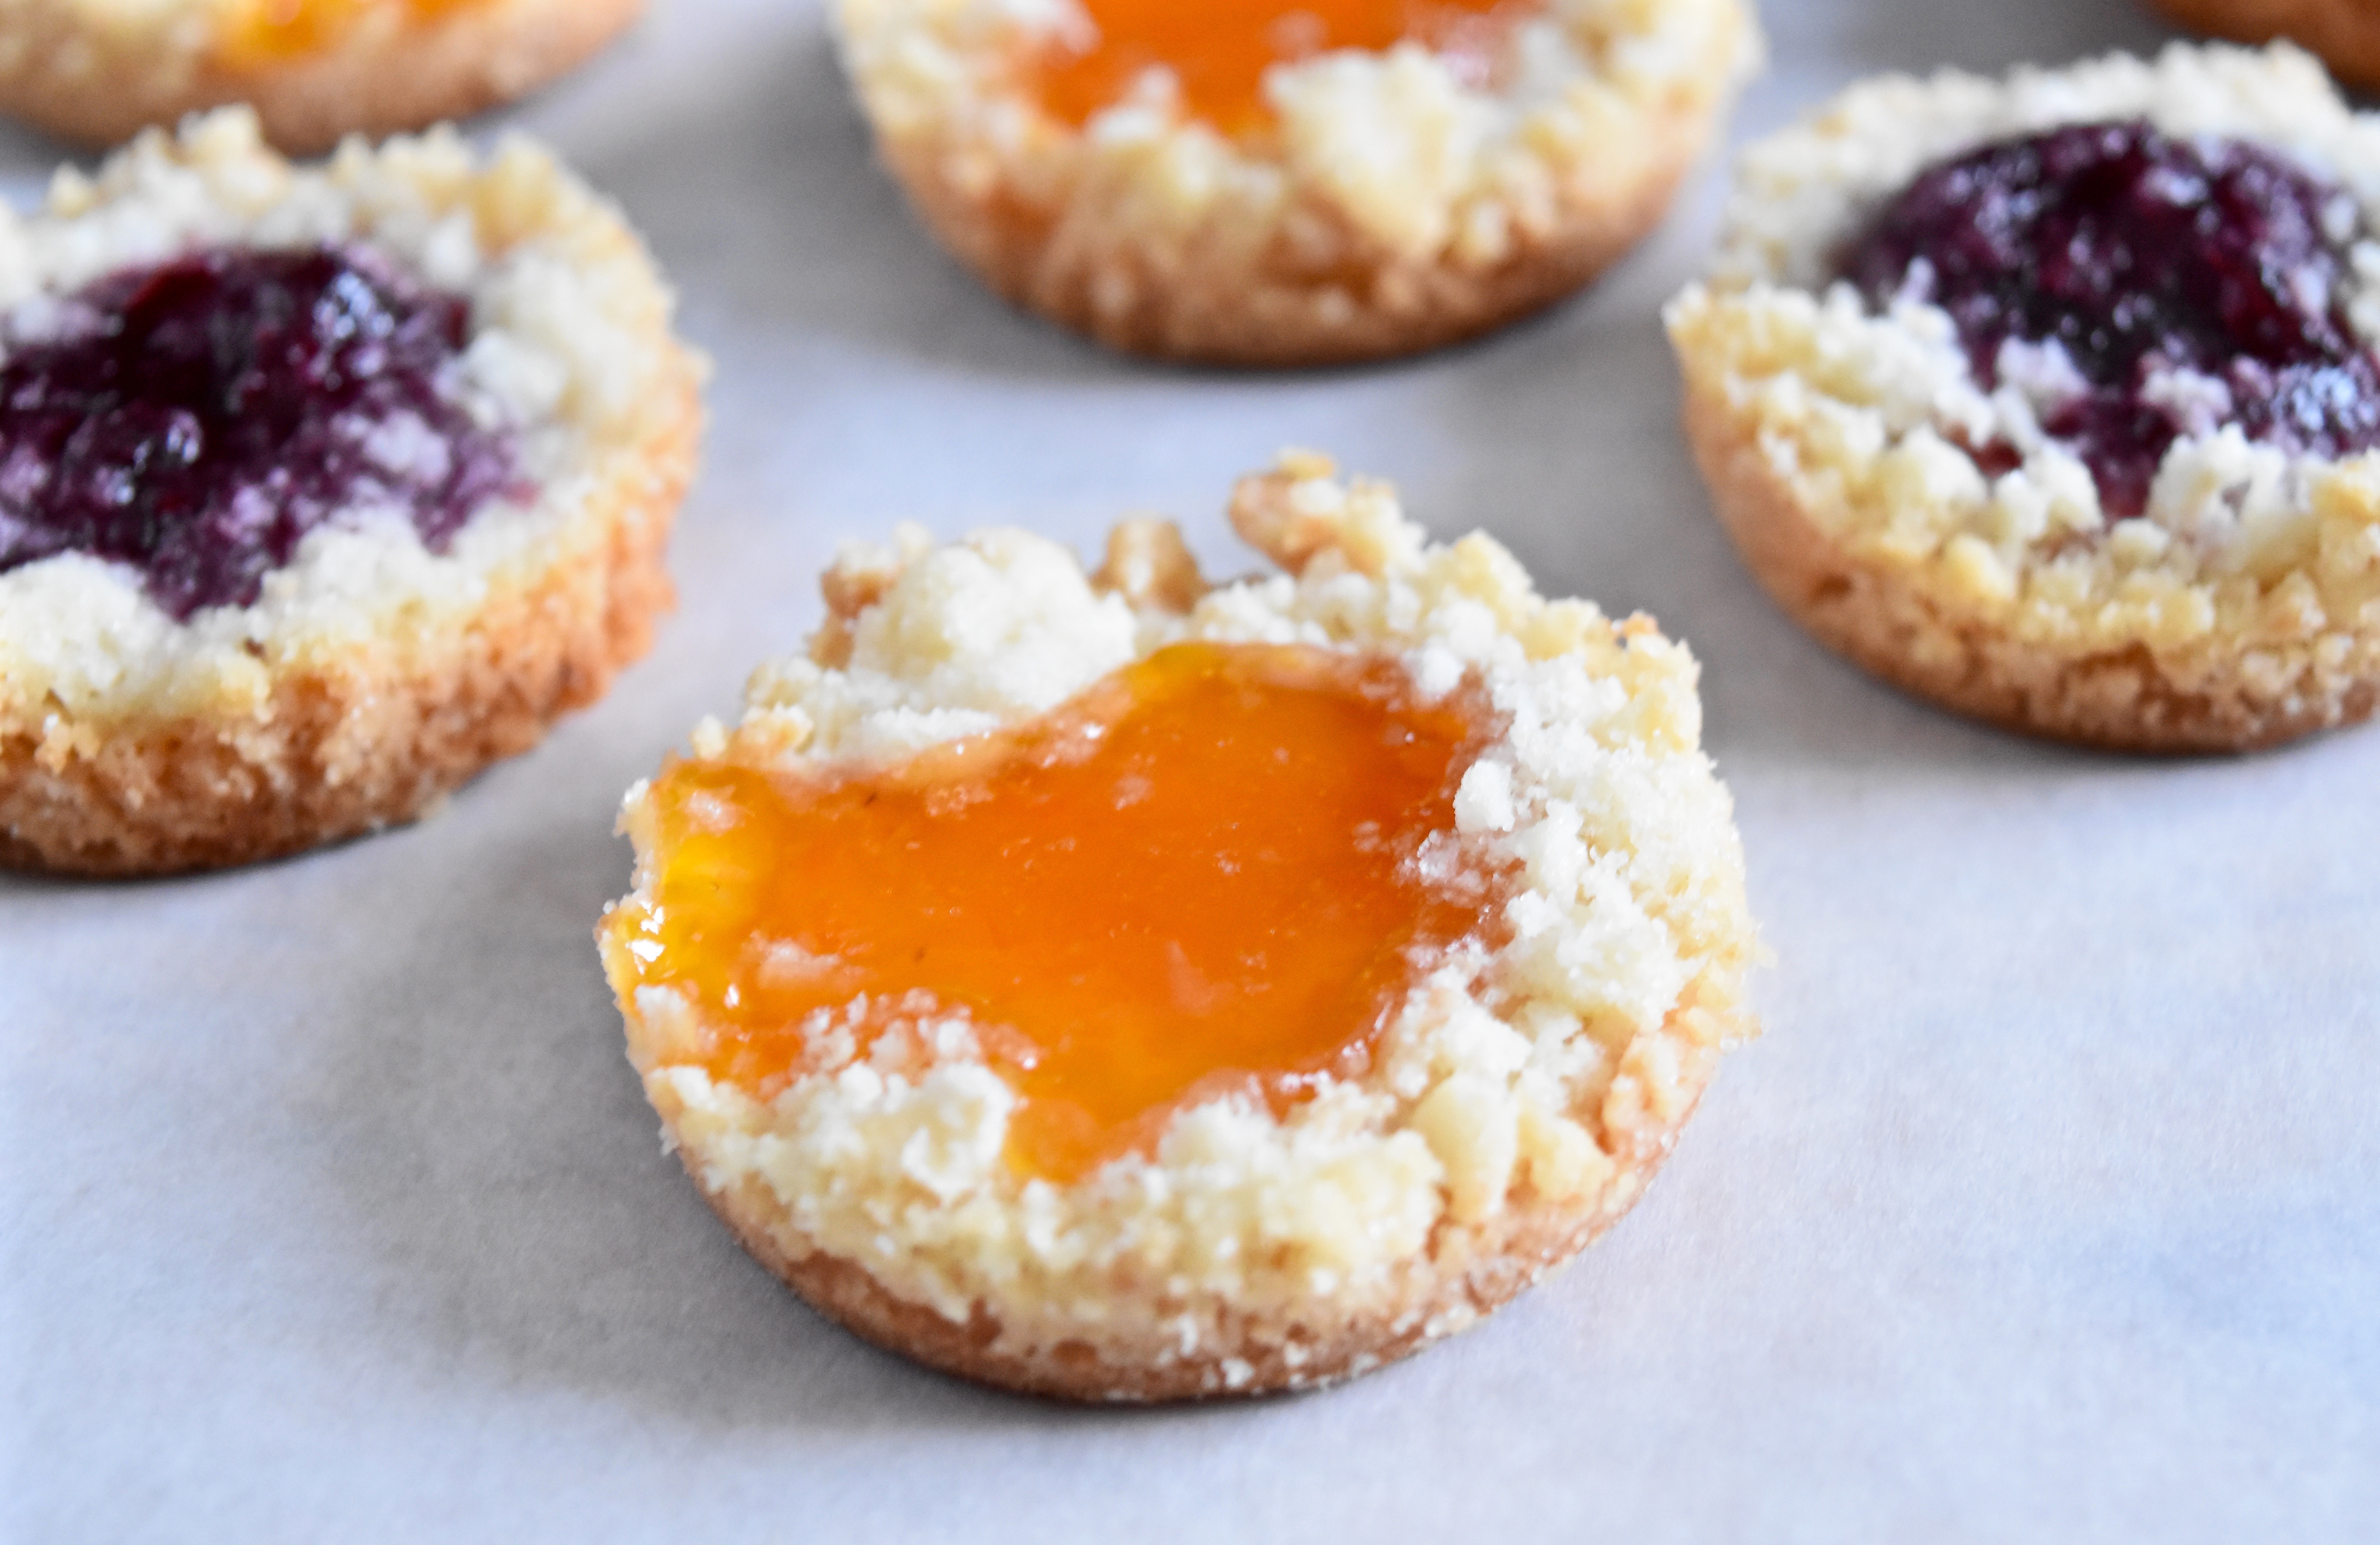
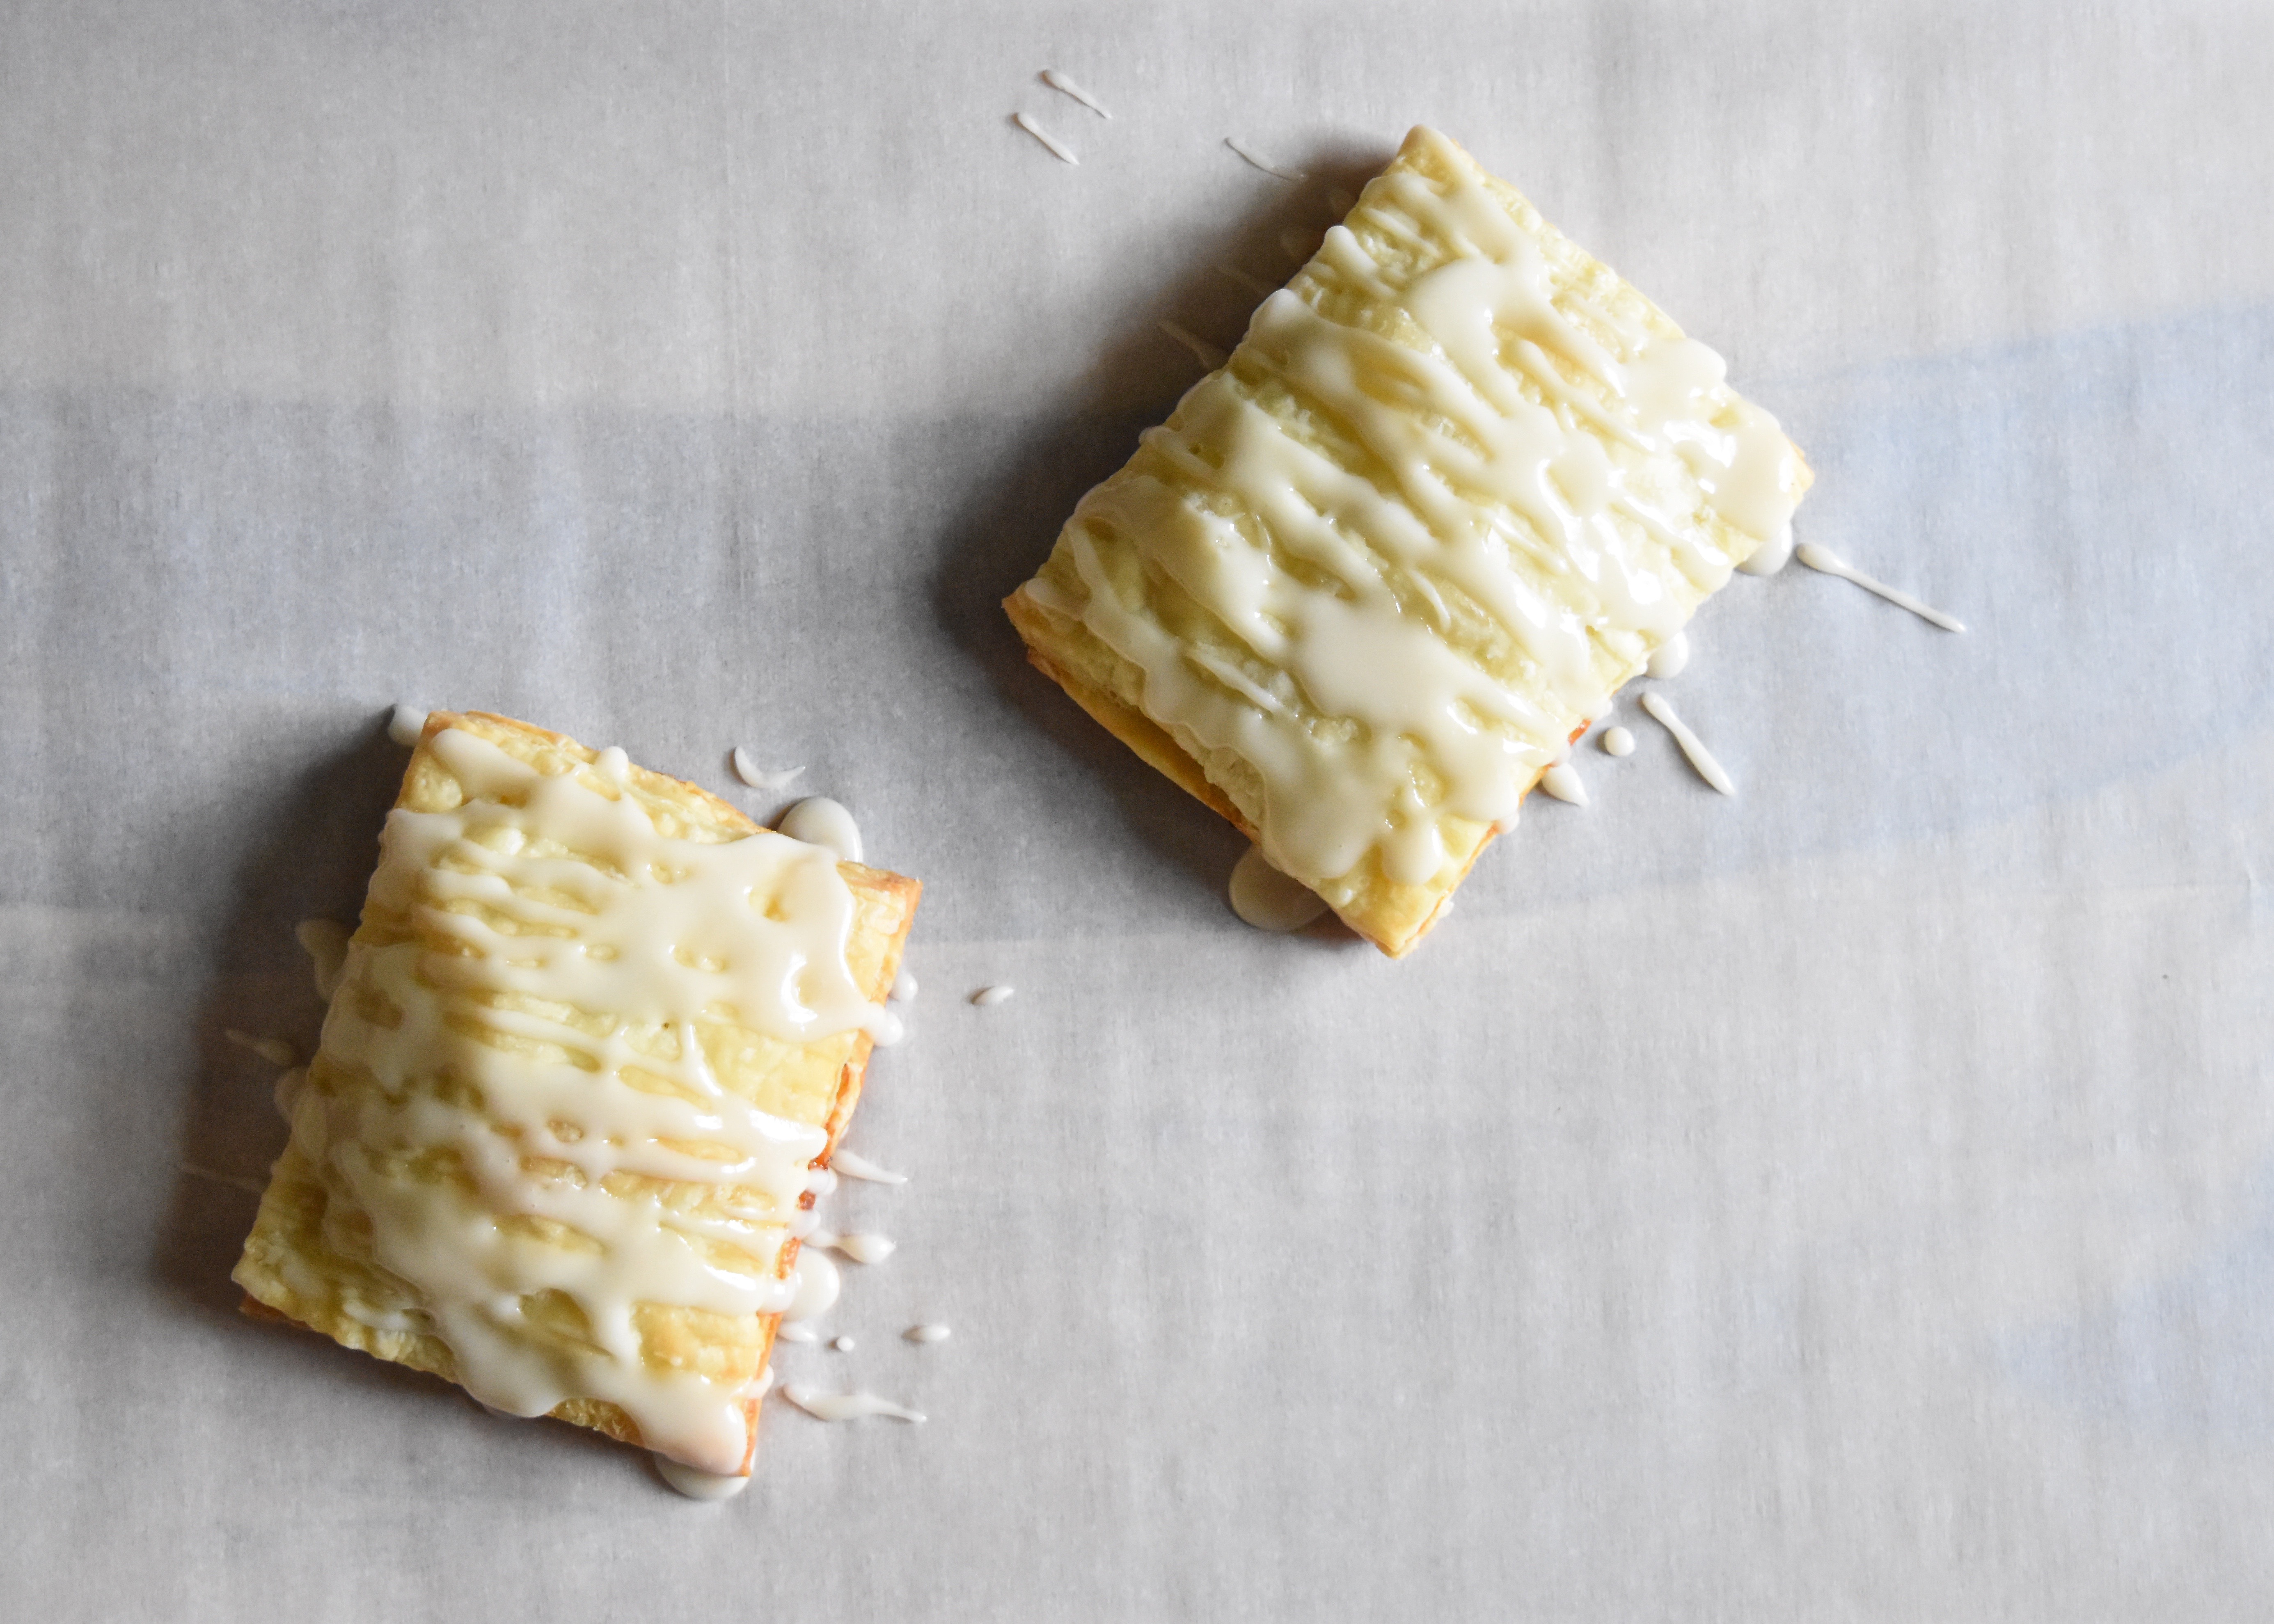
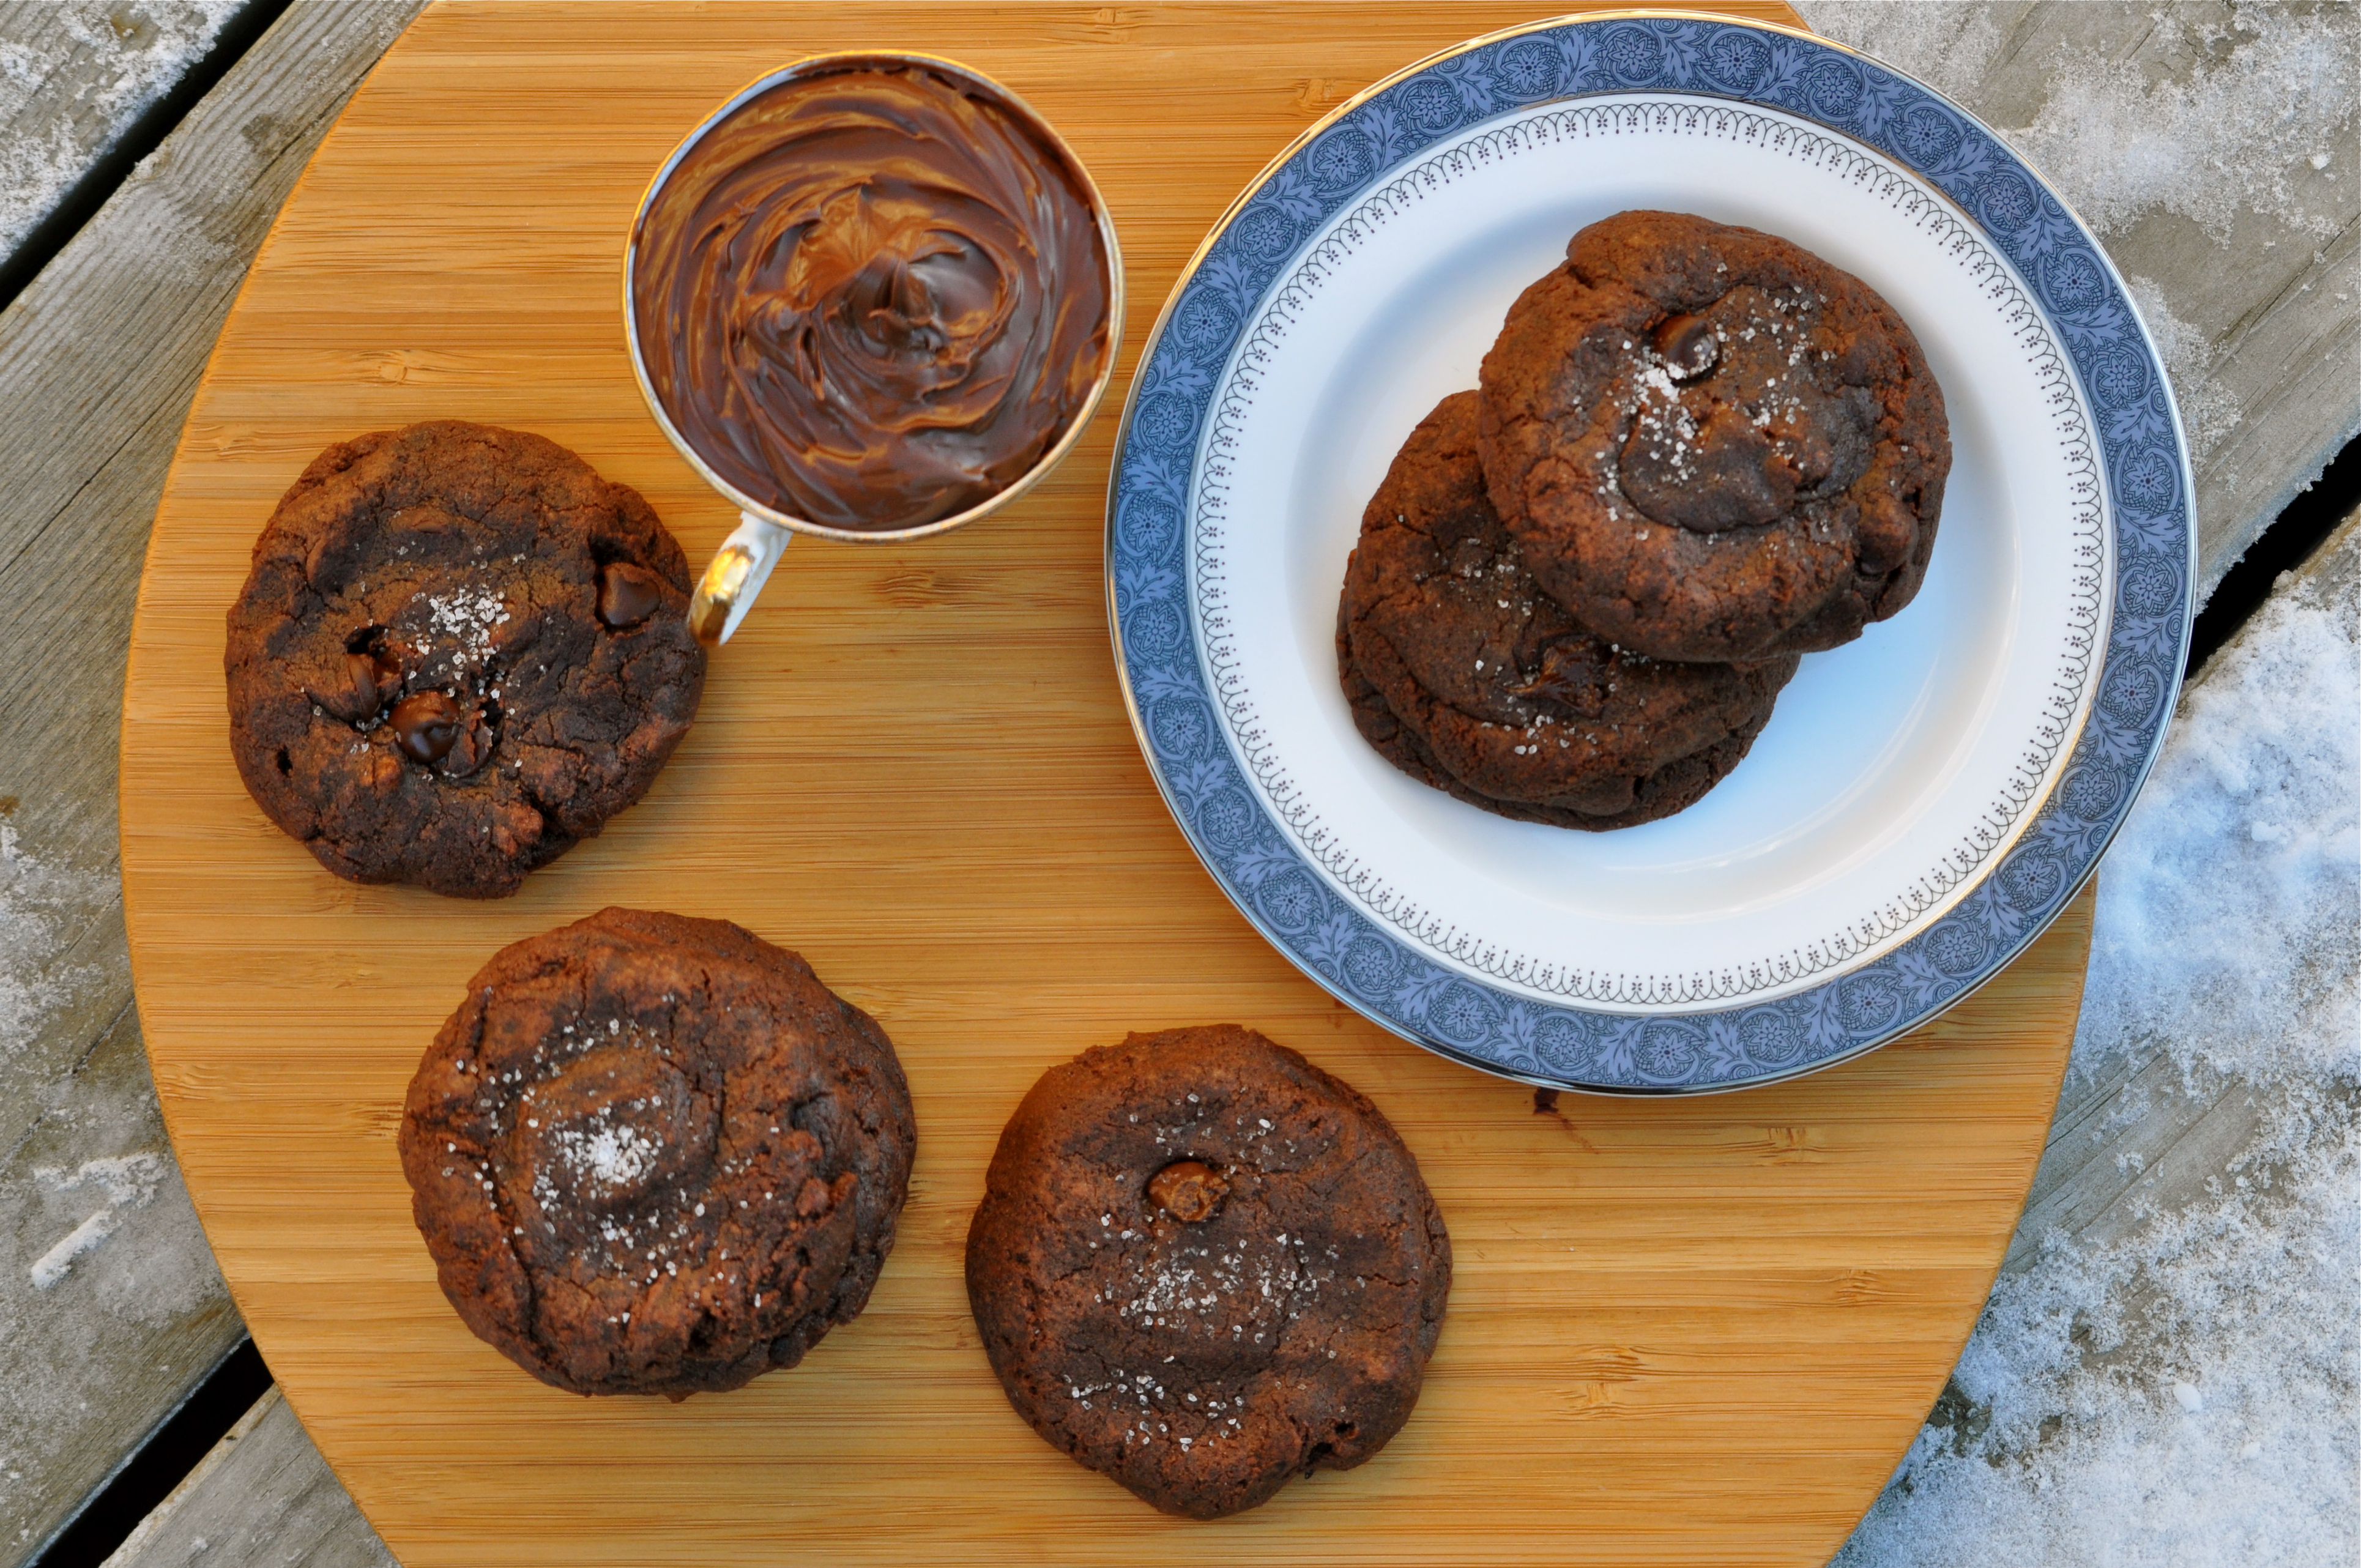
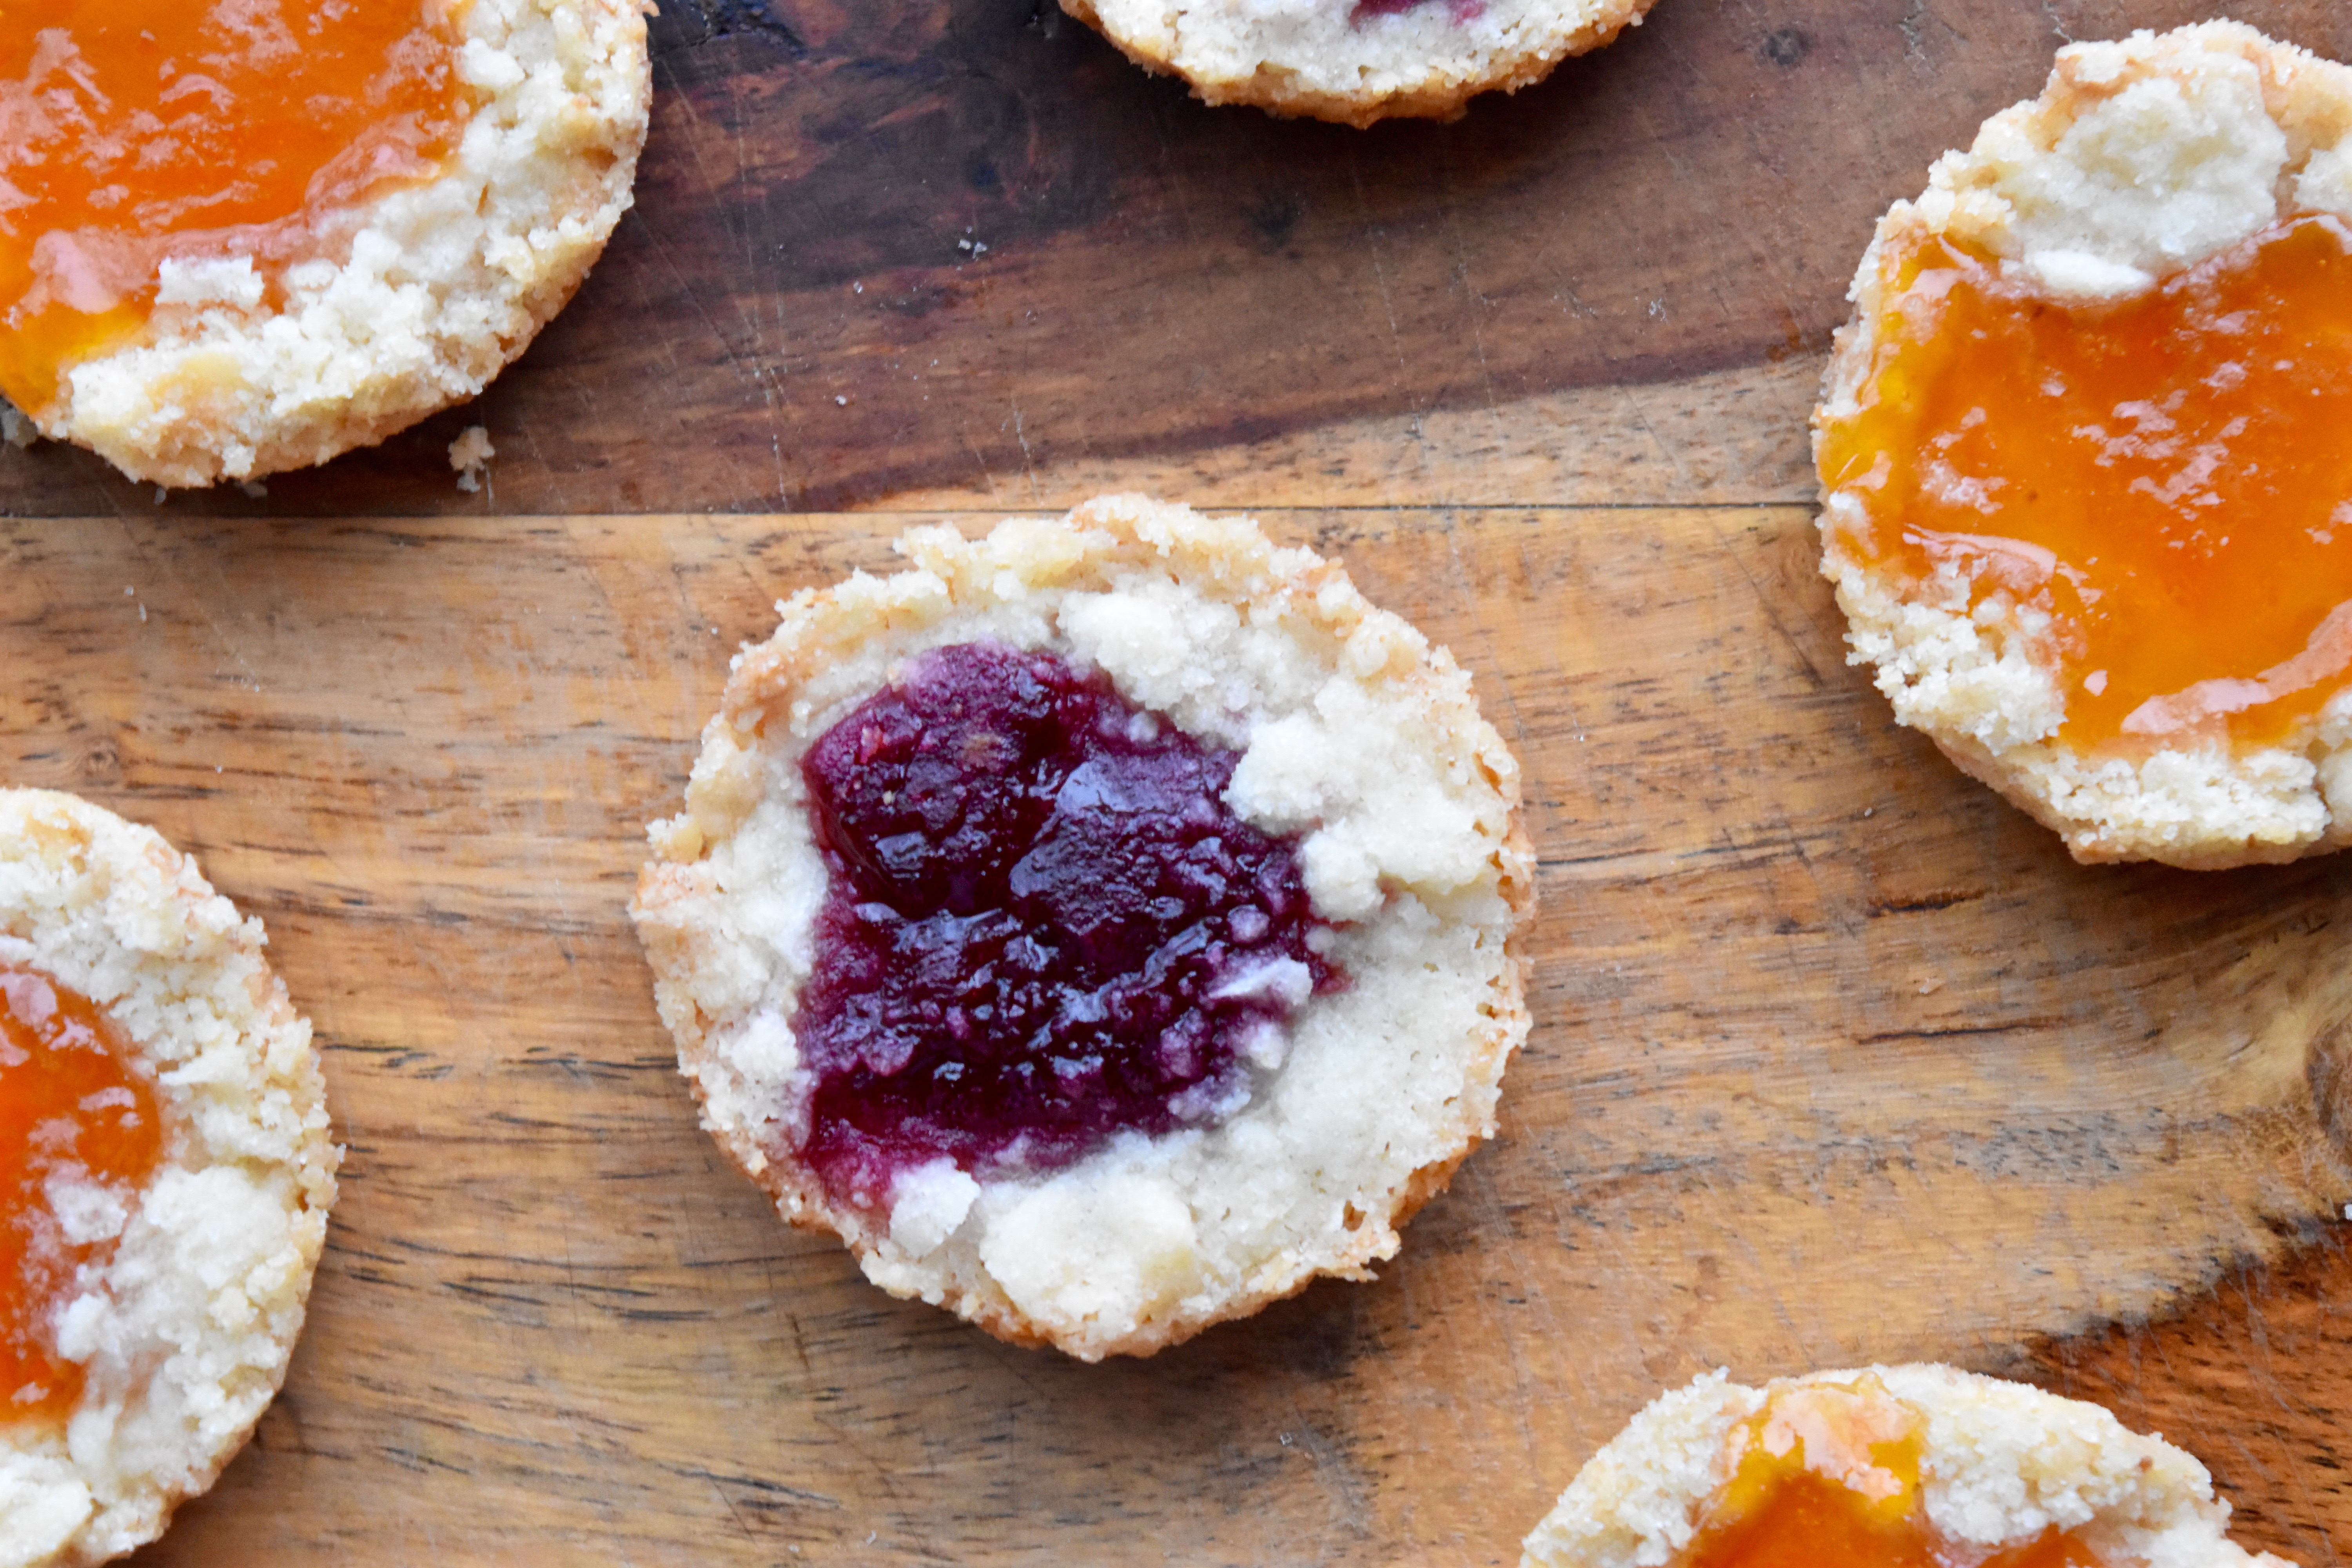
These cookies are absolute magic. Sweet, buttery, jammy magic. They do take a bit of work as there are several steps involved, but I promise you they are worth it! I used a tart cherry jam and an apricot jam, and loved both. You can use any jam you like, just make sure it’s a bit thick so that it stays in the centre of the cookie and doesn’t spread out too much. I am officially adding these cookies to my Christmas baking rotation. I’ve already made them twice this month and am tempted to squeeze in a third round! The cookies freeze beautifully, so they are perfect for baking ahead and taking them out when you need them.

Interested in participating in next year’s swap? Check the Great Food Blogger Cookie Swap website for more details. Happy holiday baking!

The Great Food Blogger Cookie Swap: Beurre and Sel Jammers | Once Upon a Recipe

Beurre and Sel Jammers (from Dorie Greenspan)

These beurre and sel jammers are a cookie lover’s dream. They can be made in parts if tackling the whole recipe in one day seems like too much. They freeze very well when stored in an airtight container, so make them ahead of time to have on hand for all your holiday celebrations! Makes about 36 cookies.

For the cookie dough:

1 cup (2 sticks) unsalted butter, room temperature

1/2 cup sugar

1/4 cup powdered sugar, sifted

1/2 tsp. fine sea salt

2 egg yolks, room temperature

2 tsp. vanilla

2 cups all-purpose flour

For the topping:

3/4 cup all-purpose flour

1/3 cup sugar

1/4 tsp. fine sea salt

5 1/2 TBSP. unsalted butter, cold and cut into pieces

1/4 tsp. vanilla

3/4 cup thick jam

For the cookies: Place the butter in the bowl of an electric mixer. Mix on medium speed for about 3 minutes, until the butter is smooth and creamy. Add in both sugars and the salt, and beat until well blended, for about a minute. Add the egg yolks and vanilla and beat on low speed until combined. Finally, add the flour and mix on low until just combined. Divide the dough in half. Place each half between two sheets of wax paper and flatten into discs. Roll each disc into 1/4-inch thickness. Place on cookie sheets and freeze between the wax paper until firm, for at least two hours (or overnight). The dough can be kept frozen for up to two days if you’d like to do this part ahead of time.

For the streusel topping: Mix the flour, sugar, and salt together in a bowl. Using your fingers, rub the butter and vanilla into the flour mixture until well combined and no lumps of butter remain. The streusel will be sandy in texture and will hold its shape when pressed between your fingers. Cover and chill.

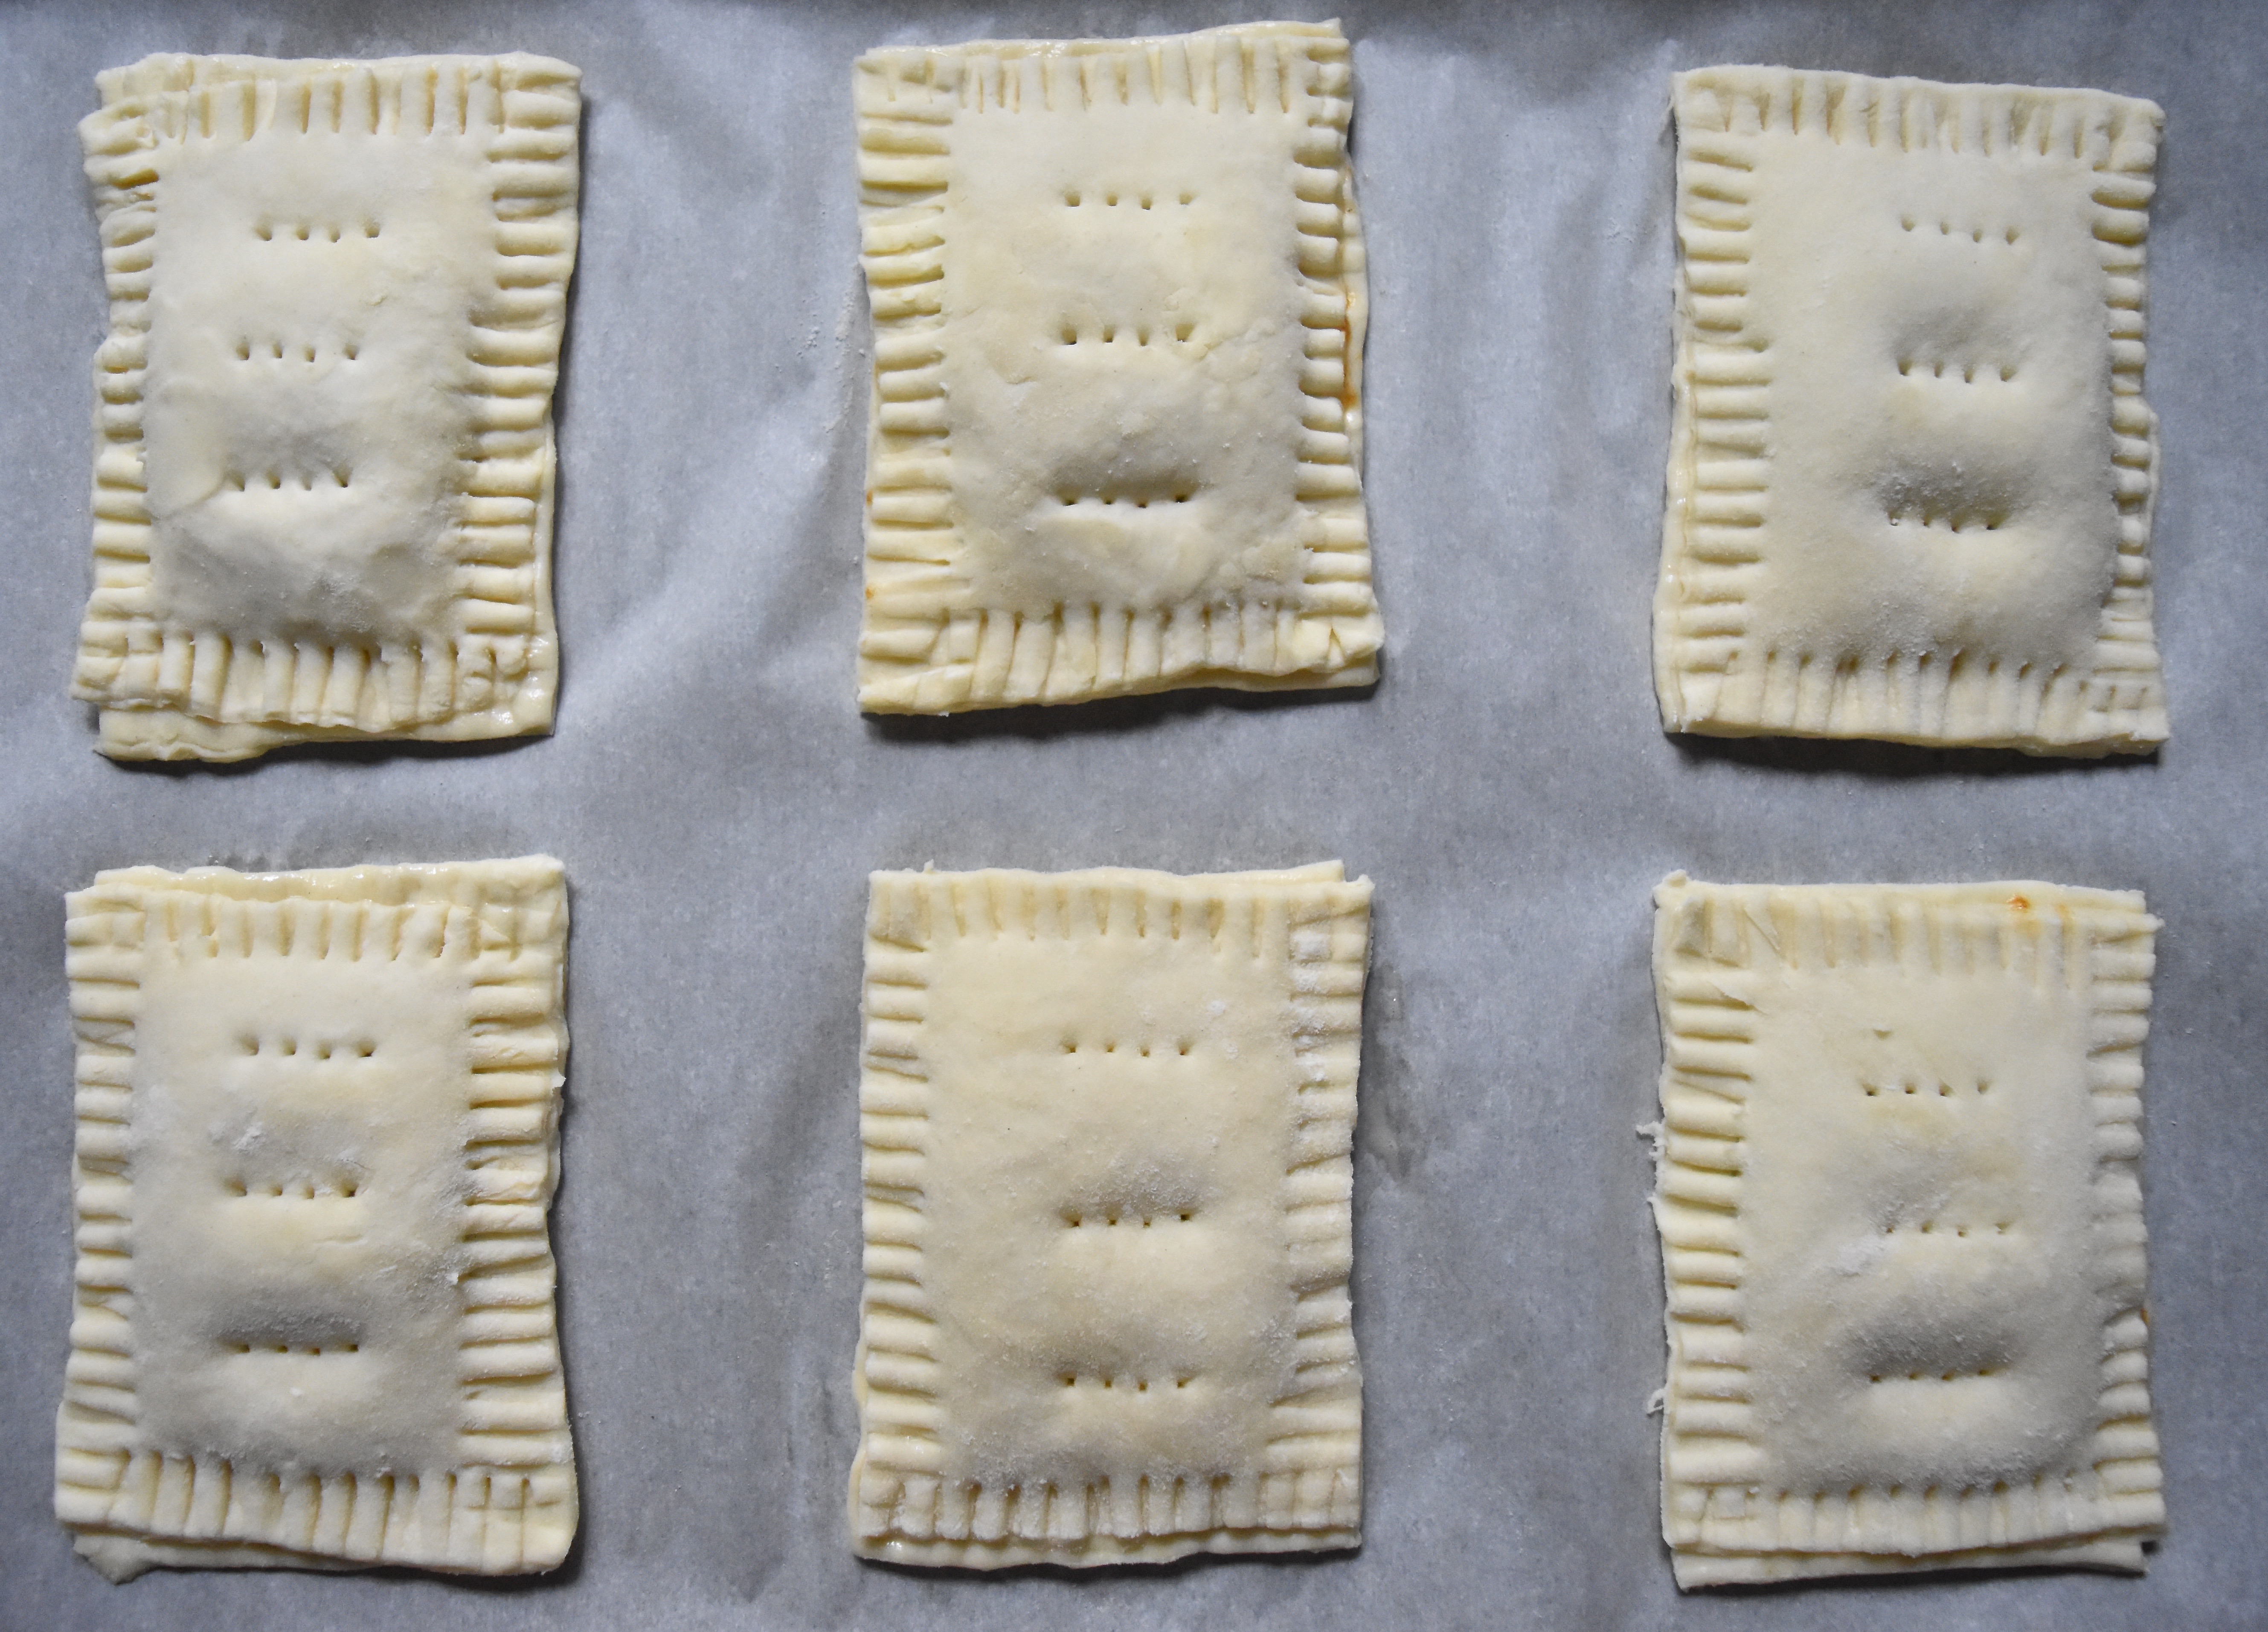
To assemble the cookies: Preheat the oven to 350°F. Remove the cookie dough from the freezer. Using a 2-inch round cookie cutter (or a tall narrow glass, like me!), cut the dough into rounds and press each round into the bottom of each muffin cup. Gather the scraps and repeat the process until you have used up your dough. Doris’s recipe suggests freezing the dough in the muffin tin for another 30 minutes before baking, but I skipped this step. When mama wants cookies, she wants them now.

Spoon about 1 teaspoon of jam into the center of each round of dough. Using your fingers or a small spoon, sprinkle about a tablespoon of streusel around the edges of each cookie, trying not to get any in the jam. Bake the cookies for about 20-22 minutes, until the tops are golden. Cool in tins for 15 minutes. Run a small knife around edges of each muffin cup and gently remove cookies. Allow to cool completely on a wire rack. Store the cookies in an airtight container. Freeze if the cookies will not be consumed within a few days.

The Great Food Blogger Cookie Swap: Beurre and Sel Jammers | Once Upon a Recipe

Looking for more amazing cookie recipes? Check out the lovely cookies I received from Marie at Food Nouveau (Maple Syrup Fudge cookies), Jane at Jane’s Adventures in Dinner (Jammy Pudding cookies), and Sharana at Living the Sweet Life (Cranberry Orange Dark and Stormy cookies). Also be sure to check out the bloggers that I had the pleasure of sending a box of these cookies to: Laurel at Wanna Come With, Claude at a la Claude, and Alicia at Bird House Diaries. xo

Candy Bar Popcorn (Happy Halloween!)

Candy Bar Popcorn | Once Upon a Recipe

Happy Halloween!

It’s the scariest day of the year. Also known as the day when it’s acceptable to eat as much candy as you want and definitely more than you should. I look forward to this day and dread it simultaneously. Not because of the candy part, but because of the costume part. Creating amazing costumes is not my forte. Every year I make a promise to create an incredible and creative costume for Halloween. I make a plan to start early and not leave everything to the very last minute, but my procrastination always gets the best of me and I find myself scrambling to pull things together. And repeat. I know what I’m good at, and making costumes is not one of those things.

Candy Bar Popcorn | Once Upon a Recipe

But not this year! No siree, this year I made it real easy on myself and decided to just nix the costume idea altogether. Don’t get me wrong, I think costumes are fantastic, and if I was any good at actually putting something amazing together, I would. But sometimes you just have to create realistic expectations for yourself, you know? Fortunately, not having to worry about a costume left me more time and energy for what I’m somewhat better at – the food!

This popcorn was created as a way to put leftover Halloween candy to good use. I don’t personally know much about having leftover candy as it seems to find its way into my pie hole before I have the chance to stop it, but if I did have leftover candy, hypothetically speaking, this is how I would use it. This candy bar popcorn comes together in minutes! Popcorn is mixed with melted white chocolate and peanut butter and loaded with chopped candy bars and candy corn. Halloween crack, if you will.

Candy Bar Popcorn | Once Upon a Recipe

In the midst of your last-minute preparations for tonight’s festivities – the costume-making, the pumpkin carving, the decorating, the party planning – I have one very important task for you. You must ensure that you save some of that Halloween candy so that you can make this candy bar popcorn. In fact, buy some extra candy so that you can make this twice. And truth be told, if you get a hankering for this stuff at another time of year, just chop up some regular size candy bars. Using the mini sizes is great because you can use an assortment of chocolate bars and then you get a nice variety of little bites. You’re going to love this stuff. You’re welcome and I’m sorry.

Candy Bar Popcorn | Once Upon a Recipe

Candy Bar Popcorn 

Any kind of candy works in this popcorn, so use whatever you have on hand. My favourite combination was Mars, Snickers, Reese’s pieces, and candy corn. The popcorn can be stored in an airtight container for several days, if it lasts that long!

8 cups of popped corn

1 cup white chocolate pieces

3 TBSP. peanut butter

2 cups candy (chopped chocolate bars, candy corn, Smarties, etc.)

1/4 cup milk chocolate pieces

Prepare a large baking sheet with wax paper. Put the popped corn into a large bowl, being sure to remove any unpopped kernels. In a double boiler over medium heat, gently melt the white chocolate and peanut butter, stirring until smooth.

Pour the white chocolate mixture over the popcorn, add the candy pieces, and stir to combine. Turn the mixture out onto the baking sheet and spread into a single layer.

Melt the milk chocolate pieces in a small bowl in the microwave (start with 30 seconds, then 10 second increments until melted). Drizzle over the popcorn. Place the baking sheet in the fridge for 15 minutes until cool and set. Break into pieces. Store in an airtight container. Enjoy!

Candy Bar Popcorn | Once Upon a Recipe

Whole Wheat Pumpkin Oat Muffins

Whole Wheat Pumpkin Oat Muffins | Once Upon a Recipe

Hello Ladies and Gents! Happy Wednesday!

Oh, and happy back to the future day! The Internets tell me that today (Oct. 21, 2015) is the day that Marty McFly and Doc Brown traveled to in Back to the Future Part 2. I may or may not have googled Back to the Future to figure out the names of those two guys. Should I feel ashamed that I’ve never seen Back to the Future (Part 1 or 2)? For some reason I feel like I should.

Whole Wheat Pumpkin Oat Muffins | Once Upon a Recipe

Anyways, just a quick little post here today. I feel like I’m neglecting this space again, but sometimes it’s just unavoidable! In the past few weeks I celebrated a birthday (hello 3-1…this number seems so much more daunting to me than 30 did) and Canadian Thanksgiving, went to the mountains for a quick but much needed getaway, and have been planning and preparing for a Halloween cooking class that I will be teaching this weekend. And exactly two weeks from today, I will be hopping on a plane to a beach destination for 10 days of rest and relaxation. I’ve resigned myself to the fact that the whole amazing bikini body that I planned to have for this trip when I booked it a couple of months ago just will not be a reality, but I’m kind of over it. There is just too much good food in this world and I believe too strongly in moderation (heavy on the “indulge” end of the spectrum). Plus my 31-year old metabolism doesn’t cooperate quite as well as my 25-year old metabolism did.

Whole Wheat Pumpkin Oat Muffins | Once Upon a Recipe

However, that does not mean that for the next two weeks I don’t plan on exercising a little more restraint when it comes to stuffing my face with all things delicious. These muffins are the perfect way to enjoy a “treat” without the guilt. They are made with whole wheat flour and oats, pumpkin, and are sweetened only with maple syrup. I’ve made these numerous times over the past several weeks and I’m still not tired of them. They are perfect for stashing in the freezer and grabbing for a quick breakfast or snack. Plus, if you’re like me and still all about the pumpkin, you will love these!

Whole Wheat Pumpkin Oat Muffins | Once Upon a Recipe

Whole Wheat Pumpkin Oat Muffins (slightly adapted from Cookie & Kate)

Makes 12 muffins. Feel free to use coconut oil in place of the olive oil, or honey in place of the maple syrup. These muffins freeze beautifully when packed into an airtight container.

1/3 cup extra-virgin olive oil
1/2 cup maple syrup
2 eggs
1 cup pumpkin puree
1/4 cup milk (any kind will do)
1 tsp. baking soda
1 tsp. vanilla
1/2 tsp. salt
1 tsp. cinnamon
3/4 tsp. ground ginger
1/4 tsp. nutmeg
1/4 tsp. ground cloves
1/4 tsp. ground allspice
1 3/4 cups whole wheat flour
1/3 cup oats, plus more for sprinkling on top

Preheat the oven to 325°F. Line a 12-count muffin tin with paper liners or spray with cooking spray.

In a large bowl, combine the olive oil and maple syrup and whisk to combine. Add the eggs and mix well. Add the pumpkin puree, milk, baking soda, vanilla, salt, and spices, and mix well. Add the whole wheat flour and oats, and stir until just combined.

Divide the batter evenly between the muffin cups. Sprinkle with additional oats. Bake for 25-27 minutes, or until a toothpick inserted into the center of the muffin comes out clean. Cool completely. Enjoy!

Whole Wheat Pumpkin Oat Muffins | Once Upon a Recipe

Pumpkin Hand Pies

Pumpkin Hand Pies | Once Upon a Recipe

Hand pies. Mini pies. Pop tarts. Toaster strudels.

I wasn’t sure what to call these little gems of pastry stuffed with pumpkin and spice. Hand pies seemed most appropriate because they’re mini pies that you can most definitely hold in your hand. They’re flakier than pop tarts, and while they do remind me a little of toaster strudels, I’m not sure I’d feel comfortable putting one in the toaster. However, you most certainly should eat one of these hand pies for breakfast, alongside a strong cup of coffee or tea, because no day that starts with pie is going to be a bad one. It’s just science.

Pumpkin Hand Pies | Once Upon a Recipe

You guys, these hand pies are so flaky! Their flakiness is owed to the all-butter crust that has become my go-to crust recipe ever since I first tried it. The dough is so manageable and easy to work with. We have Deb from Smitten Kitchen to thank for that. Don’t fear the dough, it’s friendly and won’t give you a hard time. Oh, and there’s no need to be perfectionists here. I mean, take a peek at the photo below. The perfectionist in me was having a near meltdown, but I just had to tell her shut her face. The good news is that the crust layers will melt into each other and puff up a little during their stint in the oven and no one will be the wiser. Magic!

Pumpkin Hand Pies | Once Upon a Recipe

Now that we are really truly into Fall, a pumpkin filling felt like a must. However, I don’t doubt that these hand pies would taste delicious filled with whatever your little heart desires. So if pumpkin isn’t your thing, change it up. Do what you want!

Pumpkin Hand Pies | Once Upon a Recipe

I made these pies a couple of weeks ago when my cousin was visiting from Ontario. She’s kind of a pie crust junkie – meaning, she’d gladly eat the pie crust and leave the pie filling on her plate. I figured the crust to filling ratio of these pies would really float her boat and I was definitely right. In fact, everyone loved them. Sharing food that you made with your own two hands with people is super fun and amazing, but when they really love what you share, it’s kind of the best.

Pumpkin Hand Pies | Once Upon a Recipe

Pumpkin Hand Pies (crust from Smitten Kitchen, filling and process from Joy the Baker)

This recipe will make 9 pies. However, you may have some dough left over, in which case you can try to make a couple of extra pies, or bake up the pie scraps with a little bit of cinnamon and sugar. (Totally delicious). Feel free to change up the filling if pumpkin isn’t your jam. I think any fruit would work well here, and I’ve kind of been dreaming about a banana/Nutella combination.

For the crust:

2 1/2 cups all-purpose flour

1 TBSP. sugar

1 tsp. salt

1 cup (2 sticks) cold, unsalted butter (cut into cubes)

Cold water

For the filling:

3/4 cup pure pumpkin

1 large egg

1/2 tsp. cinnamon

1/4 tsp. ground ginger

1/8 tsp. ground cloves

1/8 tsp. ground nutmeg

1/4 tsp. salt

1/3 cup granulated sugar

+1 egg (beaten) for sealing the pies

For the glaze:

1 cup powdered sugar

1/2 tsp. vanilla

2 TBSP. milk

To make the crust: Fill a one-cup liquid measuring cup with cold water and add a few ice cubes. In a large bowl, combine the flour, sugar, and salt, and whisk together. Add the butter and start cutting it into the flour mixture using a pastry blender. Once you have a coarse meal, add about 1/2 a cup of cold water. Using a spatula, start to bring the dough together. Add more water as needed – you’ll probably need at least another 1/4 cup, and gently knead the dough to bring it together. The goal here is to minimize the hands-on time on the dough, so as not to melt those lovely little chunks of butter that are dispersed throughout (they are going to make the dough deliciously flaky). Divide the dough in half, press into two discs, and wrap tightly in plastic wrap. Refrigerate the dough for at least an hour or two, but preferably overnight.

To make the filling: In a small saucepan, heat the pumpkin and spices over medium heat, just until fragrant. Remove from heat and transfer to a medium bowl. Whisk in the egg, salt and sugar and refrigerate while you roll out the dough.

To assemble the pies: On a well-floured surface, roll each disc of dough into a 9 x 12-inch rectangle. I used a measuring tape to make sure I had a uniform rectangle. Cut each side into thirds, creating 9 (3 x 4-inch) squares. Refrigerate the first set of squares while you roll out the second disc of dough. We gotta keep that dough cold!

Brush the first set of squares with the beaten egg. Spoon about 1 TBSP. of the pumpkin mixture into the centre of each square. Top with another square of dough, and seal the edges with a floured fork. Use the fork to create vent holes in the tops of each pie. Place the pies on a cookie sheet covered with parchment paper.

Put the pies back in the fridge while you preheat the oven to 350°F. Bake for about 30 minutes, or until golden brown on top.

Combine the glaze ingredients. Drizzle over the pies once they have cooled. Enjoy!

Pumpkin Hand Pies | Once Upon a Recipe

Almond Shortbread Bars

Almond Shortbread Bars | Once Upon a Recipe

Only four days left until Christmas!

Every year, Christmas seems to sneak up on me. This year has been no different and despite the whirlwind of shopping, baking, and holiday-partying, I can’t believe we are so close to the big day. Nevermind the fact that 2014 is rapidly coming to a close. Seriously, where did the year go?

Almond Shortbread Bars | Once Upon a Recipe

I’m hoping to share a couple more recipes during this final countdown to the big day. If you’re looking for quick and easy sweets to add to your holiday dessert table, look no further. These almond shortbread bars are wonderful. They start with an easy shortbread base and are topped with sliced almonds that have taken a little swim in butter and brown sugar, creating a little caramel-y goodness.

Almond Shortbread Bars | Once Upon a Recipe

Every Christmas needs a little shortbread, in my opinion. Think of these bars as shortbread’s older, wiser, and hotter older brother. Yeah, you know what I’m talking about.

Almond Shortbread Bars | Once Upon a Recipe

Almond Shortbread Bars (adapted from Love Write Now)

Shortbread bars that get a little extra pizazz from a caramel-almond topping. These bars freeze well when stored in an airtight container. 

1 1/2 cups butter, divided

1 cup icing sugar

2 cups all-purpose flour

Pinch of salt

1 cup brown sugar

2 tsp. lemon juice

1 TBSP. water

1 1/2 cups sliced almonds

1 tsp. vanilla

Preheat the oven to 350°F. Cream together 1 cup of butter and the icing sugar. Add the flour and salt and mix together. Press the mixture into an ungreased 9″ x 13″ pan. Bake for 12-15 minutes or until lightly browned.

In the meantime, melt the remaining 1/2 cup butter in a saucepan over medium heat. Add the brown sugar, lemon juice, and water. Bring to a boil, stirring constantly. Remove from heat and add the almonds and vanilla. Spread the mixture evenly over the base and bake for another 12-15 minutes, until golden brown. Allow to cool and then cut into bars.

What are your go-to last-minute holiday treat recipes?

The Great Food Blogger Cookie Swap: Dark Chocolate Almond Florentine Cookies

Dark Chocolate Almond Florentine Cookies | Once Upon a Recipe

Well, hellllllllooo friends!

Insert apologies about my lack of posts lately. Hoping to change that in the coming weeks!

We have much more important things to talk about right now. Cookies, obvi. This year marked my second time participating in the Great Food Blogger Cookie Swap, hosted by two lovely ladies, The Little Kitchen and Love & Olive Oil. In case you’ve been living under a rock, here’s a quickie on the details: It’s a worldwide food blogger cookie swap! Basically, you sign up, receive the addresses of three other bloggers, and then you send each blogger a dozen homemade cookies. And then you wait to receive three dozen delicious cookies from those that received your name. Oh, and the swap raises money for Cookies for Kids’ Cancer! Sweet treats and supporting a good cause = so many wins.

Dark Chocolate Almond Florentine Cookies | Once Upon a Recipe

My contribution to this year’s swap was the magnificent wafer-thin, chocolate-filled cookies you see above. They taste very similar to Almond Roca with their toffee-like flavour and addictive crunch. Each wafer is incredibly thin and delicate, but once sandwiched together around a layer of dark chocolate, these cookies become a little bit more sturdy (and clearly more delicious). I dare you to make a batch and not eat more than five one.

Dark Chocolate Almond Florentine Cookies | Once Upon a Recipe

Next year, be sure to participate in the swap! Check the Great Food Blogger Cookie Swap website for more details. Happy holiday baking! See you again real soon.

Dark Chocolate Almond Florentine Cookies | Once Upon a Recipe

Dark Chocolate Almond Florentine Cookies (recipe from Bakerita)

These cookies are incredibly addictive with their satisfying crunch and chocolate centers. Their flavour is similar to that of almond roca. A batch will make about 36 cookies (18 sandwiches). They take a little time to make, but are completely worth the effort. The cookies keep well in an airtight container in the freezer.

1 1/2 cups sliced almonds
3 TBSP. all-purpose flour
1/4 tsp. salt
3/4 cup sugar
2 TBSP. heavy cream
2 TBSP. light corn syrup
5 TBSP. unsalted butter, room temperature
1/2 tsp. vanilla extract
1 cup dark chocolate, roughly chopped

Preheat oven to 350°F. Line a baking sheet with a silicone baking mat or parchment paper.

Pulse the almonds in a food processor until finely chopped. Add the almonds into a large bowl with the flour and salt and stir. Combine the sugar, cream, corn syrup and butter in a small saucepan. Cook over medium heat, stirring occasionally, until the mixture comes to a rolling boil and the sugar is dissolved. Boil for 1 minute. Remove from heat and stir in the vanilla. Add the saucepan mixture to the almond mixture and stir to combine. Place in the refrigerator to cool, about 30 minutes.

Scoop rounded teaspoons of batter and roll into (tiny!) balls. Place on prepared baking sheet, leaving about 3 to 4 inches between each cookie since they spread a lot. I found it best to only bake six cookies at a time; otherwise they just ran into each other.

Bake 1 pan at a time, until the cookies are thin and an even golden brown colour, about 10-12 minutes. Cool on the baking sheet for 5 minutes, then transfer to racks to cool completely. One other tip: If your cookies are misshapen when you take them out of the oven, use a metal spatula to gently reshape them (as they will be very malleable when they come out of the oven).

Melt the chocolate in a saucepan over low heat. Pair up cookies of equal size. Spread chocolate onto one cookie (be gentle!) and press carefully together with another cookie. Repeat with remaining cookie pairs. Once completely cool, store in an airtight container.

Dark Chocolate Almond Florentine Cookies | Once Upon a Recipe

Looking for more amazing cookie recipes? Check out the lovely cookies I received from Sarah at Feasts For All Seasons (Chai Tea Shortbread) and Meg at Sweet Twist of Blogging (Mint Oreo Christmas Trees). Also be sure to check out the bloggers that I had the pleasure of sending these cookies to: Kristy at She Eats, Tina at What Taste, and Alicia at Bird House Diaries. xo

Super Easy Velvety Chocolate Pots

Velvety Chocolate Pots | Once Upon a Recipe

Happy Love Day, lovers!

Here we are again, February 14, Valentine’s Day, the day of L-O-V-E! As promised, I’m sharing another chocolate recipe today. Behold these velvety chocolate pots! They taste just like they sound: rich and chocolate-y and oh. so. smooth. Like buttah, baby!

Velvety Chocolate Pots | Once Upon a Recipe

Velvety Chocolate Pots | Once Upon a Recipe   Velvety Chocolate Pots | Once Upon a Recipe

Maybe you’re still undecided about your Valentine’s Day menu with your honey. Maybe you’re a big procrastinator (like me) and waited until the big day to pick a sweet and decadent treat to celebrate the occasion. Or maybe you don’t give a flying fart about Valentine’s Day, but you have a chocolate craving that you just can’t curb. Whatever the reason, or even if there is no reason at all, let’s all enjoy these velvety chocolate pots together, mmmk? They’re super easy to whip up – we’re talking less than 5 minutes – and mega delicious.

Velvety Chocolate Pots | Once Upon a Recipe   Velvety Chocolate Pots | Once Upon a Recipe

I’ll bring the chocolate, you bring the wine, and let’s all just celebrate the wonderful thing that is love. I’m grateful to call you all my valentines. Now go tell your favorites how much you love them! <3

Super Easy Velvety Chocolate Pots (adapted from The Pioneer Woman)

Makes 4. This recipe is easy to halve or double, depending on the number of servings you require. You can also switch up the flavor by using flavored coffee, different liqueurs, and different kinds of chocolate (ie. milk vs. dark). I used Madeira wine for my liqueur and vanilla macadamia nut coffee. Experiment away!

6 ounces dark chocolate (~70% cocoa), chopped

2 eggs

A pinch of salt

1 TBSP. liqueur (optional)

1/2 cup very hot coffee

In a food processor or blender, combine the chocolate, eggs, salt, and liqueur (if using). Blend until well mixed. With the food processor or blender still running, slowly add the coffee and blend until smooth. Pour the mixture into four 4-ounce ramekins (or tea cups, if you want to get fancy), and refrigerate until cold and set (about 4 hours). Top with whipped cream and more chopped chocolate. Dive in!

Velvety Chocolate Pots | Once Upon a Recipe

Salted Caramel Bark

Salted Caramel Bark | Once Upon a Recipe

Bonjour friends!

The Christmas Countdown is on! Only two more days to go until the big day is here.

Salted Caramel Bark | Once Upon a Recipe

Are you ready? Is your house all decorated nice? Have all of your presents been wrapped and placed under the tree with care? Do you have your Christmas menu planned? Is your holiday baking finished? Are you sitting by the fire relaxing with a rum and ‘nog, basking in relaxation? Or are you scrambling around trying to buy and wrap and bake all the things?

Never fear, I’m here to help! I’ve got a last minute gift idea for you. And it can be made and wrapped up in less than an hour.

Salted Caramel Bark | Once Upon a Recipe

Salted Caramel Bark | Once Upon a Recipe   Salted Caramel Bark | Once Upon a Recipe

Three ingredients. Chocolate. Caramel. Sea salt. Boom! Delicious.

Chocolate gets melted and spread on a cookie sheet. Caramel gets drizzled on top. A little sea salt sprinkle, 15 minutes in the freezer to set, and salted caramel bark is born! Break it up, tie it up with ribbon in little gift bags and it’s ready for gifting! Or you can totes just eat it yourself. It will be extremely difficult not to.

Salted Caramel Bark | Once Upon a Recipe

Salted Caramel Bark

You can use the chocolate of your choice in this recipe. I used chocolate wafers found in the bulk section of my local grocery store. Feel free to use higher quality chocolate; however, it tastes pretty darn good when you use the cheap stuff. 

12 oz. (~2 heaping cups) dark chocolate

12 oz. (~2 heaping cups) milk chocolate

12 oz. Kraft caramels

Coarse ground sea salt (~2 tsp.)

Cover a 9 x 13″ baking sheet with wax paper. Melt the chocolate in a double boiler. Place the caramels in a microwave safe bowl with 2 TBSP. water. Microwave for 1 minute, stir, then microwave in 30-second intervals until fully melted and smooth. Spread the chocolate onto the baking sheet evenly. Drop spoonfuls of the caramel over the chocolate and then swirl with a knife. Sprinkle liberally with the coarse ground sea salt. Place the baking sheet in the freezer for 15 minutes, or until set. Break up into pieces.

Salted Caramel Bark | Once Upon a Recipe

If you’re looking for other easy homemade gift ideas, look no further! Check out Christmas Crack, Lemon Butter, or this long-ago post with other last-minute holiday gift ideas.

The Great Food Blogger Cookie Swap: Nutella & Rolo Stuffed Double Chocolate Chip Cookies

Nutella & Rolo Stuffed Double Chocolate Chip Cookies | Once Upon a Recipe

Hello my friends! Happy December!

This year, I participated in the Great Food Blogger Cookie Swap, hosted by two darlings, The Little Kitchen and Love & Olive Oil. The cookie swap brings food bloggers from around the world together to exchange cookies. Basically, you sign up, receive the addresses of three other bloggers, and then you send each blogger a dozen homemade cookies. And then you wait to receive three dozen delicious cookies from those that received your name. Oh, the anticipation!

I must also add that over $13, 700 was raised for Cookies for Kids’ Cancer! Sweet treats and supporting a good cause – what’s not to like?

Nutella & Rolo Stuffed Double Chocolate Chip Cookies | Once Upon a Recipe

Participating in this swap was so much fun! I was introduced to six great new bloggers (even another blogger in my own city!) AND I received three batches of delicious cookies. Total win!

Aaaaaannnnnddddd, I finally had a good excuse to try a recipe that I’ve been waiting to make ever since I first saw it on Izy’s blog, Top With Cinnamon. Dudes, these cookies are one of the best things to ever come out of my oven. Think about a rich chocolate cookie, stuffed with creamy Nutella and a melty Rolo (aka. caramel goodness), and then sprinkled with fleur de sel. Oh, and they’re made in a saucepan. One single dang saucepan. Fewer dirty dishes! My cookie standards have officially been raised to a whole new level.

Nutella & Rolo Stuffed Double Chocolate Chip Cookies | Once Upon a Recipe

A few things: I made these cookies a total of four times. I found the dough a bit difficult to work with the first couple of times. It seemed a little dry and was hard to shape. Don’t worry though, the cookies were still delicious! The third and fourth times, I used my kitchen scale to get more exact measurements (Izy had included weight measurements in her original recipe). BIG difference. The dough was much easier to work with and the final cookie was much more tender. I highly recommend using a kitchen scale if you’ve got one. However, don’t be discouraged if you don’t have a scale, as they will still be incredible.

And next year, all of you should participate in the swap too! Check the Great Food Blogger Cookie Swap website for more details. Happy holiday baking! More recipes comin’ atcha soon!

Nutella & Rolo Stuffed Double Chocolate Chip Cookies | Once Upon a Recipe   Nutella & Rolo Stuffed Double Chocolate Chip Cookies | Once Upon a Recipe

Nutella and Rolo Stuffed Double Chocolate Chip Cookies (slighty adapted from Top With Cinnamon)

These cookies are best when made with good quality dark cocoa powder. Also, the cookies firm up a bit when they cool, so don’t be worried if they appear under-baked after the 8-10 minute mark. These cookies, still warm + a cold glass of milk = perfection. Makes about 18 cookies. 

1/2 cup (110g) butter

1 1/2 cups (350g) light brown sugar

1/2 cup (55g) cocoa powder

2 eggs

1 tsp. vanilla

1/4 tsp salt

3/4 tsp baking powder

2 cups (260g) all-purpose flour

1/2 cup (100g) dark chocolate chips

Fleur de sel, for sprinkling

~1/3 cup Nutella

~18 Rolo chocolates

Preheat your oven to 350°F. Prepare two baking sheets with parchment paper or a Silpat.

In a medium saucepan, melt the butter. Remove the pan from heat and stir in the brown sugar and eggs. Add the cocoa, salt and baking powder and stir until well combined. Add the flour and stir until just mixed. Then stir in the chocolate chips.

Drop dough by the tablespoon onto the baking sheets (no more than 12 per sheet). Use your finger make a large indentation the centre of the dough; fill the indentation with about 1/2 teaspoon of Nutella and top with a Rolo. Take another tablespoon of dough and flatten it with your fingers, then place over top of the dough balls. Seal the edges and very gently flatten just a little bit.

Sprinkle with fleur de sel and bake for 8-10 minutes. Do not overbake. Allow to cool on the cookie sheet for about 10 minutes, then transfer to a wire rack to cool completely.

Nutella & Rolo Stuffed Double Chocolate Chip Cookies | Once Upon a Recipe

PS. If you’re looking for more great cookie recipes, check out the recipes for the cookies I received over at My Life Made Sweet & Saucy (Raspberry  Marshmallow S’mores!), Korena In the Kitchen (Cranberry-Orange Christmas Jammers), and The Snack Dept. (Minty Trader Joe’s Cookie Butter Cookies!).

Whole Wheat Pumpkin and Cinnamon Chip Scones

Whole Wheat Pumpkin Cinnamon Chip Scones | Once Upon a Recipe

Please be warned: I am about to shove at least a couple of pumpkin recipes in your face in the coming weeks.

‘Tis the season! Fall is in full bloom, yo! The colors, the crisp days, the pumpkin beer, the boots, the scarves, the pumpkin everything, even that dank, disgusting, wet leaves smell – I. Love. It. If only it could last forever. All in favor of replacing Winter with an extra-lengthy Fall, say I.

Iiiiiiiiiiiiiiiiiiiiiiiiiiiiiiiiiiiiiiiiiiiiiiiiiiiiiiiiiiiiii.

Whole Wheat Pumpkin Cinnamon Chip Scones | Once Upon a Recipe

Whole Wheat Pumpkin Cinnamon Chip Scones | Once Upon a Recipe   Whole Wheat Pumpkin Cinnamon Chip Scones | Once Upon a Recipe

So, if you’re not too sick of pumpkin yet (and I really hope you aren’t), let’s bake some pumpkin scones! Truth be told, I have never partaken in the delight that is a Starbucks pumpkin scone. Every year, many peoples be freaking out about the arrival of pumpkin spice lattes and pumpkin scones. But I can guarantee that you can make a far more delicious version of both at home.

Whole Wheat Pumpkin Cinnamon Chip Scones | Once Upon a Recipe

Let’s start with the scones! We’re going to add a little health with some whole wheat flour, and we’re going to punch up the flavor with a hefty dose of spice and cinnamon chips. A generous sprinkling of raw cane sugar adds a lovely crunch to the tops of these scones. One of these little diddies alongside a cup of coffee or tea and you’re living the good Fall life!

Whole Wheat Pumpkin Cinnamon Chip Scones | Once Upon a Recipe

Whole Wheat Pumpkin and Cinnamon Chip Scones (adapted from King Arthur Flour)

Cinnamon chips can be found in most US grocery stores. Sadly, I have never found them in Canada (at least in Alberta), but pick up a couple of bags every time I visit the States. If you can’t find cinnamon chips where you are, feel free to amp up the ground cinnamon in this recipe for a little extra cinnamon kick. The original recipe also suggests adding crystallized ginger pieces, either in place of, or alongside the cinnamon chips. However, I think the cinnamon chips really make ’em. 

1 1/2 cups all-purpose flour

1 1/4 cups whole wheat flour

1 TBSP. baking powder

3/4 tsp. salt

3/4 tsp. ground cinnamon

1/4 tsp. ground ginger

1/2 tsp. ground nutmeg

1/4 tsp. ground cloves

1/4 tsp. ground allspice

1/2 cup butter, cold

1 cup cinnamon chips

2/3 cup pure pumpkin

2 eggs

1 TBSP. milk

Raw cane sugar, for sprinkling

In a large bowl, combine the flours through to the spices. Whisk together until thoroughly mixed. Cut the butter into the dry ingredients until the mixture resembles a coarse meal. Stir in the cinnamon chips. In a smaller bowl, whisk together the pumpkin and the eggs. Add the pumpkin mixture to the dry ingredients and stir until it starts to come together. Turn the mixture out onto a floured surface and use your hands to bring everything together. Try not to overwork the dough.

Split the dough in half and form each half into a round disc, about 1 inch thick. Brush each disc with the milk and sprinkle generously with raw cane sugar. Cut each round into six equal pieces. Arrange all 12 pieces on a prepared cookie sheet, about an inch apart. Place the cookie sheet in the freezer, uncovered, for 30 minutes to thoroughly chill (this will help with rise and texture).

Preheat the oven to 425°F. Bake the scones for 22-24 minutes or until golden. Cool on a baking rack. Enjoy the scones warm, or store cooled scones in an airtight container for up to a few days. Typically scones taste best on the same day they are baked, but I liked these scones even better the second day. They’re lovely with a cup of tea or coffee. Makes 12 scones.

Whole Wheat Pumpkin Cinnamon Chip Scones | Once Upon a Recipe

%d bloggers like this: