Salted Caramel Bark

Salted Caramel Bark | Once Upon a Recipe

Bonjour friends!

The Christmas Countdown is on! Only two more days to go until the big day is here.

Salted Caramel Bark | Once Upon a Recipe

Are you ready? Is your house all decorated nice? Have all of your presents been wrapped and placed under the tree with care? Do you have your Christmas menu planned? Is your holiday baking finished? Are you sitting by the fire relaxing with a rum and ‘nog, basking in relaxation? Or are you scrambling around trying to buy and wrap and bake all the things?

Never fear, I’m here to help! I’ve got a last minute gift idea for you. And it can be made and wrapped up in less than an hour.

Salted Caramel Bark | Once Upon a Recipe

Salted Caramel Bark | Once Upon a Recipe   Salted Caramel Bark | Once Upon a Recipe

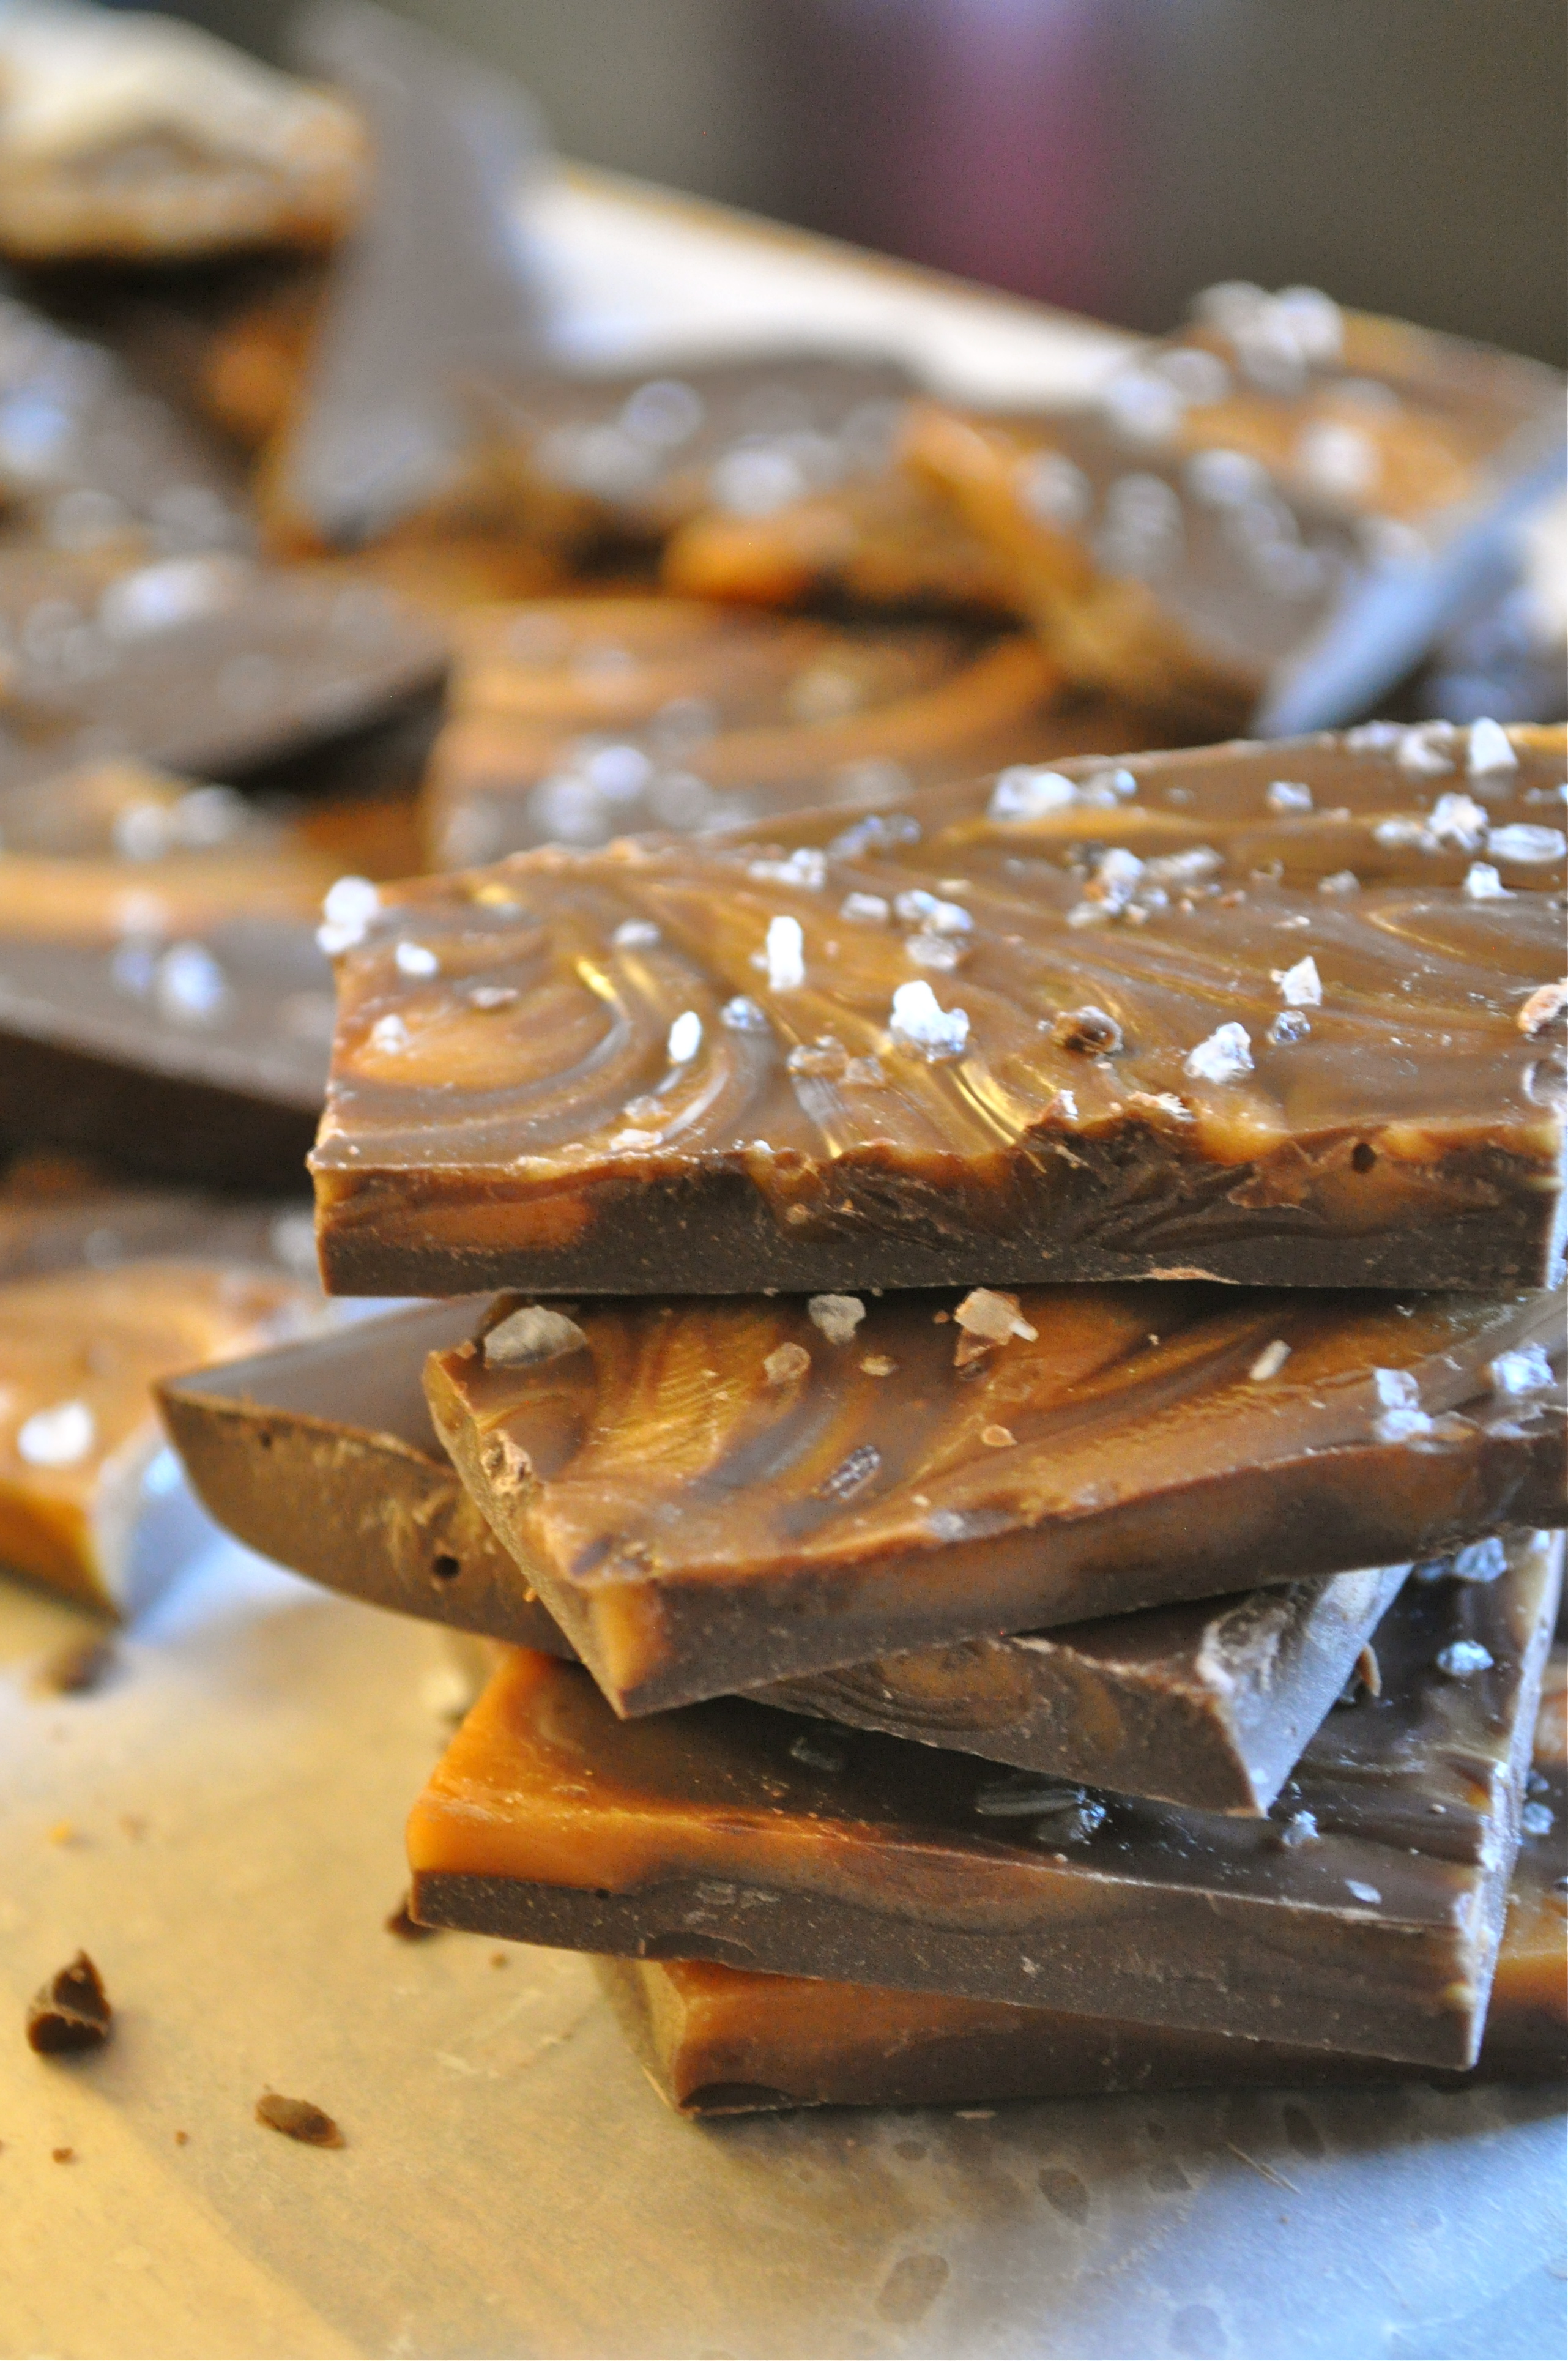
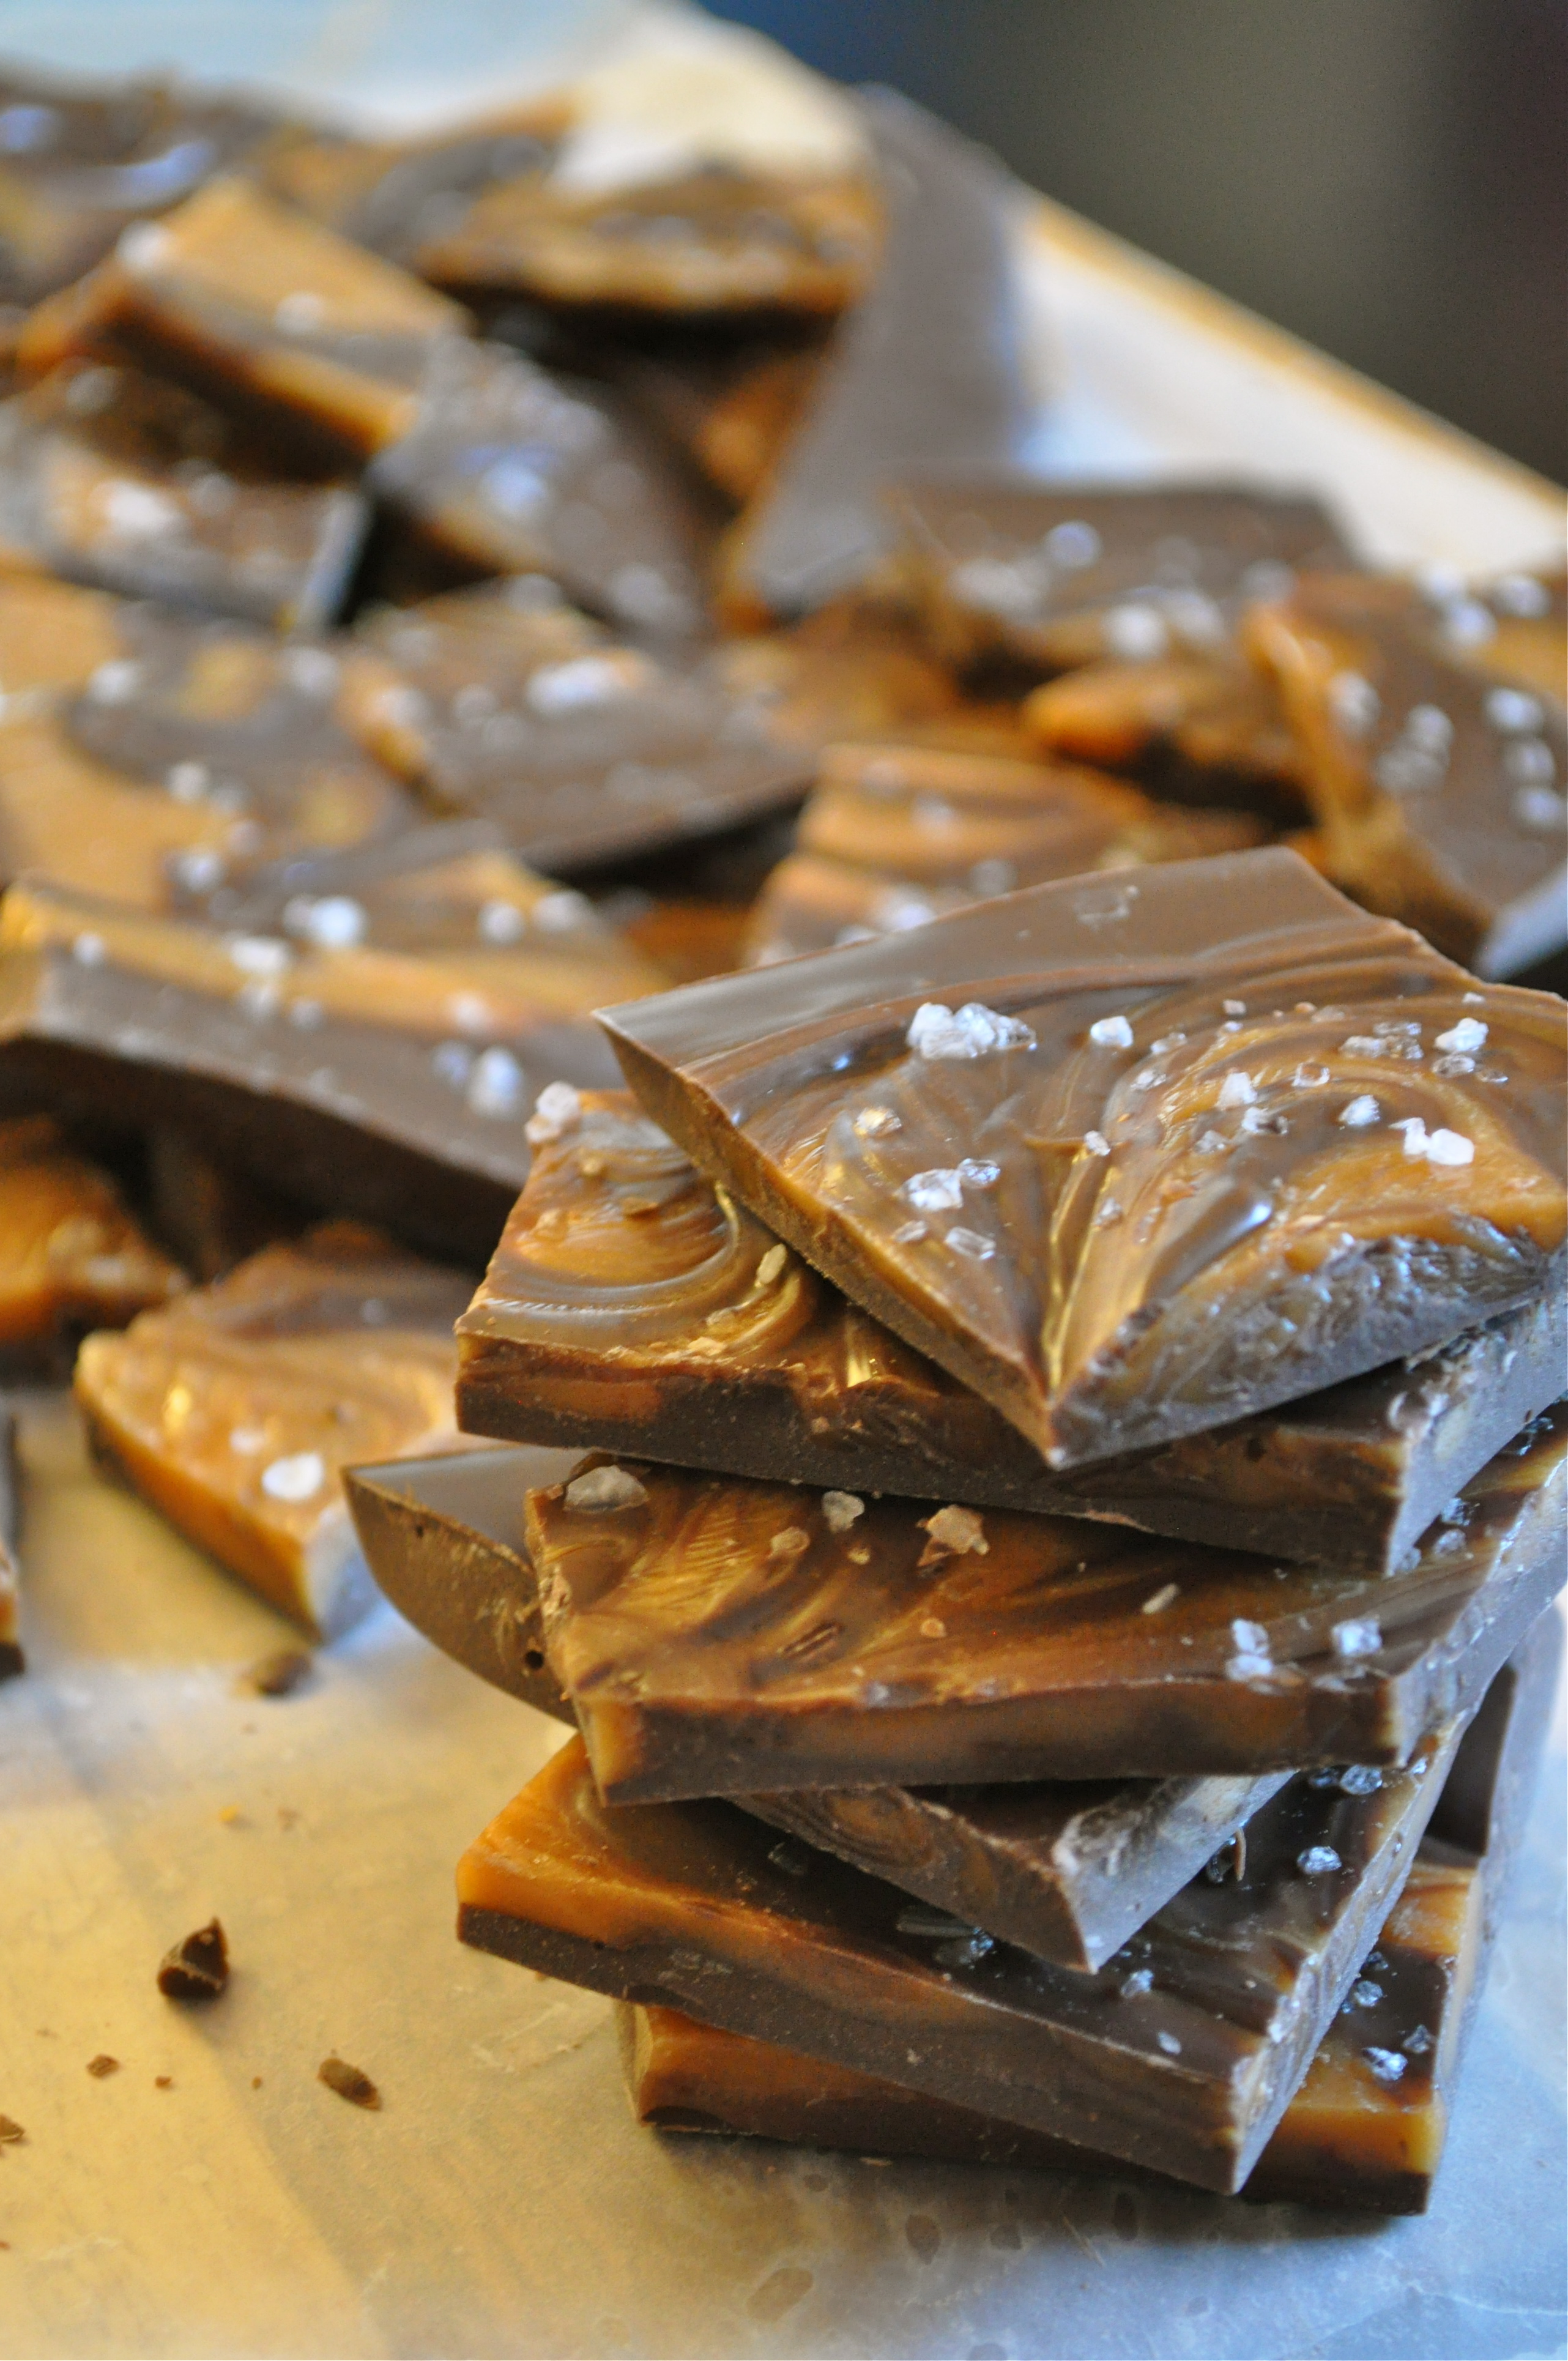
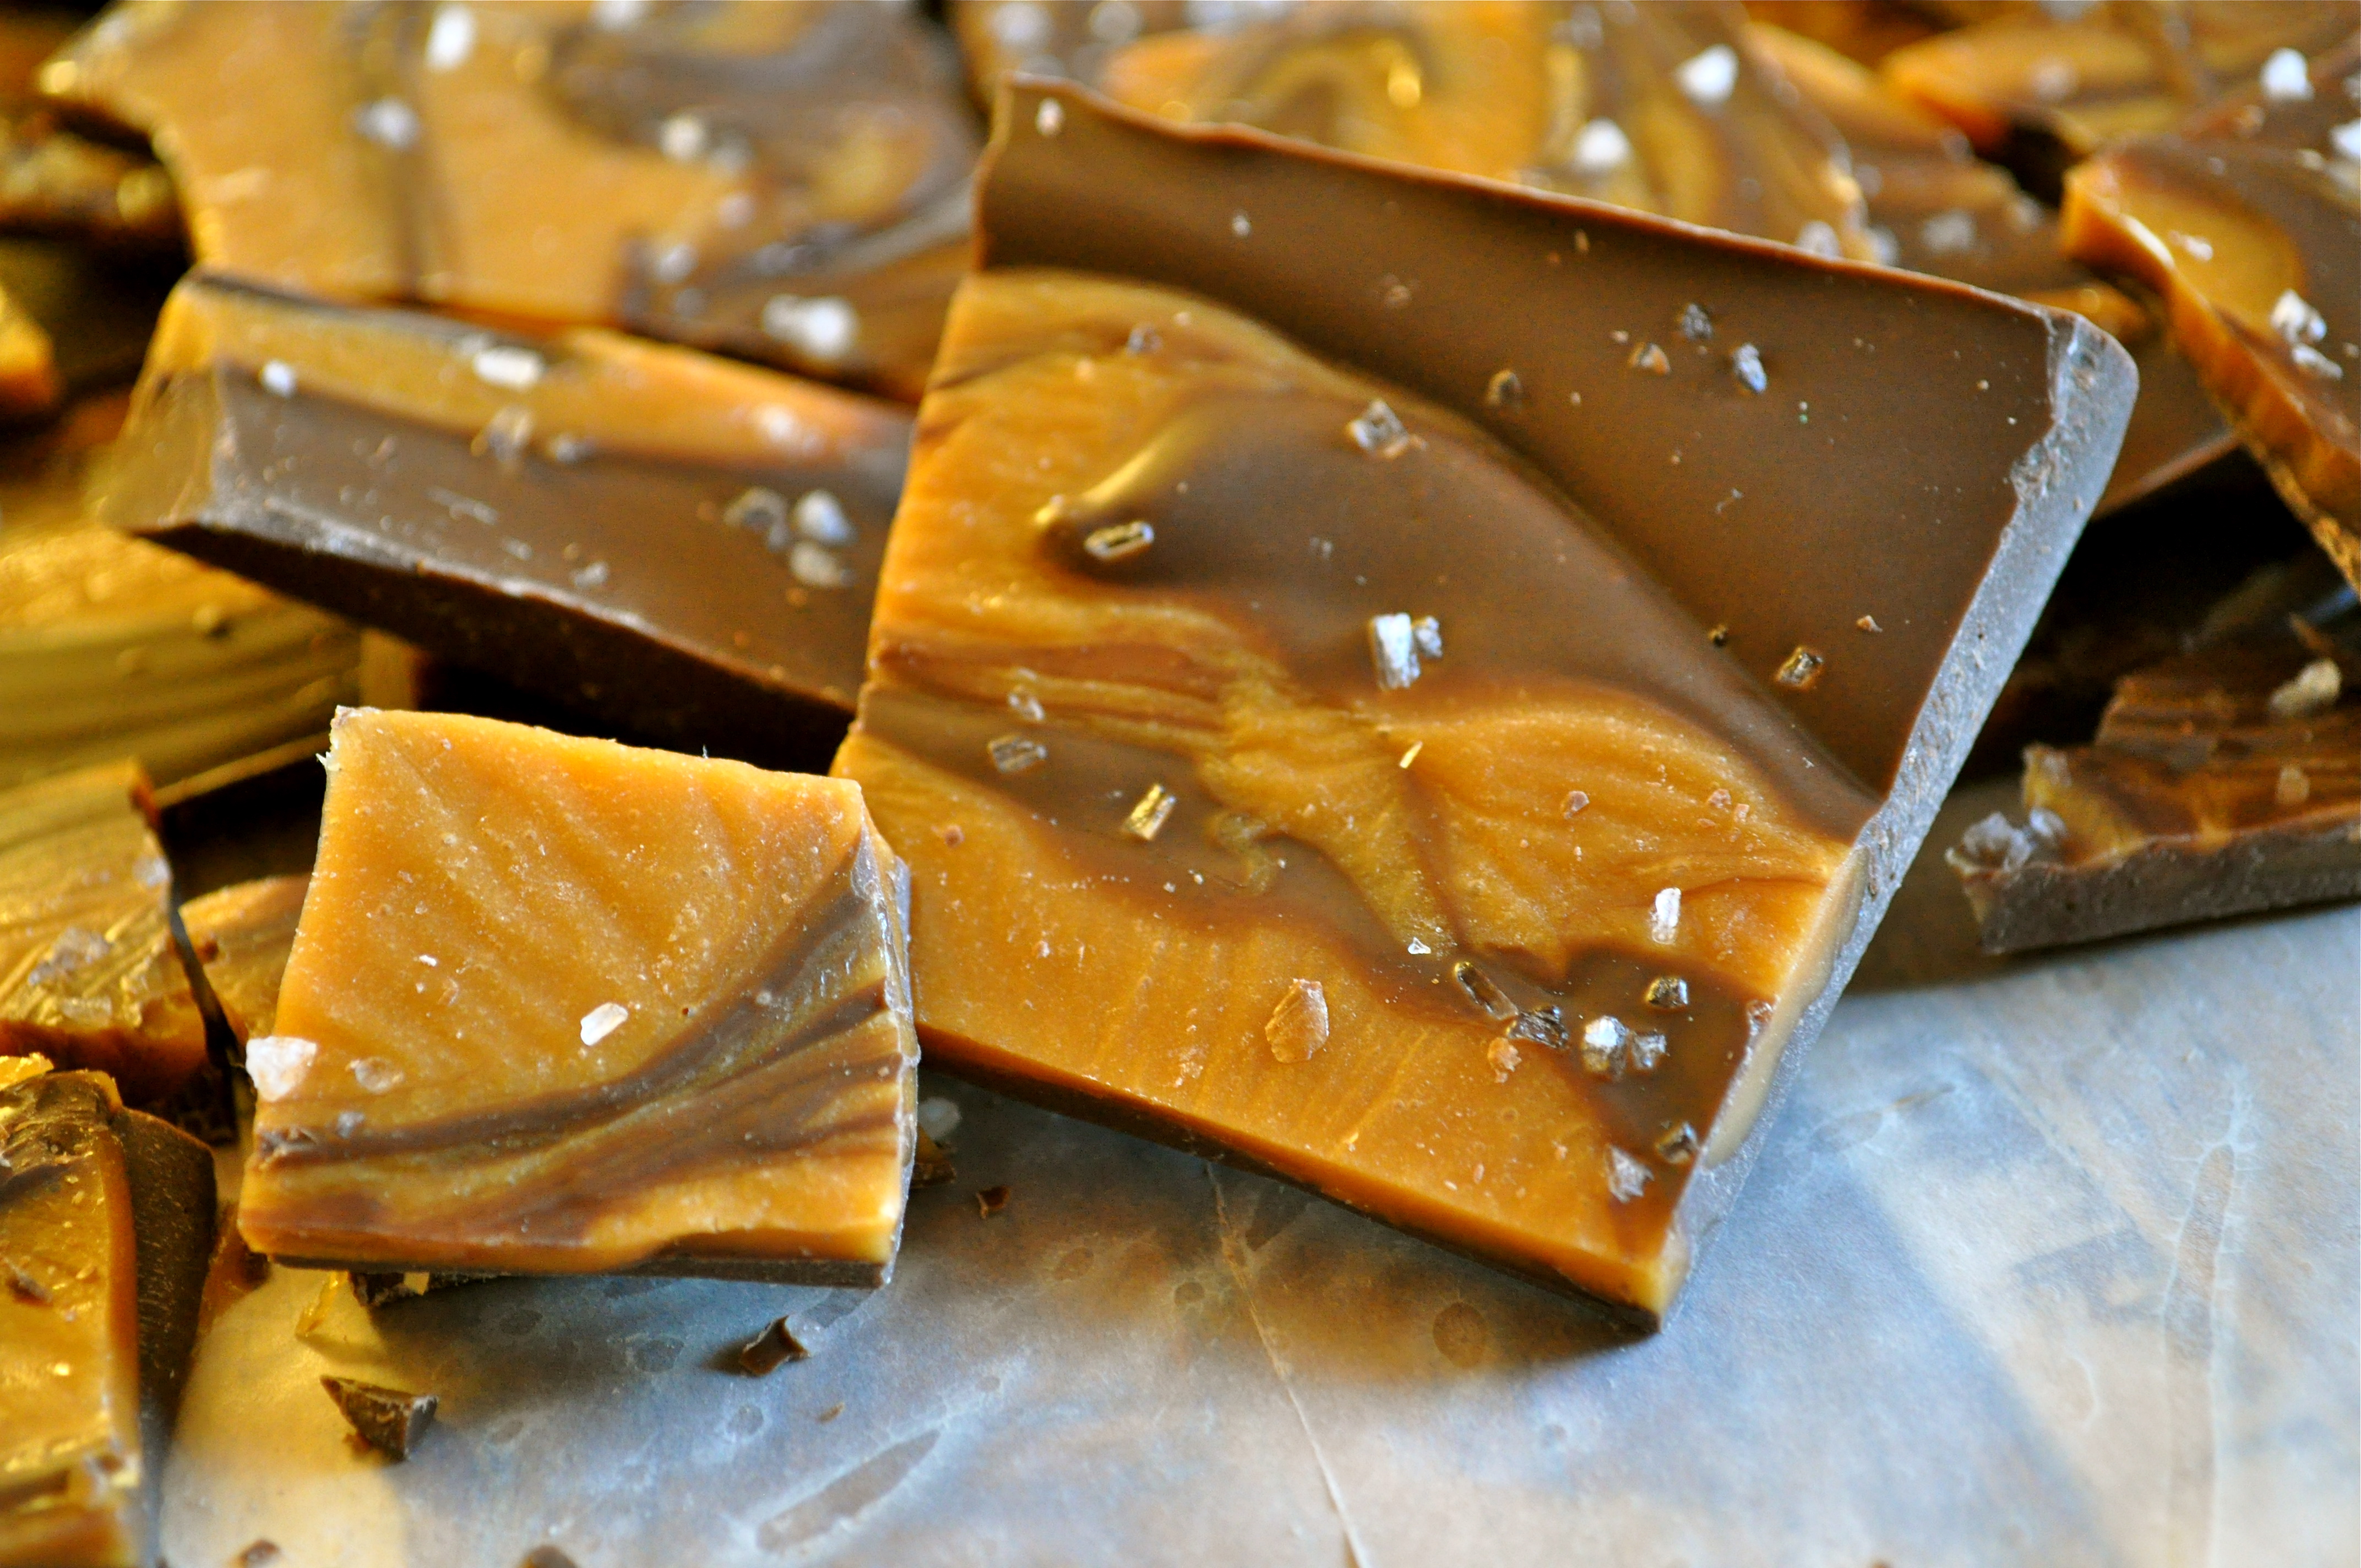
Three ingredients. Chocolate. Caramel. Sea salt. Boom! Delicious.

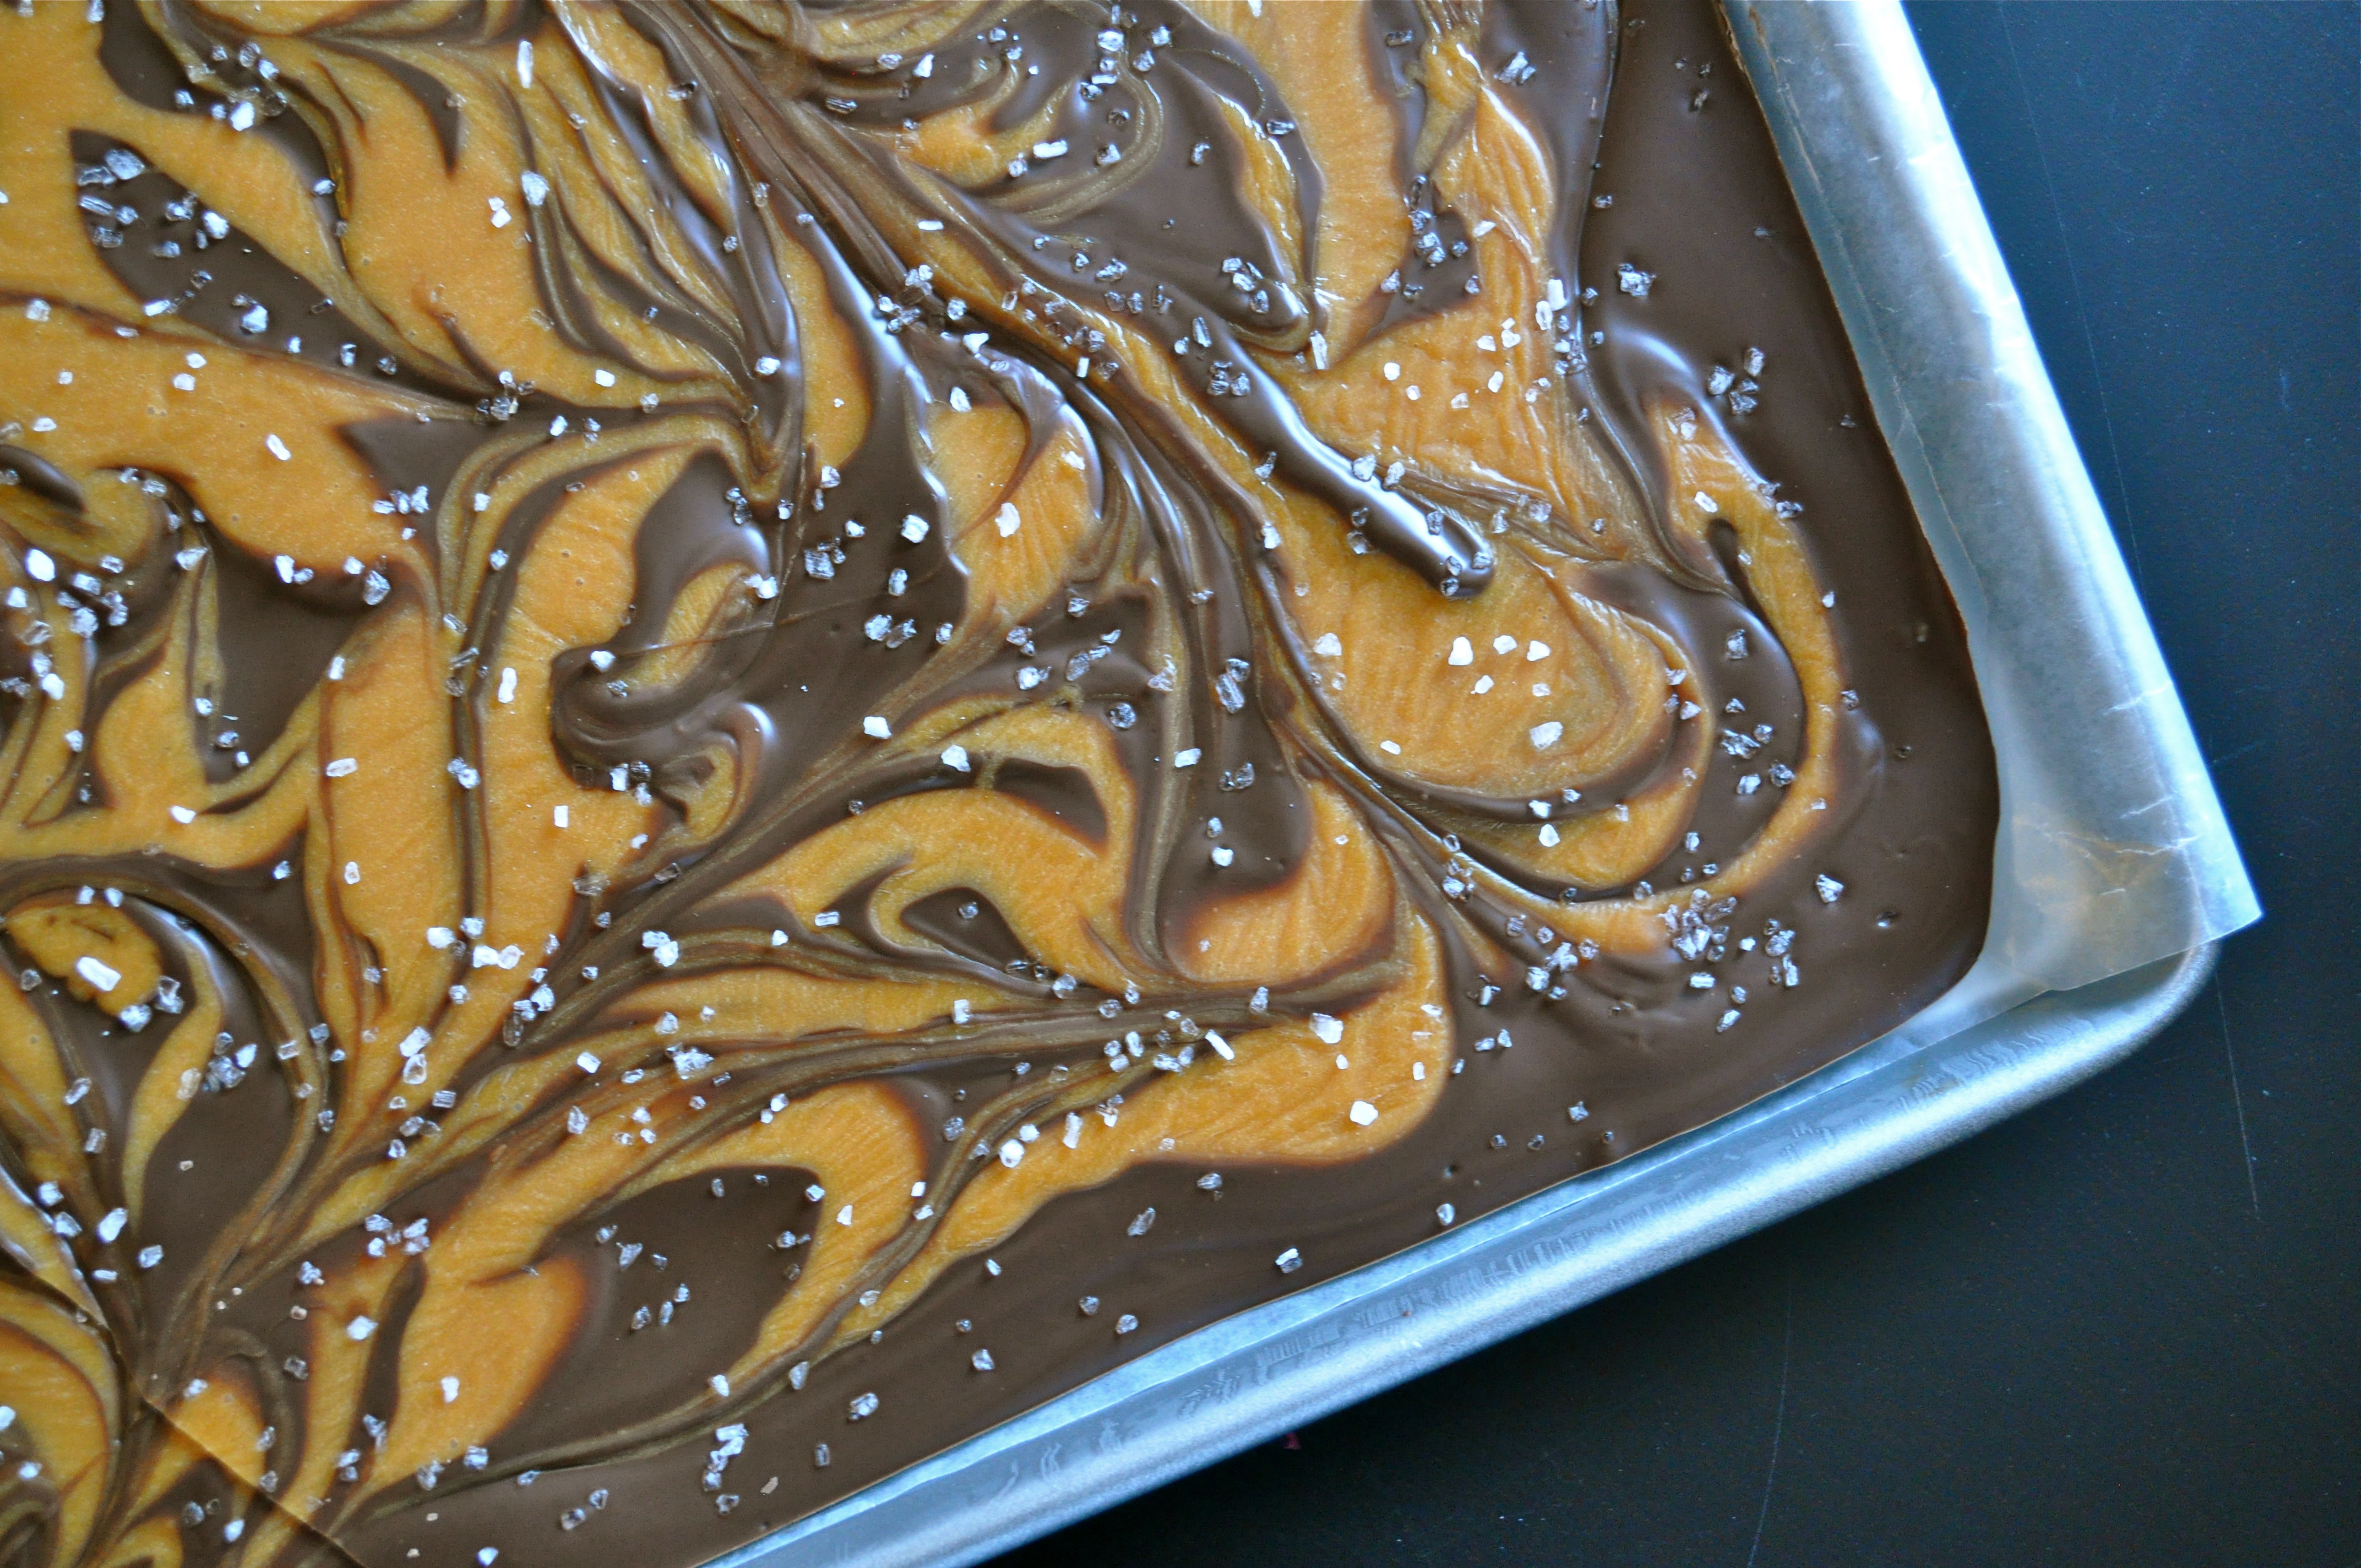
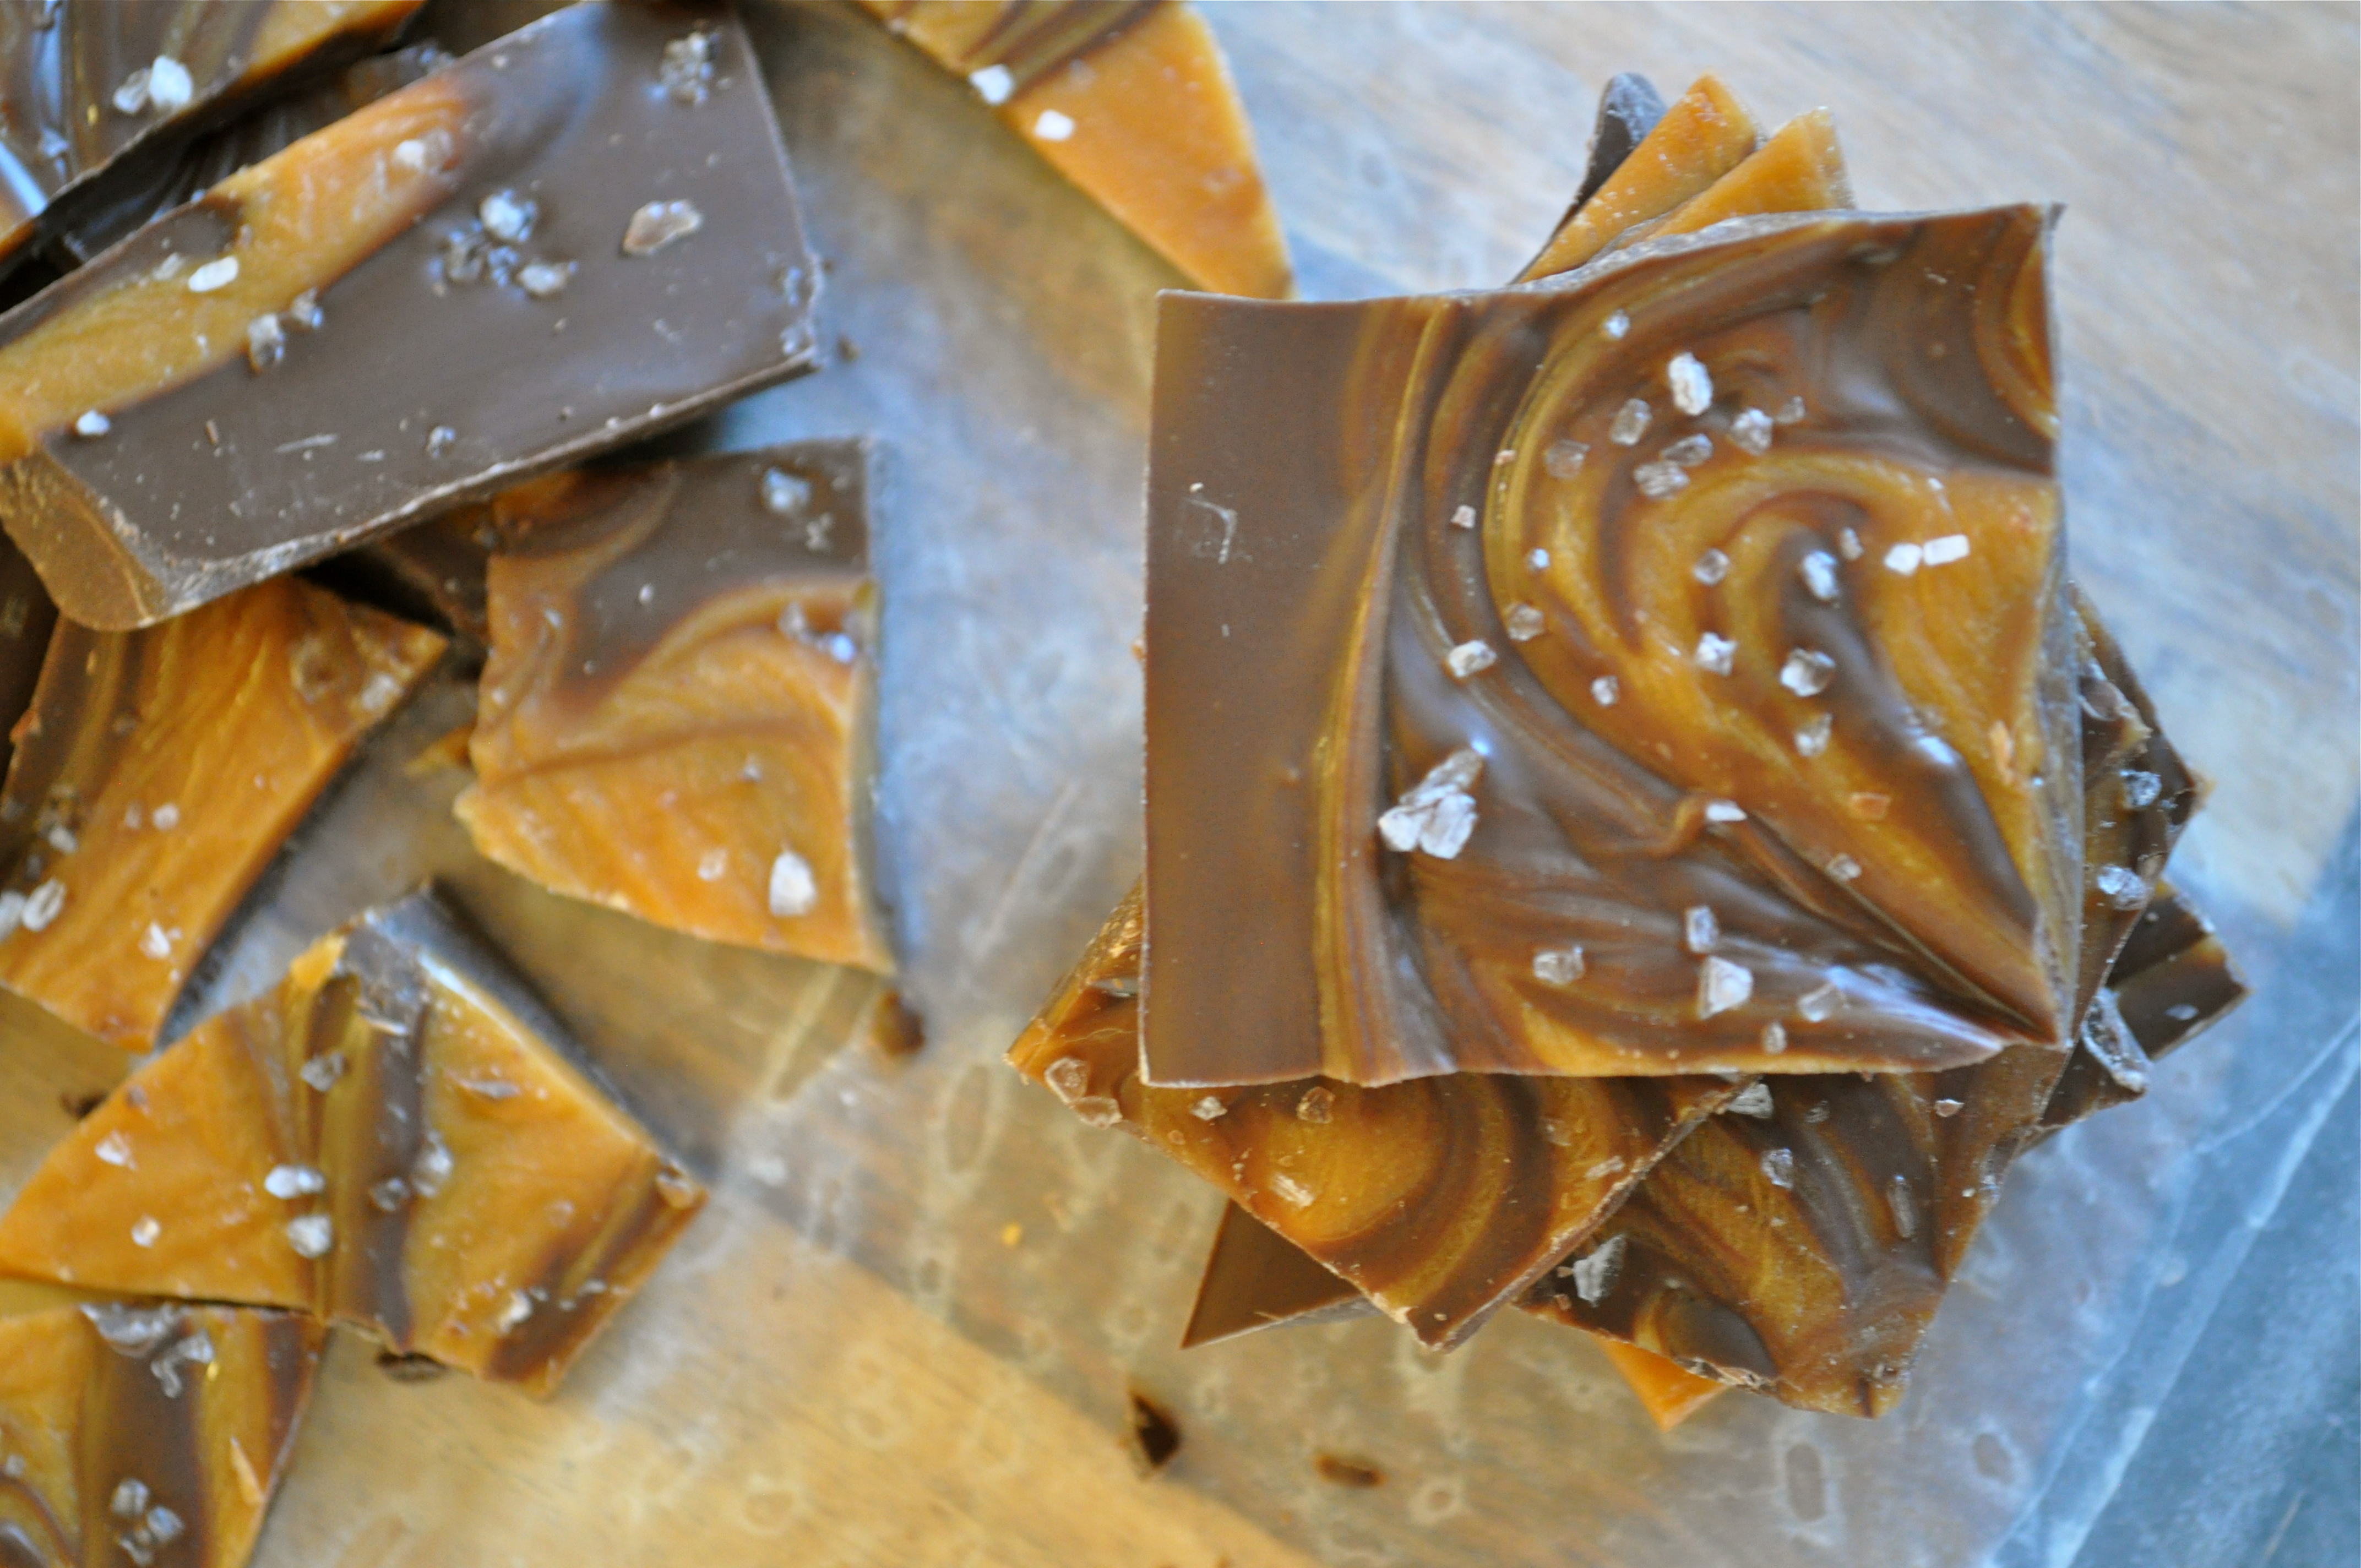
Chocolate gets melted and spread on a cookie sheet. Caramel gets drizzled on top. A little sea salt sprinkle, 15 minutes in the freezer to set, and salted caramel bark is born! Break it up, tie it up with ribbon in little gift bags and it’s ready for gifting! Or you can totes just eat it yourself. It will be extremely difficult not to.
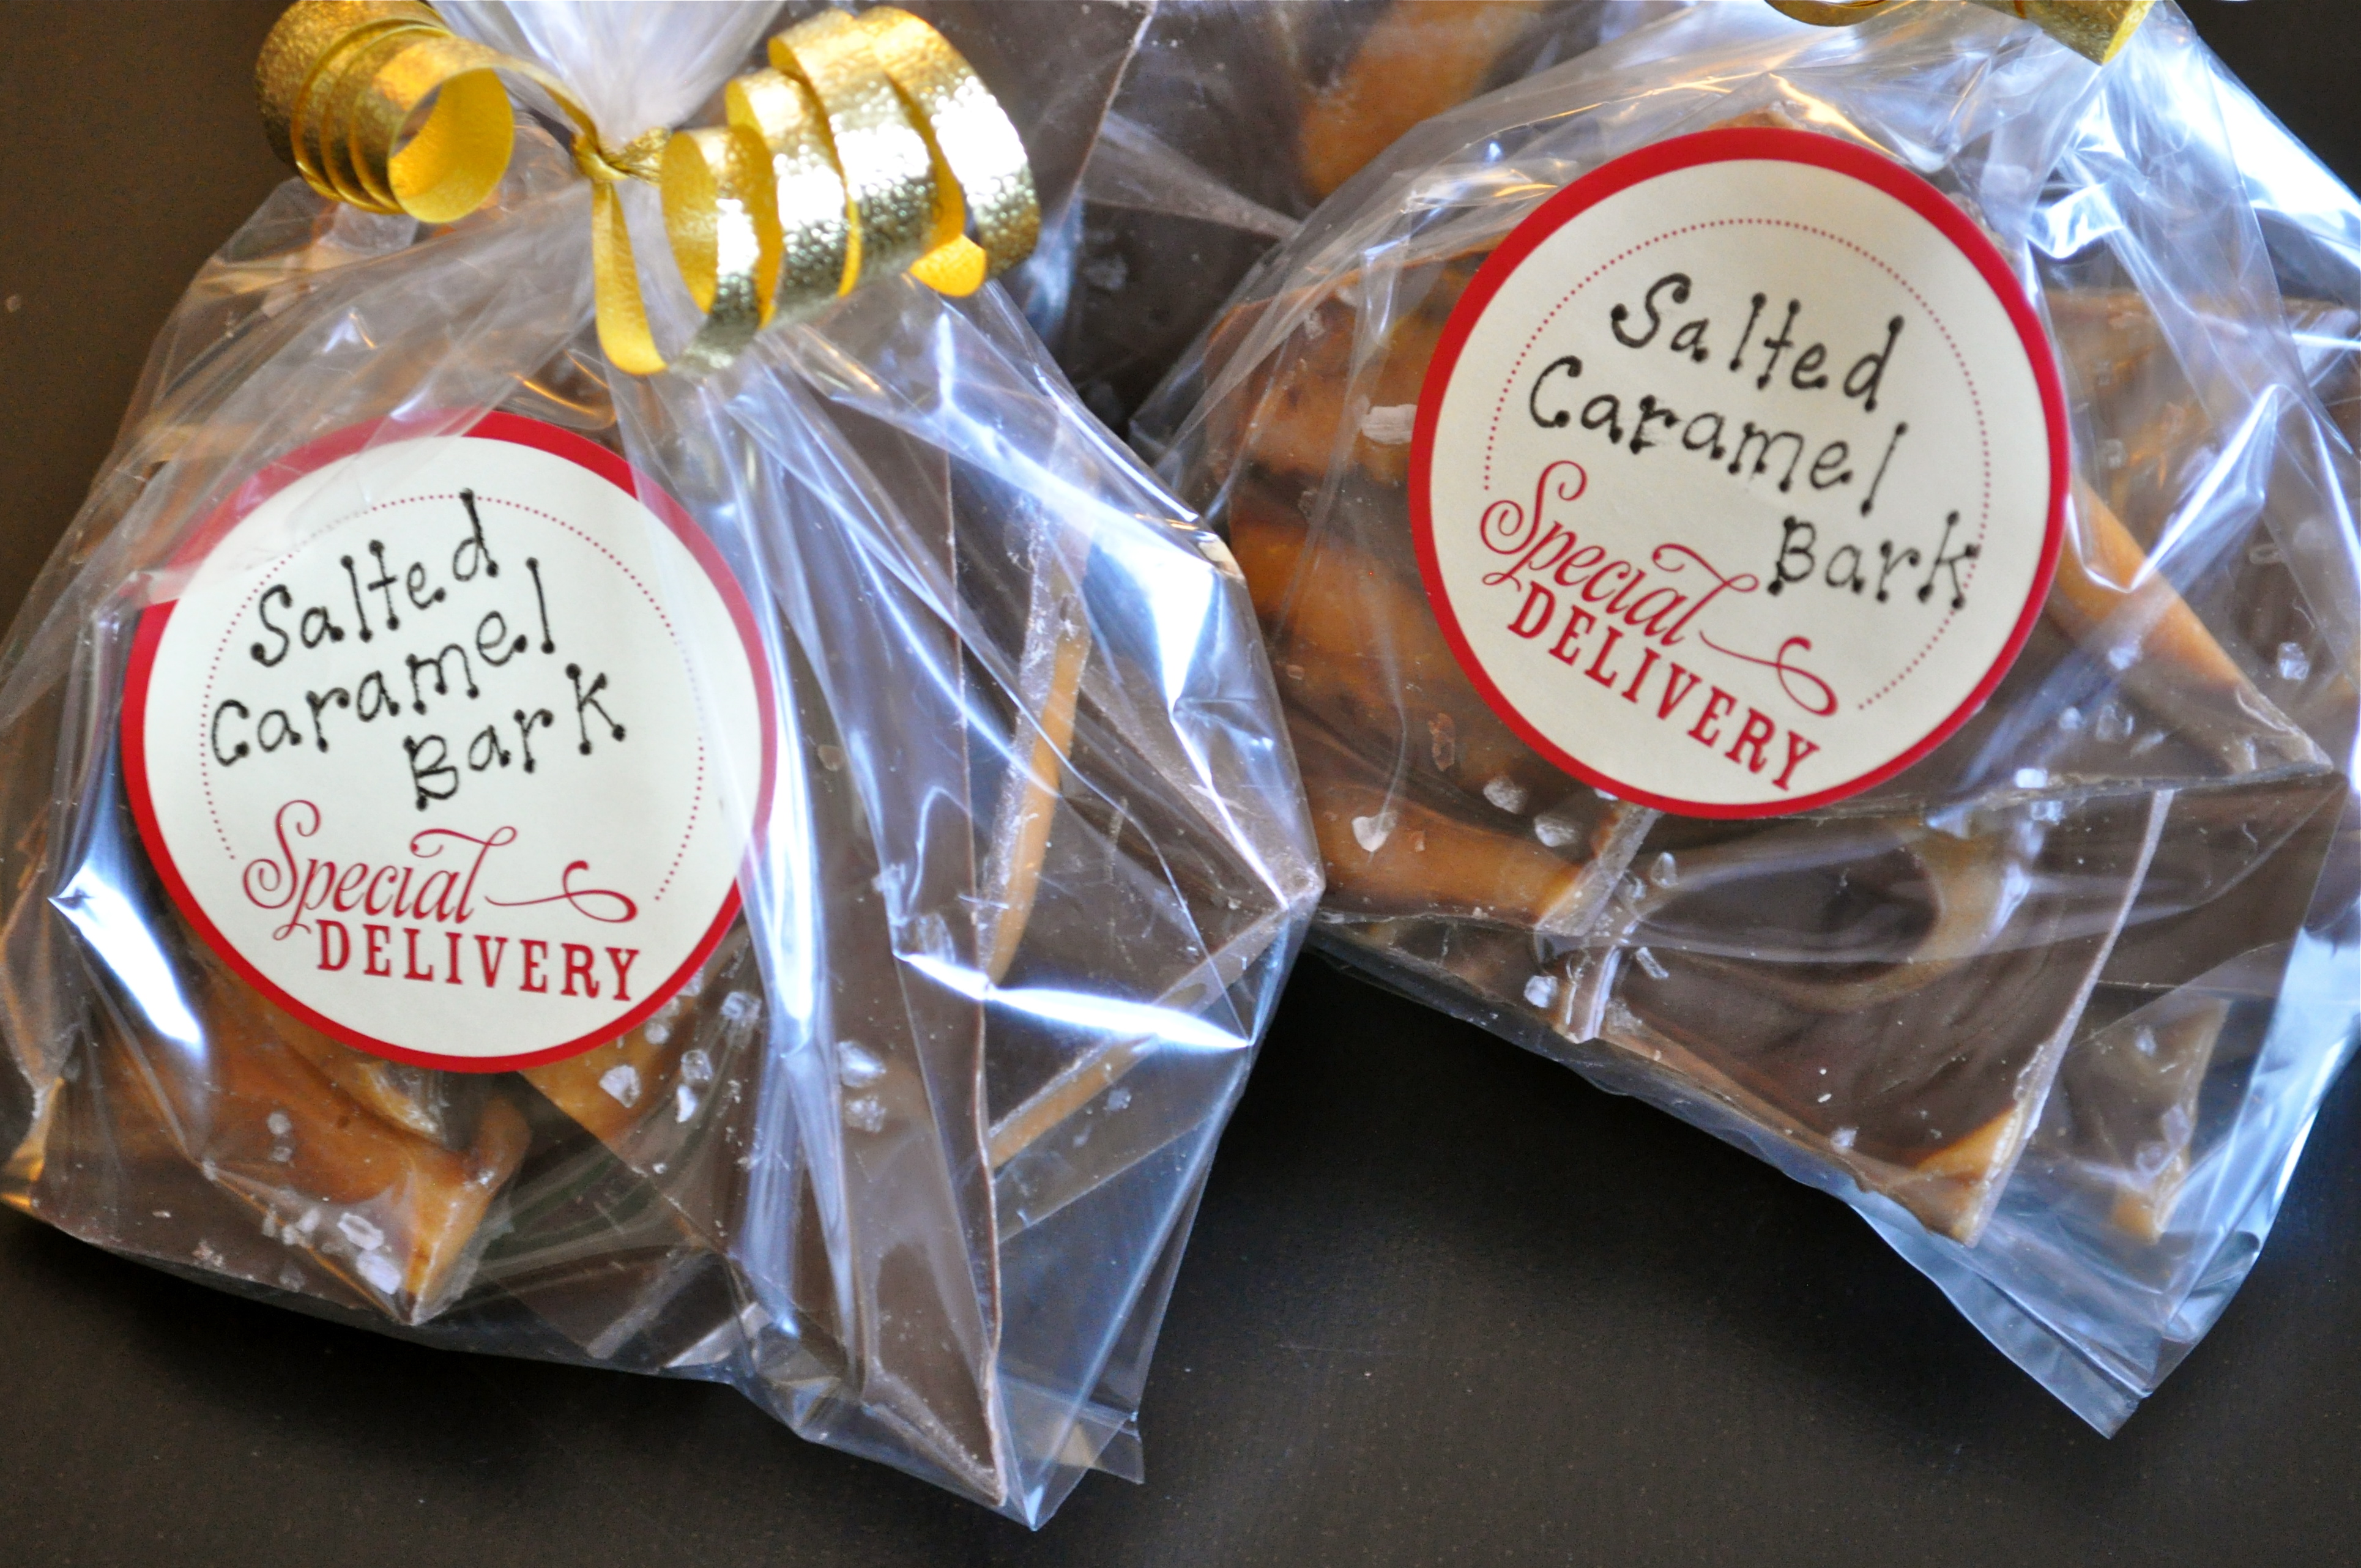
Salted Caramel Bark | Once Upon a Recipe

Salted Caramel Bark

You can use the chocolate of your choice in this recipe. I used chocolate wafers found in the bulk section of my local grocery store. Feel free to use higher quality chocolate; however, it tastes pretty darn good when you use the cheap stuff. 

12 oz. (~2 heaping cups) dark chocolate

12 oz. (~2 heaping cups) milk chocolate

12 oz. Kraft caramels

Coarse ground sea salt (~2 tsp.)

Cover a 9 x 13″ baking sheet with wax paper. Melt the chocolate in a double boiler. Place the caramels in a microwave safe bowl with 2 TBSP. water. Microwave for 1 minute, stir, then microwave in 30-second intervals until fully melted and smooth. Spread the chocolate onto the baking sheet evenly. Drop spoonfuls of the caramel over the chocolate and then swirl with a knife. Sprinkle liberally with the coarse ground sea salt. Place the baking sheet in the freezer for 15 minutes, or until set. Break up into pieces.

Salted Caramel Bark | Once Upon a Recipe

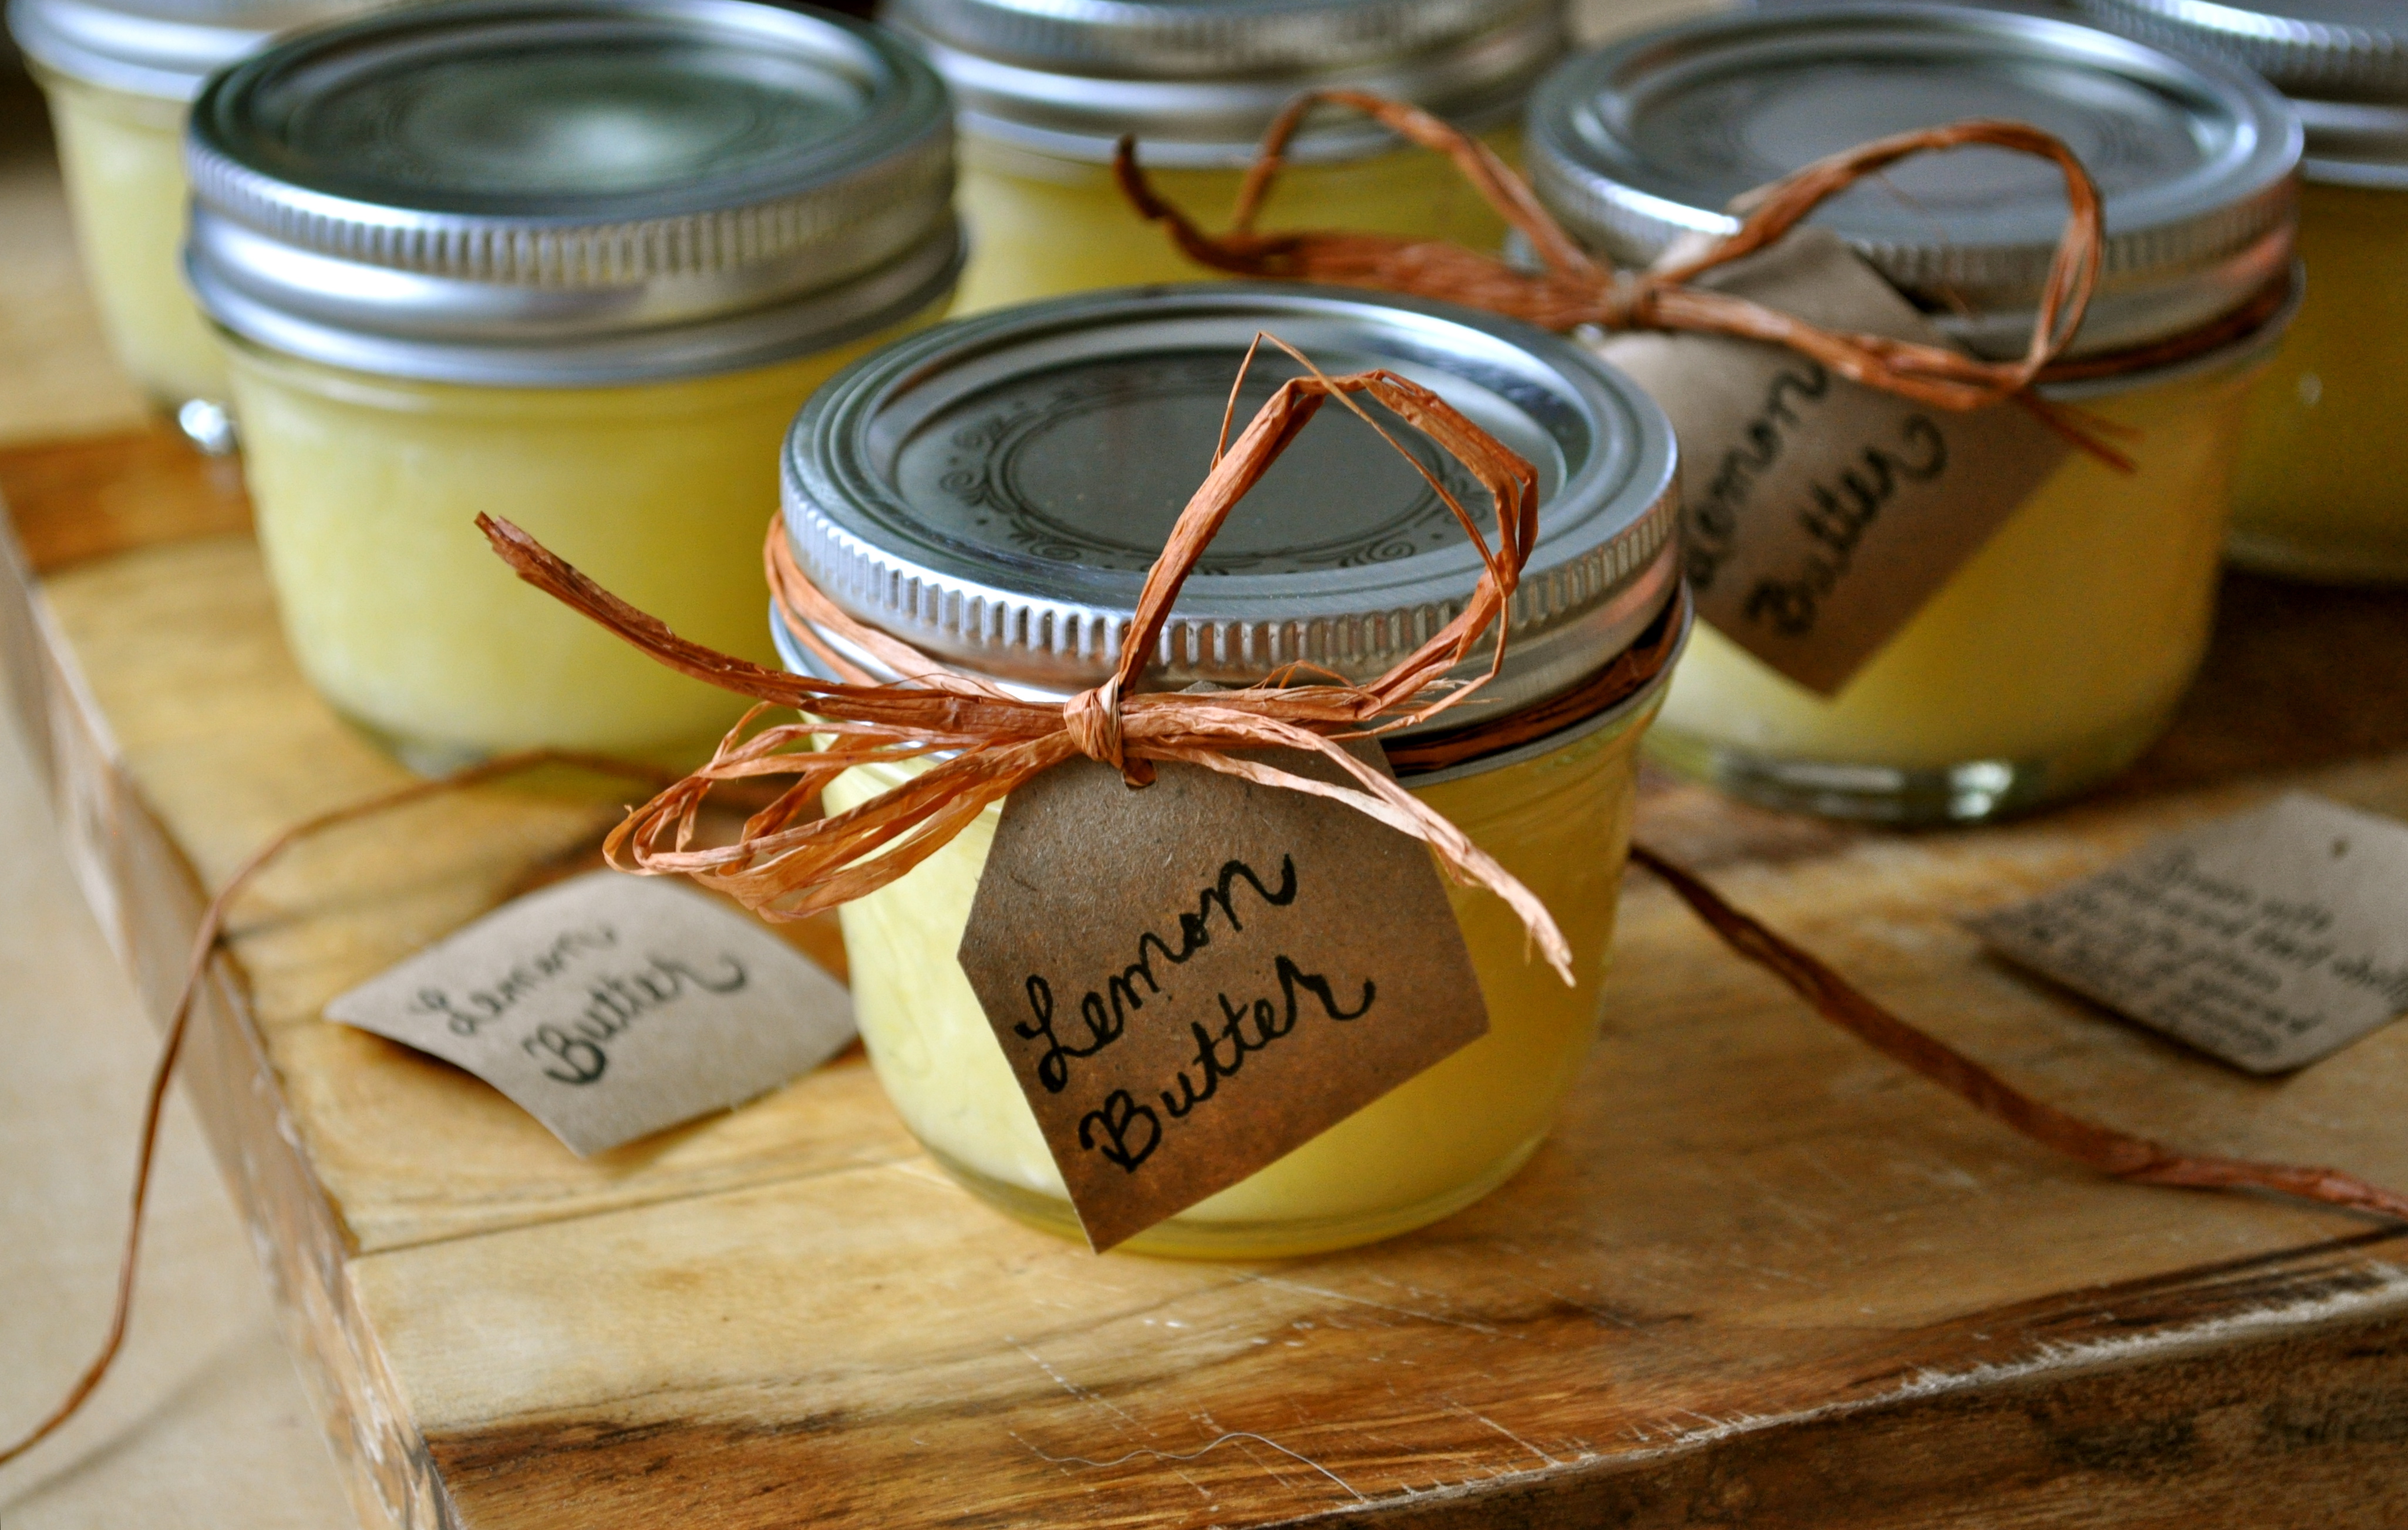
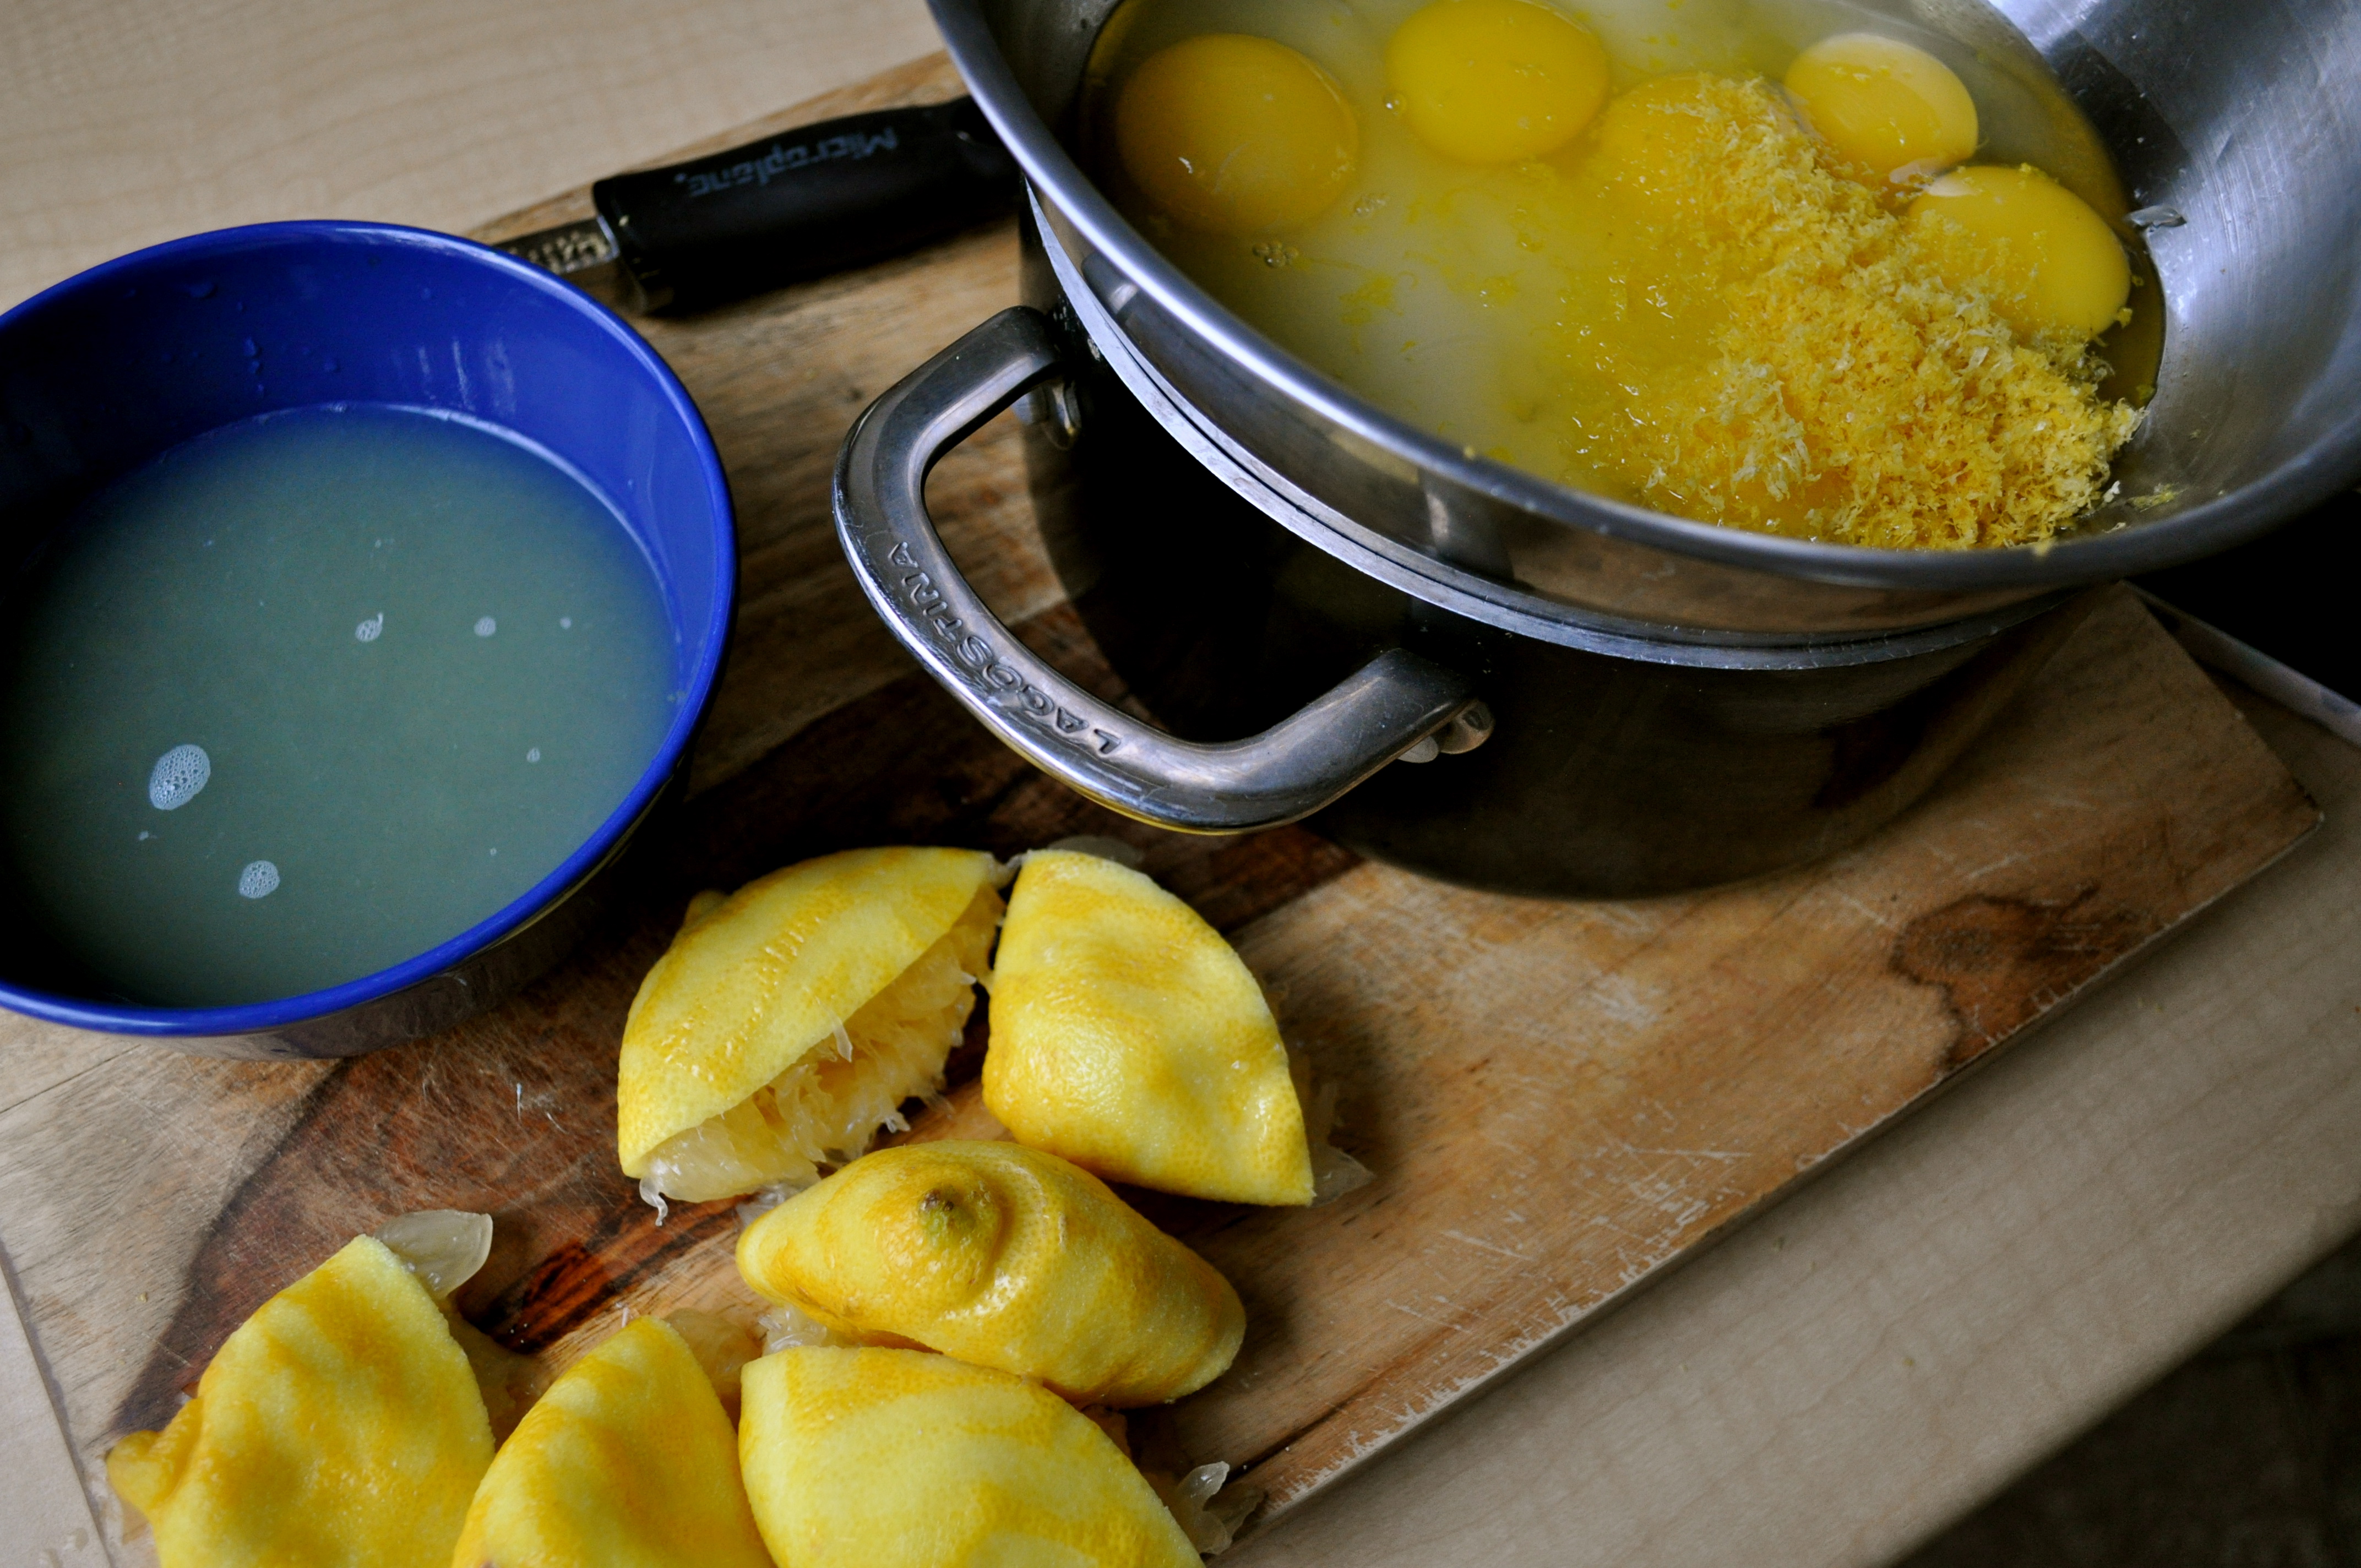
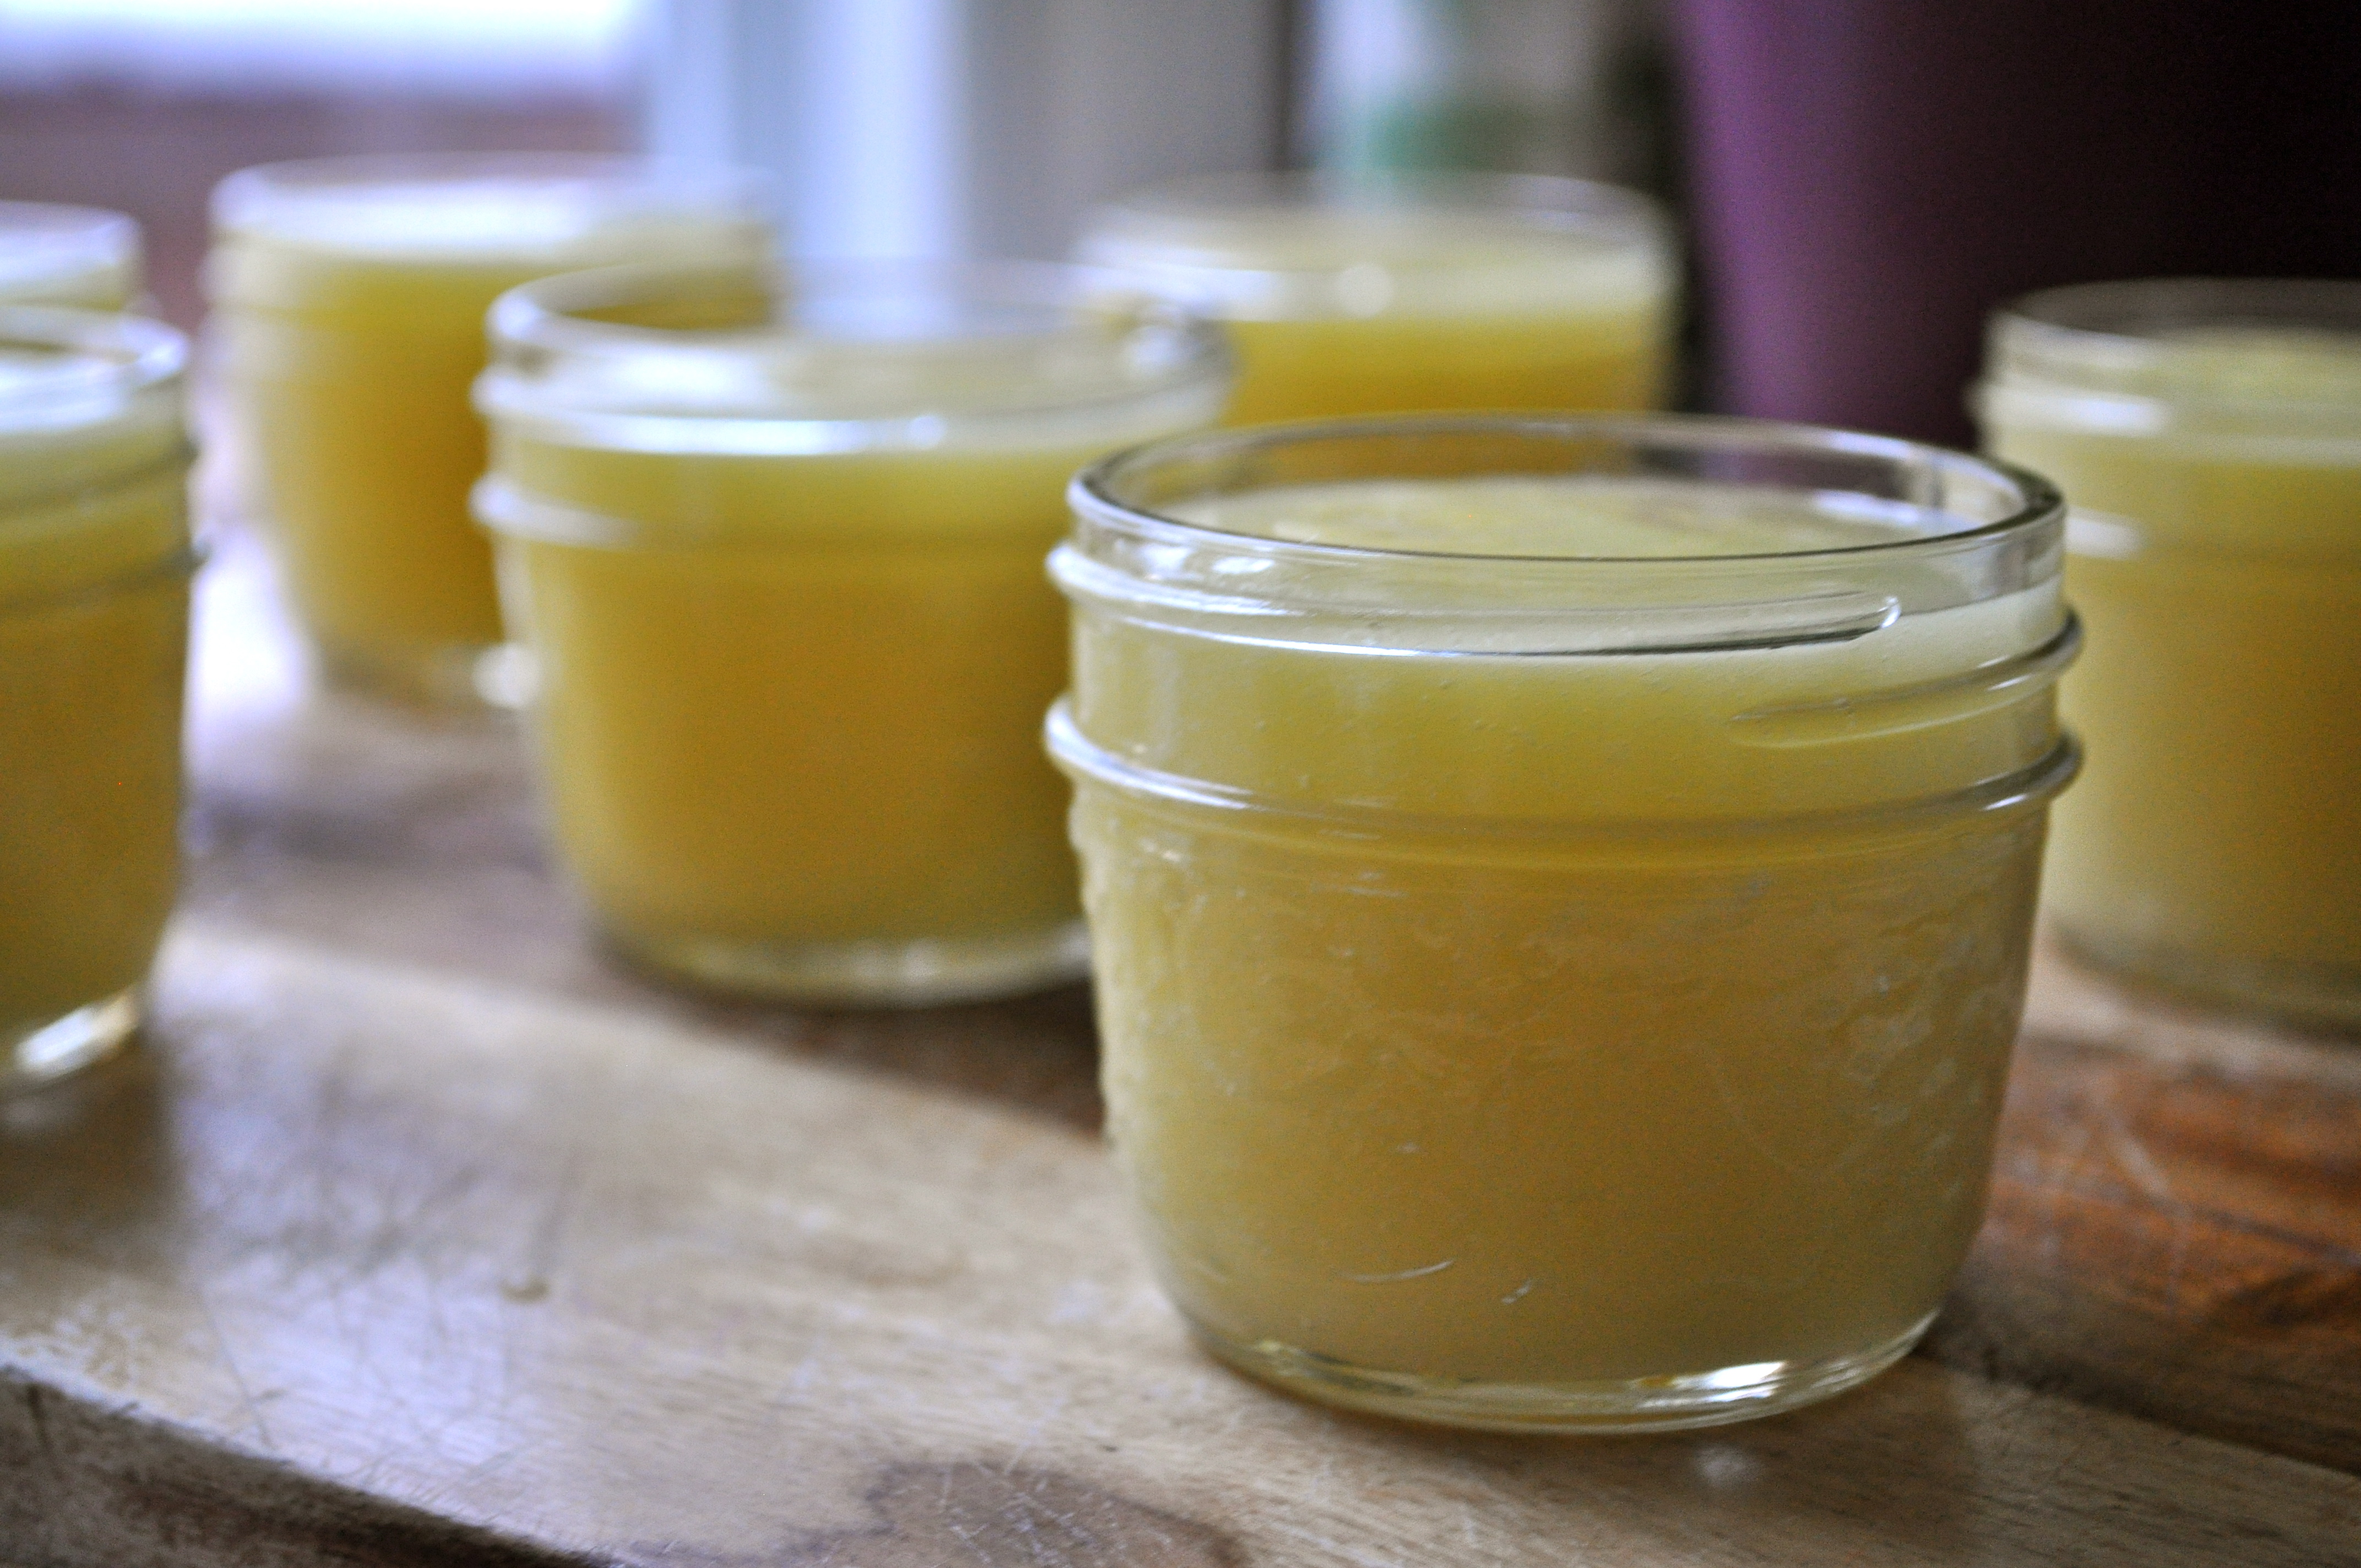
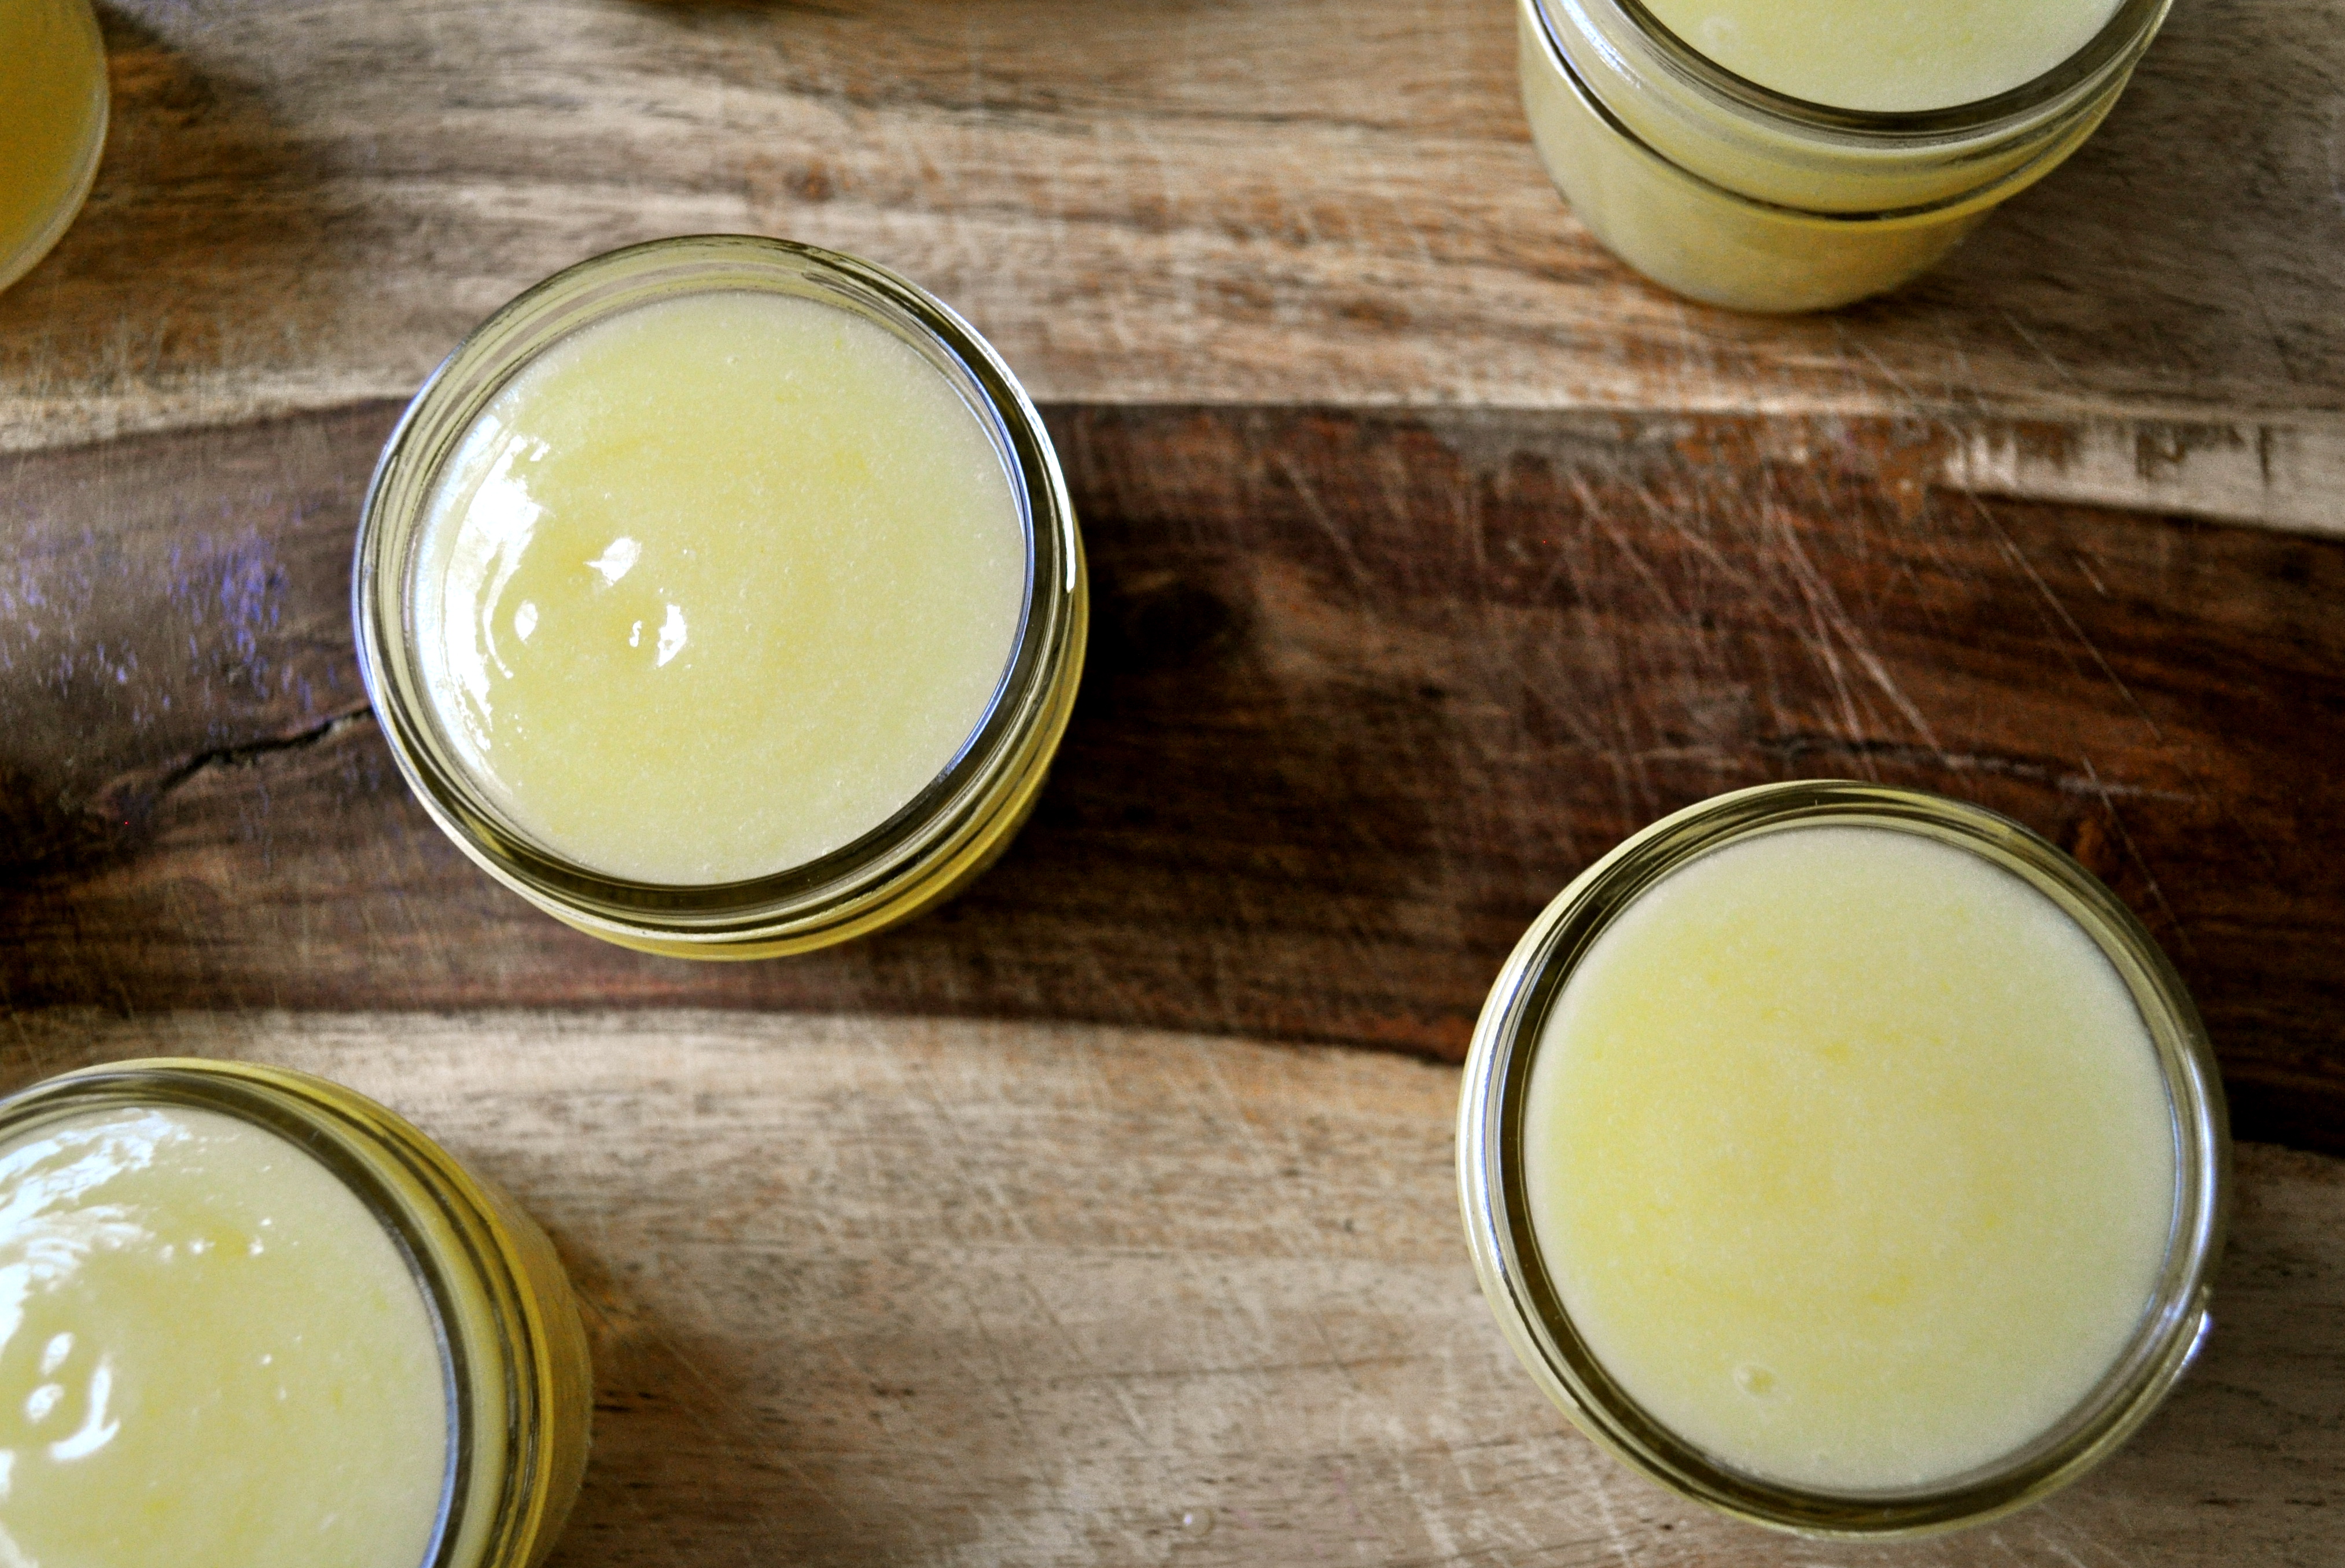
If you’re looking for other easy homemade gift ideas, look no further! Check out Christmas Crack, Lemon Butter, or this long-ago post with other last-minute holiday gift ideas.

Yeast Schmeast | Whole Wheat Pumpkin Spice Bagels

Whole Wheat Pumpkin Spice Bagels | Once Upon a Recipe

Friends, I am here to tell you that it is time to conquer your kitchen fears. Take a deep breath, close your eyes, and just jump in with both feet. Well, maybe don’t close your eyes. That could lead to trouble. BUT. Very, very good (and delicious) things can come from conquering your kitchen fears.

These bagels are a perfect example. You see, me and yeast aren’t exactly tight. I mean, we usually get along when we’re making cinnamon rolls, but I’m not too trusting of yeast when approaching other baking endeavors. Yeast can be a bit temperamental. Like – oh, don’t make the water too hot or you’ll kill me! But don’t make it too cold either, or I won’t wake up. Don’t add too much sugar or you’ll slow me down! Basically, yeast does whatever the hell it feels like when I’m around.

PS. I’m not a bread maker, for obvious reasons.

Whole Wheat Pumpkin Spice Bagels | Once Upon a Recipe

However, this past weekend I wanted to try something new. Something that would challenge me and test the boundaries of my baking abilities. And given the arrival of the Autumn Equinox (umm, yay!), I also just had to bust out the pumpkin. And then I came across a recipe for pumpkin bagels. Hallelujah. Let’s do it!

Disclaimer: Making bagels is not an activity for the faint of heart. They take some time. However, when you pull those fresh bagels out of the oven, slice one up, toast it until it’s golden brown, and slather on a generous amount of cream cheese, it all seems worth it. I promise you.

Whole Wheat Pumpkin Spice Bagels | Once Upon a Recipe   Whole Wheat Pumpkin Spice Bagels | Once Upon a Recipe

My advice – plan ahead. Get everything together ahead of time and be patient. Don’t rush through the recipe – read it through first so you know what you’re getting into. Take your time and enjoy the process. My essential accessories of choice on this adventure – a french press full of hot coffee and some good tunes. I’m not going to claim to be a bagel pro just yet, but I was really pleased with how these turned out for my first attempt. The pumpkin flavor is not overwhelming and the spices are very subtle. My favorite way to enjoy these bagels was by toasting and slathering them with either butter or cream cheese. I bet they would make amazing bagel sandwiches too.

Happy Fall friends!

Whole Wheat Pumpkin Spice Bagels | Once Upon a Recipe

Whole Wheat Pumpkin Spice Bagels (very slightly adapted from The Tart Tart, which was adapted from Honest Cooking)

Makes 8 bagels. I made these bagels two ways – the first time with whole wheat and all-purpose flour (as indicated in the recipe), and the second time with only spelt flour. I loved the texture of the spelt bagels, but found the dough extremely difficult to work with. I ended up adding almost an entire additional cup of spelt flour in order to get the dough to come together enough to handle. If you’re going to use spelt flour, just be aware of this and exercise additional patience!

2 1/4 tsp. active dry yeast

1 cup warm water

1/3 cup brown sugar

2 cups all-purpose flour

1 cup whole wheat flour

1 tsp. cinnamon

1 tsp. salt

1/2 tsp. nutmeg

1/2 tsp. ginger

1/4 tsp. ground cloves

1/4 tsp. allspice

1/2 cup pure pumpkin

1 TBSP. baking soda (for the soda bath)

1 egg (for the egg wash)

Toppings – ie. sesame seeds, flax seeds, poppy seeds, sea salt

In the bowl of a stand mixer, combine the yeast, water, and brown sugar. Whisk together and set aside for about 10 minutes, until the mixture becomes frothy.

In a separate large bowl, combine the flours, cinnamon, salt, nutmeg, ginger, cloves, and allspice. Add the pumpkin to the yeast mixture, and using the dough hook, start mixing on low speed. Slowly add the flour mixture until it is completely combined, about 3 to 5 minutes. At this point, the dough should be smooth and elastic, but not too sticky (it will be pulling away from the sides of the bowl). If it is too sticky, incorporate more flour, one TBSP. at a time. Place the dough in a bowl coated with oil and cover, allowing it to rise in a warm place until it doubles in size, about 90 minutes.

After 90 minutes, transfer the dough to a lightly floured surface. Divide it into 8 equal pieces and roll them into balls. Cover and let rise about 20 minutes more.

Then, using your thumb, punch a hole into the middle of each ball and widen it, trying to make it even on all sides. Widen the hole more than you think necessary, because it will shrink in the boiling and baking process. Set the dough on a parchment paper or Silpat-covered baking sheet. Repeat with the other balls.

Preheat your oven to 425°F and prepare the egg wash by cracking the egg into a small bowl and whisking with a fork.

Fill a large pot about halfway with water and bring it to a boil. Once the water is boiling, add in the baking soda and gently mix. Working in batches of 2-3 bagels at a time, drop the bagels into the boiling water and cook for 2 minutes. Flip them and cook for 2 minutes more (the longer you boil the bagels, the chewier they will turn out – boil for 1 minute on each side if you want them to be less chewy). Once done, remove them with a slotted spoon and place back on the baking sheet. Lightly blot them with a paper towel to remove some of the excess water. Then brush them with the egg wash and sprinkle with the toppings of your choice. Bake the bagels for 15 to 20 minutes (until golden brown), rotating the pan halfway through.

Whole Wheat Pumpkin Spice Bagels | Once Upon a Recipe

What are you baking up in your kitchen to welcome Fall?

Ho Ho Holiday Gifting | Lemon Butter

Though it all seems so far away, my heart aches for the children, families, and teachers affected by the Newtown school tragedy this past week. At a time when the world seems incomprehensible, I do what makes sense to me. I bake and I share. Thinking of you all and holding you close to my heart.

Lemon Butter | Once Upon a RecipeFriends, Christmas is less than one week away! Are you freaking out yet?

I’m tottttttttally freaking. Suffice it to say that I just started my shopping yesterday. Yes, started. However, after a seven hour suicide mission marathon at the mall I am well on my way to the finish line. I credit that miraculous fact to two things. One, the two meals and large caffeinated beverage that helped me to power through those seven hours and my heavy reliance on homemade gifting this year (which thankfully, I got an early start on).

Lemon Butter | Once Upon a Recipe

Homemade gifts are wonderful to give and receive. What could be more special than receiving a gift that is the product of the blood, sweat, and tears hard efforts of someone you love? I certainly can’t think of a single thing.

The good news is – there are many homemade gifts out there that are really simple and take little time or creativity to prepare. Take edible gifts, for example! Quick, easy, and delicious!

Lemon Butter | Once Upon a Recipe

Don’t believe me? Allow me to demonstrate. With lemon butter! Lemon butter is my family’s take on what most people refer to as lemon curd. It’s creamy, it’s tangy, it’s sweet, and it’s incredible. Four ingredients, less than 30 minutes, and you’ve got yourself a delicious and versatile treat!

Eggs are cracked. We need six. Two cups of sugar are added. Three lemons are zested and juiced. It’s all whisked together with a quick flick of the wrist. Ok, maybe a few flicks of the wrist. Then we cook it all gently in a double boiler on the stove until it thickens up. One cup of butter is stirred in at the end. Boom shaka laka. Lemon butter!

Lemon Butter | Once Upon a Recipe

Pour it into little jars. Tie them up all pretty with some raffia. This recipe will produce four cups of lemon butter – enough to fill 8 of these cute little 4-ounce jars. That’s eight gifts people! Get into it!

Lemon Butter | Once Upon a Recipe

In case I haven’t convinced you already, let me tell you about a few ways you can enjoy this lemon butter.

1. Fill mini prepared tart shells for a quick and delicious dessert.

2. Spread it onto toast. Muffins! Scones!

3. Stir a spoonful into plain Greek yogurt. Seriously good.

4. Eat it by the spoonful. (Trust me, you’ll want to.)

Lemon Butter | Once Upon a Recipe

Lemon Butter

Makes about 4 cups. 

6 whole eggs

2 cups granulated sugar

Juice + zest of 3 lemons

1 cup butter, cut into small cubes

In a double boiler, whisk together the eggs, sugar, and lemon juice + zest. Cook over medium heat until thick, stirring often (this takes about 10-15 minutes). Once the mixture is thick enough to coat the back of a spoon, stir in the butter until melted and incorporated. Remove from heat and allow to cool for a few minutes before pouring into jars. Seal tightly and refrigerate. Consume within a few weeks.

Lemon Butter | Once Upon a Recipe

Come back in a few days and I’ll show you another use for lemon butter. Hint: It starts with a C and ends in ookie.

Oh! And one more thing! Once Upon a Recipe has been undergoing a little facelift behind-the-scenes for the past while. I can’t wait to share it all with you in the new year!

For Dad | Homemade Snickers Bars

Happy Father’s Day to all of the wonderful fathers out there! I know I promised you a summer drink recipe, but that had to be bumped by the above discovery. I had been searching for a sweet treat to make for my dad for today’s celebration when I came across a recipe for homemade Snickers bars. My dad is a huge fan of chocolate, nuts, and chewiness, so I knew these would be a winner. The recipe takes some time, as these bars require four separate layers with setting times in between, but it is so easy. I drank wine and watched a Diners, Drive-Ins, and Dives marathon in between each step. Made the time fly by! Bowls also had to be licked clean, so I kind of had my work cut out for me. 😉

These bars were whipped up last night and then set overnight in the fridge. I took them out this morning, let them sit on the counter for about 10 minutes, and then sliced them up into nice little squares. We ate a few for post-brunch dessert (dessert should be mandatory after every meal, don’t you agree?) and then I popped the rest into my dad’s freezer. He is a sucker for frozen chocolate bars, so I doubt they will last very long. I may or may not have snuck a few pieces home with me…and may or may not have just tiptoed downstairs at a rather late hour to drink a glass of water go to the bathroom eat one. These are seriously good. And dangerously addictive.

To my Dad – thank you…for loving me for 27 years, no matter what. For teaching me how to throw a ball, ride a bike, and drive a car (that last one was a bit of a challenge, wasn’t it?). For still loving me after that one time when you picked me up from school when I was sick and I threw up all over your back when you were carrying me to the car (sorry about that). For cheering me on and coaching me in the sports I played. For helping me with my Math homework (until it became too complicated for the both of us to understand). For showing me the value of having a good sense of humor, for always making me laugh, and for passing along a good dose of stubbornness. A competitive nature too. For encouraging me. For offering to beat up anyone who hurt my feelings. For wiping my tears and telling me it will be okay, even when I didn’t believe it. For supporting me, through it all. For everything. I love you more than words can say.

Homemade Snickers Bars (from How Sweet It Is)

Layer One (chocolate):

1 1/4 cups milk chocolate chips

1/4 cup peanut butter

Spray a 9 x 13 inch baking pan with non-stick spray. Melt the chocolate and peanut butter together in a double boiler, then pour into the baking dish and spread until even. Let cool in the fridge until completely set.

Layer Two (nougat):

1/4 cup unsalted butter

1 cup granulated sugar

1/4 cup evaporated milk

1 1/2 cups marshmallow fluff

1/4 cup peanut butter

1 1/2 cup salted peanuts, roughly chopped

1 tsp. vanilla

Melt butter in a saucepan over medium heat. Add in the sugar and evaporated milk, stirring until dissolved. Bring to a boil and let cook for 5 minutes, stirring occasionally. Add in the marshmallow fluff, peanut butter, and vanilla, stirring until smooth. Turn off the heat and fold in the peanuts, then pour over bottom chocolate layer and spread evenly. Return to fridge to cool completely.

Layer Three (caramel):

1 14-ounce bag of caramels (just under 2 cups)

1/4 cup whipping cream

Combine ingredients in a saucepan over low heat. Let melt, stirring occasionally, until smooth. Pour over the nougat layer and return to fridge to cool completely.

Top layer (chocolate):

1 1/4 cups milk chocolate chips

1/4 cup peanut butter

Follow the same steps as you did for the first layer. Allow to set in the fridge, then cover and return to fridge and leave overnight. Cut into small squares.

Whatever you do, make these. And if you can’t, I will make some for you. But only if I can keep a few for myself.

Holiday Wishes | Last-Minute Gifts For The Procrastinators


It’s Christmas Eve. Merry Christmas Eve!

Are you ready? Have you picked out or made something special for everyone on your list? Are your sweet treats ready to be devoured? Are you ready to share and celebrate with those you love?

I’m ready. It’s been a long, sleepless week, but I’m ready.

For the less-organized, I have some last-minute gift ideas that can be ready in no time. And better yet, they will have been made by you. Home made = thoughtful, sweet, lovely.


Vanilla Extract

Who wouldn’t love it? I followed these instructions from the always reliable Joy the Baker. I’ve made vanilla extract before and it was truly fabulous.


Vanilla Bean Sugar

Head on over to Skinnytaste to find out how to make your own Vanilla Bean Sugar. It’s unbelievably easy and totally awesome!


Lemon Pepper Rosemary Salt

Wickedly easy, delicious, and can be used on meats, fish, veggies, and in soups, stews, you name it! Here are some lickety-split instructions. The recipe is from O Magazine, Dec. 2008.

Ingredients: Grated zest of 2 lemons (about 2T) Fresh rosemary leaves from 2 branches (about 3T) 1 T freshly ground black pepper 3/4 cup coarse sea salt In a food processor, process the lemon zest, rosemary, and pepper until finely chopped, about 1 minute. Add salt and pulse until salt forms smaller crystals and mixture is blended, about 30 seconds. Pack into glass jars with tight-fitting lids and store in a cool dark place for up to 2 months.

PS. I found the small jars for the salt at the local dollar store, and the larger jars at Ikea. Mason jars for the vanilla are from Michael’s.


Cookies!

I’m not sure that I’ve ever met a soul who doesn’t like cookies and who wouldn’t be tickled to receive a freshly baked batch of such delicious treats. Last week I got together with a group of lovely ladies and we had a blast making these gingerbread heads. Serious fun people.

Looking for other cookie ideas? Why not try…

Cherry Almond Butter Cookies

Neapolitan Cookies

Christmas Biscotti

Kindness Cookies

And I highly recommend giving someone you love some crack for Christmas – Christmas Crack.

Time to start the celebrations. I’m getting fueled for my day with strong french press coffee and cookies for breakfast. I’m kidding…maybe. No matter how ready you are for Christmas, I sincerely hope that the coming days are filled with love, happiness, and lots of good food and drink. Merry Christmas my dear readers, I’m thankful for you all. Best wishes for the holiday season. <3

Pleasure in the Belly | My Spaghetti Sauce

Spaghetti is one of my favorite comfort foods. Nothing feels quite as wonderful and comforting as a belly full of spaghetti and homemade sauce. This recipe originally came from my Nana, but it has evolved as it has been passed down through the generations. To be honest, I never make it the exact same way twice! There is room for some flexibility, depending on personal preference. Therefore, I give you the basic recipe, and suggest possible additions. Plus, it is so quick to prepare – perfect for the days before Christmas when you’re running around and barely have time to think about what to make for dinner!

When I made this batch of sauce a few weeks ago, honey and I were still in the throes of our no-grains challenge, and so we ate the sauce over spaghetti squash. It certainly wasn’t better than pasta, but it was definitely a good substitute!


My Spaghetti Sauce

1 onion, diced small

6 cloves of garlic, minced

1 pound lean ground beef

1 large can of diced tomatoes

1 can of condensed tomato soup

1 can condensed cream of mushroom soup

1 tsp. dried basil

1 tsp. dried oregano

Salt and freshly ground pepper, to taste

Add-in options: 2 stalks celery (diced small), 1 green pepper (diced small), 20 mushrooms (sliced), 1 cup frozen peas, a couple of handfuls of fresh spinach.

Brown the ground beef and drain. Set aside. In a big pot, saute the onion for a couple of minutes in a little bit of olive oil over medium-high heat. Add the garlic and cook for one minute. If using celery, green pepper, or mushrooms, add them in now. When the veggies are tender, add the cooked ground beef, followed by the tomatoes, soups, and spices. (If you like your sauce really tomato-y, feel free to add a second can of diced tomatoes). Simmer over low heat for at least 30 minutes, longer if possible. If using the peas and/or spinach, add in at the end and allow to warm (peas) or wilt (spinach). Serve over your favorite pasta (or spaghetti squash), and enjoy with fresh bread. Happy eating!

PS. Only 1 more sleep until Christmas!

%d bloggers like this: