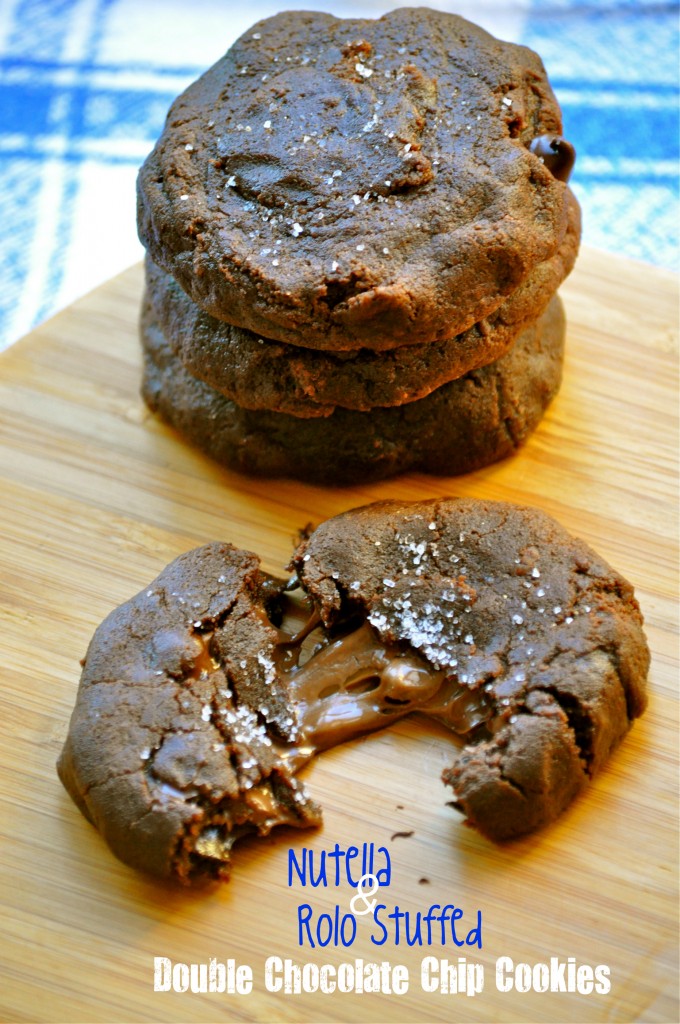
The Great Food Blogger Cookie Swap: Nutella & Rolo Stuffed Double Chocolate Chip Cookies

Nutella & Rolo Stuffed Double Chocolate Chip Cookies | Once Upon a Recipe

Hello my friends! Happy December!

This year, I participated in the Great Food Blogger Cookie Swap, hosted by two darlings, The Little Kitchen and Love & Olive Oil. The cookie swap brings food bloggers from around the world together to exchange cookies. Basically, you sign up, receive the addresses of three other bloggers, and then you send each blogger a dozen homemade cookies. And then you wait to receive three dozen delicious cookies from those that received your name. Oh, the anticipation!

I must also add that over $13, 700 was raised for Cookies for Kids’ Cancer! Sweet treats and supporting a good cause – what’s not to like?

Nutella & Rolo Stuffed Double Chocolate Chip Cookies | Once Upon a Recipe

Participating in this swap was so much fun! I was introduced to six great new bloggers (even another blogger in my own city!) AND I received three batches of delicious cookies. Total win!

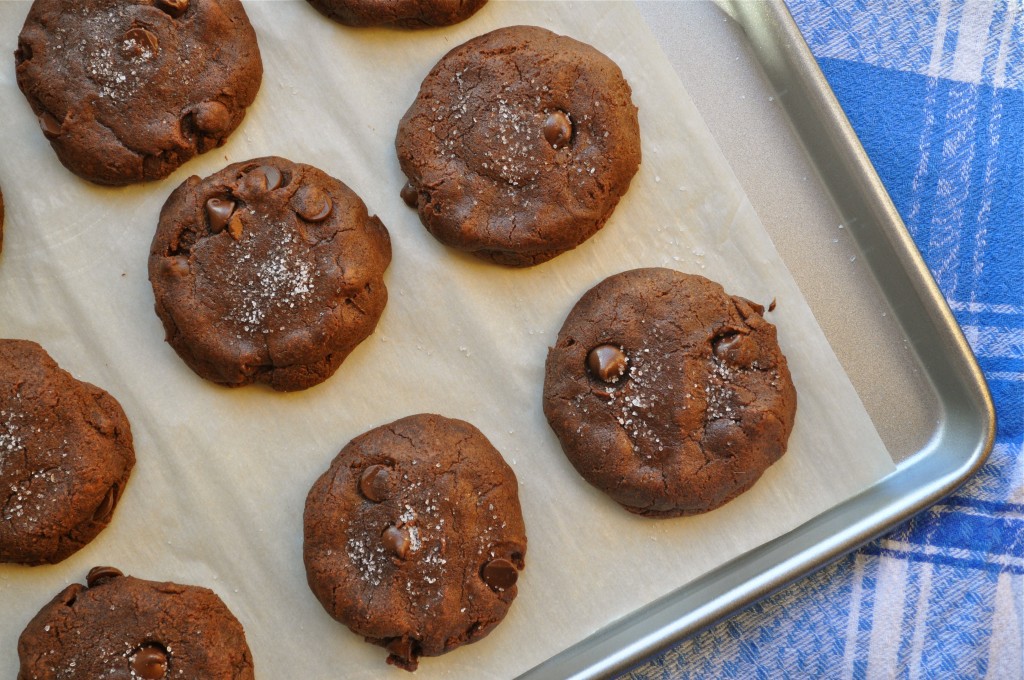
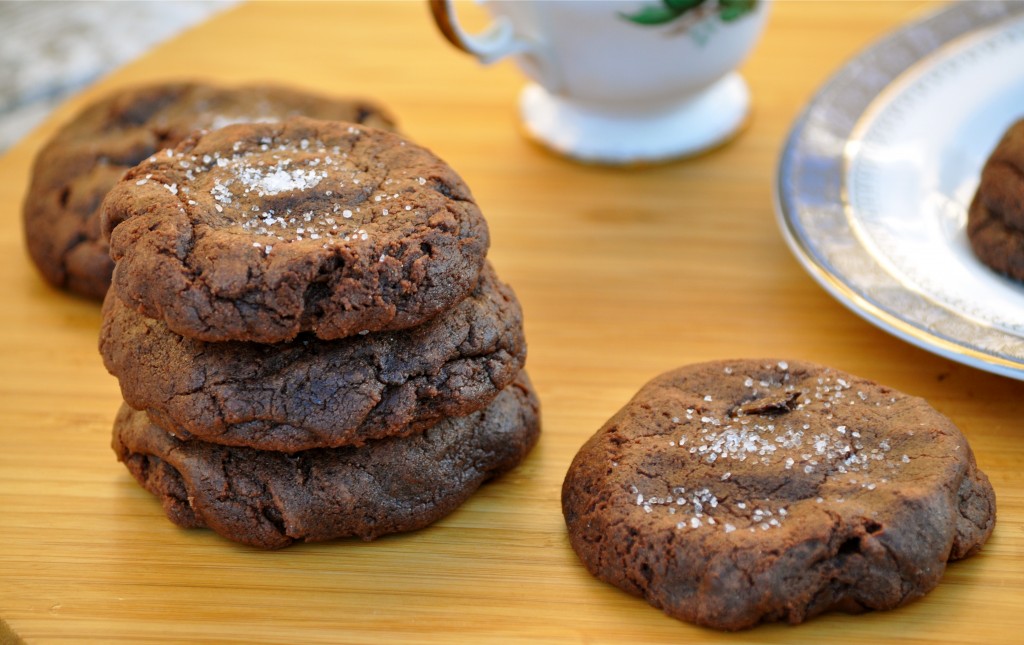
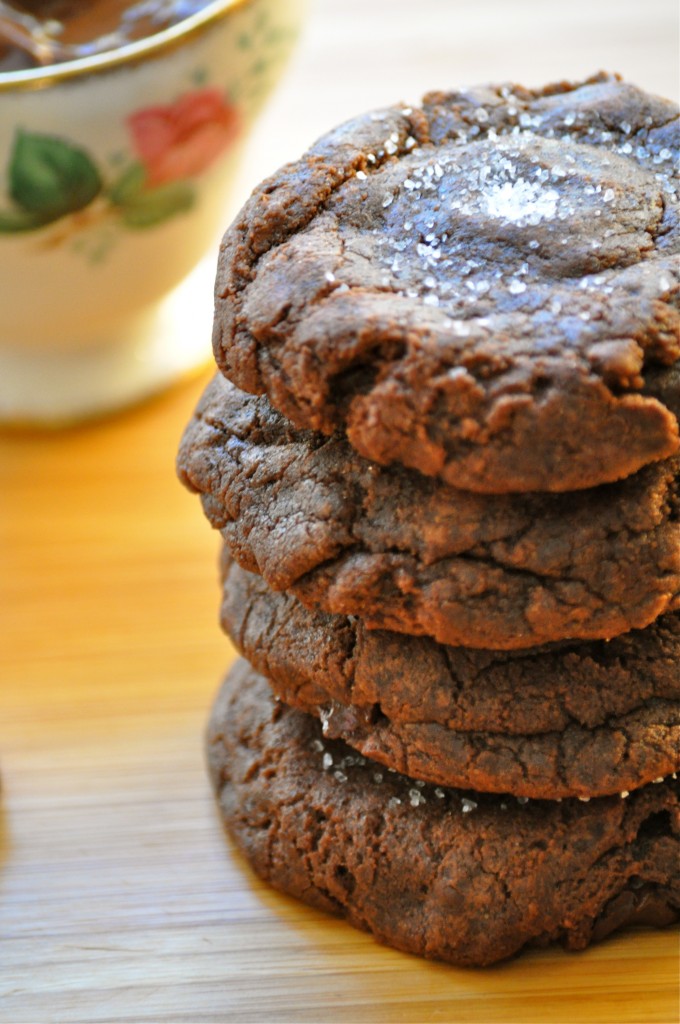
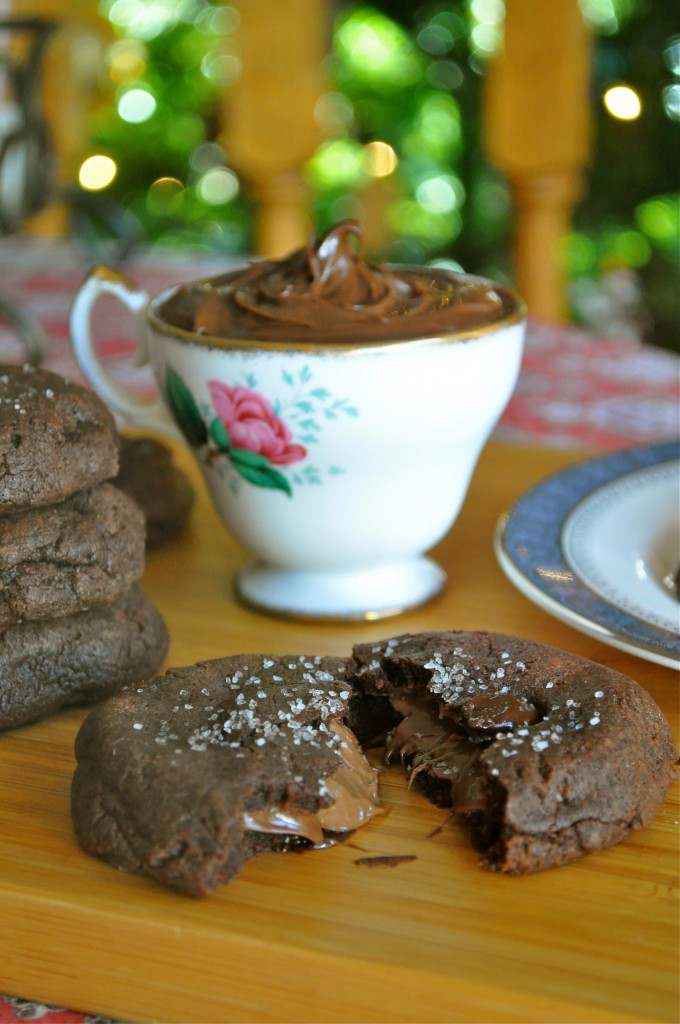
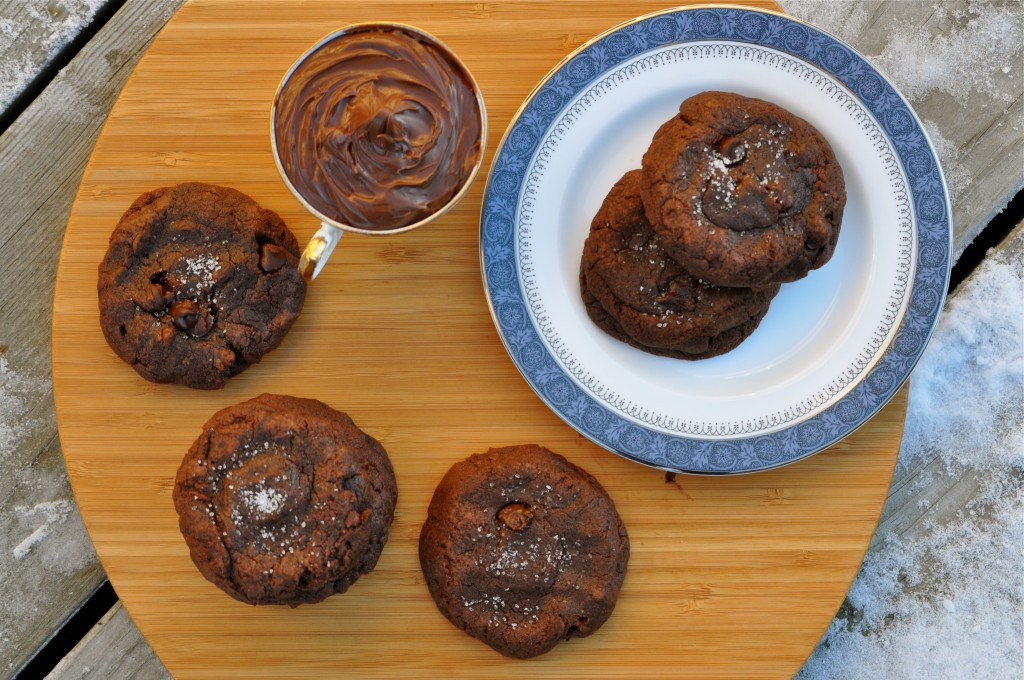
Aaaaaannnnnddddd, I finally had a good excuse to try a recipe that I’ve been waiting to make ever since I first saw it on Izy’s blog, Top With Cinnamon. Dudes, these cookies are one of the best things to ever come out of my oven. Think about a rich chocolate cookie, stuffed with creamy Nutella and a melty Rolo (aka. caramel goodness), and then sprinkled with fleur de sel. Oh, and they’re made in a saucepan. One single dang saucepan. Fewer dirty dishes! My cookie standards have officially been raised to a whole new level.

Nutella & Rolo Stuffed Double Chocolate Chip Cookies | Once Upon a Recipe

A few things: I made these cookies a total of four times. I found the dough a bit difficult to work with the first couple of times. It seemed a little dry and was hard to shape. Don’t worry though, the cookies were still delicious! The third and fourth times, I used my kitchen scale to get more exact measurements (Izy had included weight measurements in her original recipe). BIG difference. The dough was much easier to work with and the final cookie was much more tender. I highly recommend using a kitchen scale if you’ve got one. However, don’t be discouraged if you don’t have a scale, as they will still be incredible.

And next year, all of you should participate in the swap too! Check the Great Food Blogger Cookie Swap website for more details. Happy holiday baking! More recipes comin’ atcha soon!

Nutella & Rolo Stuffed Double Chocolate Chip Cookies | Once Upon a Recipe   Nutella & Rolo Stuffed Double Chocolate Chip Cookies | Once Upon a Recipe

Nutella and Rolo Stuffed Double Chocolate Chip Cookies (slighty adapted from Top With Cinnamon)

These cookies are best when made with good quality dark cocoa powder. Also, the cookies firm up a bit when they cool, so don’t be worried if they appear under-baked after the 8-10 minute mark. These cookies, still warm + a cold glass of milk = perfection. Makes about 18 cookies. 

1/2 cup (110g) butter

1 1/2 cups (350g) light brown sugar

1/2 cup (55g) cocoa powder

2 eggs

1 tsp. vanilla

1/4 tsp salt

3/4 tsp baking powder

2 cups (260g) all-purpose flour

1/2 cup (100g) dark chocolate chips

Fleur de sel, for sprinkling

~1/3 cup Nutella

~18 Rolo chocolates

Preheat your oven to 350°F. Prepare two baking sheets with parchment paper or a Silpat.

In a medium saucepan, melt the butter. Remove the pan from heat and stir in the brown sugar and eggs. Add the cocoa, salt and baking powder and stir until well combined. Add the flour and stir until just mixed. Then stir in the chocolate chips.

Drop dough by the tablespoon onto the baking sheets (no more than 12 per sheet). Use your finger make a large indentation the centre of the dough; fill the indentation with about 1/2 teaspoon of Nutella and top with a Rolo. Take another tablespoon of dough and flatten it with your fingers, then place over top of the dough balls. Seal the edges and very gently flatten just a little bit.

Sprinkle with fleur de sel and bake for 8-10 minutes. Do not overbake. Allow to cool on the cookie sheet for about 10 minutes, then transfer to a wire rack to cool completely.

Nutella & Rolo Stuffed Double Chocolate Chip Cookies | Once Upon a Recipe

PS. If you’re looking for more great cookie recipes, check out the recipes for the cookies I received over at My Life Made Sweet & Saucy (Raspberry  Marshmallow S’mores!), Korena In the Kitchen (Cranberry-Orange Christmas Jammers), and The Snack Dept. (Minty Trader Joe’s Cookie Butter Cookies!).
Yeast Schmeast | Whole Wheat Pumpkin Spice Bagels

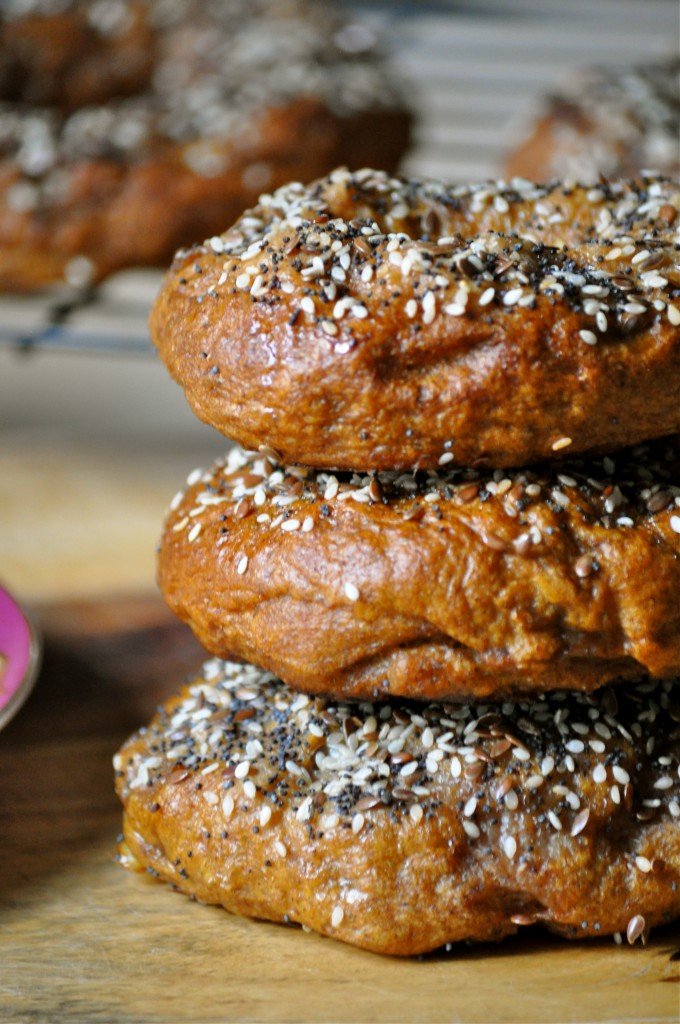
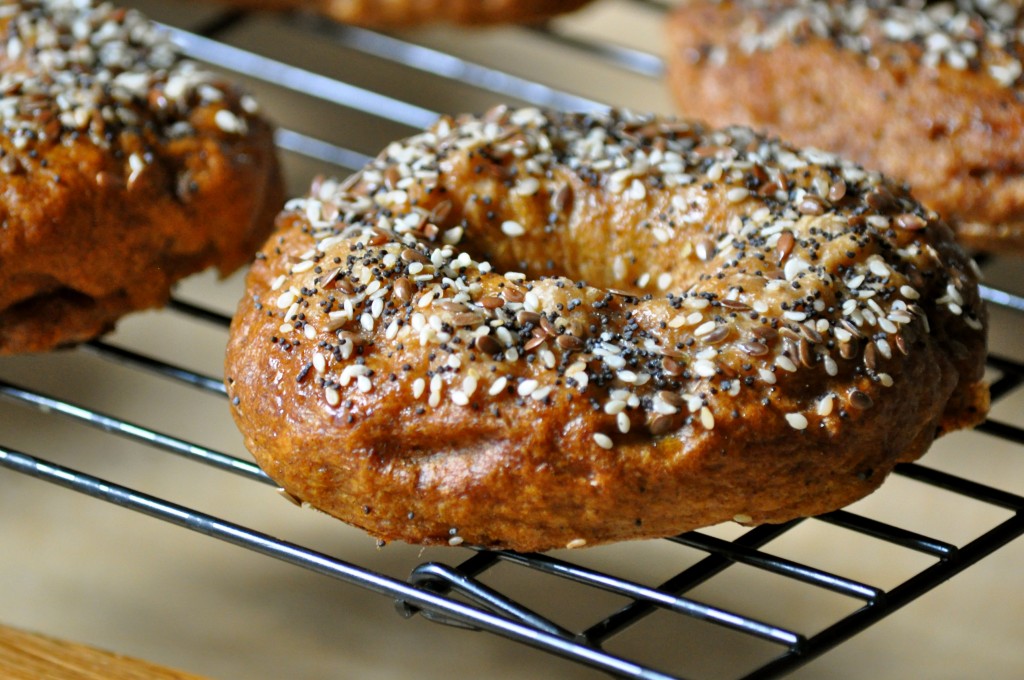
Whole Wheat Pumpkin Spice Bagels | Once Upon a Recipe

Friends, I am here to tell you that it is time to conquer your kitchen fears. Take a deep breath, close your eyes, and just jump in with both feet. Well, maybe don’t close your eyes. That could lead to trouble. BUT. Very, very good (and delicious) things can come from conquering your kitchen fears.

These bagels are a perfect example. You see, me and yeast aren’t exactly tight. I mean, we usually get along when we’re making cinnamon rolls, but I’m not too trusting of yeast when approaching other baking endeavors. Yeast can be a bit temperamental. Like – oh, don’t make the water too hot or you’ll kill me! But don’t make it too cold either, or I won’t wake up. Don’t add too much sugar or you’ll slow me down! Basically, yeast does whatever the hell it feels like when I’m around.

PS. I’m not a bread maker, for obvious reasons.

Whole Wheat Pumpkin Spice Bagels | Once Upon a Recipe

However, this past weekend I wanted to try something new. Something that would challenge me and test the boundaries of my baking abilities. And given the arrival of the Autumn Equinox (umm, yay!), I also just had to bust out the pumpkin. And then I came across a recipe for pumpkin bagels. Hallelujah. Let’s do it!

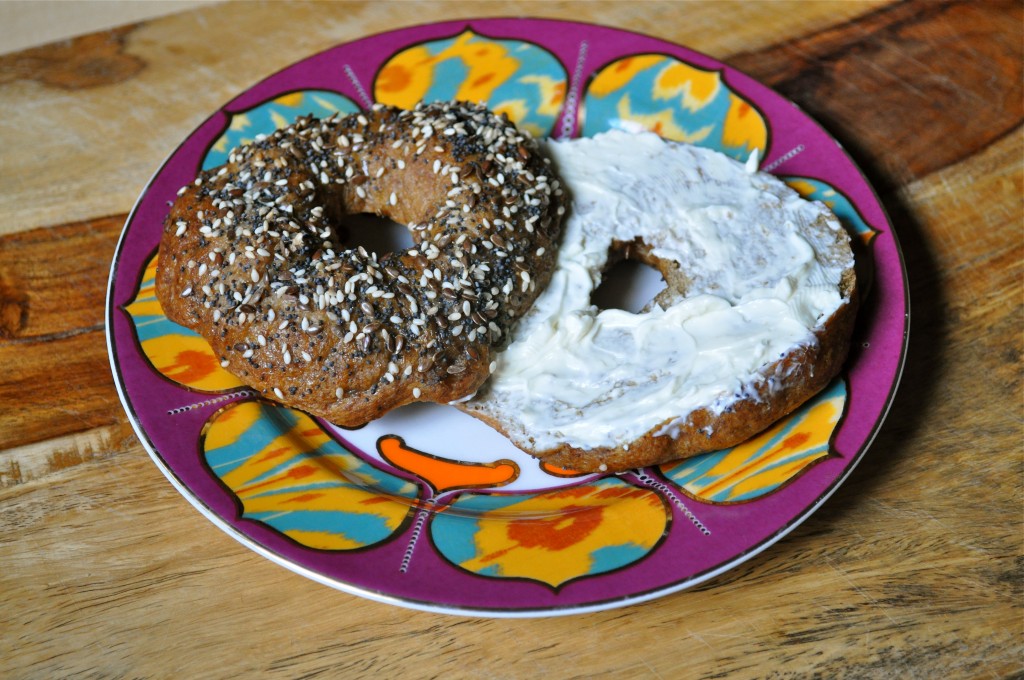
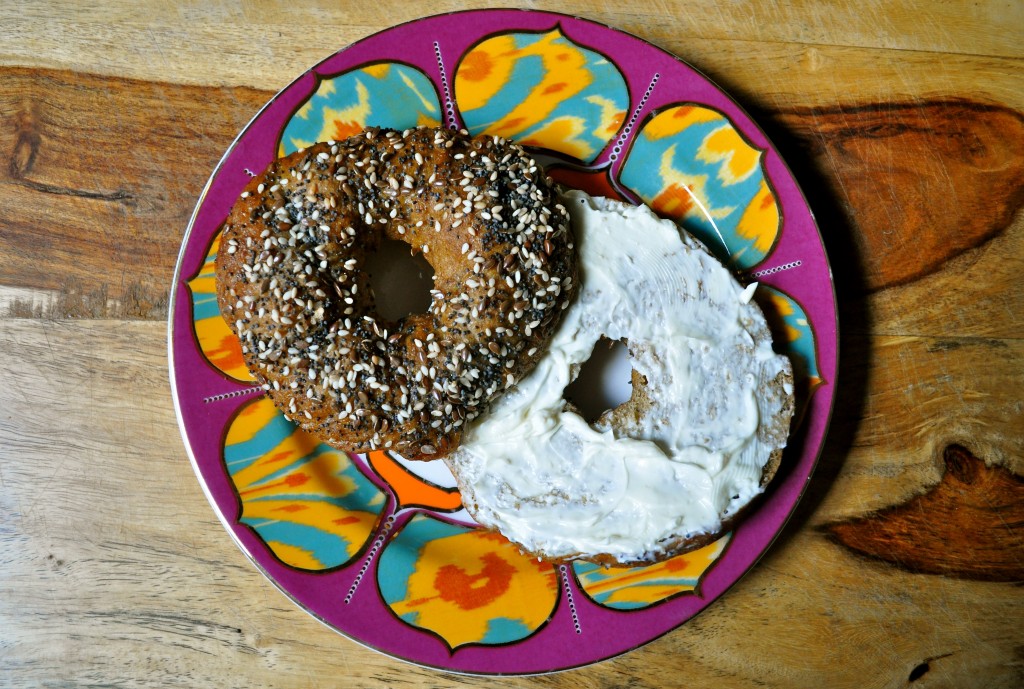
Disclaimer: Making bagels is not an activity for the faint of heart. They take some time. However, when you pull those fresh bagels out of the oven, slice one up, toast it until it’s golden brown, and slather on a generous amount of cream cheese, it all seems worth it. I promise you.

Whole Wheat Pumpkin Spice Bagels | Once Upon a Recipe   Whole Wheat Pumpkin Spice Bagels | Once Upon a Recipe

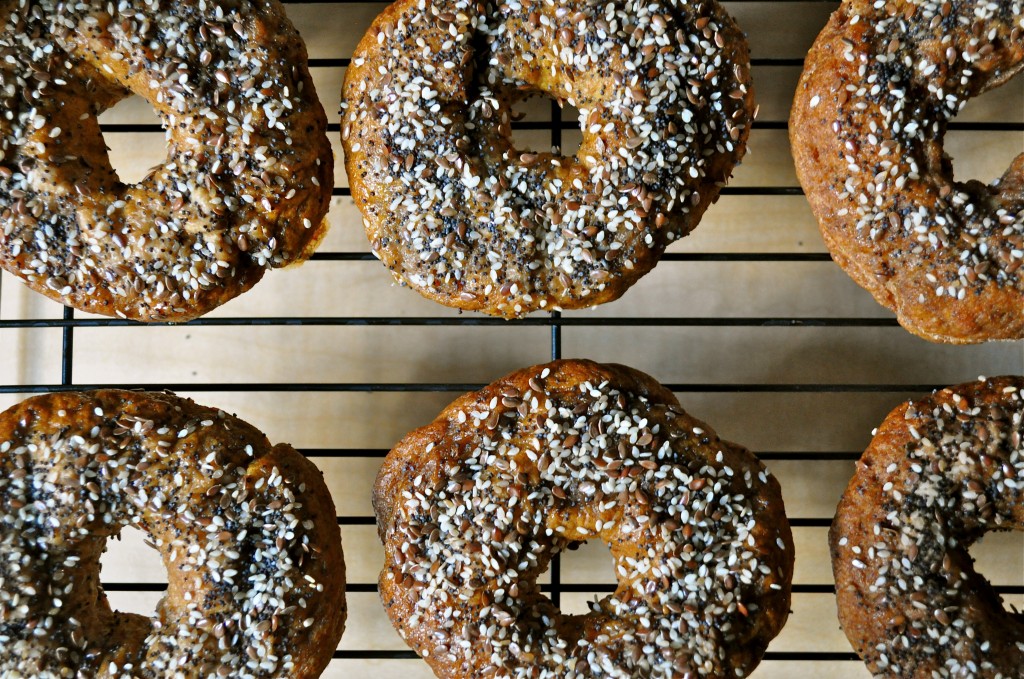
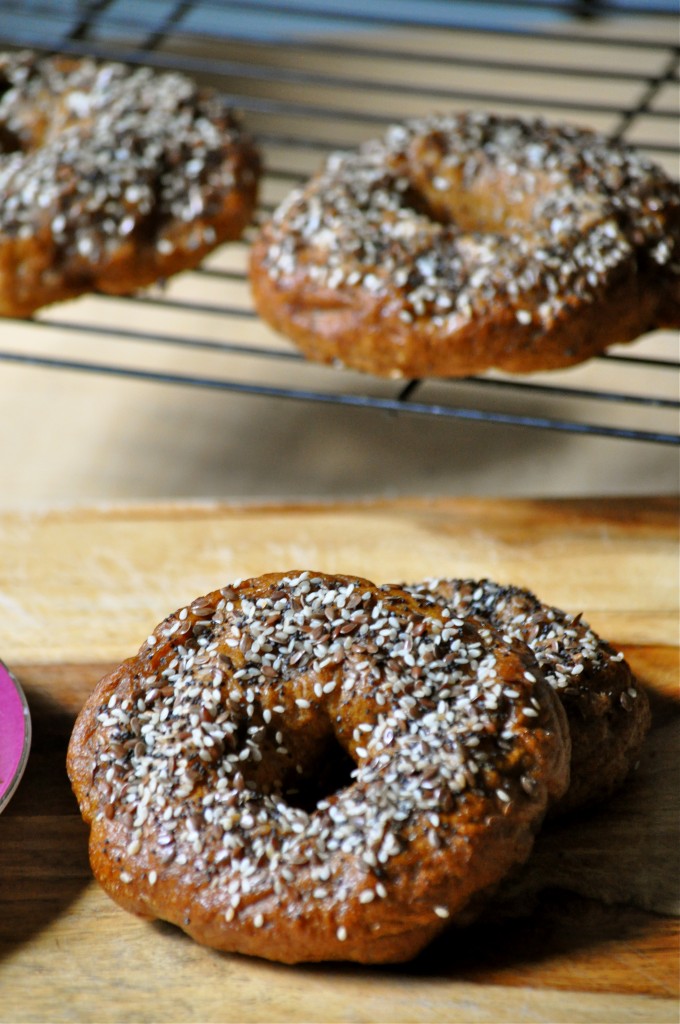
My advice – plan ahead. Get everything together ahead of time and be patient. Don’t rush through the recipe – read it through first so you know what you’re getting into. Take your time and enjoy the process. My essential accessories of choice on this adventure – a french press full of hot coffee and some good tunes. I’m not going to claim to be a bagel pro just yet, but I was really pleased with how these turned out for my first attempt. The pumpkin flavor is not overwhelming and the spices are very subtle. My favorite way to enjoy these bagels was by toasting and slathering them with either butter or cream cheese. I bet they would make amazing bagel sandwiches too.

Happy Fall friends!

Whole Wheat Pumpkin Spice Bagels | Once Upon a Recipe

Whole Wheat Pumpkin Spice Bagels (very slightly adapted from The Tart Tart, which was adapted from Honest Cooking)

Makes 8 bagels. I made these bagels two ways – the first time with whole wheat and all-purpose flour (as indicated in the recipe), and the second time with only spelt flour. I loved the texture of the spelt bagels, but found the dough extremely difficult to work with. I ended up adding almost an entire additional cup of spelt flour in order to get the dough to come together enough to handle. If you’re going to use spelt flour, just be aware of this and exercise additional patience!

2 1/4 tsp. active dry yeast

1 cup warm water

1/3 cup brown sugar

2 cups all-purpose flour

1 cup whole wheat flour

1 tsp. cinnamon

1 tsp. salt

1/2 tsp. nutmeg

1/2 tsp. ginger

1/4 tsp. ground cloves

1/4 tsp. allspice

1/2 cup pure pumpkin

1 TBSP. baking soda (for the soda bath)

1 egg (for the egg wash)

Toppings – ie. sesame seeds, flax seeds, poppy seeds, sea salt

In the bowl of a stand mixer, combine the yeast, water, and brown sugar. Whisk together and set aside for about 10 minutes, until the mixture becomes frothy.

In a separate large bowl, combine the flours, cinnamon, salt, nutmeg, ginger, cloves, and allspice. Add the pumpkin to the yeast mixture, and using the dough hook, start mixing on low speed. Slowly add the flour mixture until it is completely combined, about 3 to 5 minutes. At this point, the dough should be smooth and elastic, but not too sticky (it will be pulling away from the sides of the bowl). If it is too sticky, incorporate more flour, one TBSP. at a time. Place the dough in a bowl coated with oil and cover, allowing it to rise in a warm place until it doubles in size, about 90 minutes.

After 90 minutes, transfer the dough to a lightly floured surface. Divide it into 8 equal pieces and roll them into balls. Cover and let rise about 20 minutes more.

Then, using your thumb, punch a hole into the middle of each ball and widen it, trying to make it even on all sides. Widen the hole more than you think necessary, because it will shrink in the boiling and baking process. Set the dough on a parchment paper or Silpat-covered baking sheet. Repeat with the other balls.

Preheat your oven to 425°F and prepare the egg wash by cracking the egg into a small bowl and whisking with a fork.

Fill a large pot about halfway with water and bring it to a boil. Once the water is boiling, add in the baking soda and gently mix. Working in batches of 2-3 bagels at a time, drop the bagels into the boiling water and cook for 2 minutes. Flip them and cook for 2 minutes more (the longer you boil the bagels, the chewier they will turn out – boil for 1 minute on each side if you want them to be less chewy). Once done, remove them with a slotted spoon and place back on the baking sheet. Lightly blot them with a paper towel to remove some of the excess water. Then brush them with the egg wash and sprinkle with the toppings of your choice. Bake the bagels for 15 to 20 minutes (until golden brown), rotating the pan halfway through.

Whole Wheat Pumpkin Spice Bagels | Once Upon a Recipe

What are you baking up in your kitchen to welcome Fall?

Well Paired | Rosemary-Lemon Sandwich Cookies

Rosemary-Lemon Sandwich Cookies | Once Upon a Recipe


Well, I hate to point out the obvious, but…we survived. The world goes on.

Hopefully, you’re prepared for Christmas because it’s coming in just three more days and now you really have no excuse for not being ready. However, whether you’ve accidentally left everything to the last minute (or not), I’m here to help.

Rosemary-Lemon Sandwich Cookies


First of all, you must go make some lemon butter. It’s quick! It’s easy! It’s delicious! It makes a wonderful gift! Aside from its extremely high deliciousness factor, it’s darn cute!

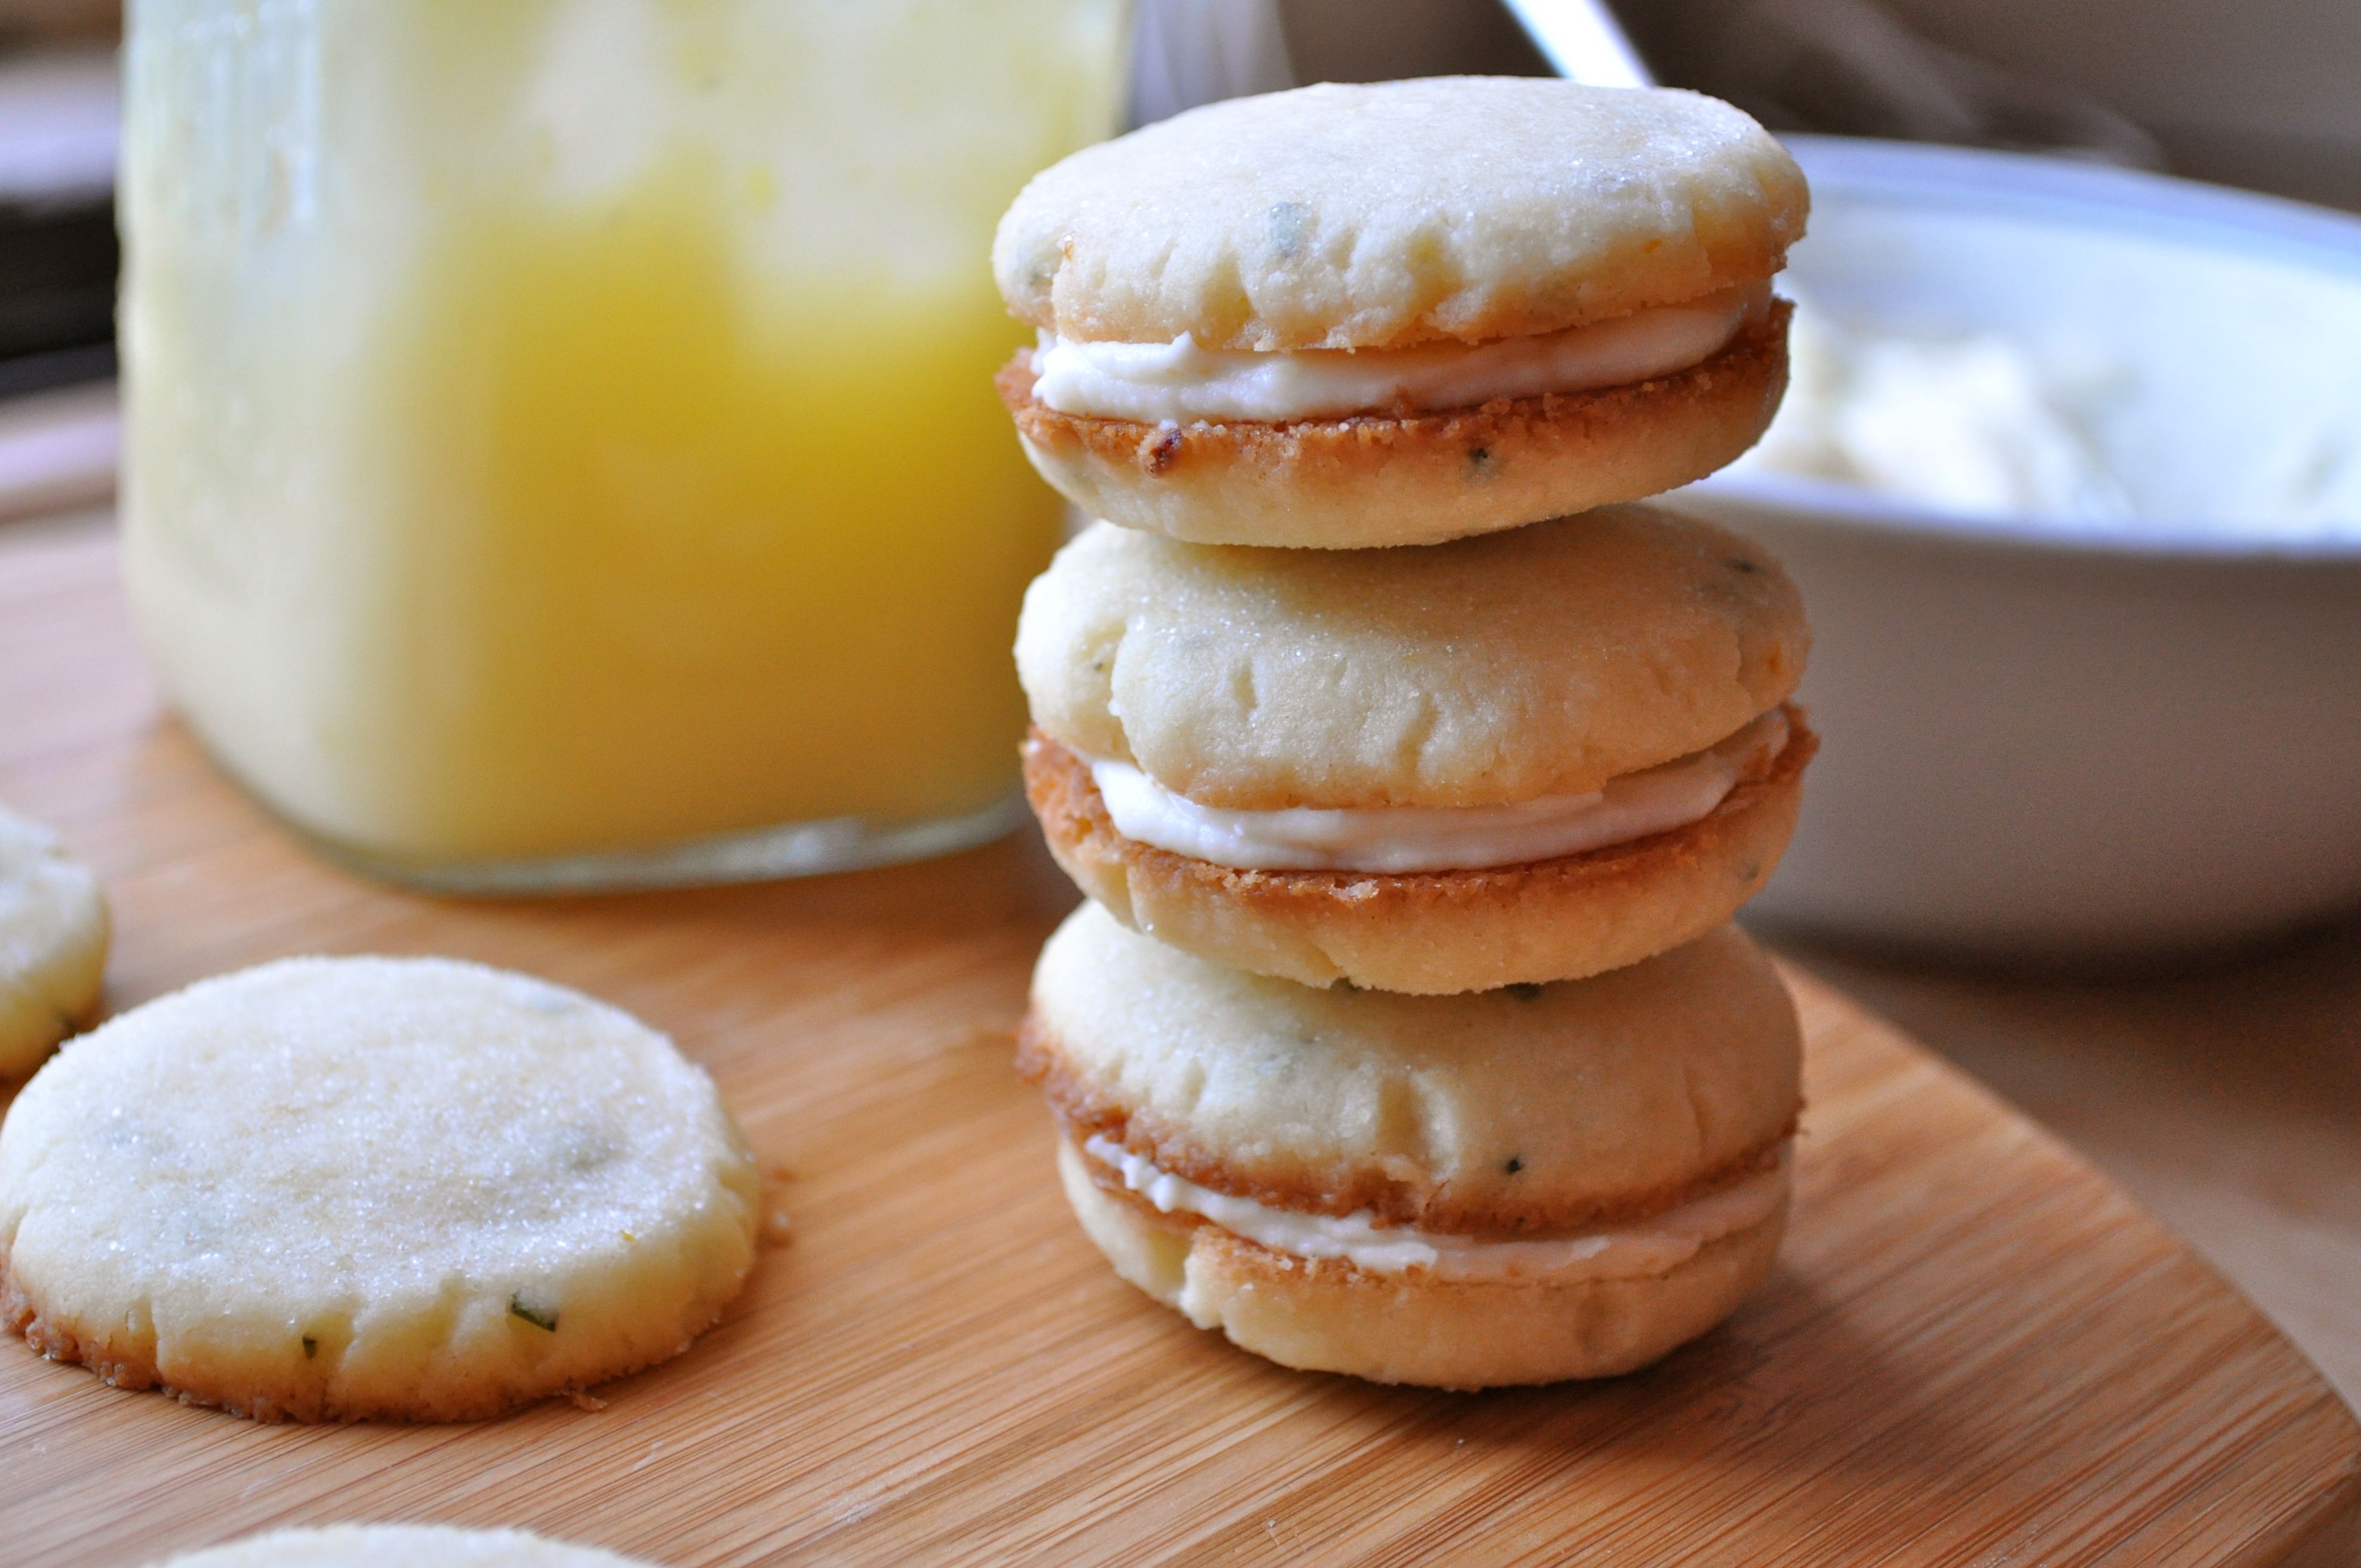
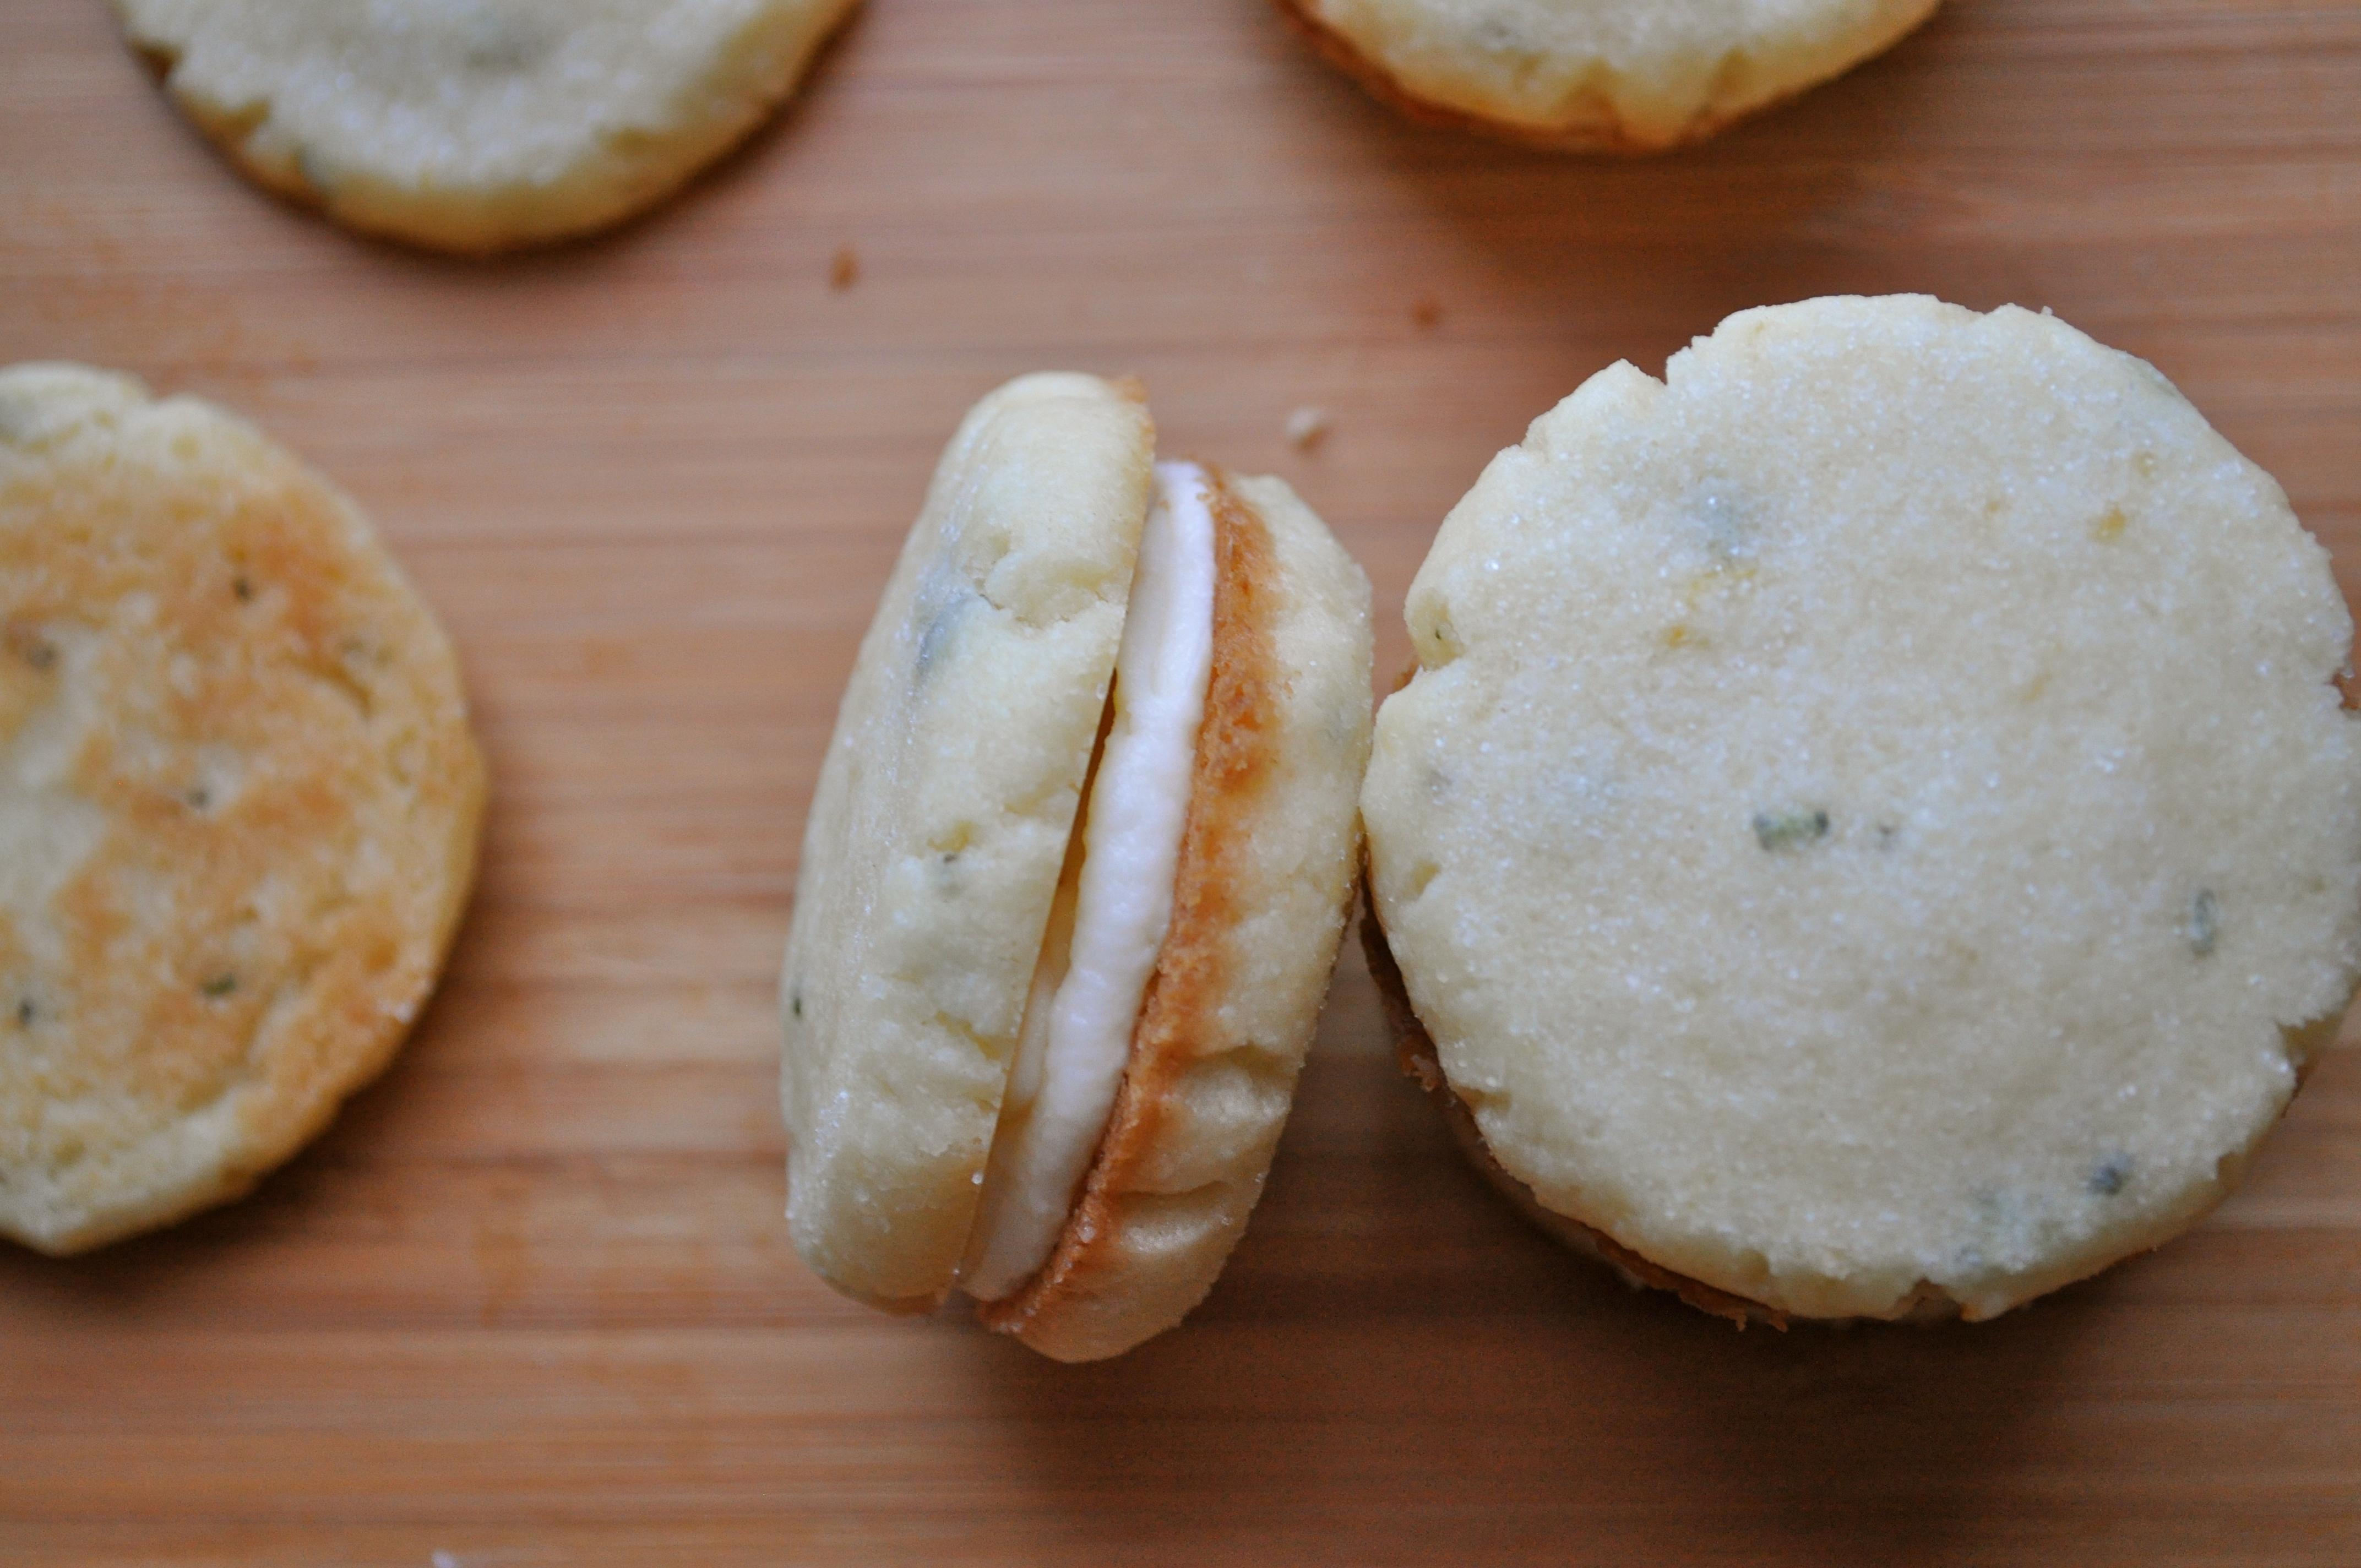
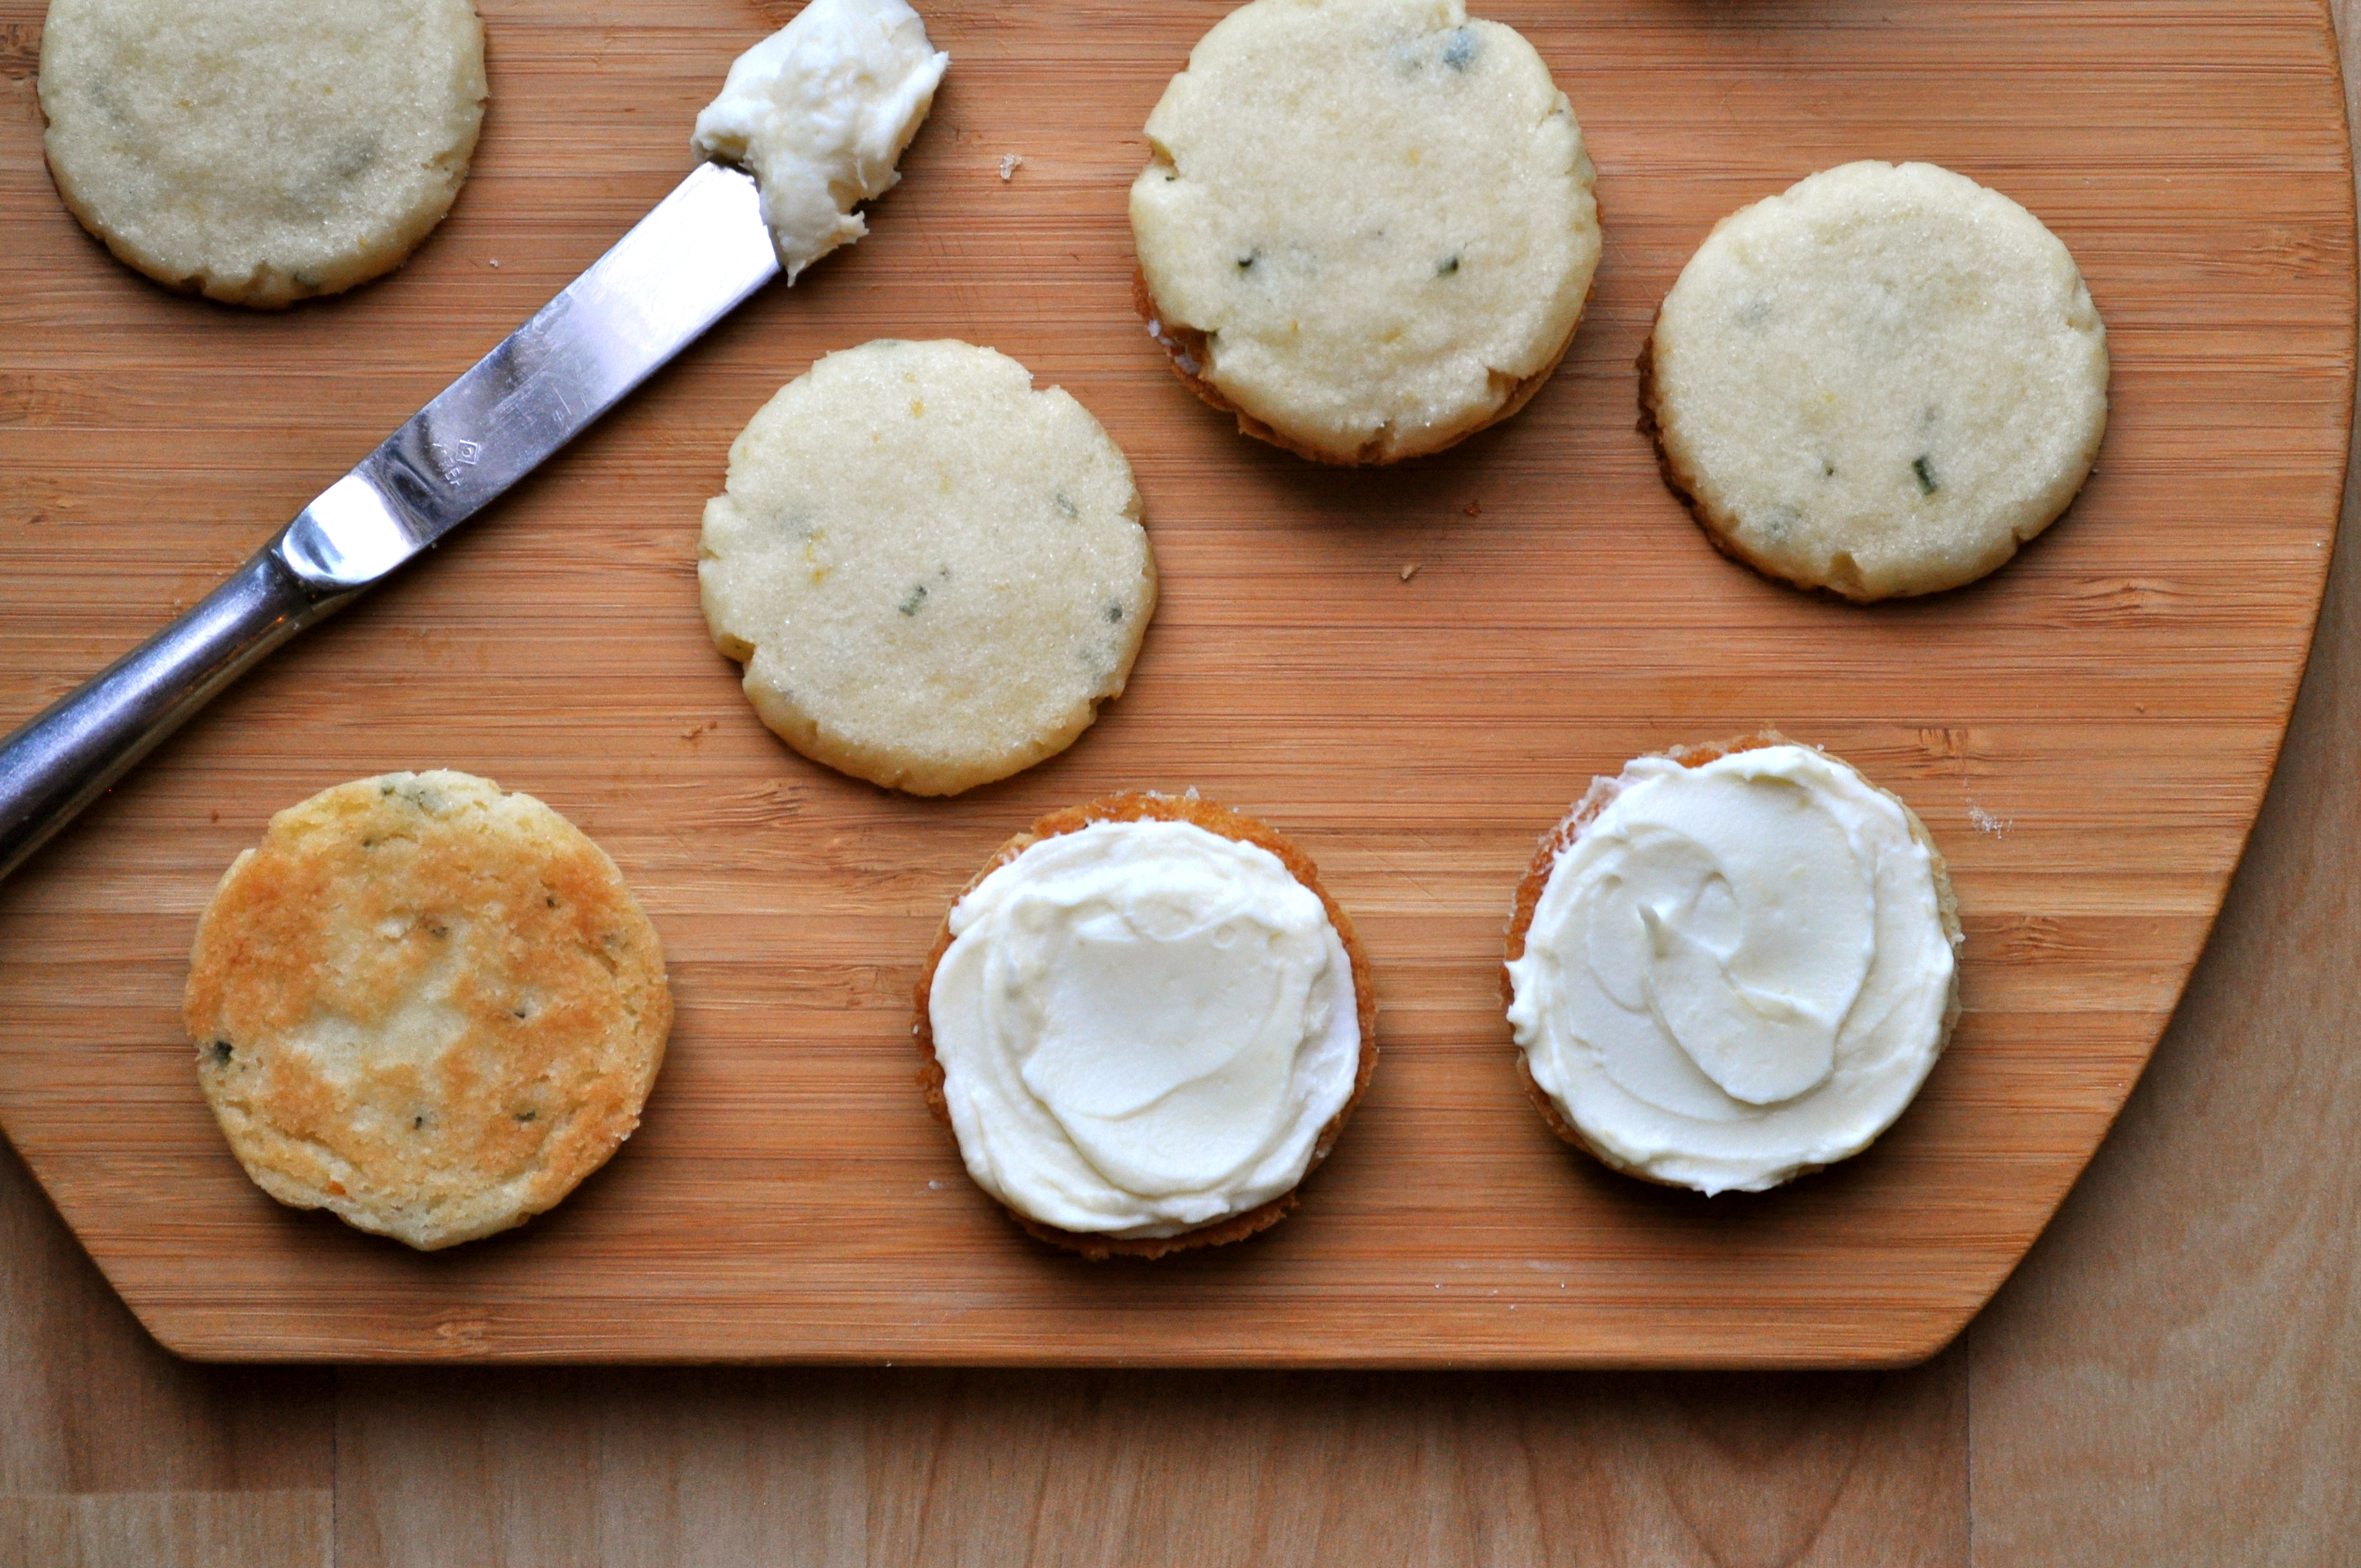
But if you want to go the extra mile, make some rosemary lemon shortbread-esque cookies, and then sandwich them together with a creamy mixture of lemon butter and mascarpone cheese. Umm, yeah…you’re going to want to do this, if not for others then for yourself. And don’t fret! If you just don’t have the time or energy to make your own lemon butter, you could certainly substitute store bought lemon curd or even lemon pie filling for the lemon butter. Although I highly recommend going the extra mile and making your own lemon butter. Just sayin’. And please, don’t be afraid of the rosemary in this recipe. It adds a very subtle flavor that complements the lemon beautifully. This ain’t no one-dimensional cookie. This is a multidimensional cookie!

Rosemary-Lemon Sandwich Cookies | Once Upon a Recipe


Rosemary-Lemon Sandwich Cookies | Once Upon a Recipe


Thank you to my lovely coworker, Jenn for sharing this recipe with me. It comes from the latest issue of Better Homes and Gardens. And let me tell you, it’s decadent. I encourage you to double the recipe as one batch only makes about 18 sandwiches. But then again, you will most certainly be tempted to eat these little creatures, so if you don’t plan on getting them out of your house immediately, this may be a case where less is more. Consider yourself warned.

Rosemary-Lemon Sandwich Cookies | Once Upon a Recipe


Make these friends. Share them with some special people. And get back to the celebrations of the season. Much love (and cookies) to you all.

Rosemary-Lemon Sandwich Cookies | Once Upon a Recipe


Rosemary-Lemon Sandwich Cookies (barely adapted from Better Homes and Gardens, Dec. 2012)

Makes about 18 sandwich cookies.

1 cup unsalted butter, softened

3/4 cup granulated sugar + extra for dipping

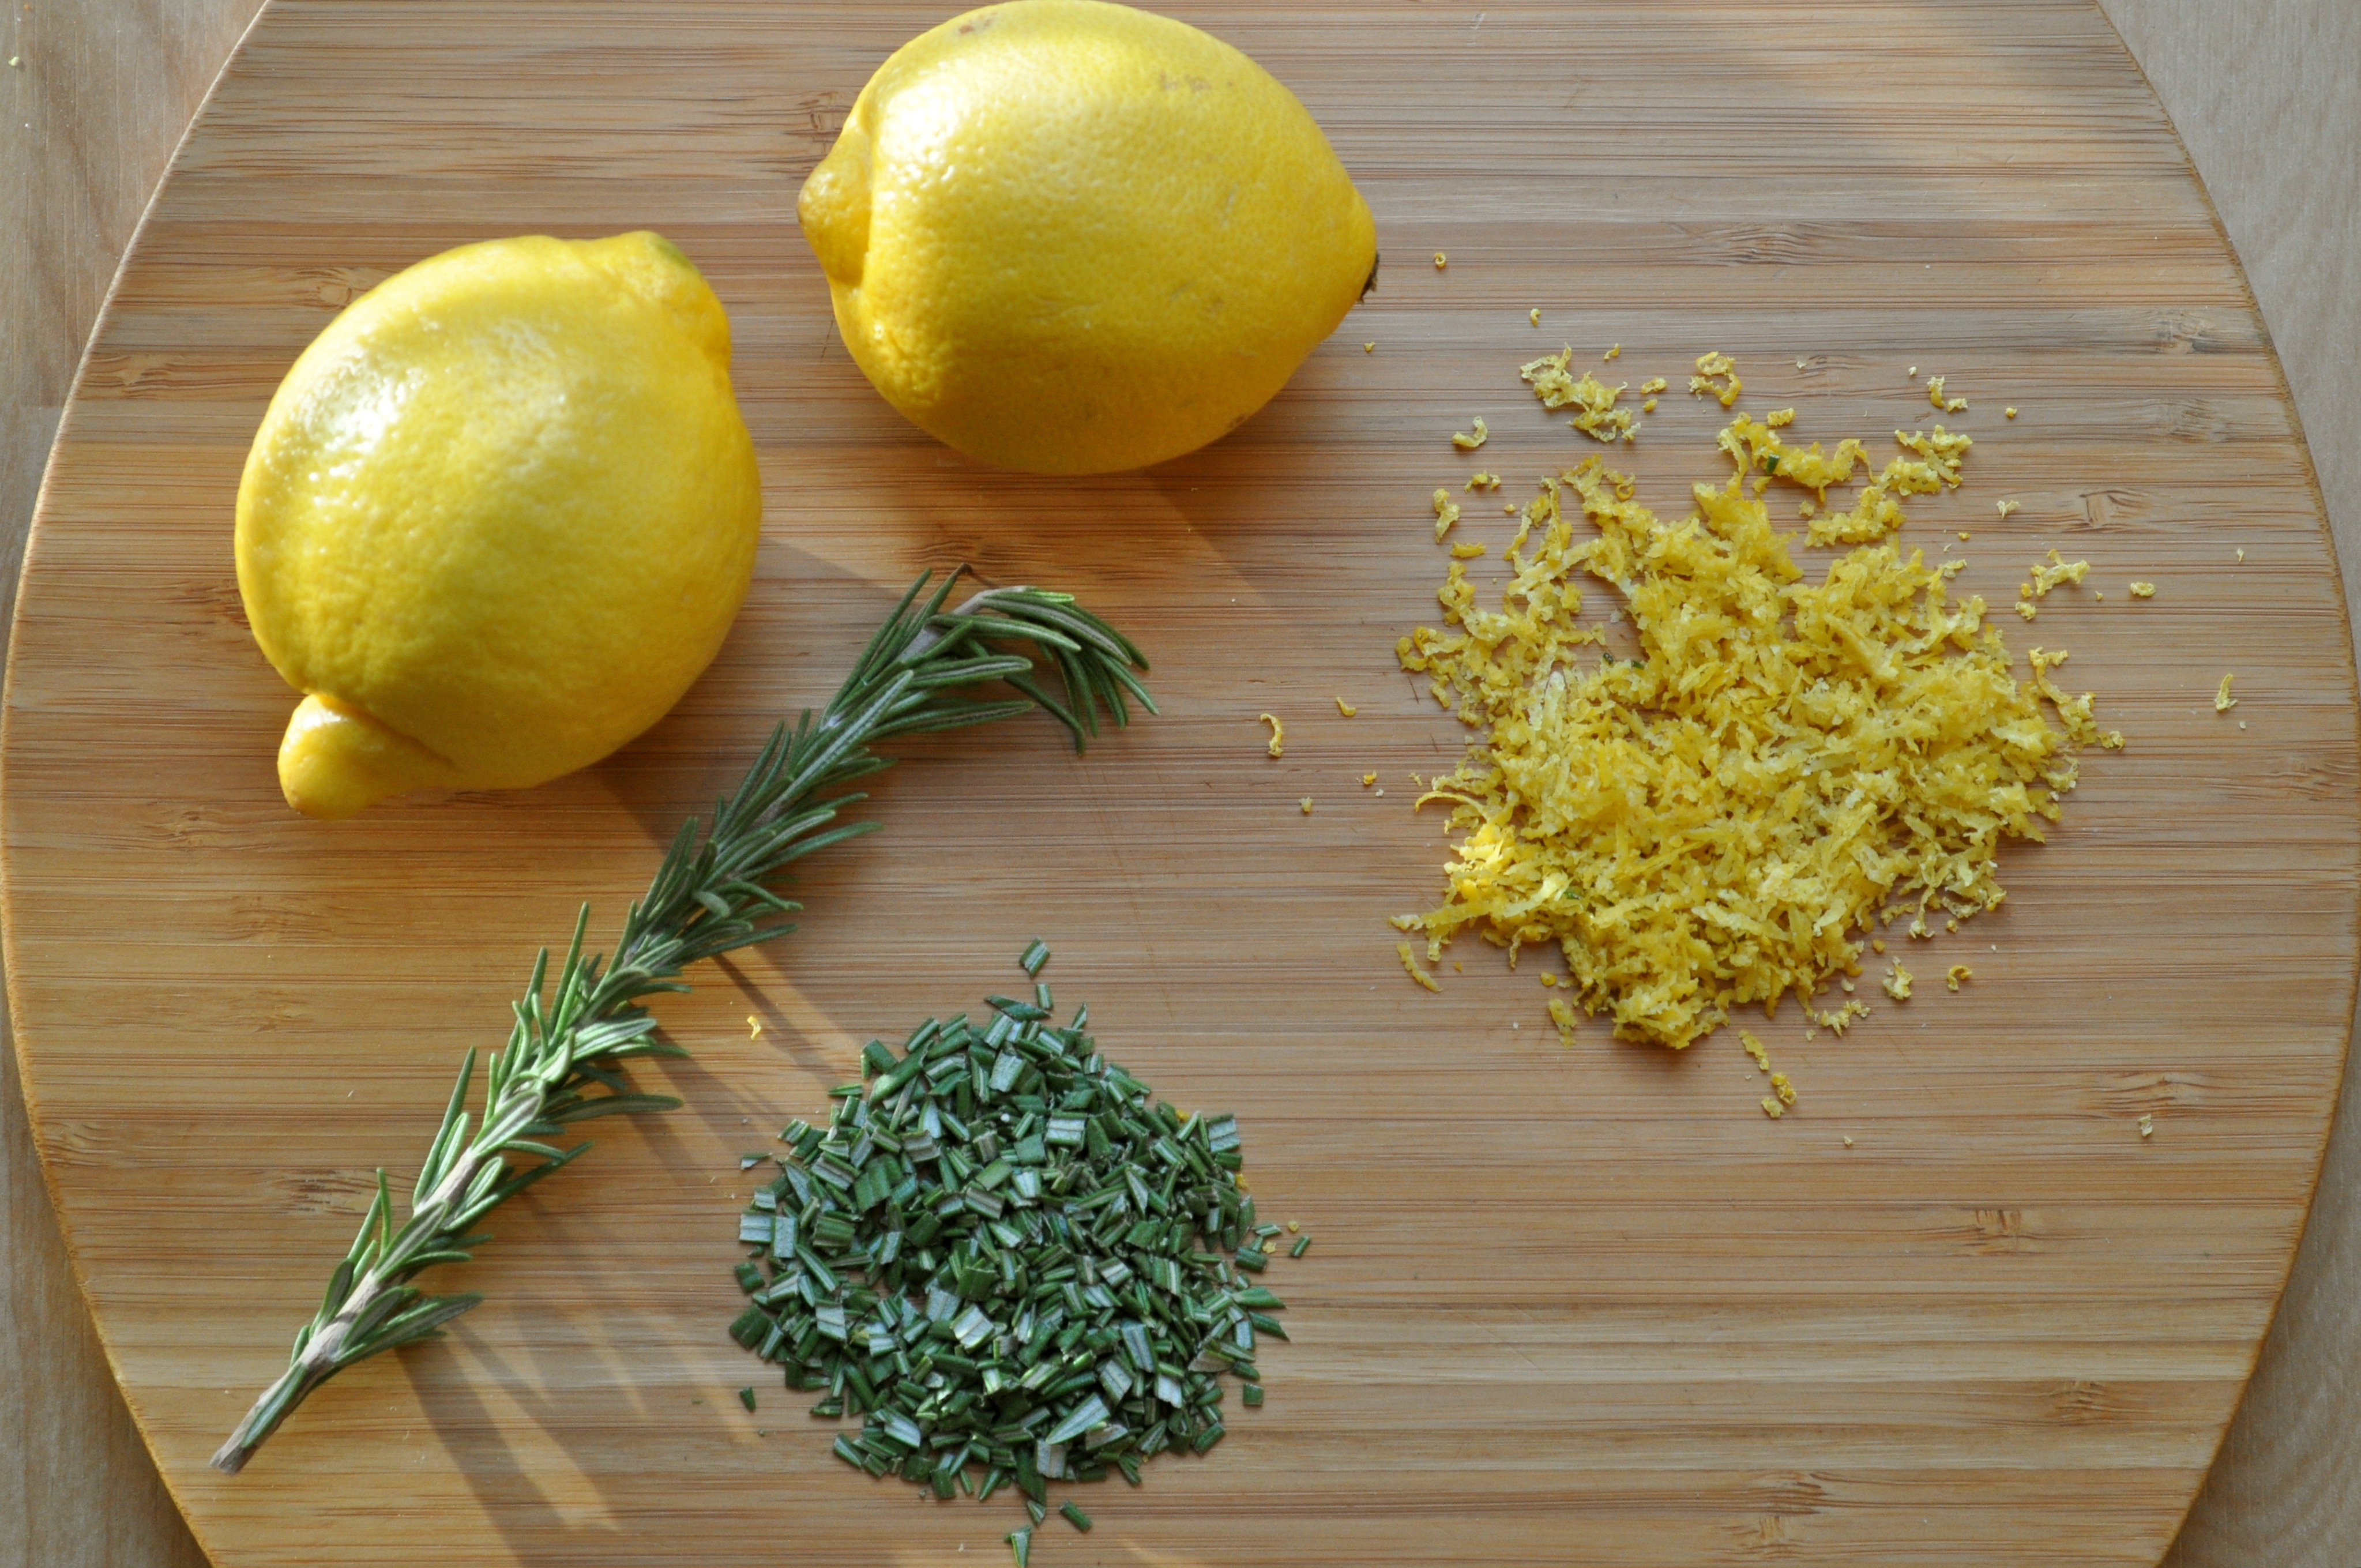
2 tsp. fresh rosemary, chopped

2 tsp. lemon zest (about 2 lemons)

1/2 tsp. baking powder

1/4 tsp. salt

1 tsp. vanilla

2 1/4 cups all-purpose flour

1/2 cup lemon butter

1/2 cup mascarpone cheese

Preheat the oven to 400°F. Prepare your cookie sheets with parchment paper or a silpat. In a large bowl, beat the butter on medium speed until creamy. Add the sugar, rosemary, lemon zest, baking powder, and salt, and beat until combined. Scrape the bowl to ensure everything is well incorporated. Beat in the vanilla, and then add the flour.

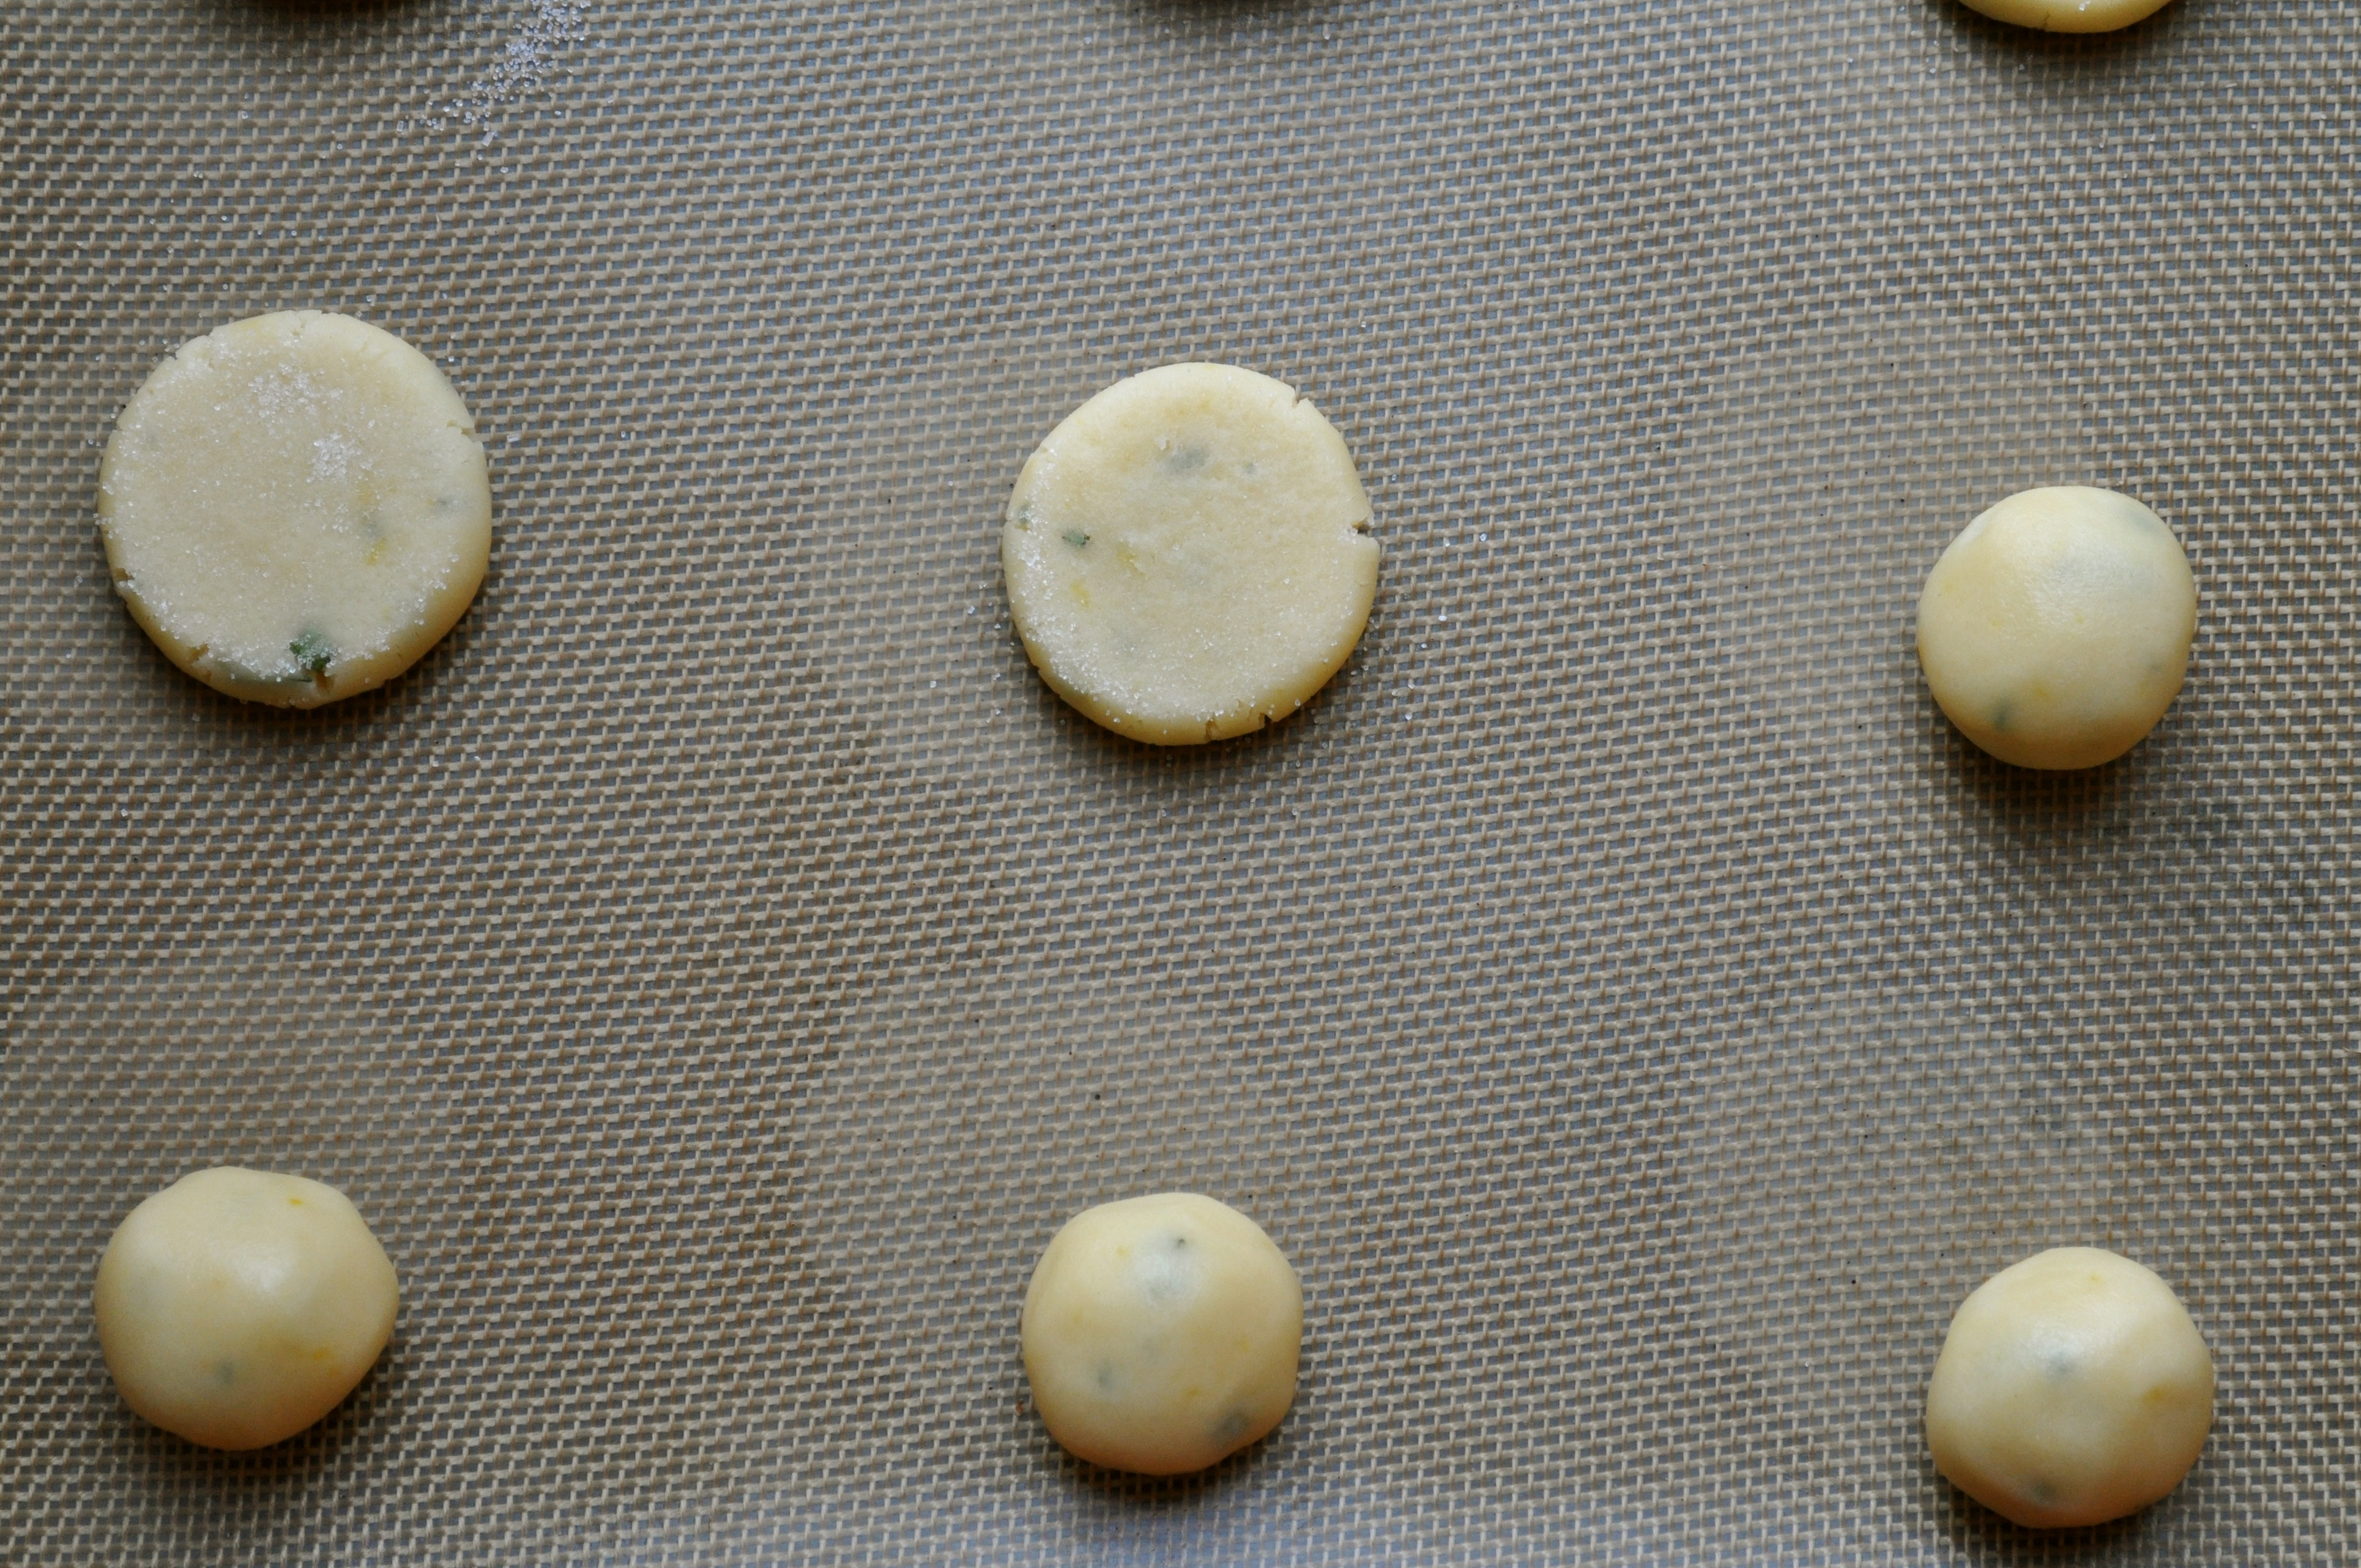
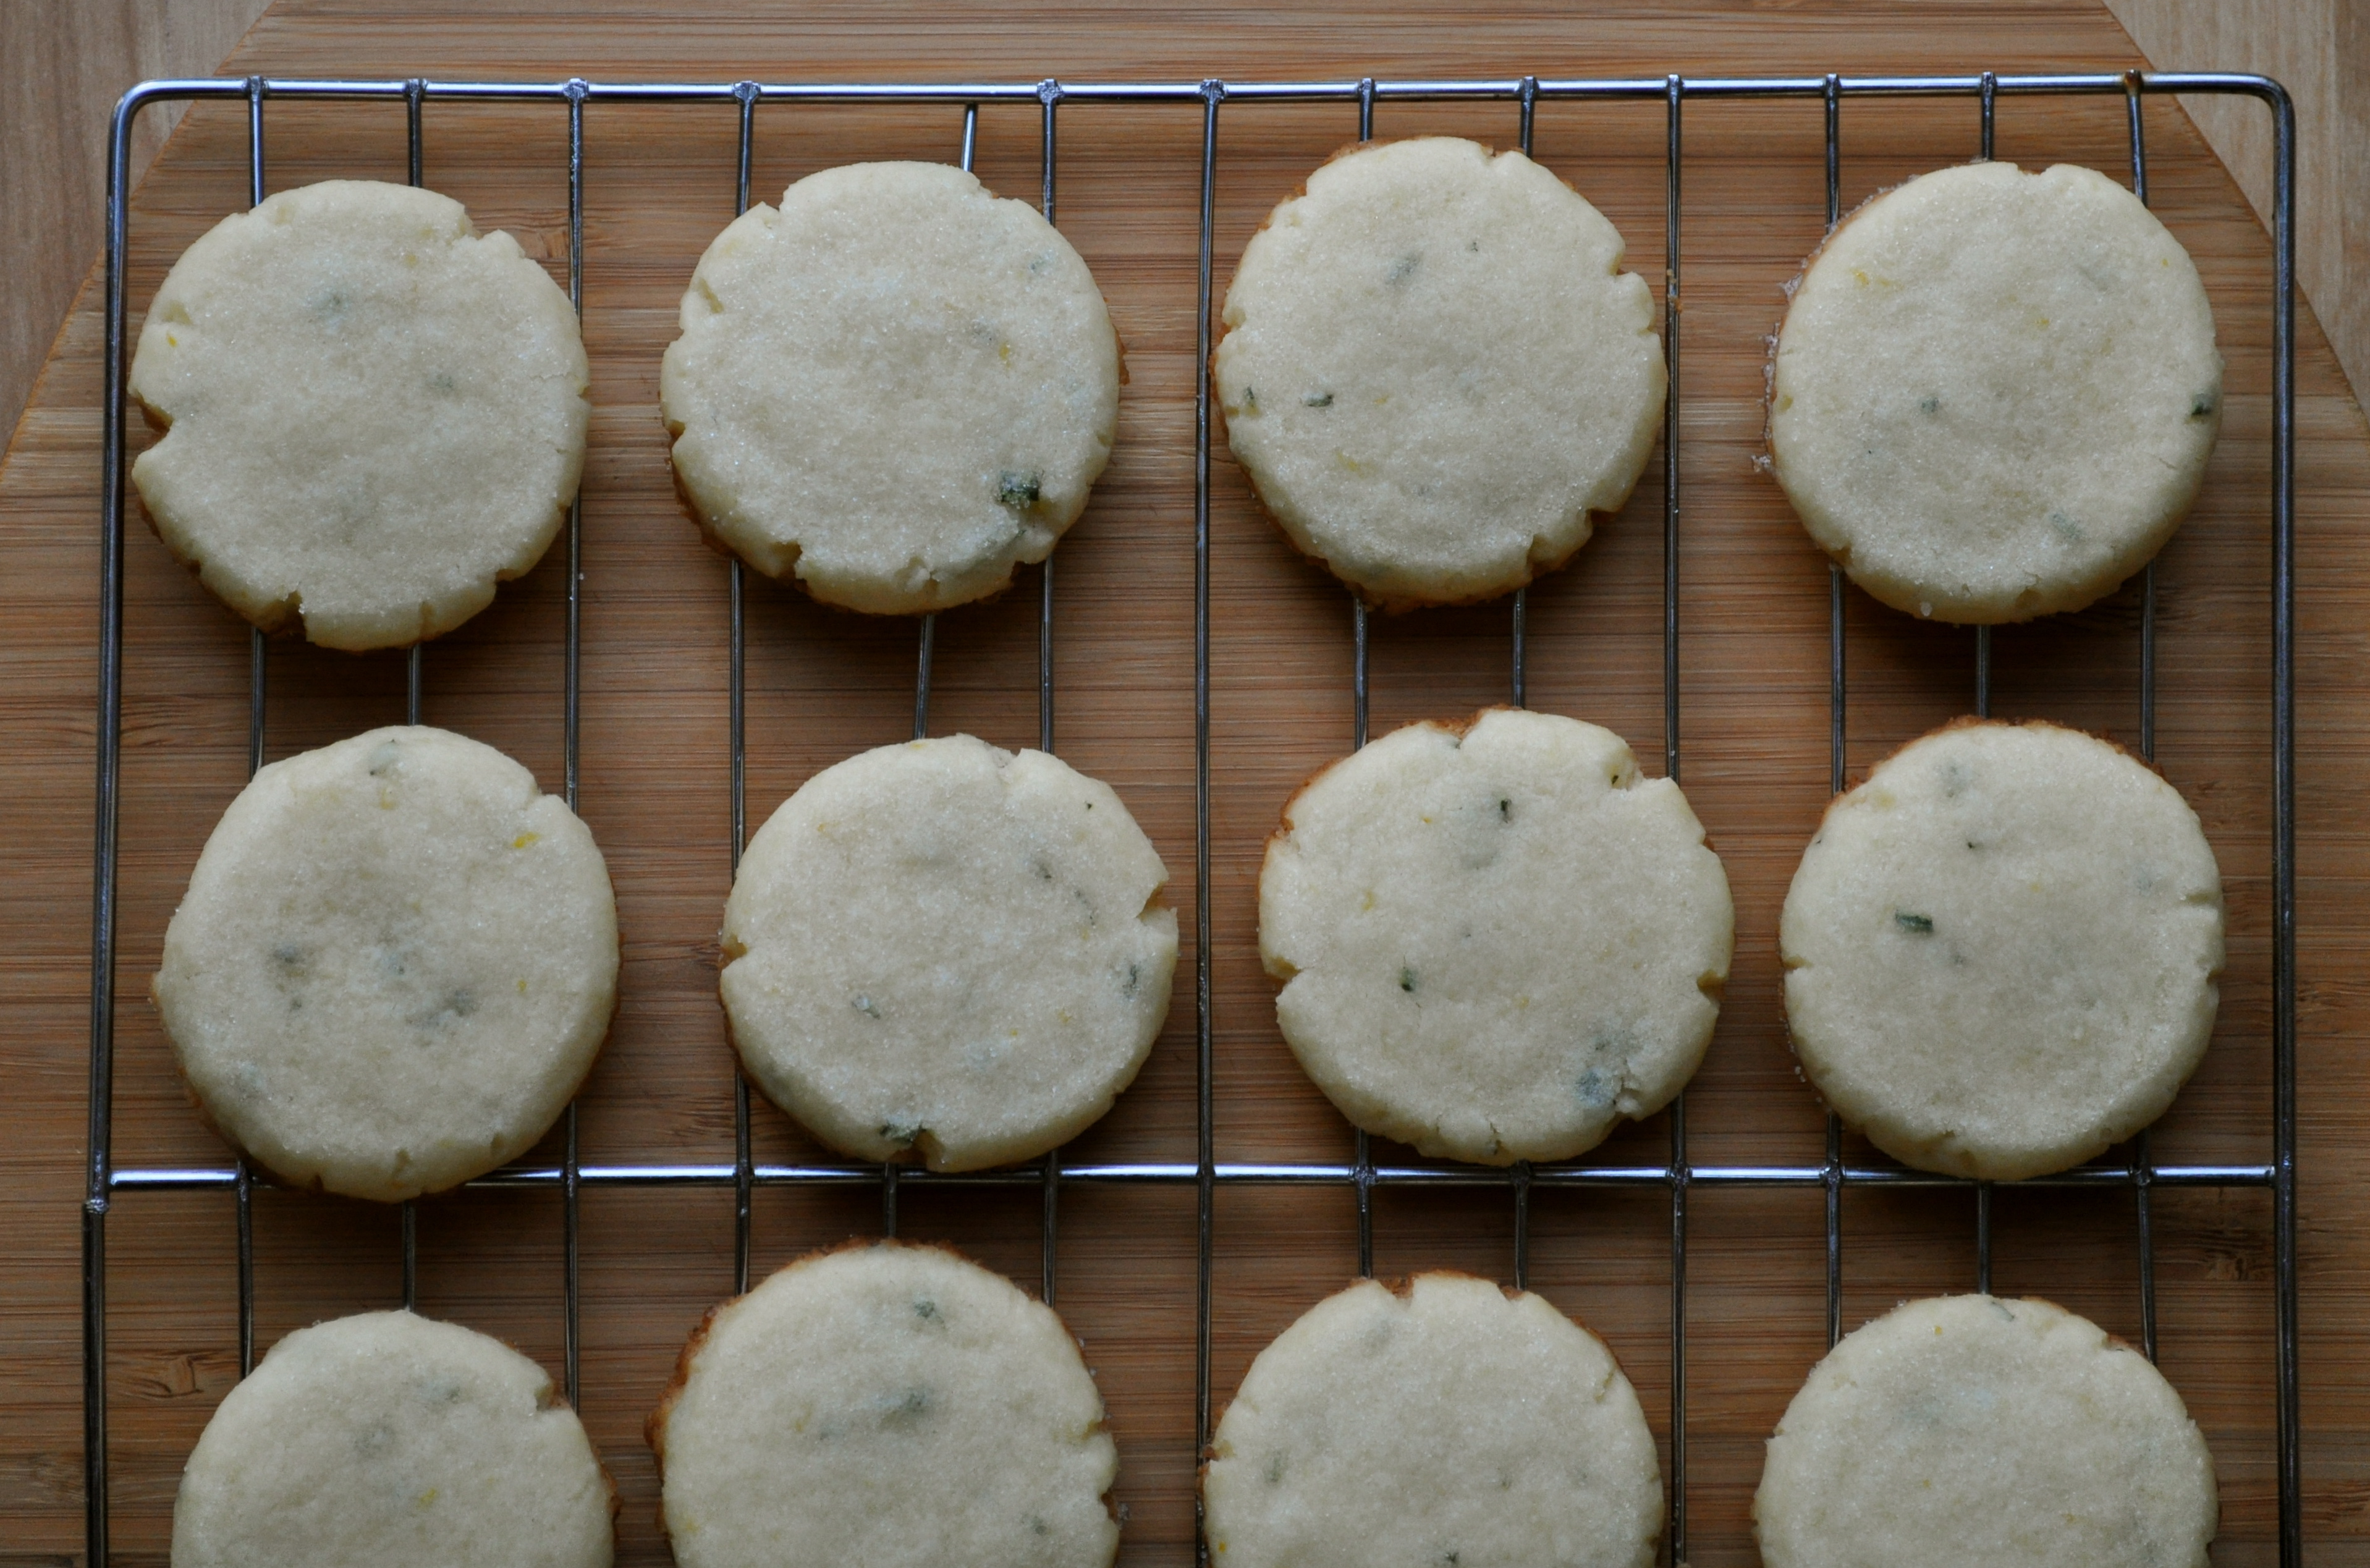
Shape the dough into 1-inch balls, and place on the cookie sheets. With the bottom of a glass dipped in sugar, flatten each ball to 1/2-inch thickness. Bake for about 8 minutes or until the bottoms are lightly browned. Cool completely.

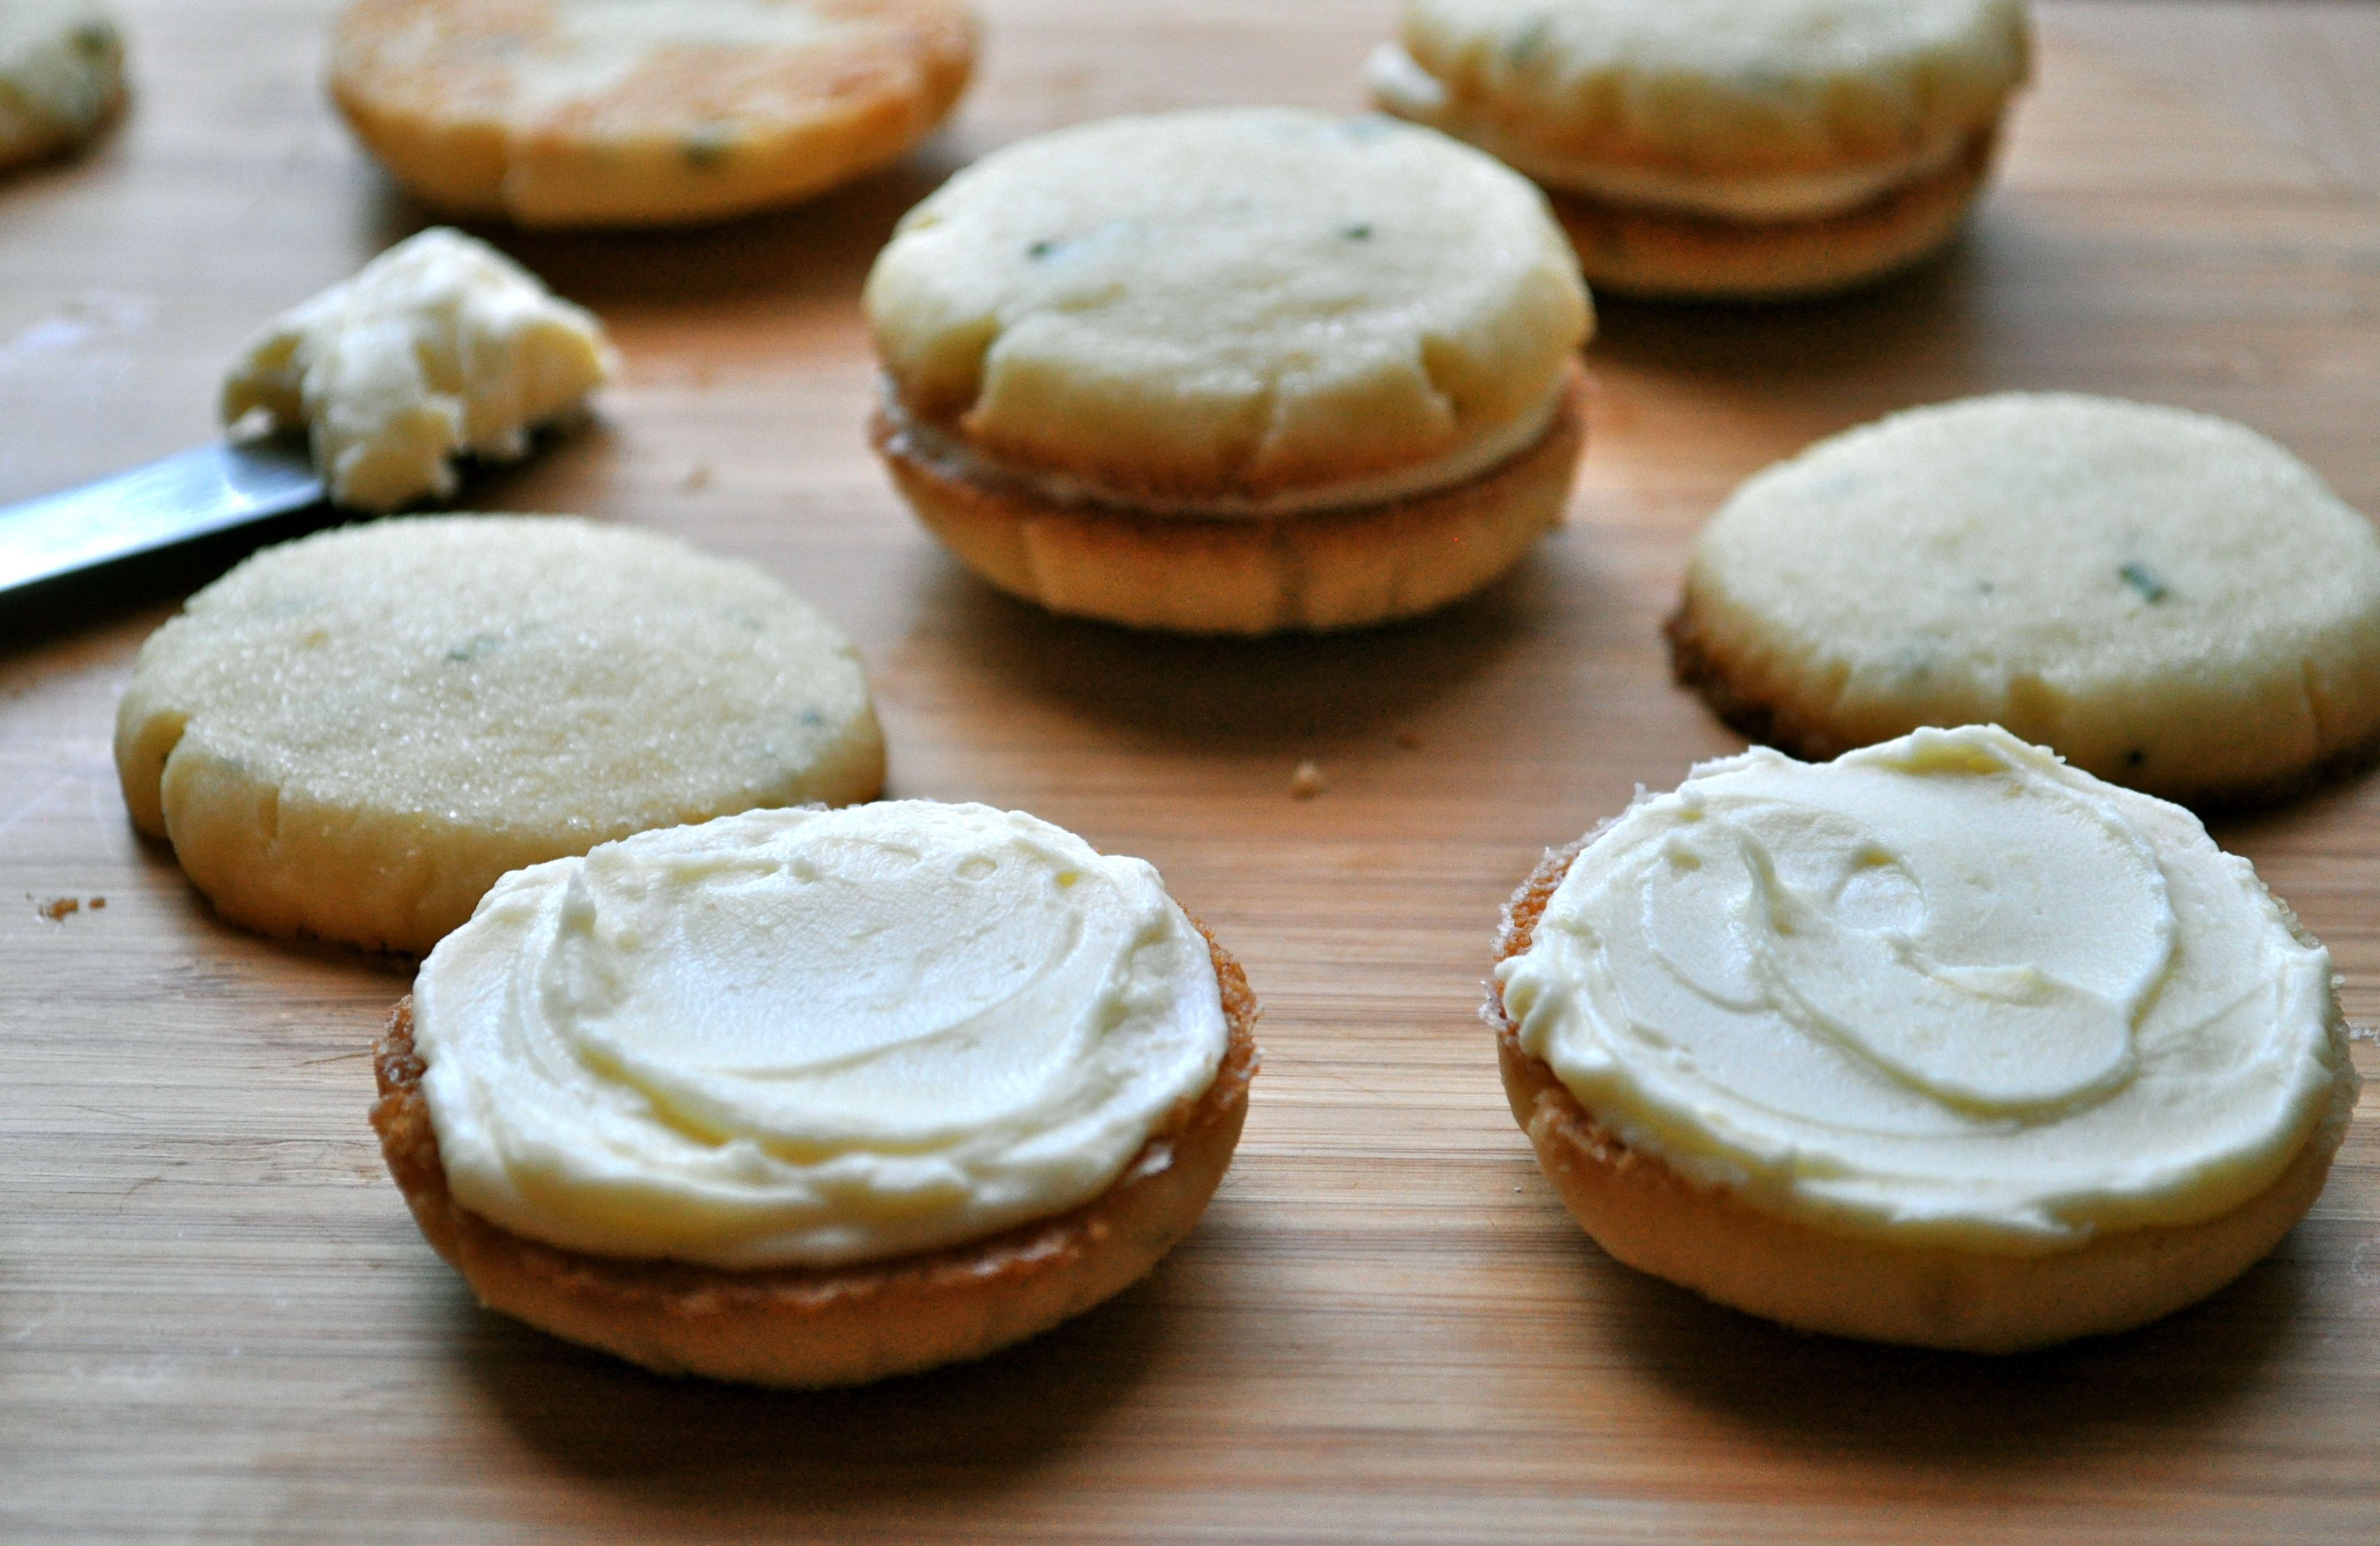
In a small bowl, combine the lemon butter and mascarpone cheese. Spread  on the bottom sides of half of the cookies, and top with the remaining cookies to make sandwiches. Layer sandwich cookies between sheets of waxed paper in an airtight container. Store in the refrigerator or freeze.

Rosemary-Lemon Sandwich Cookies | Once Upon a Recipe

Things Are Working Out | Lemon Coconut Cookies

Hello friends. My mind is full and cluttered today, so rather than fill your screens with my typical mutterings, I thought I would share a passage from a book I’ve been enjoying lately. If you’ve never heard of Melody Beattie’s Journey to the Heart, you should check it out. Journey to the Heart is a book of daily meditations – lovely and inspirational words to guide you on the path towards spiritual growth. If you just rolled your eyes, and spiritual growth isn’t your thang, keep scrolling for a wicked recipe. If you’re intrigued, keep on reading.

Many of my yoga instructors routinely read passages from this book, and during one particular class I connected so strongly to the passage that was shared that I approached the instructor afterwards to ask her what she was reading from. I picked up a copy of the book not long after that, and I’ve been slowly working my way through it. If you like what you hear, you might wish to get your hands on a copy too.

Things Are Working Out (Journey to the Heart: Daily Meditations on the Path to Freeing Your Soul, HarperCollins, 1996, p. 255-256):

Right now, this moment, things are working out. We natter away, trying to control, shape, and form. Trying to figure things out. We back off, then come closer. We worry and wonder. But things are working out. Things are working out as beautifully and Divinely as possible. The dance of life is taking place in sync with the rhythm of the universe.

Everything is working out, moving forward, evolving. There is a rhythm, an energy, a life force that continues, that shapes, that grows. You do not have to fight, resist, control, or even understand it. All you need to do is be – be present for your life, your love, yourself.

Your soul will lead you on. Your inner voice, your heart, is leading you on. Quiet your mind and trust that where you are and where you’re being led is perfect.

You don’t have to try to get it all together. You don’t have to strive to “have it all.” You already do have all that you need.

How many times have you been through an experience, fretting and fearful about the shape things were taking, only later to exclaim, Oh, I see now. Things were working out all along! Learn to say and believe that now.

Let your mind see what your soul already knows: things are working out perfectly. 

Sometimes it’s easy to worry and over think where we are at in our lives – are we doing enough? Are we doing too little? Relax. Breathe. Everything is working out, let’s enjoy the journey.

Be present. 

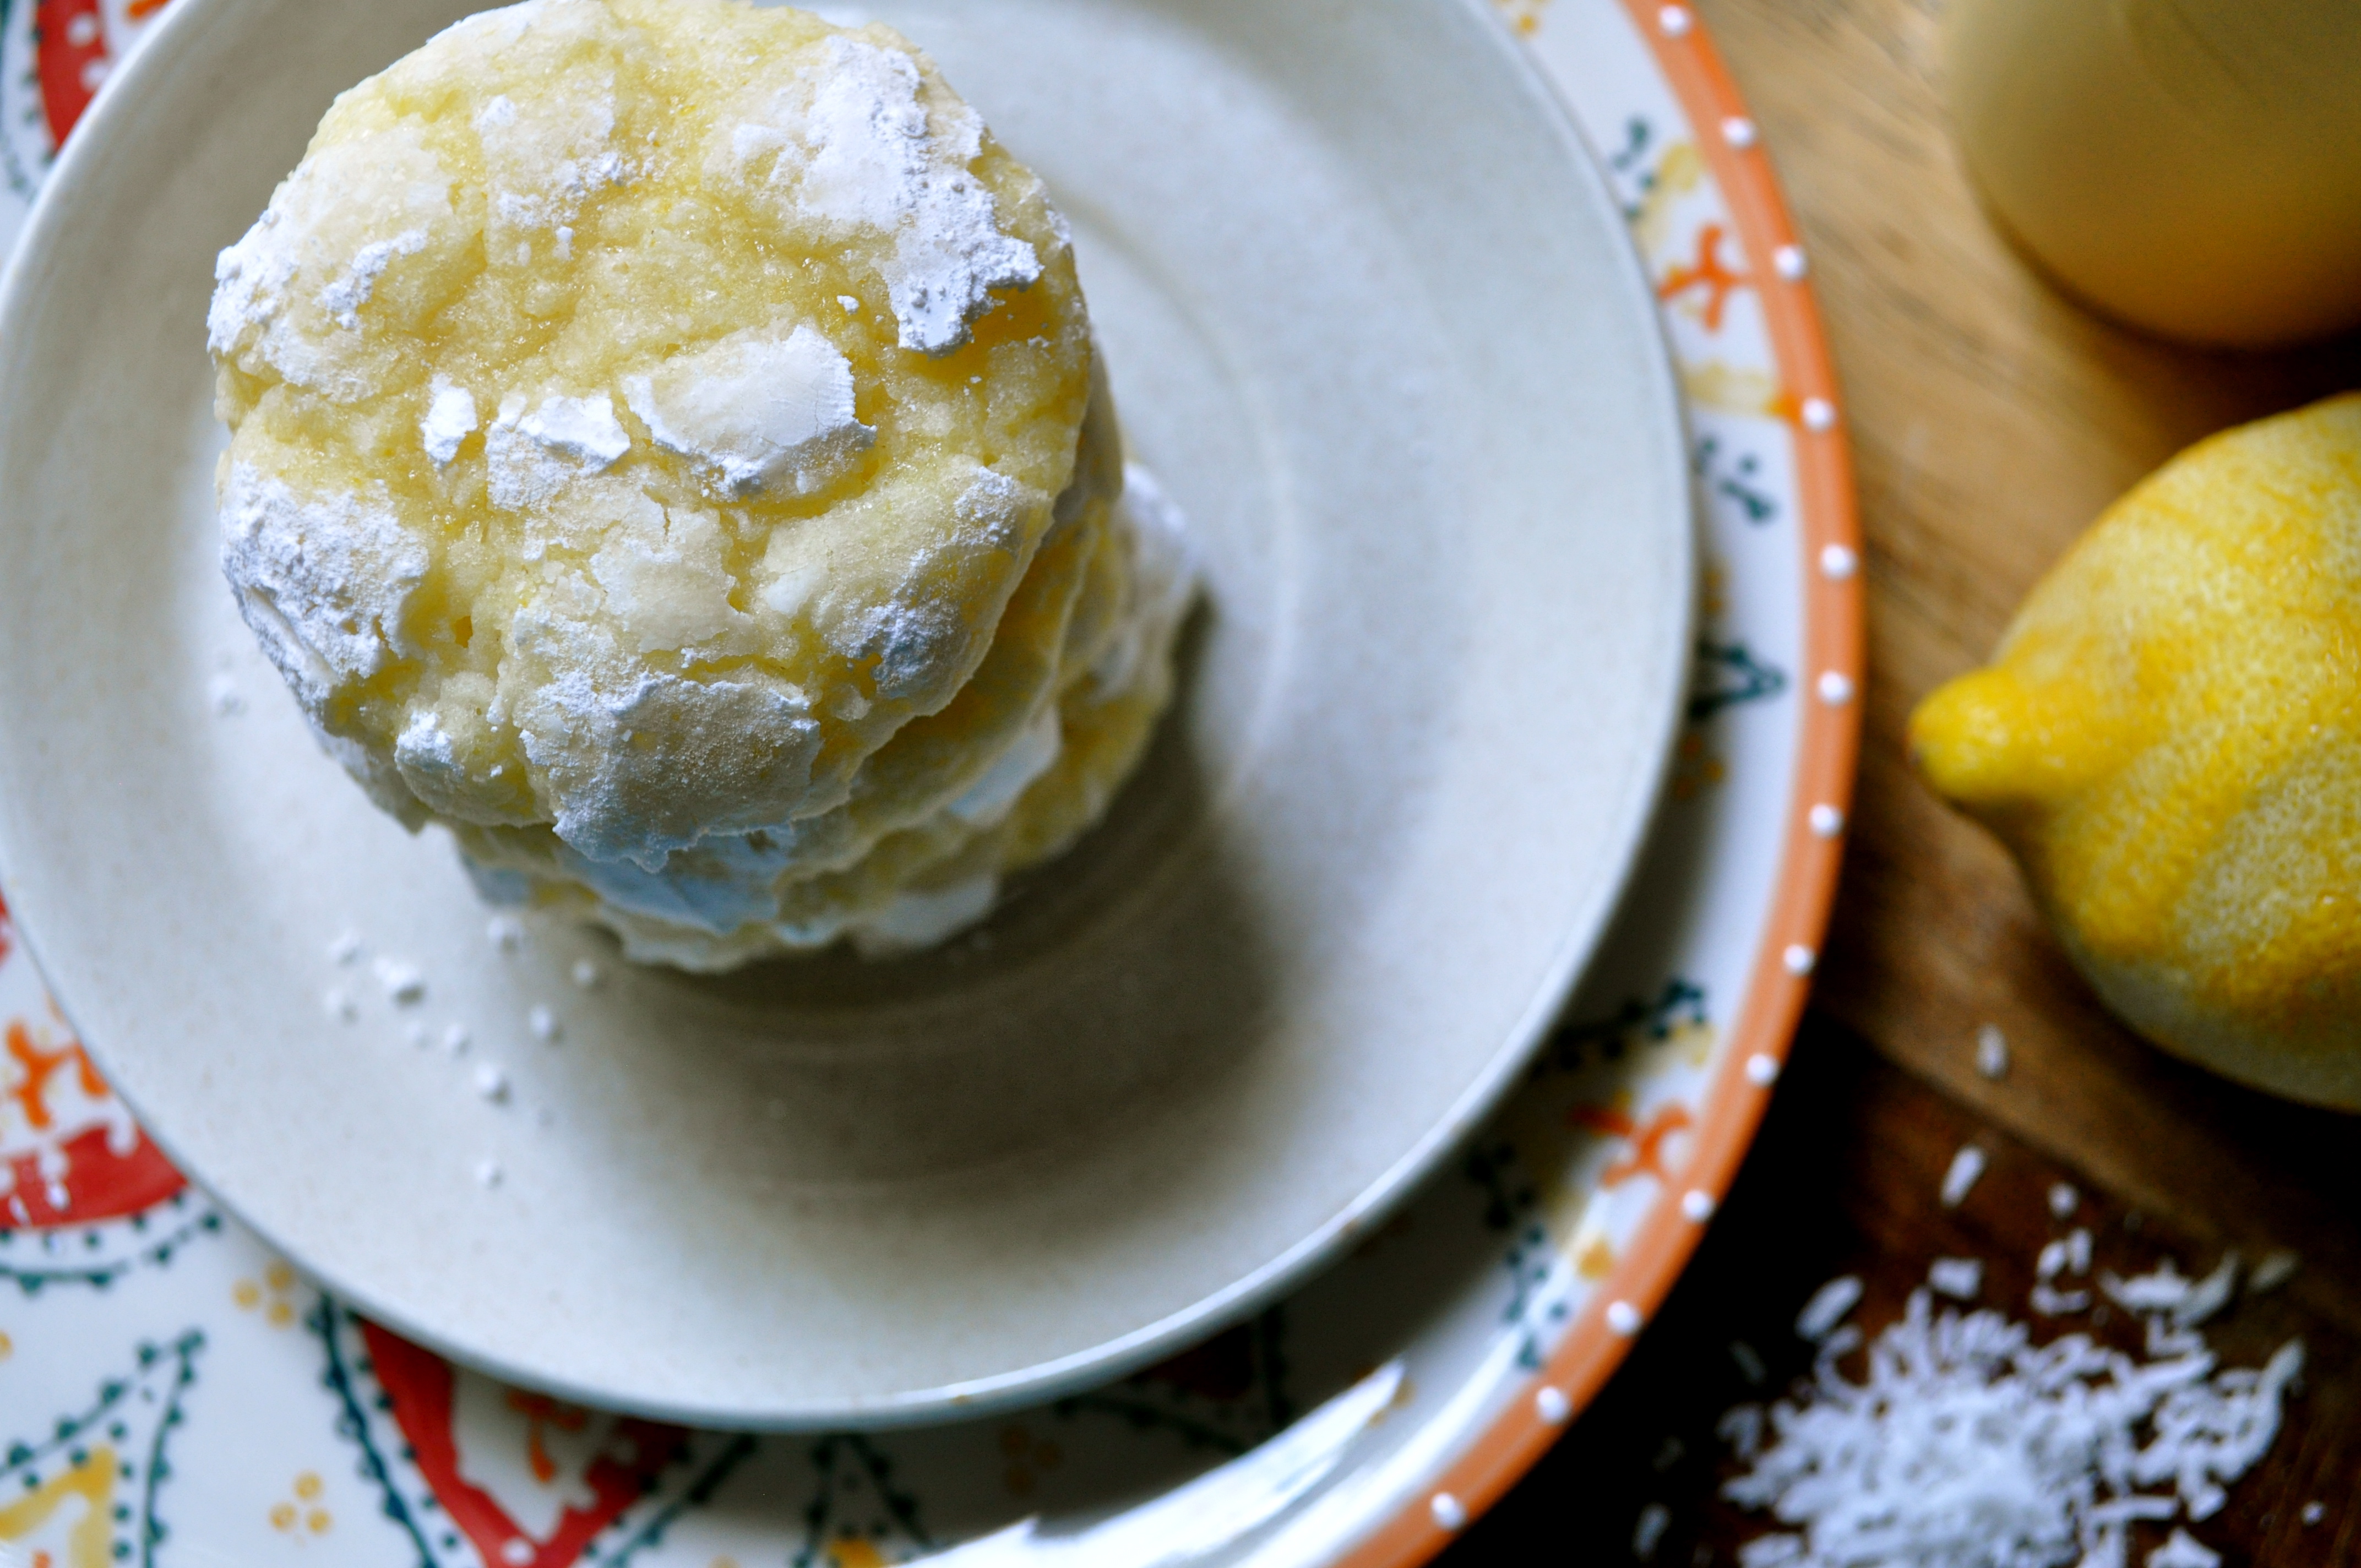
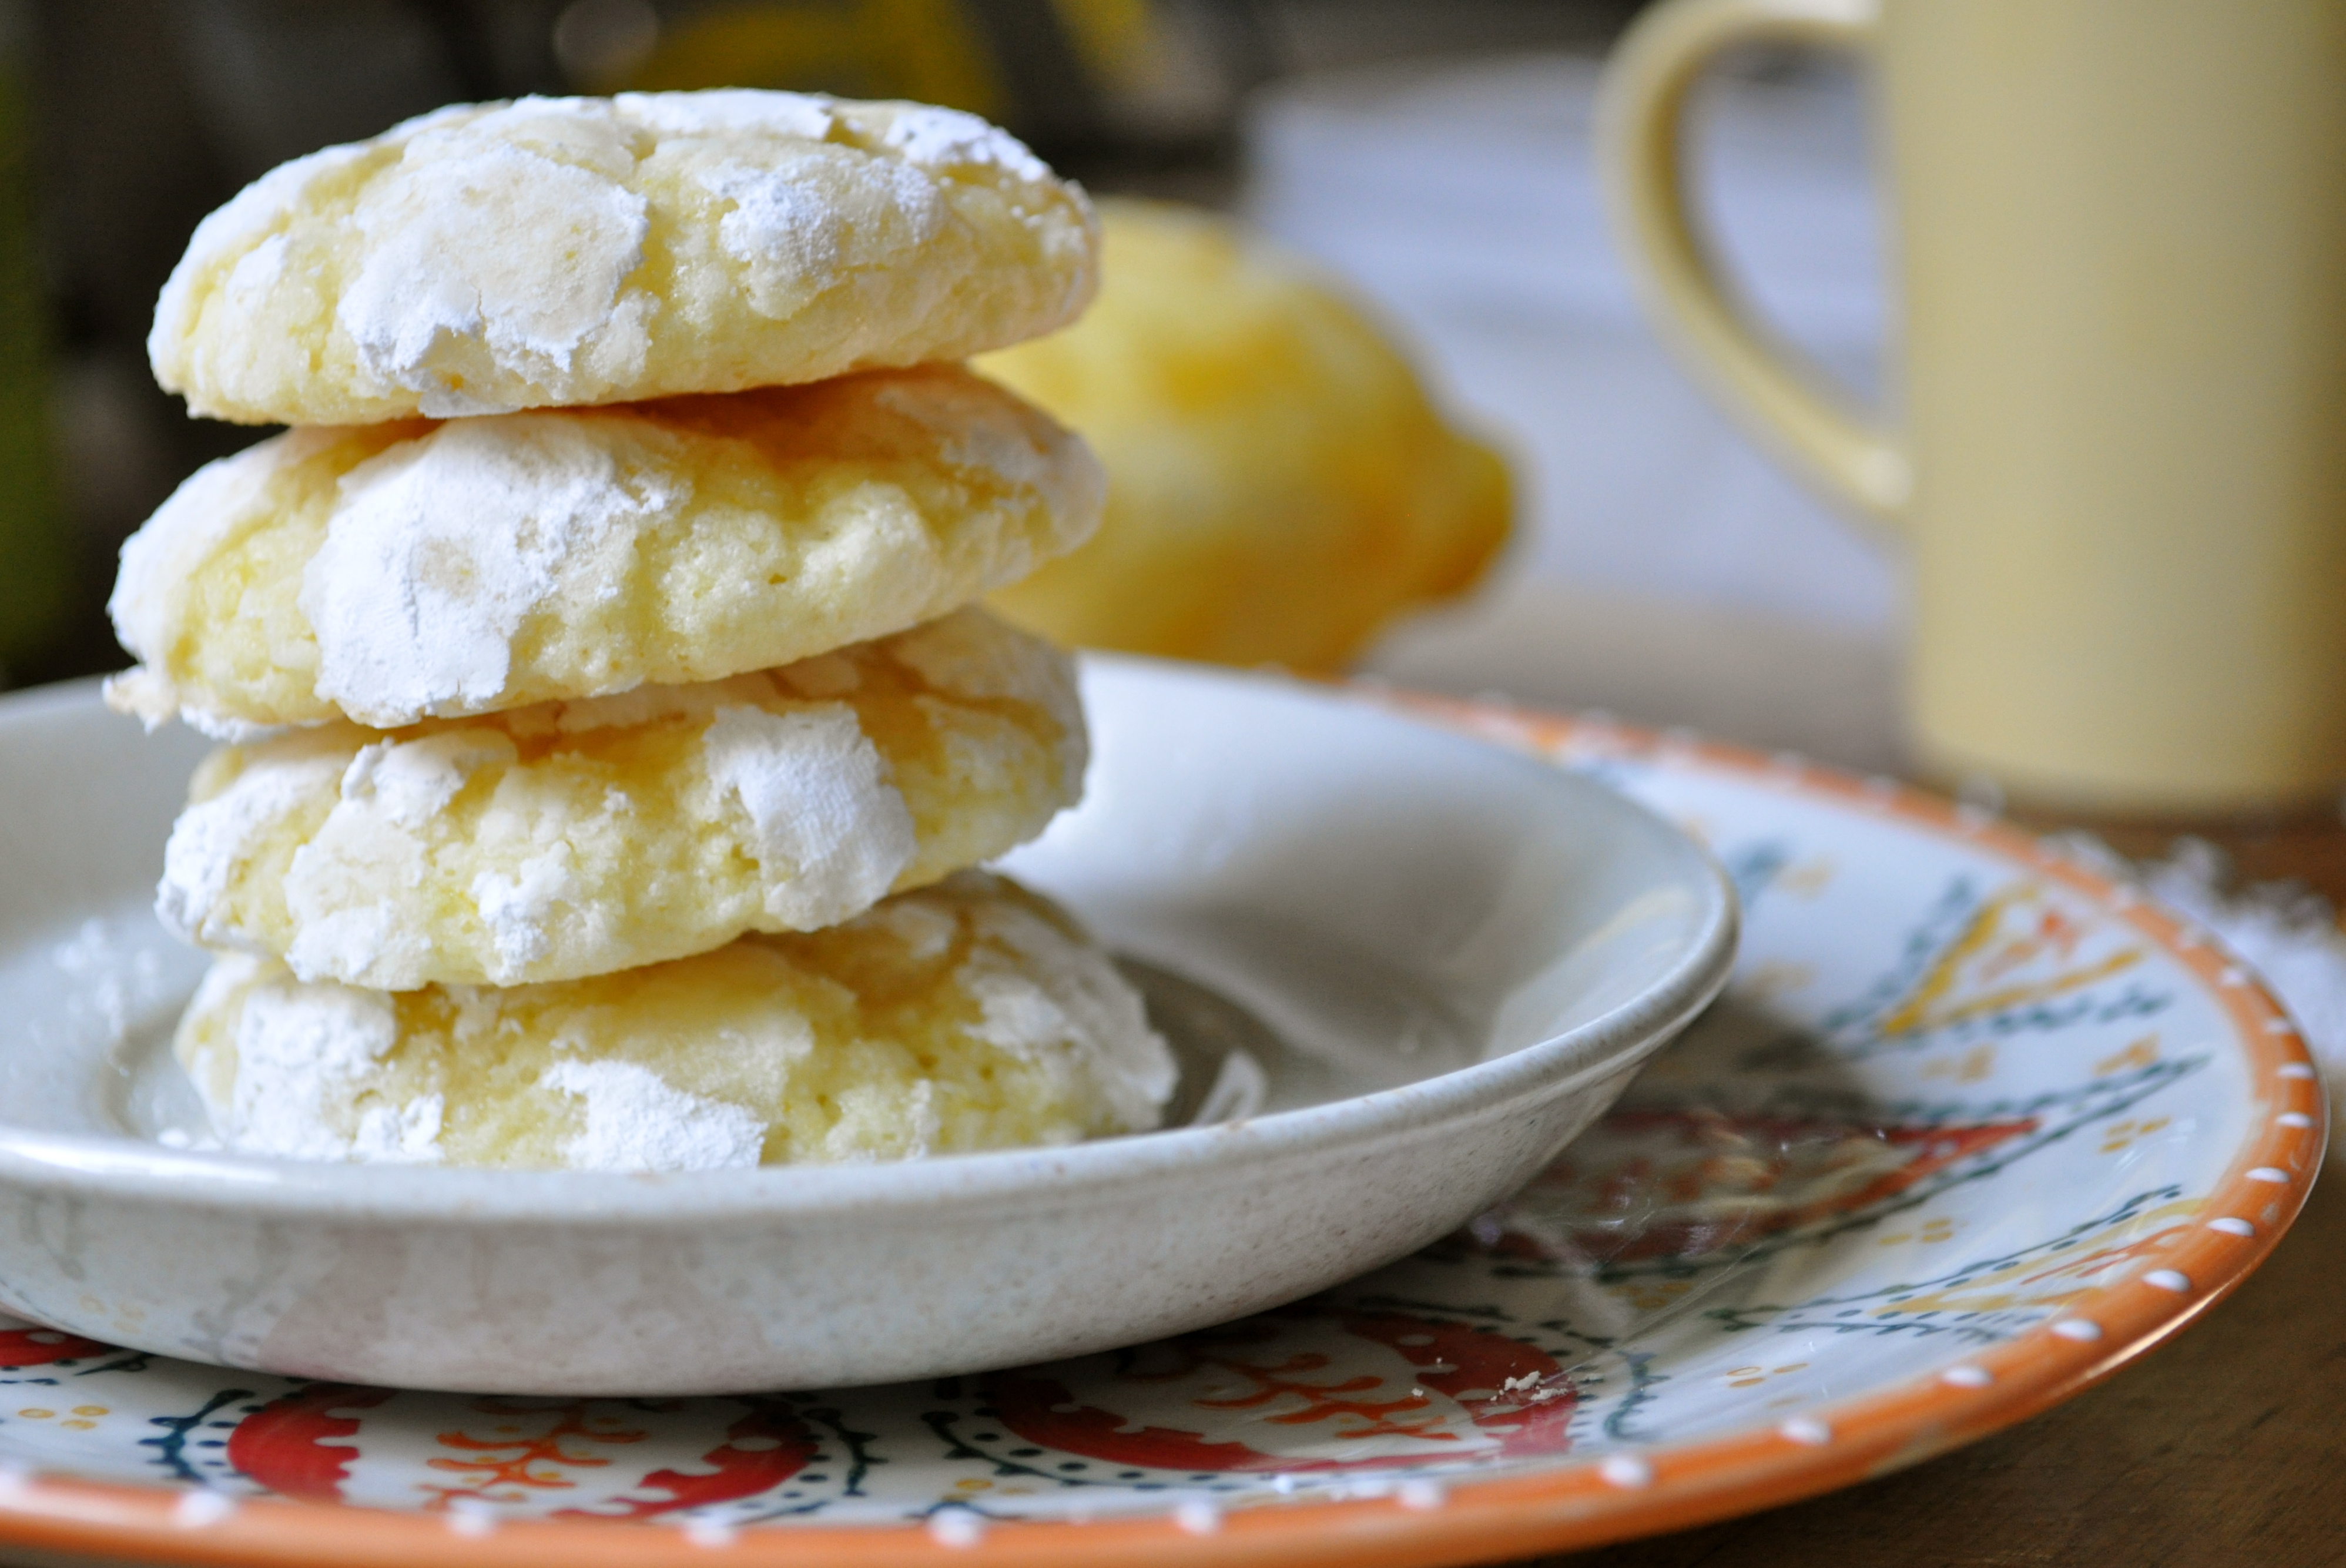
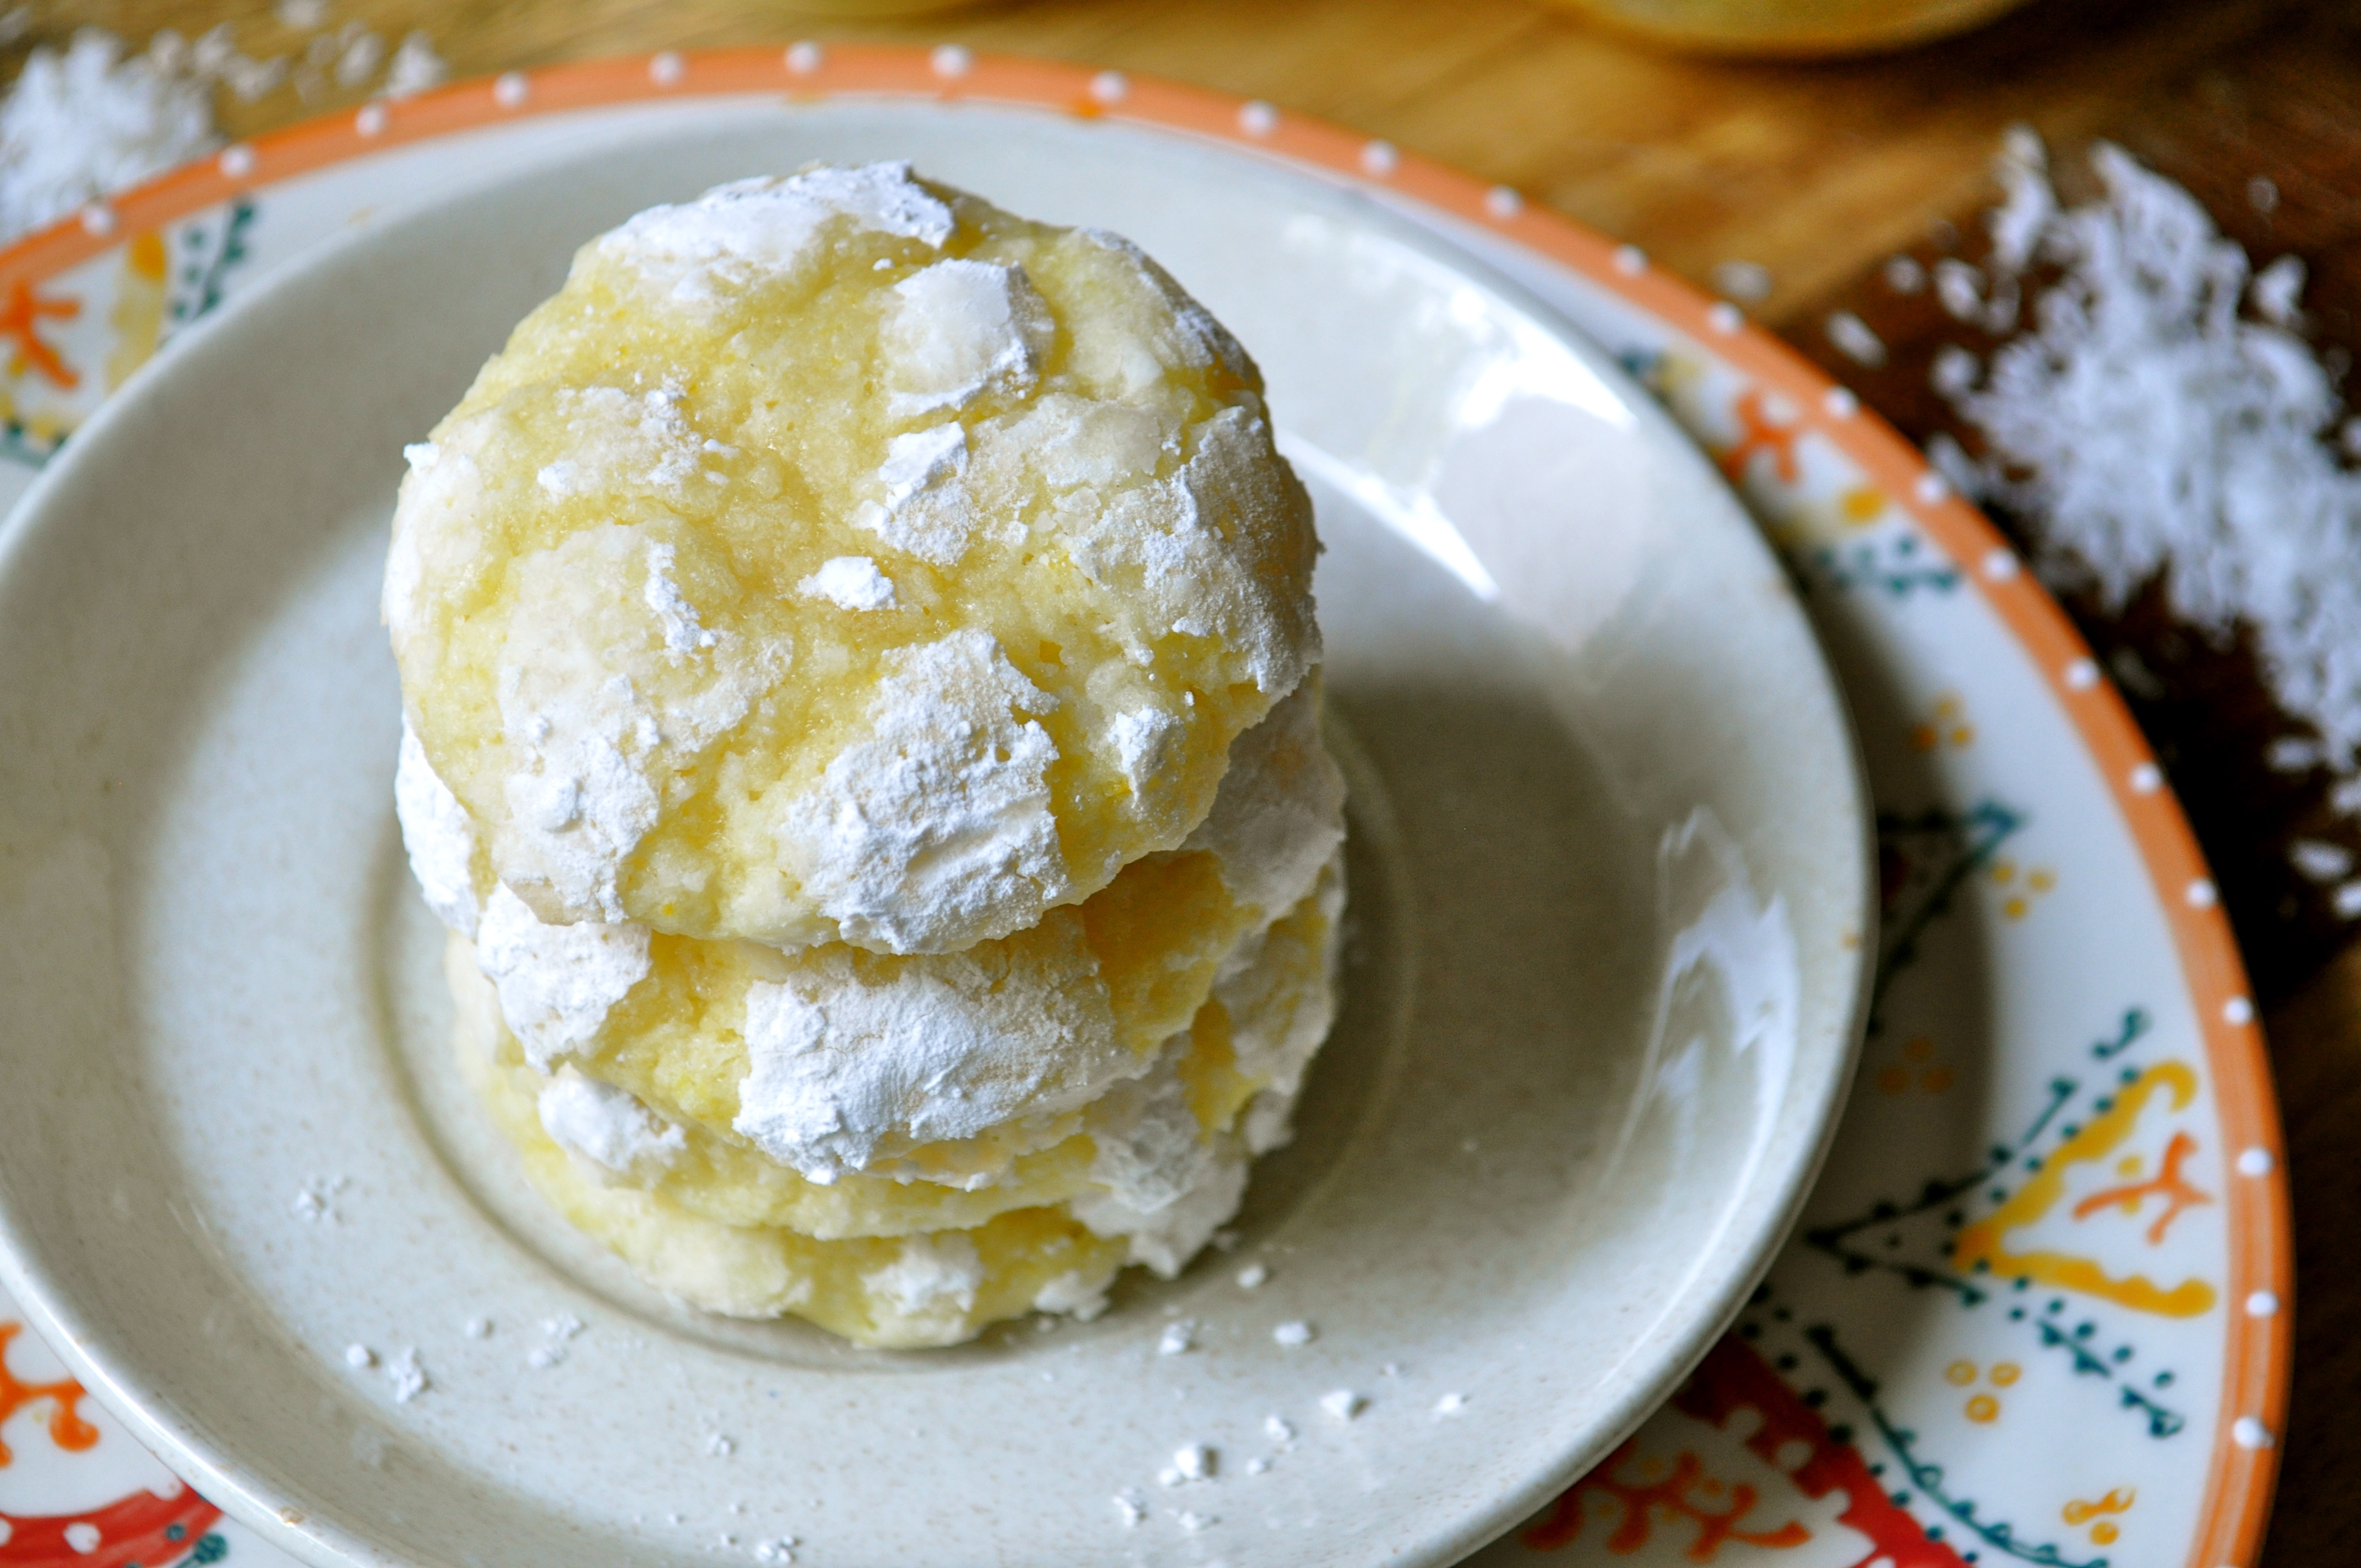
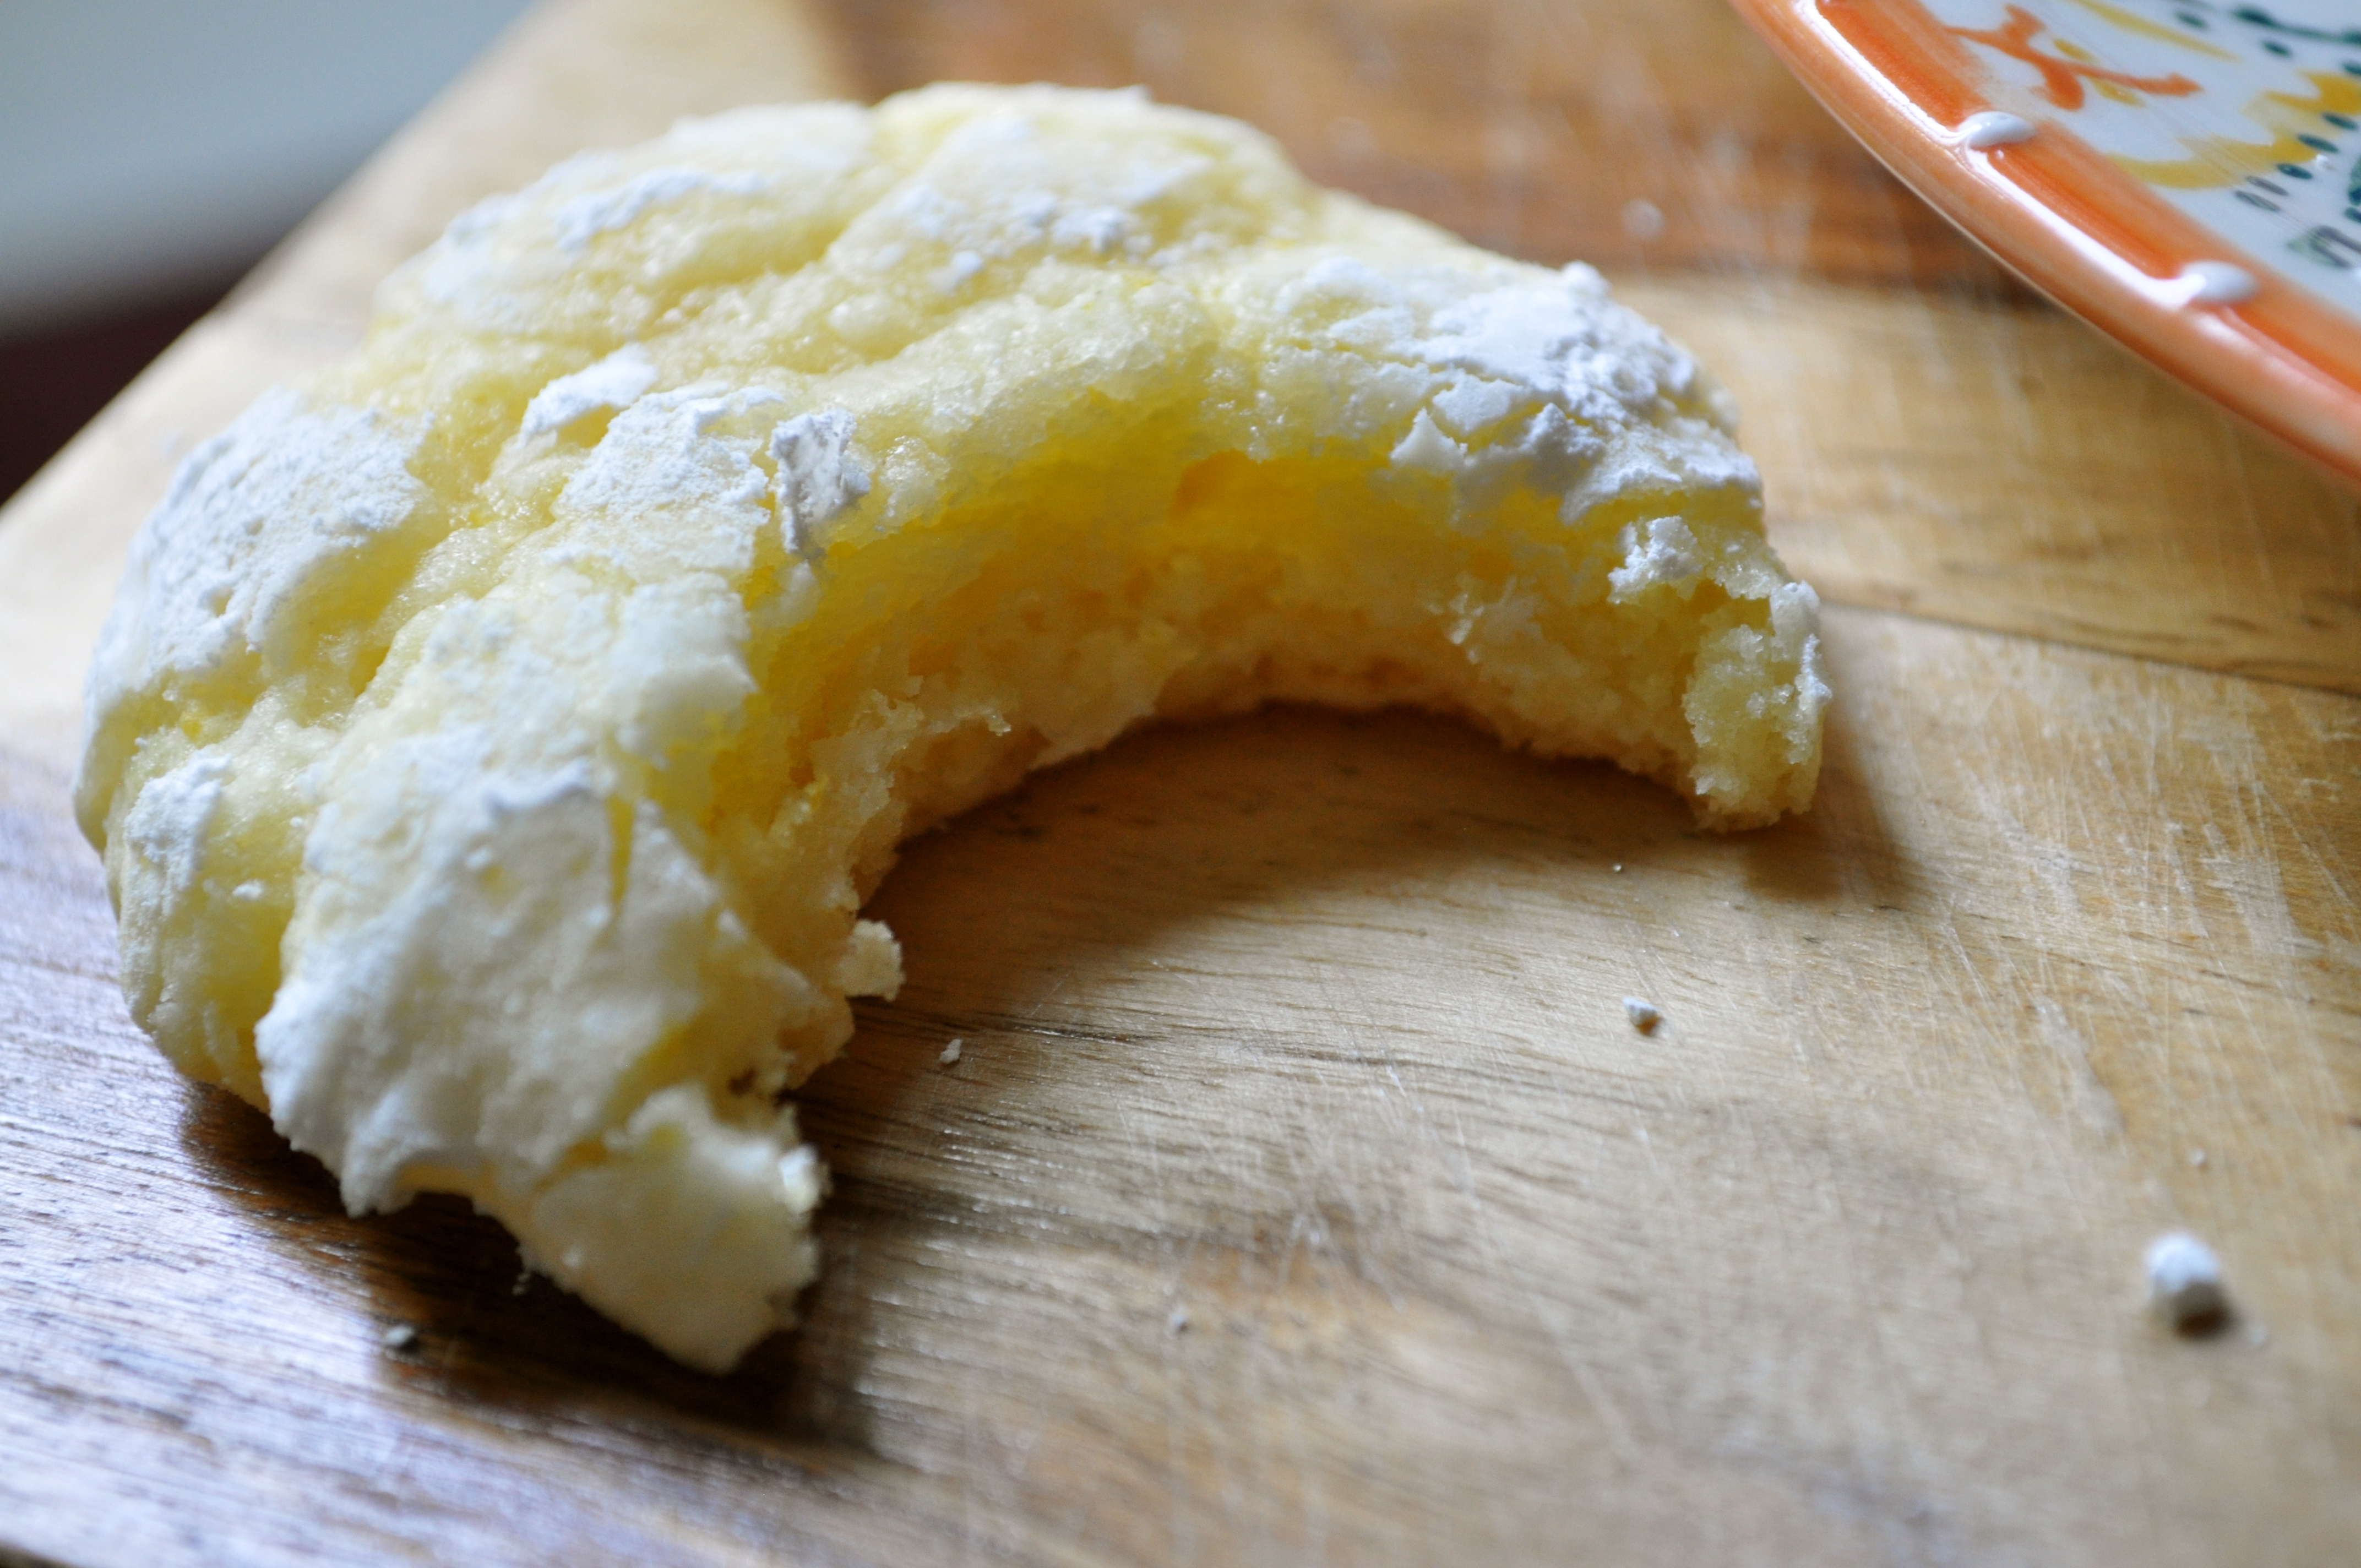
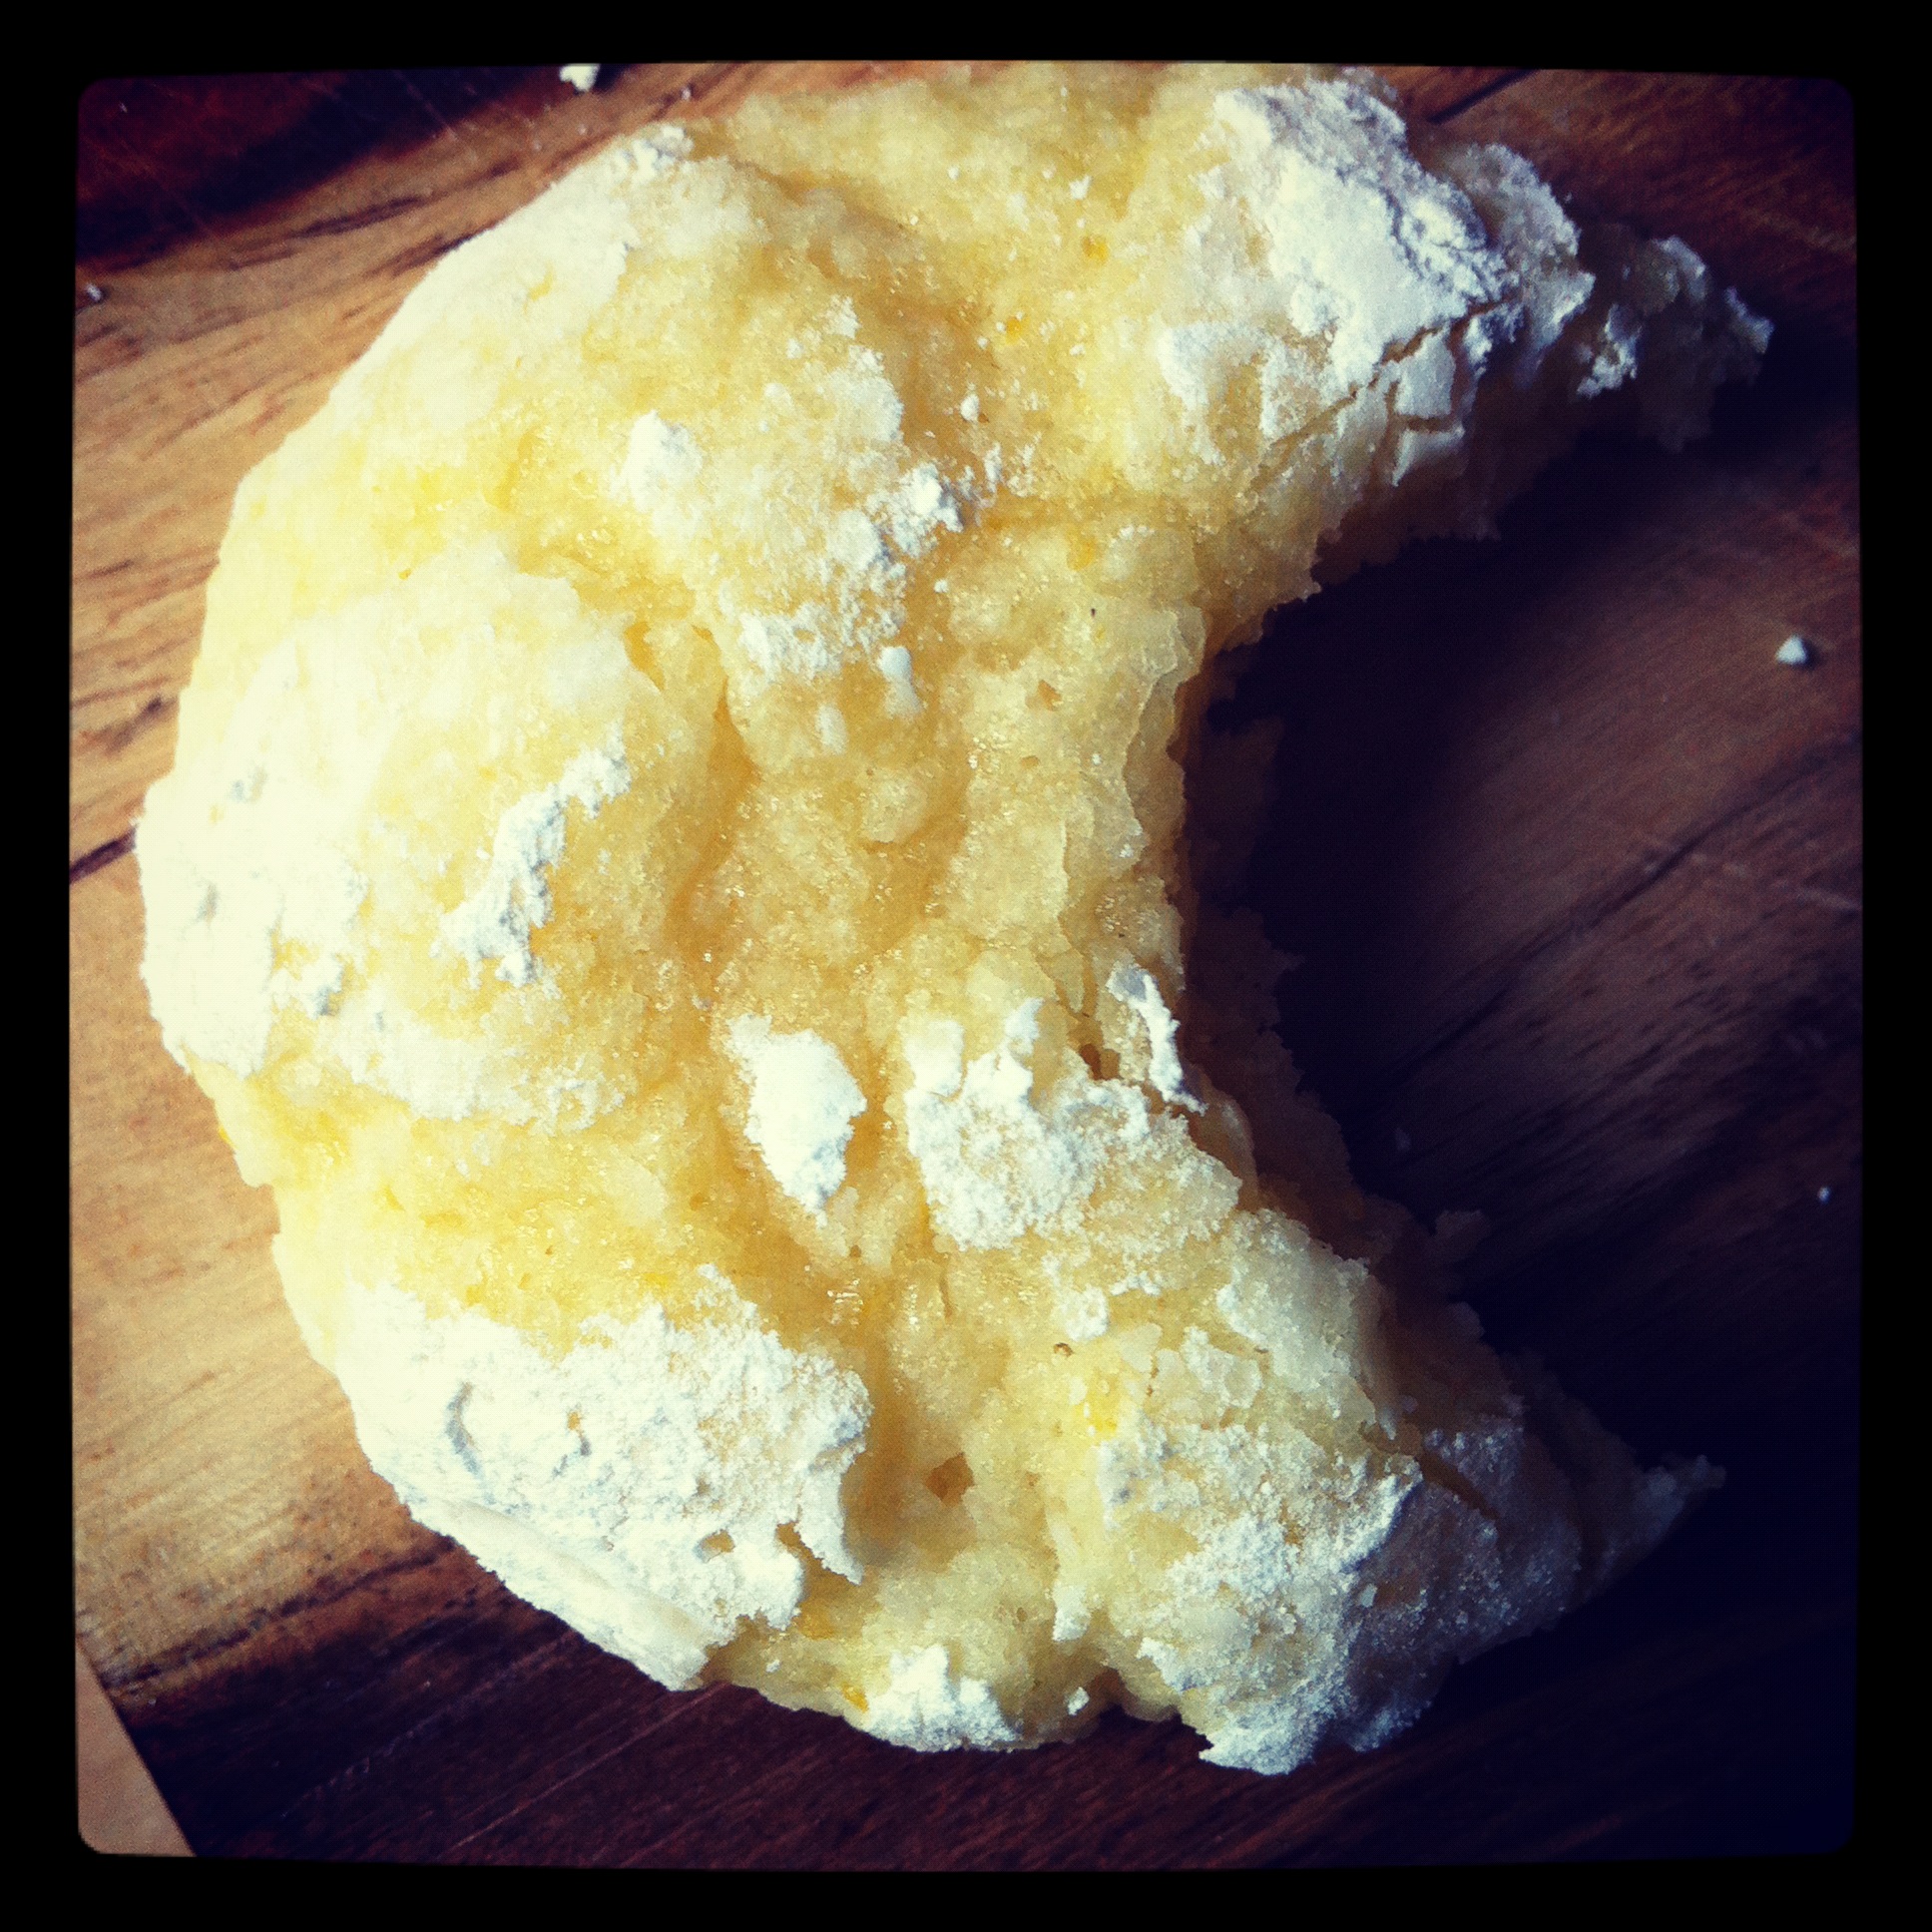
And now, a delicious, sweet, tart, chewy cookie for you to enjoy on this spectacular, overwhelming, complicated journey that is life. Lemon and coconut lovers, this one’s for you. As well as those who are curious about what would happen if a macaroon and lemon cookie had a lovechild.

Lemon Coconut Cookies (from Hershey’s Kitchens)

Makes about 2 dozen cookies.

1/4 cup butter, softened

1 cup granulated sugar

Zest from 2 lemons (about 2 tsp.)

2 eggs

1 1/2 cups all-purpose flour

2 tsp. baking powder

1/4 tsp. salt

1 cup shredded coconut

Powdered sugar, for rolling

Preheat your oven to 300°F. Beat the butter and sugar together until fluffy. Add the eggs and lemon zest, and beat until well mixed. In a separate bowl, stir together the flour, baking powder, and salt. Gradually add the flour mixture to the butter/sugar mixture, beating until well blended. Stir in the coconut. Cover and refrigerate the dough for at least an hour (or overnight), until the dough is firm enough to handle.

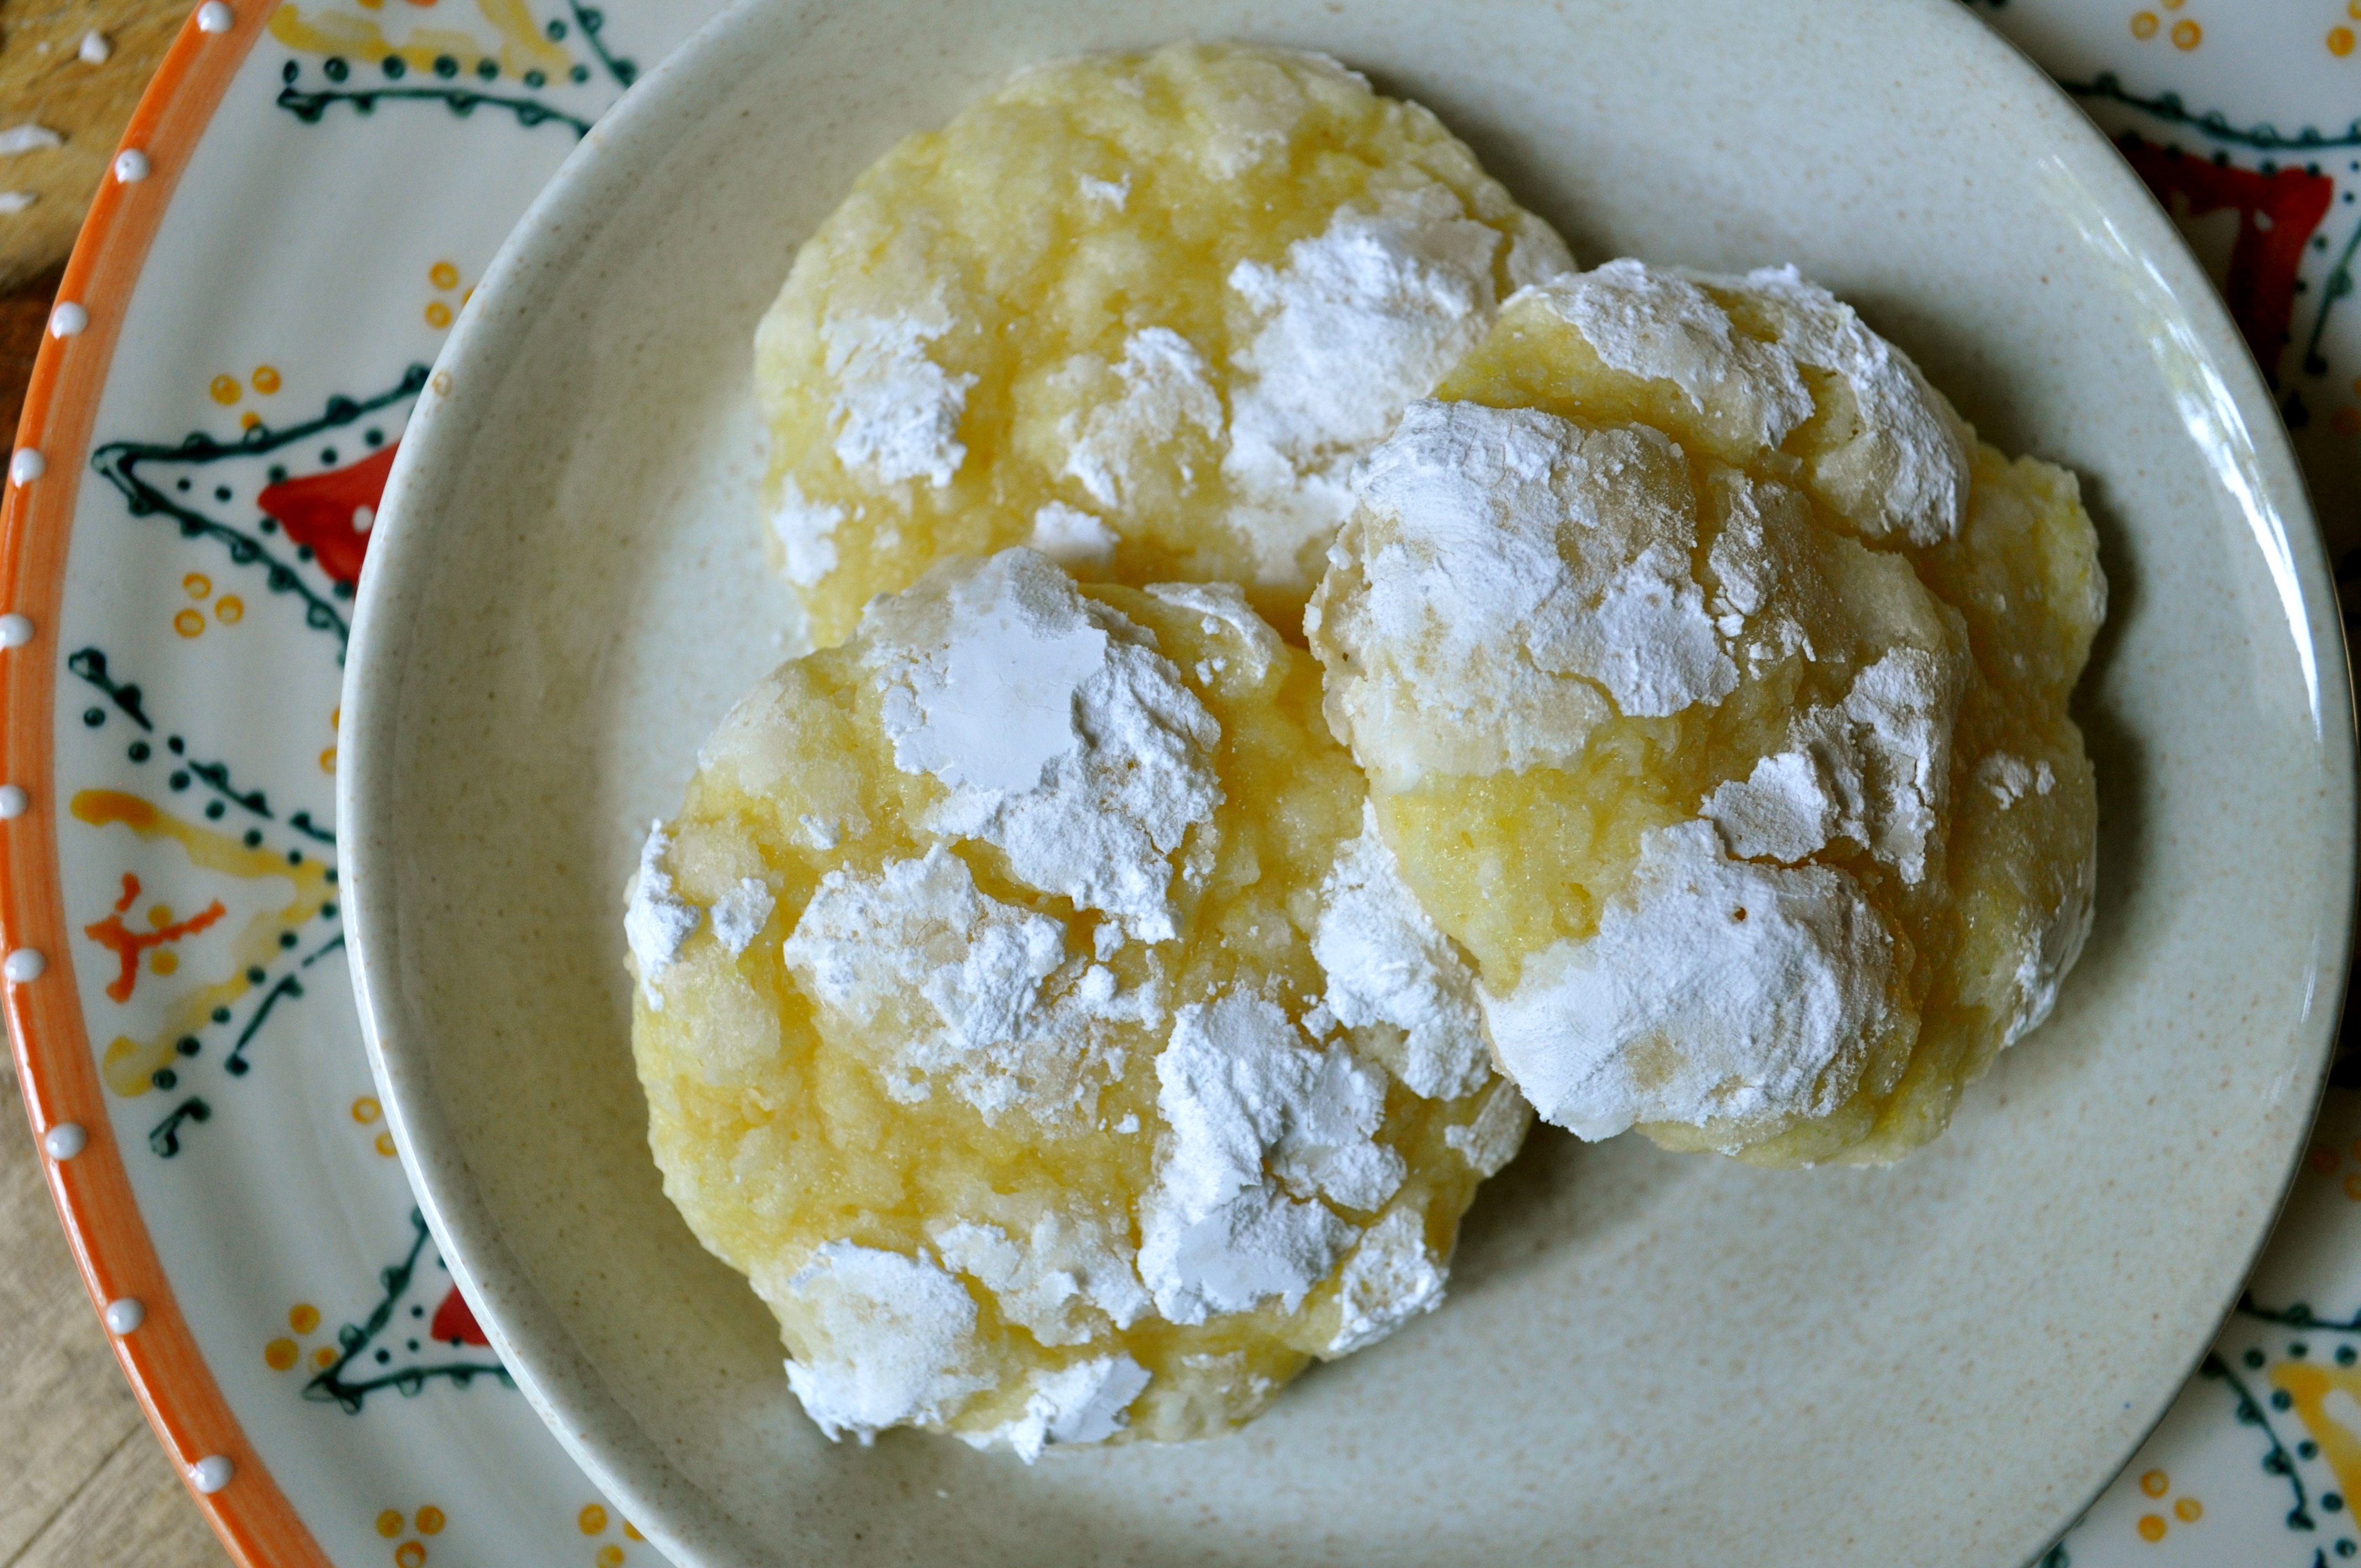
Roll the dough into 1.5-inch balls, roll in the powdered sugar, and place two inches apart on a lined baking sheet. Bake for 16-18 minutes until the edges are set. Move the cookies to a wire rack and allow to cool completely.

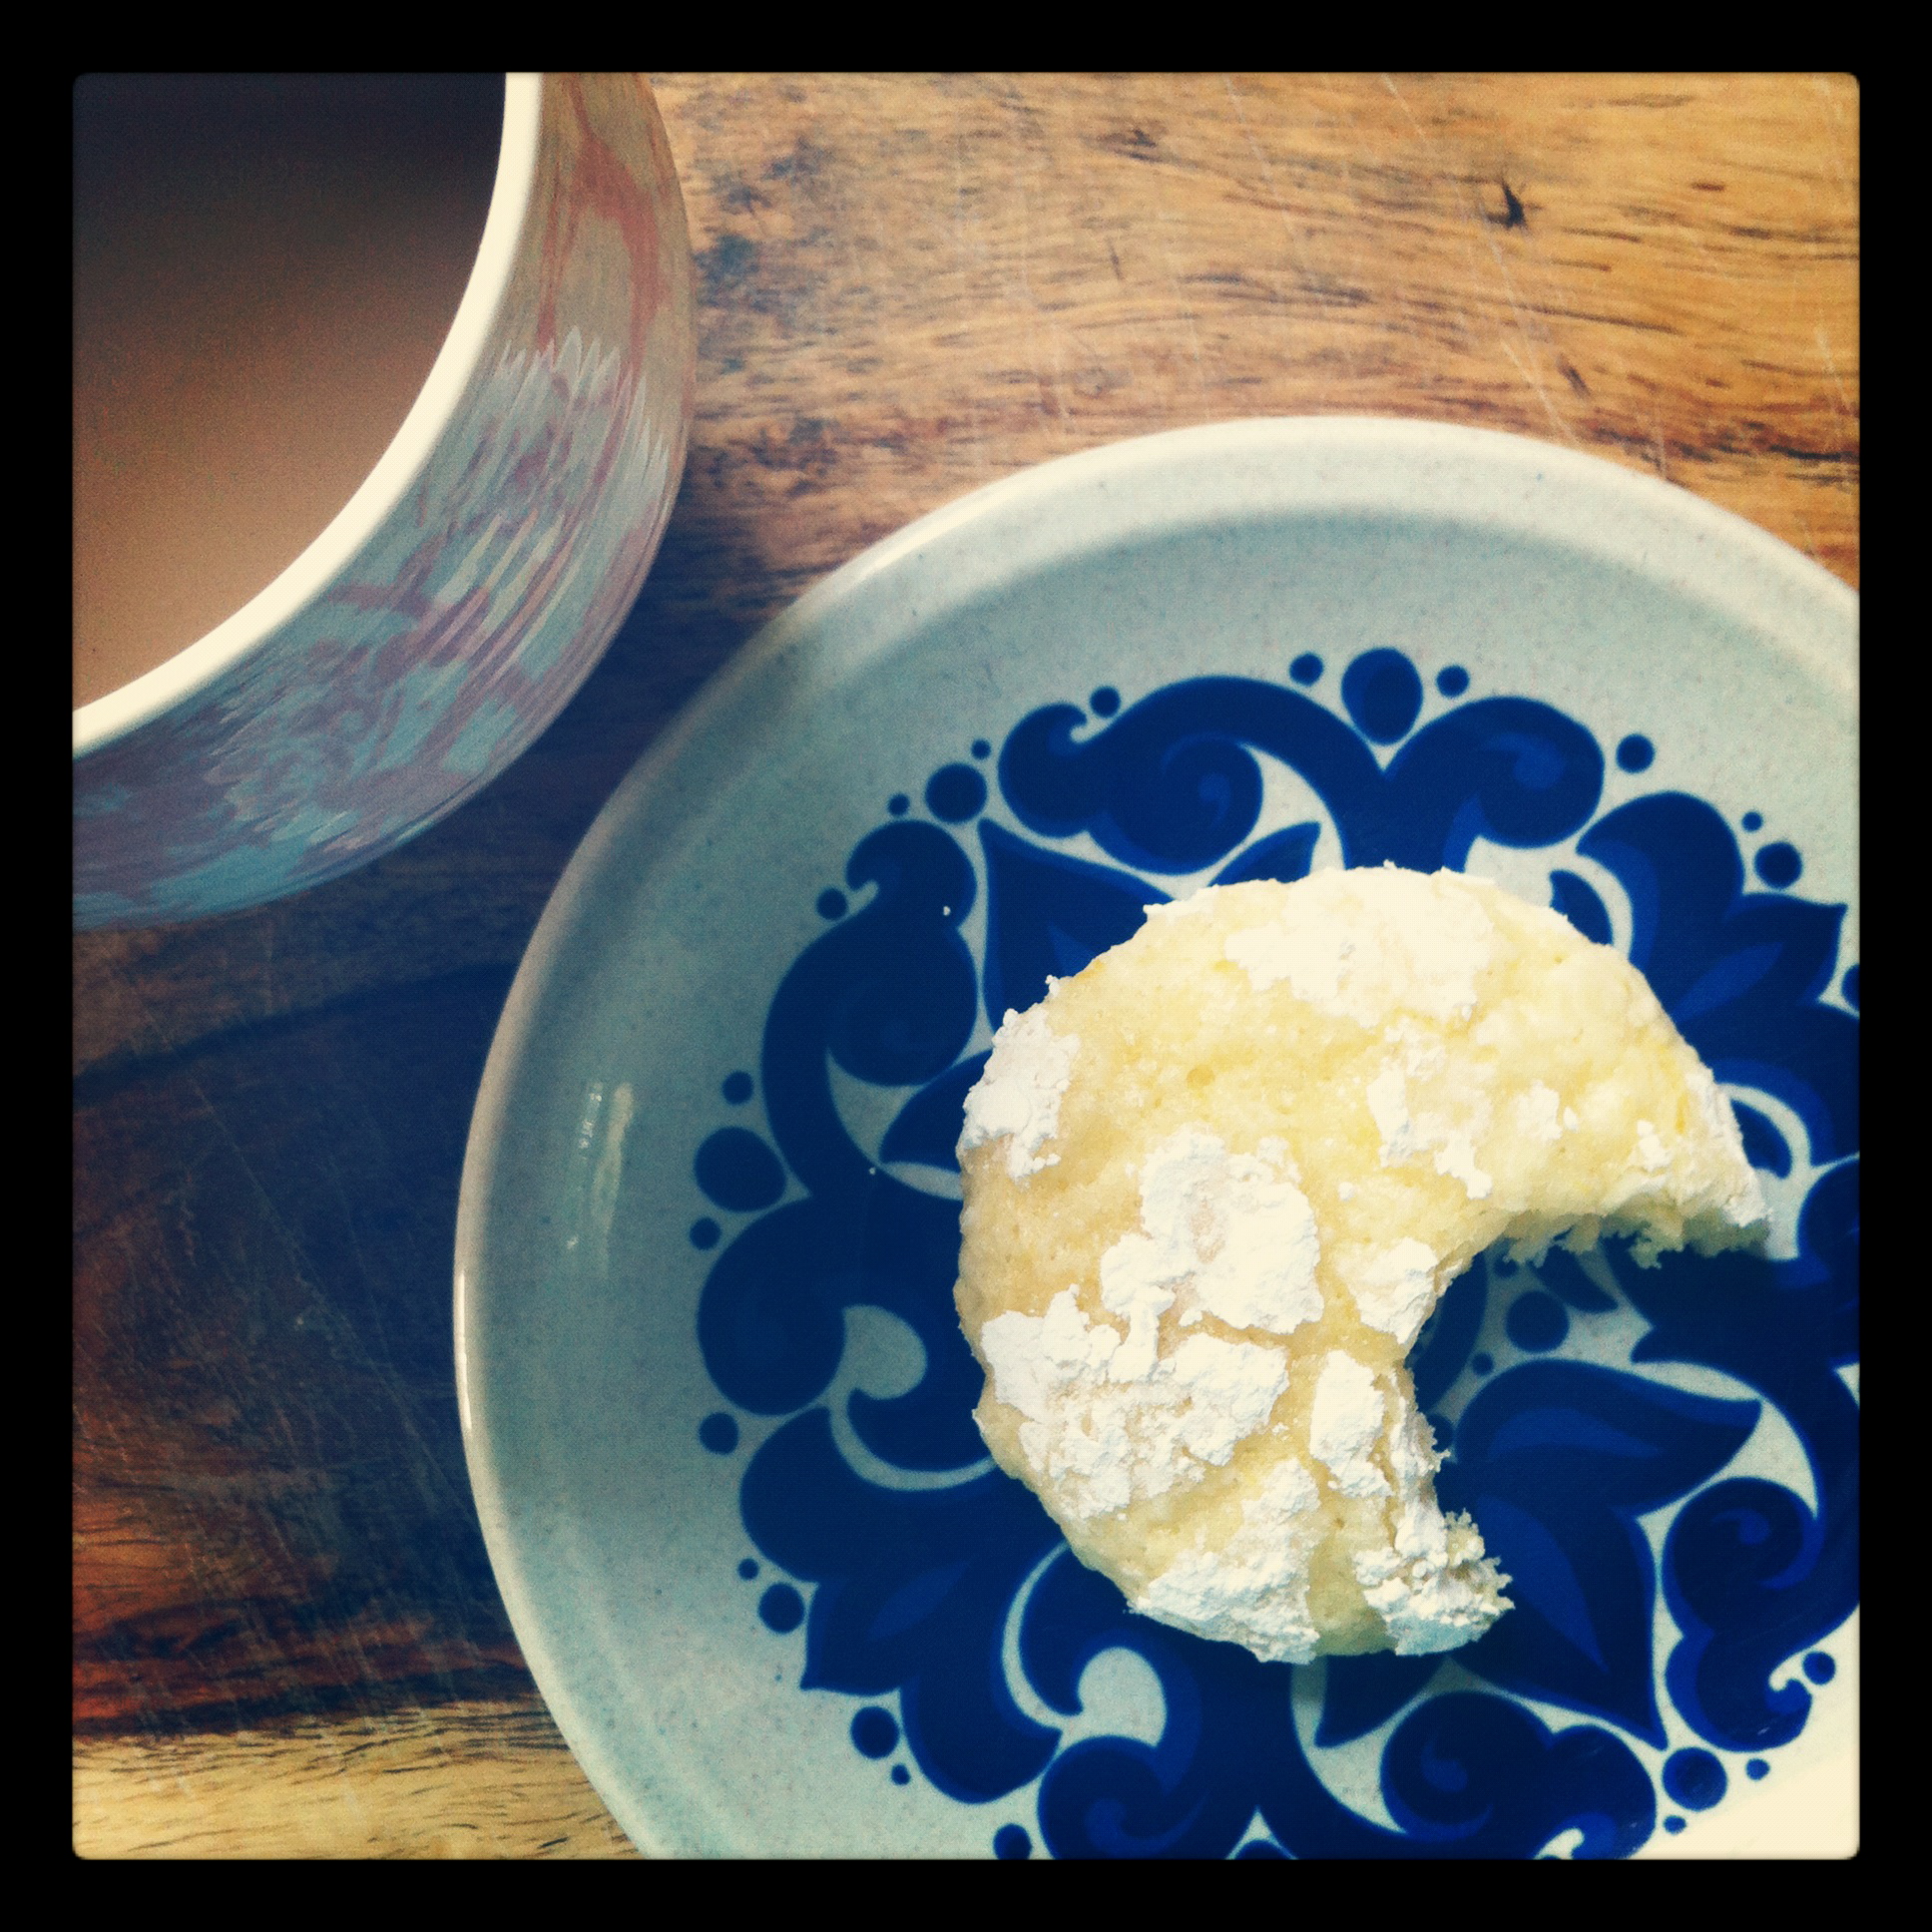
The last two photos in this post were taken with Instagram, an iPhone app. If you are an IG user and want to follow my daily foodie (etc.) life, you can find me at @onceuponarecipe. 
Now go make these cookies!

Mid-Week Rant | Whole Wheat Apple Cinnamon Muffins


Dear crazy mothers from Toddlers and Tiaras,

You frighten me. You’re just straight-up scary. Yet, you’re also fascinating. Watching you obsess over your four-year old’s make-up, mimick your daughter’s “dance” routine from the audience (PS. You look like the devil is being exorcized from your body when you do this), and yell at her to “shine!” for the judges is like watching a train wreck. Part of me wants to change the channel. But…I just can’t. stop. watching.

Pageant dresses that cost $1500? Pageant coaches that charge $150/hour? Spray tans and fake teeth? Ridiculous. Have you heard of piano lessons? Sports? Dance class? Arts and crafts? What motivates you to push your young, impressionable daughters to partake in activities that value physical appearance more than personality or strength of character? Do you care so little about nourishing their self-esteem and instilling in them important life values like honesty, respect, and kindness?


And when you criticize your daughter for not smiling big enough for the judges, or for not holding still while applying her fake eyelashes, I feel a strong urge to punch you in the face. Or at least give you a damn good shake in an effort to knock a little sense into you. Get a grip! Look at the example you are setting for your daughter, who will one day grow up and be a mother and raise children of her own.

If I may make a suggestion: Tell your daughter that she is beautiful, smart, and funny. Every day. Because I guarantee that there will come a day when she doesn’t believe it; when she questions whether she is smart enough, good enough, or pretty enough. She needs to hear these words, so that when she is doubting herself, she will hear your voice, telling her that she is all that and more.


Crazy pageant mom, life is hard. People can be mean. Be kind to your daughter. And teach her to be kind to others. Finally, to the mother whose child won the “grande supreme” title, and then promptly exclaimed that she won the pageant because she is so beautiful and talented and that all of the other girls are ugly and stupid…please, please, set your daughter straight. In about 10 years, she’s going to be waltzing through her school’s hallways as though she owns the place, teasing and bullying other girls that don’t meet her standards of perfection. I know, because I was one of those girls who suffered through three hellish years, all because I was flat-chested and didn’t wear cool clothes. So stop living vicariously through your 6-year old, stop forcing your 4-year old to eat salads while the rest of your family eats pizza so she will lose 5 pounds before the pageant (!!!), and stop teaching her that life is all about looking pretty and winning obnoxious trophies and crowns. Life is about so much more. Let her be a kid, for crying. out. loud.

Most Sincerely,

Amanda

Ok, rant over. Time to make muffins!


These muffins are wonderful little packages filled with whole wheat flour, a healthy shot of cinnamon, and big chunks of apple. They are so moist, and the sugar on top creates a sweet little crunch. I recommend storing these muffins in the freezer if they aren’t eaten within the first couple of days of baking them, as I fear that all of those beautiful apple chunks might get a little dodgy if they sit out too long. I actually stuck the whole batch in my freezer – I grab one each morning on my way out the door and by the time I’m ready to eat it at work, it’s perfectly thawed and dee-licious!

Whole Wheat Apple Cinnamon Muffins (barely adapted from Smitten Kitchen)

1 cup whole wheat flour
1 cup all-purpose flour
1 tsp. baking powder
1 tsp. baking soda
A healthy pinch of salt
1 TBSP. cinnamon
1/2 cup butter, at room temperature
1/2 cup white sugar
1/4 cup + 2 TBSP. brown sugar, packed
1 large egg, lightly beaten
1 cup plain yogurt
2 large (or 3 small) Granny Smith apples, peeled, cored, and coarsely chopped

Preheat the oven to 450°F. Prepare a 12-count muffin tin (for big muffins), or prepare two tins (to make 18 smaller muffins).

Mix together the flours, baking powder, baking soda, salt, and cinnamon, and set aside. In a separate bowl, cream the butter and the white sugar, as well as 1/4 cup of the brown sugar, until fluffy. Add the egg and mix well, scraping the bowl at least once. Gently mix in the yogurt with a wooden spoon. Stir in the dry ingredients and fold in the apple chunks. The batter will be quite thick.

Divide the batter evenly among the prepared muffin cups, sprinkling with the remaining 2 TBSP. of brown sugar. Bake for 10 minutes, then reduce the heat to 400°F, and bake for an additional 8-10 minutes, or until a toothpick inserted into the center of a muffin comes out clean. Cool the muffins for 5 minutes in the pan, then turn them out onto a wire rack to cool completely. Enjoy for breakfast or a lovely afternoon snack! Preferably with a hot cup of tea.


PS. During one of the commercial breaks, I saw an ad for a show called “My Strange Addiction”, in which a dude was trying to explain his emotional, physical, and sexual relationship with his car. Um, sexual relationship? Wha? And then it showed him making out with his car. As in, kissing his front bumper whilst the lower half of his body was underneath the car. With tongue.

…seriously?


What is the one show that you’re most embarrassed to admit that you watch?

Run Forrest Run! | Chocolate Cupcakes with Salted Caramel Buttercream


Sleep. Eat. Work. Run. Eat. Sleep.

Eat. Work. Run. Eat. Sleep.

Work. Eat. Yoga. Eat. Run. Sleep.


That was the jist of my life over the past week. Half-marathon training started with a bang and I’m pushing myself to establish a steady running schedule. It feels so good to be running again. Runner’s high, indeed!

The only problem is the weather. The last few days have brought temperatures as low as minus 44 degrees (celsius!) with the wind chill. Hello Winter!


I’m committed to this training. I really am. But a girl’s gotta draw the line somewhere, and for me the line gets drawn at about minus 25 degrees. Following a 7.5km run last weekend in minus 30 degree temperatures, I had a chill that I couldn’t shake for several days. Days. Thank goodness for a couple of local indoor tracks – I was able to keep up with the training schedule and get in a couple of indoor runs this week. Running indoors is a bit mundane, but it’s reassuring to know that I’ll still have all of my fingers and toes by the end of the run! I appreciate my extremities. 🙂


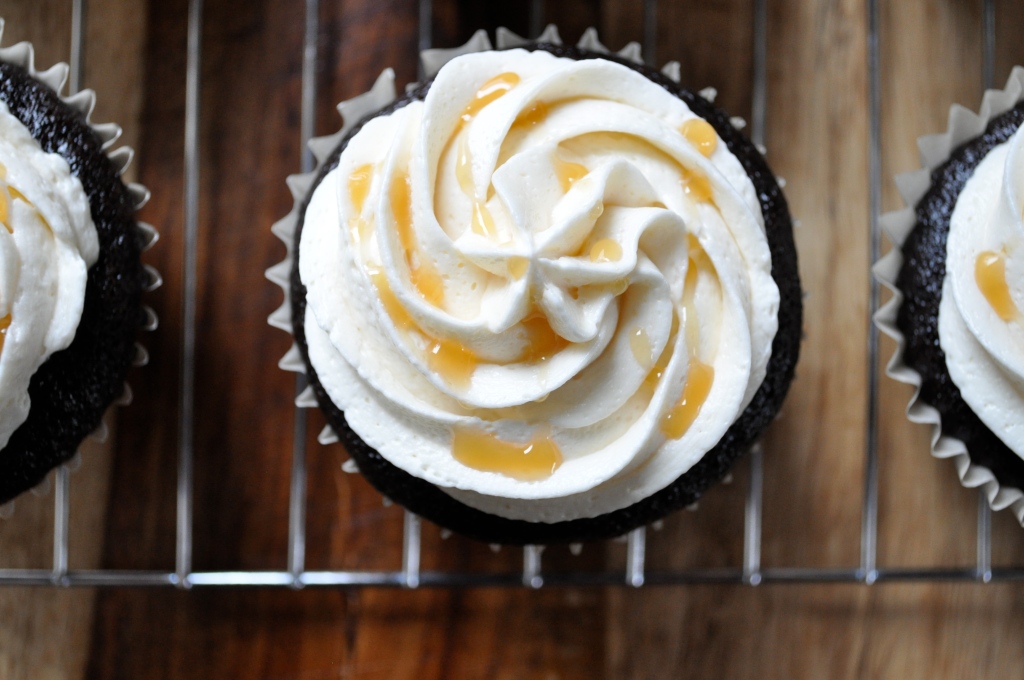
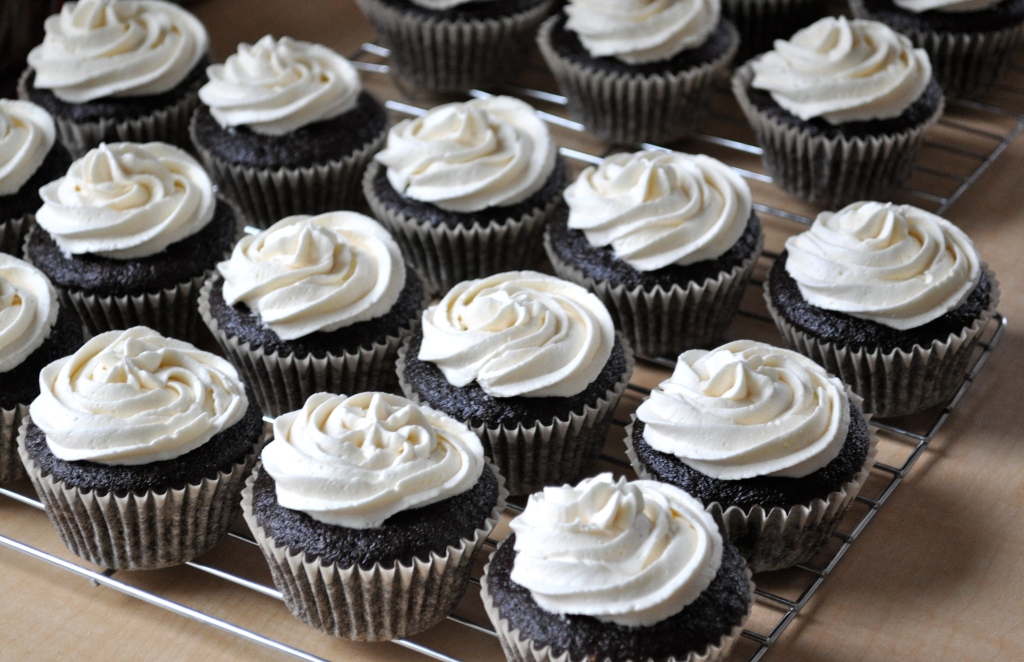
Fortunately (or unfortunately, depending on how you look at it), all this running has kicked my metabolism into overdrive. I am hungry all. the. time. And whether it’s wrong or right, I feel that eating cupcakes (I’m thinking right) and drinking red wine (yep, definitely right) is totally 100% justified by all of this exercise. It’s probably wrong…but if eating rich chocolate cupcakes topped with a swirl of salted caramel buttercream and then drizzled with more salted caramel is wrong, I don’t give a rough one about being right. Ever.

Plus, becoming a better cupcake decorator was one of my new year’s goals, and to become better at something, one must practice, practice, practice. I’m quite certain that taste-testing is mandatory.


Chocolate Cupcakes with Salted Caramel Buttercream

24 chocolate cupcakes – I used this, my favorite chocolate cupcake recipe. It’s vegan too!

Salted Caramel Buttercream (from Good Thymes and Good Food)

1 cup butter, softened

2 1/4 cups icing sugar

1/8 tsp. salt

2 tsp. vanilla

3 TBSP. salted caramel sauce + more for drizzling (I used store-bought, but you could make your own!)

2 TBSP. heavy cream

In a standing mixer, beat the butter at medium-high speed until smooth, about 20 seconds. Add in the icing sugar and salt; beat at medium-low speed until most of the sugar is combined, about 45 seconds. Scrape down the bowl and beat at medium speed until the mixture is fully combined, about 15 seconds; scrape down the bowl and add the vanilla, caramel sauce, and heavy cream. Beat at medium speed until incorporated, about 10 seconds. Increase speed to medium-high and beat until light and fluffy, about 4 minutes, scraping down bowl once or twice. Frost the cupcakes however you wish (I used a pastry bag with a star attachment), and then drizzle with more salted caramel sauce. Filling a small Ziploc bag with the caramel and cutting a teeny, tiny hole in one of the corners worked beautifully for me. Devour!


I’m starving. What’s for lunch?

Please tell me it’s cupcakes.

The In-Between | Cranberry Egg Nog Scones

Holla!

How goes it boys and girls? Did you have a magical Christmas? Did you eat way too much and drink to your heart’s content? Did you get way too little shut-eye over the past few days? Are you totally bummed about going back to work tomorrow? I sure did, and I sure am. Alas, the party must go on.

And there will be another party in, oh…about 4 days. So let’s take a moment to relax and recuperate, shall we?

Yesterday, I took a day for myself. I allowed myself to be a sloth-like couch potato. I didn’t shower. I wore my comfy clothes. I ate dessert for dinner, and dinner for dessert. I watched a Diners, Drive-Ins, and Dives marathon. Which just made me crave poutine and cinnamon-bun french toast, by the way. I probably lost a few brain cells, but they’ll grow back…right?

But the craziest part? I felt bad about it. I felt guilty for being a couch potato when I should have been cleaning, working out, organizing that dang room, and the list goes on. Sometimes we can be so hard on ourselves. But the reality is, there will always be something that needs doing, and unless we press the pause button every so often, we will miss out on opportunities for rest, relaxation, and being kind to ourselves.

This morning, I woke up after a refreshing 8-hour sleep, I went to a hot yoga class, and then I let the rest of my day carry me where it wanted. I put the to-do list away. And clearly the day wanted me to exercise my baking muscle because these scones were born. I had a bag of fresh cranberries in my fridge that I threw into my basket on a whim last week, mostly because they were ridiculously cheap. I also had a carton of egg nog hangin’ out in there. I have to admit, I’m not the biggest fan of egg nog. I like to have a token Egg Nog and Rum (or two) each Christmas, but that’s about all I can handle. Which leaves me with a little too much egg nog on my hands. However, after making a batch of these scones, it might not be enough.

Cranberry and Egg Nog Scones

I love how these scones turned out. They were incredibly light, and honestly, if you weren’t told that there was egg nog in them, you might not be able to guess that it was in there at all. The next time I make these (and there will be a next time), I will add in the zest of an orange – I think it would compliment the flavors so well.

2 cups all-purpose flour

1/2 cup oats

1/3 cup + 2 TBSP. organic cane sugar

1 TBSP. baking powder

1/4 tsp. baking soda

Pinch of salt

1 1/4 cups fresh cranberries, roughly chopped

1/3 cup butter, cold and cut into small cubes

3/4-1 cup egg nog

1 egg white + 1 tsp. water, whisked

Extra sugar for sprinkling on top of scones

Preheat the oven to 400°F. Mix the flour, oats, sugar (reserving the 2 TBSP.), baking powder, baking soda, and salt together. Cut the cold butter into the flour mixture using a pastry blender (or two knives) until the mixture resembles coarse meal. In a separate bowl, combine the cranberries and the 2 TBSP. sugar and toss to coat. Add in to the flour mixture. Slowly add the egg nog to the flour mixture, using only enough to bring it all together. On a lightly floured surface, pat the dough into a rectangle, about 3/4 inches thick. Cut into 8 pieces, and place them on a parchment or Silpat-lined baking sheet. Brush them with the egg white/water mixture, and sprinkle with sugar. Bake for about 15-18 minutes, or until lightly browned. Enjoy immediately!

Counting Down | Peanut Butter Marshmallow Squares


Hello lovelies,

Oh, how I miss you so. I have been knee-deep in boxes and packing tape and dust bunnies. My move is only four days away! I have been without Internet access for the past week or so, hence my prolonged absence. But I’ve snuck away for a brief moment to share a quick little sweet treat with you.


The best thing about these Peanut Butter Marshmallow Squares, aside from the way that they melt in your mouth and leave you wanting more (more, more!), is how quick and easy they are to prepare. I’ve been doing little cooking and baking lately, so to avoid buying ingredients that will eventually take up precious space in Tupperware containers full of my pantry items. However, these squares require just four ingredients, and leave very little leftovers. There are many other versions of these squares – some call for coconut or nuts – but I love the simplicity of this recipe. Plus, I have yet to meet someone who doesn’t love ‘em!

Make yourself a batch of these…they make the perfect snack, especially if you’re moving. See you next week from my new kitchen!

PS. Only four days left to enter the giveaway!


Peanut Butter Marshmallow Squares

½ cup butter

1 cup peanut butter

1 bag (300g) of butterscotch chips

1 bag (200g) of mini rainbow marshmallows

In a saucepan over low heat, melt your butter, peanut butter, and butterscotch chips. Stir constantly until the mixture is smooth. Allow the mixture to cool for 10-15 minutes (we don’t want to melt the beautiful marshmallows!). Once the mixture has cooled, add in the bag of marshmallows and stir to evenly coat. Spread the mixture into a greased 9×13” baking dish. Refrigerate to set. Or, if you’re impatient like me, shove the pan into the freezer for an hour. Allow the pan to thaw for about 5 minutes before cutting into squares. Keep uneaten squares in the fridge to ensure that they stay firm (they get a little soft if left out on the counter).
Enjoying | Bourbon Pecan Pie Brownies

Well, hello there. How you doin’?

What’s that?

You skipped your pilates class for the third week in a row the other night because something more important came up? You went to a hockey game and sat in the front row and drank overpriced beer and ate salty popcorn and hot dogs and cheered your little heart out instead? Me too!

You haven’t gone for a run in over a week, cause you’re too lazy to get off your butt, strap on your sneaks, and hit the pavement? Oh my goodness, I know that feeling!

You have a to-do list a mile long, but you continue to ignore it, and it continues to grow and grow and grow, and you have no idea how you’ll ever possibly accomplish everything? Ditto!

And you also made these decadent brownies and proceeded to eat almost an entire row of the pan while taking photographs of them? No way! But please tell me that you had the decency to go to a hot yoga class last night, to rid your body of all of those toxins, like I did?

Ok, phew. We’re on the same page then.

Do you ever have one of those weeks? Where your best intentions are set aside when fun opportunities come up, and you grab hold of them and take a leap and just enjoy? It’s been one of those weeks for me. But instead of beating myself up for not exercising enough, or not getting enough sleep, or not doing all of the things on my to-do list, I’m just enjoying. You only have one life peeps, enjoy it. Live in the moment when possible. It’s kinda liberating.

Friends, I wish you all had one of these brownies in front of you at this very moment. I really do. Cause if we lived in a world where illness, poverty, war, unhappiness, or even a crap-town day could be cured by brownies…we’d have it made in the shade. These brownies have a fudgy, rich base, and a sweet, gooey, crunchy top. Oh, and don’t forget about the bourbon. I’m rather certain that the bourbon gives these brownies special powers. And if you’re like me, and don’t have a bottle of bourbon lying around, go out and buy one. Yes, you only need two tablespoons for this recipe, but hey, then you have a bottle of bourbon to drink! Heck yes. Stick with me and that bottle of bourbon will come in handy. I promise you. Deal?

Bourbon Pecan Pie Brownies (from the Edmonton Journal, Oct. 12,2011)

For the brownie layer:

2 eggs

1 tsp. vanilla

1/2 cup butter

3/4 cup cocoa

1 1/4 cup sugar

A pinch of salt

1/2 cup flour

Preheat your oven to 325°F. Whisk the eggs and vanilla together in a small bowl and set aside. In a double boiler set over boiling water, combine the butter, cocoa, sugar, and salt. Allow the butter to melt and mix everything together until smooth. Remove from the heat and whisk in the egg/vanilla mixture. Add the flour and stir until well blended. Pour into a greased 8 x 8 inch baking pan. Bake for about 25 minutes (until a toothpick inserted into the centre comes out clean). Allow to cool.

For the pecan pie layer:

1/2 cup corn syrup

1/2 cup brown sugar, packed

2 eggs

1 TBSP. vanilla

1/4 tsp. cinnamon

1/4 cup butter, melted

2 TBSP. bourbon

2 cups chopped pecans

Using an electric mixer, beat together the corn syrup and sugar until smooth. Add the eggs, vanilla, and cinnamon, and beat well. Add the butter and bourbon and beat again until well-mixed. Stir in the pecans and pour the mixture over top of the brownie layer. Bake for 30-35 minutes, or until the centre of the pecan pie layer has set (mine took about 45 minutes). Allow to cool completely, then refrigerate for at least a couple of hours before serving. Chow. down. Preferably in the company of others. I cannot be held responsible for what might happen if you are left alone with this entire pan of brownies. Consider yourself warned.

Giving Thanks | Pumpkin Breakfast Cake


OK, I know what you’re thinking…

Not another pumpkin recipe.

But wait! Don’t run away! Allow me to plead my case.


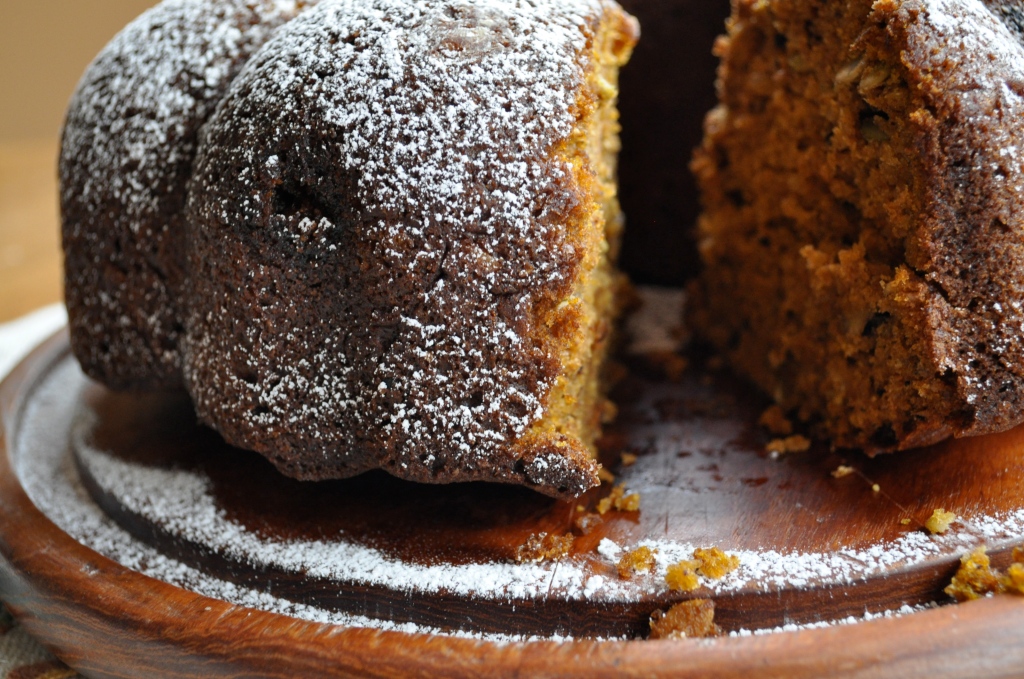
This isn’t just any cake. First of all, and probably most importantly, it’s a cake you can eat for breakfast. Yep, it’s breakfast approved. You know why? Cause it’s full of hearty good-for-you ingredients like whole wheat flour, oats, nuts, and pumpkin! A nice big hunk of this cake with a steaming mug of coffee or tea will start your morning off right.

Secondly, this cake is super adaptable! If the thought of eating another pumpkin anything makes you want to vomit (although really, that would be a bit dramatic of you), then you can change it up! You can use applesauce or banana instead of pumpkin. You can sub in almonds, raisins, coconut, or any other nuts or dried fruit for the pumpkin seeds and walnuts. Or change up the spices! In fact, one of my favorite versions of this cake uses applesauce, cinnamon, almonds and coconut. Delish!


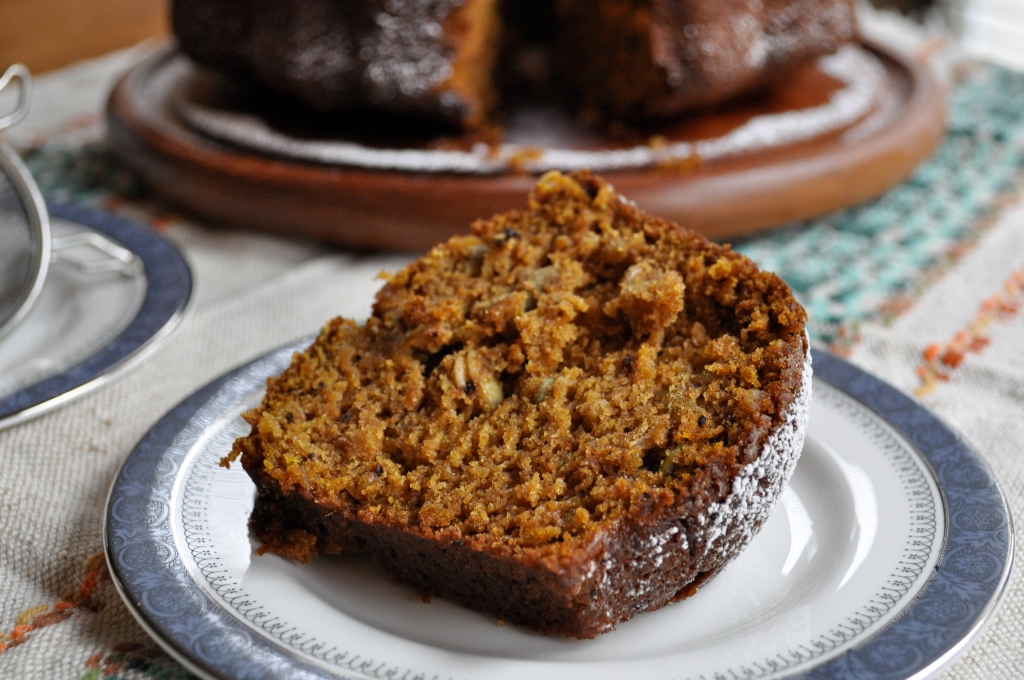
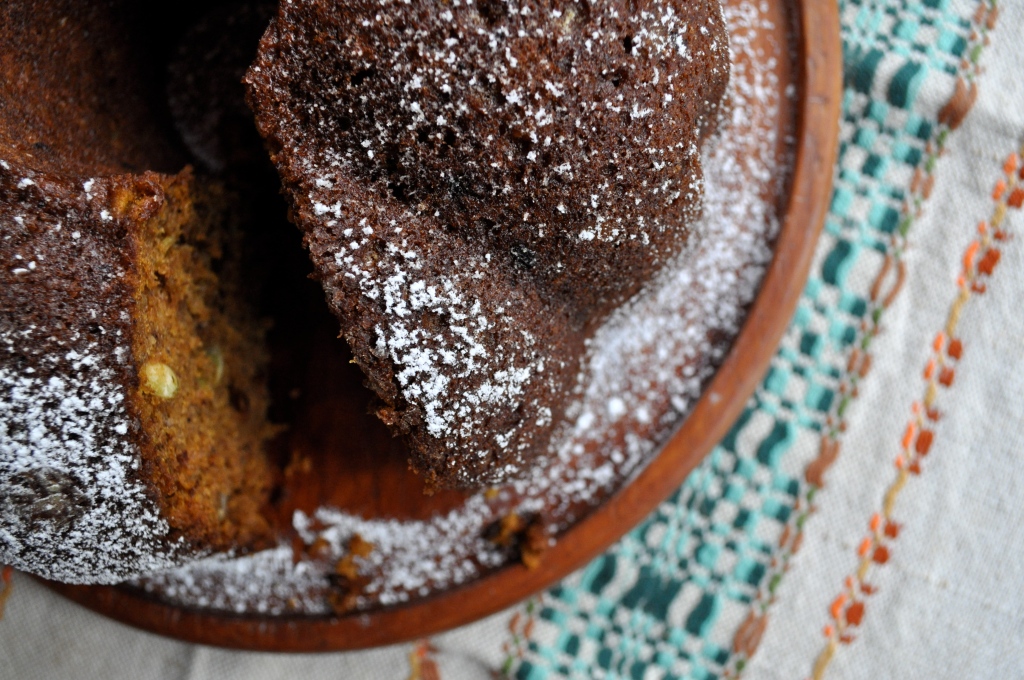
But back to this particular version of the cake, with pumpkin! It’s moist, nutritious, delicious, and seasonal. Just in case you need an excuse to eat cake for breakfast. Personally, I don’t need an excuse. (Don’t you know me by now?!) 🙂 This recipe was shared with me several years ago by a very special lady. I remember awakening to the wonderful aroma of one of these breakfast cakes baking away in the oven on several occasions. And while we probably won’t have another opportunity to share a piece of breakfast cake and tea on a lazy weekend morning, I hope she knows that she will remain in my heart always.

Happy Thanksgiving weekend to you and yours! May we all remember to be thankful for what we have.


Pumpkin Breakfast Cake

1 cup white flour

1 cup whole wheat flour

1 cup oats

2 tsp. baking powder

2 tsp. baking soda

1 tsp. ground cinnamon

1/2 tsp. ground nutmeg (optional)

1/2 tsp. ground allspice (optional)

1/2 tsp. ground cloves (optional)

Pinch of salt

1 cup olive oil

1 cup white sugar

1 cup brown sugar

4 eggs

2 tsp. vanilla

2 cups pumpkin puree (or other fruit)

1/2 cup raw pumpkin seeds (or other nuts/dried fruit)

1/2 cup chopped walnuts (or other nuts/dried fruit)

Preheat the oven to 350°F. Whisk together the flours, oats, baking powder, baking soda, spices, and salt in a large bowl. In a separate bowl, combine the olive oil, sugars, eggs, and vanilla. Add to the dry ingredients and mix well. Add in the pumpkin puree and the pumpkin seeds and walnuts. Stir well. Pour/spread into a large greased bundt pan (or two loaf pans). Bake for about 1 hour, or until a toothpick inserted into the cake comes out clean. Allow the cake to cool thoroughly before turning out of the pan(s).

*Please note that you may also halve the recipe and bake the cake in a loaf pan. Or keep the recipe as is and bake two loaves, freezing one for later.

PS. I can’t make any promises that I’m done with the pumpkin recipes…

%d bloggers like this: