Whole Wheat Pumpkin Oat Muffins

Whole Wheat Pumpkin Oat Muffins | Once Upon a Recipe

Hello Ladies and Gents! Happy Wednesday!

Oh, and happy back to the future day! The Internets tell me that today (Oct. 21, 2015) is the day that Marty McFly and Doc Brown traveled to in Back to the Future Part 2. I may or may not have googled Back to the Future to figure out the names of those two guys. Should I feel ashamed that I’ve never seen Back to the Future (Part 1 or 2)? For some reason I feel like I should.

Whole Wheat Pumpkin Oat Muffins | Once Upon a Recipe

Anyways, just a quick little post here today. I feel like I’m neglecting this space again, but sometimes it’s just unavoidable! In the past few weeks I celebrated a birthday (hello 3-1…this number seems so much more daunting to me than 30 did) and Canadian Thanksgiving, went to the mountains for a quick but much needed getaway, and have been planning and preparing for a Halloween cooking class that I will be teaching this weekend. And exactly two weeks from today, I will be hopping on a plane to a beach destination for 10 days of rest and relaxation. I’ve resigned myself to the fact that the whole amazing bikini body that I planned to have for this trip when I booked it a couple of months ago just will not be a reality, but I’m kind of over it. There is just too much good food in this world and I believe too strongly in moderation (heavy on the “indulge” end of the spectrum). Plus my 31-year old metabolism doesn’t cooperate quite as well as my 25-year old metabolism did.

Whole Wheat Pumpkin Oat Muffins | Once Upon a Recipe

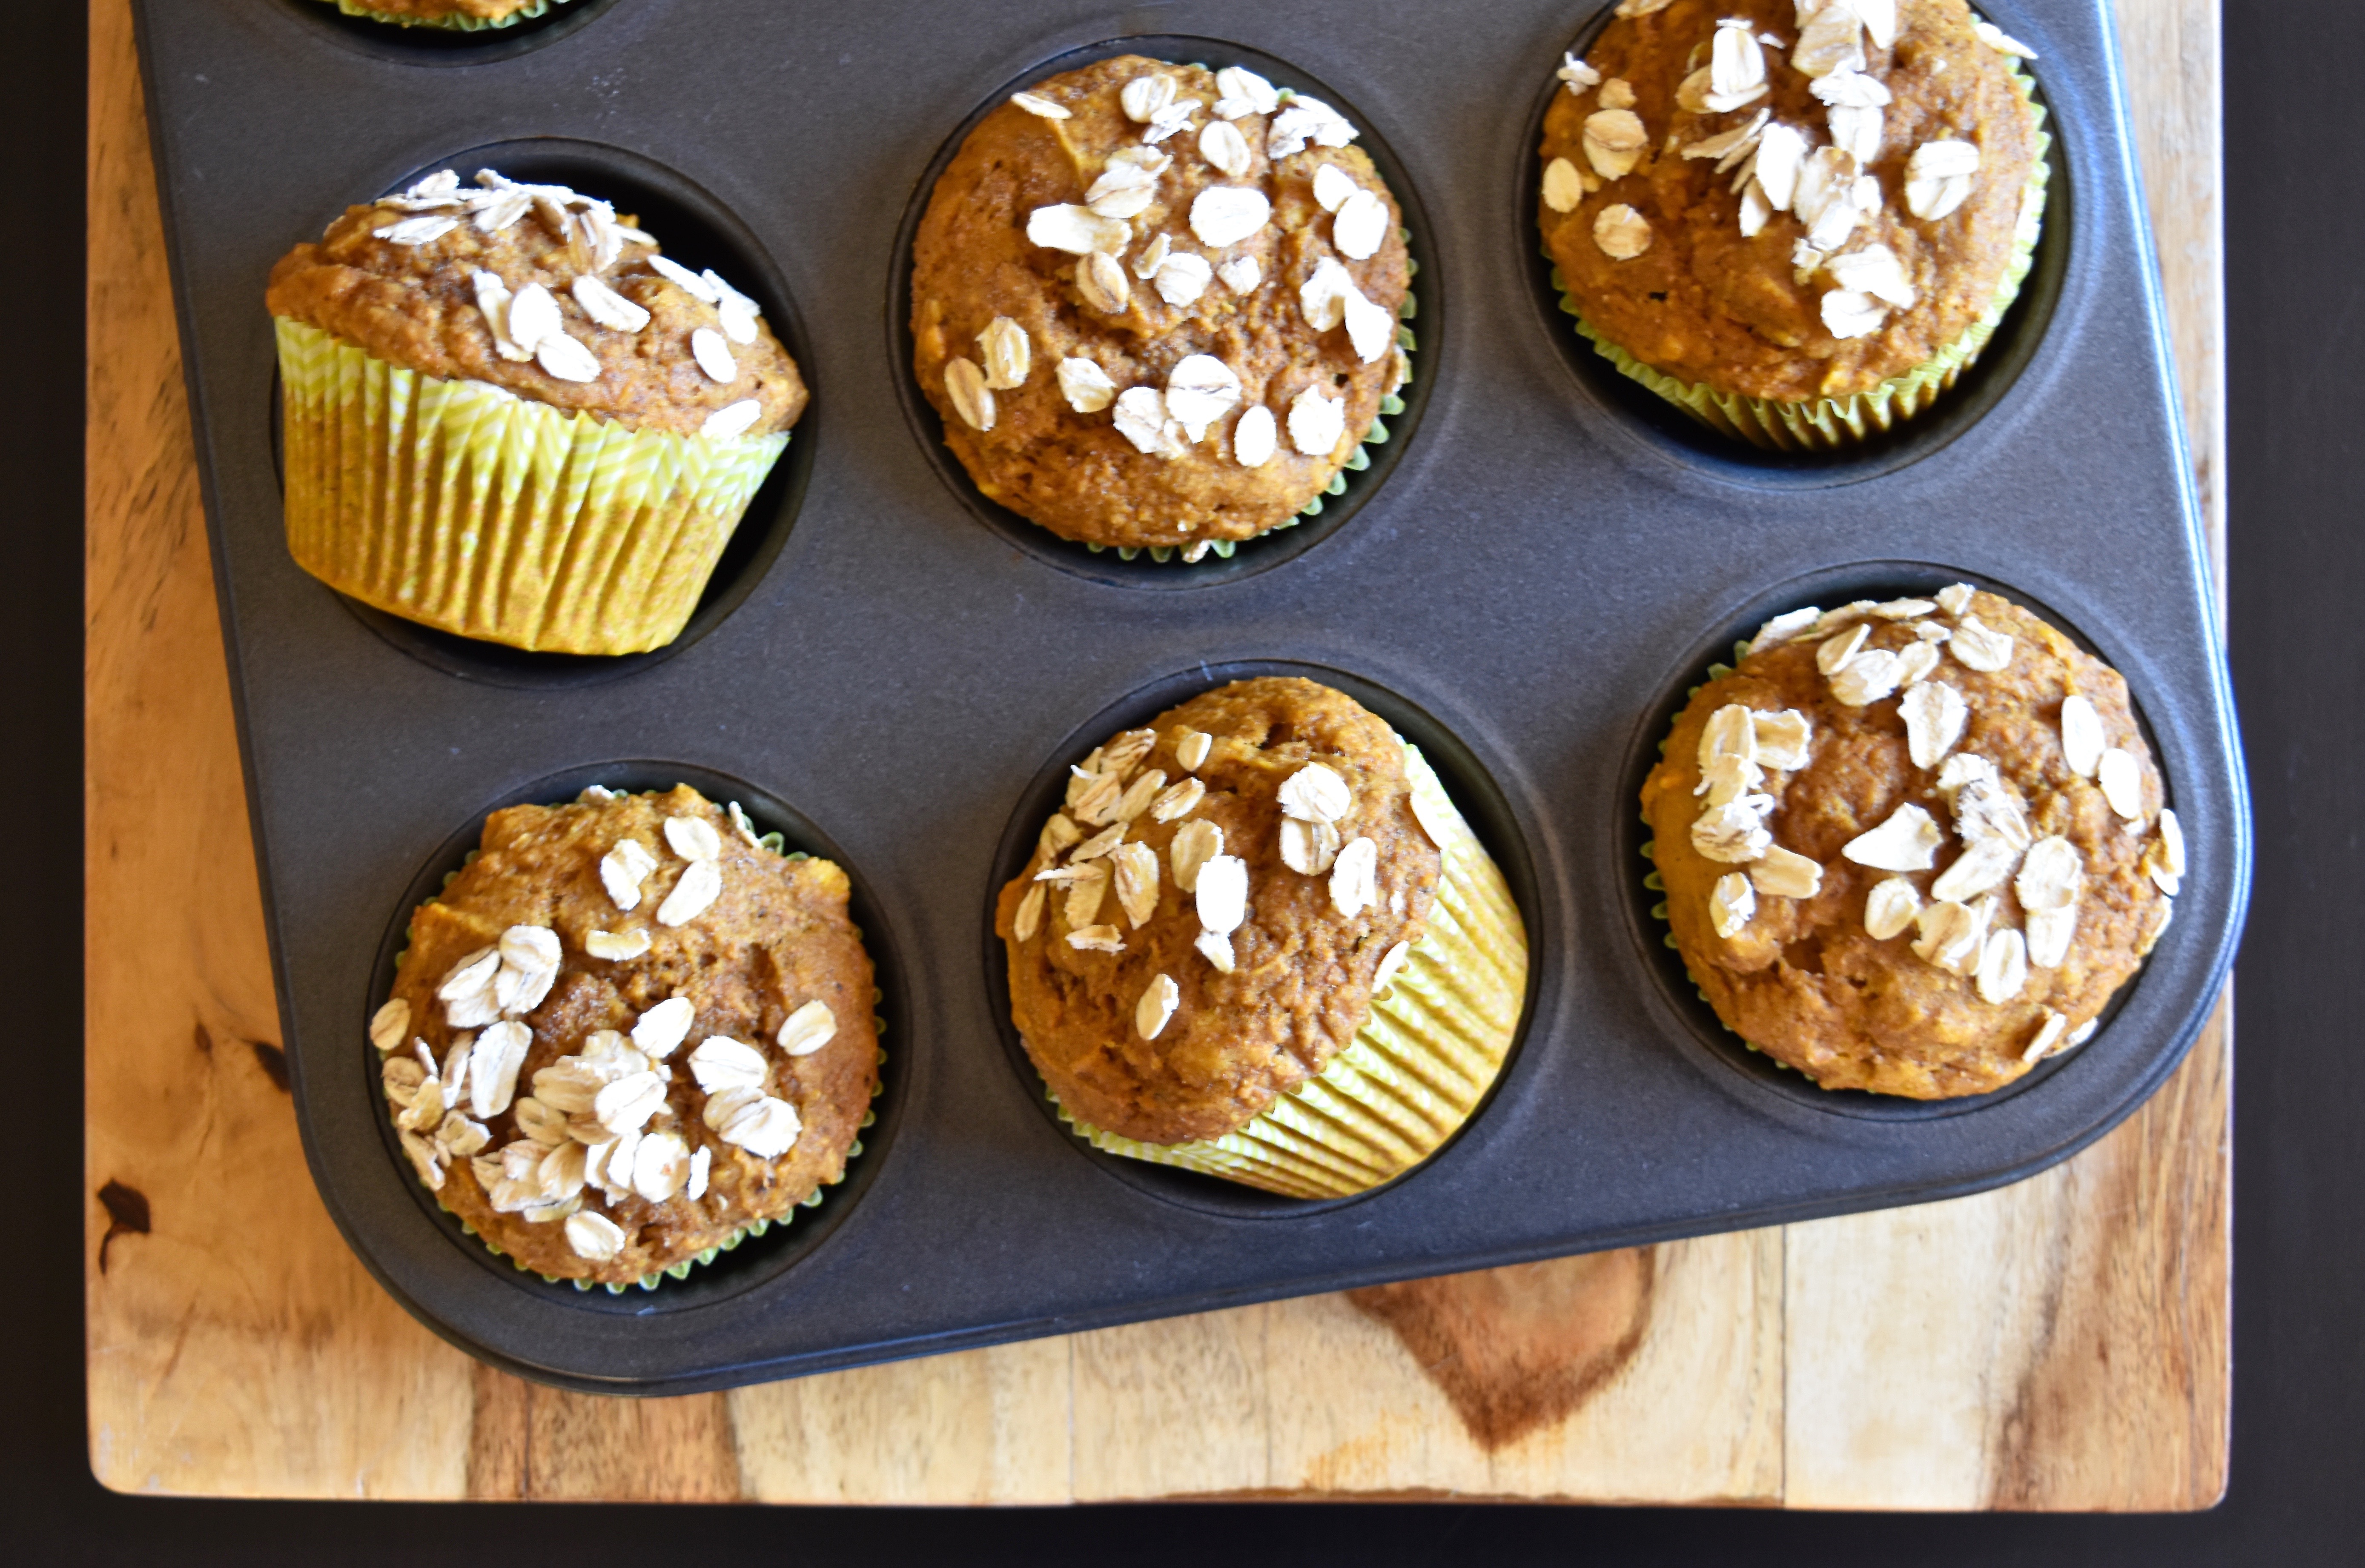
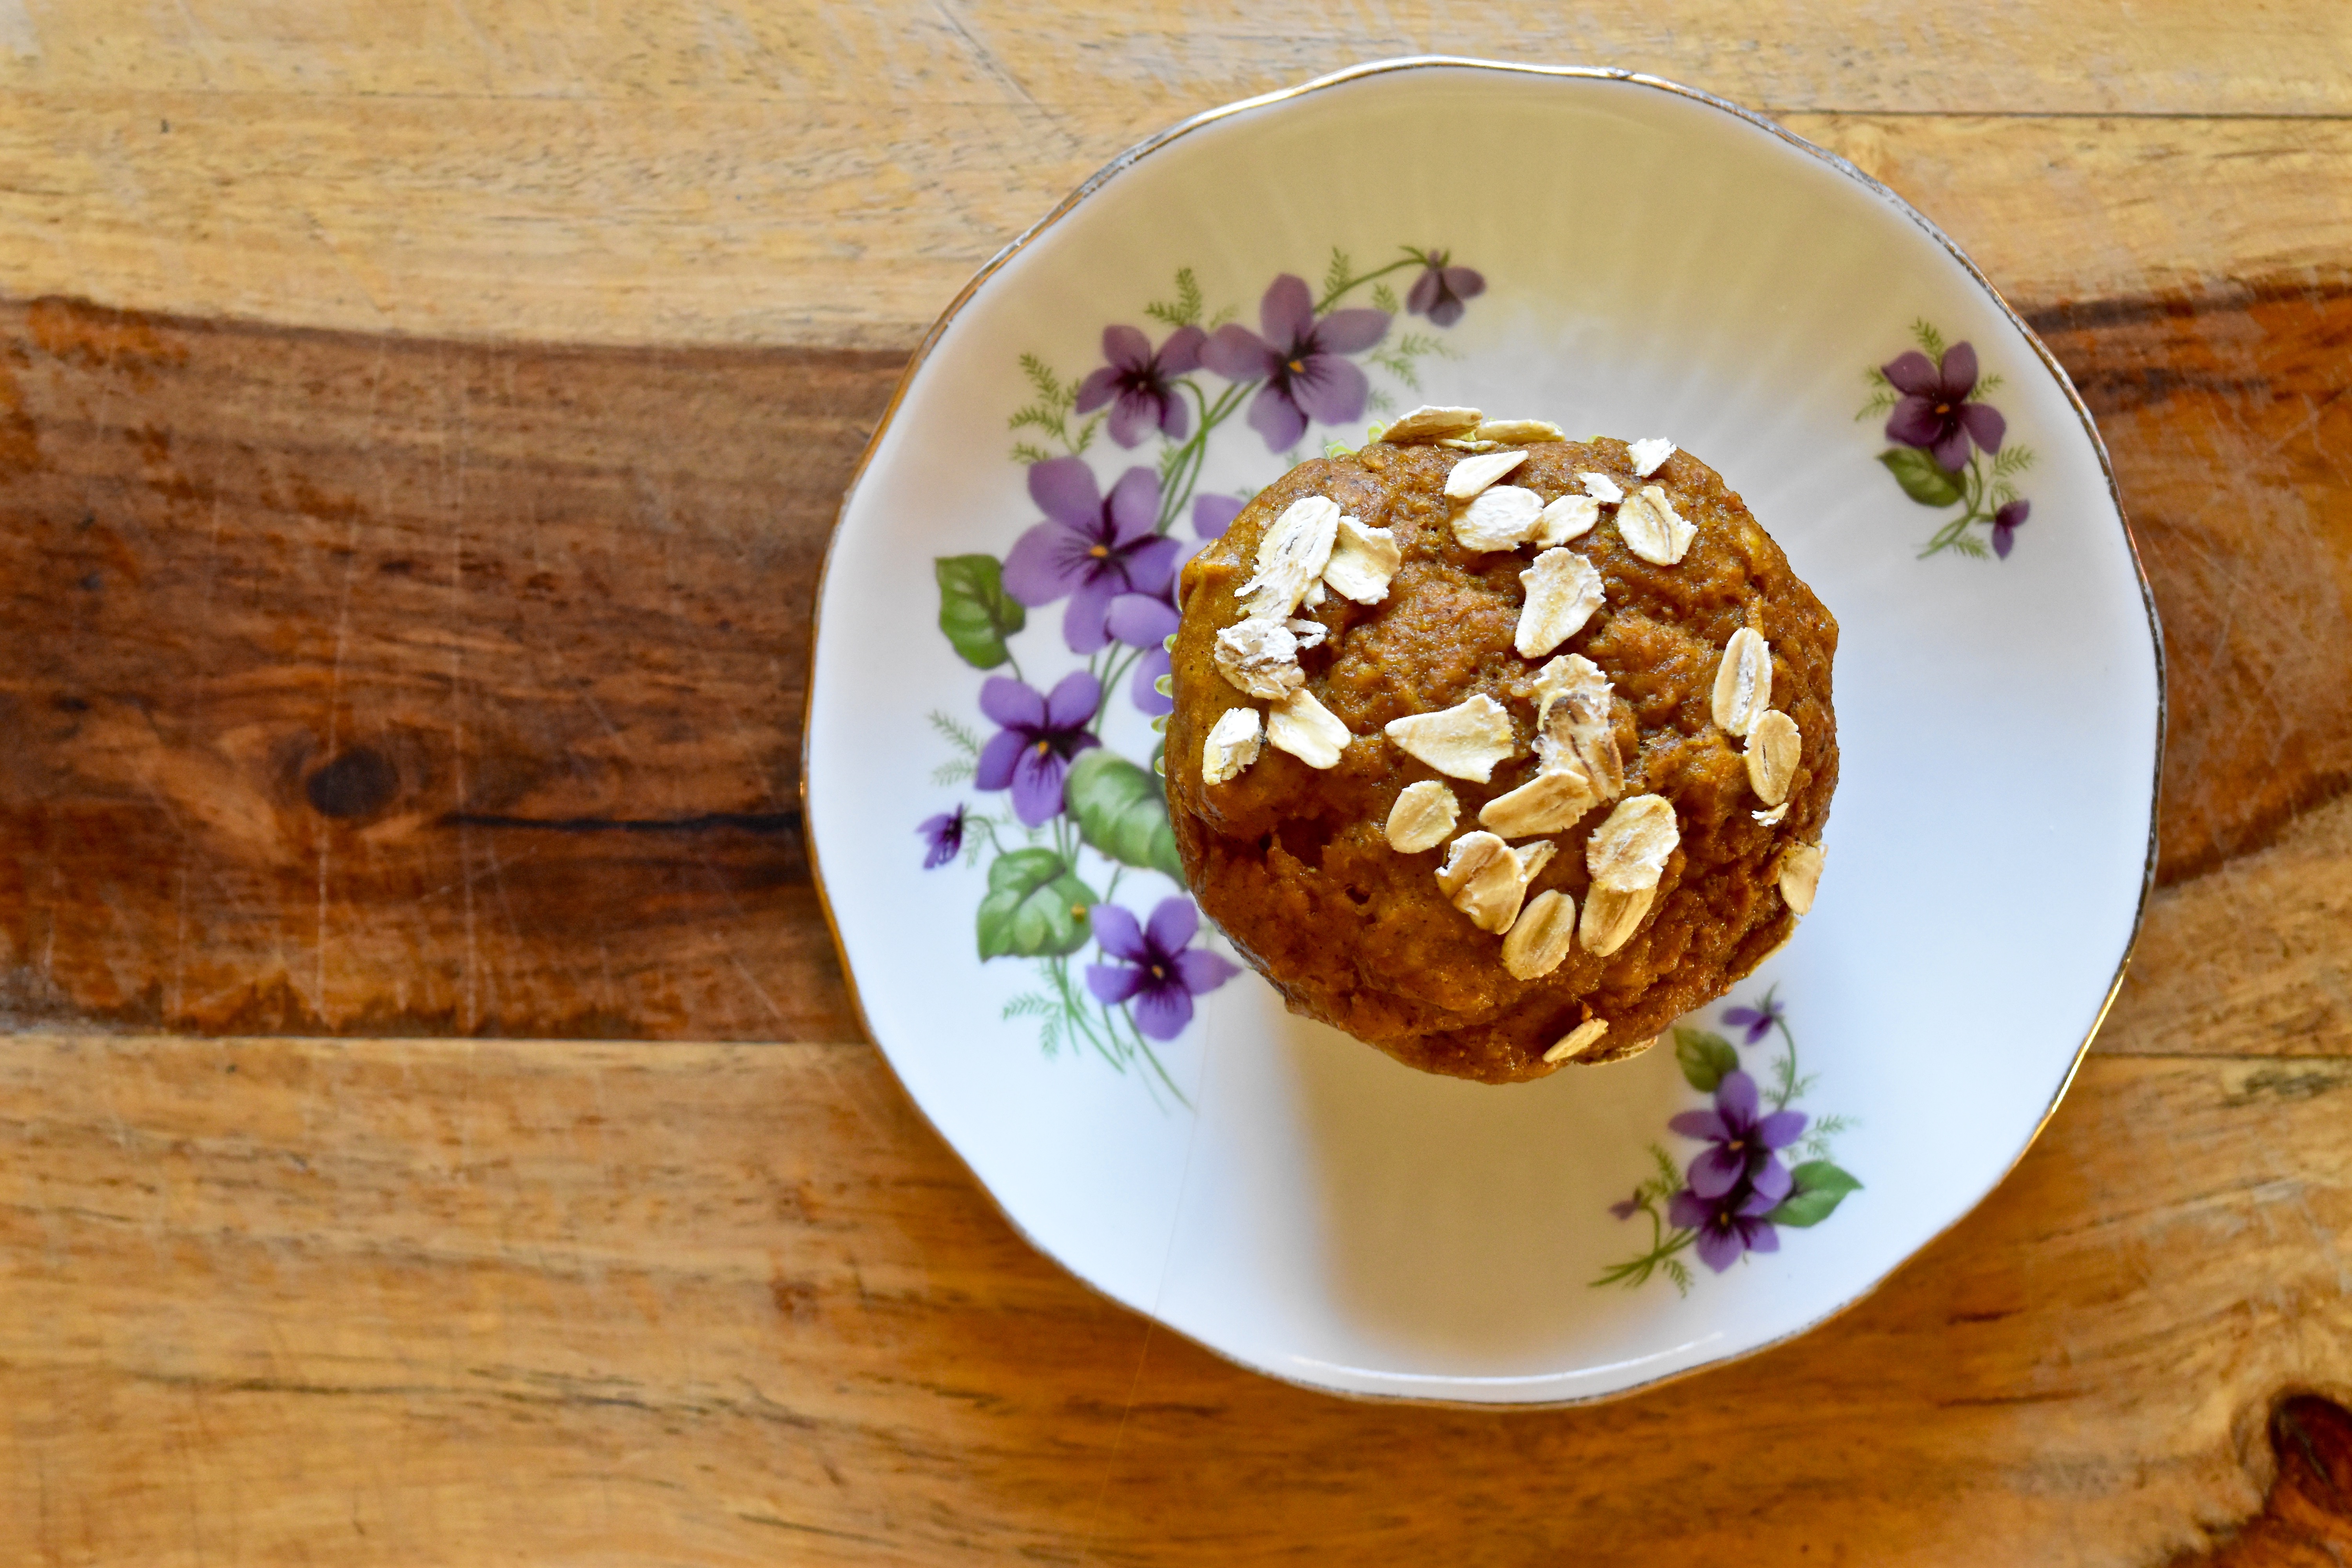
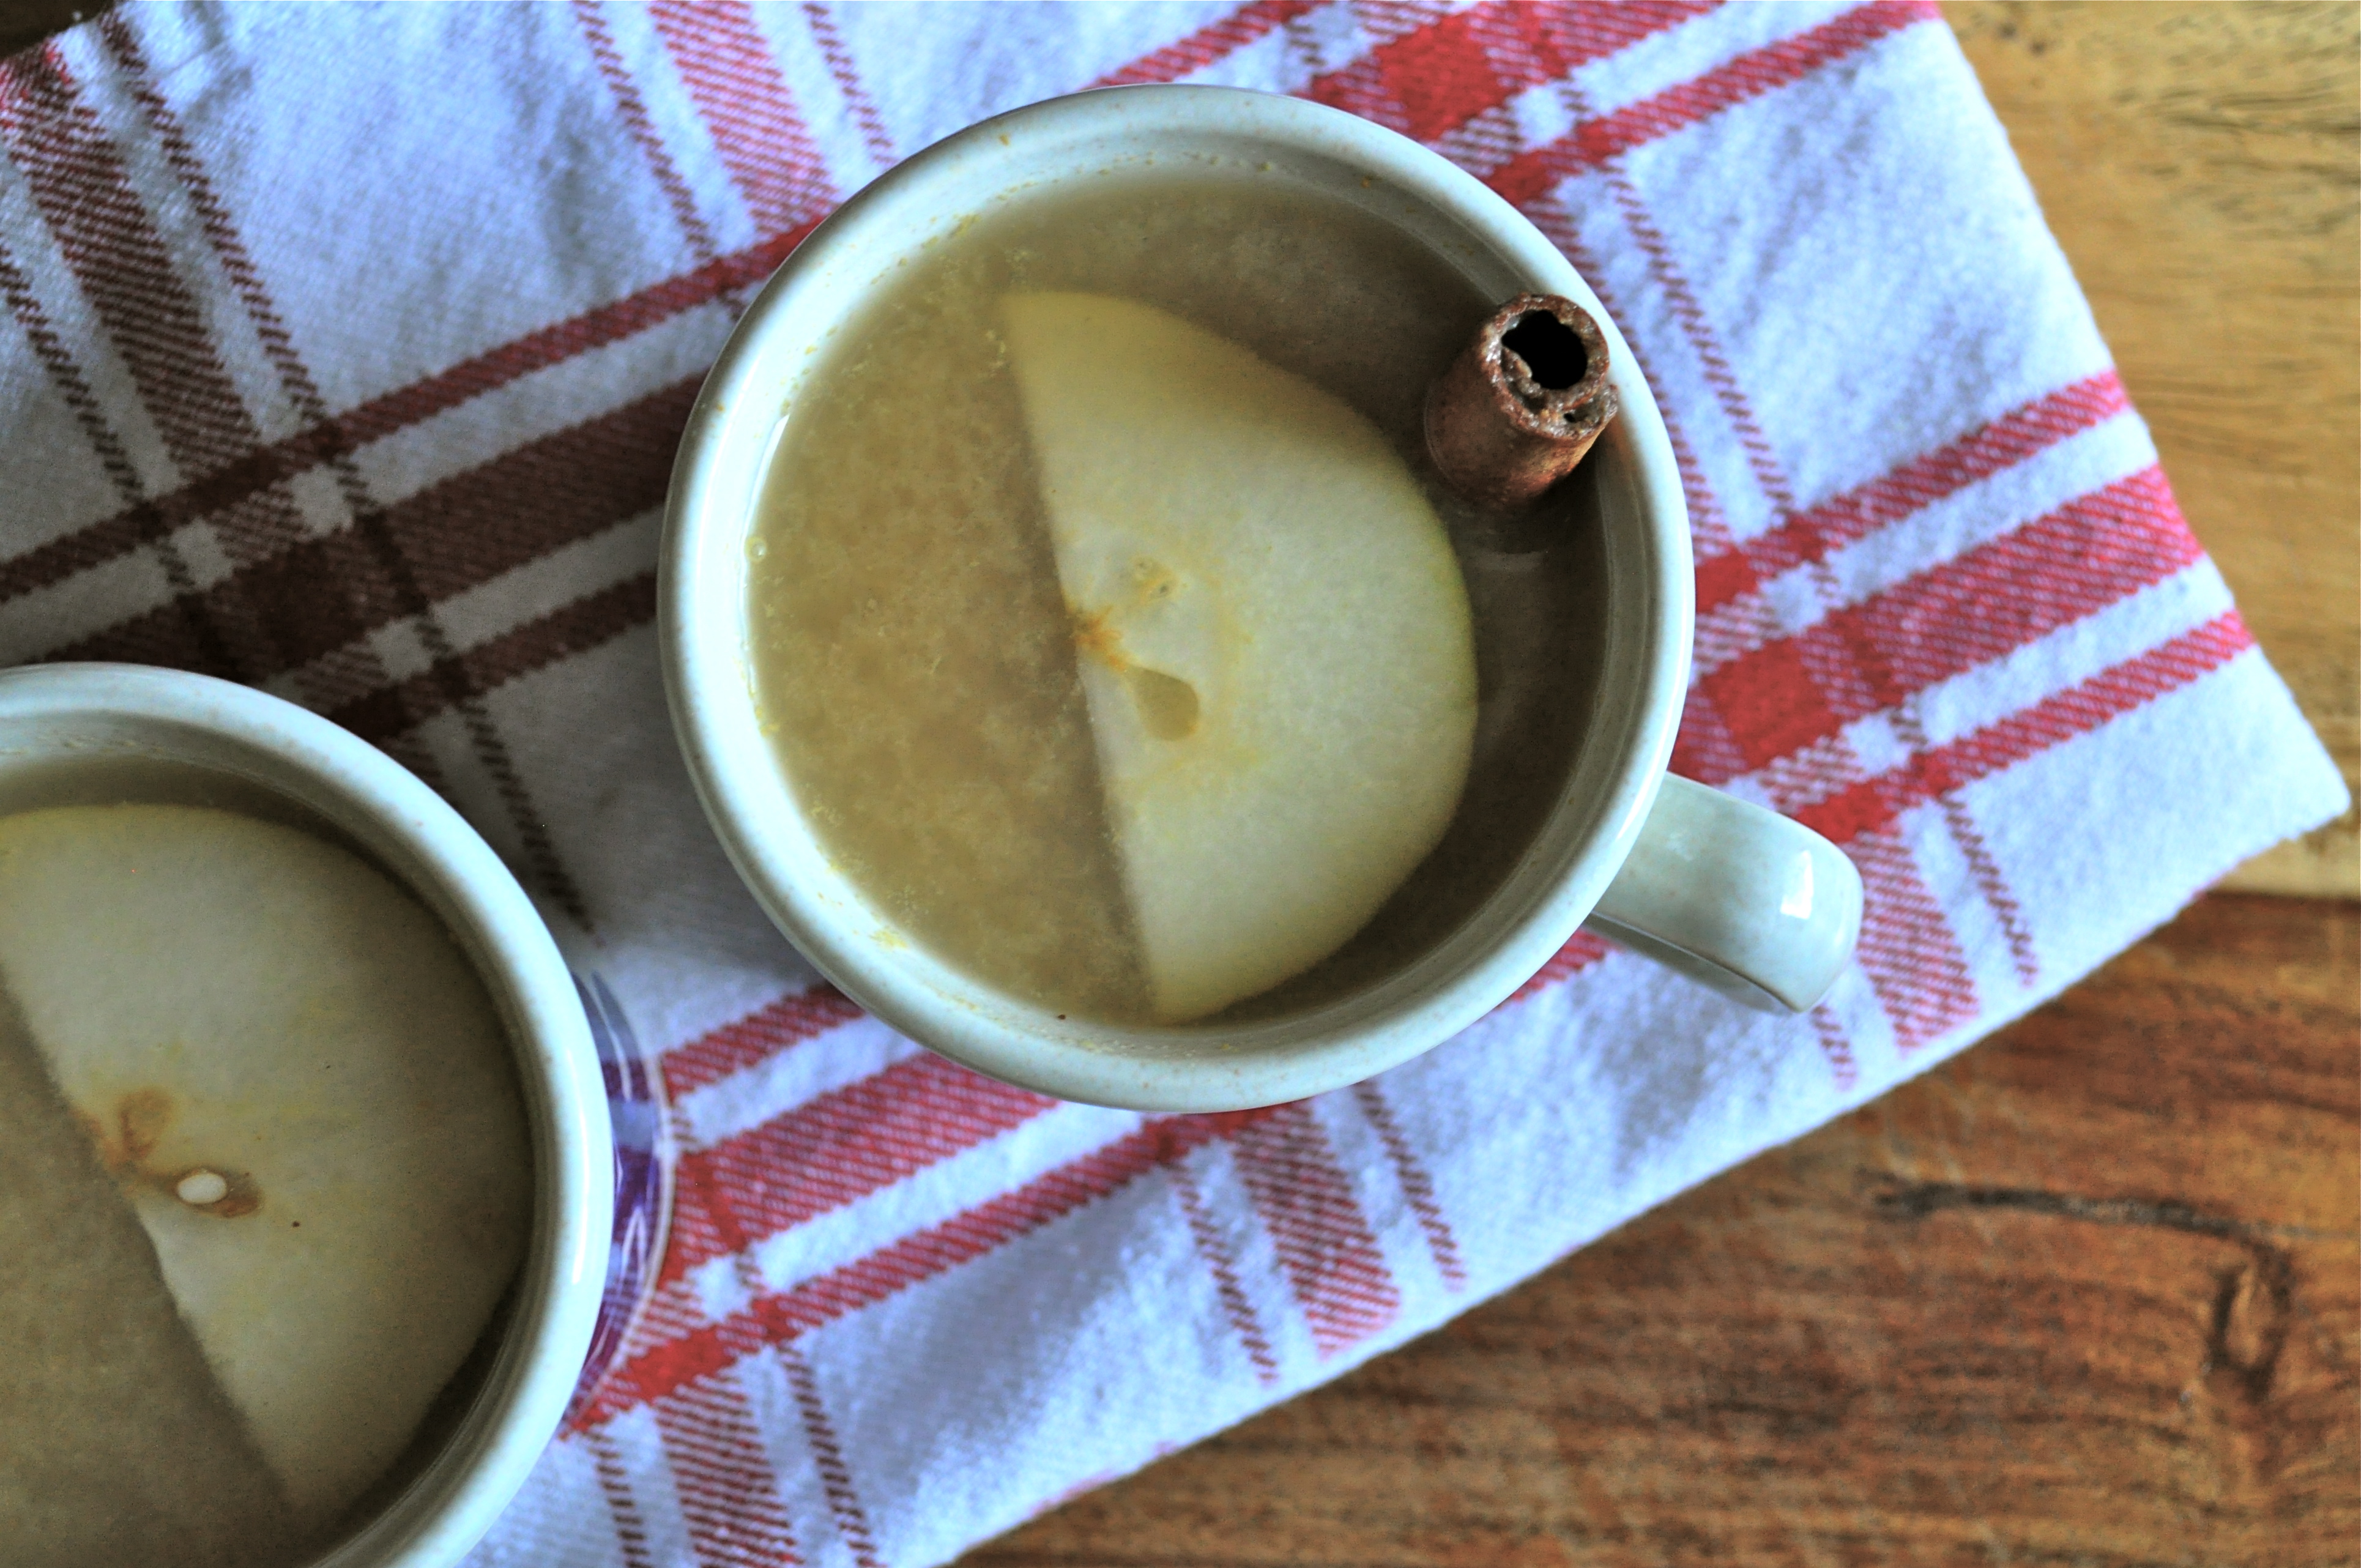
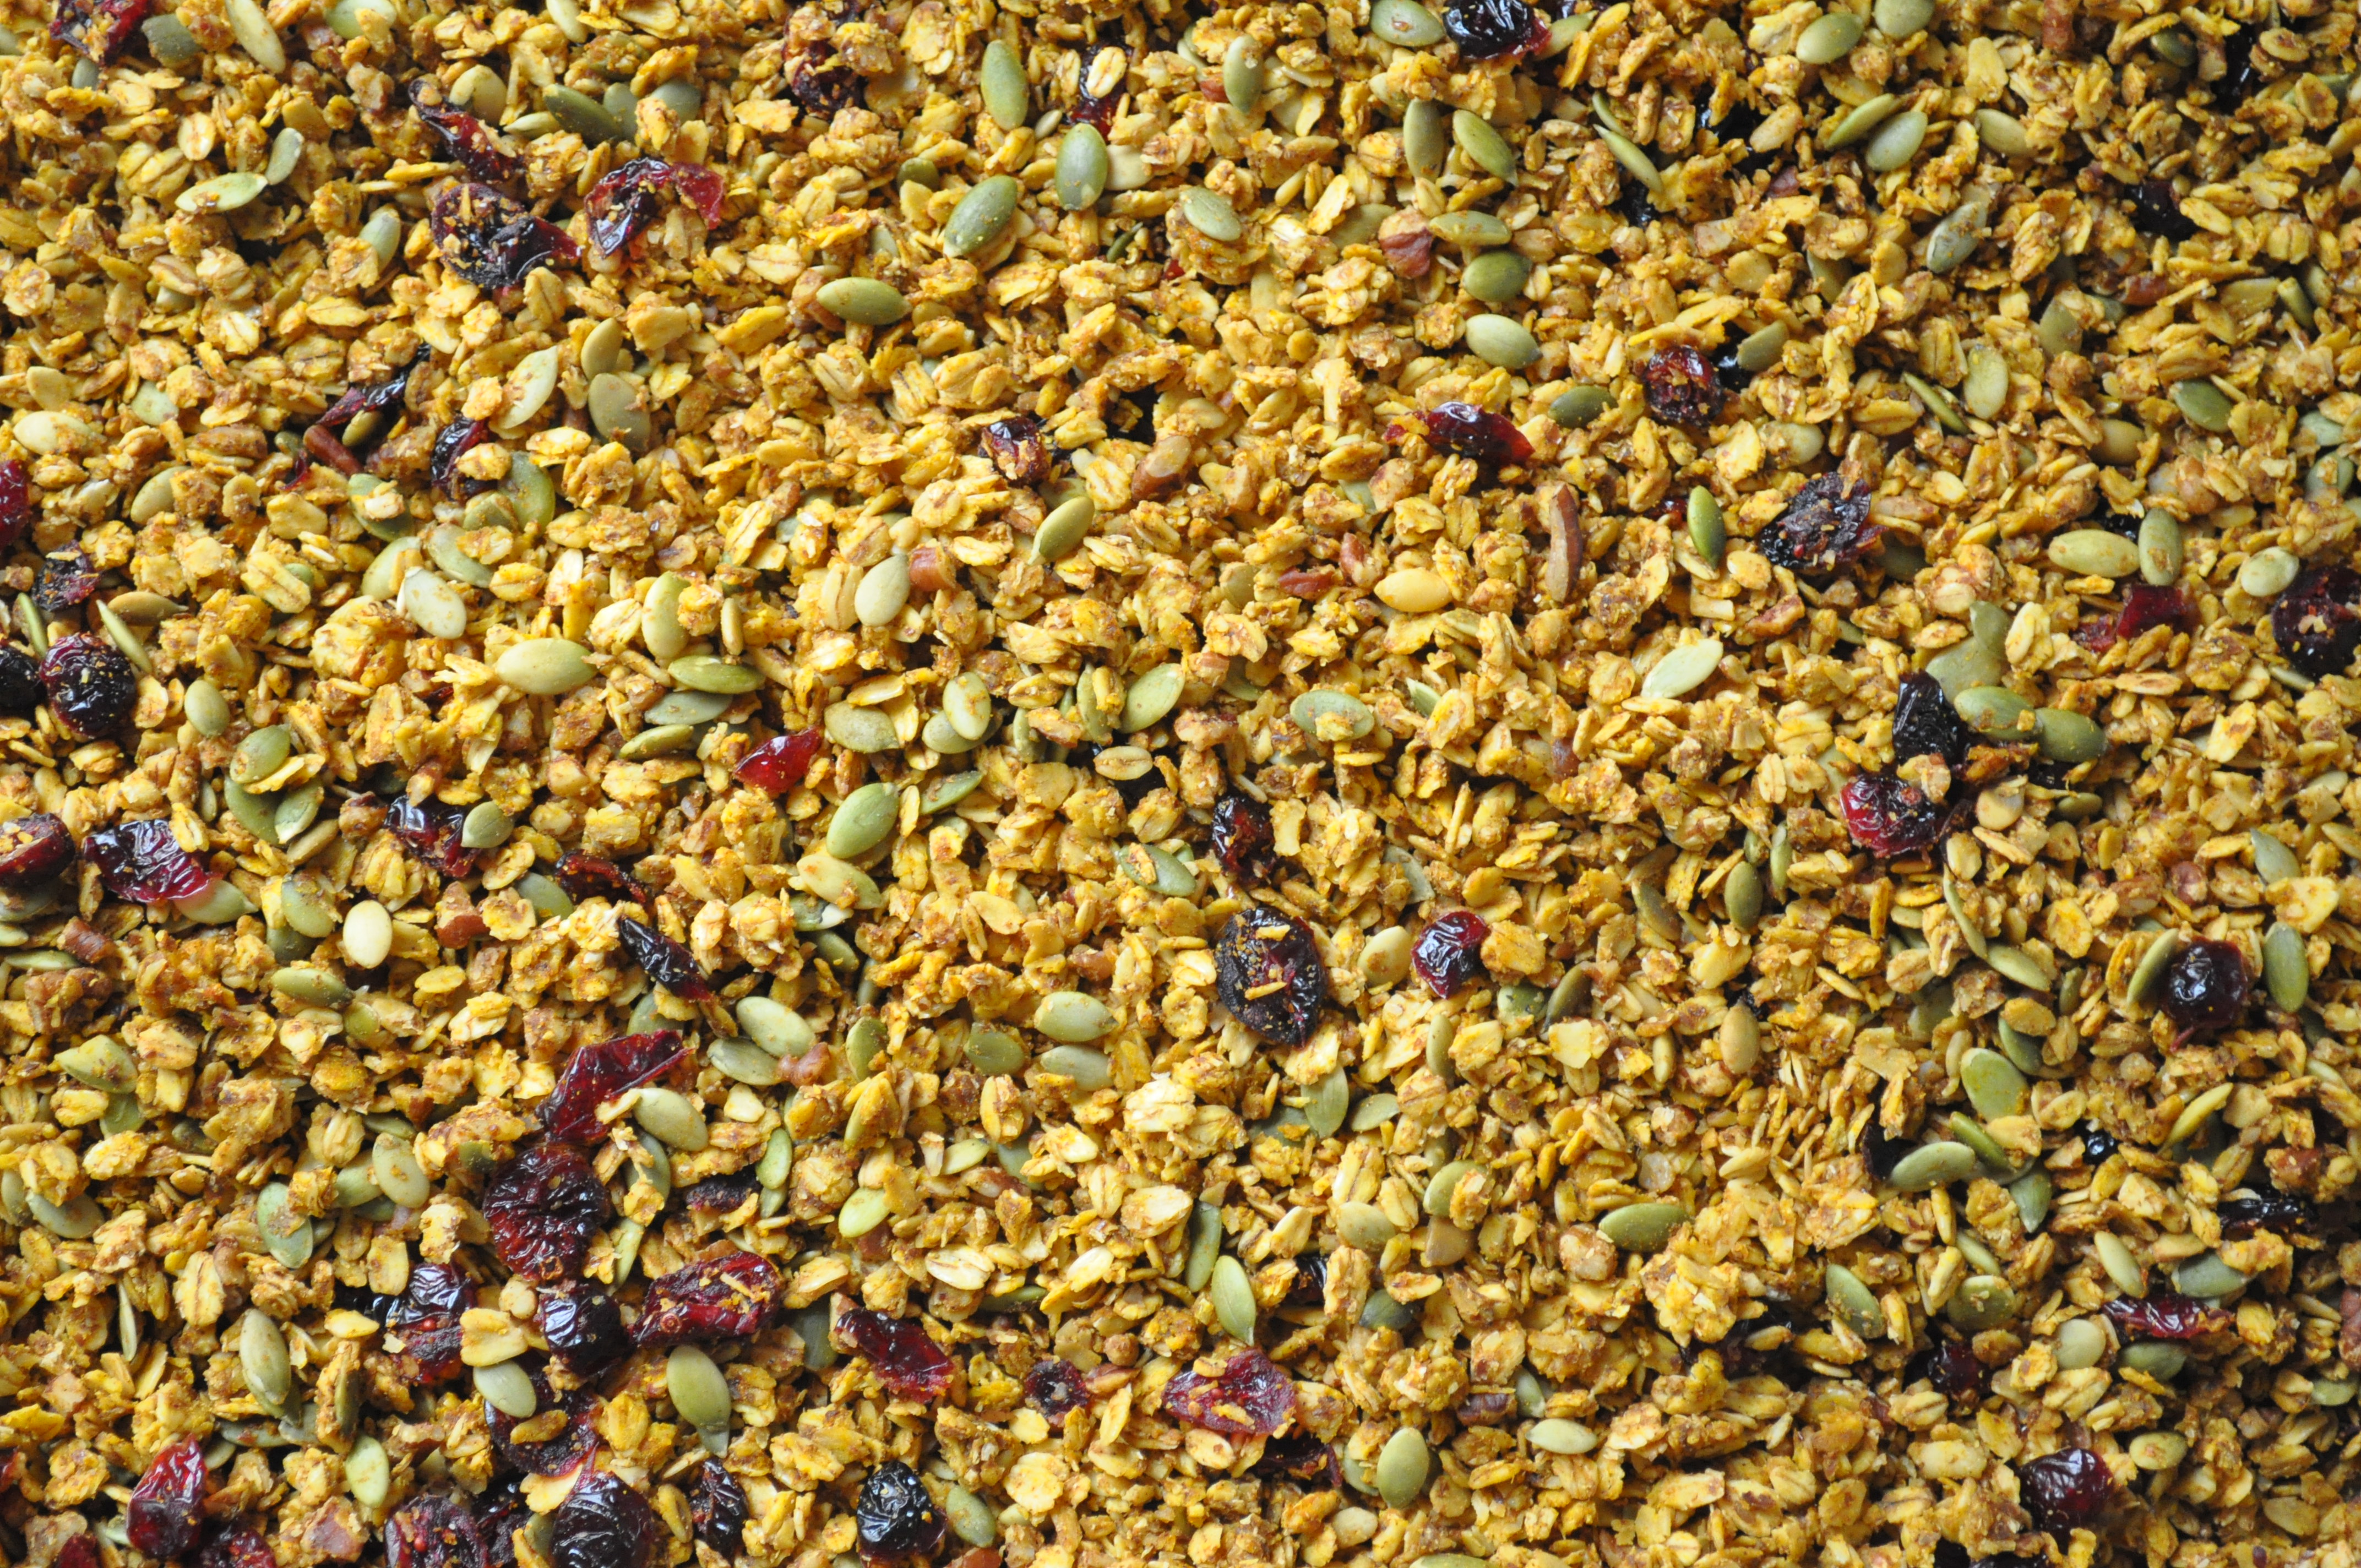
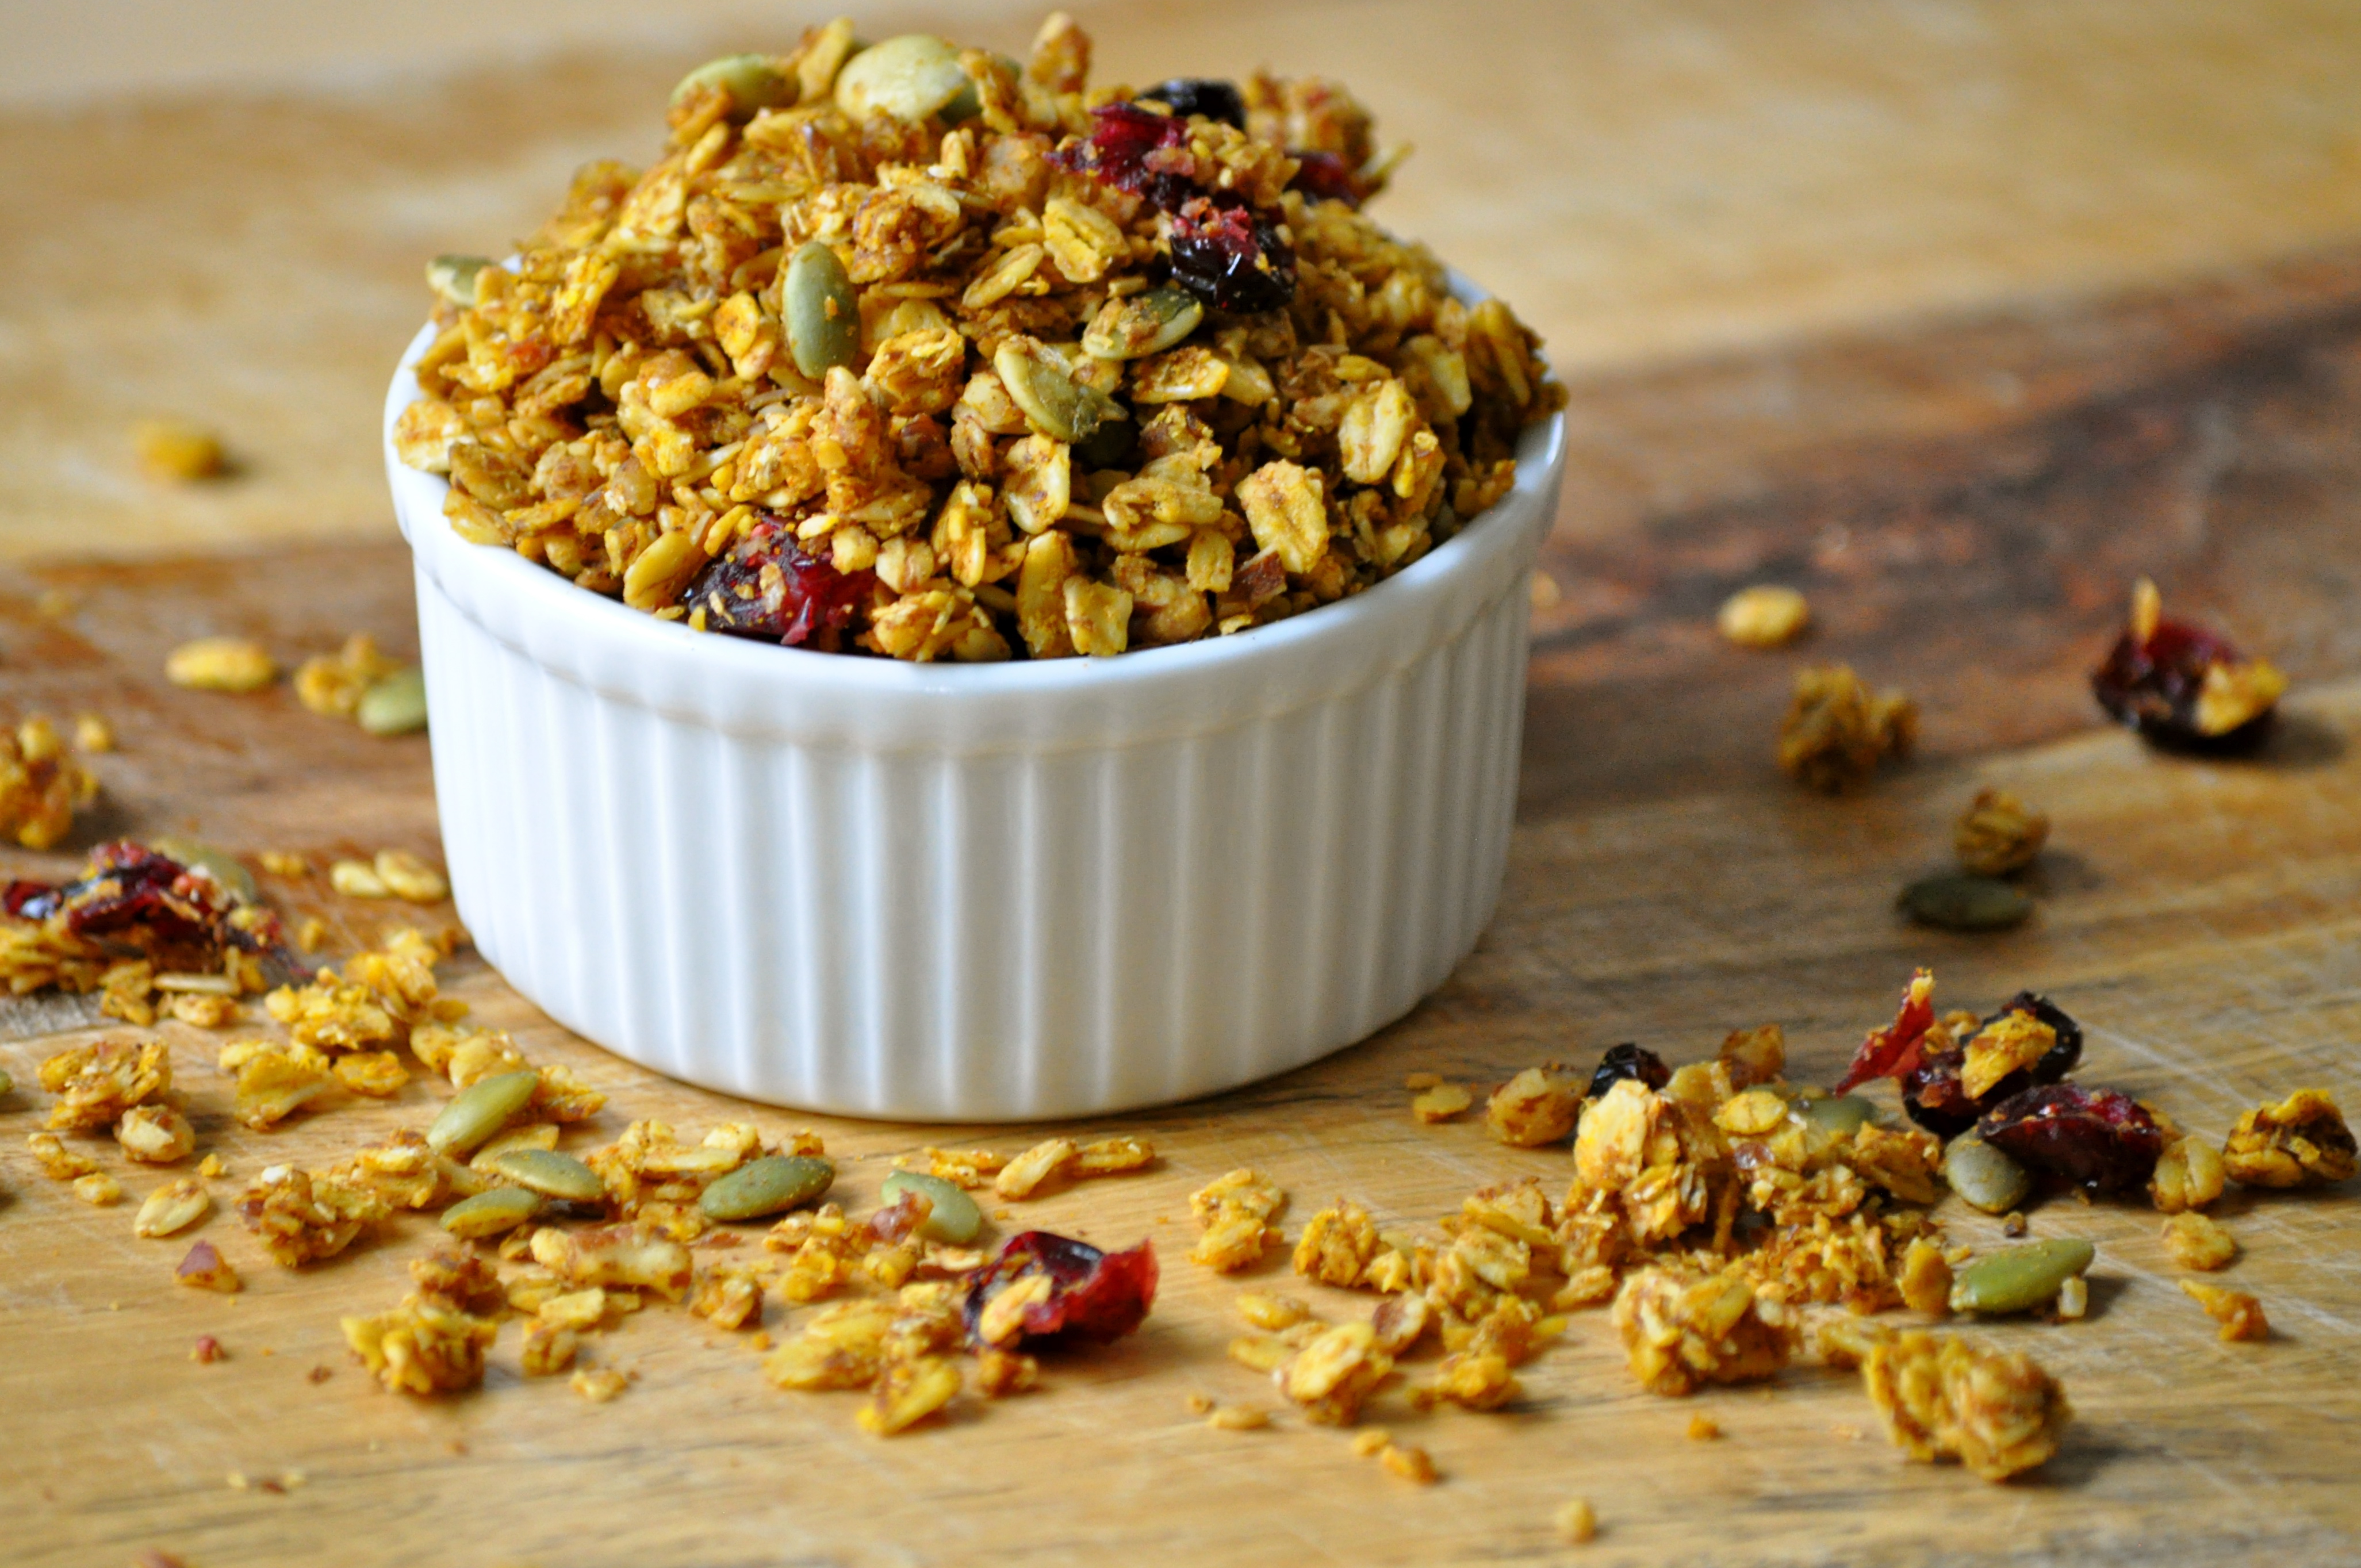
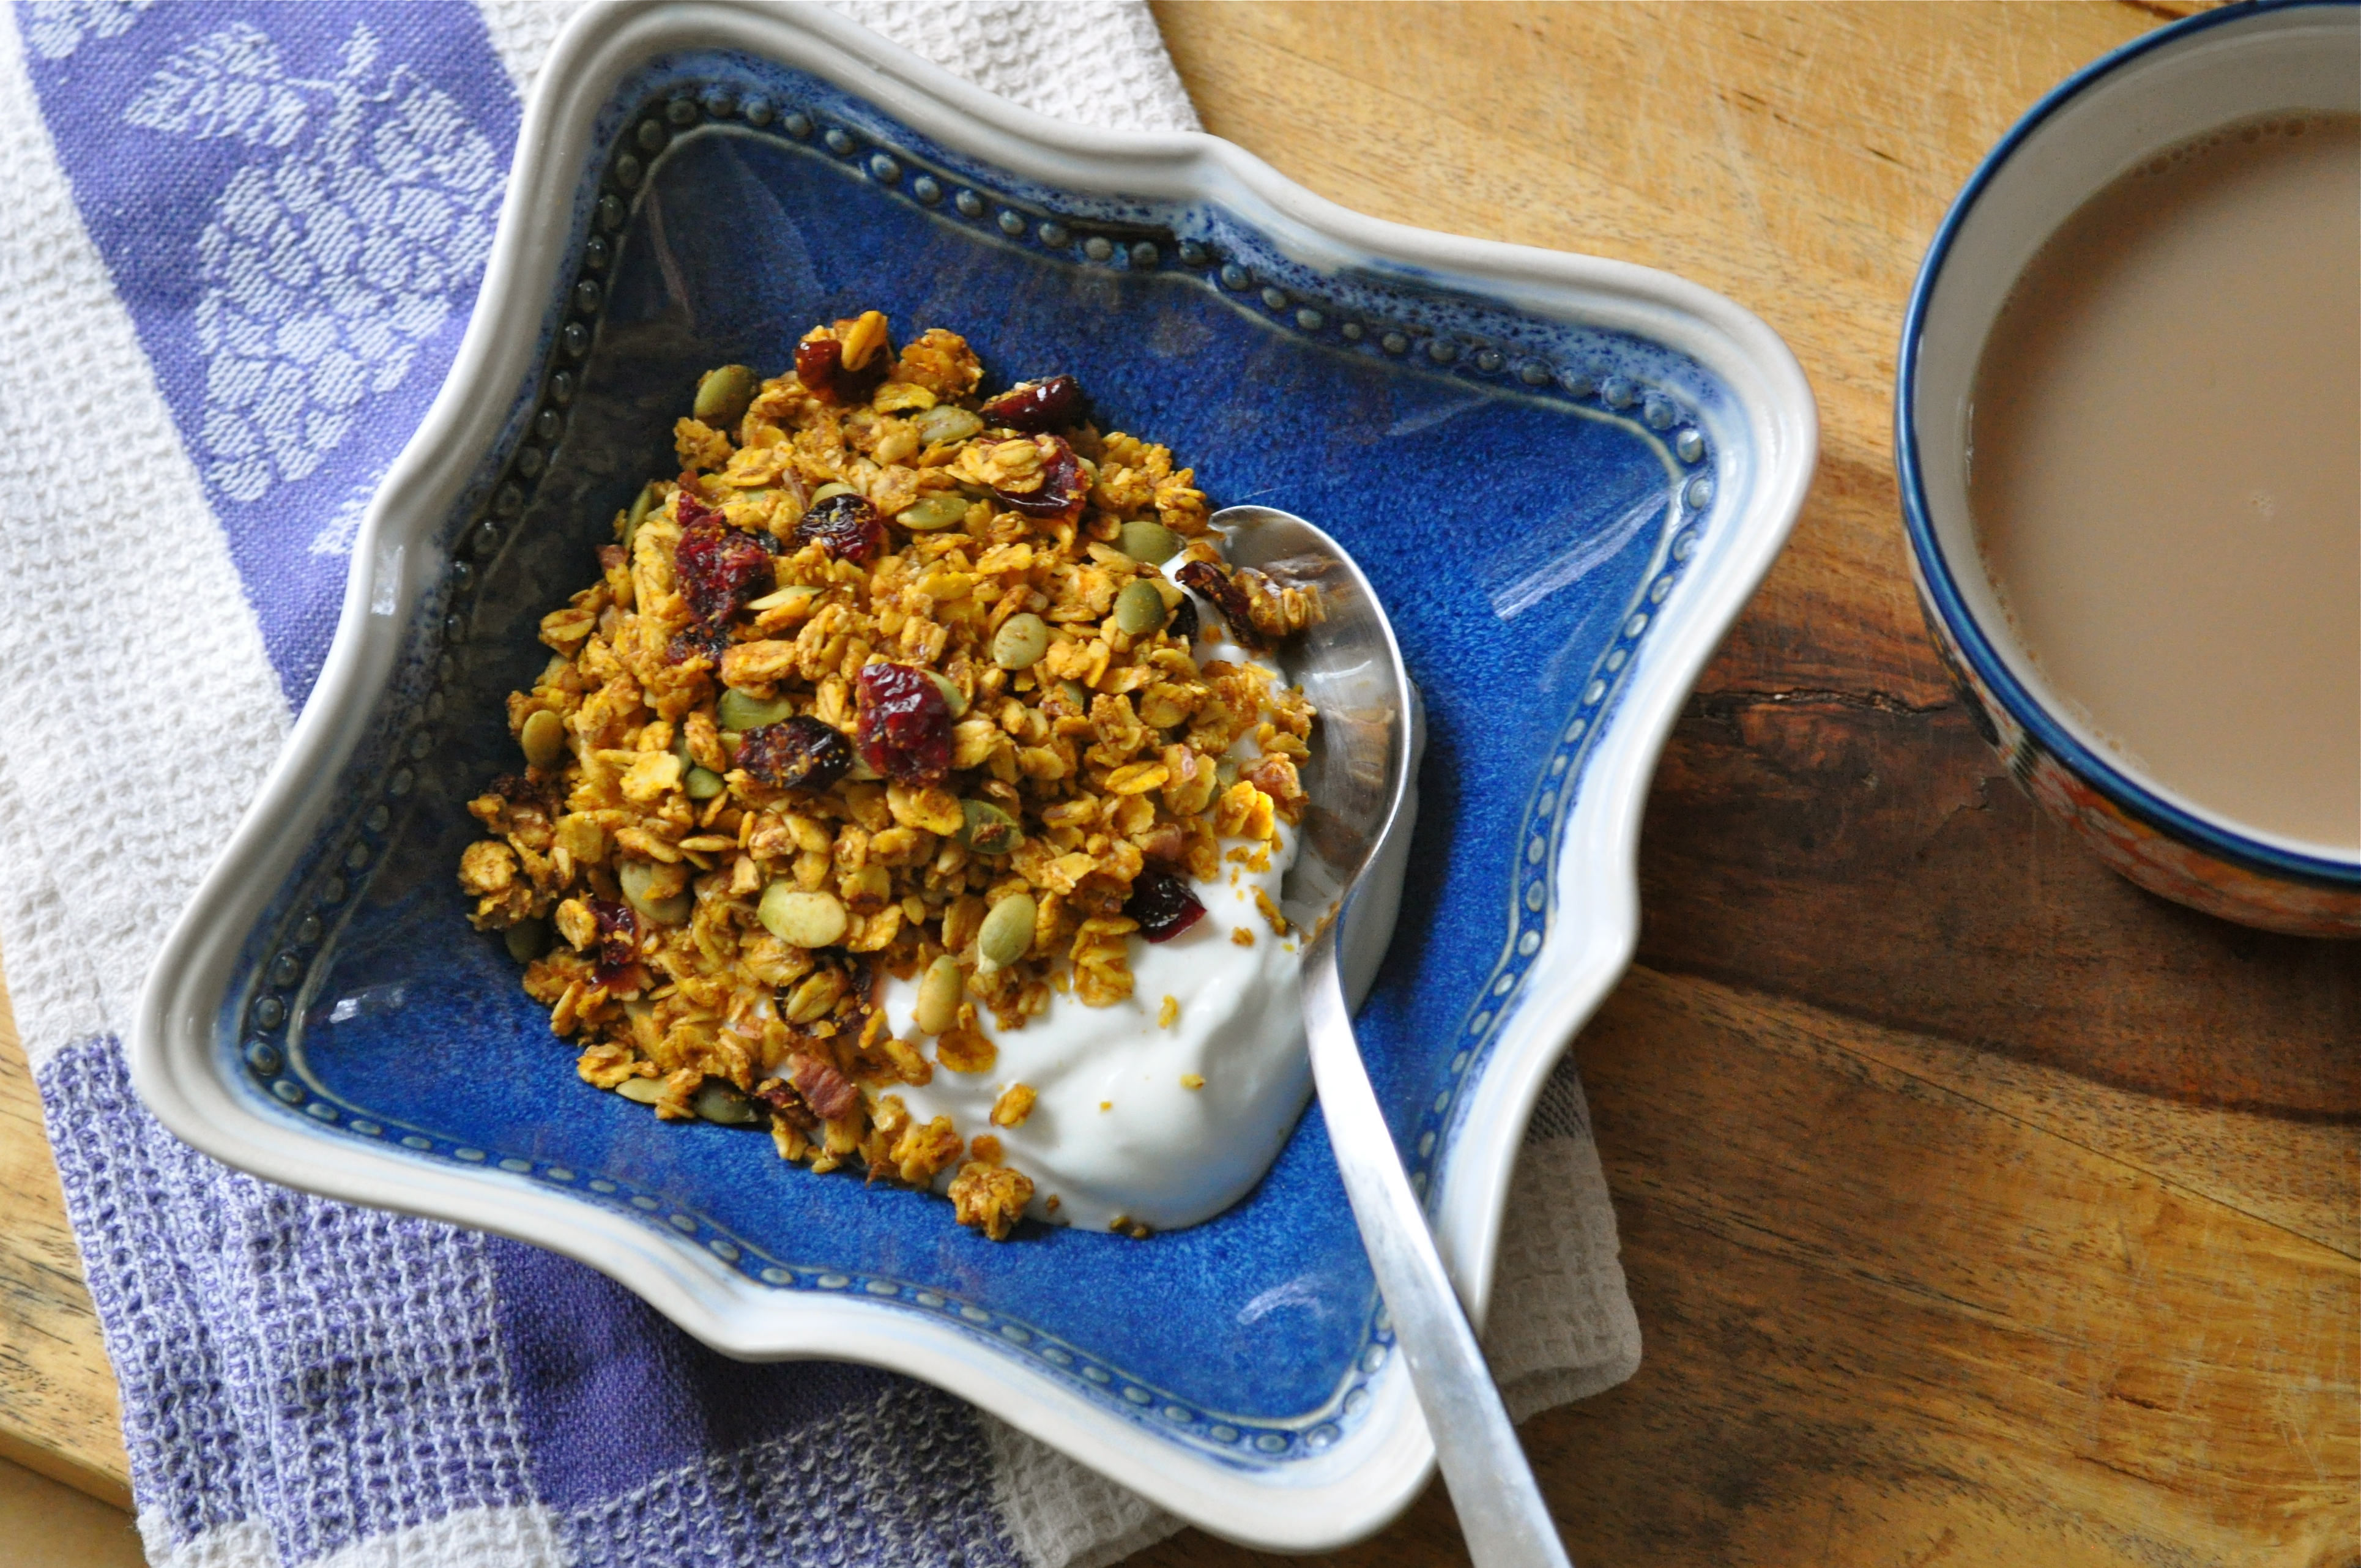
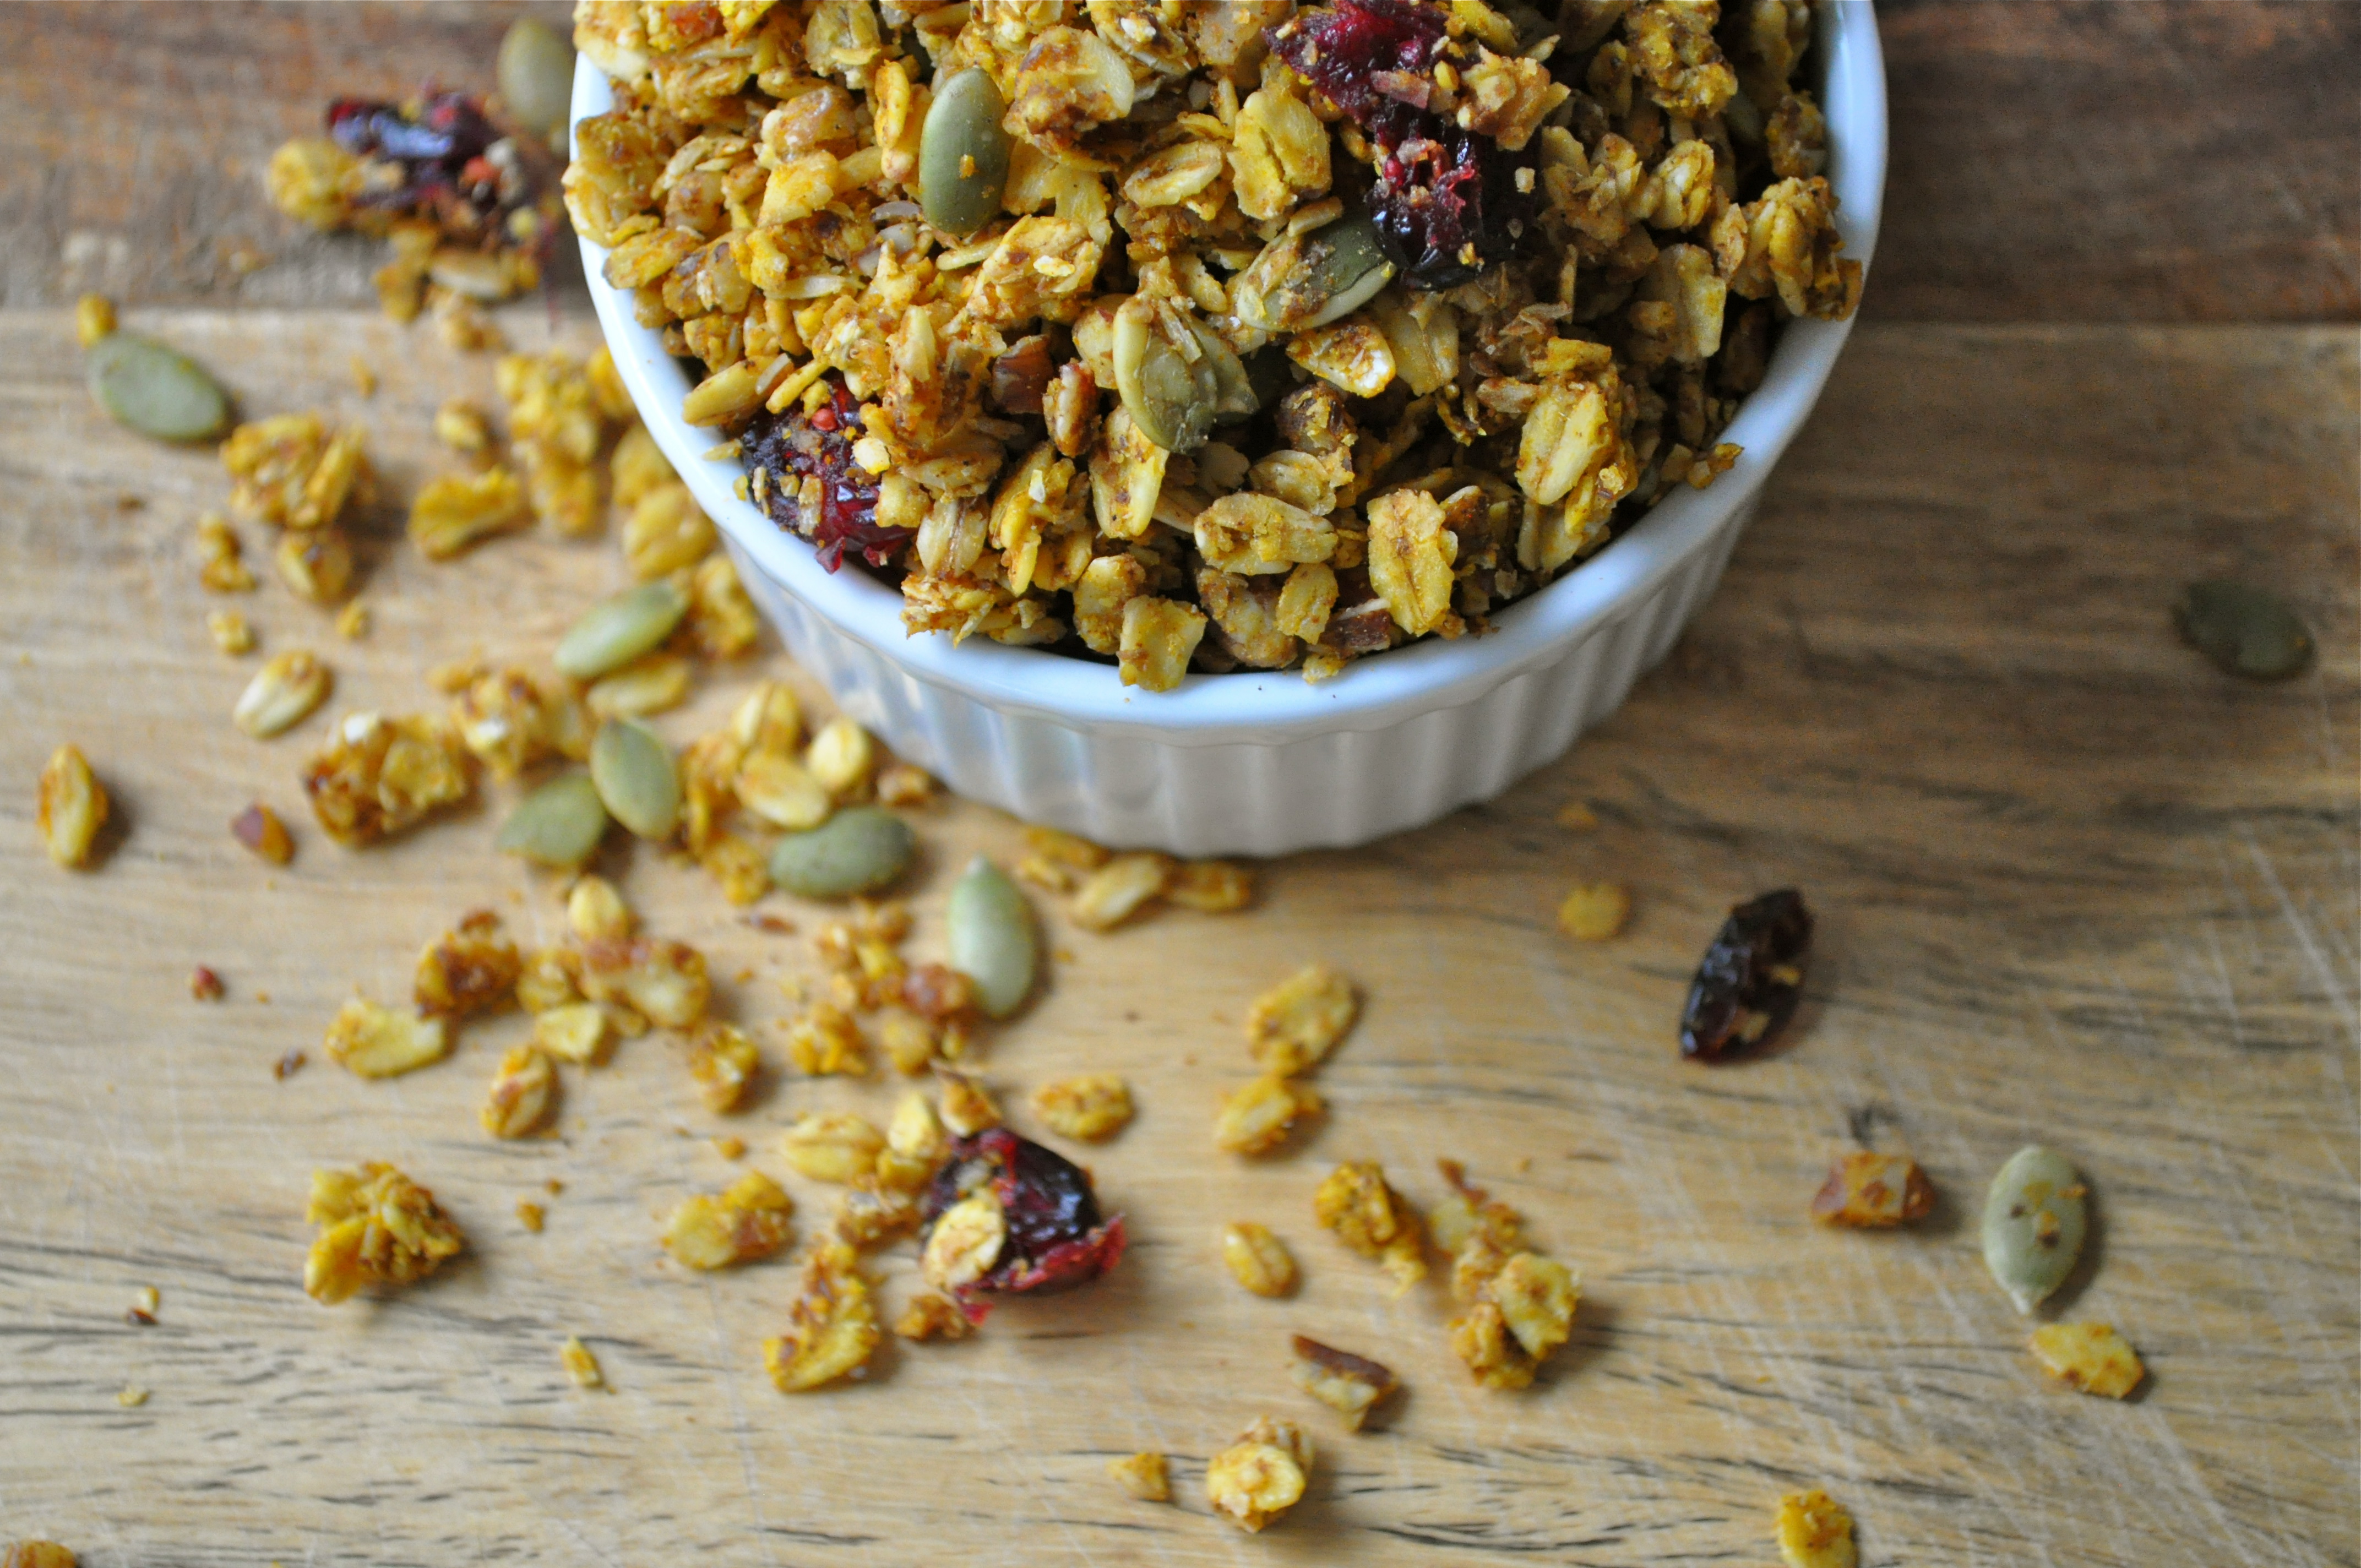
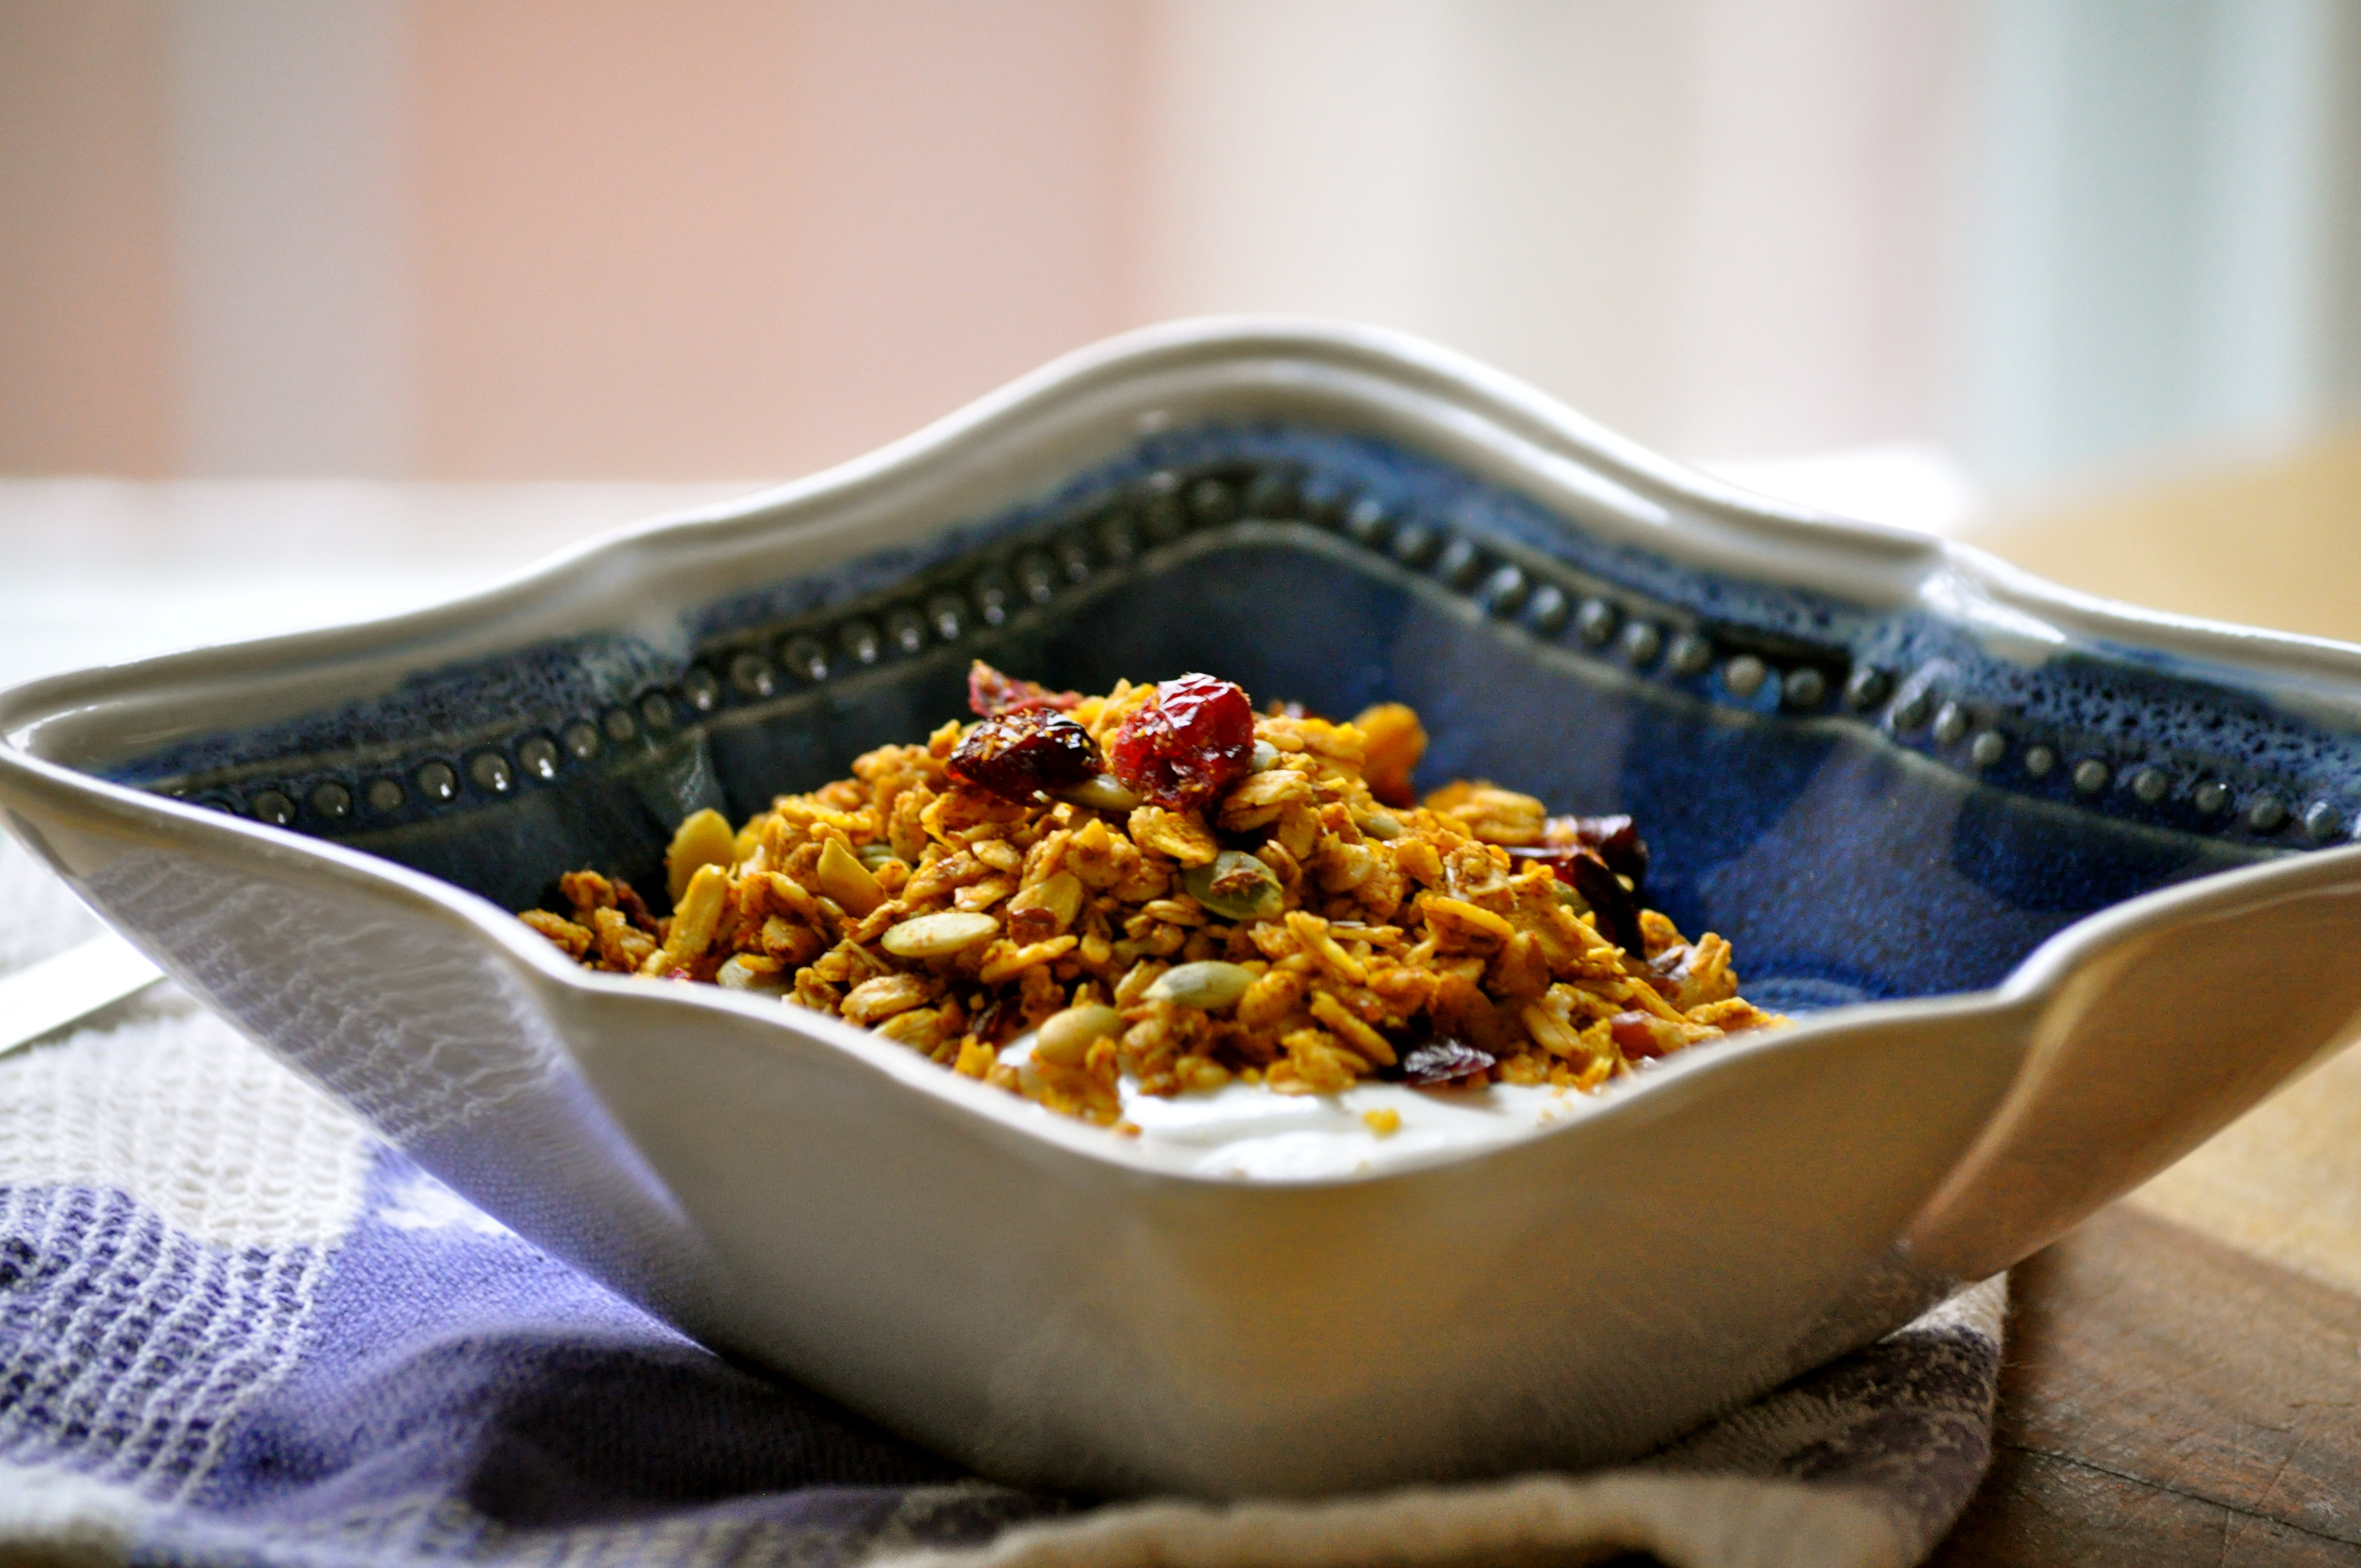
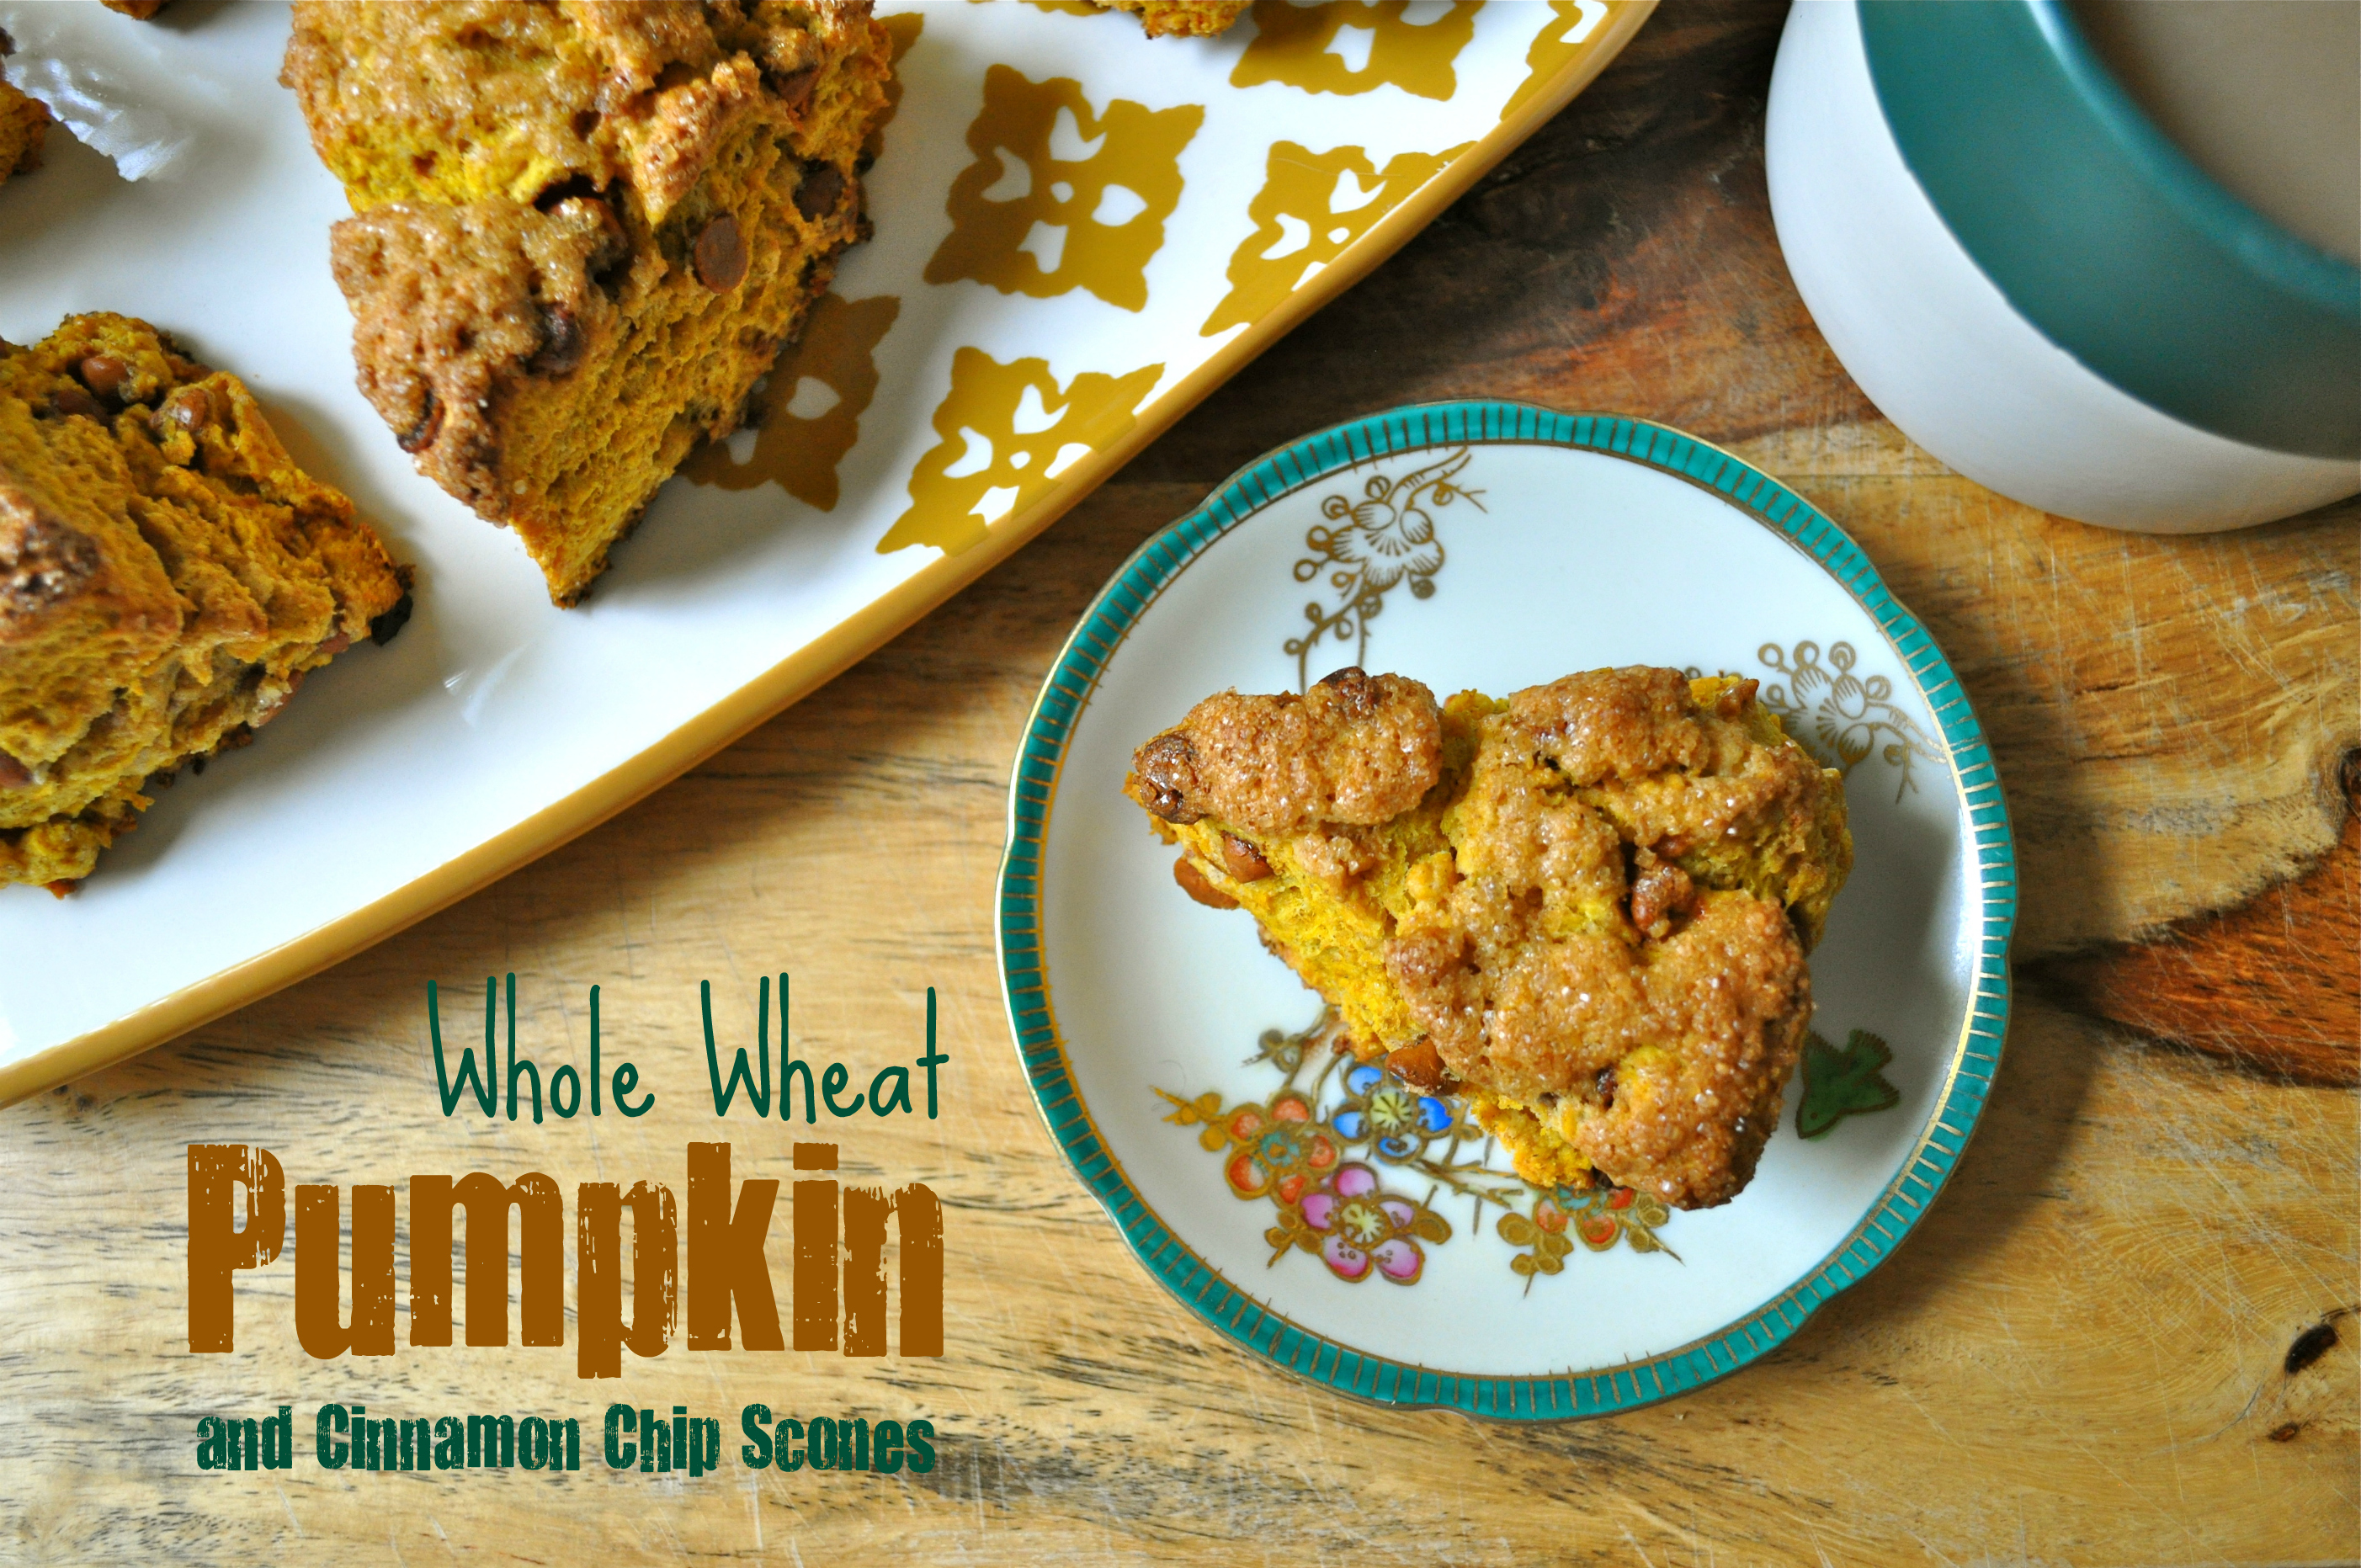
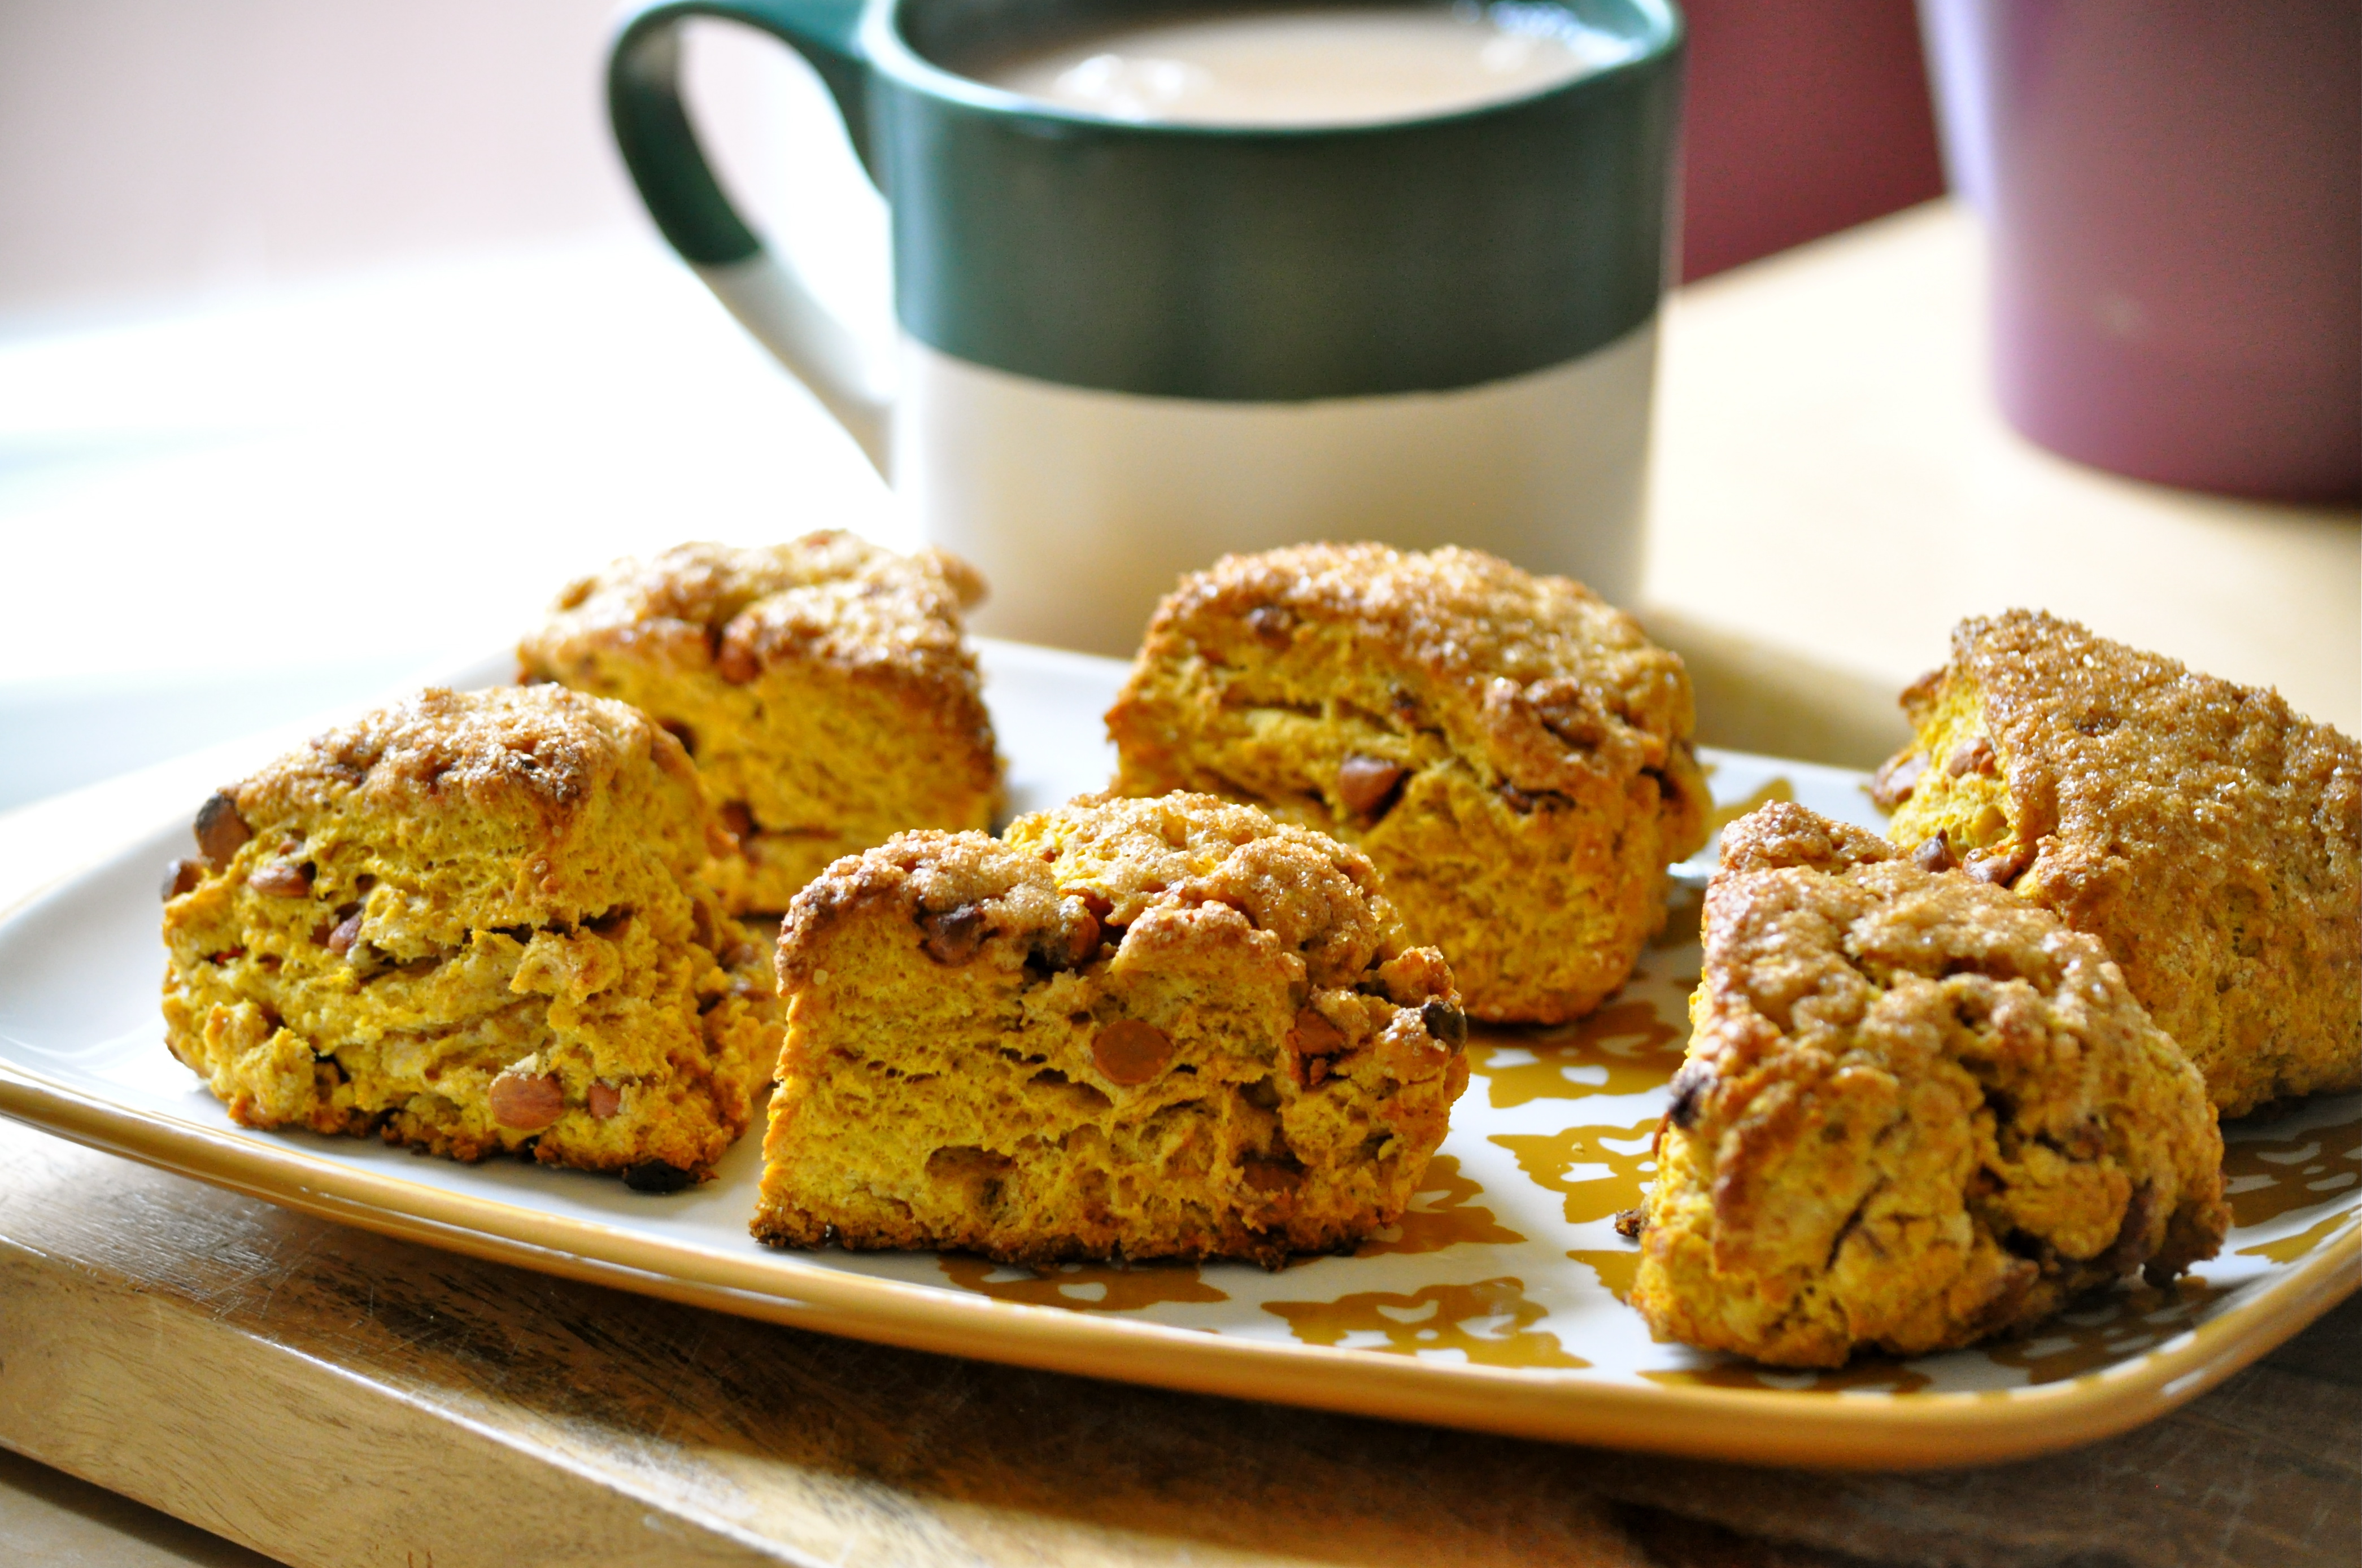
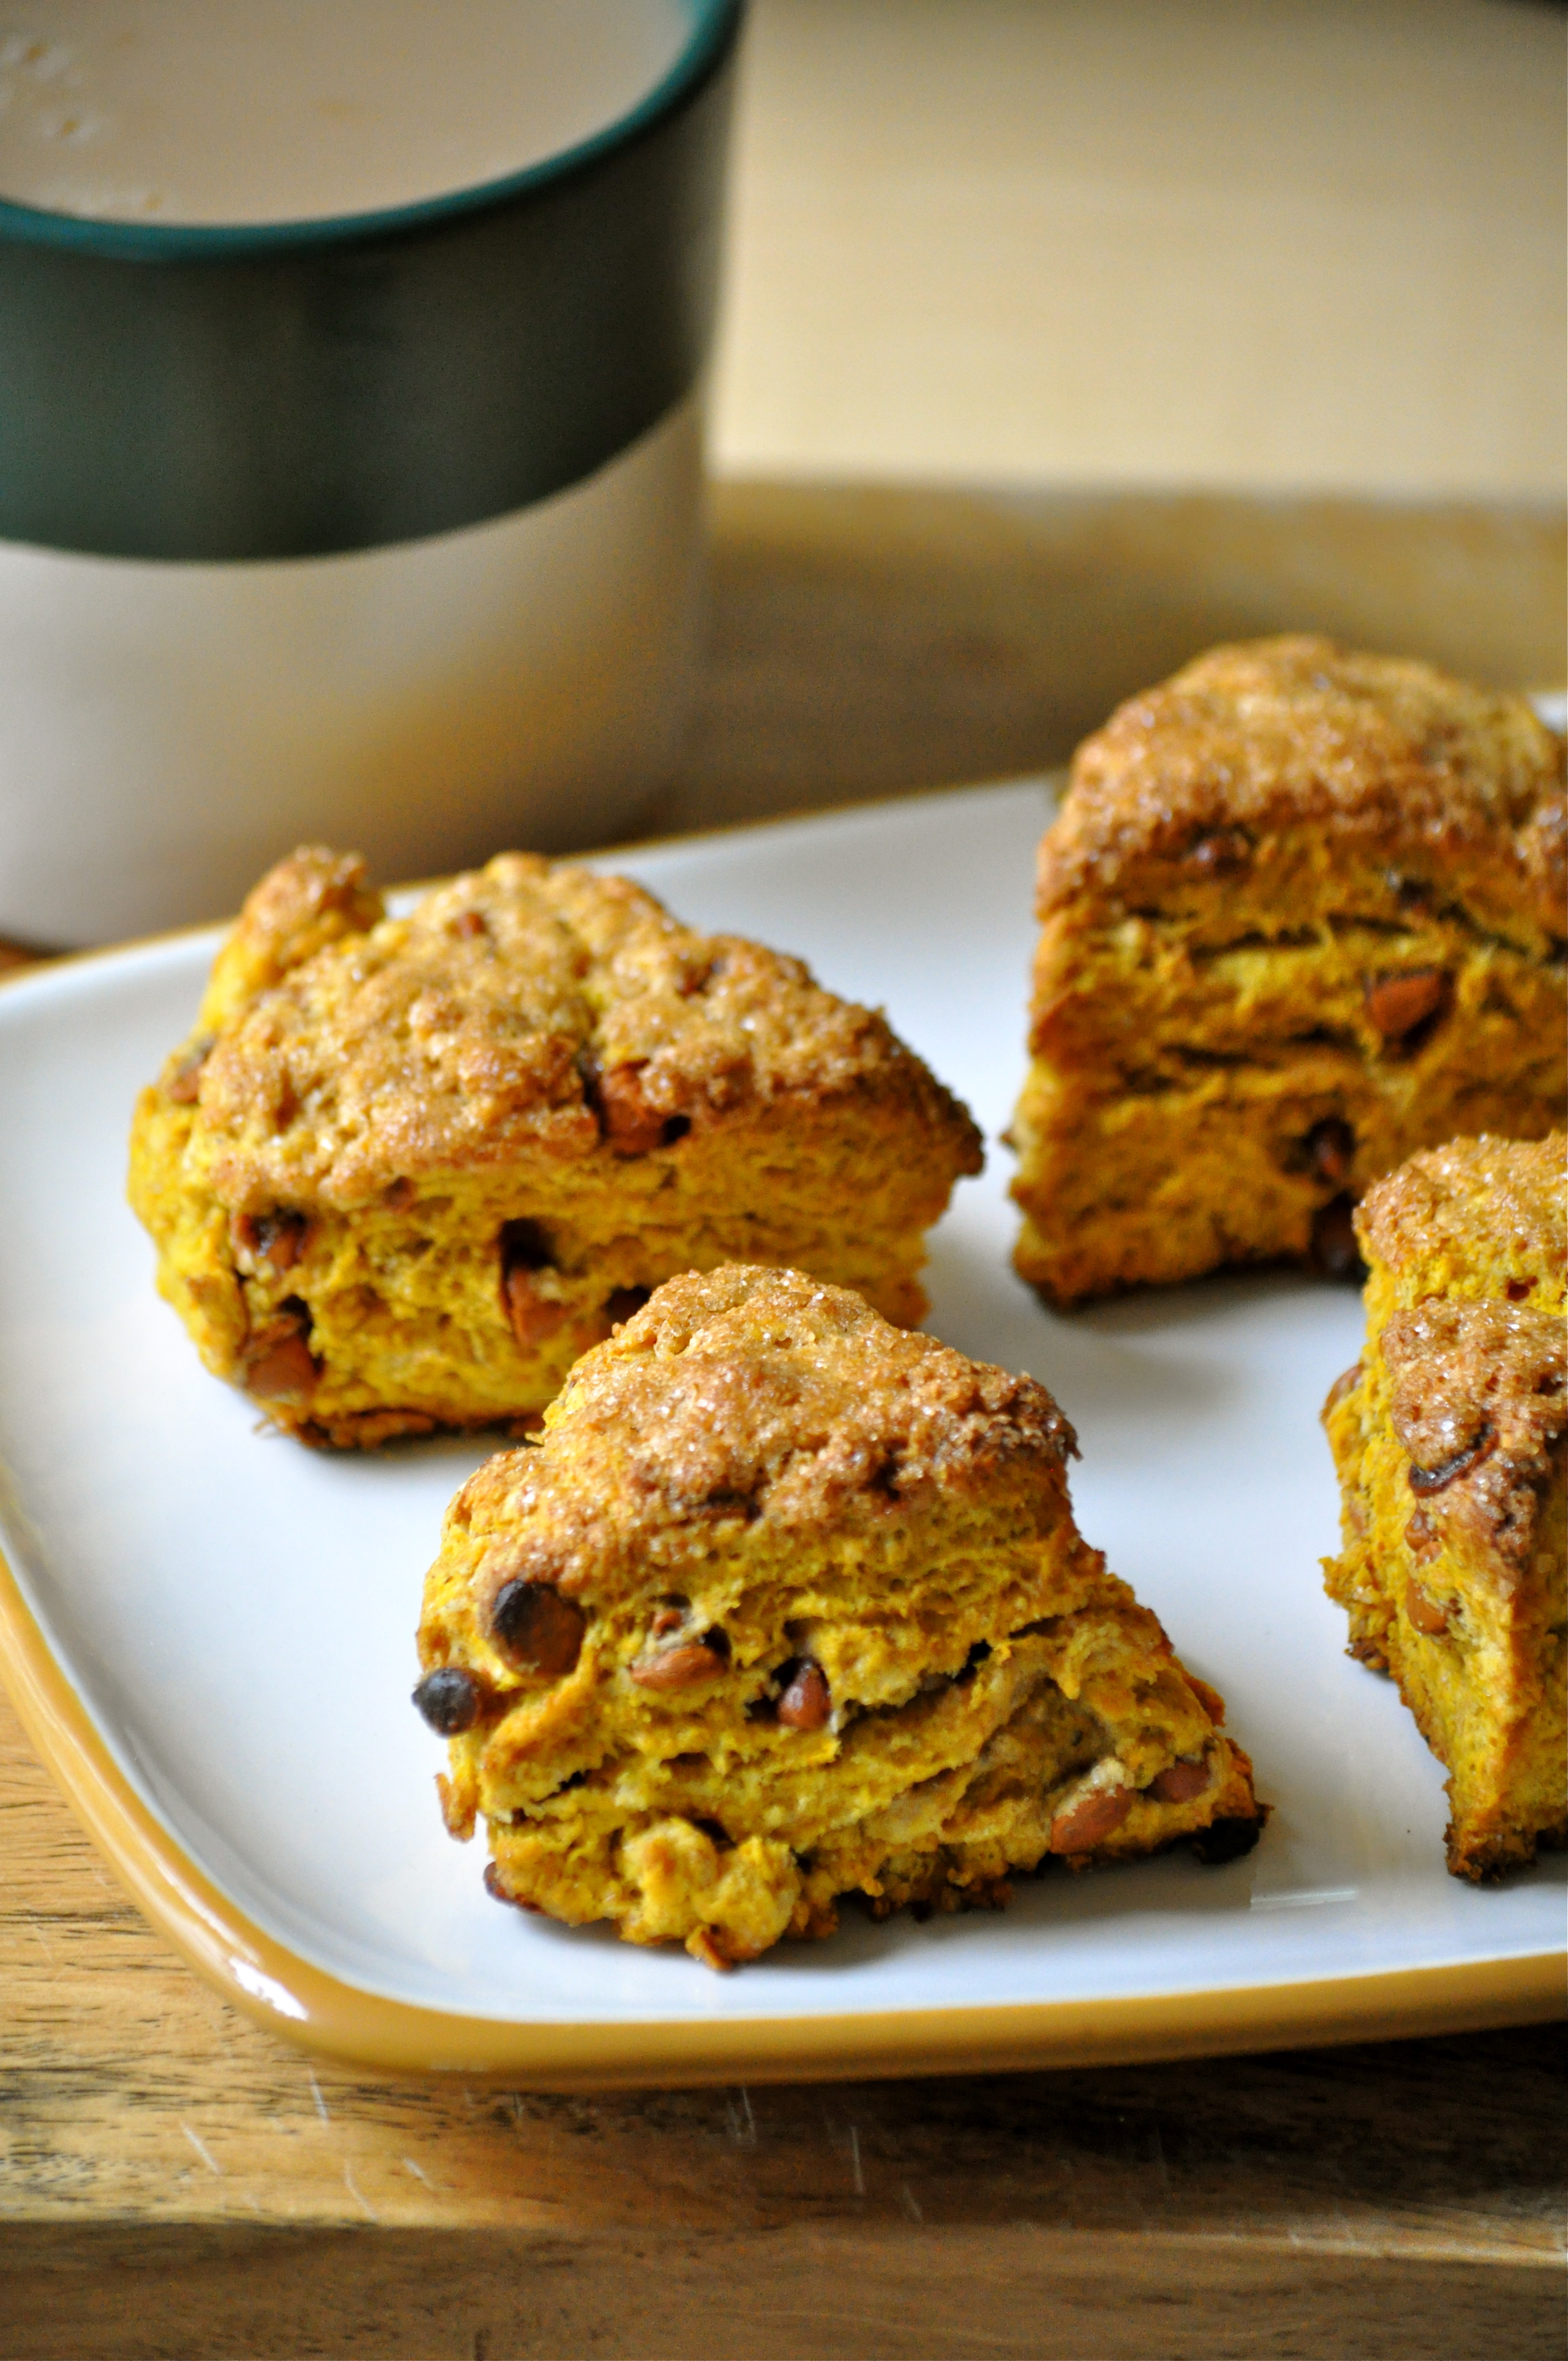
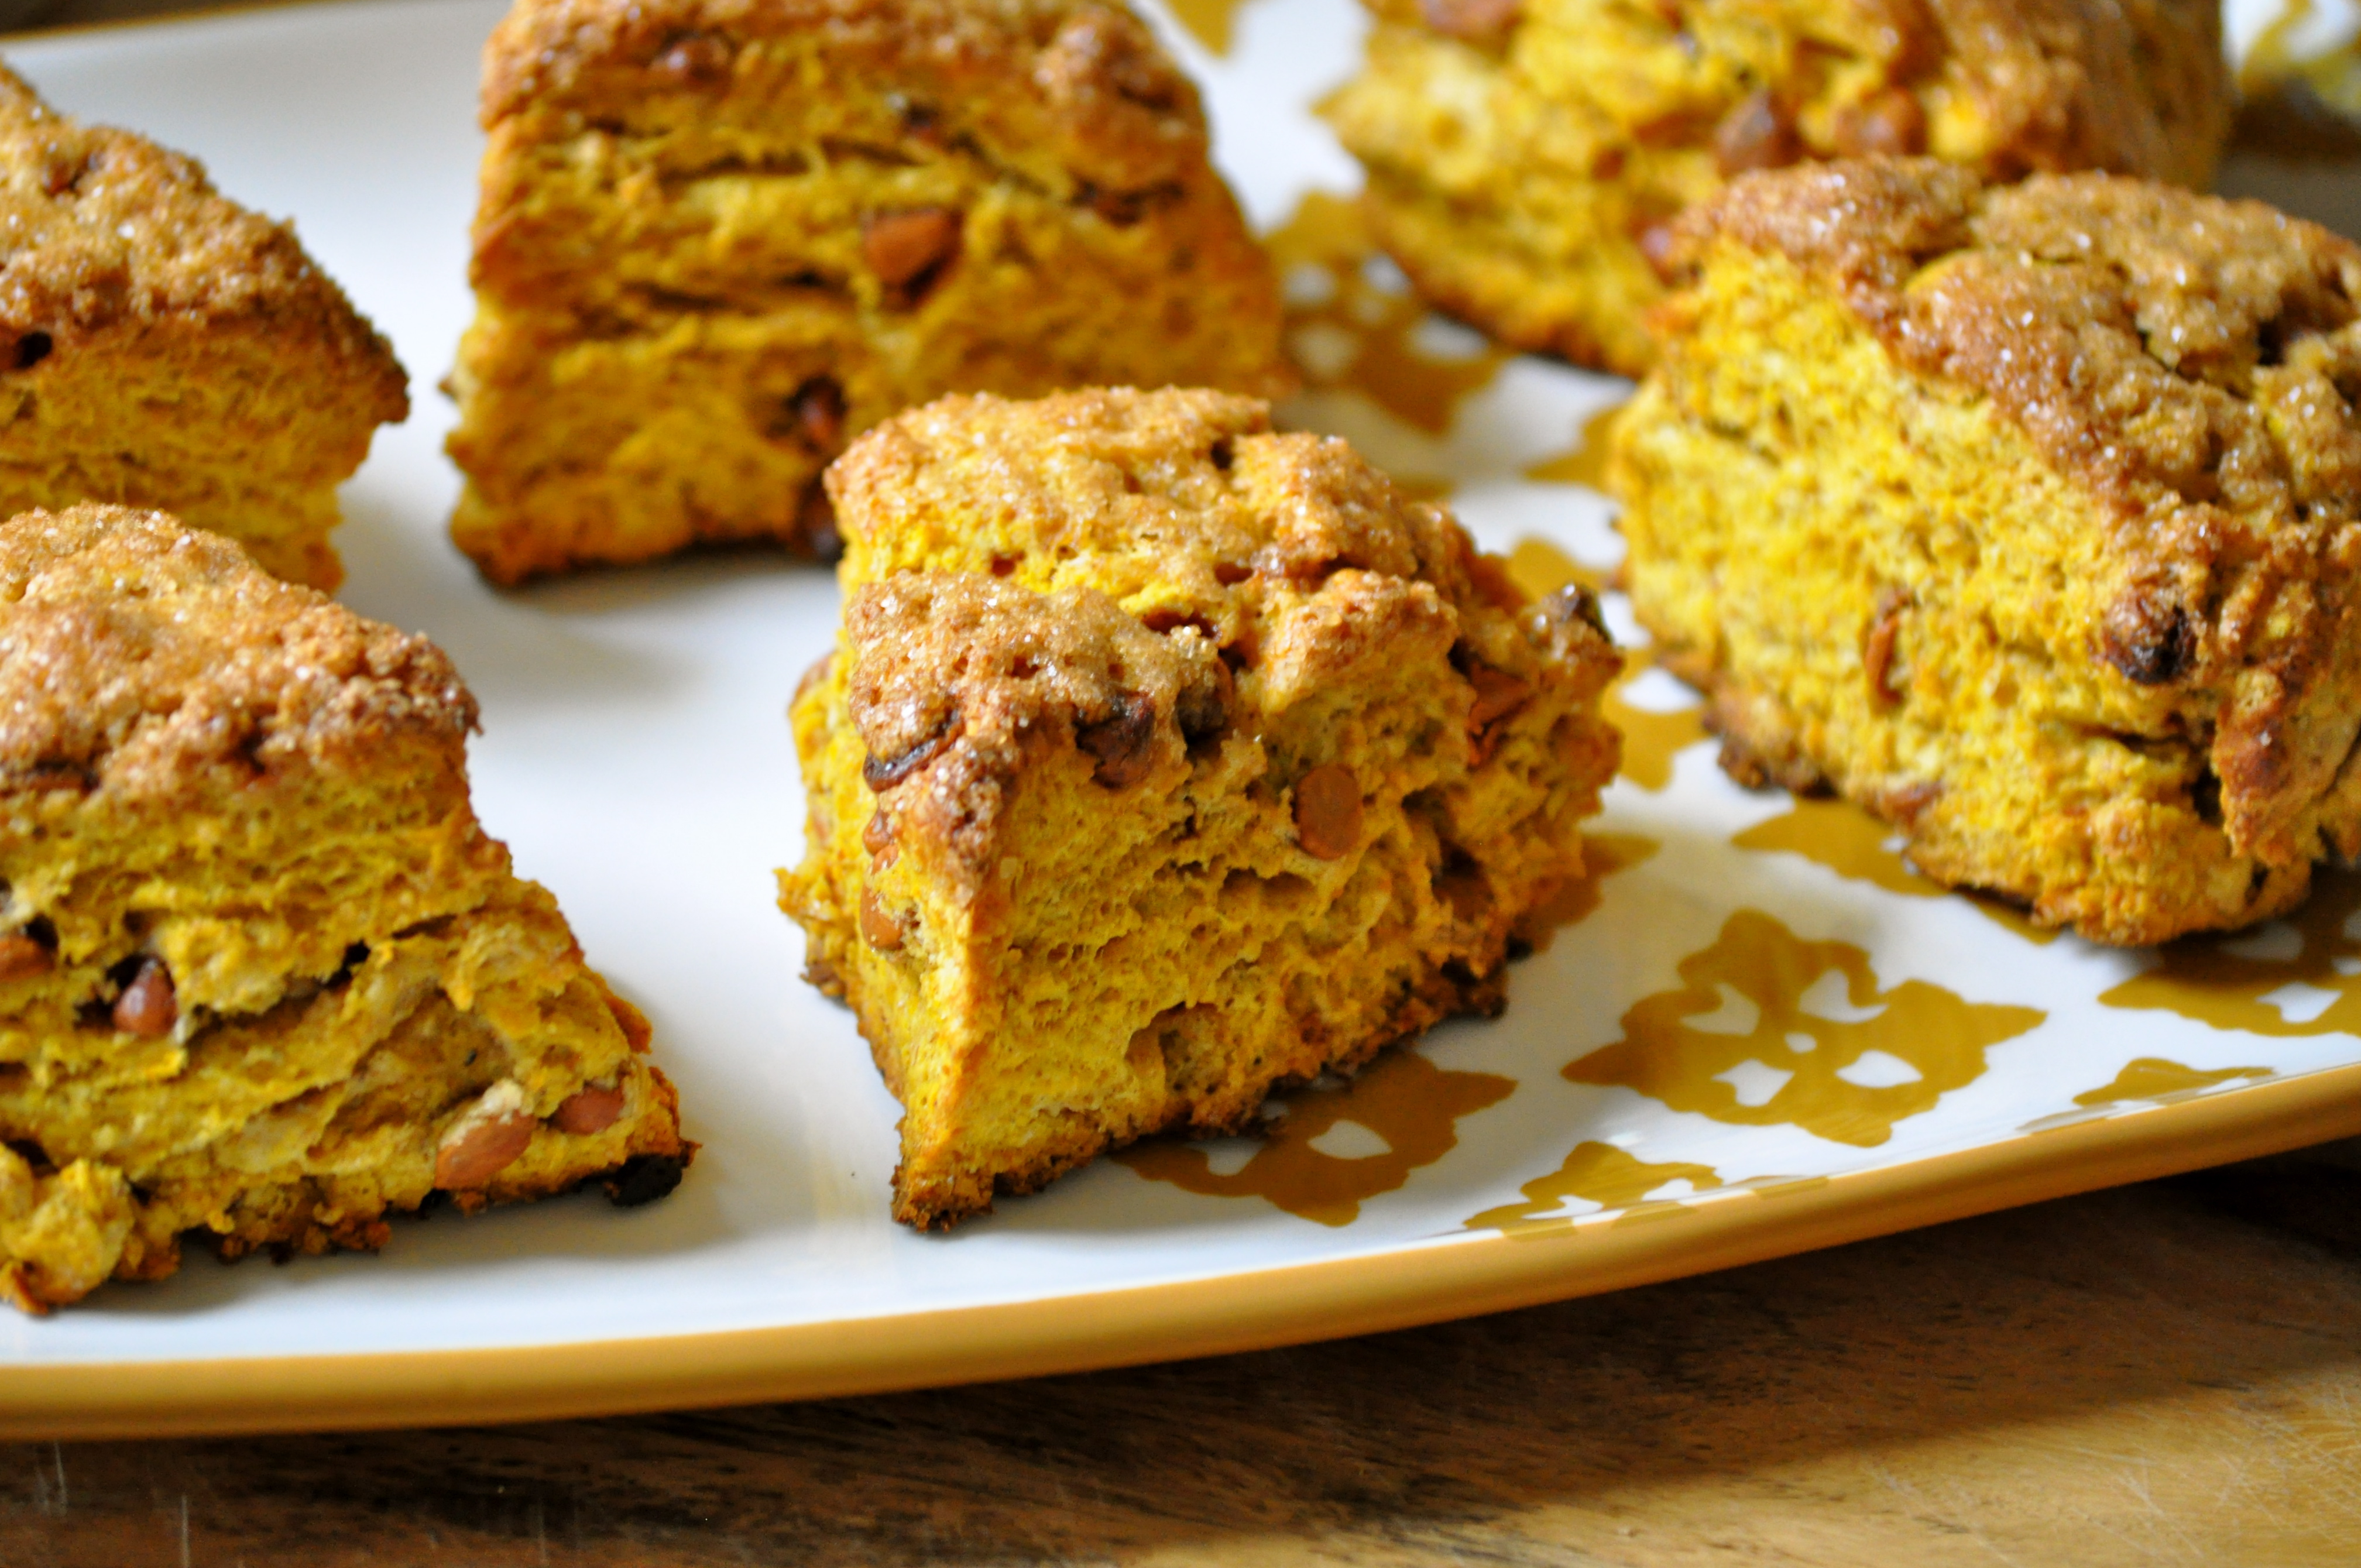
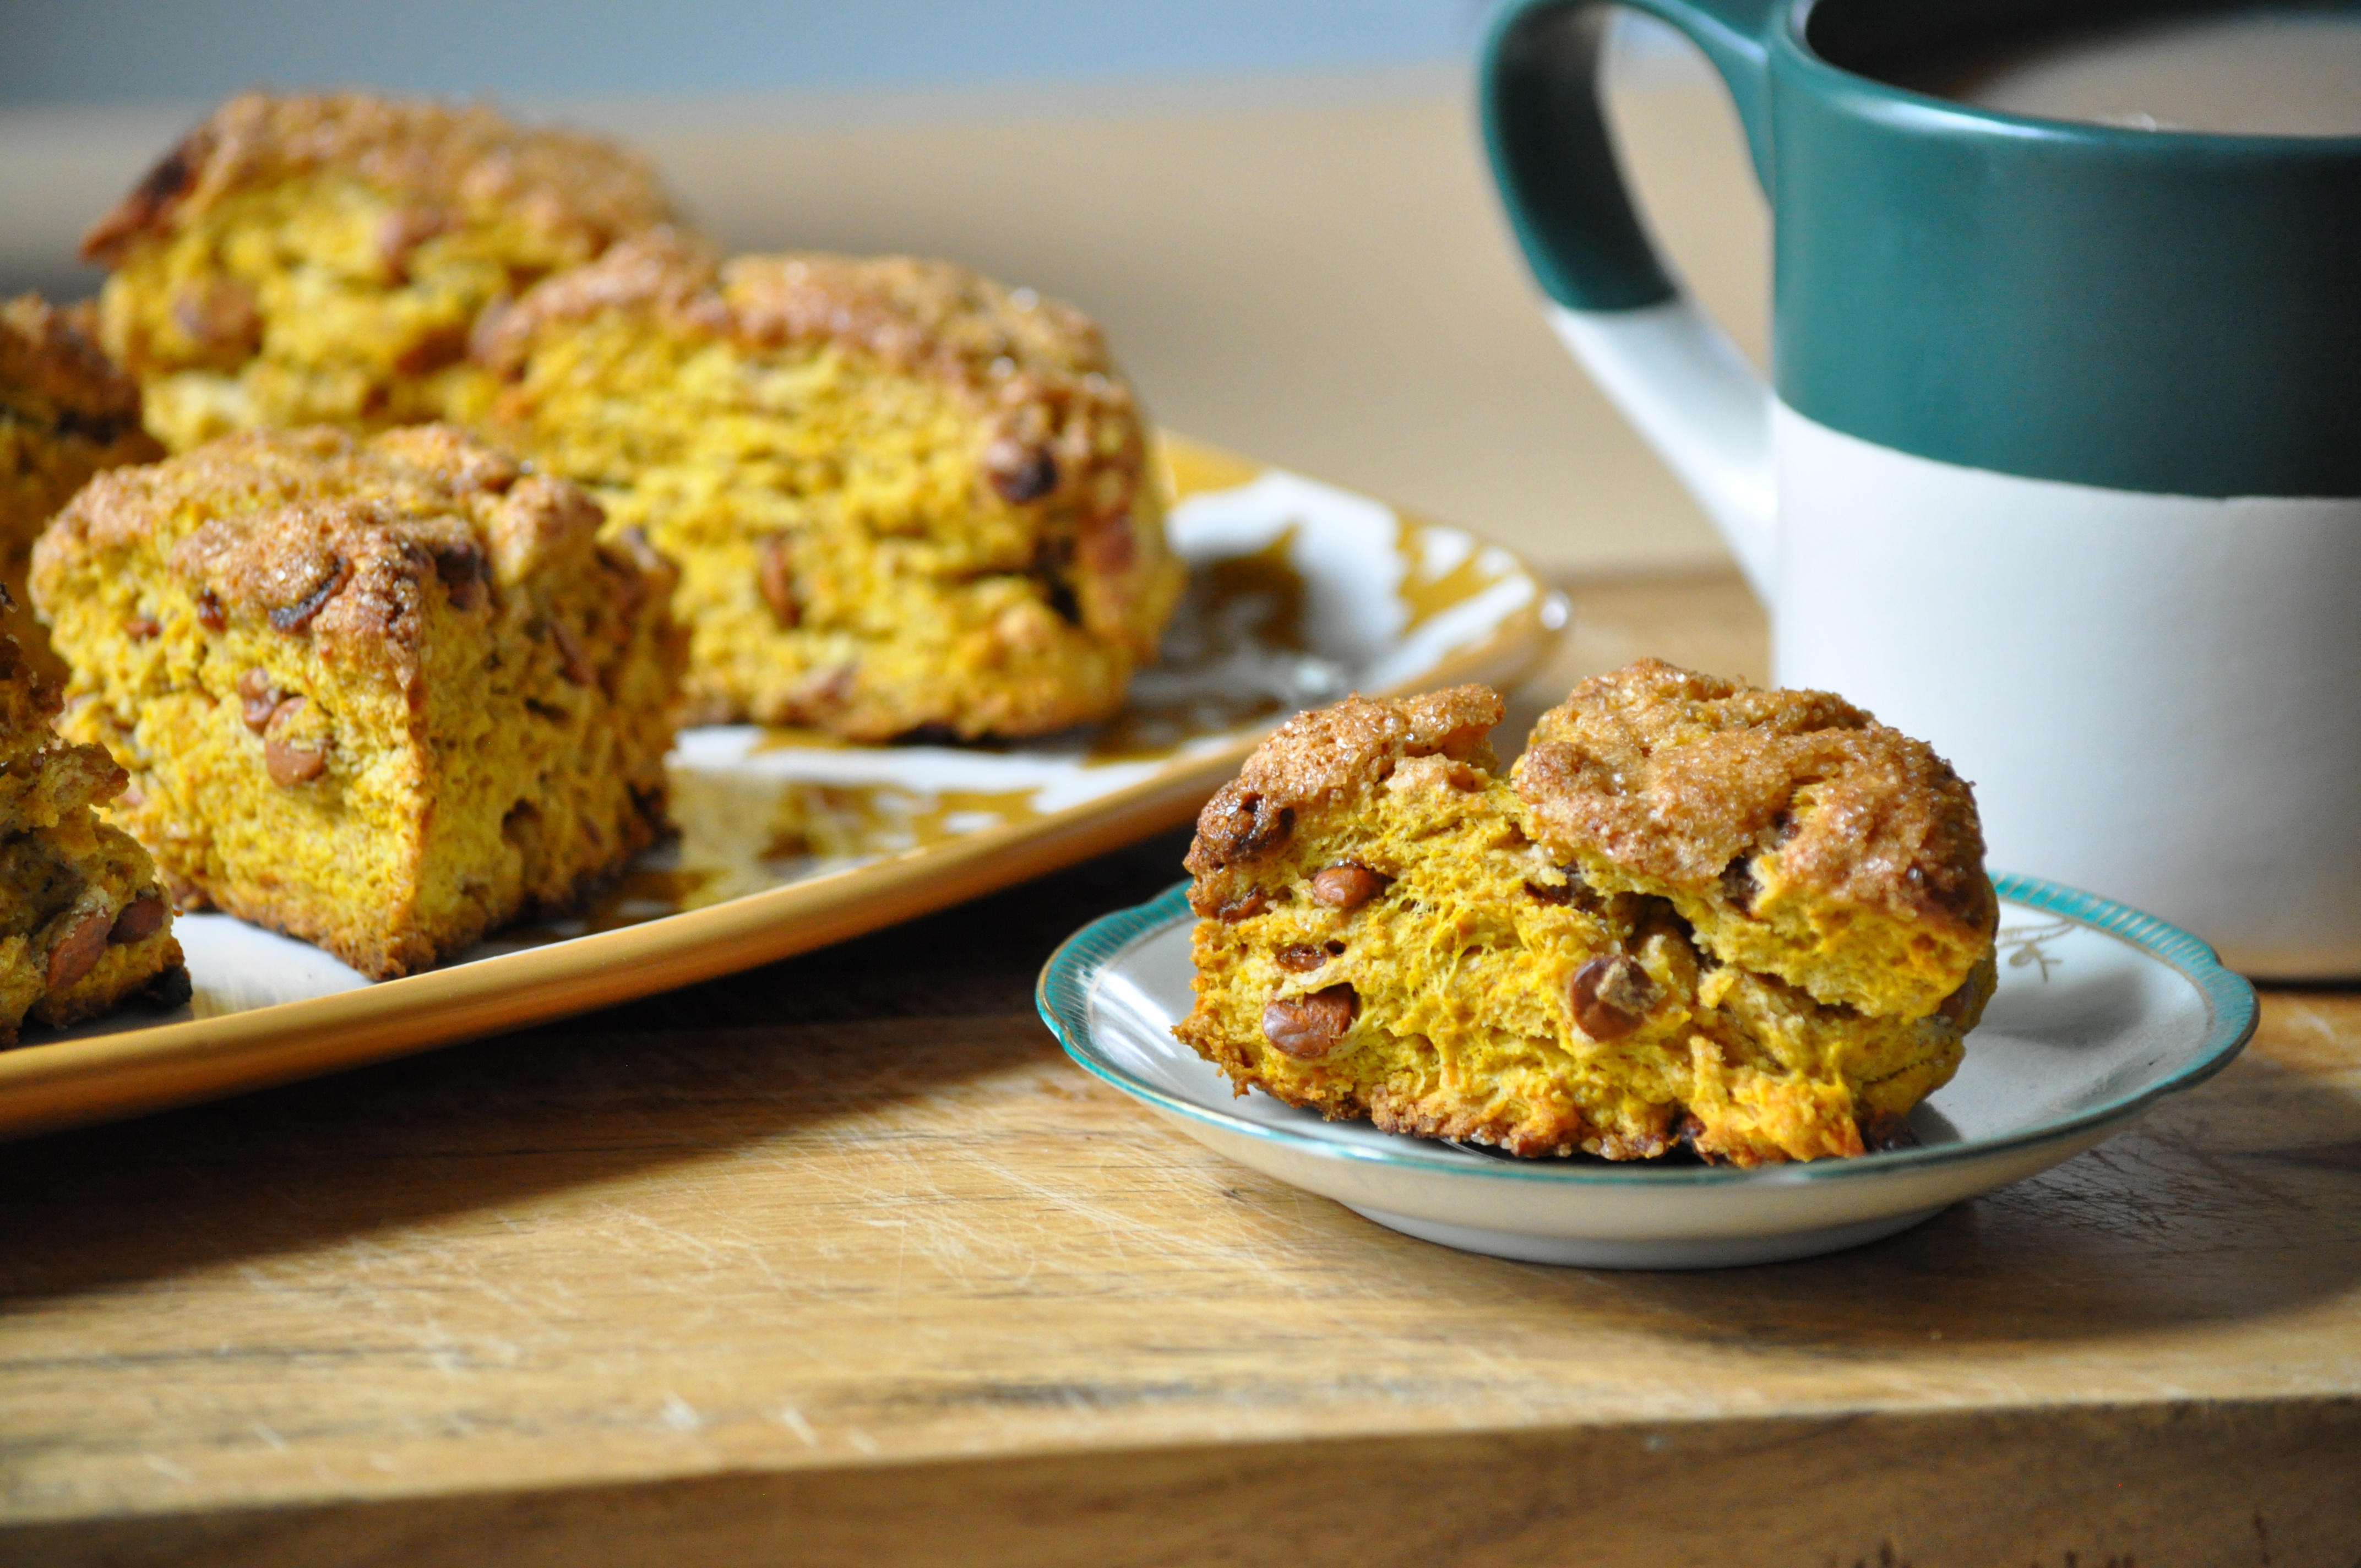
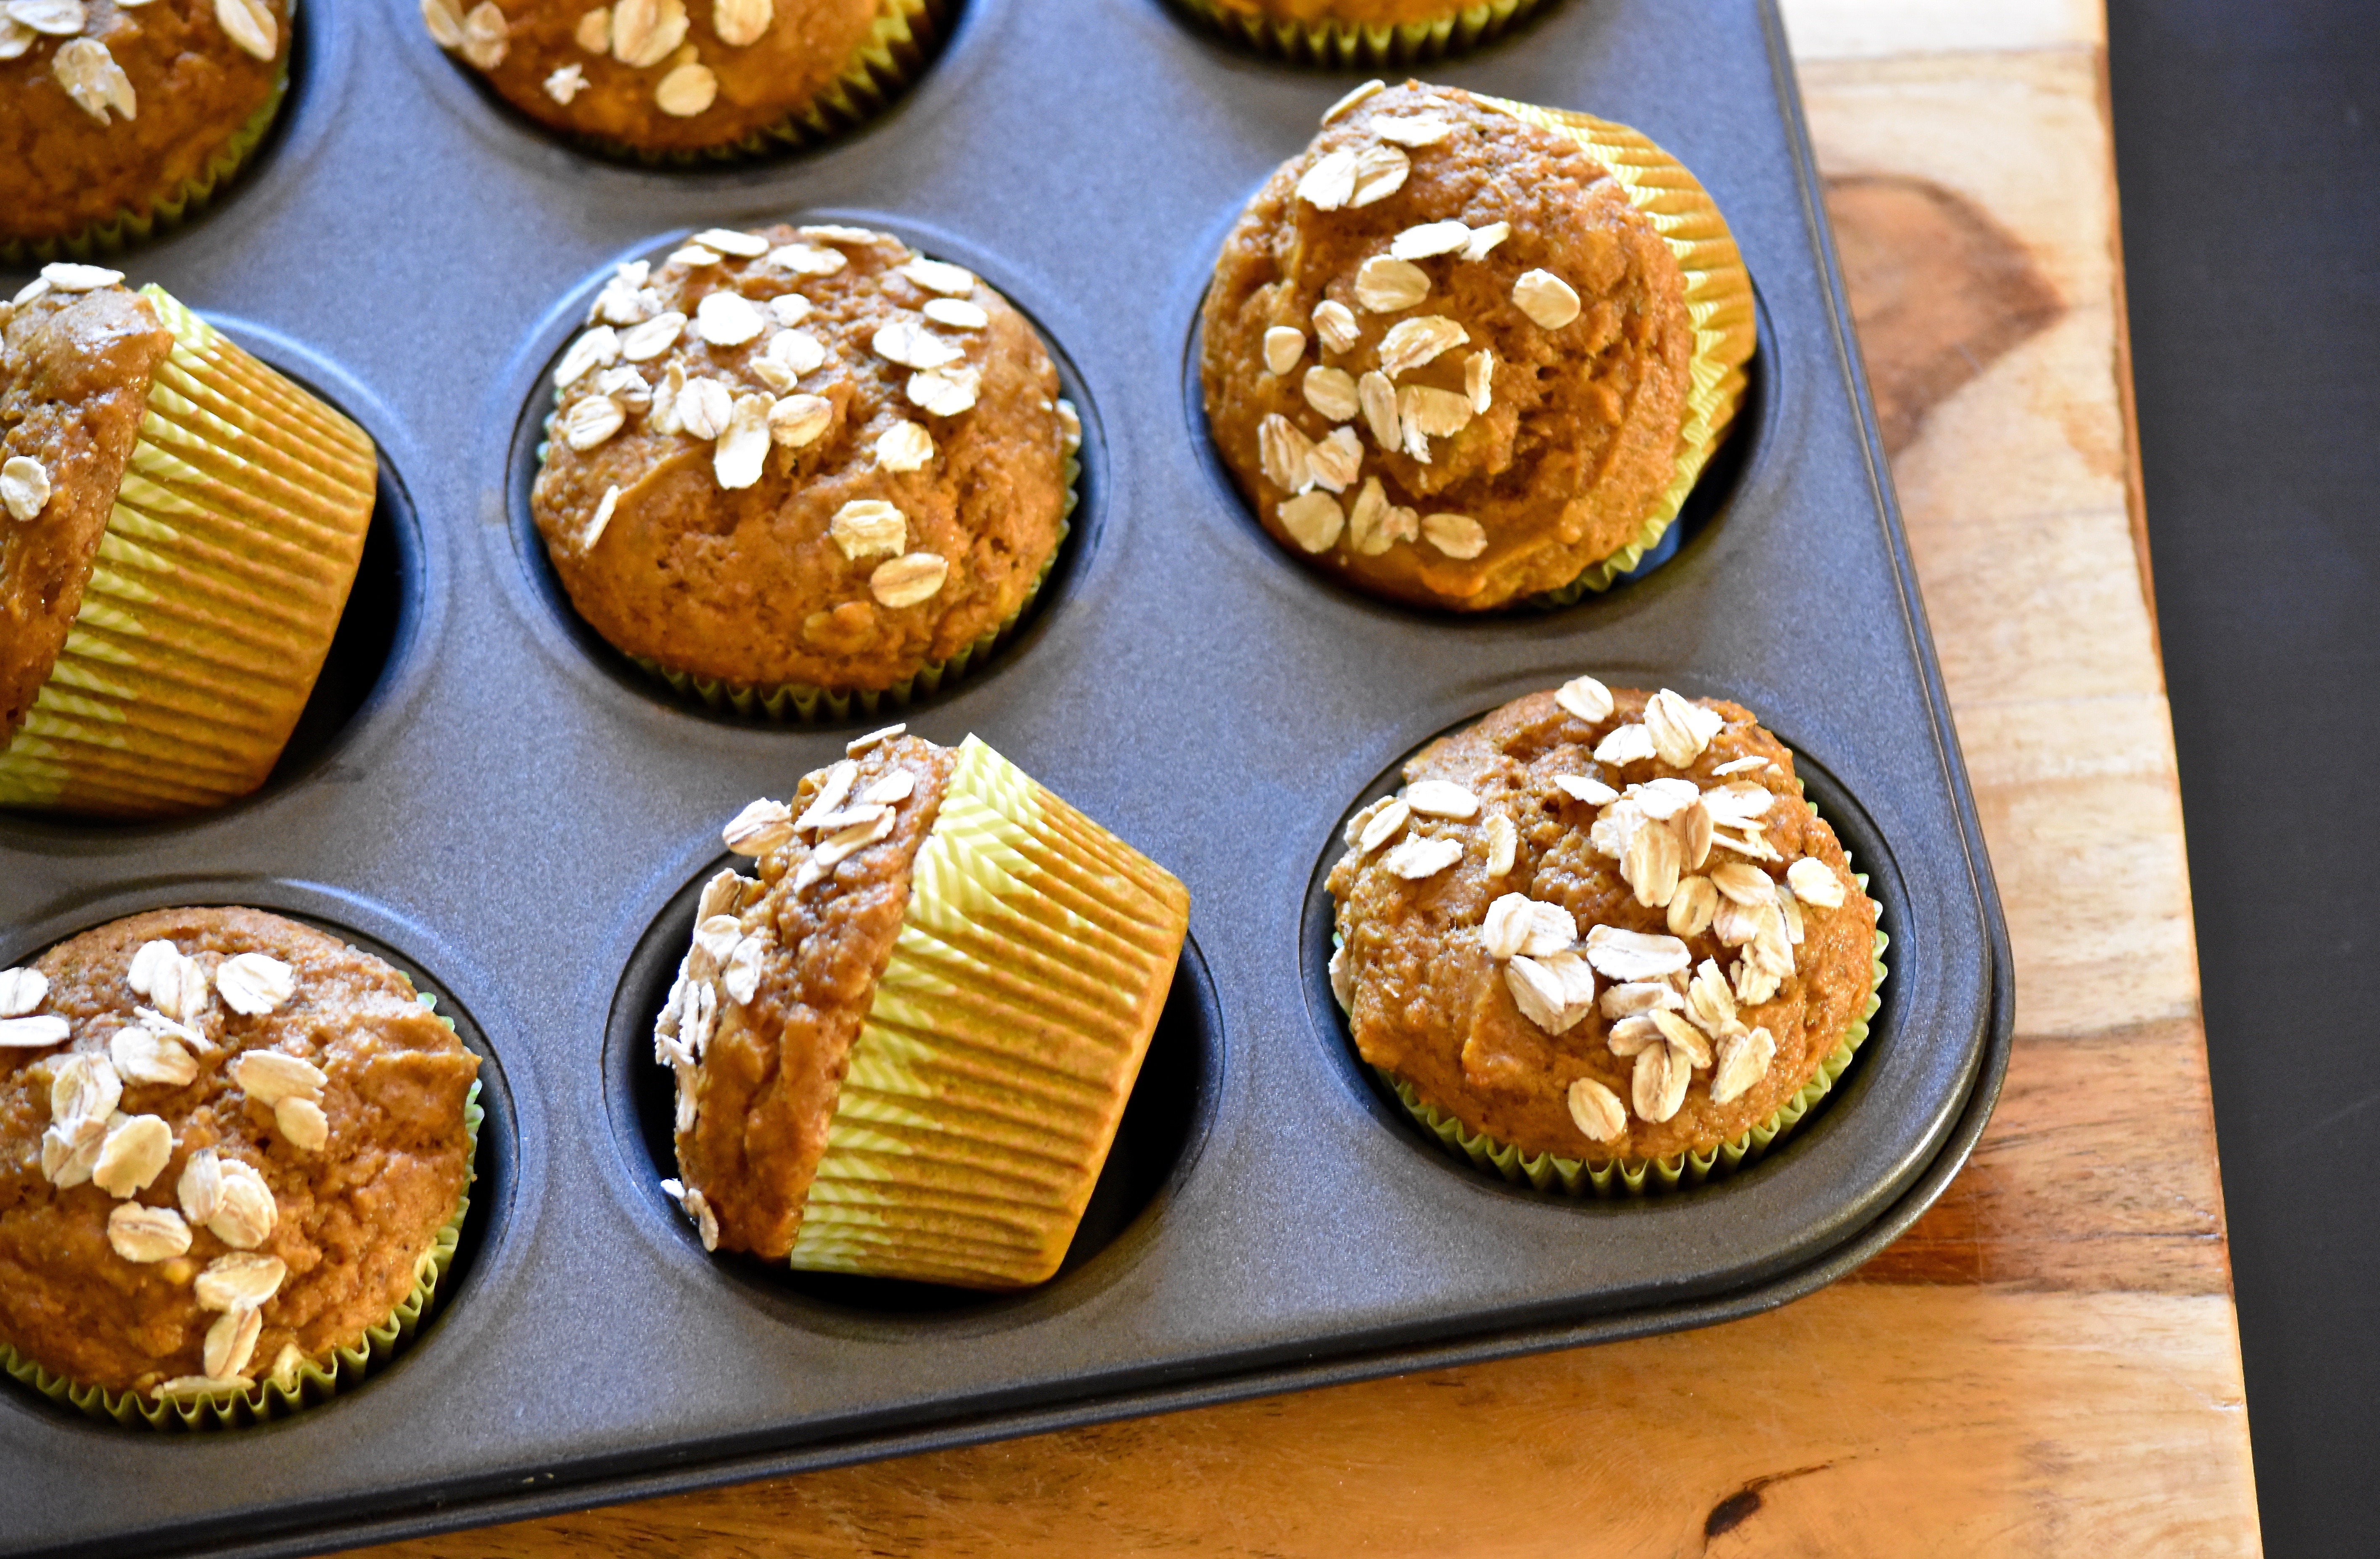
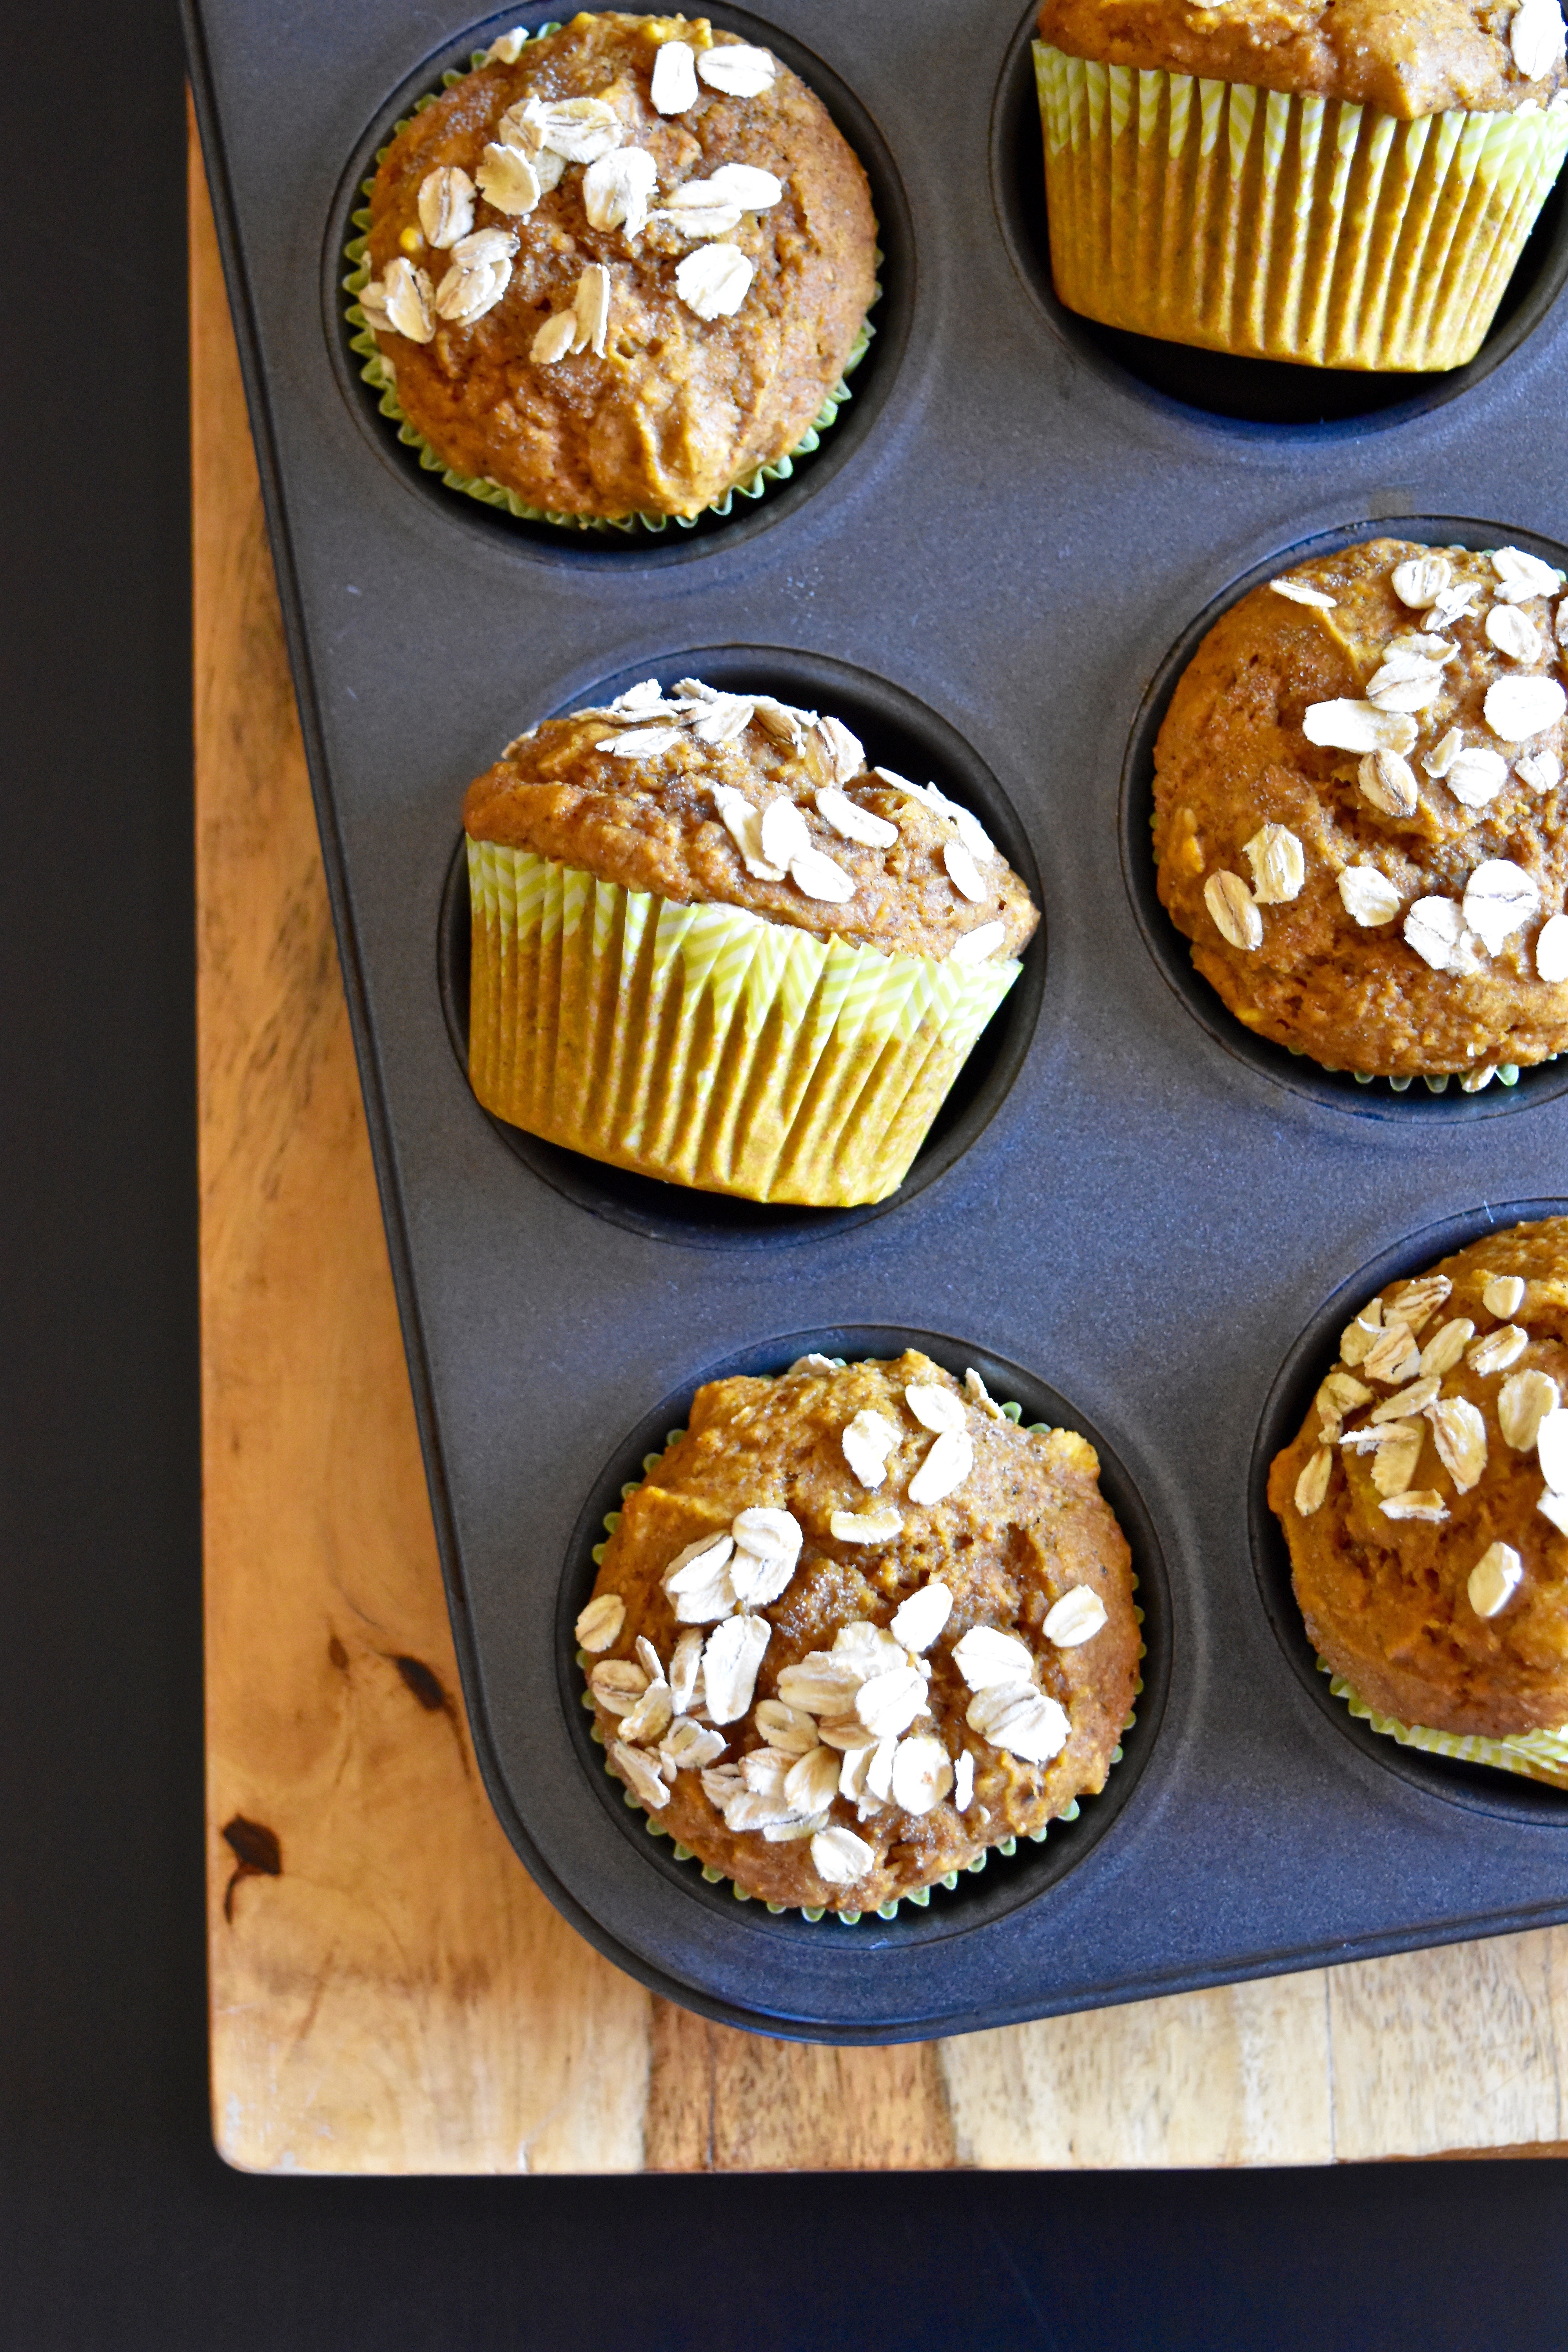
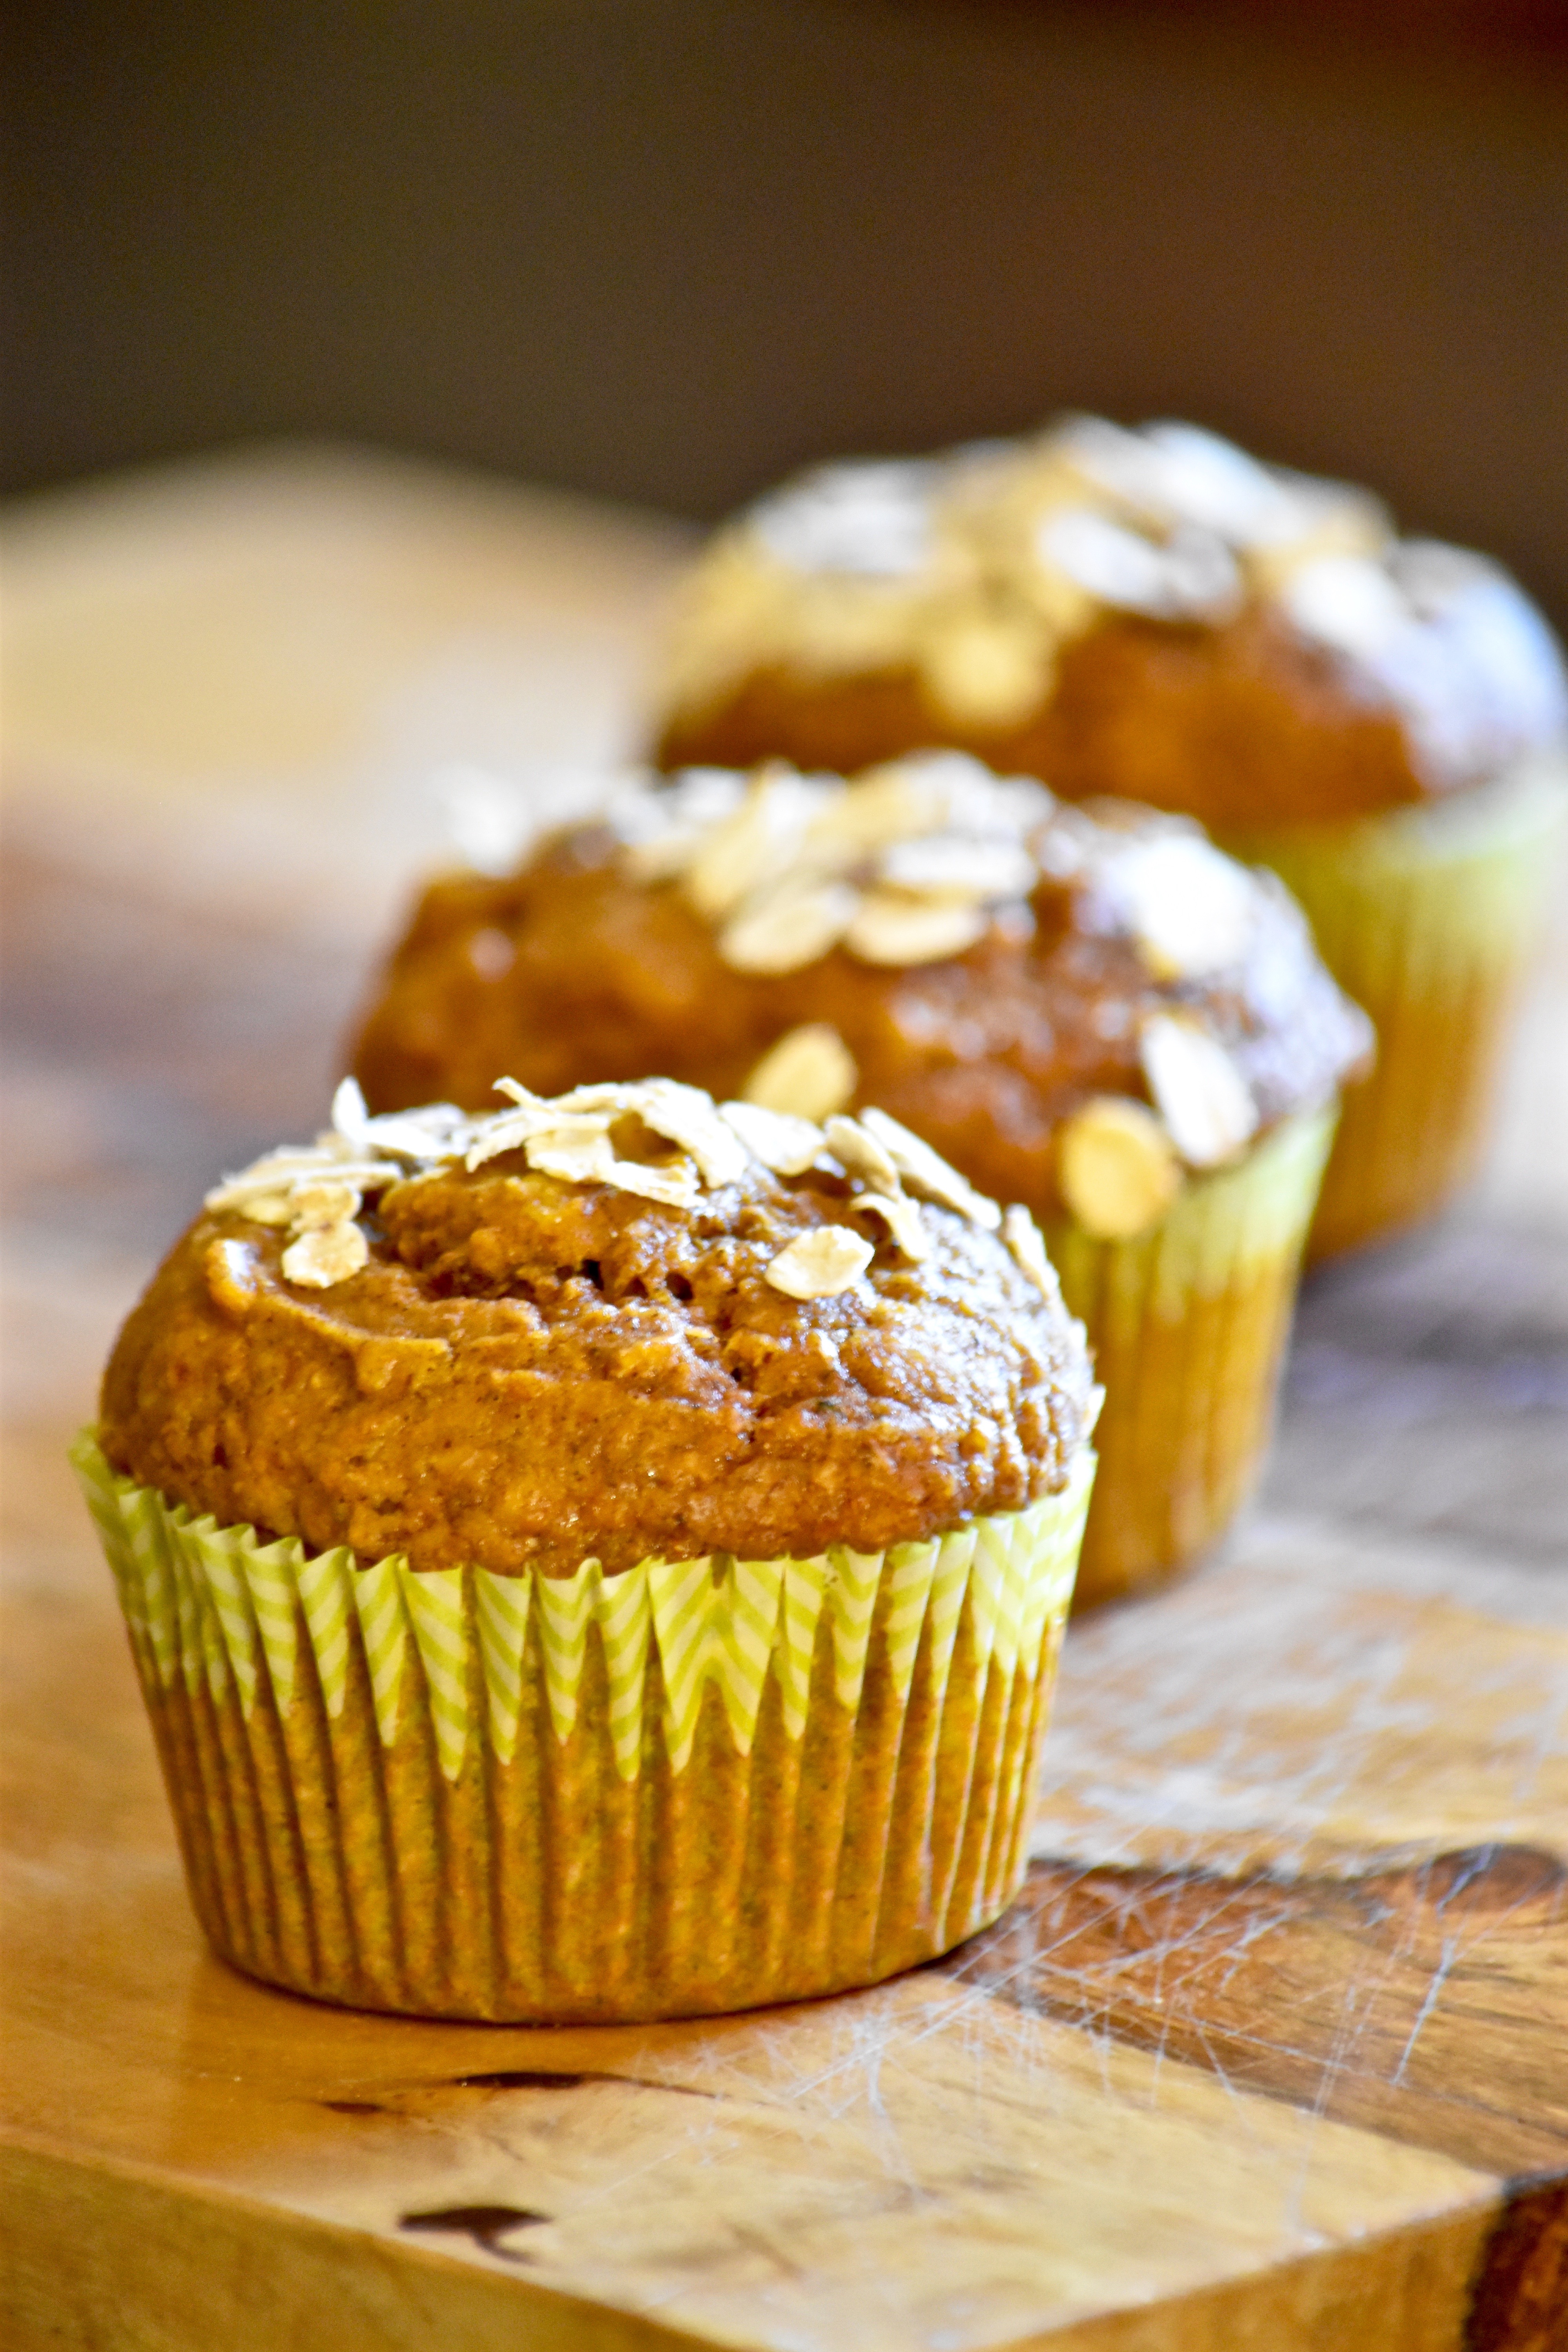
However, that does not mean that for the next two weeks I don’t plan on exercising a little more restraint when it comes to stuffing my face with all things delicious. These muffins are the perfect way to enjoy a “treat” without the guilt. They are made with whole wheat flour and oats, pumpkin, and are sweetened only with maple syrup. I’ve made these numerous times over the past several weeks and I’m still not tired of them. They are perfect for stashing in the freezer and grabbing for a quick breakfast or snack. Plus, if you’re like me and still all about the pumpkin, you will love these!

Whole Wheat Pumpkin Oat Muffins | Once Upon a Recipe

Whole Wheat Pumpkin Oat Muffins (slightly adapted from Cookie & Kate)

Makes 12 muffins. Feel free to use coconut oil in place of the olive oil, or honey in place of the maple syrup. These muffins freeze beautifully when packed into an airtight container.

1/3 cup extra-virgin olive oil
1/2 cup maple syrup
2 eggs
1 cup pumpkin puree
1/4 cup milk (any kind will do)
1 tsp. baking soda
1 tsp. vanilla
1/2 tsp. salt
1 tsp. cinnamon
3/4 tsp. ground ginger
1/4 tsp. nutmeg
1/4 tsp. ground cloves
1/4 tsp. ground allspice
1 3/4 cups whole wheat flour
1/3 cup oats, plus more for sprinkling on top

Preheat the oven to 325°F. Line a 12-count muffin tin with paper liners or spray with cooking spray.

In a large bowl, combine the olive oil and maple syrup and whisk to combine. Add the eggs and mix well. Add the pumpkin puree, milk, baking soda, vanilla, salt, and spices, and mix well. Add the whole wheat flour and oats, and stir until just combined.

Divide the batter evenly between the muffin cups. Sprinkle with additional oats. Bake for 25-27 minutes, or until a toothpick inserted into the center of the muffin comes out clean. Cool completely. Enjoy!

Whole Wheat Pumpkin Oat Muffins | Once Upon a Recipe

Pumpkin Hand Pies

Pumpkin Hand Pies | Once Upon a Recipe

Hand pies. Mini pies. Pop tarts. Toaster strudels.

I wasn’t sure what to call these little gems of pastry stuffed with pumpkin and spice. Hand pies seemed most appropriate because they’re mini pies that you can most definitely hold in your hand. They’re flakier than pop tarts, and while they do remind me a little of toaster strudels, I’m not sure I’d feel comfortable putting one in the toaster. However, you most certainly should eat one of these hand pies for breakfast, alongside a strong cup of coffee or tea, because no day that starts with pie is going to be a bad one. It’s just science.

Pumpkin Hand Pies | Once Upon a Recipe

You guys, these hand pies are so flaky! Their flakiness is owed to the all-butter crust that has become my go-to crust recipe ever since I first tried it. The dough is so manageable and easy to work with. We have Deb from Smitten Kitchen to thank for that. Don’t fear the dough, it’s friendly and won’t give you a hard time. Oh, and there’s no need to be perfectionists here. I mean, take a peek at the photo below. The perfectionist in me was having a near meltdown, but I just had to tell her shut her face. The good news is that the crust layers will melt into each other and puff up a little during their stint in the oven and no one will be the wiser. Magic!

Pumpkin Hand Pies | Once Upon a Recipe

Now that we are really truly into Fall, a pumpkin filling felt like a must. However, I don’t doubt that these hand pies would taste delicious filled with whatever your little heart desires. So if pumpkin isn’t your thing, change it up. Do what you want!

Pumpkin Hand Pies | Once Upon a Recipe

I made these pies a couple of weeks ago when my cousin was visiting from Ontario. She’s kind of a pie crust junkie – meaning, she’d gladly eat the pie crust and leave the pie filling on her plate. I figured the crust to filling ratio of these pies would really float her boat and I was definitely right. In fact, everyone loved them. Sharing food that you made with your own two hands with people is super fun and amazing, but when they really love what you share, it’s kind of the best.

Pumpkin Hand Pies | Once Upon a Recipe

Pumpkin Hand Pies (crust from Smitten Kitchen, filling and process from Joy the Baker)

This recipe will make 9 pies. However, you may have some dough left over, in which case you can try to make a couple of extra pies, or bake up the pie scraps with a little bit of cinnamon and sugar. (Totally delicious). Feel free to change up the filling if pumpkin isn’t your jam. I think any fruit would work well here, and I’ve kind of been dreaming about a banana/Nutella combination.

For the crust:

2 1/2 cups all-purpose flour

1 TBSP. sugar

1 tsp. salt

1 cup (2 sticks) cold, unsalted butter (cut into cubes)

Cold water

For the filling:

3/4 cup pure pumpkin

1 large egg

1/2 tsp. cinnamon

1/4 tsp. ground ginger

1/8 tsp. ground cloves

1/8 tsp. ground nutmeg

1/4 tsp. salt

1/3 cup granulated sugar

+1 egg (beaten) for sealing the pies

For the glaze:

1 cup powdered sugar

1/2 tsp. vanilla

2 TBSP. milk

To make the crust: Fill a one-cup liquid measuring cup with cold water and add a few ice cubes. In a large bowl, combine the flour, sugar, and salt, and whisk together. Add the butter and start cutting it into the flour mixture using a pastry blender. Once you have a coarse meal, add about 1/2 a cup of cold water. Using a spatula, start to bring the dough together. Add more water as needed – you’ll probably need at least another 1/4 cup, and gently knead the dough to bring it together. The goal here is to minimize the hands-on time on the dough, so as not to melt those lovely little chunks of butter that are dispersed throughout (they are going to make the dough deliciously flaky). Divide the dough in half, press into two discs, and wrap tightly in plastic wrap. Refrigerate the dough for at least an hour or two, but preferably overnight.

To make the filling: In a small saucepan, heat the pumpkin and spices over medium heat, just until fragrant. Remove from heat and transfer to a medium bowl. Whisk in the egg, salt and sugar and refrigerate while you roll out the dough.

To assemble the pies: On a well-floured surface, roll each disc of dough into a 9 x 12-inch rectangle. I used a measuring tape to make sure I had a uniform rectangle. Cut each side into thirds, creating 9 (3 x 4-inch) squares. Refrigerate the first set of squares while you roll out the second disc of dough. We gotta keep that dough cold!

Brush the first set of squares with the beaten egg. Spoon about 1 TBSP. of the pumpkin mixture into the centre of each square. Top with another square of dough, and seal the edges with a floured fork. Use the fork to create vent holes in the tops of each pie. Place the pies on a cookie sheet covered with parchment paper.

Put the pies back in the fridge while you preheat the oven to 350°F. Bake for about 30 minutes, or until golden brown on top.

Combine the glaze ingredients. Drizzle over the pies once they have cooled. Enjoy!

Pumpkin Hand Pies | Once Upon a Recipe

Hello Again + Fresh Spiced Pear Cider

Fresh Spiced Pear Cider | Once Upon a Recipe

Hello my friends!

It seems that this ol’ blog took an unintended yet sort-of needed Summer vacation. While I do apologize, I don’t regret it. For the last couple of months, I’ve been lacking in the inspiration department. And although I made a number of dishes and treats that I wanted to share, something always seemed to get in the way of me completing a proper blog post – even something as simple as being too hungry to stop and snap a few pretty photos. And being the perfectionist that I am, throwing together a half-assed post just didn’t feel right to me.

Fresh Spiced Pear Cider | Once Upon a Recipe

For the past few days I’ve been down with a bad cold and while being sick is never my preference, it gave me the opportunity – actually, forced me – to ditch on some of my regular responsibilities and just relax. And do you want to know what I did? (Aside from binge-re-watching Grey’s Anatomy on Netflix) I stepped into my kitchen and I created. It was glorious.

Friends, I think I have my mojo back.

Fresh Spiced Pear Cider | Once Upon a Recipe

First up – juice!

Last week, I was contacted and invited to participate in Williams-Sonoma Juice Week. This week’s theme is Juices That Bite Back.

Typically, I like to incorporate juicing into my morning routine. I’ve shared my favorite green juice recipe here already and green juice is definitely my go-to juice. However, every now and then I like to switch things up and make a fresh juice cocktail. (If you haven’t tried these fresh citrus margaritas, you must make doing so a priority). Earlier this week, it snowed. Yes, frozen white stuff actually fell from the sky and it was much too cold for early September, even by Alberta standards. Thankfully temperatures have shot back up again and we are enjoying more seasonally appropriate weather (I wore shorts today!), but the cold snap has changed my focus to fall and winter recipes.

And after drinking what felt like my hundredth cup of tea this weekend in an effort to soothe my sore throat, I decided to put my juicer to use and make a warm beverage with the flavors of Fall. This fresh pear cider is spiced with cinnamon and nutmeg, and is given a nice little kick by one of my most favorite juice ingredients – ginger. I almost always include ginger in my juices – I just love the zip it adds. And I have yet to meet a drink that wasn’t improved by the addition of booze, so I added some brandy. Just a quick little glug, and you’re good to go. Of course, if brandy isn’t your thing, feel free to use something different, or leave it out altogether.

Fresh Spiced Pear Cider | Once Upon a Recipe

As I’ve mentioned before, I use this juicer, but there are many other available juicers – do your research and figure out which juicer is best for you! And make sure you give this cider a try – it’s super delicious and healthy too!

Fresh Spiced Pear Cider

A warm, spicy, delicious, and healthy cider – perfect to warm you up on a chilly Fall evening! Makes about four 3/4 cup servings. Double or triple if desired. 

4 pears

2 apples (ie. Golden Delicious)

1 lemon

1 thumb-sized piece of fresh ginger

2 cinnamon sticks

1 tsp. whole cloves

Pinch of nutmeg

1/2 to 1-ounce brandy (optional)

Juice the pears, apples, lemon, and ginger. Put the fresh juice into a saucepan, add the spices, and heat through. Pour into glasses, add brandy if desired. Sip and enjoy!

Fresh Spiced Pear Cider | Once Upon a Recipe

Have a wonderful week, friends!

Pumpkin Maple Granola

Pumpkin Maple Granola | Once Upon a Recipe

It’s tempting to say “Winter is coming” in a very ominous voice. However, that would be a false statement due to the fact that Winter arrived the night before last in a flurry of wet snow and chilly wind. And just like that, it is Winter. Boom.

Pumpkin Maple Granola | Once Upon a Recipe

Pumpkin Maple Granola | Once Upon a Recipe

Seasons are funny, because we associate different things – and certainly, in my case, food – with each one. For example, when Fall arrived, I was so excited to bake with pumpkin and apples and cinnamon. And now that the first dump of the white stuff has fallen, I’m like “Peace out pumpkin, bring on the hot chocolate and candy canes!”

And the parkas, mitts, toques, and snow shovels.

Pumpkin Maple Granola | Once Upon a Recipe

However, it would be wrong to bid adieu to Fall without sharing one last pumpkin recipe with you. I was set on creating the perfect pumpkin granola recipe this year, and after several failed attempts, I think I finally found a winner. Packed with pumpkin, spices, and a few extras – pecans, pepitas, and dried cranberries – this granola makes a perfect breakfast or snack. Or an excellent consolation prize for embarking on the 6-month long, dark, and freakishly cold and snowy adventure that is an Alberta Winter. Happy Monday, friends!

Pumpkin Maple Granola | Once Upon a Recipe

Pumpkin Maple Granola

This granola combines the delicious fall flavors of pumpkin and maple. Lightly sweetened and generously spiced, it makes a great breakfast when sprinkled over yogurt and fruit, or swimming in milk. You might also be tempted to eat it by the hand full. Makes about 6 cups. 

4 cups oats

2/3 cup chopped pecans

2/3 cup pepitas

½ cup shredded coconut

¼ tsp. salt

1 tsp. cinnamon

½ tsp. ginger

½ tsp. nutmeg

¼ tsp. cloves

¼ tsp. allspice

¼ cup ground flax seeds

¼ cup raw cane sugar

¼ cup maple syrup

3/4 cup pure pumpkin

¼ cup olive oil

1 cup dried cranberries

Preheat the oven to 325°F. In a large bowl, combine the oats through to the ground flax seeds. In a separate bowl, whisk together the raw cane sugar, maple syrup, pumpkin, and olive oil. Add to the dry ingredients and mix well. Spread the granola onto a large baking sheet that has been lined with either parchment paper or a Silpat. Bake for 15 minutes. Add the cranberries and stir, and then return to the oven for another 10 minutes. Stir and continue baking for 10 minute intervals until golden brown and no longer moist. (Mine took about 35 minutes total).

Allow to cool completely before storing in an airtight container. Enjoy with milk or yogurt.

Pumpkin Maple Granola | Once Upon a Recipe

Whole Wheat Pumpkin and Cinnamon Chip Scones

Whole Wheat Pumpkin Cinnamon Chip Scones | Once Upon a Recipe

Please be warned: I am about to shove at least a couple of pumpkin recipes in your face in the coming weeks.

‘Tis the season! Fall is in full bloom, yo! The colors, the crisp days, the pumpkin beer, the boots, the scarves, the pumpkin everything, even that dank, disgusting, wet leaves smell – I. Love. It. If only it could last forever. All in favor of replacing Winter with an extra-lengthy Fall, say I.

Iiiiiiiiiiiiiiiiiiiiiiiiiiiiiiiiiiiiiiiiiiiiiiiiiiiiiiiiiiiiii.

Whole Wheat Pumpkin Cinnamon Chip Scones | Once Upon a Recipe

Whole Wheat Pumpkin Cinnamon Chip Scones | Once Upon a Recipe   Whole Wheat Pumpkin Cinnamon Chip Scones | Once Upon a Recipe

So, if you’re not too sick of pumpkin yet (and I really hope you aren’t), let’s bake some pumpkin scones! Truth be told, I have never partaken in the delight that is a Starbucks pumpkin scone. Every year, many peoples be freaking out about the arrival of pumpkin spice lattes and pumpkin scones. But I can guarantee that you can make a far more delicious version of both at home.

Whole Wheat Pumpkin Cinnamon Chip Scones | Once Upon a Recipe

Let’s start with the scones! We’re going to add a little health with some whole wheat flour, and we’re going to punch up the flavor with a hefty dose of spice and cinnamon chips. A generous sprinkling of raw cane sugar adds a lovely crunch to the tops of these scones. One of these little diddies alongside a cup of coffee or tea and you’re living the good Fall life!

Whole Wheat Pumpkin Cinnamon Chip Scones | Once Upon a Recipe

Whole Wheat Pumpkin and Cinnamon Chip Scones (adapted from King Arthur Flour)

Cinnamon chips can be found in most US grocery stores. Sadly, I have never found them in Canada (at least in Alberta), but pick up a couple of bags every time I visit the States. If you can’t find cinnamon chips where you are, feel free to amp up the ground cinnamon in this recipe for a little extra cinnamon kick. The original recipe also suggests adding crystallized ginger pieces, either in place of, or alongside the cinnamon chips. However, I think the cinnamon chips really make ’em. 

1 1/2 cups all-purpose flour

1 1/4 cups whole wheat flour

1 TBSP. baking powder

3/4 tsp. salt

3/4 tsp. ground cinnamon

1/4 tsp. ground ginger

1/2 tsp. ground nutmeg

1/4 tsp. ground cloves

1/4 tsp. ground allspice

1/2 cup butter, cold

1 cup cinnamon chips

2/3 cup pure pumpkin

2 eggs

1 TBSP. milk

Raw cane sugar, for sprinkling

In a large bowl, combine the flours through to the spices. Whisk together until thoroughly mixed. Cut the butter into the dry ingredients until the mixture resembles a coarse meal. Stir in the cinnamon chips. In a smaller bowl, whisk together the pumpkin and the eggs. Add the pumpkin mixture to the dry ingredients and stir until it starts to come together. Turn the mixture out onto a floured surface and use your hands to bring everything together. Try not to overwork the dough.

Split the dough in half and form each half into a round disc, about 1 inch thick. Brush each disc with the milk and sprinkle generously with raw cane sugar. Cut each round into six equal pieces. Arrange all 12 pieces on a prepared cookie sheet, about an inch apart. Place the cookie sheet in the freezer, uncovered, for 30 minutes to thoroughly chill (this will help with rise and texture).

Preheat the oven to 425°F. Bake the scones for 22-24 minutes or until golden. Cool on a baking rack. Enjoy the scones warm, or store cooled scones in an airtight container for up to a few days. Typically scones taste best on the same day they are baked, but I liked these scones even better the second day. They’re lovely with a cup of tea or coffee. Makes 12 scones.

Whole Wheat Pumpkin Cinnamon Chip Scones | Once Upon a Recipe

Yeast Schmeast | Whole Wheat Pumpkin Spice Bagels

Whole Wheat Pumpkin Spice Bagels | Once Upon a Recipe

Friends, I am here to tell you that it is time to conquer your kitchen fears. Take a deep breath, close your eyes, and just jump in with both feet. Well, maybe don’t close your eyes. That could lead to trouble. BUT. Very, very good (and delicious) things can come from conquering your kitchen fears.

These bagels are a perfect example. You see, me and yeast aren’t exactly tight. I mean, we usually get along when we’re making cinnamon rolls, but I’m not too trusting of yeast when approaching other baking endeavors. Yeast can be a bit temperamental. Like – oh, don’t make the water too hot or you’ll kill me! But don’t make it too cold either, or I won’t wake up. Don’t add too much sugar or you’ll slow me down! Basically, yeast does whatever the hell it feels like when I’m around.

PS. I’m not a bread maker, for obvious reasons.

Whole Wheat Pumpkin Spice Bagels | Once Upon a Recipe

However, this past weekend I wanted to try something new. Something that would challenge me and test the boundaries of my baking abilities. And given the arrival of the Autumn Equinox (umm, yay!), I also just had to bust out the pumpkin. And then I came across a recipe for pumpkin bagels. Hallelujah. Let’s do it!

Disclaimer: Making bagels is not an activity for the faint of heart. They take some time. However, when you pull those fresh bagels out of the oven, slice one up, toast it until it’s golden brown, and slather on a generous amount of cream cheese, it all seems worth it. I promise you.

Whole Wheat Pumpkin Spice Bagels | Once Upon a Recipe   Whole Wheat Pumpkin Spice Bagels | Once Upon a Recipe

My advice – plan ahead. Get everything together ahead of time and be patient. Don’t rush through the recipe – read it through first so you know what you’re getting into. Take your time and enjoy the process. My essential accessories of choice on this adventure – a french press full of hot coffee and some good tunes. I’m not going to claim to be a bagel pro just yet, but I was really pleased with how these turned out for my first attempt. The pumpkin flavor is not overwhelming and the spices are very subtle. My favorite way to enjoy these bagels was by toasting and slathering them with either butter or cream cheese. I bet they would make amazing bagel sandwiches too.

Happy Fall friends!

Whole Wheat Pumpkin Spice Bagels | Once Upon a Recipe

Whole Wheat Pumpkin Spice Bagels (very slightly adapted from The Tart Tart, which was adapted from Honest Cooking)

Makes 8 bagels. I made these bagels two ways – the first time with whole wheat and all-purpose flour (as indicated in the recipe), and the second time with only spelt flour. I loved the texture of the spelt bagels, but found the dough extremely difficult to work with. I ended up adding almost an entire additional cup of spelt flour in order to get the dough to come together enough to handle. If you’re going to use spelt flour, just be aware of this and exercise additional patience!

2 1/4 tsp. active dry yeast

1 cup warm water

1/3 cup brown sugar

2 cups all-purpose flour

1 cup whole wheat flour

1 tsp. cinnamon

1 tsp. salt

1/2 tsp. nutmeg

1/2 tsp. ginger

1/4 tsp. ground cloves

1/4 tsp. allspice

1/2 cup pure pumpkin

1 TBSP. baking soda (for the soda bath)

1 egg (for the egg wash)

Toppings – ie. sesame seeds, flax seeds, poppy seeds, sea salt

In the bowl of a stand mixer, combine the yeast, water, and brown sugar. Whisk together and set aside for about 10 minutes, until the mixture becomes frothy.

In a separate large bowl, combine the flours, cinnamon, salt, nutmeg, ginger, cloves, and allspice. Add the pumpkin to the yeast mixture, and using the dough hook, start mixing on low speed. Slowly add the flour mixture until it is completely combined, about 3 to 5 minutes. At this point, the dough should be smooth and elastic, but not too sticky (it will be pulling away from the sides of the bowl). If it is too sticky, incorporate more flour, one TBSP. at a time. Place the dough in a bowl coated with oil and cover, allowing it to rise in a warm place until it doubles in size, about 90 minutes.

After 90 minutes, transfer the dough to a lightly floured surface. Divide it into 8 equal pieces and roll them into balls. Cover and let rise about 20 minutes more.

Then, using your thumb, punch a hole into the middle of each ball and widen it, trying to make it even on all sides. Widen the hole more than you think necessary, because it will shrink in the boiling and baking process. Set the dough on a parchment paper or Silpat-covered baking sheet. Repeat with the other balls.

Preheat your oven to 425°F and prepare the egg wash by cracking the egg into a small bowl and whisking with a fork.

Fill a large pot about halfway with water and bring it to a boil. Once the water is boiling, add in the baking soda and gently mix. Working in batches of 2-3 bagels at a time, drop the bagels into the boiling water and cook for 2 minutes. Flip them and cook for 2 minutes more (the longer you boil the bagels, the chewier they will turn out – boil for 1 minute on each side if you want them to be less chewy). Once done, remove them with a slotted spoon and place back on the baking sheet. Lightly blot them with a paper towel to remove some of the excess water. Then brush them with the egg wash and sprinkle with the toppings of your choice. Bake the bagels for 15 to 20 minutes (until golden brown), rotating the pan halfway through.

Whole Wheat Pumpkin Spice Bagels | Once Upon a Recipe

What are you baking up in your kitchen to welcome Fall?

How I Survived a Half Marathon | (And Lived to Eat) Pumpkin Toffee Ice Cream

You are much stronger than you think.

I repeated this phrase approximately 149 times in my head during the 1 hour, 57 minutes, and 19 seconds that it took me to complete my first half marathon. 21.1 km. Boom.

To say I was nervous going into this race is a major understatement. My training didn’t go as well as I had hoped. Motivation was hard to find at certain points. Life easily got in the way of going for a run (Geez life! Why you gotta be like that?). I overtrained in the final month before the race, leading to terrible shin splints a couple of weeks before the big day. I obsessively googled race day tips. I almost bought a new pair of shoes with 7 days to go.

My uncle gave me some great advice about a month ago. He encouraged me to visualize the race and how it would feel to finish. After our conversation, I spent a few minutes before I fell asleep every night thinking about what crossing the finish line would feel like. The sights I would see. What I would smell. Hear. Every time I would add more specific detail. Standing at the starting line, there was no doubt in my mind that I would finish the race. I had envisioned it so many times.

The thing is, we are all capable of so much more than our minds allow us to believe. My yoga instructor often says “Keep breathing. There is nothing that you cannot breathe through”…often in the third minute of thunderbolt pose, when our legs are burning, ready to give out. “Just breathe,” she tells us. “You are much stronger than you think.”

And so I breathed deeply as I repeated “You are much stronger than you think” over and over. And over.

The first 10km clipped right by. In fact, when I passed the 10km marker, I was surprised. Almost half way! My surprise gave me hope that the next 10km would fly by just as quickly. The next marker I hit read “13km”. I felt like it should have read 15km. You’re over half way there, I reminded myself. You can do this!

And then the wheels started to fall off the bus. One of my water bottles popped out of my fuel belt and bounced around on the ground behind me. I skidded to a halt and tried to quickly grab it without disturbing any of the other runners. I grabbed the bottle. It jumped out of my hands again. I ended up half-lunging, half falling to the side of the course to get out of another runner’s way. She gave me a sympathetic look. I got back on my feet and got moving again. But I was frazzled. I had lost my momentum. My rhythm.

By the time I hit the 16km mark, the kilometres really started to crawl by. I began to desperately wish that I had someone running beside me, encouraging me, cheering me on. Someone who might be able to drag me across the finish line, if needed.

The huge hill at kilometre 18 nearly finished me. It was long and winding. I promised myself that I would be at the top in 20 seconds. Just when I thought I was nearing the top, it wound around and kept going. I attempted to trick myself in various ways. I pretended that I was on a leisurely 5km run through my neighborhood. I told myself that my body felt great! That my legs did not feel as though they were moving independently from my body, like two stiff boards that I no longer had any control over. That my lungs were full of air, rather than painfully tightening due to a lack thereof.

As I reached the 20km mark, I came upon my friends in the crowd of people lining the streets. Thank goodness for my friends. Hearing their voices cheer my name, seeing their smiling faces, reading the neon sign they held above their heads (“Hurry up, my legs hurt!”) gave me that one final push that I so desperately needed. I managed to sprint the last 200m to the finish line. And despite the difficulty of preceding two hours, I felt like a million bucks. I think it’s true. Nothing worth doing is ever easy. 

Feeling good a few minutes after the finish!

I used to think that I would never run further than a half marathon. Anything longer just seemed…crazy. And quite frankly, downright unnecessary. But in the fog of my post-race high, I’m having second thoughts. There just might be a full marathon in my future.

After all, we are much stronger than we think.

And while we’re burning all of these calories, we’d better remember to replace them. What better way than ice cream?! I came across this recipe for pumpkin ice cream by the lovely Leah from Freutcake a few weeks ago. I immediately pinned it for future making. I made a few small changes to Leah’s recipe, adding in a few additional spices and replacing the dark chocolate chips with toffee bits. It’s creamy, pumpkin-y, and studded with little bits of Skor chocolate bar. Perfect for Fall!

Pumpkin Toffee Ice Cream (adapted from Freutcake, originally from David Lebovitz)

I am presently fantasizing about eating this ice cream out of a big waffle cone and drizzled with caramel sauce. Makes about 1 quart.

1 1/2 cups whole milk

1 cup heavy cream

1/3 cup plus 2 TBSP. granulated sugar

1/2 tsp. ground ginger

1/2 tsp. ground cinnamon

1 cinnamon stick

1/2 tsp. ground nutmeg

1/4 tsp. ground cloves

1/4 tsp. ground allspice

1/4 tsp. salt

5 large egg yolks

1/4 cup brown sugar, packed

1 tsp. vanilla

2 tsp. brandy

3/4 cup pumpkin puree

1 cup chopped Skor bar (or other toffee chocolate bar)

Prepare an ice bath by putting some ice and a little water in a large bowl and nest a smaller metal bowl (one that will hold at least 2 quarts) inside it. Place a mesh strainer over the top.

In a medium saucepan mix together the milk, cream, granulated sugar, ginger, cinnamon, cinnamon stick, nutmeg, cloves, allspice, and salt. Warm the mixture until hot and the edges begin to bubble and foam. Whisk the egg yolks in a separate bowl and gradually whisk in about half of the milk mixture (to temper the eggs), stirring constantly. Scrape the egg mixture back in to the saucepan and cook over low heat, stirring constantly and scraping the bottom with a heatproof spatula, until the mixture thickens and coats the spatula (an instant-read thermometer should read between 160º-170ºF). Immediately pour the mixture through the strainer into the bowl nested in the ice bath. Add in the brown sugar, stir until cool, then refrigerate overnight.

Whisk in the vanilla, brandy, and pumpkin puree. Freeze in your ice cream maker according to the manufacturer’s instructions. Stir in the chopped toffee bar, transfer to a container (or my favorite, a loaf pan) and freeze until firm.

A Guest Post | Goat Cheese Tart with Honey and Figs

Aloha friends. Can I ask you a serious question?

Where the deuce did Summer go? One minute the heat has me more hot and bothered than a lonely housewife reading 50 Shades of Grey at a Magic Mike screening (thanks someecards), and the next minute I’m pulling out my boots, scarves, and turning on my seat heaters during my early morning commute to work. What gives?

Just like that, Fall is here. Don’t get me wrong, I love Fall. Crisp air, gorgeous colors, cozy sweaters, delicious treats (aka. pumpkin everything)…I adore it all. Unfortunately, around these parts, Fall lasts a cool hot minute and then it’s suddenly Winter. For six. long. months.

However…these days I’m focusing my efforts on being a glass half full kind of gal, so let’s nip this Winter talk in the bud and hone in on something positive.

Did you know that fresh figs are in season in late Summer/early Fall? Did you know that if you pair up fresh figs with puff pastry, creamy goat cheese, honey, and fresh rosemary, little tiny leprechauns will do a dance on your taste buds and fireworks will erupt in the sky?

You didn’t?! Well then, get your fannies on over to my lovely friend Kristy’s blog, A Gastronomical Sovereignty, where I tell you exactly how to make this taste bud extravaganza (aka. a Goat Cheese Tart with Honey and Figs) happen. And while you’re there, check out Kristy’s space – where she shares stories about her ethical culinary adventures, and drinks wine while she’s at it. No wonder we get along so well. 🙂

PS. Let’s reminisce about Summer. What was the best thing you did/saw/ate over the past few months?

Anything Goes Pasta | The Fall Edition

Hi folks. Just a quick lil’ post for you today. Happy October 1st! Which, if you live in Alberta, means only a few more weeks until the first snowfall of the season. 🙁 This girl is not looking forward to another winter. Alas…

I wanted to share a quick recipe with you. I made this pasta dish one night earlier this week when I was rushed for time between work and going out for the evening. Most often, I don’t follow a recipe in the kitchen. One of my favorite things to do is look through my fridge and cupboards and pull something together using the ingredients I have on hand. On this particular evening, I was working with half a butternut squash, a zucchini, half a ring of garlic sausage, and a half-box of spaghetti. I wasn’t planning on sharing the “recipe”, but the end result was really good – a great speedy meal for a Fall evening. And it all came together in the time it took to boil the water and cook the pasta. That’s my kind of dinner!

Anything Goes Pasta (Fall)

1 onion, chopped

3 cloves of garlic, minced

Half of a butternut squash, peeled and cubed (about 2 cups)

1 medium zucchini, cubed

Your favorite garlic sausage, sliced (about 2 cups)

Spaghetti or your favorite pasta, cooked al dente (about 250g)

2 TBSP. olive oil, divided

1 TBSP. butter

1/2 cup (or more) parmesan cheese

Salt and pepper, to taste

Get a large pot of water boiling on the stove. Preheat your oven to 450°F. Combine the butternut squash and zucchini on a large baking sheet, toss with 1 TBSP. of the olive oil, and season with salt and pepper. Bake for about 15-20 minutes (or until tender and slightly browned), turning once halfway through. Melt the butter and the remaining 1 TBSP. of olive oil in a large frying pan. Add in the chopped onion and cook for about 5 minutes, until the onion softens. Add in the garlic and the sausage, allowing to cook for about 10 minutes. Once the squash and zucchini are ready, add them into the pan. Toss the whole mash with the cooked pasta, reserving about 1/2 cup of the pasta water to help everything come together. Add in the cheese, and season with salt and pepper (and another tablespoon of butter, if you’re feeling naughty). Fill your face. Delish!

Up next, more pumpkin! Stay tuned…

Falling | Pumpkin Cookies with Cinnamon Frosting


I’m going to cut right to the chase.

I made you some cookies. They’re soft and cakey. Spicy and pumpkiny. Yep, pumpkiny is a word. You heard it here first.

But back to those cookies…


Posting two cookie recipes back to back was not the plan. I had another recipe to share with you. However, these little melt-in-your-mouth pillows of pumpkiny goodness came into my life unexpectedly this week and I just had to share them immediately. Words really don’t do these cookies justice. They taste like pumpkin pie, but way better ’cause I don’t really even like pumpkin pie. I mean, I eat a token slice of it every Thanksgiving, but only because Thanksgiving wouldn’t feel the same if I didn’t. But these cookies, they deliver.


So how about you run off to the grocery store and pick yourself up some pumpkin, and then get your tush into the kitchen to make these? And then you can proceed to eat a dozen cookies over the course of the day. But they’re tiny, and they have pumpkin in them. So you’re practically eating a serving of vegetables…

Go make these cookies!


Pumpkin Cookies with Cinnamon Frosting (adapted from Better Homes and Gardens)

1 cup of butter, softened

1 cup of granulated sugar

1 tsp. baking powder

1 tsp. baking soda

1/2 tsp. salt

1 tsp. cinnamon

1/2 tsp. ground nutmeg

1 egg

1 tsp. vanilla

1 1/2 cups of pumpkin puree

2 cups of all-purpose flour

For the frosting:

1/4 cup butter

1/4 cup brown sugar

1/8 cup milk

1/2 tsp. vanilla

1 tsp. cinnamon

2 to 2 1/2 cups icing sugar

Preheat your oven to 350°F. In a mixing bowl, beat the butter with an electric mixer on medium speed for about 30 seconds. Add the sugar, baking powder, baking soda, salt, cinnamon, and nutmeg. Beat until thoroughly combined, taking care to scrape the bowl down at least once. Add the egg and vanilla, and beat until combined. Beat in the pumpkin. Add in the flour and mix together well. Drop the dough by heaping teaspoons onto a cookie sheet lined with parchment paper or a Silpat (or one sprayed with cooking spray). Bake for 10 to 12 minutes or until tops are just set. Transfer the cookies to a wire rack and allow to cool.

For the frosting: In a small saucepan, heat the butter and brown sugar together over low heat until melted and smooth. Transfer to a bowl. Stir in the milk, vanilla, and cinnamon. Add in 2 cups of icing sugar and beat until smooth. Add more icing sugar if necessary to create a spreadable frosting.

Frost the cookies when cool and enjoy! Store in an airtight container, placing waxed paper between layers to avoid them sticking together.

%d bloggers like this: