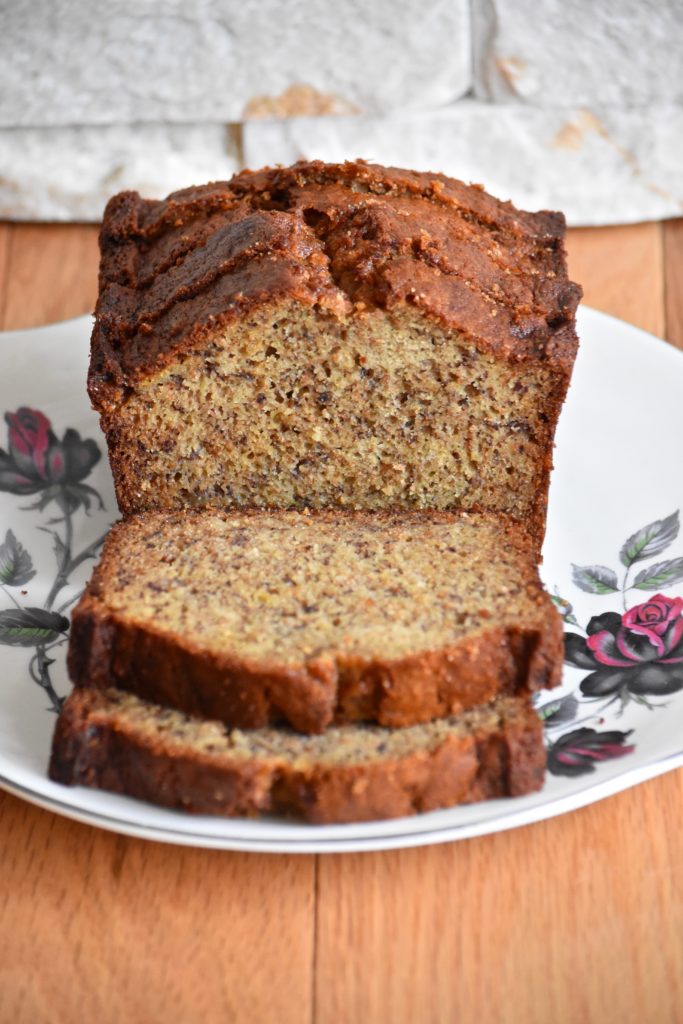
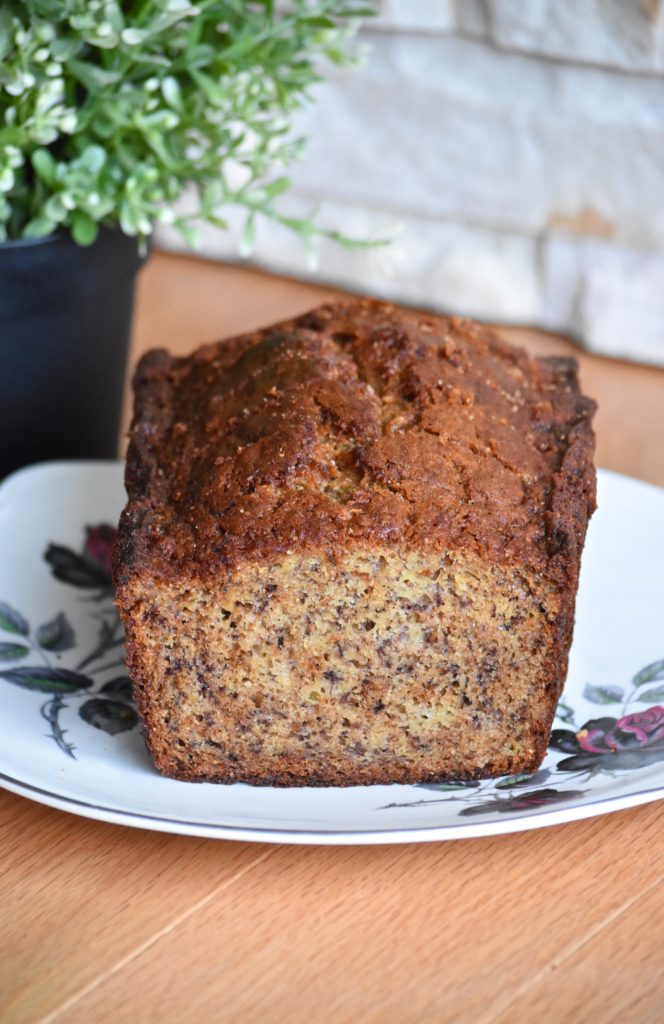
One Bowl Banana Bread

One Bowl Banana Bread | Once Upon a Recipe

Hello, beautiful friends! It’s been nearly nine months since my last blog post. NINE months! Let’s start with a little review of some of the things that a person can do in nine months.

  1. Grow a baby. (I didn’t).
  2. Learn another language (I didn’t).
  3. Grow 4.5 inches of hair. (Maybe?)
  4. Train your dogs to not attack (with love) any person that comes to the door or any other living creature you come upon on a walk. (We didn’t).
  5. Get engaged and plan most of a wedding. (Working on it!)
  6. Finish unpacking the house you moved into almost a year ago. (Nope).
  7. Do everything but write a blog post. (Clearly I’m an expert at this).

One Bowl Banana Bread | Once Upon a Recipe

In all seriousness, I’ve really let this old blog down over the past nine months. Life just kept getting in the way of blogging (mostly because I let it), and with every passing week it became harder to get back in the saddle. Even taking the photos for this post was a lesson in patience. I’m not even kidding when I say that I forgot how to use my camera, how to style photos, and quickly became frustrated. So frustrated that I almost threw in the towel. But after few deep breaths and sticking with it,  I slowly started to feel a little bit more comfortable. I realized how much I’ve missed this space and cooking and baking things and sharing them with you.

One Bowl Banana Bread | Once Upon a Recipe

I’ve said it a hundred times before – that I’ll get better about blogging and get back into a routine of regularly posting recipes. But the truth is, I don’t know if I can keep that promise. So instead of telling you (for the umpteenth time) that I’m going to get back to a schedule of posting weekly or even monthly, I’m just going to make an effort to get back here as often as possible, realizing that the frequency of posting will fluctuate depending on what else is going on in my life. We’re all just doing the best that we can, right?

One Bowl Banana Bread | Once Upon a Recipe

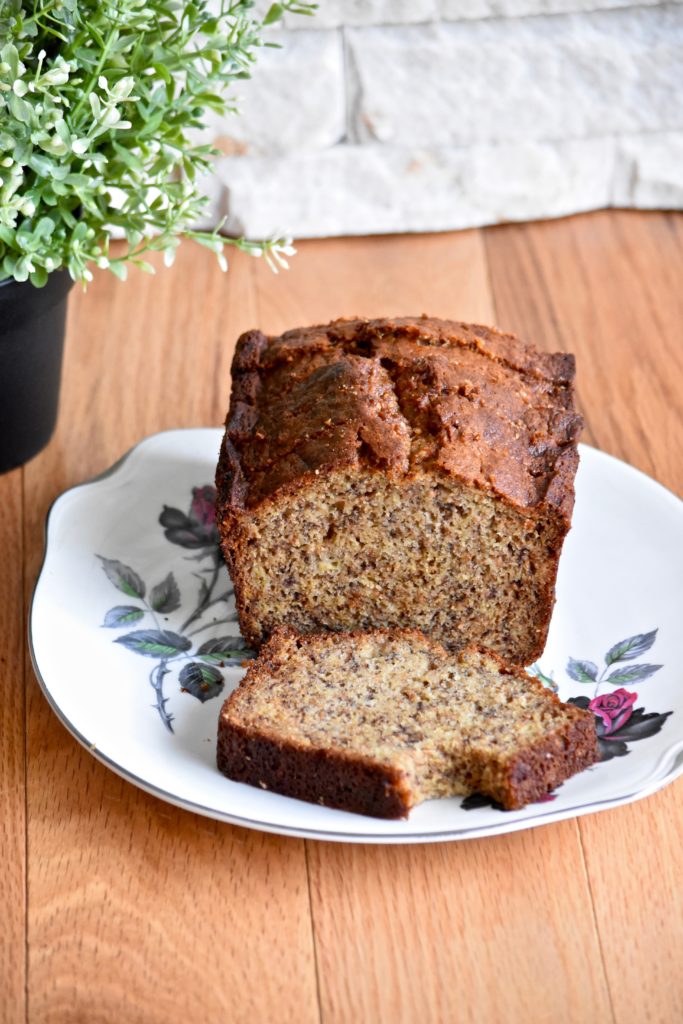
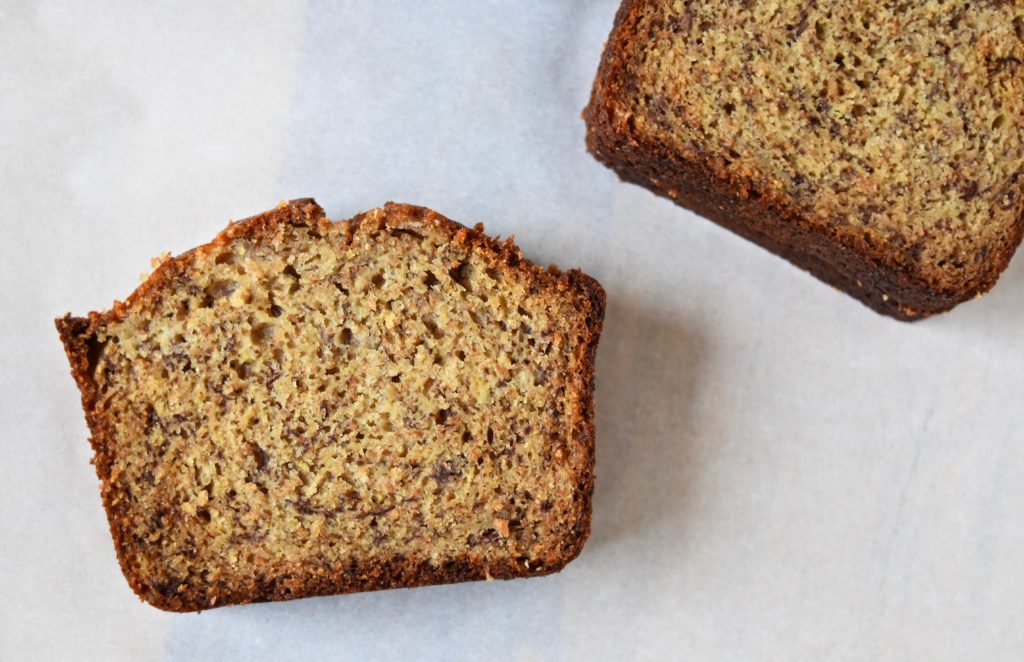
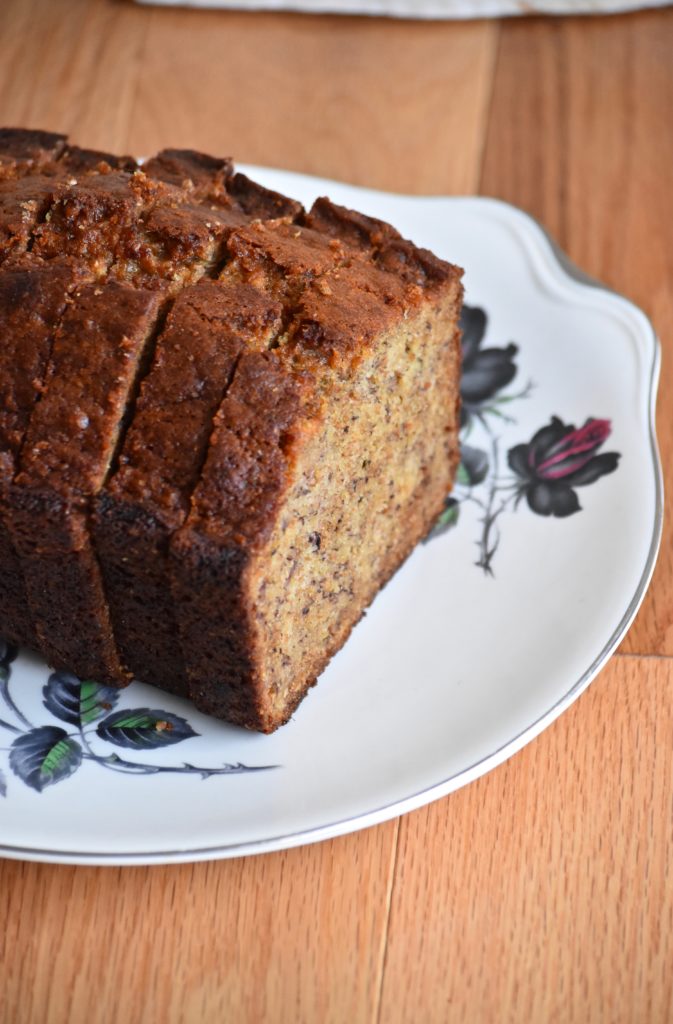
So I come to you today with a simple recipe – this One Bowl Banana Bread. Everyone should have a foolproof banana bread recipe in their baking arsenal. It’s quick to whip up, made with ingredients that you most likely have on hand (the most important of which is a few ripe bananas!), and is generally loved by all. I had assumed that most people already have a well-loved banana bread recipe, but I recently made a couple loaves and took them to work to share with my colleagues and had a number of requests for the recipe.

One Bowl Banana Bread | Once Upon a Recipe

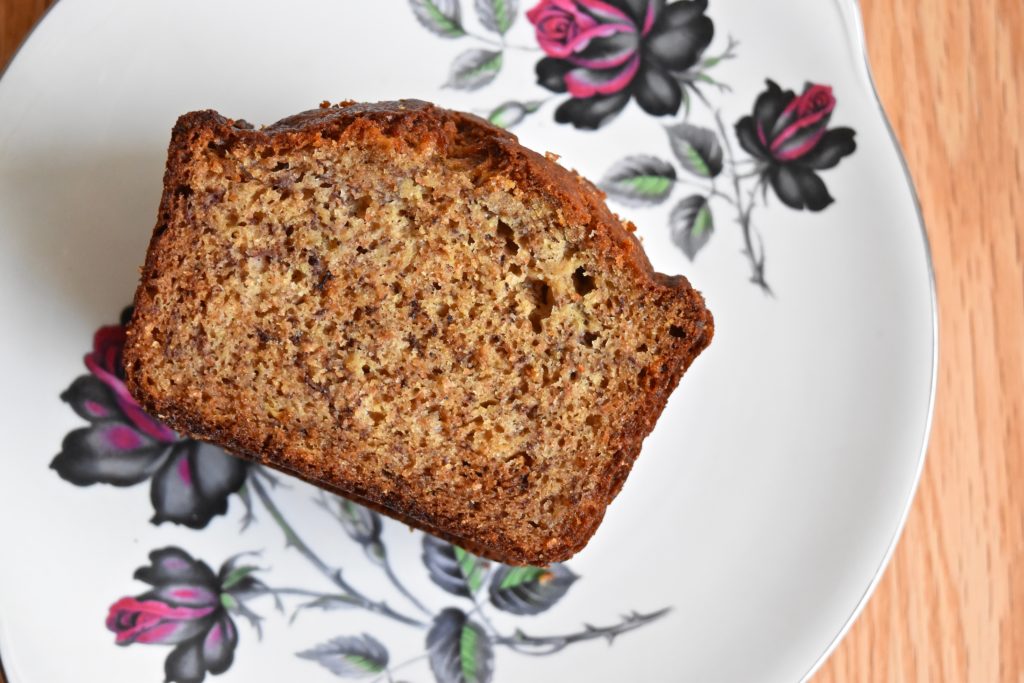
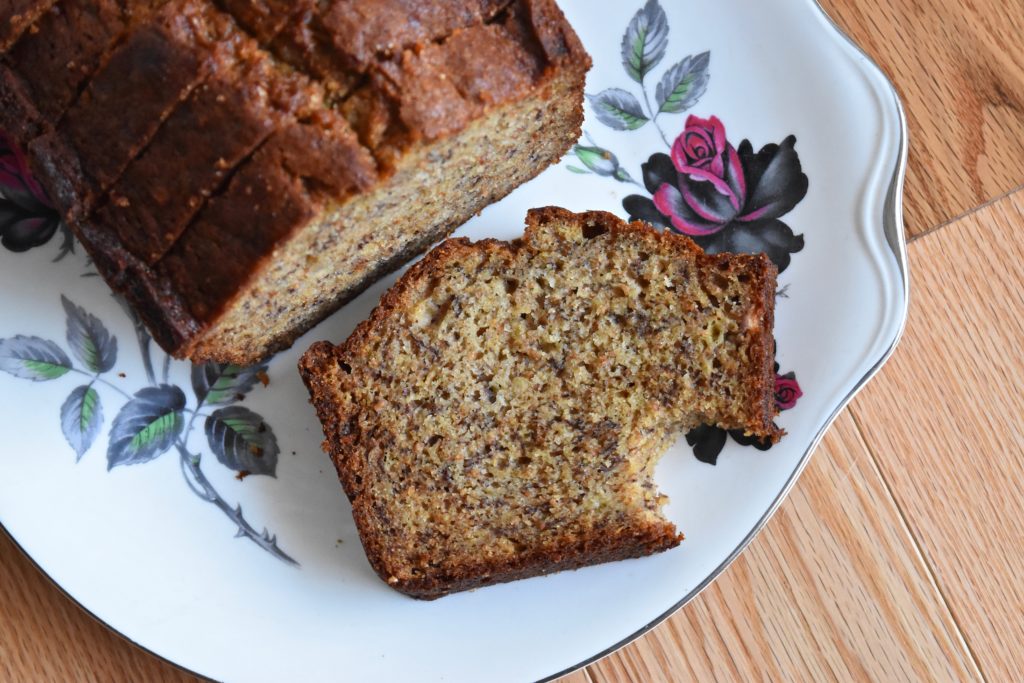
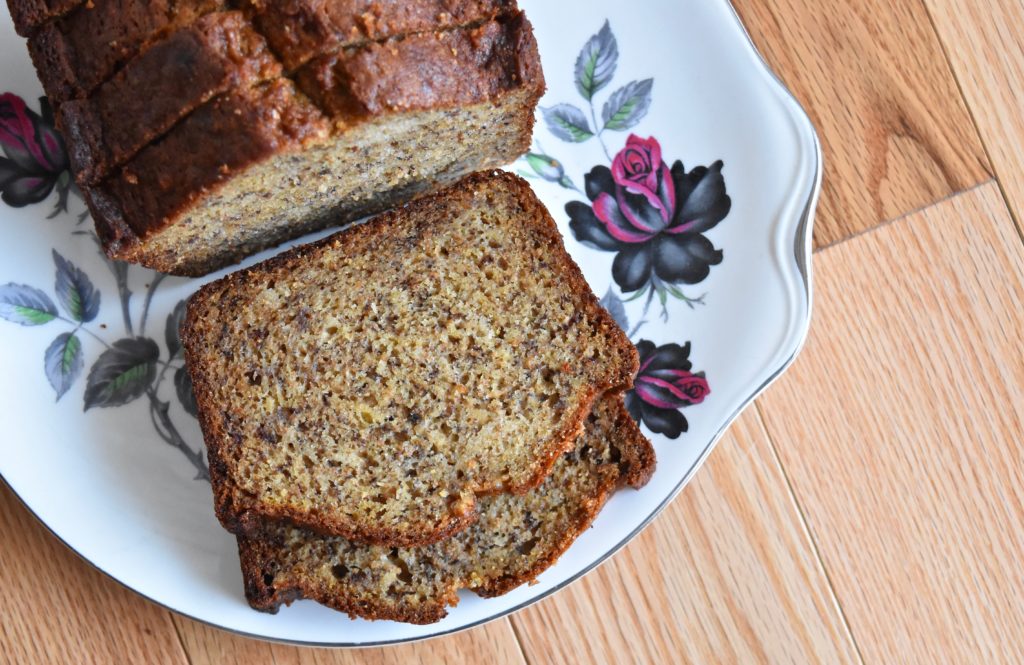
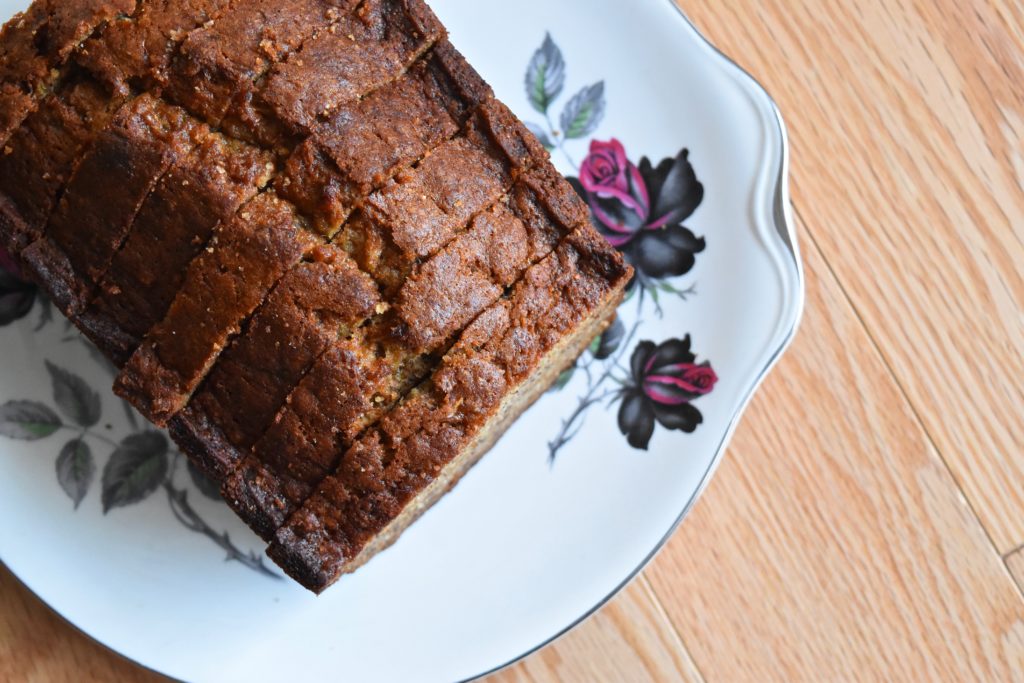
So on the chance that you are one of those people who has yet to find the perfect banana bread recipe, or if you’re looking to shake things up with a new recipe, I urge you to give this one a try. It’s so quick and easy to put together – all in one bowl, no less! – and can be modified according to what you have on hand. You can use just all-purpose flour or just whole wheat flour, or a combination of the two. You can use a different oil if you prefer, but I like using vegetable oil because of it’s mild flavour. You could add in some cinnamon if you so desired, or chocolate chips to make this loaf a little bit more of a treat. But I love it as I’ve written it here, without chocolate chips or other flavours. It’s perfect when enjoyed with a cup of coffee in the morning or an afternoon snack.

One Bowl Banana Bread | Once Upon a Recipe

One Bowl Banana Bread | Once Upon a Recipe

In other news, if anyone has any tips on how to stay sane and stress-free during the wedding planning process, please send them my way. Just a little less than six months to go!

One Bowl Banana Bread | Once Upon a Recipe

One Bowl Banana Bread

This banana bread recipe is very forgiving. You can play around with the white to whole wheat flour ratio depending on your preference. I’ve had success with using just whole wheat flour, but mixing the two gives the bread a more delicate crumb. You can also use just all-purpose flour if you prefer. If you’re feeling sassy, add in up to 1/2 cup of chocolate chips. Makes one loaf (8 1/2-inch x 4 1/2-inch). 

3/4 cup whole wheat flour

1/2 cup all-purpose flour

1 tsp. baking soda

1/2 tsp. baking powder

1/4 tsp. salt

1/2 cup vegetable oil

3/4 cup light brown sugar, packed

3 large ripe bananas, mashed

2 eggs

1 tsp. vanilla

Preheat the oven to 350°F. Spray a loaf pan with non-stick spray and set aside.

In a large bowl, whisk together the oil, brown sugar, bananas, eggs, and vanilla. Add in the flours, baking powder, baking soda, and salt, and stir until just combined. Spoon the batter into the prepared loaf pan and bake for 55-60 minutes, or until a toothpick inserted into the center of the loaf comes out clean. Cool completely, then remove from the pan and slice. Store in an airtight container for up to three days. This loaf also freezes well.
One Bowl Banana Bread | Once Upon a Recipe

Rhubarb Crumble Baked Donuts

Rhubarb Crumble Baked Donuts | Once Upon a Recipe

Hello friends!

Spring has sprung! Our Easter weekend started with a snowfall (yes, SNOW), but thankfully Mother Nature smartened up and we were rewarded with a couple of beautiful days of sunshine and warm temperatures. I went out in a t-shirt, soaked up some sun, and all felt right in the world. I ate my way through two Easter dinners and a brunch, swore I would never eat again, and then promptly broke that oath a couple of hours later. It was a glorious weekend, I tell you. How was your weekend? Did you eat all the things too?

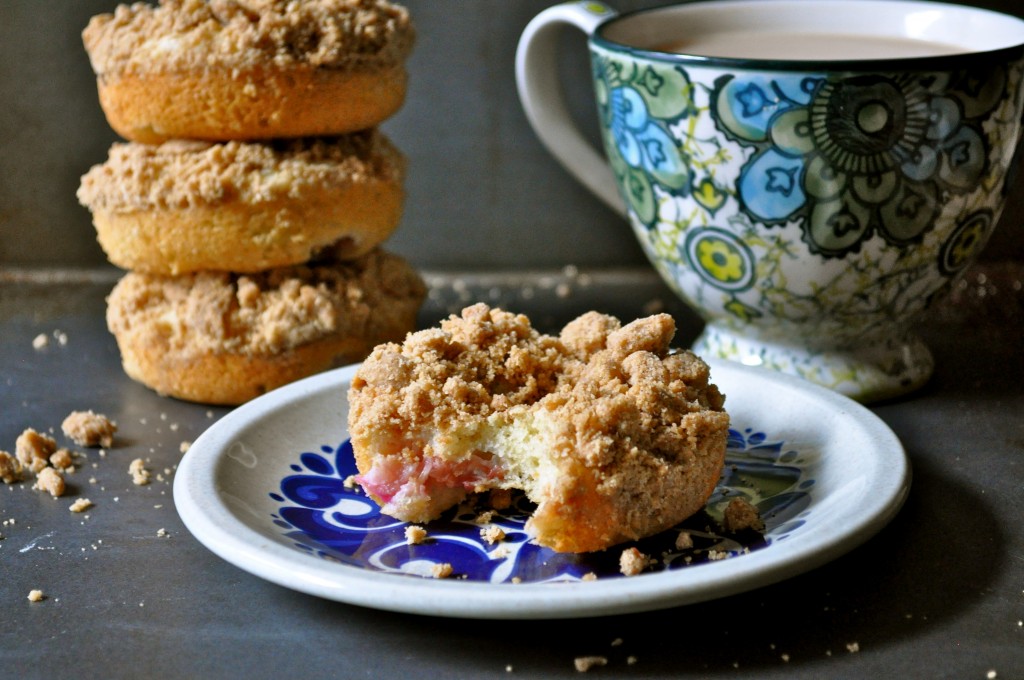
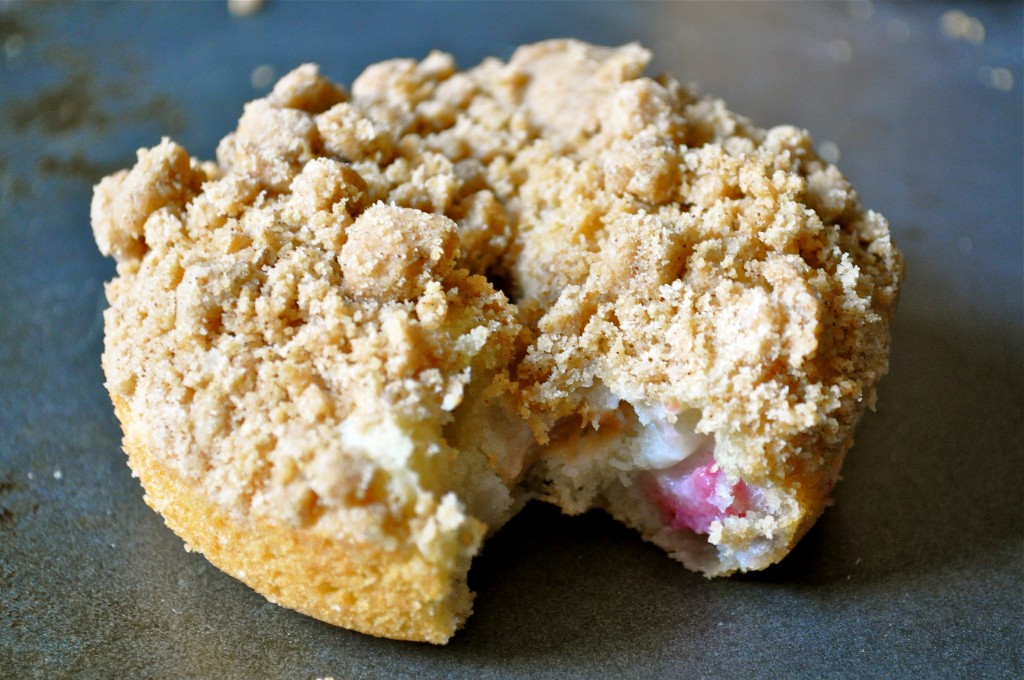
These donuts were part of my glorious weekend. When I first spotted glorious red stalks of rhubarb at the grocery store a couple of weeks ago, I internally squealed with delight. I adore the stuff and enjoy baking with it so much. I knew immediately that I wanted to make some type of rhubarb coffee cake (among other things). The tart rhubarb pairs so well with the buttery and sweet crumble that tops most coffee cakes. But then came the idea to create these rhubarb crumble donuts. Quick to bake, and easy to stuff from hand to face – what more do you need in a baked good?

Rhubarb Crumble Baked Donuts | Once Upon a Recipe

Rhubarb Crumble Baked Donuts | Once Upon a Recipe

I played around with the recipe a few times in search of maximum rhubarb flavor. I’ve crammed a whole cup of rhubarb into these donuts, which was no easy feat considering how small the cavities of my donut tin are. And the donut to crumble ratio is pretty ridiculous, in the best way possible. I’m really pleased with the end result.

These little gems are the perfect lazy weekend breakfast, yet also make a great afternoon pick-me-up snack with a hot cup of coffee or tea. I suggest you get your hands on some rhubarb as quickly as possible and then make yourself some rhubarb crumble baked donuts. Cool?

Rhubarb Crumble Baked Donuts | Once Upon a Recipe

Rhubarb Crumble Baked Donuts | Once Upon a Recipe

Rhubarb Crumble Baked Donuts (donut recipe adapted from Offbeat + Inspired, crumble recipe adapted from The Sugar Hit)

These donuts taste best when still warm from the oven, but they will keep just fine for a couple of days in an airtight container. I do recommend sticking them in the fridge though, as I find that rhubarb tends to get a bit dodgy when it sits at room temperature after being baked. Makes 6 donuts. 

For the crumble:

1/3 cup brown sugar

1 tsp. cinnamon

Pinch of salt

1 cup cake flour

1/3 cup butter, melted

For the donuts:

3 TBSP. butter, softened

1/4 cup sugar

1 egg

1/2 tsp. vanilla

3 TBSP. plain Greek yogurt

½ cup + 2 TBSP. cake flour

¼ tsp. baking soda

Pinch of salt

1 cup rhubarb, chopped small

Preheat oven to 325°F. Spray a 6-count donut pan with non-stick spray. Combine the crumble ingredients in a small bowl and set aside. In a separate bowl, combine the sugar and butter and mix with a hand mixer until fluffy. Add the egg, yogurt, and vanilla and mix again. Add the dry ingredients and mix until just combined. Gently fold in the rhubarb.

Pipe the batter into the donut tins using a piping bag or Ziploc bag with the end cut off. Very generously top each donut with the crumble topping (like seriously pile that crumble on). Bake for about 20 minutes, or until a toothpick inserted into the donut comes out clean. Allow the donuts to cool in the pan for a good 15 minutes or so before carefully removing them from the pan. Cool completely on a wire rack – or preferably, enjoy while still warm!

Rhubarb Crumble Baked Donuts | Once Upon a Recipe

Enjoy your week! xo

Banana Wheat Germ Muffins with Nutella Swirl

Banana Wheat Germ Muffins with Nutella Swirl | Once Upon a Recipe

Friends, in exactly two weeks, I will be on a plane en route to Thailand. TWO WEEKS.

And I get to stay there for almost a month. That means no work, and lots of play, sun, Thai food (!!!), beach frisbee, and adventuring. I’ve had my travel vaccinations (they hurt. A LOT.), my bikinis are ready (they’re super cute), my appetite is building (for all that Thai food), and my brain is in vacation mode (already). I’m just so crazy excited!

Banana Wheat Germ Muffins with Nutella Swirl | Once Upon a Recipe

I’m not really sure what things will look like in this space while I’m gone. I had hoped to get a few posts ready in advance and have them all set to publish while I’m away, but so far my procrastination is winning at this planning game. BUT. I do have two weeks to work with, so maybe there will be a food blogging miracle and I will still get it all done. Just maybe.

Banana Wheat Germ Muffins with Nutella Swirl | Once Upon a Recipe

Banana Wheat Germ Muffins with Nutella Swirl | Once Upon a Recipe

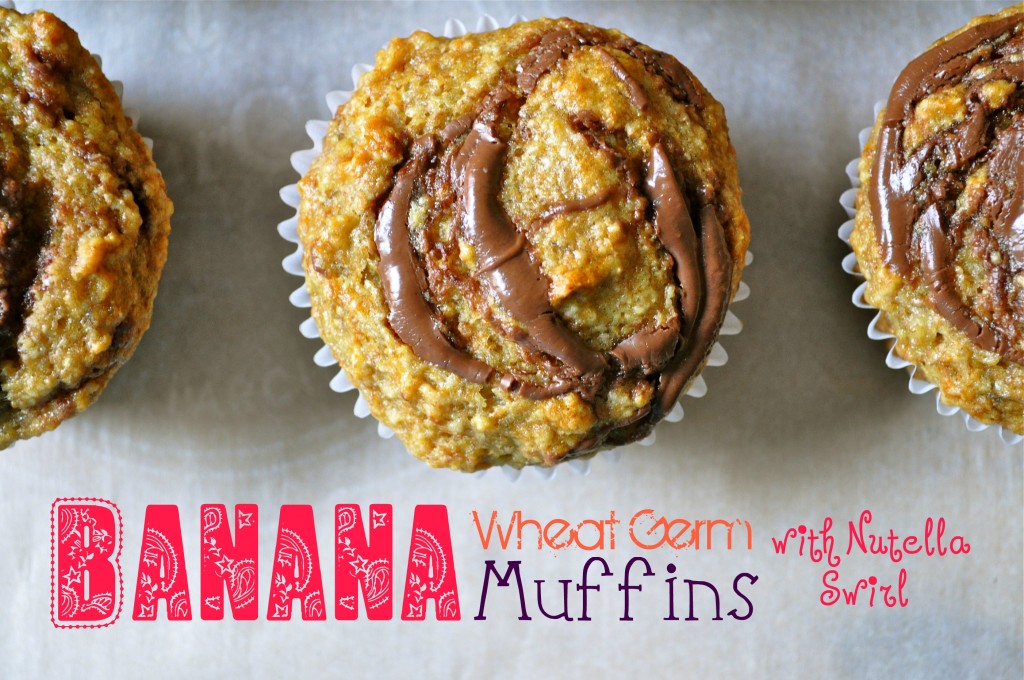
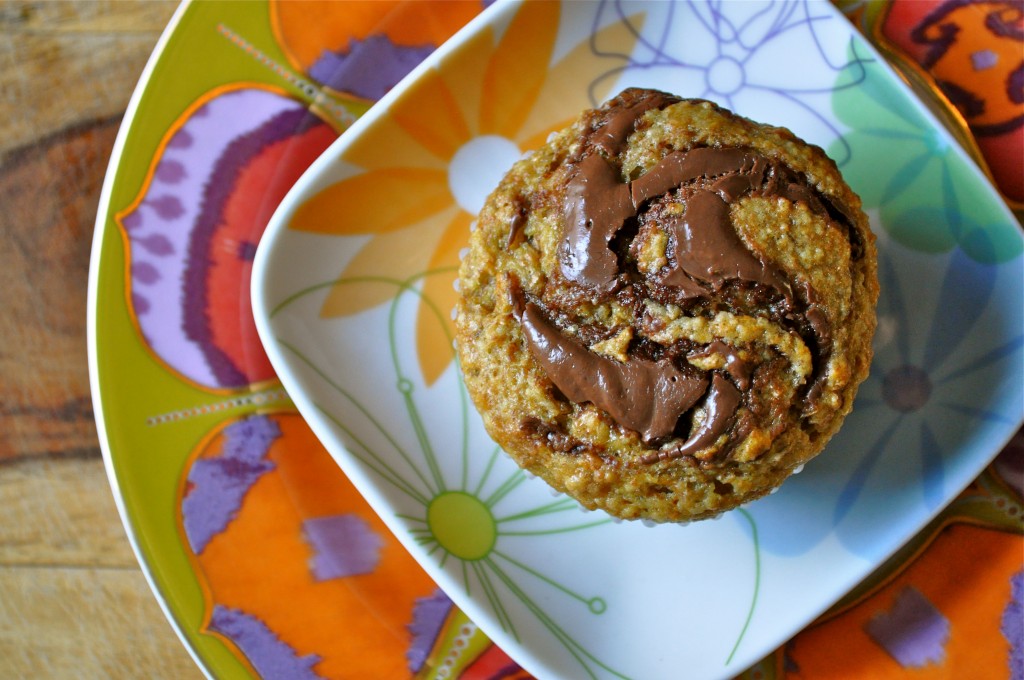
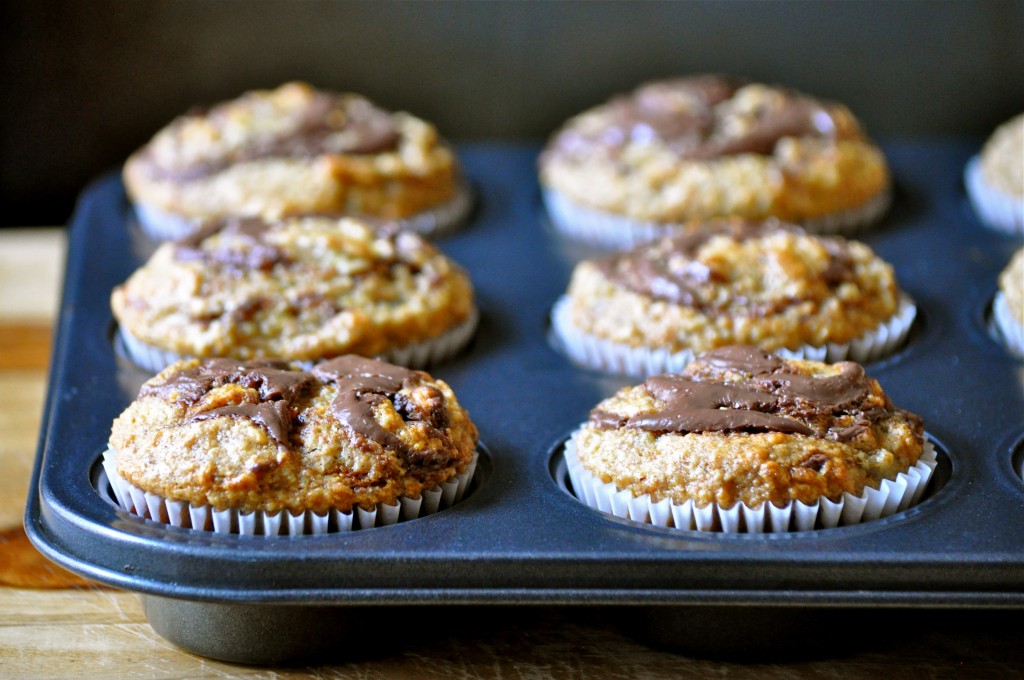
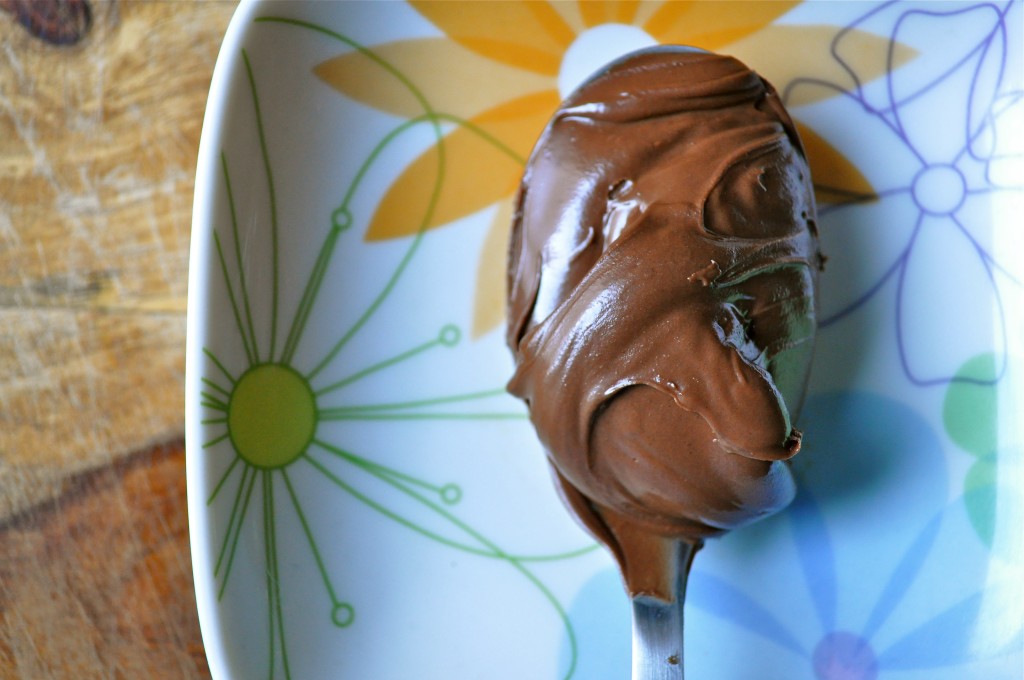
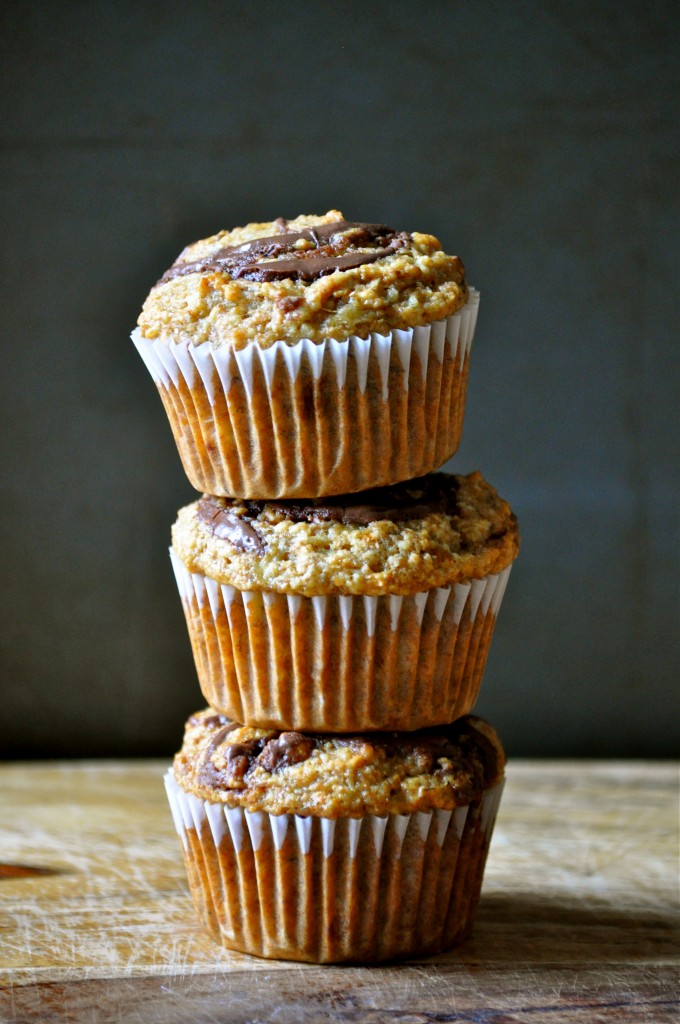
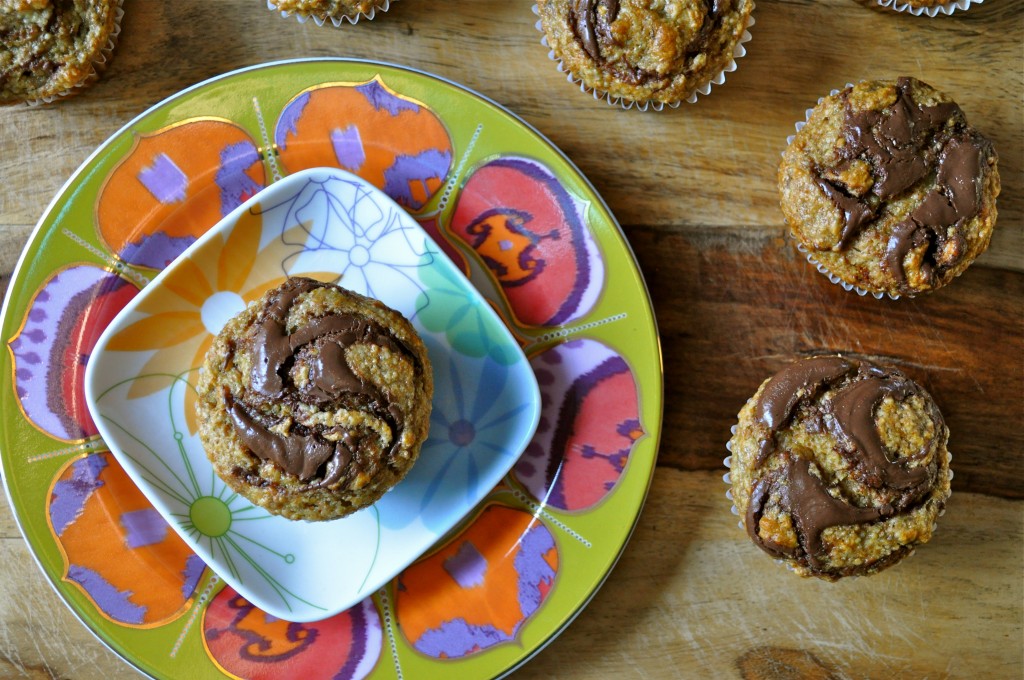
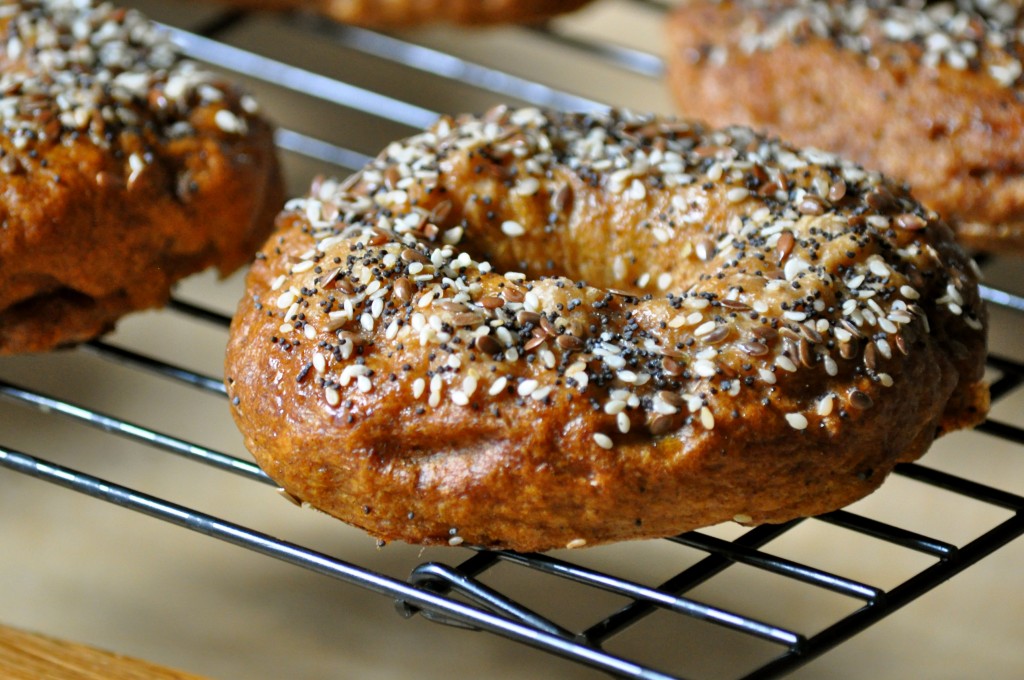
In any case, today I have muffins! These muffins are my kind of muffin. Healthy and packed with nutrients, yet they still taste super amazing and not at all like you might think a “healthy” muffin should taste. They are incredibly moist (yep, I said it) and totally flavorful. The Nutella swirl was kind of an afterthought – it looks pretty and tastes super awesome (obvi), but it’s totally not necessary. These muffins are also great naked in all of their banana and wheat germ glory.

If you’re anything like me, you always have a surplus of ripe bananas and are constantly looking for new recipes to try in an effort to fend off banana boredom. You just can’t have too many banana recipes. This is my current favorite!

Banana Wheat Germ Muffins with Nutella Swirl | Once Upon a Recipe

Banana Wheat Germ Muffins with Nutella Swirl | Once Upon a Recipe

Banana Wheat Germ Muffins with Nutella Swirl (slightly adapted from Weelicious)

These muffins are made with whole wheat flour and wheat germ, and are sweetened only with honey. You can totally feel good about enjoying them for a convenient breakfast or a quick snack! Remember, the Nutella isn’t necessary if you want to make these a bit more virtuous. I bet peanut butter would taste great too! Makes 12 muffins. 

1 cup whole wheat flour

1 cup wheat germ

1 tsp. baking soda

1/2 tsp. baking powder

1/2 tsp. salt

3 very ripe bananas, mashed

1/2 cup honey

3 TBSP. vegetable oil

1 TBSP. vanilla

1 egg

4 TBSP. Nutella, for swirling (optional)

Preheat the oven to 350°F. Line a 12-count muffin tin with paper liners or spray with non-stick spray.

Combine the flour, wheat germ, baking powder, baking soda, and salt in a large bowl. In a separate small bowl, combine the bananas, honey, oil, vanilla, and egg. Whisk together until well mixed. Add the wet ingredients to the dry ingredients and gently mix until just combined. Divide the batter evenly between the muffin tins. Drop a teaspoon of Nutella into the top of each muffin and use a toothpick to create a swirl. Bake for 20-22 minutes, or until lightly browned and a toothpick inserted into the centre of the muffin comes out clean. Remove from the muffin tin and cool on a wire rack. Muffins can be stored in an airtight container for up to 3 days. They also freeze very well.
Banana Wheat Germ Muffins with Nutella Swirl | Once Upon a Recipe

Whole Wheat Pumpkin and Cinnamon Chip Scones

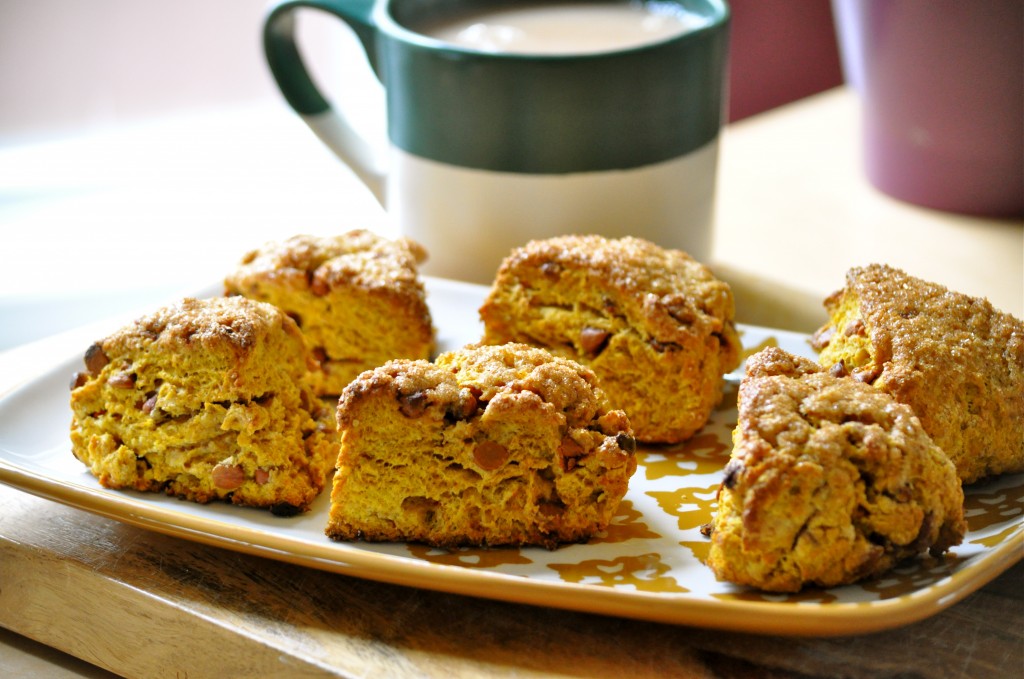
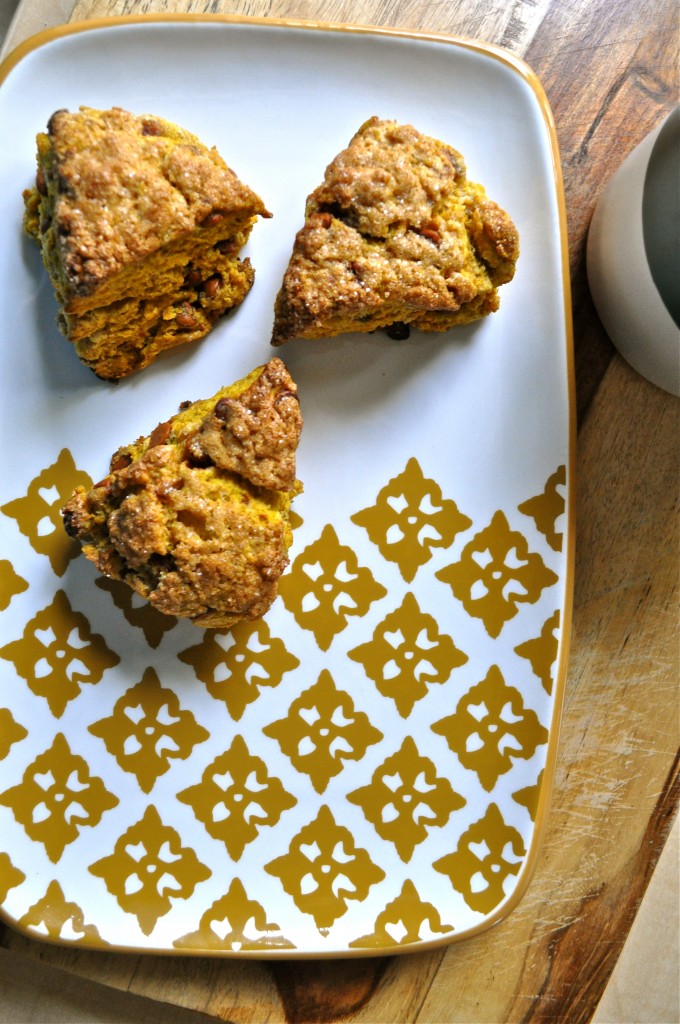
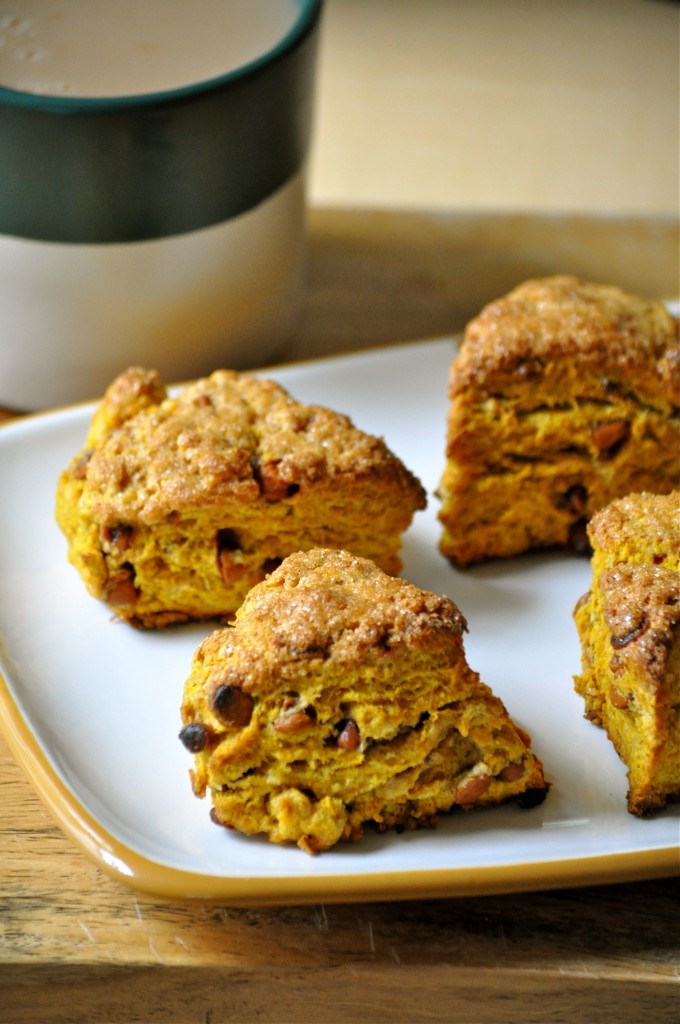
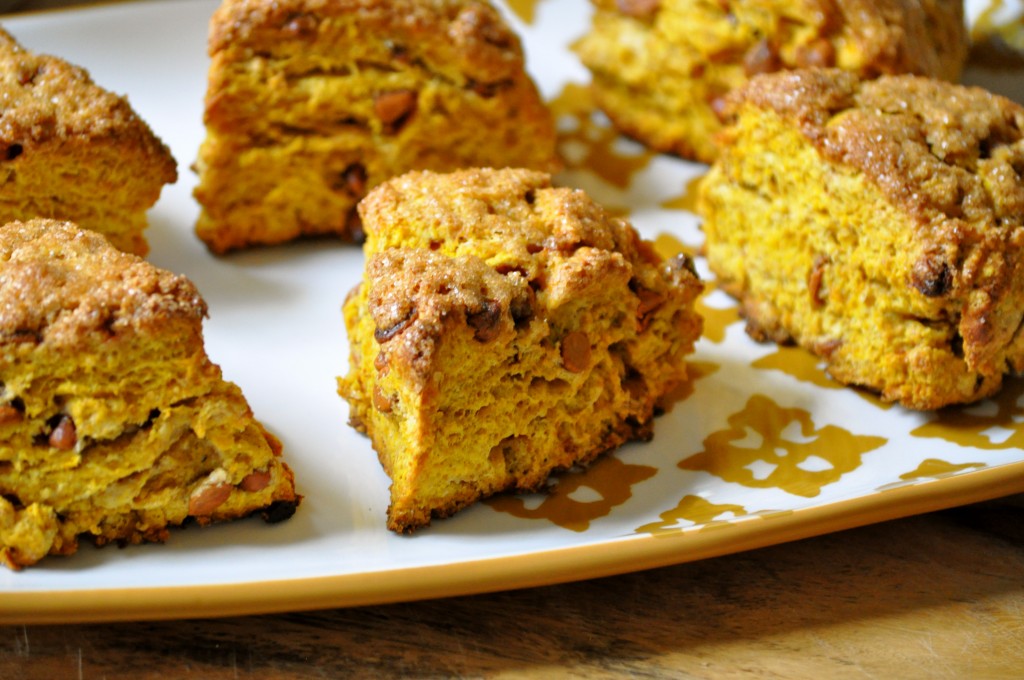
Whole Wheat Pumpkin Cinnamon Chip Scones | Once Upon a Recipe

Please be warned: I am about to shove at least a couple of pumpkin recipes in your face in the coming weeks.

‘Tis the season! Fall is in full bloom, yo! The colors, the crisp days, the pumpkin beer, the boots, the scarves, the pumpkin everything, even that dank, disgusting, wet leaves smell – I. Love. It. If only it could last forever. All in favor of replacing Winter with an extra-lengthy Fall, say I.

Iiiiiiiiiiiiiiiiiiiiiiiiiiiiiiiiiiiiiiiiiiiiiiiiiiiiiiiiiiiiii.

Whole Wheat Pumpkin Cinnamon Chip Scones | Once Upon a Recipe

Whole Wheat Pumpkin Cinnamon Chip Scones | Once Upon a Recipe   Whole Wheat Pumpkin Cinnamon Chip Scones | Once Upon a Recipe

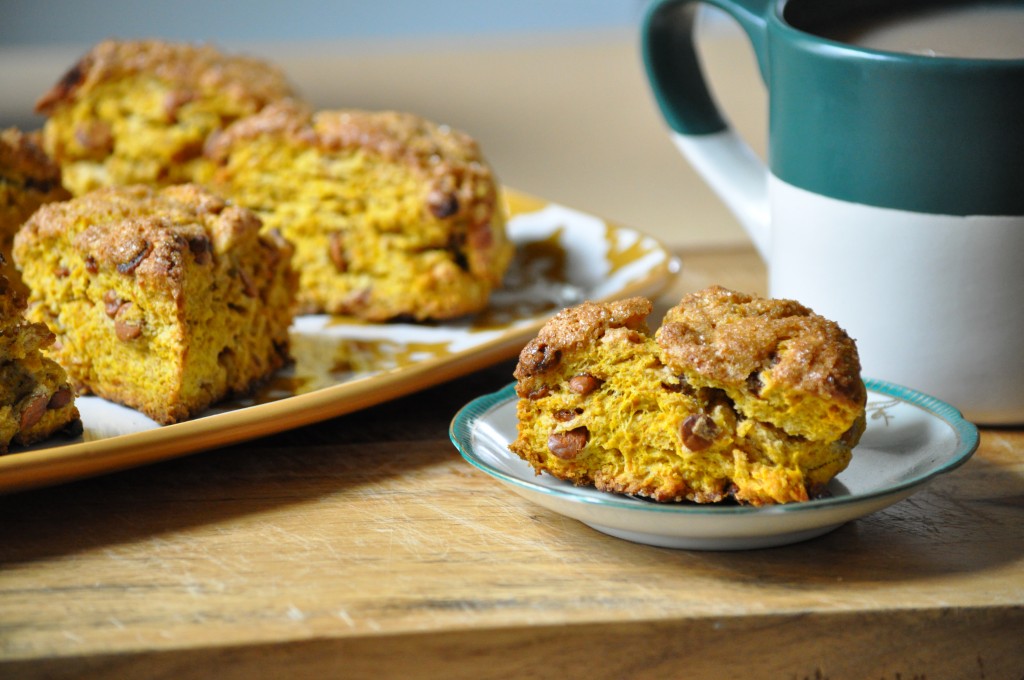
So, if you’re not too sick of pumpkin yet (and I really hope you aren’t), let’s bake some pumpkin scones! Truth be told, I have never partaken in the delight that is a Starbucks pumpkin scone. Every year, many peoples be freaking out about the arrival of pumpkin spice lattes and pumpkin scones. But I can guarantee that you can make a far more delicious version of both at home.

Whole Wheat Pumpkin Cinnamon Chip Scones | Once Upon a Recipe

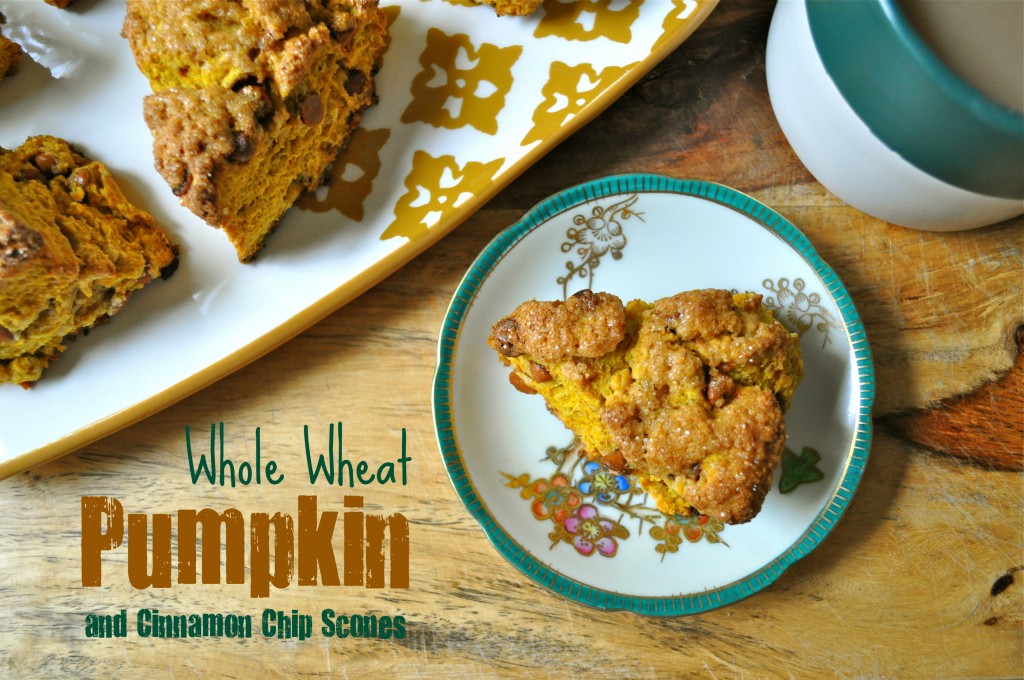
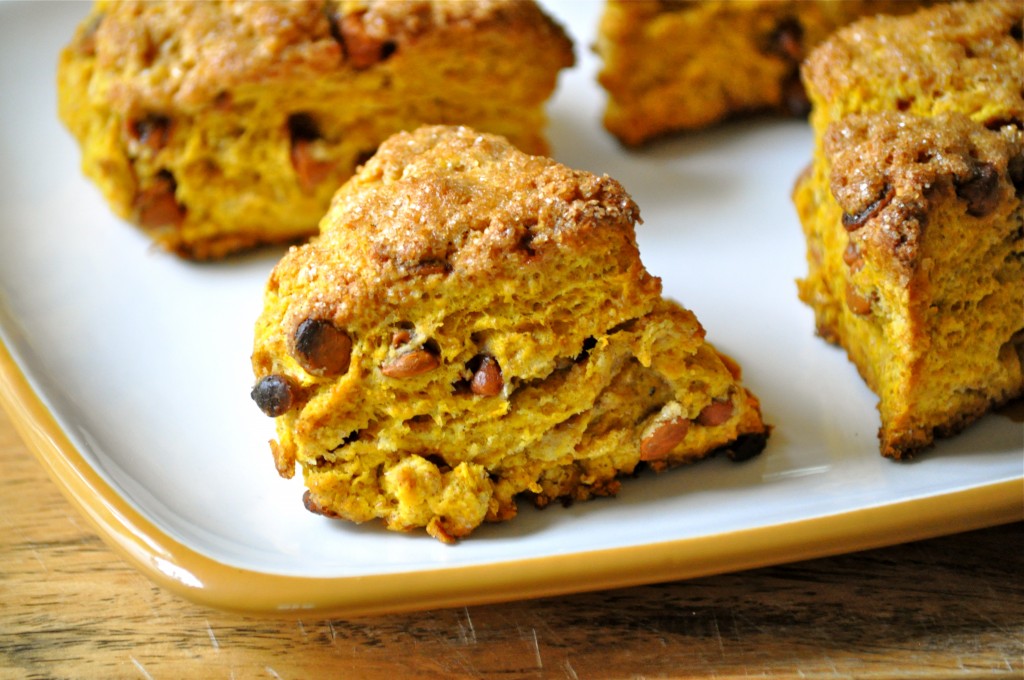
Let’s start with the scones! We’re going to add a little health with some whole wheat flour, and we’re going to punch up the flavor with a hefty dose of spice and cinnamon chips. A generous sprinkling of raw cane sugar adds a lovely crunch to the tops of these scones. One of these little diddies alongside a cup of coffee or tea and you’re living the good Fall life!

Whole Wheat Pumpkin Cinnamon Chip Scones | Once Upon a Recipe

Whole Wheat Pumpkin and Cinnamon Chip Scones (adapted from King Arthur Flour)

Cinnamon chips can be found in most US grocery stores. Sadly, I have never found them in Canada (at least in Alberta), but pick up a couple of bags every time I visit the States. If you can’t find cinnamon chips where you are, feel free to amp up the ground cinnamon in this recipe for a little extra cinnamon kick. The original recipe also suggests adding crystallized ginger pieces, either in place of, or alongside the cinnamon chips. However, I think the cinnamon chips really make ’em. 

1 1/2 cups all-purpose flour

1 1/4 cups whole wheat flour

1 TBSP. baking powder

3/4 tsp. salt

3/4 tsp. ground cinnamon

1/4 tsp. ground ginger

1/2 tsp. ground nutmeg

1/4 tsp. ground cloves

1/4 tsp. ground allspice

1/2 cup butter, cold

1 cup cinnamon chips

2/3 cup pure pumpkin

2 eggs

1 TBSP. milk

Raw cane sugar, for sprinkling

In a large bowl, combine the flours through to the spices. Whisk together until thoroughly mixed. Cut the butter into the dry ingredients until the mixture resembles a coarse meal. Stir in the cinnamon chips. In a smaller bowl, whisk together the pumpkin and the eggs. Add the pumpkin mixture to the dry ingredients and stir until it starts to come together. Turn the mixture out onto a floured surface and use your hands to bring everything together. Try not to overwork the dough.

Split the dough in half and form each half into a round disc, about 1 inch thick. Brush each disc with the milk and sprinkle generously with raw cane sugar. Cut each round into six equal pieces. Arrange all 12 pieces on a prepared cookie sheet, about an inch apart. Place the cookie sheet in the freezer, uncovered, for 30 minutes to thoroughly chill (this will help with rise and texture).

Preheat the oven to 425°F. Bake the scones for 22-24 minutes or until golden. Cool on a baking rack. Enjoy the scones warm, or store cooled scones in an airtight container for up to a few days. Typically scones taste best on the same day they are baked, but I liked these scones even better the second day. They’re lovely with a cup of tea or coffee. Makes 12 scones.

Whole Wheat Pumpkin Cinnamon Chip Scones | Once Upon a Recipe

Yeast Schmeast | Whole Wheat Pumpkin Spice Bagels

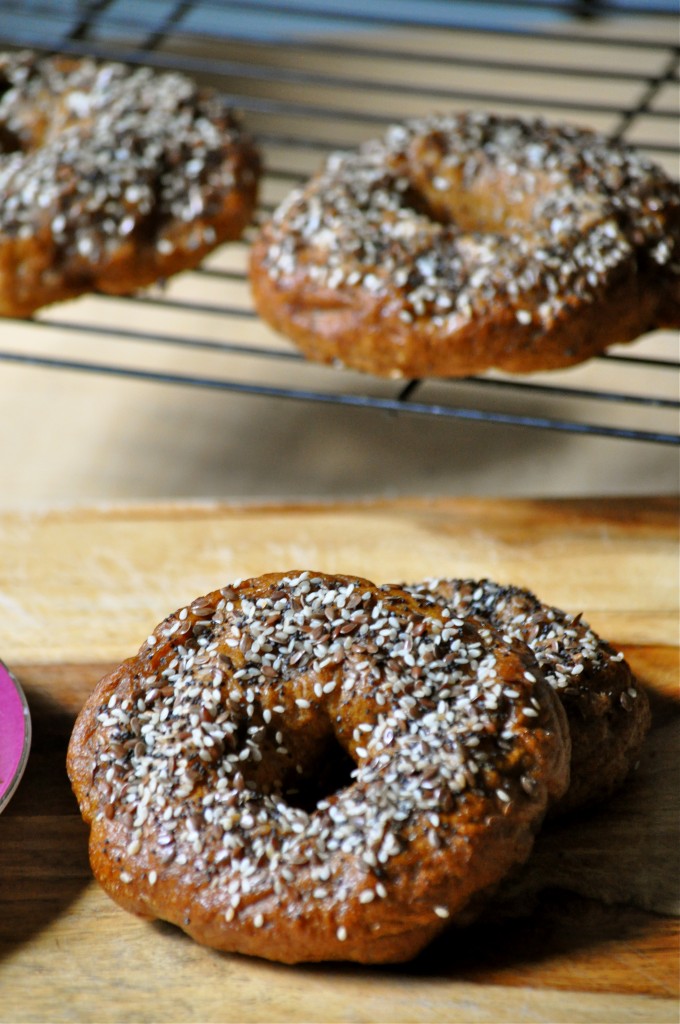
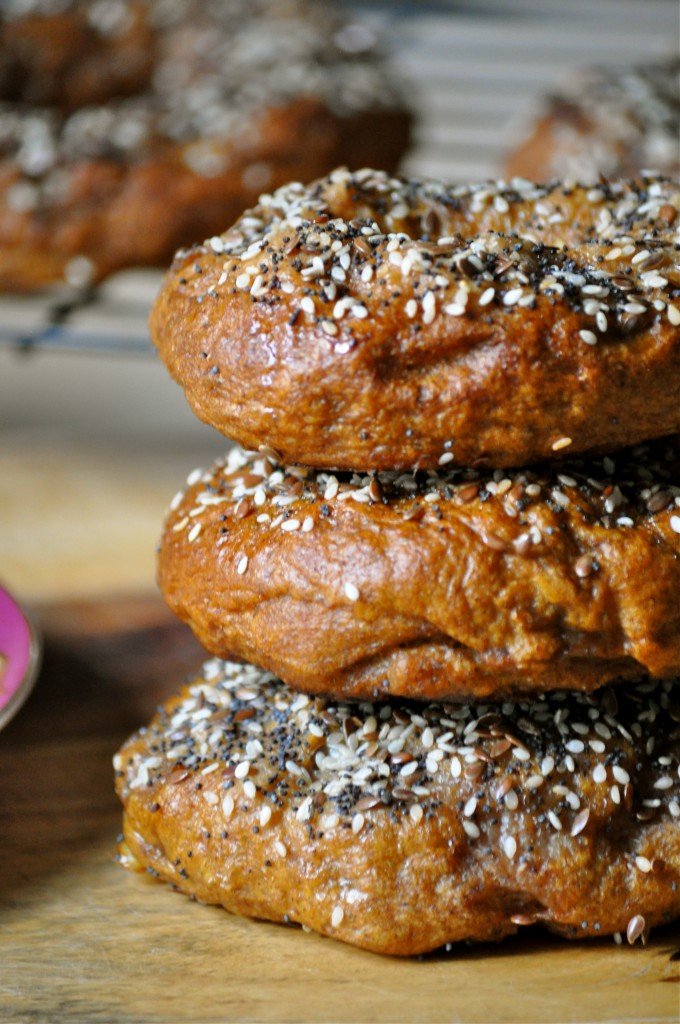
Whole Wheat Pumpkin Spice Bagels | Once Upon a Recipe

Friends, I am here to tell you that it is time to conquer your kitchen fears. Take a deep breath, close your eyes, and just jump in with both feet. Well, maybe don’t close your eyes. That could lead to trouble. BUT. Very, very good (and delicious) things can come from conquering your kitchen fears.

These bagels are a perfect example. You see, me and yeast aren’t exactly tight. I mean, we usually get along when we’re making cinnamon rolls, but I’m not too trusting of yeast when approaching other baking endeavors. Yeast can be a bit temperamental. Like – oh, don’t make the water too hot or you’ll kill me! But don’t make it too cold either, or I won’t wake up. Don’t add too much sugar or you’ll slow me down! Basically, yeast does whatever the hell it feels like when I’m around.

PS. I’m not a bread maker, for obvious reasons.

Whole Wheat Pumpkin Spice Bagels | Once Upon a Recipe

However, this past weekend I wanted to try something new. Something that would challenge me and test the boundaries of my baking abilities. And given the arrival of the Autumn Equinox (umm, yay!), I also just had to bust out the pumpkin. And then I came across a recipe for pumpkin bagels. Hallelujah. Let’s do it!

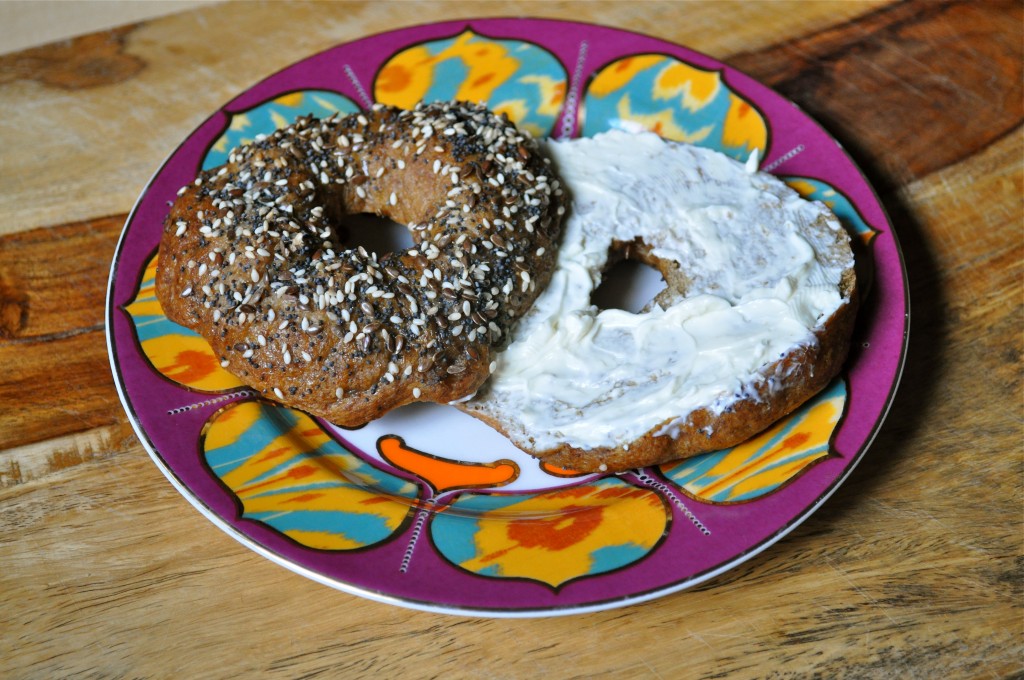
Disclaimer: Making bagels is not an activity for the faint of heart. They take some time. However, when you pull those fresh bagels out of the oven, slice one up, toast it until it’s golden brown, and slather on a generous amount of cream cheese, it all seems worth it. I promise you.

Whole Wheat Pumpkin Spice Bagels | Once Upon a Recipe   Whole Wheat Pumpkin Spice Bagels | Once Upon a Recipe

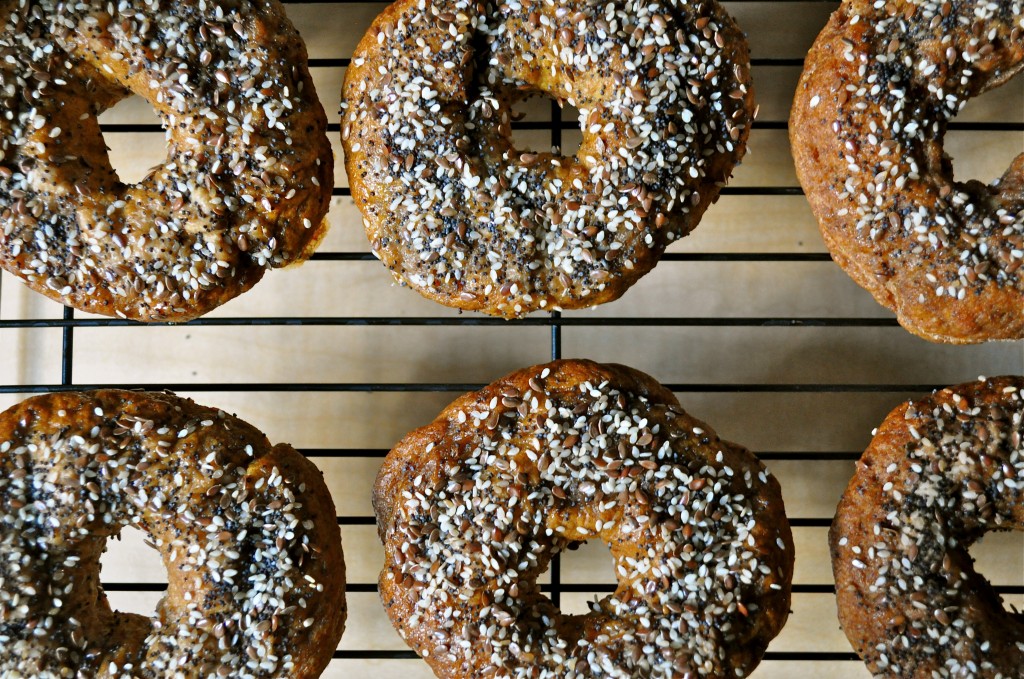
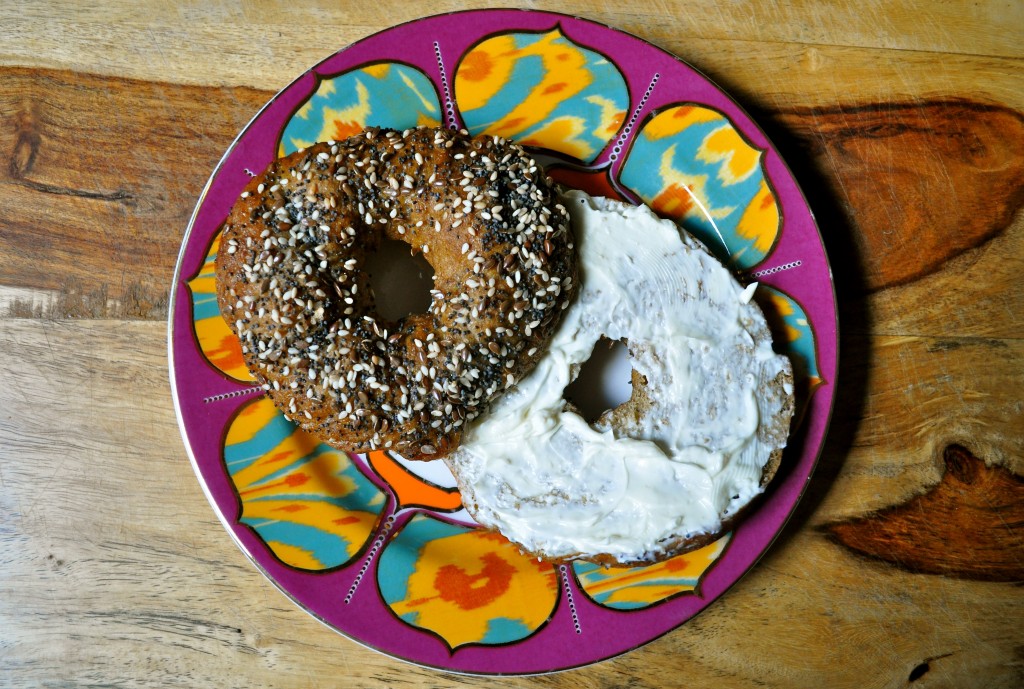
My advice – plan ahead. Get everything together ahead of time and be patient. Don’t rush through the recipe – read it through first so you know what you’re getting into. Take your time and enjoy the process. My essential accessories of choice on this adventure – a french press full of hot coffee and some good tunes. I’m not going to claim to be a bagel pro just yet, but I was really pleased with how these turned out for my first attempt. The pumpkin flavor is not overwhelming and the spices are very subtle. My favorite way to enjoy these bagels was by toasting and slathering them with either butter or cream cheese. I bet they would make amazing bagel sandwiches too.

Happy Fall friends!

Whole Wheat Pumpkin Spice Bagels | Once Upon a Recipe

Whole Wheat Pumpkin Spice Bagels (very slightly adapted from The Tart Tart, which was adapted from Honest Cooking)

Makes 8 bagels. I made these bagels two ways – the first time with whole wheat and all-purpose flour (as indicated in the recipe), and the second time with only spelt flour. I loved the texture of the spelt bagels, but found the dough extremely difficult to work with. I ended up adding almost an entire additional cup of spelt flour in order to get the dough to come together enough to handle. If you’re going to use spelt flour, just be aware of this and exercise additional patience!

2 1/4 tsp. active dry yeast

1 cup warm water

1/3 cup brown sugar

2 cups all-purpose flour

1 cup whole wheat flour

1 tsp. cinnamon

1 tsp. salt

1/2 tsp. nutmeg

1/2 tsp. ginger

1/4 tsp. ground cloves

1/4 tsp. allspice

1/2 cup pure pumpkin

1 TBSP. baking soda (for the soda bath)

1 egg (for the egg wash)

Toppings – ie. sesame seeds, flax seeds, poppy seeds, sea salt

In the bowl of a stand mixer, combine the yeast, water, and brown sugar. Whisk together and set aside for about 10 minutes, until the mixture becomes frothy.

In a separate large bowl, combine the flours, cinnamon, salt, nutmeg, ginger, cloves, and allspice. Add the pumpkin to the yeast mixture, and using the dough hook, start mixing on low speed. Slowly add the flour mixture until it is completely combined, about 3 to 5 minutes. At this point, the dough should be smooth and elastic, but not too sticky (it will be pulling away from the sides of the bowl). If it is too sticky, incorporate more flour, one TBSP. at a time. Place the dough in a bowl coated with oil and cover, allowing it to rise in a warm place until it doubles in size, about 90 minutes.

After 90 minutes, transfer the dough to a lightly floured surface. Divide it into 8 equal pieces and roll them into balls. Cover and let rise about 20 minutes more.

Then, using your thumb, punch a hole into the middle of each ball and widen it, trying to make it even on all sides. Widen the hole more than you think necessary, because it will shrink in the boiling and baking process. Set the dough on a parchment paper or Silpat-covered baking sheet. Repeat with the other balls.

Preheat your oven to 425°F and prepare the egg wash by cracking the egg into a small bowl and whisking with a fork.

Fill a large pot about halfway with water and bring it to a boil. Once the water is boiling, add in the baking soda and gently mix. Working in batches of 2-3 bagels at a time, drop the bagels into the boiling water and cook for 2 minutes. Flip them and cook for 2 minutes more (the longer you boil the bagels, the chewier they will turn out – boil for 1 minute on each side if you want them to be less chewy). Once done, remove them with a slotted spoon and place back on the baking sheet. Lightly blot them with a paper towel to remove some of the excess water. Then brush them with the egg wash and sprinkle with the toppings of your choice. Bake the bagels for 15 to 20 minutes (until golden brown), rotating the pan halfway through.

Whole Wheat Pumpkin Spice Bagels | Once Upon a Recipe

What are you baking up in your kitchen to welcome Fall?

Mix It Up | Browned Butter Macadamia Nut and Cinnamon Chip Banana Bread

Browned Butter Banana Bread with Macadamia Nuts and Cinnamon Chips | Once Upon a Recipe

Well friends, here we are, another Monday. The furthest day of the week from the beloved weekend. As such, Mondays seem to have a bit of a bad reputation. I mean, how many times have you heaved a big sigh on Sunday night and said/thought “Ugh, it’s Monday tomorrow”?

Browned Butter Banana Bread with Macadamia Nuts and Cinnamon Chips | Once Upon a Recipe

Browned Butter Banana Bread with Macadamia Nuts and Cinnamon Chips | Once Upon a Recipe

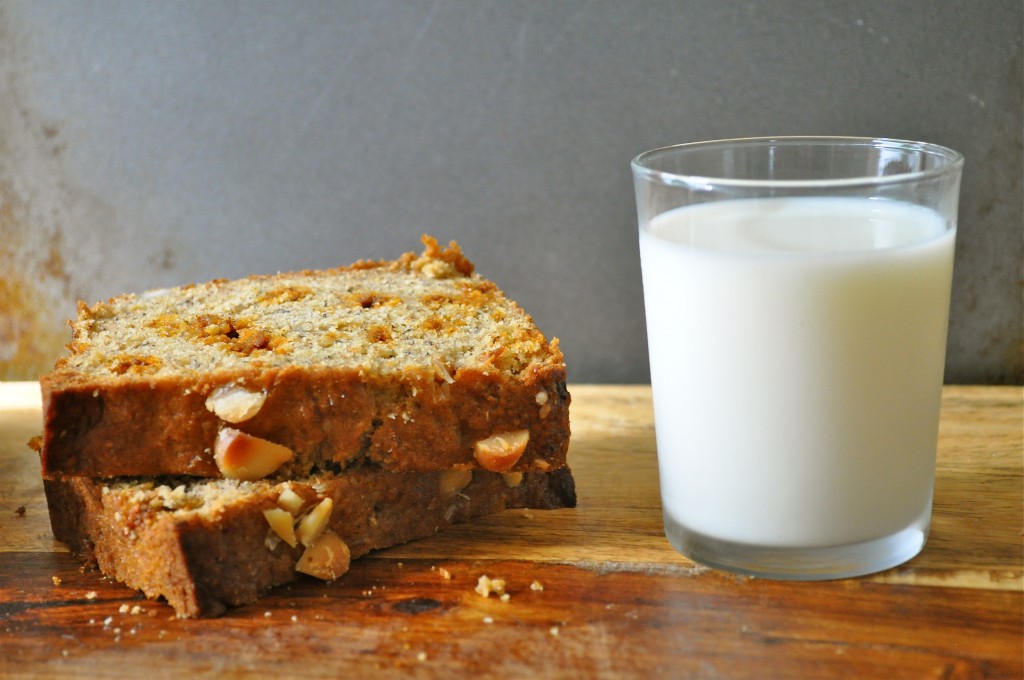
But Mondays aren’t all bad. For one thing, you’re probably more likely to be well-rested on a Monday, given that it follows the weekend and most people are able to sleep in and relax a bit more. On Mondays, you have the whole week ahead of you – it’s yours for the taking! So spruce it up a bit – make some plans with friends to enjoy a patio beverage, plan to try that yoga/crossfit/pilates class that you’ve been meaning to get to, kick back and relax with a glass of wine and a good book – and enjoy the day. You might also wish to make this little diddy of a banana bread.

Browned Butter Banana Bread with Macadamia Nuts and Cinnamon Chips | Once Upon a Recipe

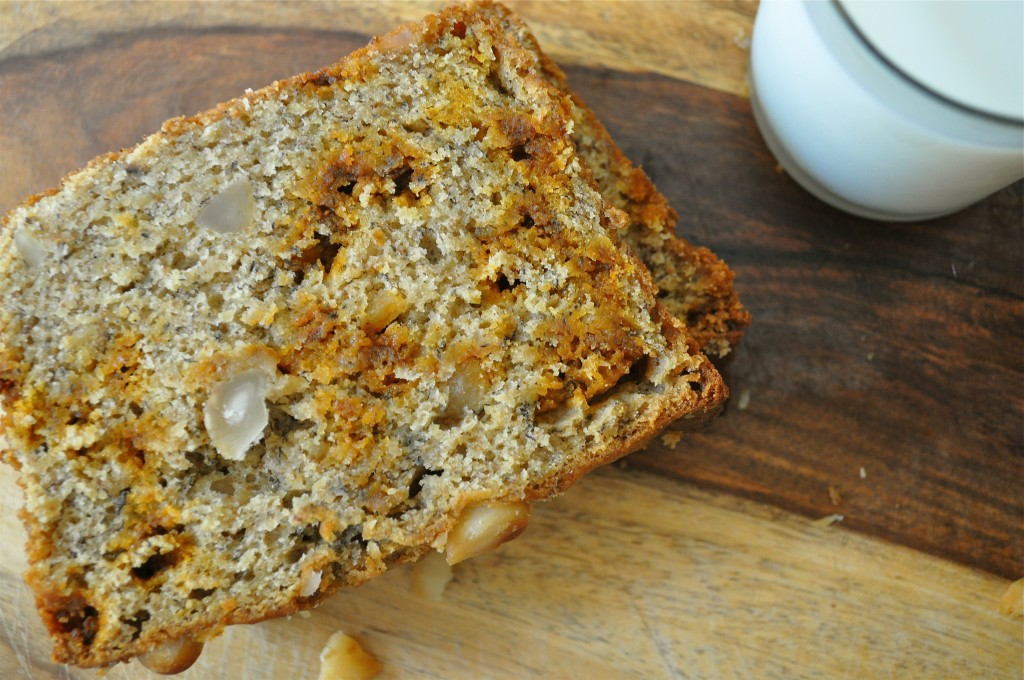
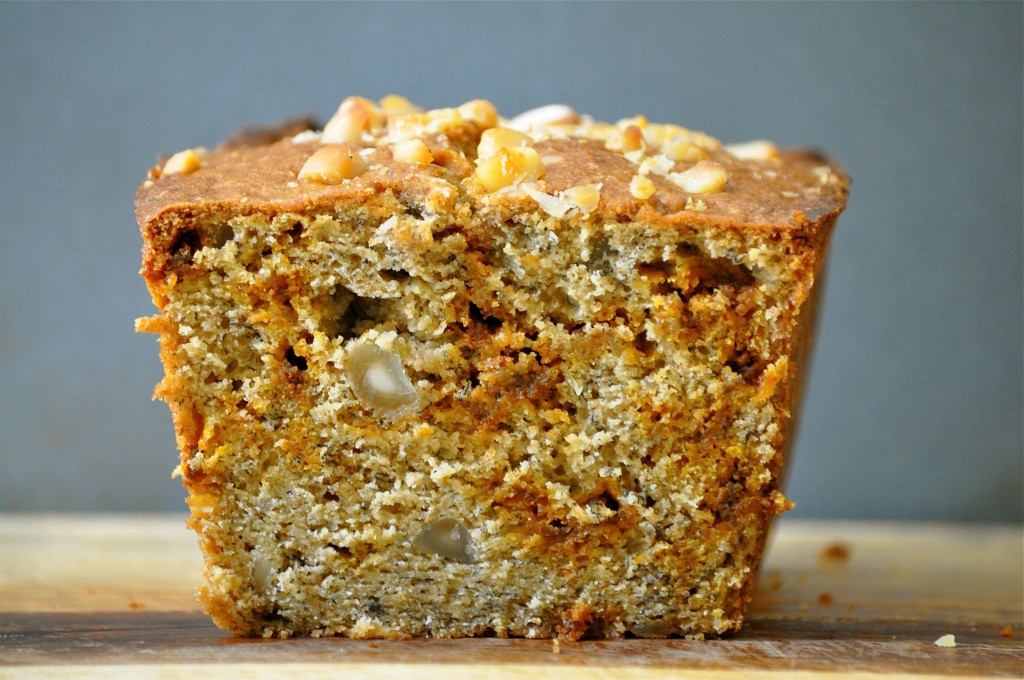
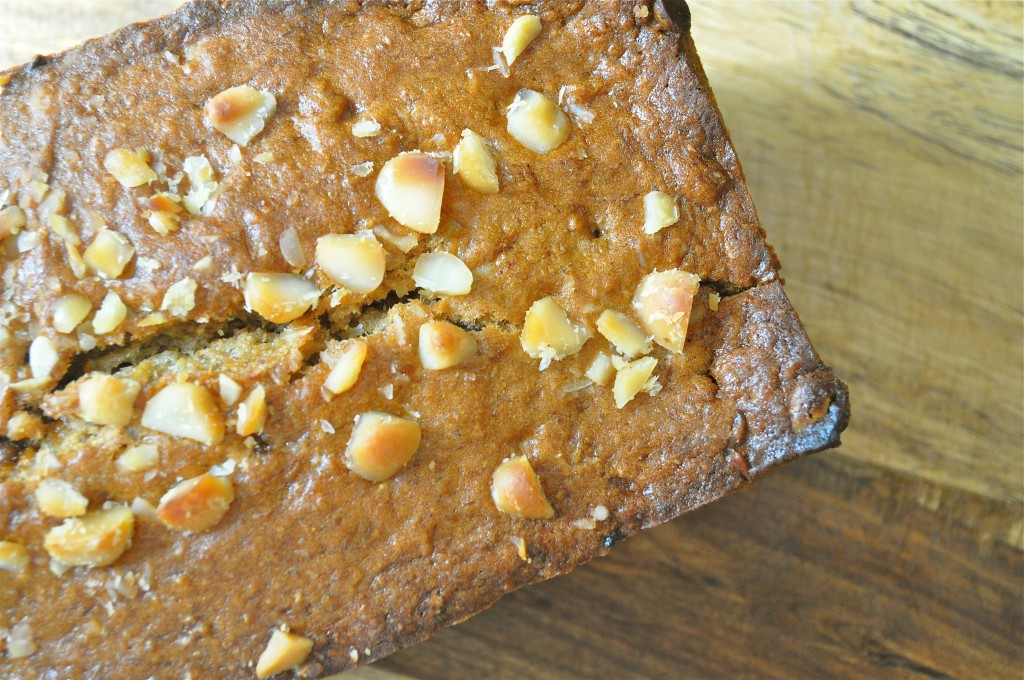
First of all, browning butter has become a bit of a trend. And it’s popular for good reason – browning the butter adds depth to the flavor of the bread – it’s kind of nutty and definitely insanely delicious. Try it once and you’ll be hooked. Secondly, I’ve added macadamia nuts and cinnamon chips. As I mentioned before, I brought home a sweet little stash of macadamia nuts from Hawaii back in April. I took a bus tour of the Road to Hana during my trip and one of the stops was a little roadside food store that sold fresh coconuts (remember this?), pineapple, banana bread, and other treats. I bought a loaf of the macadamia nut banana bread, which inspired me to add some macadamia nuts to this recipe. Cinnamon chips are a fun addition and create little pockets of cinnamon goodness in each bite. Cinnamon chips are something that I haven’t been able to find here at home, but I brought home a couple of bags from the same trip. They seem to be easy to find in grocery stores in the United States (in the baking section right next to the chocolate chips). If you can’t find cinnamon chips where you are, add a little cinnamon flavor to the loaf with one teaspoon of the stuff.

A warm slice of this banana bread is certain to make your Monday better. That’s a guarantee. Make it, eat it, share it. Let’s start this week off right!

Browned Butter Banana Bread with Macadamia Nuts and Cinnamon Chips | Once Upon a Recipe

Browned Butter Macadamia Nut and Cinnamon Chip Banana Bread (inspired by Joy the Baker)

Makes one 9×5-inch loaf. 

1/2 cup (1 stick) of butter, browned

1 cup all-purpose flour

1 cup whole wheat flour

3/4 cup brown sugar

1 tsp. baking soda

1/2 tsp. salt

2 large eggs

1 tsp. vanilla

1/4 cup buttermilk (or plain yogurt)

3 large ripe bananas, mashed

1/2 cup macadamia nuts, roughly chopped

1/2 cup cinnamon chips (or 1 tsp. cinnamon)

Preheat the oven to 350°F. Coat a 9×5-inch loaf pan with non-stick spray.

Melt the butter in a small saucepan over medium heat. Swirl the pan as the butter cooks. The butter will foam and crackle, and then it will start to brown and smell nutty (this takes about 5 minutes). Remove from heat and set aside to cool.

Measure the flour, brown sugar, baking soda, and salt into a large bowl. Whisk to combine. In a separate bowl, combine the eggs, vanilla, buttermilk, and bananas. Add the cooled butter and mix well. Add the wet ingredients to the dry, and gently mix together. Fold in the macadamia nuts and cinnamon chips.
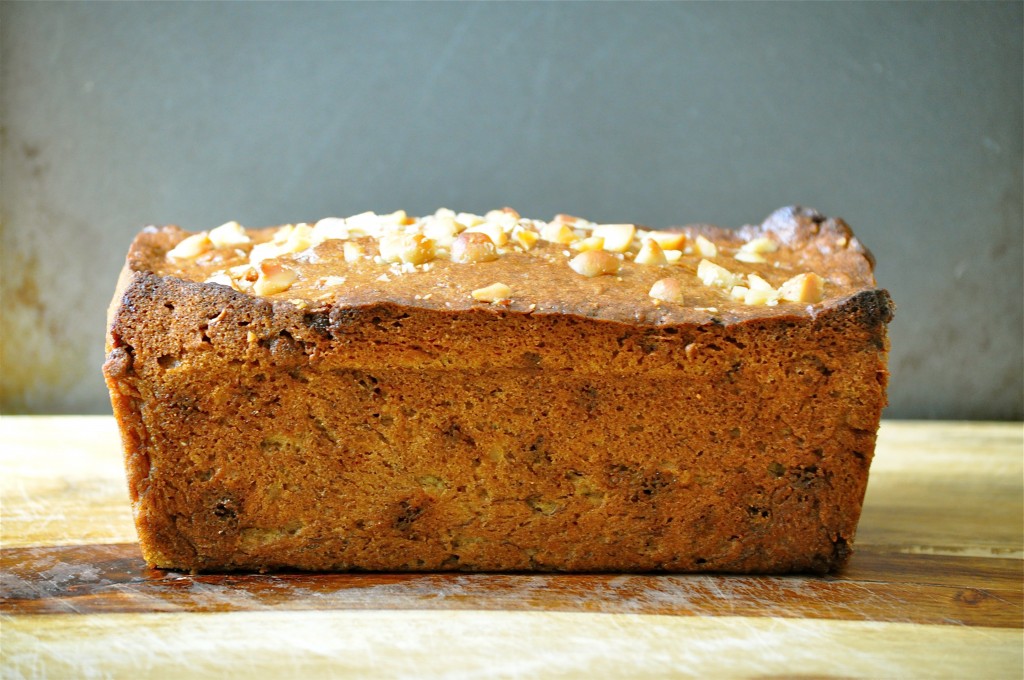
Transfer the batter to the loaf pan and gently smooth out. Bake for 50-60 minutes, or until a toothpick inserted into the center of the loaf comes out clean. Allow to cool on a wire rack. Slice and enjoy!

Browned Butter Banana Bread with Macadamia Nuts and Cinnamon Chips | Once Upon a Recipe

How To Beat The Winter Blues | Lemon Blueberry Walnut Bread

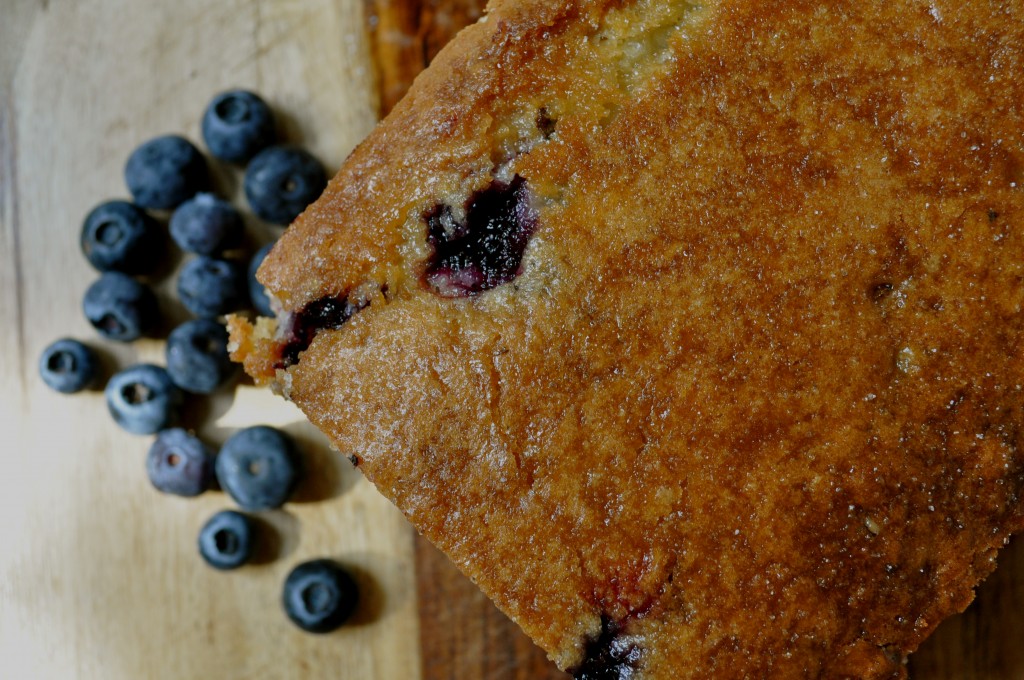
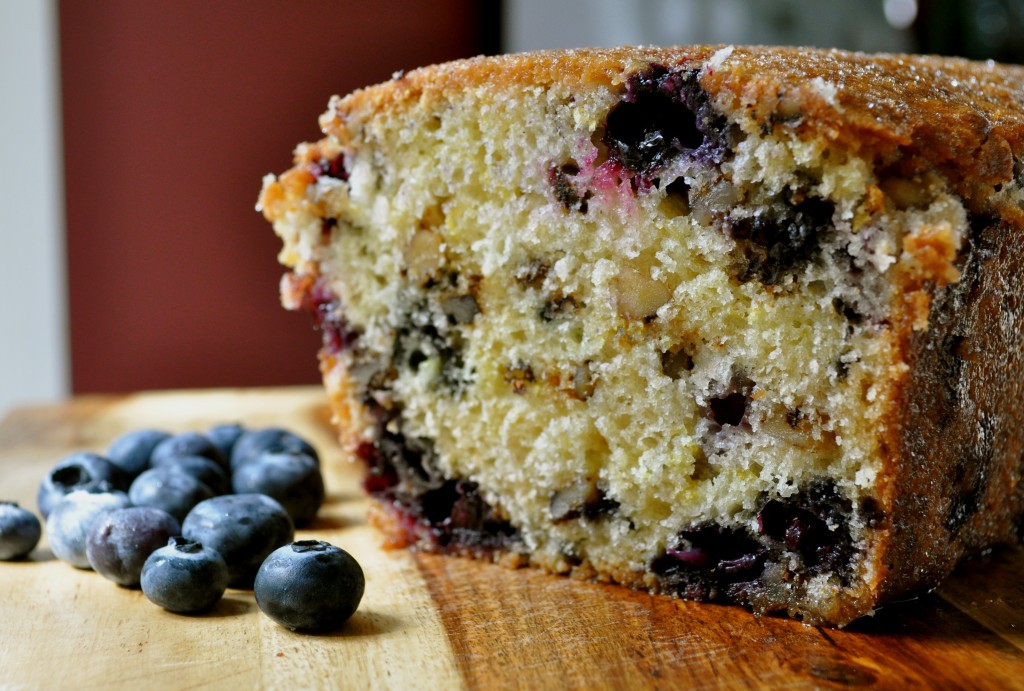
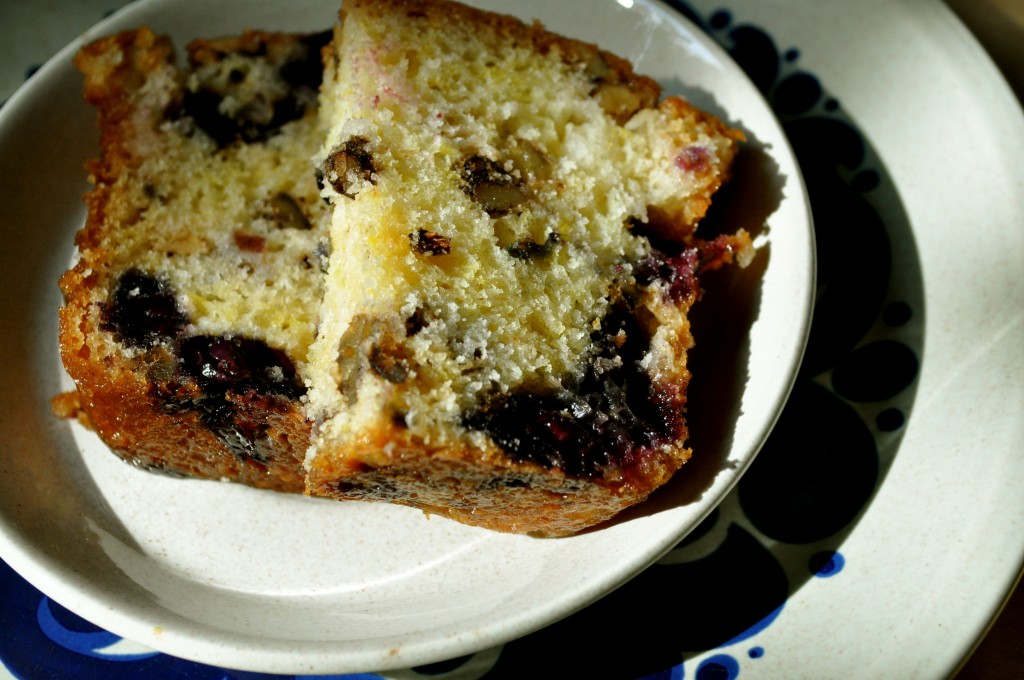
Lemon Blueberry Walnut Bread | Once Upon a Recipe

Do you ever have days where you just can’t, and I mean CANNOT, muster up the energy to do something that you really need to do? As in, even if someone offered you $100 to complete this task, you still just couldn’t do it?

For example, today I just CANNOT do the dishes. The sink is full of them. Dirty pots and pans, crusty bowls, cups, even things that I really just should have put in the dishwasher, but even the idea of opening up the dishwasher door, pulling out the rack, and placing these items in their proper place was just too much for this old gal.

Friends, I haven’t done the dishes in 3 days. THREE. Eww. They’re even starting to…smell. (I can’t believe I just admitted that.)
Lemon Blueberry Walnut Bread | Once Upon a Recipe

And you know who is to blame? Winter. Cold, dreary, let’s-get-dark-at-five-o’clock-just-when-everyone-is-getting-off-work-so-they-get-zero-vitamin-D-cause-that’s-fun (not) winter. It is during these months that it takes practically all I’ve got to not change into my sweatpants, wrap myself in a snuggie (yes, I own a snuggie), and watch TV/surf Pinterest all night long with a bottle of wine and a plate of leftover Christmas cookies at my side. Hmm…that’s a frightening visual. My apologies.

Don’t worry, I’ve figured out a few ways to beat those winter blues. Running, yoga, and the thought of not being able to fit into any of my clothes come May, to name a few. Oh, and bread! Bright, summery, delicious bread!

Lemon Blueberry Walnut Bread | Once Upon a Recipe

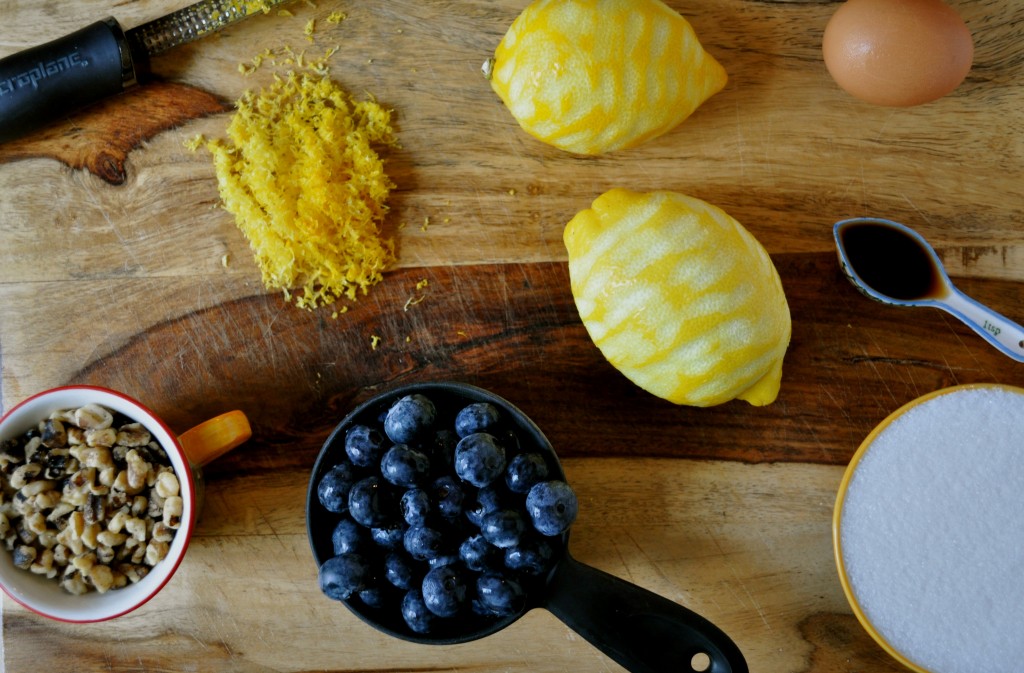
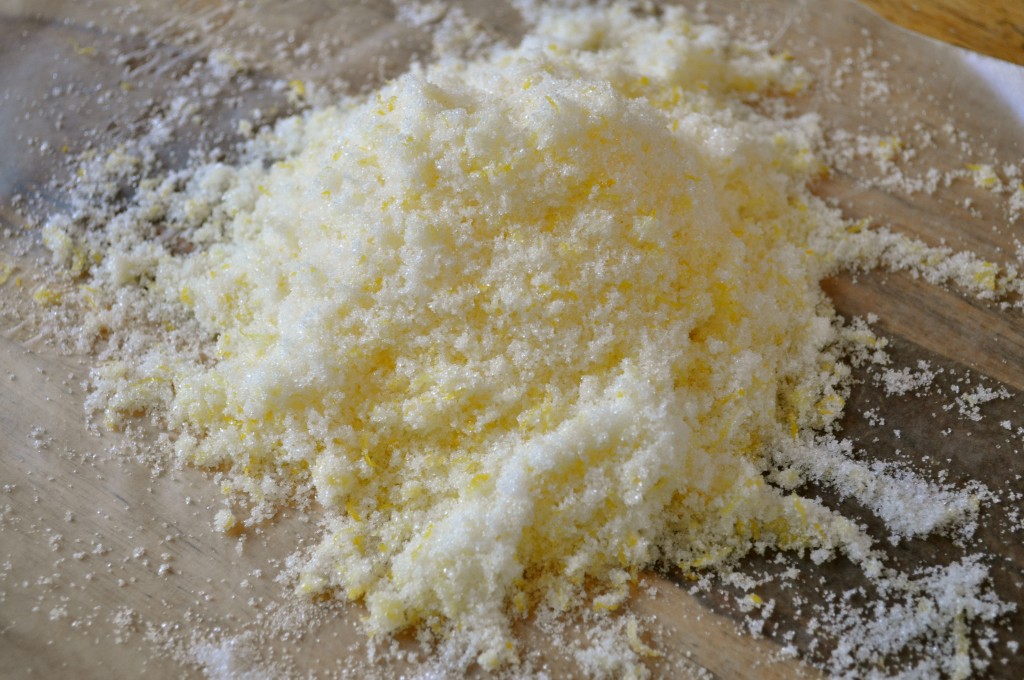
A trick from Joy…rub the zest into the sugar to release the essential oils in the zest = flavor town.

Let’s take a break from hot soups and casseroles and other wintery things, mmm-k? Let’s smack winter in the face and enjoy the flavors of summer!

Real talk: I first made this bread back in September, when it was technically still summer. Blueberries were at their seasonal prime. BUT! I have seen fresh blueberries pop up at my local supermarket on more than one occasion as of late. And if all else fails, use frozen blueberries.

Lemon Blueberry Walnut Bread | Once Upon a Recipe

Don’t be discouraged! We’re all going to get through this together. Just make yourself a loaf of this bread, enjoy a slice or two with your morning tea or coffee, and let’s start plotting all of the fun we’re going to have this summer. It’ll be here before we know it!

Lemon Blueberry Walnut Bread | Once Upon a Recipe

Lemon Blueberry Walnut Bread (adapted from allrecipes.com)

It’s no secret that lemon and blueberries are a match made in heaven. The walnuts in this bread add a nice little twist, and the glaze adds some extra moisture and tartness. If this bread won’t get you out of bed on a cold, dark morning, I’m not sure what will!

1/2 cup walnuts, chopped

2 cups all-purpose flour

2 tsp. baking powder

1/2 tsp. baking soda

Pinch of salt

1 cup sugar

Zest from 2 lemons

3/4 cup buttermilk

2 eggs

1 1/2 tsp. vanilla

2 TBSP. butter, melted

2 TBSP. vegetable oil

1 cup blueberries (fresh or frozen)

For the glaze:

Juice from 2 lemons

3 TBSP. sugar

Preheat the oven to 350°F. In a dry skillet, toast the walnuts over medium-high heat for a few minutes or until just fragrant. In a large bowl, combine the flour, baking powder, baking soda and salt. Whisk to combine. In a separate bowl, combine the sugar, lemon zest, buttermilk, eggs, vanilla, melted butter and oil. Whisk to combine.

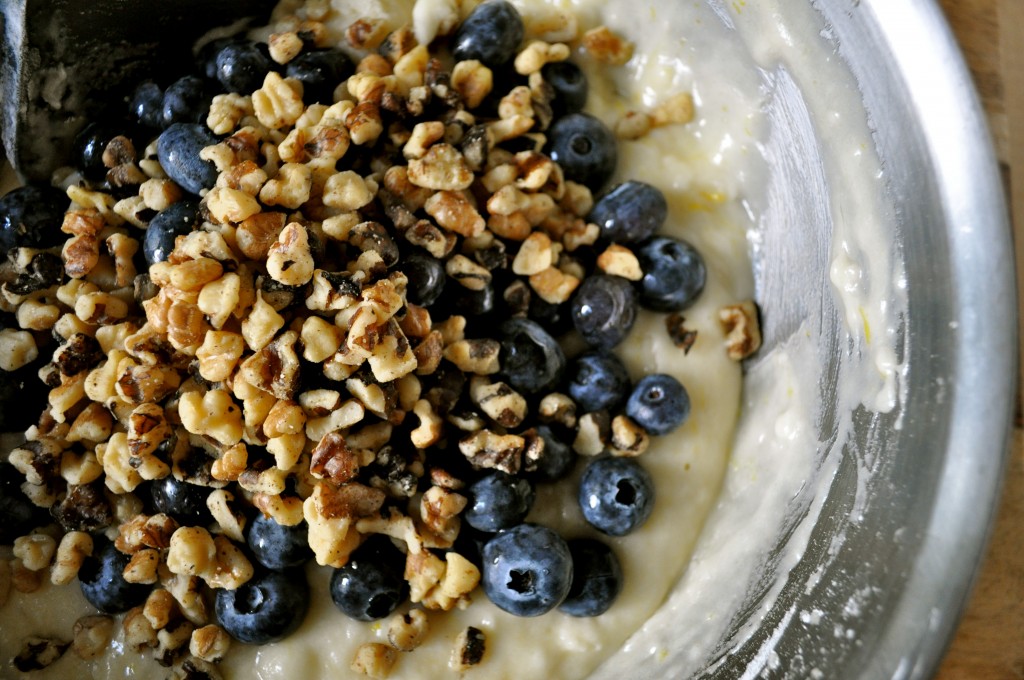
Make a well in the center of the dry ingredients. Add  the liquid mixture and stir gently until just combined; do not over-mix. Gently fold in the walnuts and blueberries.

Pour the batter into a prepared loaf pan (8″x4″). Bake for 55-60 minutes or until a toothpick inserted into the center comes out clean. Cool on rack for 20 minutes; remove from pan.

For the glaze, combine the lemon juice and sugar in a small saucepan. Bring to a boil over high heat, then reduce heat and continue stirring until the sugar dissolves. Pour the glaze over the bread while still warm. Slice and enjoy! Wrap leftovers in plastic wrap and consume within a few days.

Lemon Blueberry Walnut Bread | Once Upon a Recipe

PS. For the health of all those involved, my sink of dirty dishes has been taken care of. No need to send help.

Happy to (K)New You | Banana Flax Muffins (+/- Chocolate Chips)

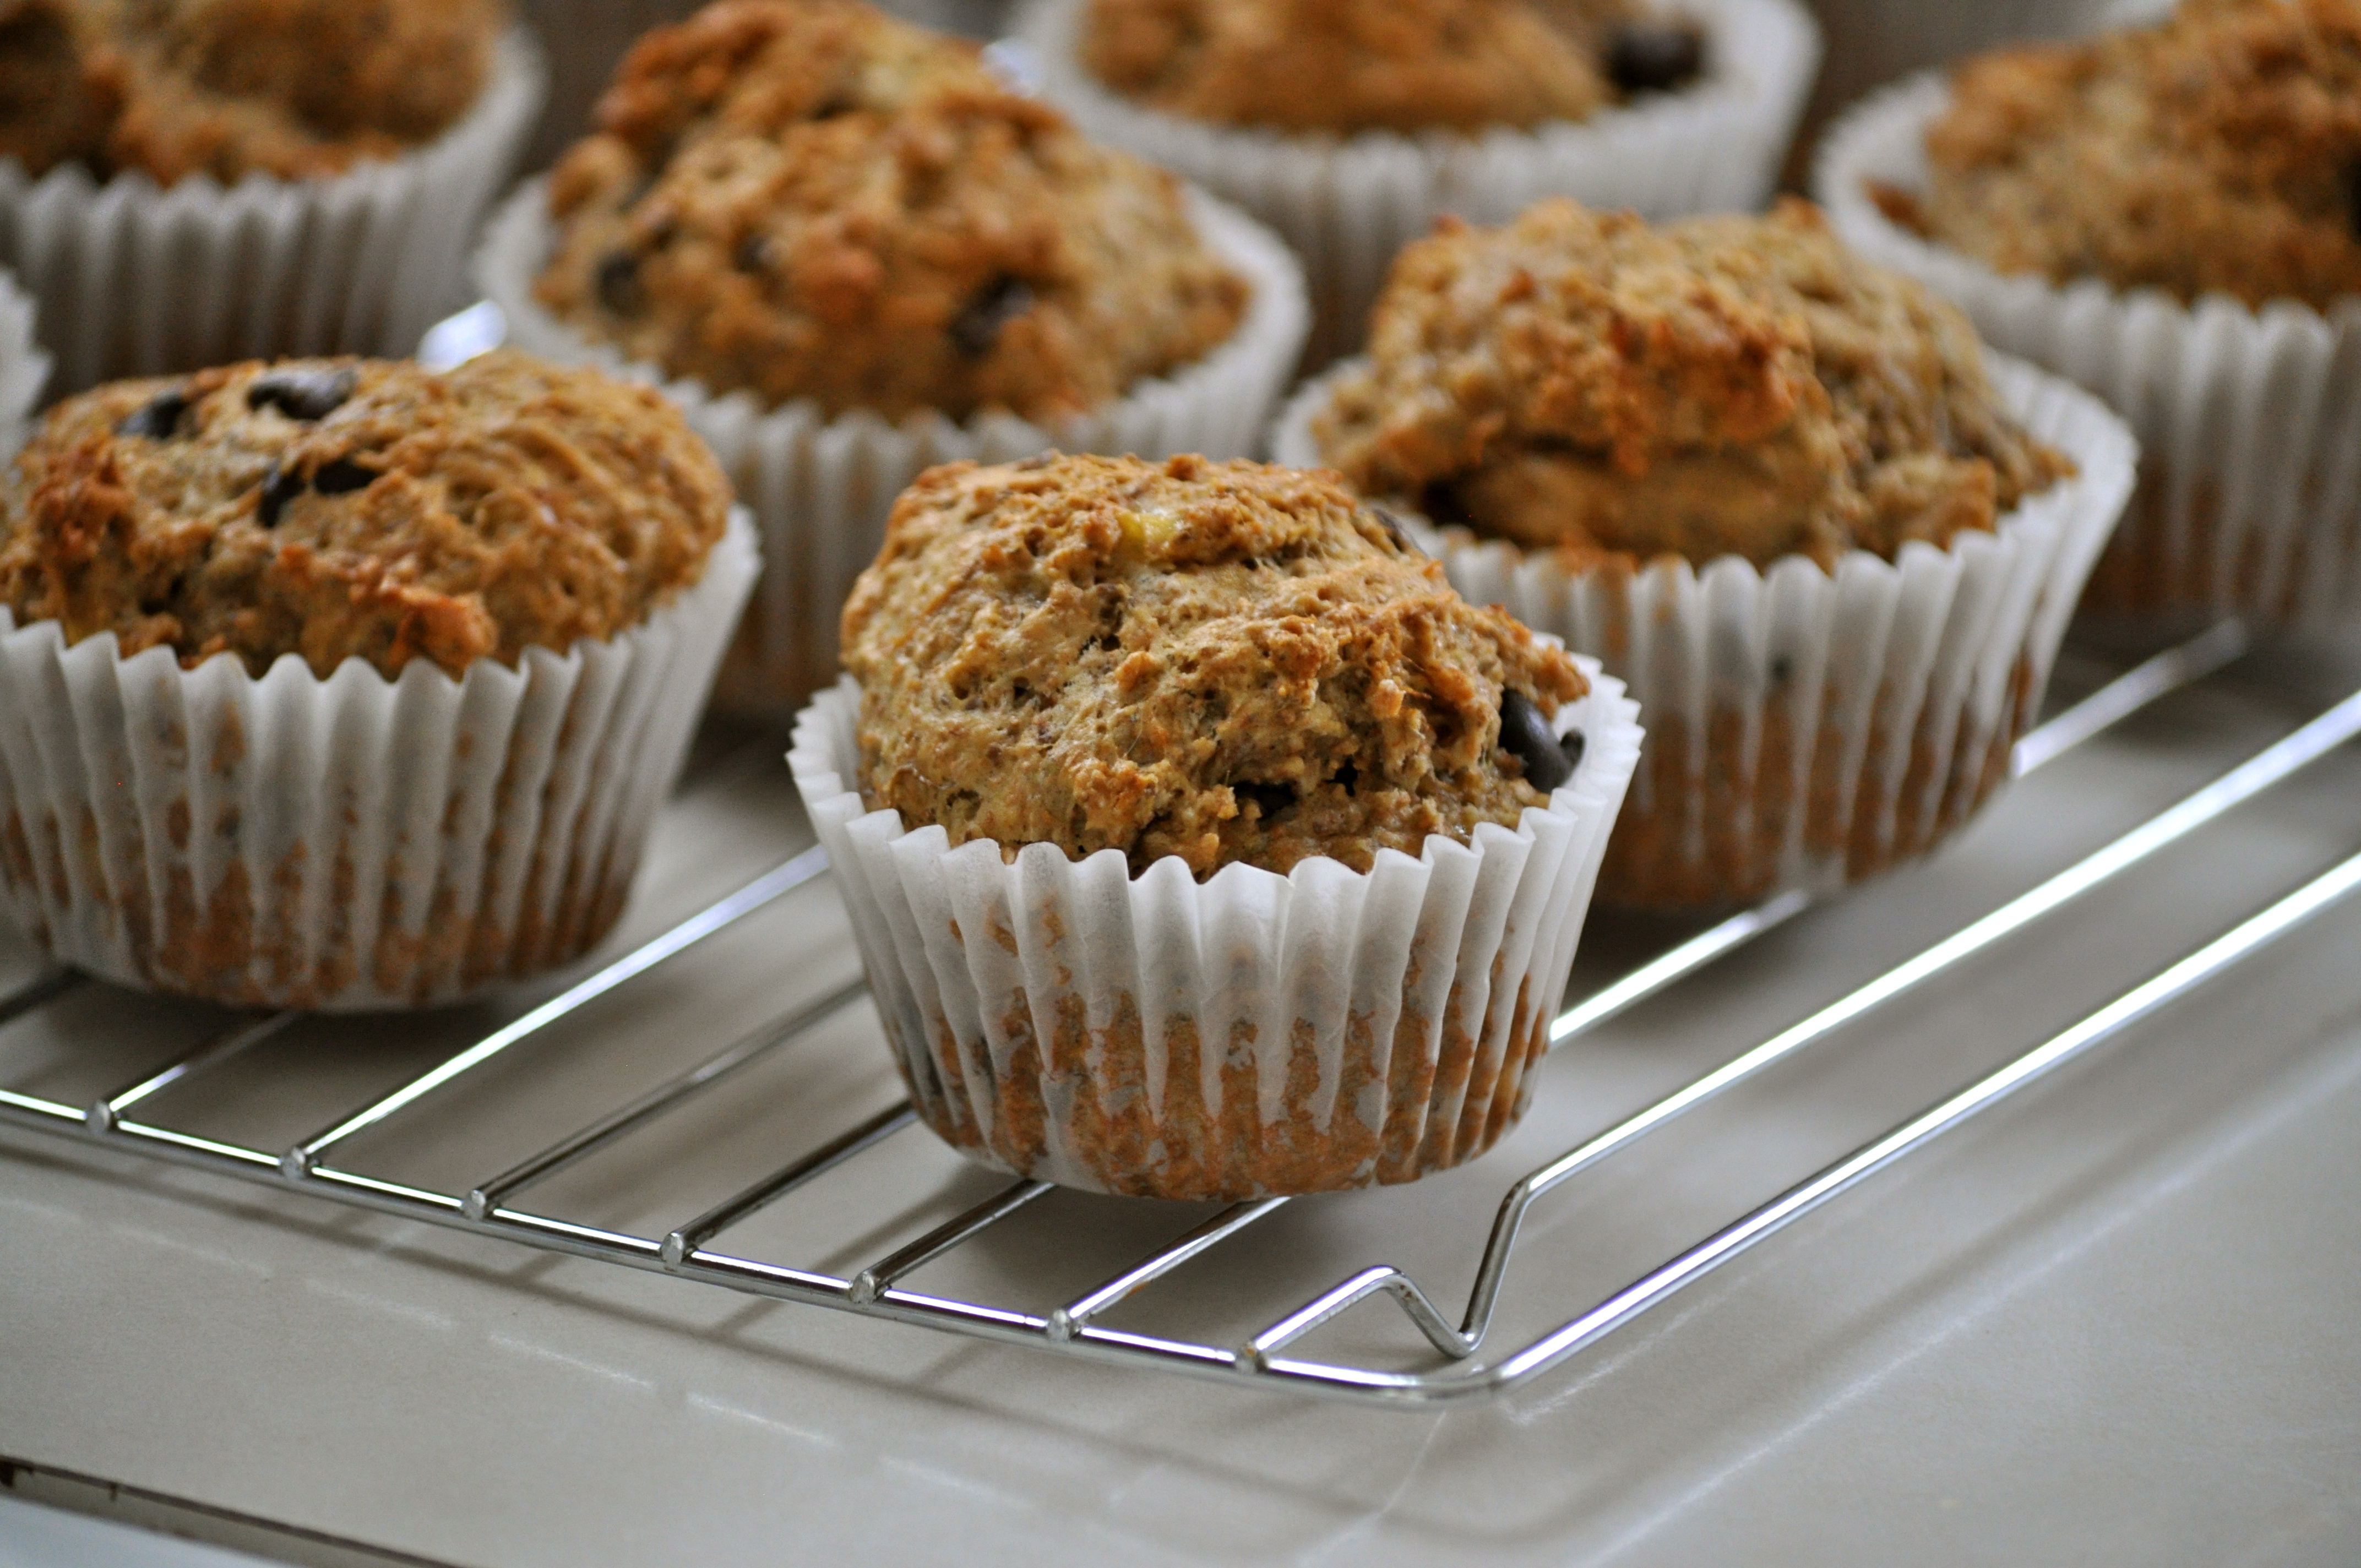
Banana Flax Muffins | Once Upon a Recipe


Here we are friends, on the eve of a new year. I hope that Santa treated you all very well and that you ate and drank as much Christmas cheer as I did! Truth be told, I may have enjoyed a little too much Christmas cheer, but that’s what new year’s resolutions are for, right? I mean, what would a new year be without the promise to eat healthier/exercise more/take better care of one’s self?

Resolutions aside, I am filled with excitement. I think 2013 is going to be an amazing year. In fact, I can feel it. Good things await us all.
Banana Flax Muffins | Once Upon a Recipe


And so I was all ready to share a fancy-pants appetizer recipe with you – one that you might like to make for a New Year’s Eve/Day party. But then I found myself in my kitchen this afternoon, baking up a batch of my very favorite (and most frequently made) muffins, and realized that I have yet to share the recipe with you. And I decided that I couldn’t let the year pass by without doing just that.

(Don’t worry, that fancy-pants appetizer works well year round and will be shared soon!)

Banana Flax Muffins | Once Upon a Recipe


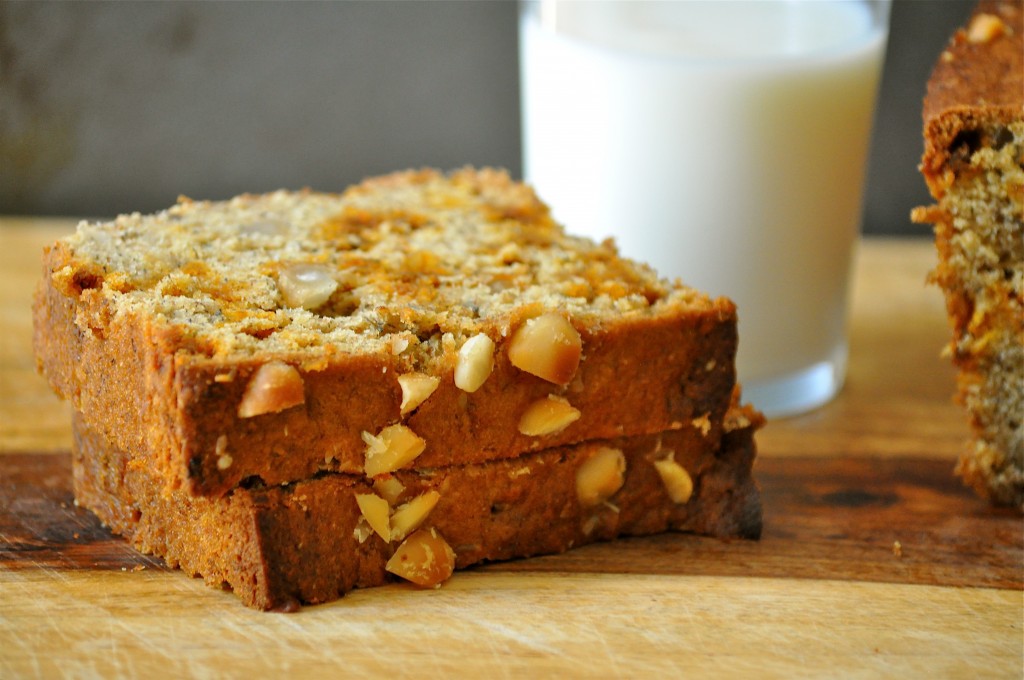
And so, dear friends, I give you my most very favorite muffin recipe. It achieved that status based on the fact that it is wickedly simple to throw together, the fact that I always have the ingredients sitting in my kitchen, and the fact that they have been a hit with absolutely everyone that I have shared them with. They are somewhat healthy too, with the option make them even more so (suggestions included) if you so desire. However, I recommend trying the recipe as I’ve written it first, then playing around to figure out what suits your tastes. To be honest, I’ve never been a fan of muffins that have no added butter or oil, as their gummy texture always gives them away. But to each their own!

With that, I raise my glass to thank you all for a wonderful year, and I send you warm wishes for the coming one. I hope that you all have the opportunity to usher in the new year with those you love most.

Cheers to 2012 – hello 2013!

Banana Flax Muffins | Once Upon a Recipe


Banana Flax Muffins (+/- Chocolate Chips)

Despite being made with all whole wheat flour, these muffins are incredibly tender and moist. I usually make them without the chocolate chips, but for a little treat, I’ll add dark chocolate chips. Makes 12 muffins.

1 1/2 cups whole wheat flour

1 tsp. baking powder

1 tsp. baking soda

1/2 tsp. salt

3 large ripe bananas, mashed

1/4 cup brown sugar, packed (or 2 TBSP. honey)

1/4 cup ground flax

1 egg, beaten

1/3 cup butter, melted (or applesauce)

1 tsp. vanilla

3/4 cup chocolate chips (optional)

Preheat your oven to 375°F. Line a 12-count muffin tin with paper liners. In a large bowl, combine the bananas, brown sugar, ground flax, egg, butter, and vanilla. In a separate bowl, whisk together the flour, baking powder, baking soda, and salt. Add the flour mixture to the banana mixture and stir until just combined. Fold in the chocolate chips, if using. Divide the batter evenly between the muffin tins. Bake for 18-20 minutes, or until the tops are just beginning to brown and a toothpick inserted into the centre of the muffin comes out clean. Cool on a wire rack.

These muffins freeze extremely well and make a great breakfast or snack!

Guest Post: Kristy @ Gastronomical Sovereignty | Rough & Rustic Stuffing

Hi friends! Special treat for you today – Kristy from Gastronomical Sovereignty is here to share a festive recipe. Kristy is one of my favorites. Check out more of her blog after this post and you’ll see why. Bonus: She’s a fellow Canadian. Cheers to that!

Good morning Amanda’s darling readers!

Anyone who knows me knows I love me some Christmas. The tree, the music, the presents, company, that glowing feeling that starts deep in your stomach and radiates through your every pore – that could be the wine. But still, I love me some Christmas! And best of all, at this time of year, I love a good, filling, rough & rustic stuffing.

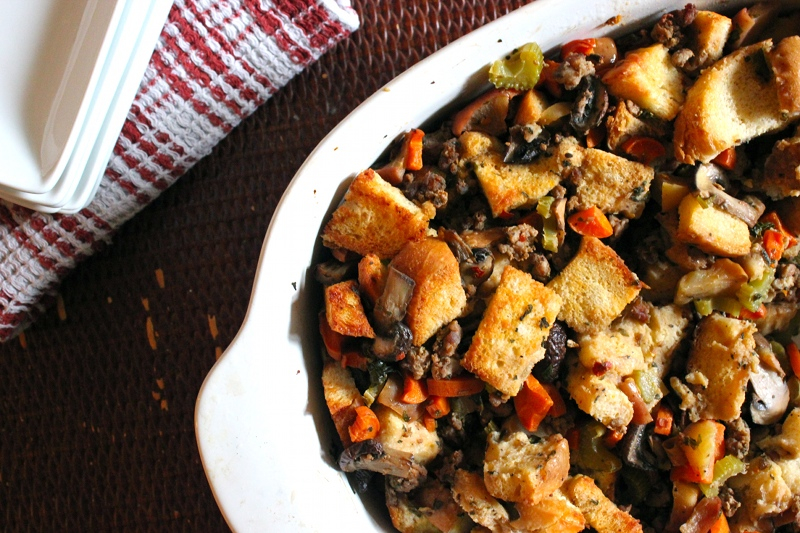
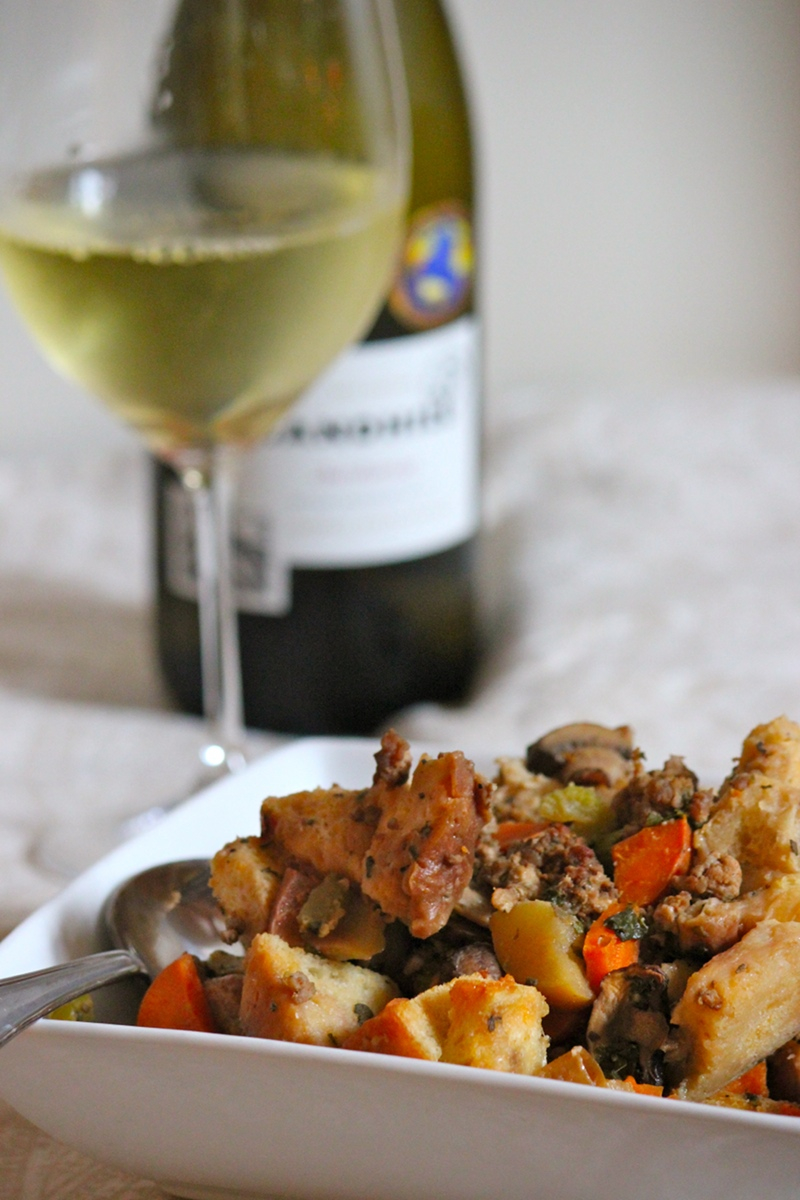
from above christmas stuffing

There are lots of things you can stuff right now. Stockings. Packages. Feather down pillows. Your face. Random body parts that will remain un-named because not everyone appreciates me talking about vaginas on their blogs. Oops. Sorry Amanda! I said vagina. Oh no.
.
But most importantly – at least while we’re in the presence of family – birds! This year it’s just me and the boyfriend so we aren’t roasting a full turkey. Instead we’re thinking about just 2 breasts. Turkey breasts. What’s wrong with me?
.
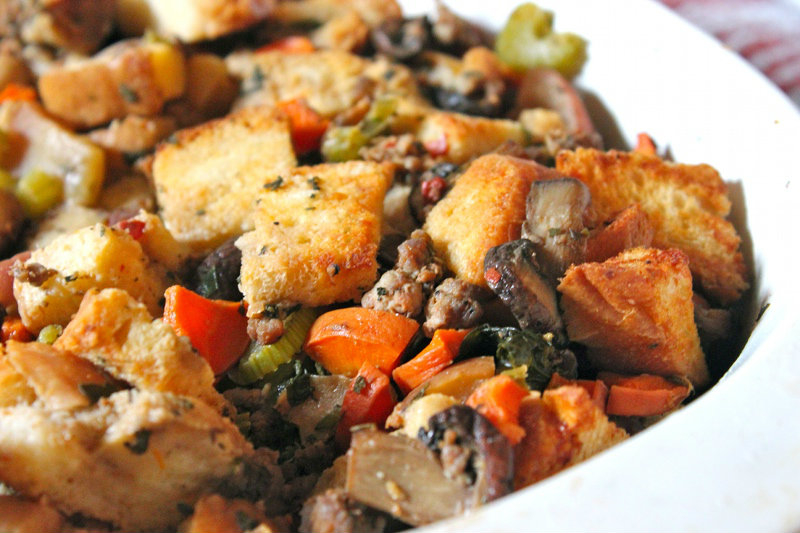
You could stuff this stuffing inside a bird if you like but this recipe was simply baked in the oven all by itself. Is it still called stuffing if it isn’t stuffing something? Hm.
This was also less goopy than most stuffings I’ve had. You could add another 1 – 2 cups of liquid if you like your stuffing heavier but this is a nice light-feeling alternative to everything else we eat at Christmas dinner but still loaded with flavor to-boot! Boots are another thing you can stuff. With socks. Or presents. Or….
.
Rough & Rustic Stuffing

(printable recipe) – Serves 6.

.
Ingredients:
1 loaf of sourdough bread, roughly chopped into 1” pieces
1 cup onion, diced
1 cup carrot, skin on & diced
1 cup celery, sliced
1 cup mushrooms, sliced
2 cups apple, skin on, cored & diced
2 cups chicken, beef, or veggie stock
1 lb. chorizo sausage (approx. 3 large links), removed from casings
Handful of fresh parsley, roughly chopped
Handful of fresh sage, roughly chopped
2 TBSP. butter
2 pastured eggs, lightly beaten
Coarse sea salt & fresh cracked black pepper
.
What to Do:
Pre-heat your oven to 300°F. Place chopped bread on a couple of baking sheets. Place in oven and toast until golden, approx 30 minutes. Remove from heat and set aside.Turn the heat up to 350°F and grease a casserole dish with Tbsp of butter and/or non-stick spray. Set aside.Place a large pan over medium heat with 1 TBSP. of butter. Once hot, add the sausage and break up into small pieces. Cook until almost all the pink is gone, stirring often.
.
Add the onion, celery, carrot, mushroom and a good helping of salt and pepper. Allow for the veggies to soften, stirring regularly, until just barely fork tender, approx 10 minutes.
.
Pour in the apples, stock and herbs. Bring to just a boil, scraping any bits off the bottom of the pan. Mmm flavor! Remove from heat.
.
Toss the bread into the casserole dish and pour eggs over top. Mix well. Add the sausage/veggie/stock mixture. Make sure everything is combined.
.
Cover and place in oven. Bake for 45 minutes, remove the cover, and cook a further 10 minutes. Remove from the heat and allow to sit for 10 minutes.
.
Eat.
.
Buen provecho!
Kristy

Conquering Fear | Chocolate Glazed Doughnuts

Well hello there friends! I bet you were starting to think that I’d fallen off the face of the earth. Fortunately, I’m still kicking. In truth, I’ve been working my arse off. The intense training schedule continues. After a day of work and a hard run, I’m lucky if I get some decent food past my lips, let alone photograph it and come up with an accompanying witty post.

But I must admit, I’m kind of using this whole running thing as a license to eat whatever the hell I want. Thankfully I’m a reasonable person (most of the time), and I’m trying to find a good balance between eating healthy and indulging from time to time. A few weeks ago, I had this sudden urge to try making doughnuts from scratch. And it wouldn’t. go. away. So I enlisted the help of a trusty friend of mine and we went to work on a few different recipes.

First, there were sour cream glazed doughnuts. They turned out alright, but not fantastic. Too dense, not cakey enough, and not the right flavor. So we moved onto pumpkin spice cake doughnuts. They were almost fantastic, especially when eaten still warm with a hefty coating of cinnamon sugar. And so we decided to try out a simple yeast doughnut with a rich chocolate glaze. Money.

These were delicious. The doughnut itself is not overly sweet, but the chocolate glaze adds a nice kick of sweet and chocolate.

Ladies and gents, it’s time to conquer our fears.

Yes, fear. I know what you’re thinking. Yeast? Hot oil?! Frying things??!

Don’t be afraid! It’s a lot easier, and more fun, than it looks. Especially in the company of a lovely friend, with some good tunes and a couple glasses of the red stuff. If only all fears were this easy to conquer! And hello?! There are doughnuts at the end of this lil’ journey. If that’s not motivation, I don’t know what is.

Let’s do this!

We start by making a simple yeast dough. Then we let it rise for a little bit until it doubles in size. Look at this beautiful ball of dough! Ain’t she perrty?

Then we roll out the dough and make doughnuts! Supposedly there are fancy doughnut cutters out there, but why not save that cash for another bottle of vino and use a wine glass and a shot glass instead! Doughnut + hole = done! Lay out your cut doughnuts on a lined cookie sheet, cover with a clean tea towel, and allow to rise for another half hour. Get your oil heating while the doughnuts rise.

The one special gadget you will require for this adventure is an oil/candy thermometer. I bought one for $10. When your thermometer reaches 325°F, it’s go time!

Fry, cool, glaze. Easy as pie. And then, EAT!

You can do it, I have faith in you!

Special shout-out to the lovelies that helped me eat my way through these doughnut trials. My heart (and thighs) thank you.

Chocolate Glazed Doughnuts (adapted from La Mia Vita Dolce)

These doughnuts are best enjoyed immediately after they are made, but leftovers can be stored in an airtight container for a couple of days. I recommend warming leftovers briefly in the microwave before enjoying. 

4 tsp. active dry yeast

1/4 cup water

1 cup whole milk

4 TBSP. sugar

1/4 cup butter, melted

4 1/4 cups all-purpose flour

3 eggs

Vegetable oil for deep-frying

Measure the water and milk into a small saucepan and heat over low heat until warm (do not let it boil!). Pour the warm water/milk mixture into a large bowl, and add 1 TBSP. of the sugar, as well as the yeast. Set aside for 10 minutes. The mixture will start to foam, meaning the yeast is working! Add the butter, flour, eggs and remaining sugar to the yeast mixture and mix until a sticky dough forms. Knead the dough on a lightly floured surface to bring it together. Place the dough in an oiled bowl, cover with a tea towel and set aside in a warm place for 45 minutes or until doubled in size.

Knead the dough on a lightly floured surface for 5 minutes or until it feels smooth and elastic when pressed. I punched my dough a few times, and it felt good! I may or may not have pretended that the dough was someone’s face. Unfortunately, karma bit me in the booty and I hit the counter instead. You win some and you lose some. Anyways…

Roll out the dough on a lightly floured surface until 1 cm (1 1/2 inches) thick. Cut 8 cm (3 1/4 inch) rounds with a cutter.  Cut a 3.5 cm (1 1/4 inch) hole in the middle of the rounds. Place on a tray lined with non-stick baking paper, cover with a tea towel and set aside in a warm place for 30 minutes or until risen.

In the meantime, heat the oil (2 inches deep) in a large pot over medium-low heat.  Gently drop the doughnuts one by one into the hot oil. Cook the doughnuts a few at a time for 1 minute each side or until just golden. Drain on a cooling rack set over paper towels.

Chocolate Glaze

2 1/2 cups icing sugar, sifted

1/2 cup unsalted butter

1/4 cup whole milk

1 TBSP. honey

2 tsp. vanilla

4 ounces bittersweet or semisweet chocolate, chopped

Sift icing sugar into a small bowl and set aside. Combine the butter, milk, honey, and vanilla in a medium saucepan and heat over medium heat until butter is melted. Decrease the heat to low, add the chocolate, and whisk until melted. Turn off the heat, add the icing sugar, and whisk until smooth. Dip slightly cooled doughnuts into the glaze and allow to set. Eat immediately!

%d bloggers like this: