For Dad | Homemade Snickers Bars

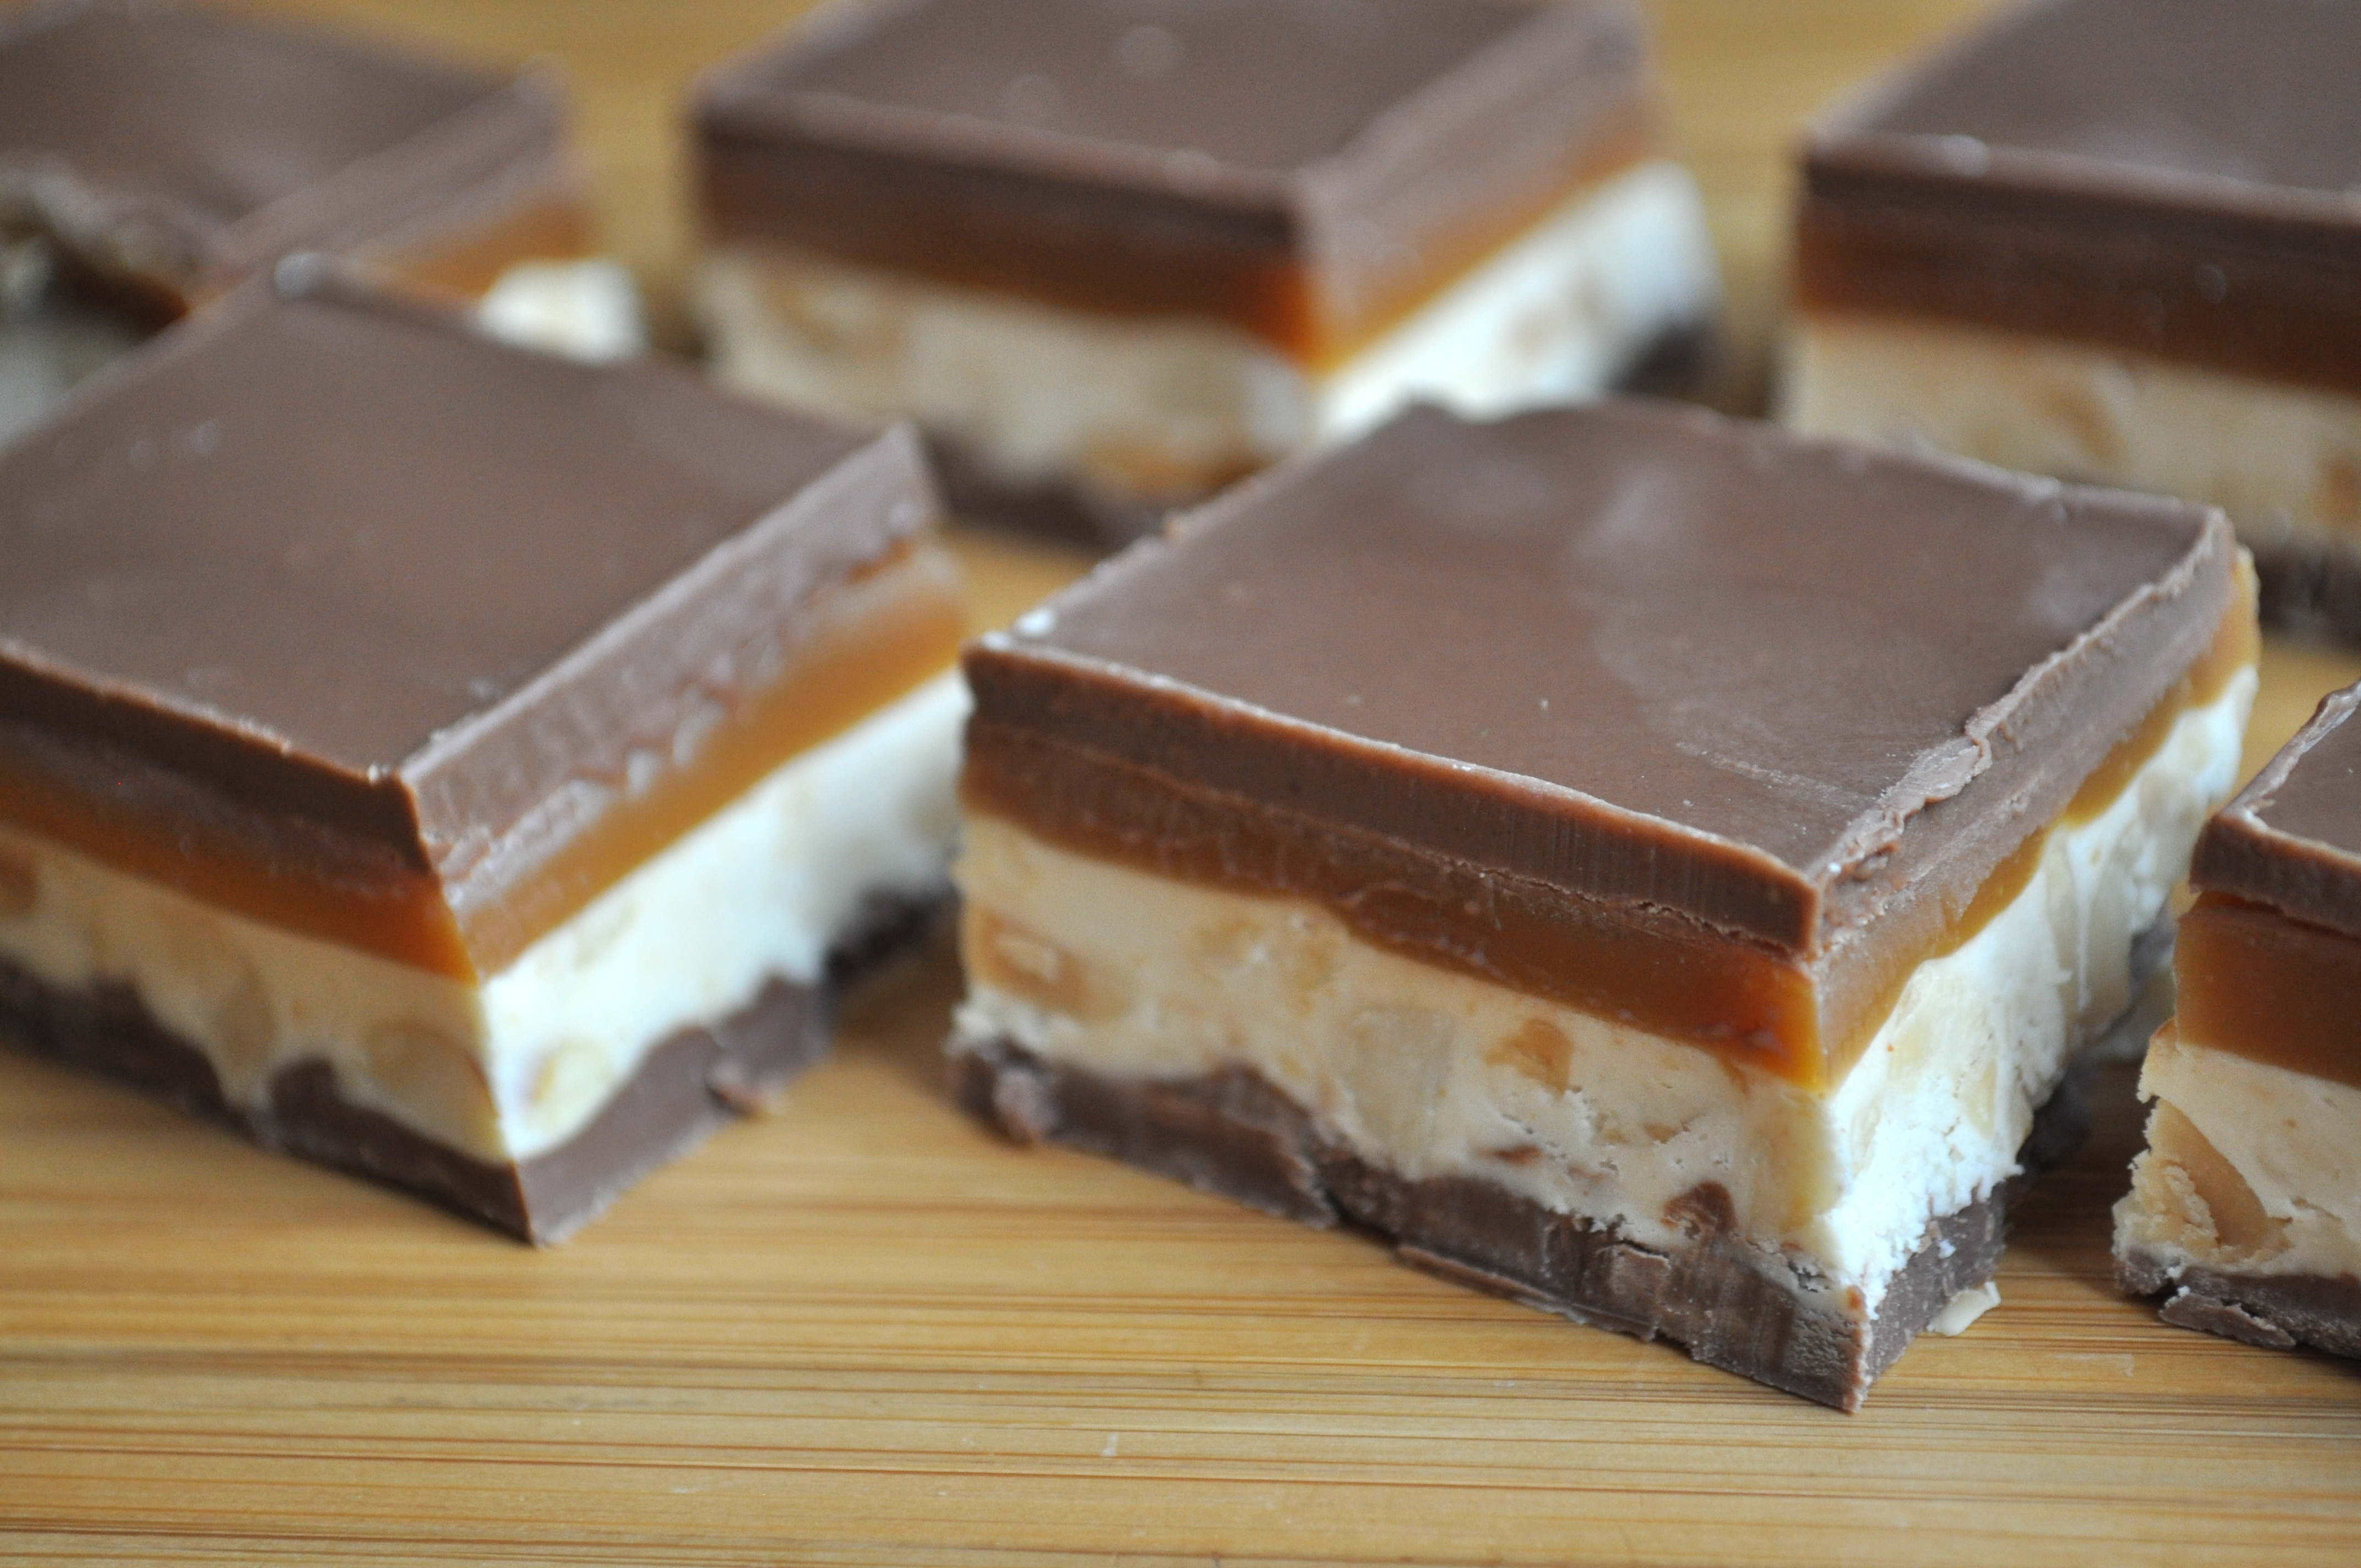
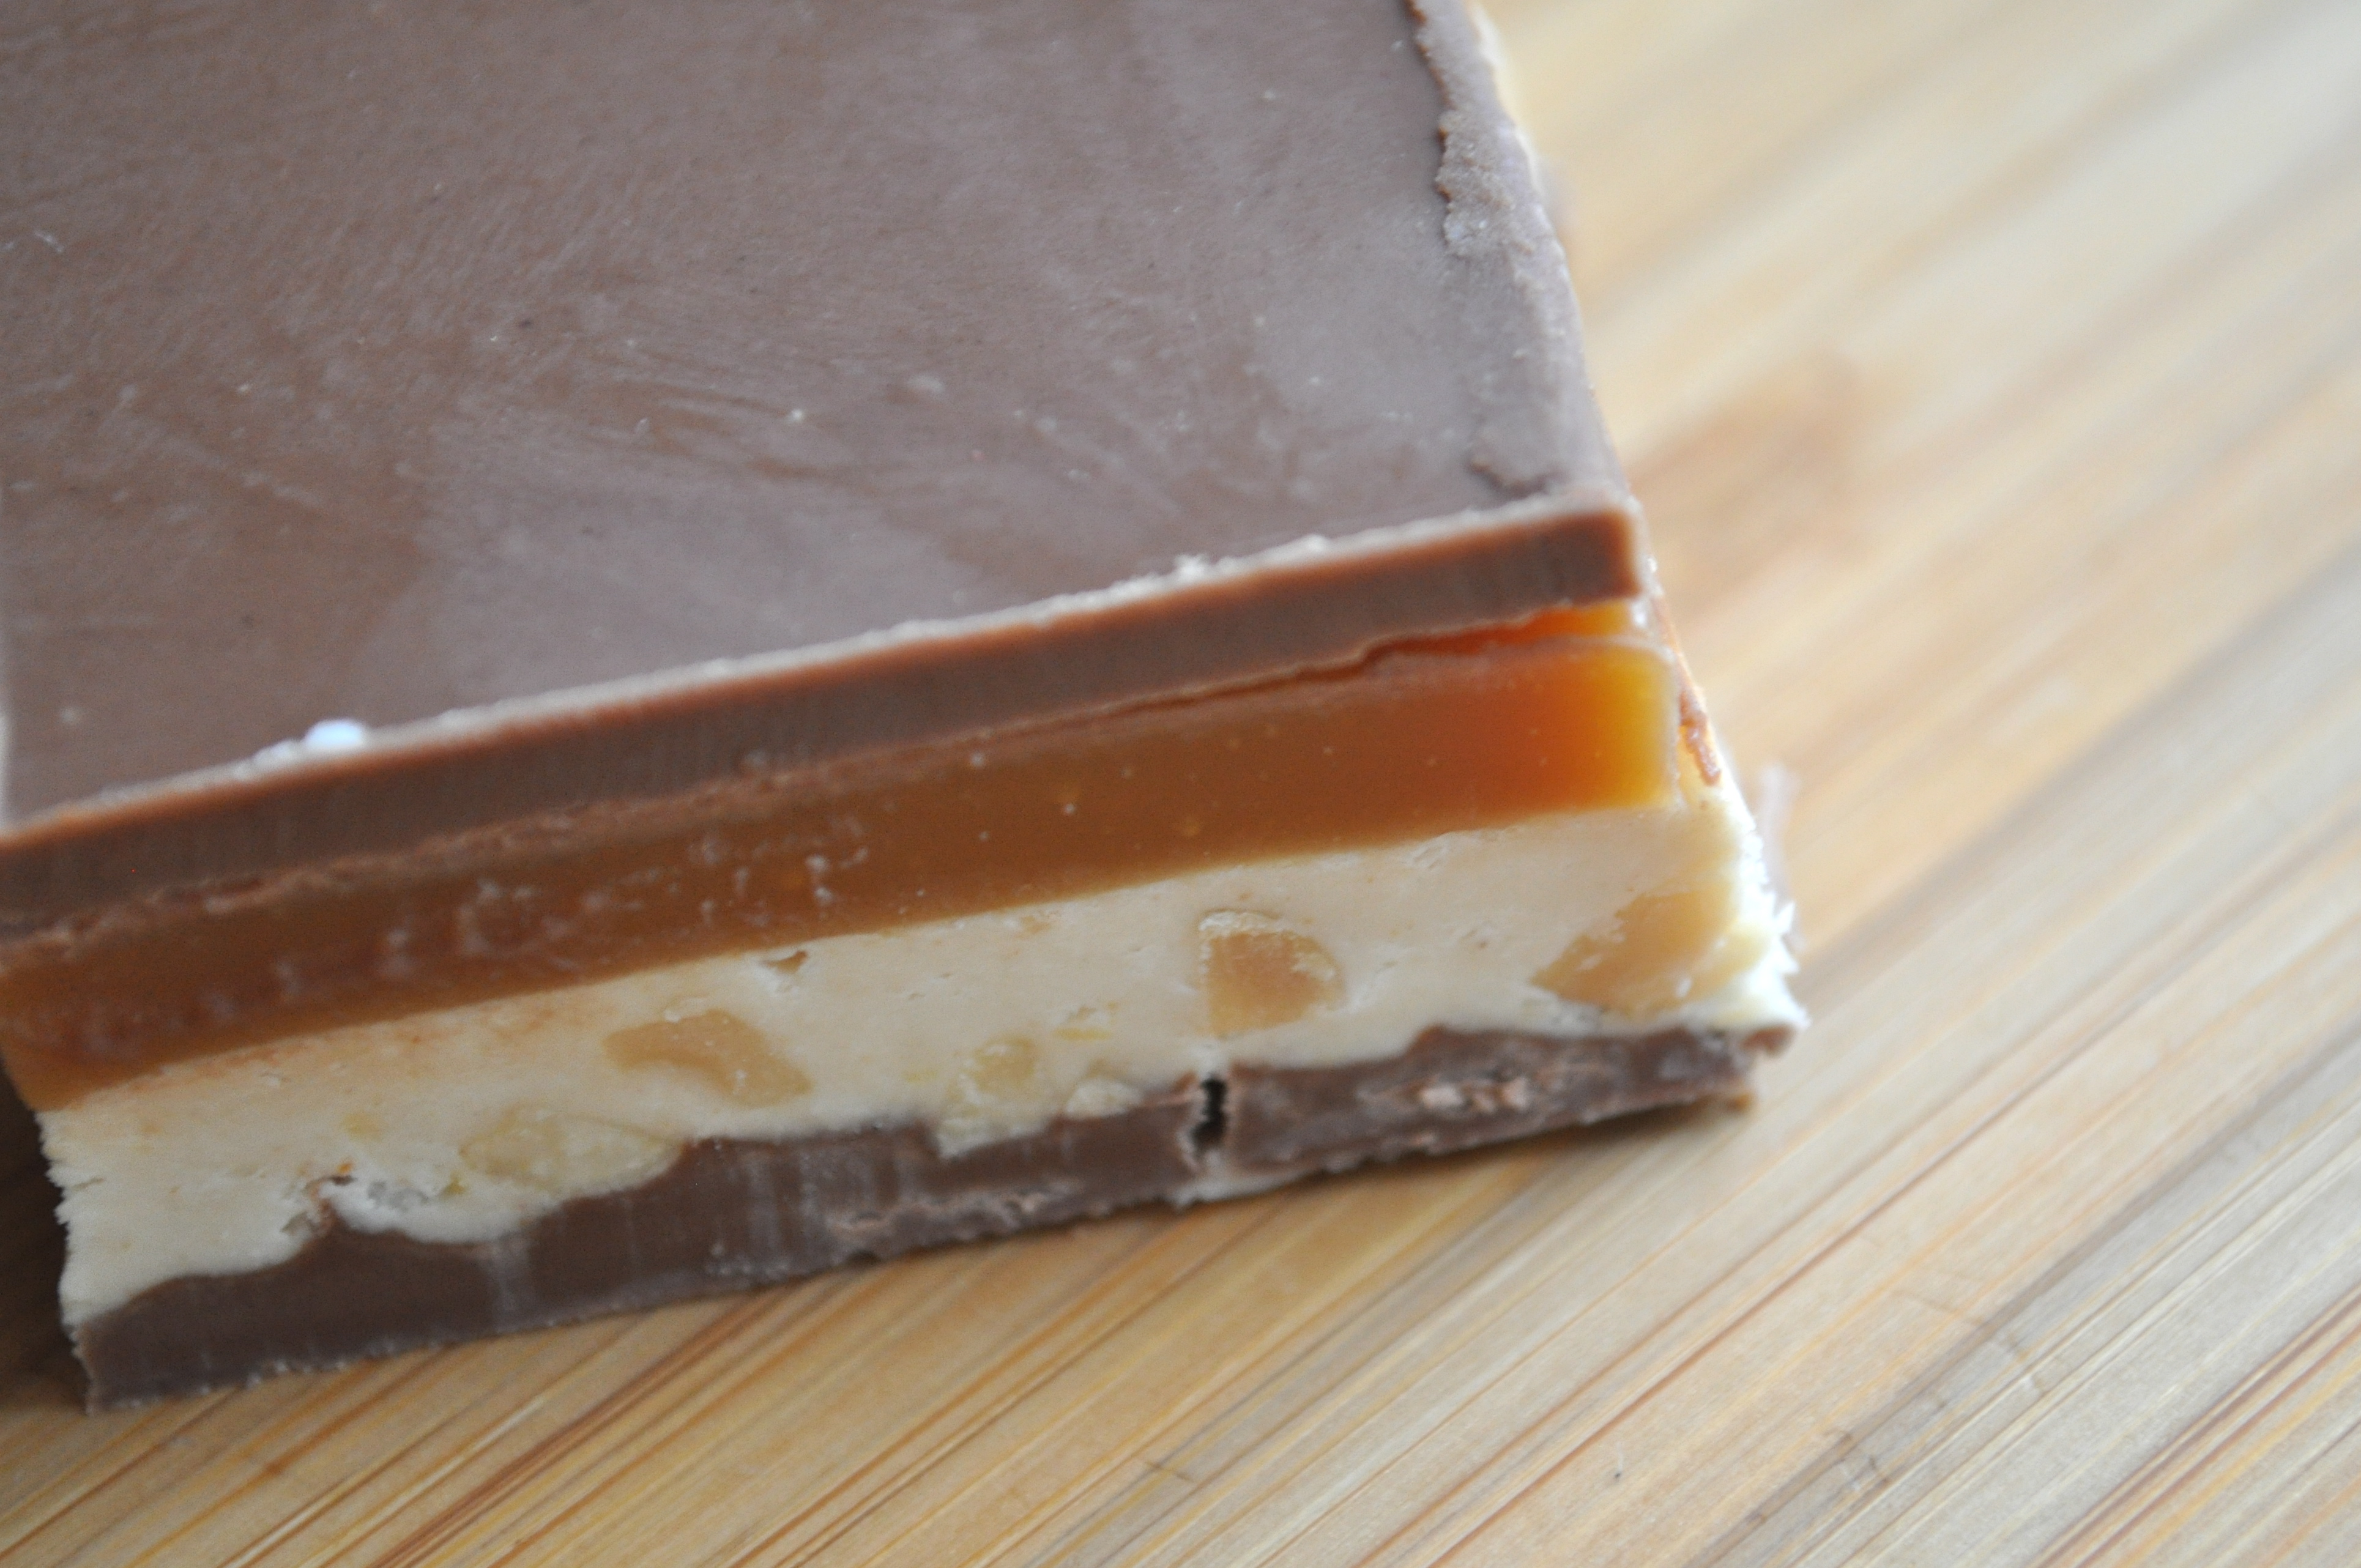
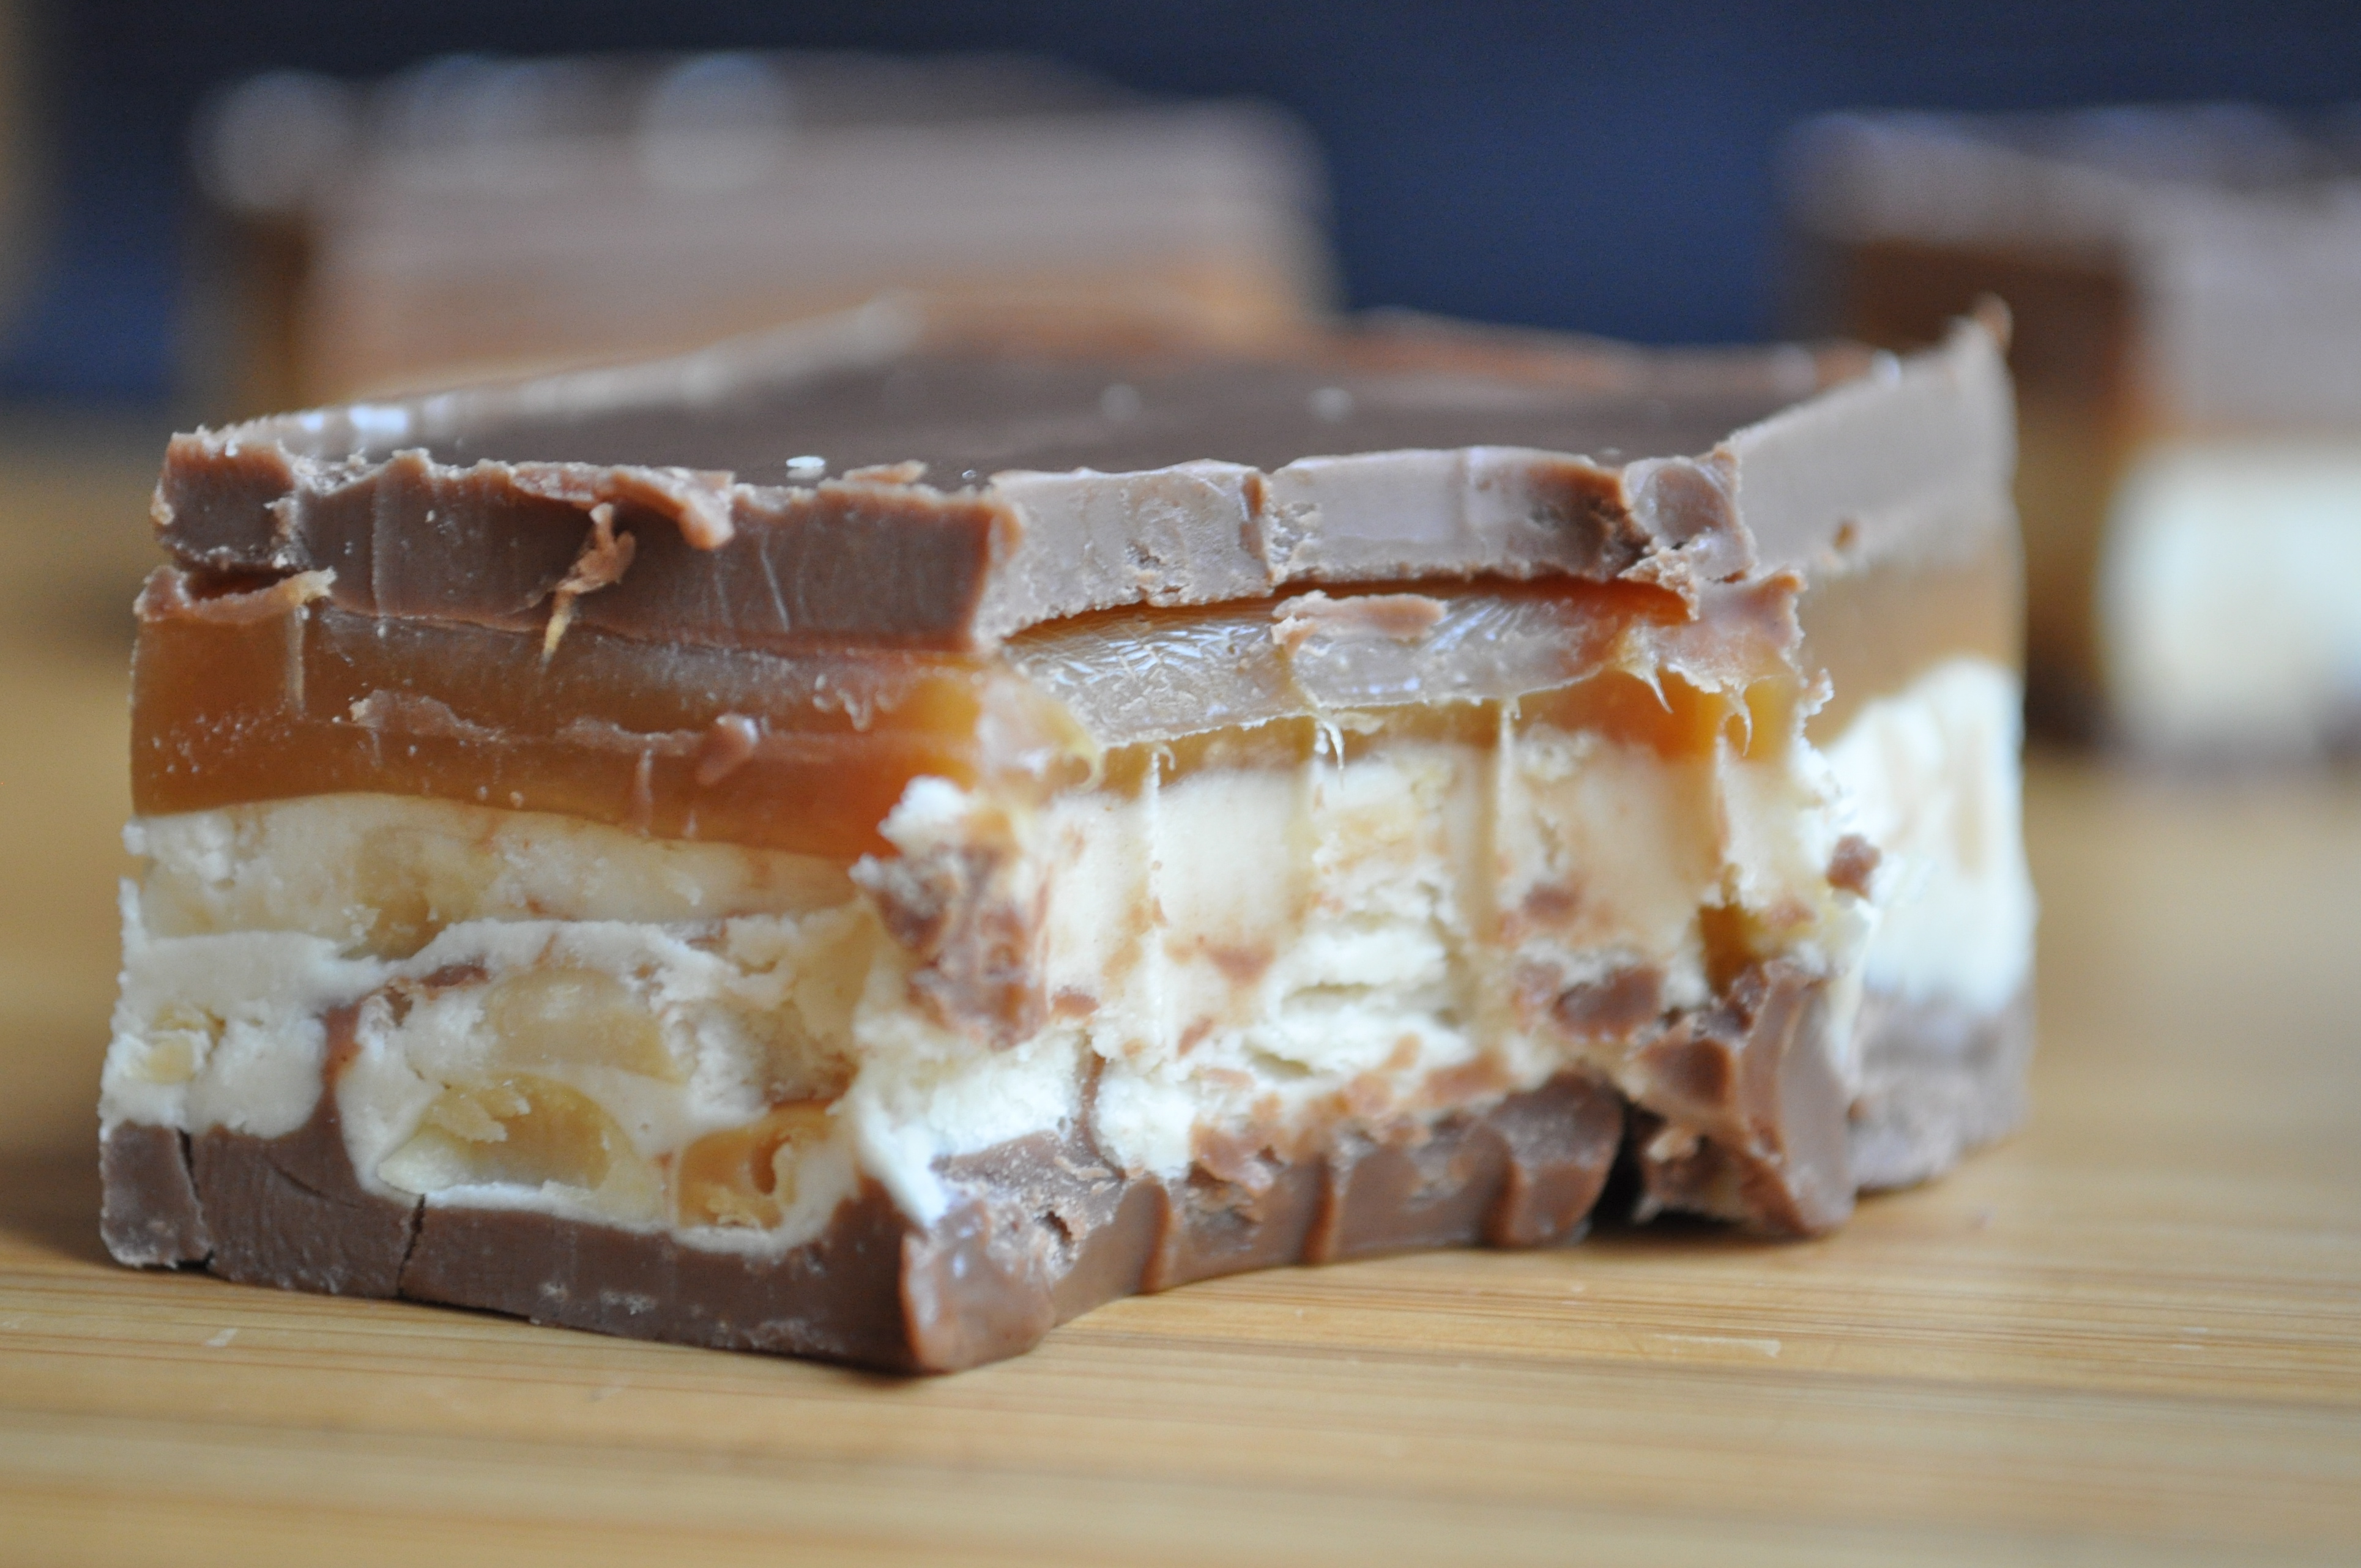
Happy Father’s Day to all of the wonderful fathers out there! I know I promised you a summer drink recipe, but that had to be bumped by the above discovery. I had been searching for a sweet treat to make for my dad for today’s celebration when I came across a recipe for homemade Snickers bars. My dad is a huge fan of chocolate, nuts, and chewiness, so I knew these would be a winner. The recipe takes some time, as these bars require four separate layers with setting times in between, but it is so easy. I drank wine and watched a Diners, Drive-Ins, and Dives marathon in between each step. Made the time fly by! Bowls also had to be licked clean, so I kind of had my work cut out for me. 😉

These bars were whipped up last night and then set overnight in the fridge. I took them out this morning, let them sit on the counter for about 10 minutes, and then sliced them up into nice little squares. We ate a few for post-brunch dessert (dessert should be mandatory after every meal, don’t you agree?) and then I popped the rest into my dad’s freezer. He is a sucker for frozen chocolate bars, so I doubt they will last very long. I may or may not have snuck a few pieces home with me…and may or may not have just tiptoed downstairs at a rather late hour to drink a glass of water go to the bathroom eat one. These are seriously good. And dangerously addictive.

To my Dad – thank you…for loving me for 27 years, no matter what. For teaching me how to throw a ball, ride a bike, and drive a car (that last one was a bit of a challenge, wasn’t it?). For still loving me after that one time when you picked me up from school when I was sick and I threw up all over your back when you were carrying me to the car (sorry about that). For cheering me on and coaching me in the sports I played. For helping me with my Math homework (until it became too complicated for the both of us to understand). For showing me the value of having a good sense of humor, for always making me laugh, and for passing along a good dose of stubbornness. A competitive nature too. For encouraging me. For offering to beat up anyone who hurt my feelings. For wiping my tears and telling me it will be okay, even when I didn’t believe it. For supporting me, through it all. For everything. I love you more than words can say.

Homemade Snickers Bars (from How Sweet It Is)

Layer One (chocolate):

1 1/4 cups milk chocolate chips

1/4 cup peanut butter

Spray a 9 x 13 inch baking pan with non-stick spray. Melt the chocolate and peanut butter together in a double boiler, then pour into the baking dish and spread until even. Let cool in the fridge until completely set.

Layer Two (nougat):

1/4 cup unsalted butter

1 cup granulated sugar

1/4 cup evaporated milk

1 1/2 cups marshmallow fluff

1/4 cup peanut butter

1 1/2 cup salted peanuts, roughly chopped

1 tsp. vanilla

Melt butter in a saucepan over medium heat. Add in the sugar and evaporated milk, stirring until dissolved. Bring to a boil and let cook for 5 minutes, stirring occasionally. Add in the marshmallow fluff, peanut butter, and vanilla, stirring until smooth. Turn off the heat and fold in the peanuts, then pour over bottom chocolate layer and spread evenly. Return to fridge to cool completely.

Layer Three (caramel):

1 14-ounce bag of caramels (just under 2 cups)

1/4 cup whipping cream

Combine ingredients in a saucepan over low heat. Let melt, stirring occasionally, until smooth. Pour over the nougat layer and return to fridge to cool completely.

Top layer (chocolate):

1 1/4 cups milk chocolate chips

1/4 cup peanut butter

Follow the same steps as you did for the first layer. Allow to set in the fridge, then cover and return to fridge and leave overnight. Cut into small squares.
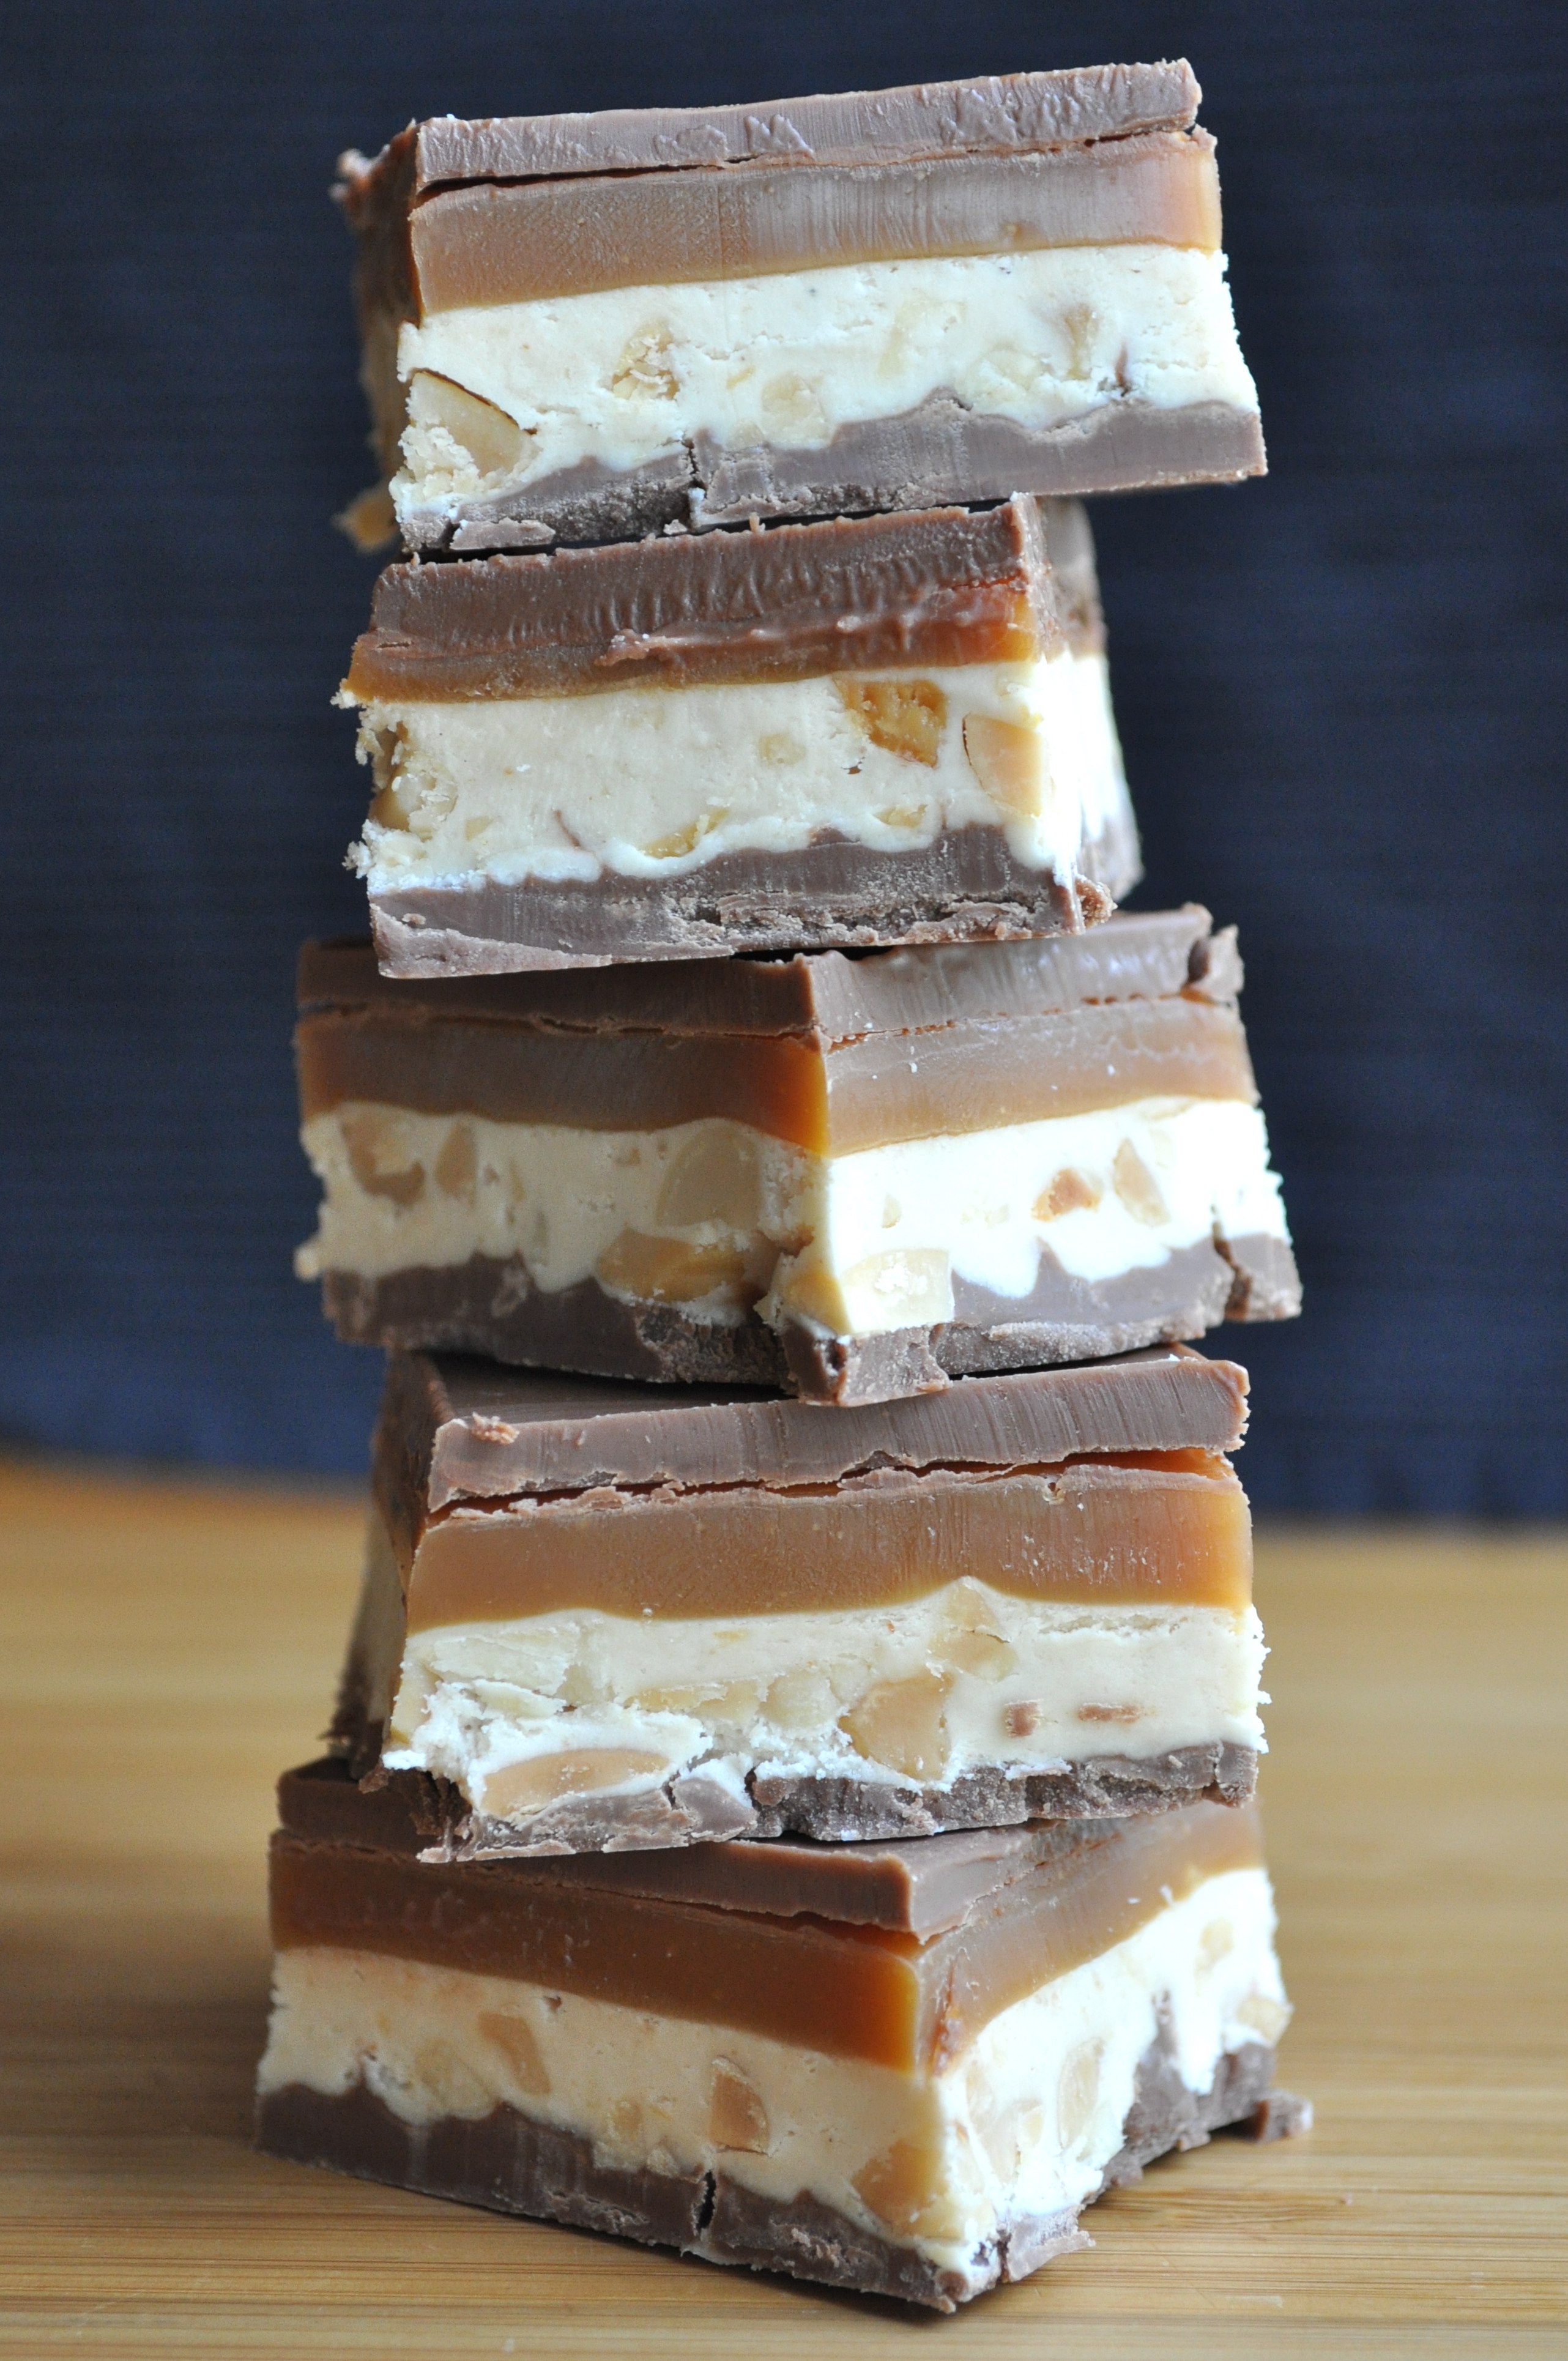
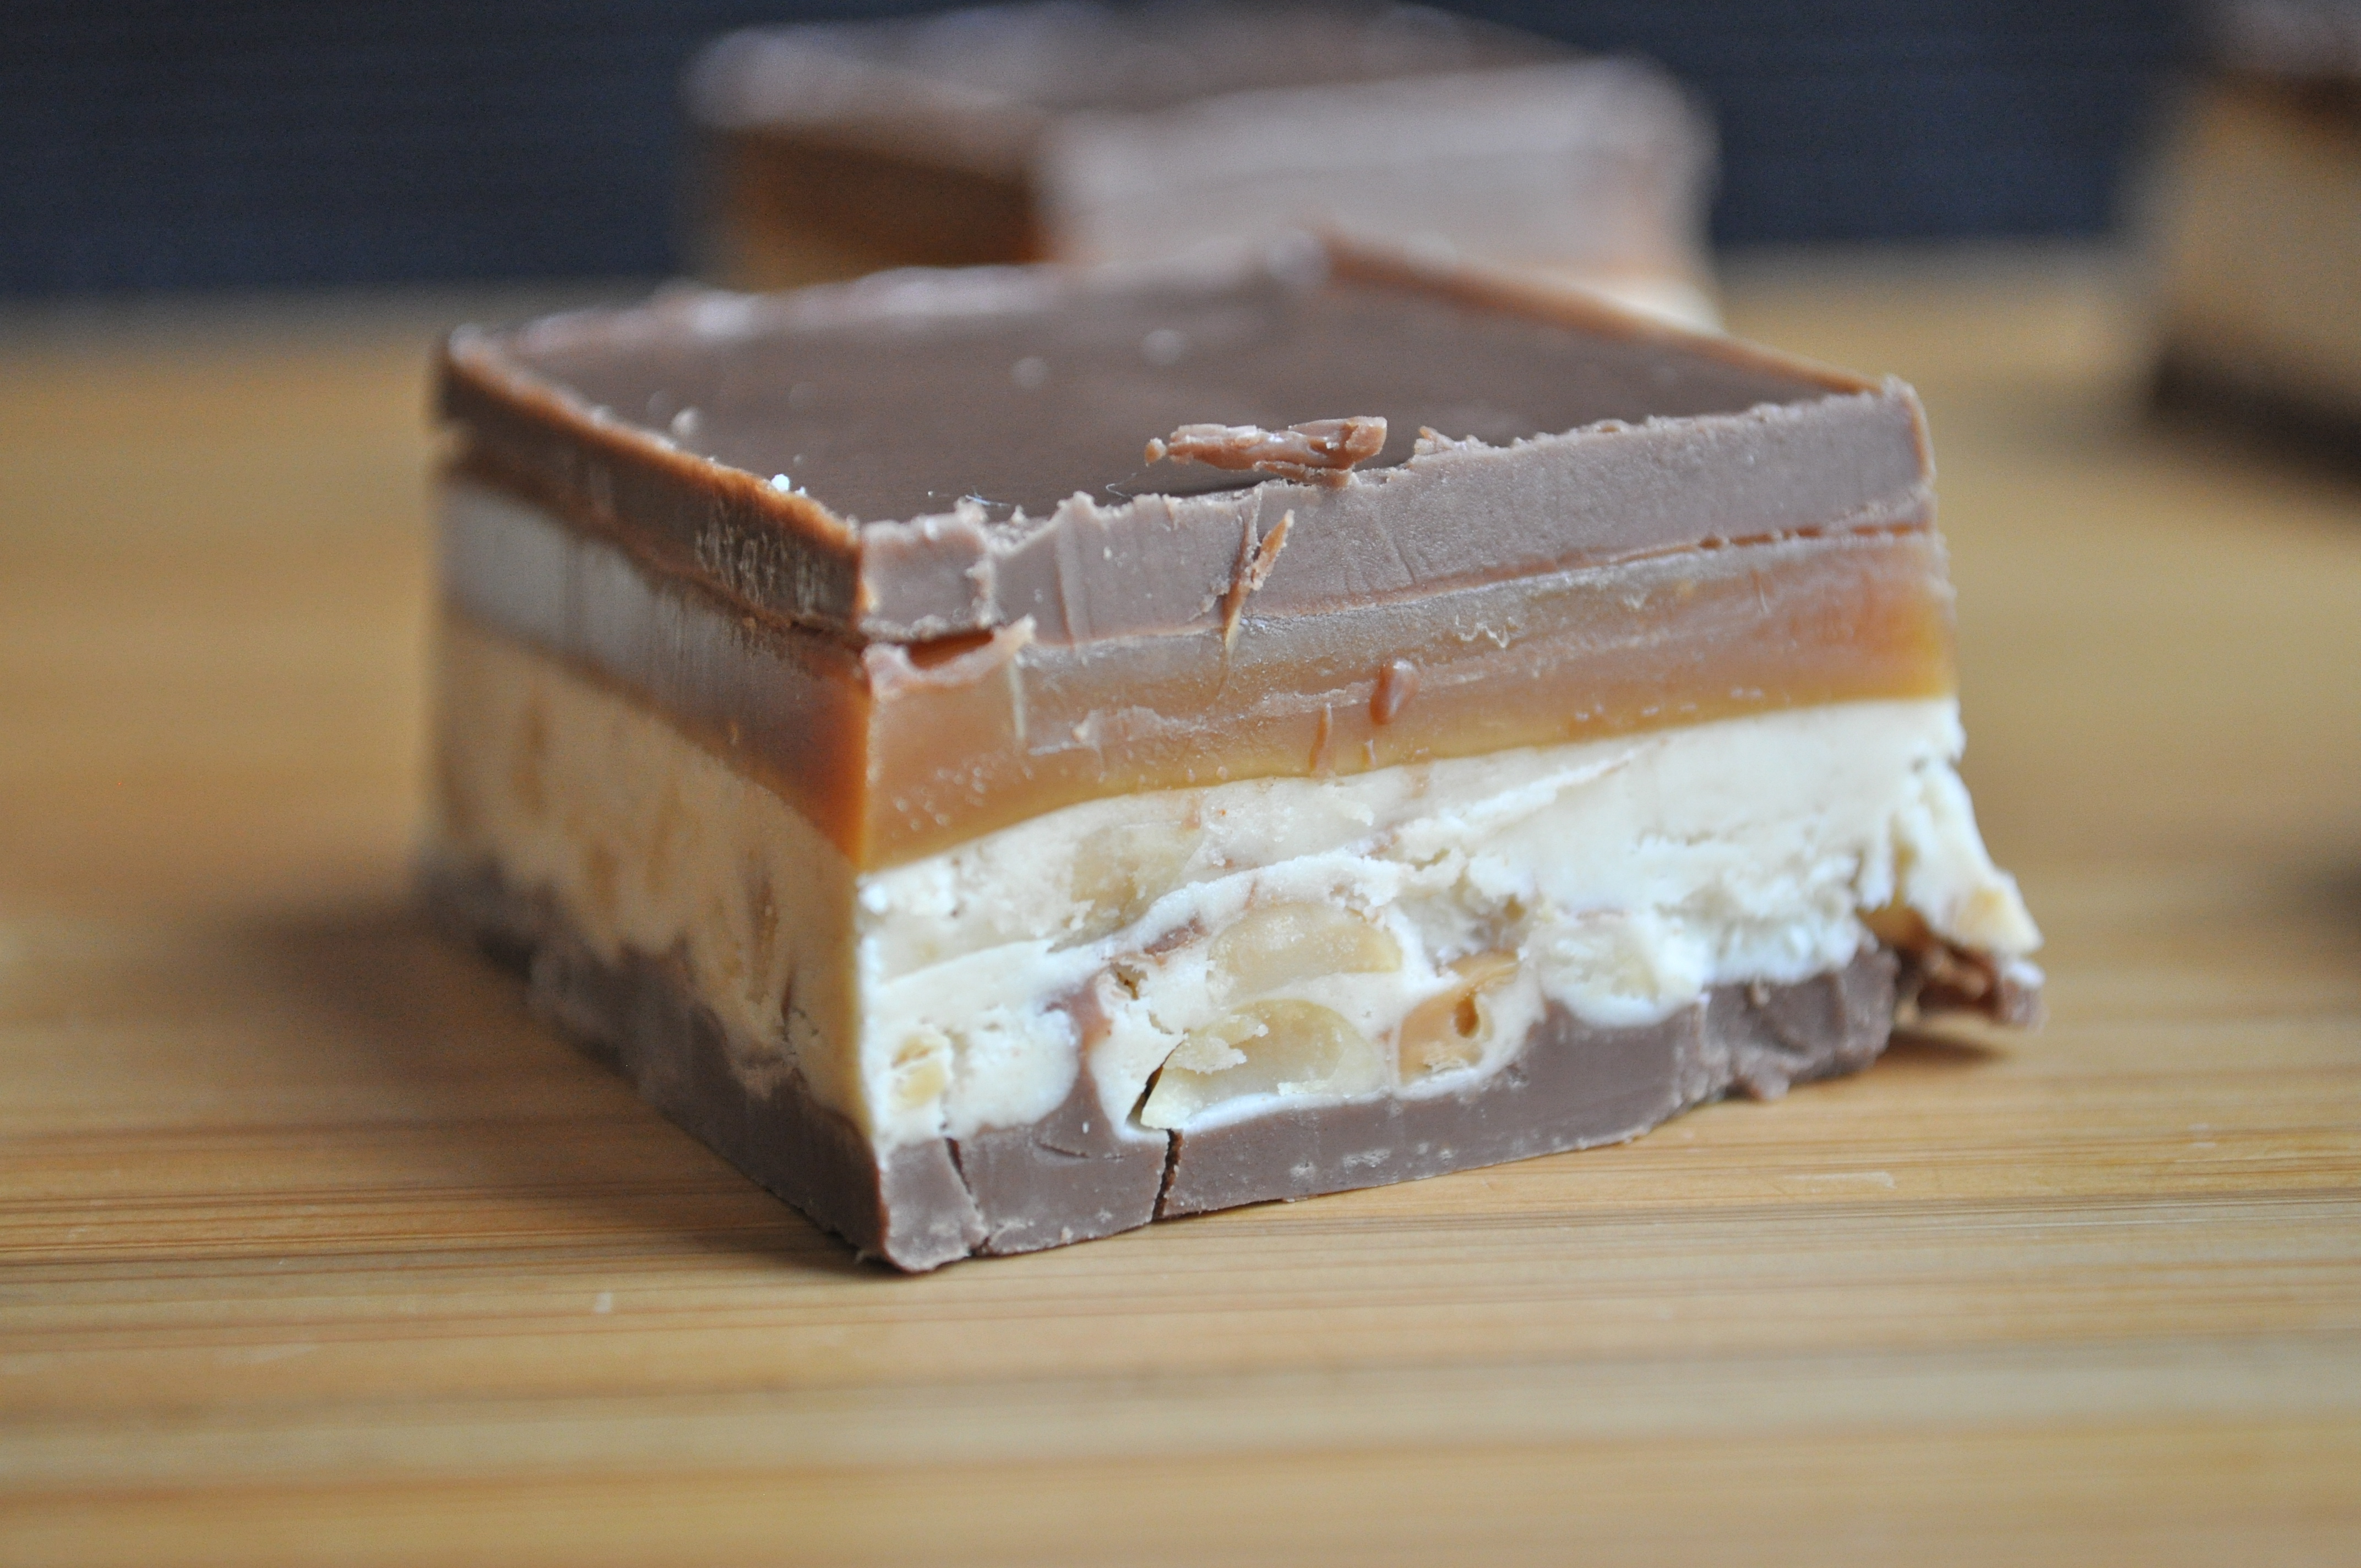
Whatever you do, make these. And if you can’t, I will make some for you. But only if I can keep a few for myself.

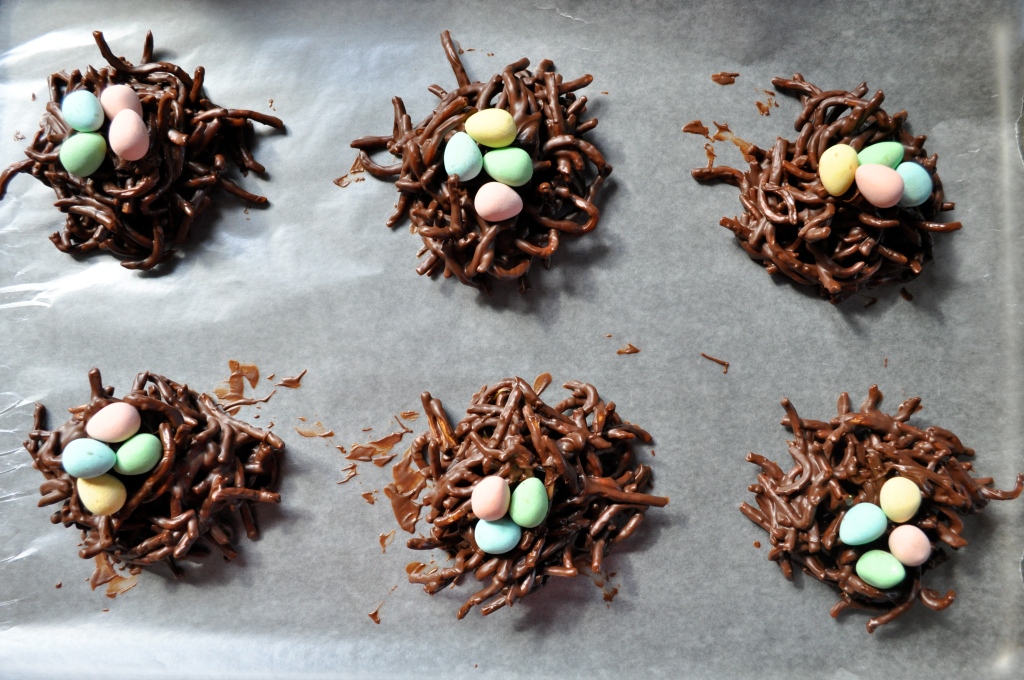
How To: Easter Fun | Chocolate Nests

How to have fun this Easter…

Grab some easy ingredients and throw ’em all together. We’re talking four ingredients, friends. Easy as pie. Actually, way easier than pie. Do it!

Whatever way you’re spending this Easter weekend, I hope it involves much food, love, and happiness. And most importantly, chocolate!


Chocolate Nests (from The Pastry Affair)

Makes 8 nests. 

1/2 cup peanut butter

1 cup chocolate chips

3 cups chow-mein noodles

Mini-eggs (or jelly beans)

In a saucepan over low heat, melt the chocolate and peanut butter and stir until smooth. Pour over top of the chow mein noodles and stir until evenly coated. Drop by spoonfuls onto a cookie sheet lined with waxed or parchment paper. Try to create “nest” shapes as you work, leaving an indentation on the top of each nest. Allow the nests to set in the refrigerator for at least 30 minutes before decorating with chocolate eggs or jelly beans.

PS. The fun level of this activity is exponentially higher when you have help from little hands. 🙂

Conquering Fear | Chocolate Glazed Doughnuts

Well hello there friends! I bet you were starting to think that I’d fallen off the face of the earth. Fortunately, I’m still kicking. In truth, I’ve been working my arse off. The intense training schedule continues. After a day of work and a hard run, I’m lucky if I get some decent food past my lips, let alone photograph it and come up with an accompanying witty post.

But I must admit, I’m kind of using this whole running thing as a license to eat whatever the hell I want. Thankfully I’m a reasonable person (most of the time), and I’m trying to find a good balance between eating healthy and indulging from time to time. A few weeks ago, I had this sudden urge to try making doughnuts from scratch. And it wouldn’t. go. away. So I enlisted the help of a trusty friend of mine and we went to work on a few different recipes.
First, there were sour cream glazed doughnuts. They turned out alright, but not fantastic. Too dense, not cakey enough, and not the right flavor. So we moved onto pumpkin spice cake doughnuts. They were almost fantastic, especially when eaten still warm with a hefty coating of cinnamon sugar. And so we decided to try out a simple yeast doughnut with a rich chocolate glaze. Money.

These were delicious. The doughnut itself is not overly sweet, but the chocolate glaze adds a nice kick of sweet and chocolate.

Ladies and gents, it’s time to conquer our fears.

Yes, fear. I know what you’re thinking. Yeast? Hot oil?! Frying things??!

Don’t be afraid! It’s a lot easier, and more fun, than it looks. Especially in the company of a lovely friend, with some good tunes and a couple glasses of the red stuff. If only all fears were this easy to conquer! And hello?! There are doughnuts at the end of this lil’ journey. If that’s not motivation, I don’t know what is.

Let’s do this!

We start by making a simple yeast dough. Then we let it rise for a little bit until it doubles in size. Look at this beautiful ball of dough! Ain’t she perrty?

Then we roll out the dough and make doughnuts! Supposedly there are fancy doughnut cutters out there, but why not save that cash for another bottle of vino and use a wine glass and a shot glass instead! Doughnut + hole = done! Lay out your cut doughnuts on a lined cookie sheet, cover with a clean tea towel, and allow to rise for another half hour. Get your oil heating while the doughnuts rise.

The one special gadget you will require for this adventure is an oil/candy thermometer. I bought one for $10. When your thermometer reaches 325°F, it’s go time!

Fry, cool, glaze. Easy as pie. And then, EAT!

You can do it, I have faith in you!

Special shout-out to the lovelies that helped me eat my way through these doughnut trials. My heart (and thighs) thank you.

Chocolate Glazed Doughnuts (adapted from La Mia Vita Dolce)

These doughnuts are best enjoyed immediately after they are made, but leftovers can be stored in an airtight container for a couple of days. I recommend warming leftovers briefly in the microwave before enjoying. 

4 tsp. active dry yeast

1/4 cup water

1 cup whole milk

4 TBSP. sugar

1/4 cup butter, melted

4 1/4 cups all-purpose flour

3 eggs

Vegetable oil for deep-frying

Measure the water and milk into a small saucepan and heat over low heat until warm (do not let it boil!). Pour the warm water/milk mixture into a large bowl, and add 1 TBSP. of the sugar, as well as the yeast. Set aside for 10 minutes. The mixture will start to foam, meaning the yeast is working! Add the butter, flour, eggs and remaining sugar to the yeast mixture and mix until a sticky dough forms. Knead the dough on a lightly floured surface to bring it together. Place the dough in an oiled bowl, cover with a tea towel and set aside in a warm place for 45 minutes or until doubled in size.

Knead the dough on a lightly floured surface for 5 minutes or until it feels smooth and elastic when pressed. I punched my dough a few times, and it felt good! I may or may not have pretended that the dough was someone’s face. Unfortunately, karma bit me in the booty and I hit the counter instead. You win some and you lose some. Anyways…

Roll out the dough on a lightly floured surface until 1 cm (1 1/2 inches) thick. Cut 8 cm (3 1/4 inch) rounds with a cutter.  Cut a 3.5 cm (1 1/4 inch) hole in the middle of the rounds. Place on a tray lined with non-stick baking paper, cover with a tea towel and set aside in a warm place for 30 minutes or until risen.

In the meantime, heat the oil (2 inches deep) in a large pot over medium-low heat.  Gently drop the doughnuts one by one into the hot oil. Cook the doughnuts a few at a time for 1 minute each side or until just golden. Drain on a cooling rack set over paper towels.

Chocolate Glaze

2 1/2 cups icing sugar, sifted

1/2 cup unsalted butter

1/4 cup whole milk

1 TBSP. honey

2 tsp. vanilla

4 ounces bittersweet or semisweet chocolate, chopped

Sift icing sugar into a small bowl and set aside. Combine the butter, milk, honey, and vanilla in a medium saucepan and heat over medium heat until butter is melted. Decrease the heat to low, add the chocolate, and whisk until melted. Turn off the heat, add the icing sugar, and whisk until smooth. Dip slightly cooled doughnuts into the glaze and allow to set. Eat immediately!

Run Forrest Run! | Chocolate Cupcakes with Salted Caramel Buttercream


Sleep. Eat. Work. Run. Eat. Sleep.

Eat. Work. Run. Eat. Sleep.

Work. Eat. Yoga. Eat. Run. Sleep.


That was the jist of my life over the past week. Half-marathon training started with a bang and I’m pushing myself to establish a steady running schedule. It feels so good to be running again. Runner’s high, indeed!

The only problem is the weather. The last few days have brought temperatures as low as minus 44 degrees (celsius!) with the wind chill. Hello Winter!


I’m committed to this training. I really am. But a girl’s gotta draw the line somewhere, and for me the line gets drawn at about minus 25 degrees. Following a 7.5km run last weekend in minus 30 degree temperatures, I had a chill that I couldn’t shake for several days. Days. Thank goodness for a couple of local indoor tracks – I was able to keep up with the training schedule and get in a couple of indoor runs this week. Running indoors is a bit mundane, but it’s reassuring to know that I’ll still have all of my fingers and toes by the end of the run! I appreciate my extremities. 🙂


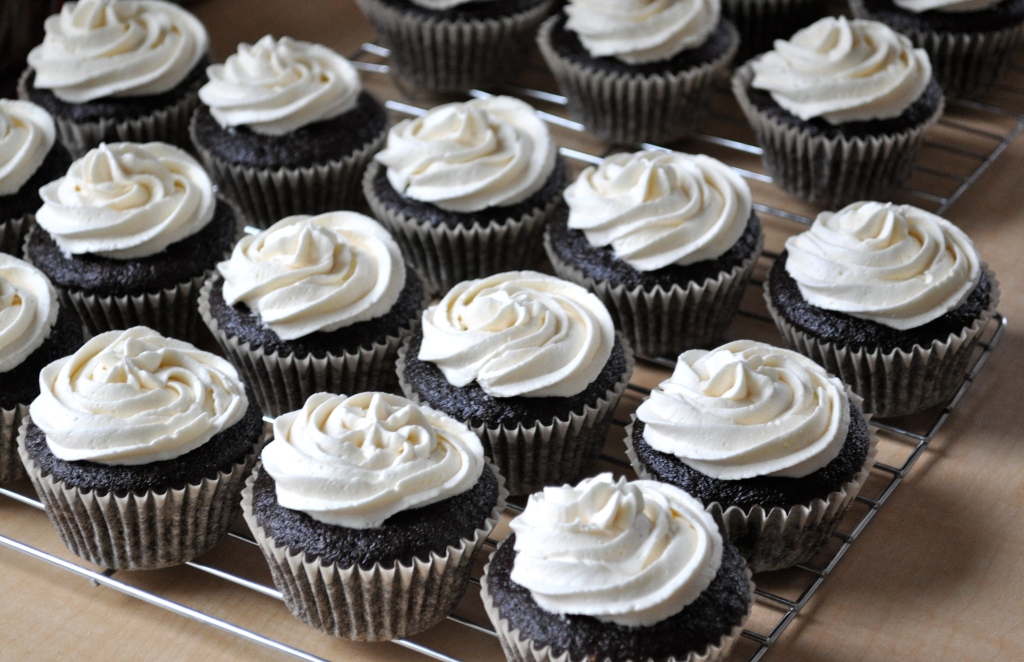
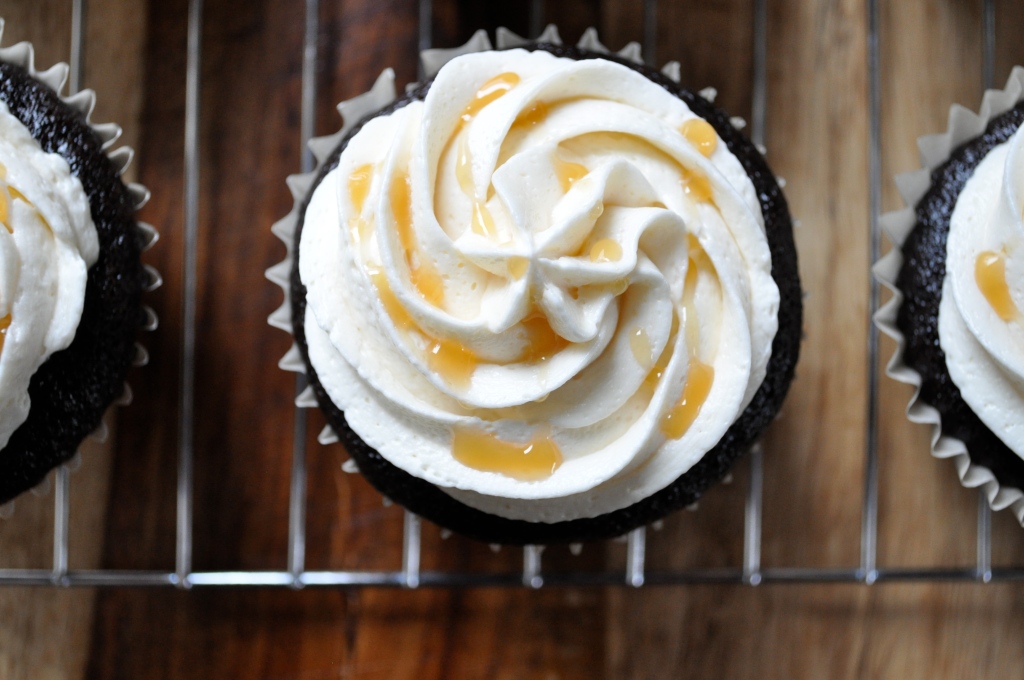
Fortunately (or unfortunately, depending on how you look at it), all this running has kicked my metabolism into overdrive. I am hungry all. the. time. And whether it’s wrong or right, I feel that eating cupcakes (I’m thinking right) and drinking red wine (yep, definitely right) is totally 100% justified by all of this exercise. It’s probably wrong…but if eating rich chocolate cupcakes topped with a swirl of salted caramel buttercream and then drizzled with more salted caramel is wrong, I don’t give a rough one about being right. Ever.

Plus, becoming a better cupcake decorator was one of my new year’s goals, and to become better at something, one must practice, practice, practice. I’m quite certain that taste-testing is mandatory.


Chocolate Cupcakes with Salted Caramel Buttercream

24 chocolate cupcakes – I used this, my favorite chocolate cupcake recipe. It’s vegan too!

Salted Caramel Buttercream (from Good Thymes and Good Food)

1 cup butter, softened

2 1/4 cups icing sugar

1/8 tsp. salt

2 tsp. vanilla

3 TBSP. salted caramel sauce + more for drizzling (I used store-bought, but you could make your own!)

2 TBSP. heavy cream

In a standing mixer, beat the butter at medium-high speed until smooth, about 20 seconds. Add in the icing sugar and salt; beat at medium-low speed until most of the sugar is combined, about 45 seconds. Scrape down the bowl and beat at medium speed until the mixture is fully combined, about 15 seconds; scrape down the bowl and add the vanilla, caramel sauce, and heavy cream. Beat at medium speed until incorporated, about 10 seconds. Increase speed to medium-high and beat until light and fluffy, about 4 minutes, scraping down bowl once or twice. Frost the cupcakes however you wish (I used a pastry bag with a star attachment), and then drizzle with more salted caramel sauce. Filling a small Ziploc bag with the caramel and cutting a teeny, tiny hole in one of the corners worked beautifully for me. Devour!


I’m starving. What’s for lunch?

Please tell me it’s cupcakes.

Enjoying | Bourbon Pecan Pie Brownies

Well, hello there. How you doin’?

What’s that?

You skipped your pilates class for the third week in a row the other night because something more important came up? You went to a hockey game and sat in the front row and drank overpriced beer and ate salty popcorn and hot dogs and cheered your little heart out instead? Me too!

You haven’t gone for a run in over a week, cause you’re too lazy to get off your butt, strap on your sneaks, and hit the pavement? Oh my goodness, I know that feeling!

You have a to-do list a mile long, but you continue to ignore it, and it continues to grow and grow and grow, and you have no idea how you’ll ever possibly accomplish everything? Ditto!

And you also made these decadent brownies and proceeded to eat almost an entire row of the pan while taking photographs of them? No way! But please tell me that you had the decency to go to a hot yoga class last night, to rid your body of all of those toxins, like I did?

Ok, phew. We’re on the same page then.

Do you ever have one of those weeks? Where your best intentions are set aside when fun opportunities come up, and you grab hold of them and take a leap and just enjoy? It’s been one of those weeks for me. But instead of beating myself up for not exercising enough, or not getting enough sleep, or not doing all of the things on my to-do list, I’m just enjoying. You only have one life peeps, enjoy it. Live in the moment when possible. It’s kinda liberating.

Friends, I wish you all had one of these brownies in front of you at this very moment. I really do. Cause if we lived in a world where illness, poverty, war, unhappiness, or even a crap-town day could be cured by brownies…we’d have it made in the shade. These brownies have a fudgy, rich base, and a sweet, gooey, crunchy top. Oh, and don’t forget about the bourbon. I’m rather certain that the bourbon gives these brownies special powers. And if you’re like me, and don’t have a bottle of bourbon lying around, go out and buy one. Yes, you only need two tablespoons for this recipe, but hey, then you have a bottle of bourbon to drink! Heck yes. Stick with me and that bottle of bourbon will come in handy. I promise you. Deal?

Bourbon Pecan Pie Brownies (from the Edmonton Journal, Oct. 12,2011)

For the brownie layer:

2 eggs

1 tsp. vanilla

1/2 cup butter

3/4 cup cocoa

1 1/4 cup sugar

A pinch of salt

1/2 cup flour

Preheat your oven to 325°F. Whisk the eggs and vanilla together in a small bowl and set aside. In a double boiler set over boiling water, combine the butter, cocoa, sugar, and salt. Allow the butter to melt and mix everything together until smooth. Remove from the heat and whisk in the egg/vanilla mixture. Add the flour and stir until well blended. Pour into a greased 8 x 8 inch baking pan. Bake for about 25 minutes (until a toothpick inserted into the centre comes out clean). Allow to cool.

For the pecan pie layer:

1/2 cup corn syrup

1/2 cup brown sugar, packed

2 eggs

1 TBSP. vanilla

1/4 tsp. cinnamon

1/4 cup butter, melted

2 TBSP. bourbon

2 cups chopped pecans

Using an electric mixer, beat together the corn syrup and sugar until smooth. Add the eggs, vanilla, and cinnamon, and beat well. Add the butter and bourbon and beat again until well-mixed. Stir in the pecans and pour the mixture over top of the brownie layer. Bake for 30-35 minutes, or until the centre of the pecan pie layer has set (mine took about 45 minutes). Allow to cool completely, then refrigerate for at least a couple of hours before serving. Chow. down. Preferably in the company of others. I cannot be held responsible for what might happen if you are left alone with this entire pan of brownies. Consider yourself warned.

A Successful Quest | The Perfect Chocolate Chip Cookie

Hello friends. Do you like cookies?

Do you like thick, chewy cookies?

Thick, chewy, chocolate chip cookies?

 If you answered yes to the above questions, then hold onto your hats. Because I have the perfect cookie for you.

My quest for the perfect chocolate chip cookie started when I was just a tyke, learning my way around the kitchen. Don’t get me wrong, the cookies always tasted delicious, but much of the time the end result was a big cookie pancake, created by the cookies all flattening out and running into each other. Unfortunately, I wanted individual thick, chewy cookies, not one big, thin cookie. *sigh*

And then, a miracle happened. A few days ago, I was perusing a few of my favorite food blogs. And I came upon this post by Joy from Joy the Baker. My heart started racing as I read about cookies that did not flatten into a cookie pancake, cookies that would stay thick and chewy! Cookies that were made with melted butter (what?) and bread flour (huh?) – a recipe very unlike all the others that have failed (for me at least). Well, I just had to try them for myself. Immediately. I braced myself – it was probably too good to be true.

Imagine my delight when the cookies popped out of the oven, thick and perfectly round! And my surprise, when they didn’t sink as soon as they were out of their warm oven cave! And my happiness when I sunk my teeth into one of these cookies, in awe of its moist chewiness! Seriously people, these cookies are top notch. Very worthy of the “perfect” in their name. The secret must be the bread flour. Or the melted butter. Or the combination of the two. Who knows? They taste amazing and that’s really all that matters. Try them today. Happy eating!

The Perfect Chocolate Chip Cookie (via Joy the Baker, originally from Alton Brown)

1 cup (two sticks) unsalted butter

2 1/4 cups bread flour

1 tsp. kosher salt

1 tsp. baking soda

1/4 cup sugar

1 1/4 cups brown sugar

1 egg

1 egg yolk

2 TBSP. milk

1 1/2 tsp. vanilla

2 cups semisweet chocolate chips

Preheat the oven to 375°F.Melt the butter in a heavy-bottom saucepan over low heat. Sift together the flour, salt, and baking soda and set aside.Pour the melted butter into a bowl. Add the sugar and brown sugar. Cream the butter and sugars on medium speed (it takes a few minutes to get the butter and sugars to come together, so be patient). Add the egg, yolk, milk and vanilla and mix until well combined. Slowly incorporate the flour mixture until thoroughly combined. Stir in the chocolate chips.

Chill the dough (for at least 30 minutes), then scoop onto parchment-lined baking sheets. Bake for 10-12 minutes or until golden brown, but don’t overbake. Rotate the baking sheet for even browning. Cool completely and store in an airtight container. Eat!

PS. I know I have been posting a lot about sweets lately, but contrary to the impression I may be making, I do eat healthier things than cookies and cakes and delicious frozen desserts. Stay tuned for some savory and healthy recipes on the way!

Update: I made these cookies again this weekend and used 1 cup chocolate chips, 1 cup butterscotch chips, and OMG, it was an explosion of amazing deliciousness! I bet this cookie recipe would make a good base for any mix-ins you wanted to use (instead of chocolate chips) – nuts, white chocolate, peanut butter chips, M & Ms, etc.

Love Tastes Good | Red Velvet Sandwiches

It’s that time of year again. The time where card, flower, chocolate, and lingerie shops make a killing off of the lovestruck population. Truth be told, Valentine’s Day doesn’t hold that much meaning in my life. Single or attached, I’ve never been blown away by what the love holiday has to offer. I mean, shouldn’t every day be Valentine’s Day? Shouldn’t we take every opportunity we can to show our love for the special people in our lives?

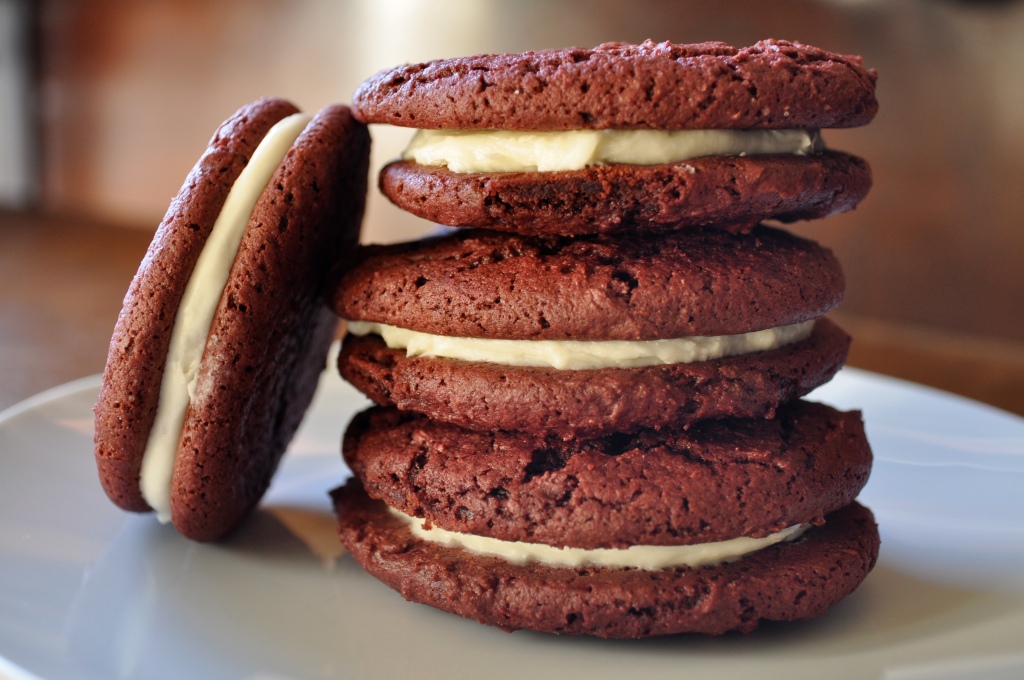
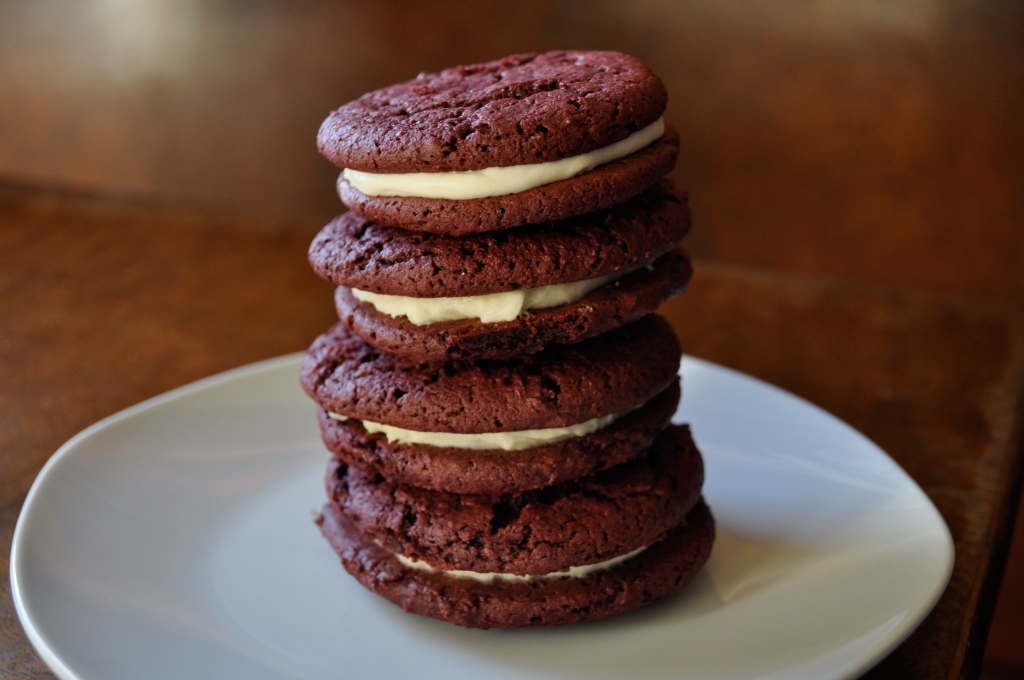
This year, I’m going to share my love via baked goods! Instead of supporting the traditional V-day market, I’m going to make homemade goodies for the special people in my life. What better way is there to share love  than through the belly? I came across this recipe on Bakerella and decided to give it a try, based on two things. 1. It looked easy. And 2. It looked delicious. I had no idea there was a mix for red velvet cake. And unfortunately, my local grocery store didn’t have it, so I decided to improvise with a chocolate cake mix and red food coloring. I was slightly concerned when my cookie dough became a sticky gum once everything was mixed together, but I decided to forge ahead. I’m sure glad that I did, because these babies are rather tasty. My cookies were a bit more dense than Bakerella’s cakey creations, likely due to the necessary changes that I made. So, if you decide to try this (and I definitely suggest that you do), try and find a red velvet cake mix. But if that task proves impossible, try my adaptation! Happy eating! And happy love day! <3

Red Velvet Sandwiches (adapted from Bakerella)

1 box red velvet cake mix (or 1 box chocolate cake mix plus 1 oz. red food coloring)

1/2 cup butter, softened

2 eggs

Preheat the oven to 350°F. Combine all of the ingredients in a large bowl and mix together. Spoon the dough onto prepared baking sheets. Bakerella suggests using a mini ice cream scoop – I just used 2 small spoons. Bake for 10-12 minutes. Cool on wire racks until completely cooled. Fill with the icing recipe below. Makes 24 cookies, and therefore, 12 sandwiches.

Cream Cheese Icing

8 oz. cream cheese

1/2 cup butter, softened

1 tsp. vanilla

1 box powdered sugar

Cream the cream cheese and butter together. Add the vanilla. Gradually add the powdered sugar until desired consistency is reached. Spread between two cookies and sandwich them together. Eat and enjoy!

*This makes a large quantity of icing. I doubled the cookie recipe and found that the amount of icing was just right. However, if you’re just making one batch of cookies, it might be wise to cut the icing recipe in half.

The Exchange | Neapolitan Cookies

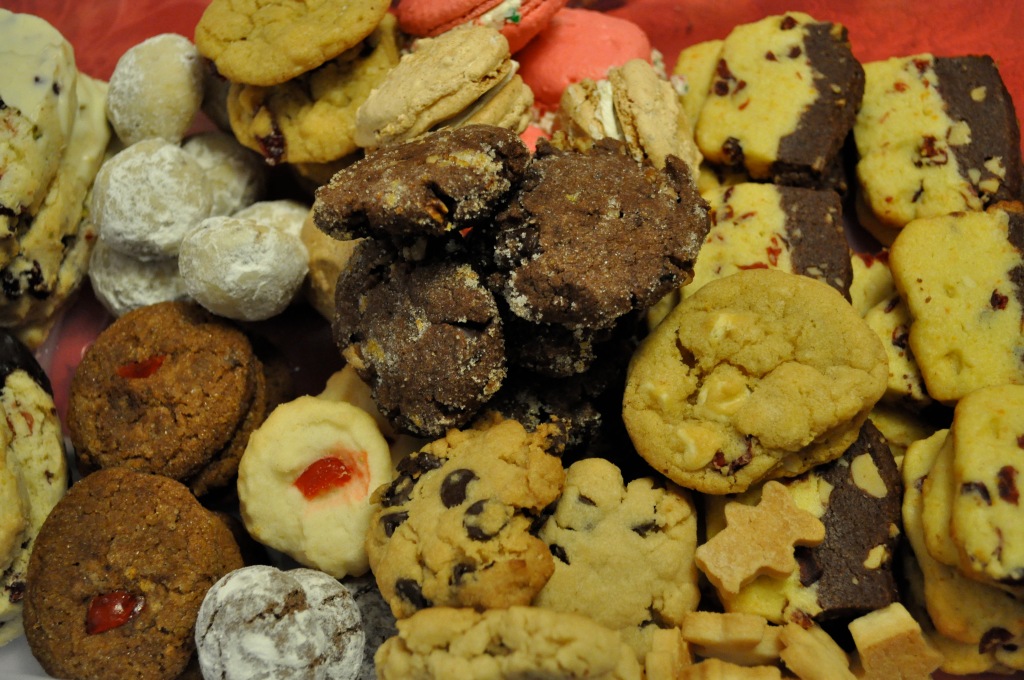
Ready for more cookie recipes yet? ‘Cause there are a few coming down the pipe! Today I hosted a cookie exchange with some of my favorite family and friends. There were so many delicious cookies to share – I fear that I may end up eating my body weight in baked goods in the coming weeks! Clearly the afternoon was a success – check out my haul!

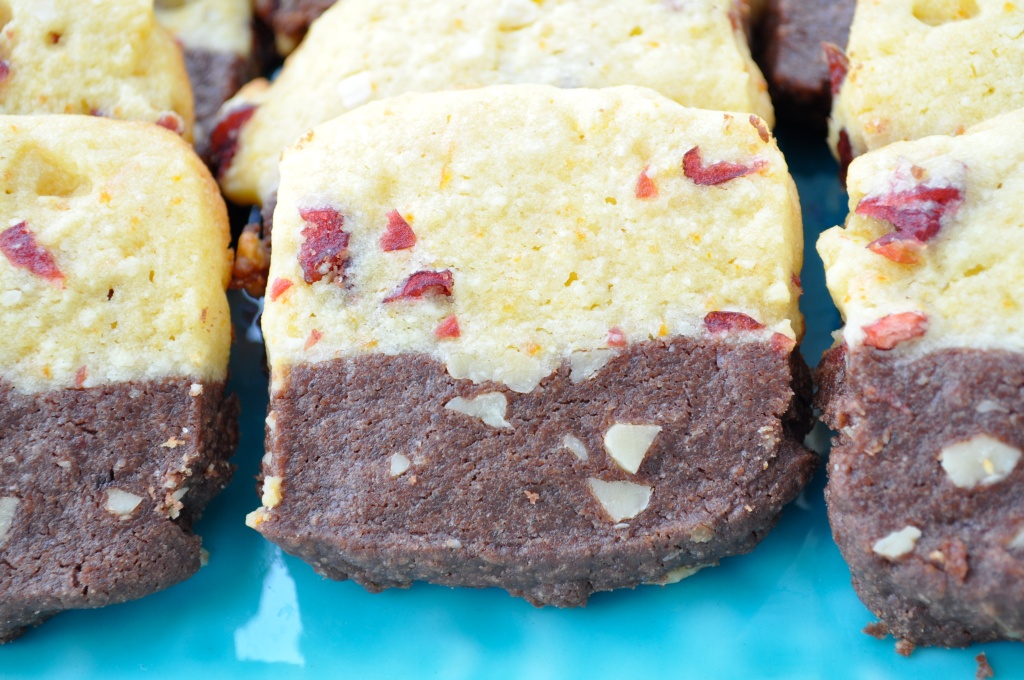
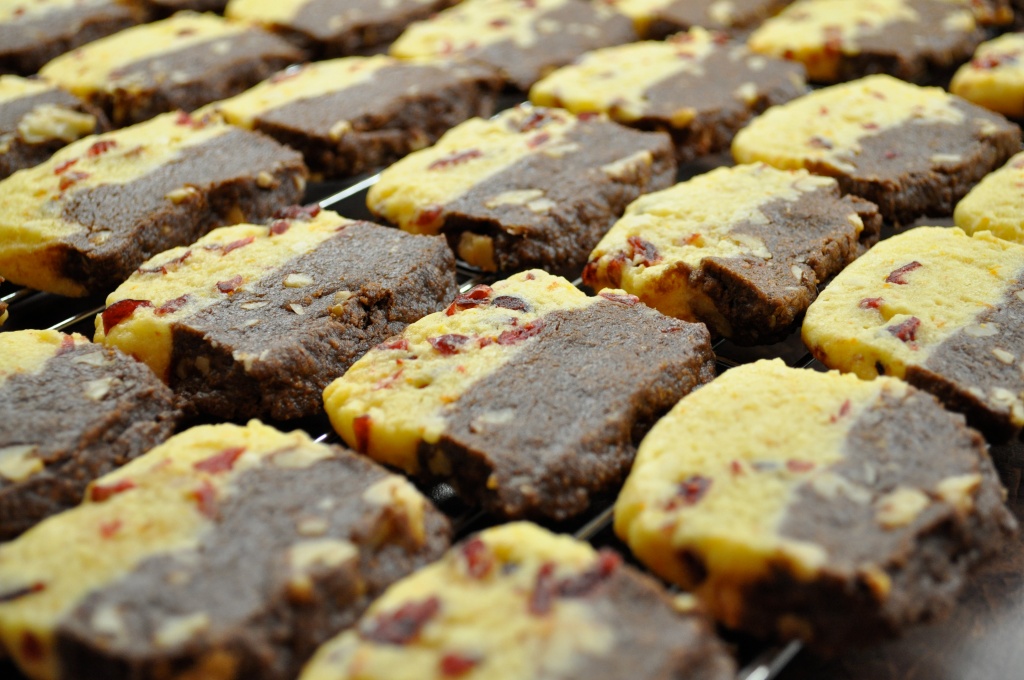
So many amazing treats – I can’t wait to try them all! I decided to share a recipe that I came across last holiday season – Martha Stewart’s Neapolitan cookies. I adapted the original recipe slightly (it also called for espresso powder in the chocolate half of the cookie, but I wanted to keep it a little more simple). The cookies were very well received last year, so I definitely wanted to share them with everyone this year. They take a little bit of time to make, but overall are quite easy, and they taste wonderful. The flavor of the orange, almonds, and cranberries blend perfectly with the chocolate and walnuts. These would make such a lovely homemade gift!


Christmas can be such a stressful time of year, with many demands (cooking, preparing for guests, shopping for gifts), but baking cookies is such a relaxing experience for me. I better be careful – at this rate I may end up with an insane amount of cookies to eat. But that would just mean more for sharing, one of my favorite holiday activities. Wouldn’t you love to receive a tin of homemade cookies from a friend? Try sharing these cookies (or making them for yourself). You won’t be disappointed. Happy eating!

Neapolitan Cookies (adapted from Martha Stewart)

For the orange-sable dough:                                         For the chocolate-walnut dough:

1 ¼ cups whole blanched almonds                              1 ½ cups all-purpose flour

1 cup sugar                                                                           ½ cup Dutch-process cocoa powder

¾ cup unsalted butter, room temp.                               1 cup unsalted butter, room temp.

3 TBSP. finely grated orange zest (2-3 oranges)       1 cup sugar

1 large egg                                                                            1 tsp. vanilla extract

1 TBSP. freshly squeezed lemon juice                           1 cup walnuts, coarsely chopped

1 ½ cups all-purpose flour

1 cup dried cranberries, roughly chopped

To make the orange-sable dough: Place almonds and sugar in the bowl of a food processor. Process until the mixture resembles coarse cornmeal. Add the flour and set aside. Place the butter and zest in a bowl and mix using an electric mixer. Beat on medium speed until white and fluffy, 2-3 minutes. On low speed, add the almond mixture; beat until combined. Add egg and lemon juice; combine. Wrap in plastic and store in the refrigerator until ready to use.

To make the chocolate dough: Sift flour and cocoa powder into a large bowl and set aside. Using an electric mixer, beat the butter, sugar, and vanilla until creamy, 3-4 minutes. Working in additions, gradually beat in flour mixture, scraping down sides of bowl twice. Wrap in plastic and store in refrigerator until ready to use.

Line an 8-inch square baking pan with plastic wrap. In a large bowl, stir the cranberries into the orange-sable dough. In another large bowl, stir the walnuts into the chocolate dough. Press the orange mixture into the bottom of the pan. Using an offset spatula, (or wet fingers) smooth top evenly. Spread chocolate mixture over the orange mixture and smooth evenly. Cover with plastic wrap and chill for at least 2 hours.

Heat oven to 350oF. Line two baking sheets with parchment paper. Shake the dough out of the pan and remove plastic. Cut into 2-by-8-inch bricks; cut bricks into ¼-inch-thick slices. Place slices on sheets, spaced 1 ½ inches apart. Bake for 12-15 minutes, or until firm to the touch. Transfer cookies to a wire rack to cool. Store in an airtight container.  Makes about 6 dozen.

PS. Later this week…Christmas Biscotti!

PPS. What is your favorite Christmas cookie recipe?

%d bloggers like this: