Fresh Bean Salsa

Fresh Bean Salsa | Once Upon a Recipe

High five friends, it’s Friday!

I say it every week, but I’m so glad that the weekend is here. I have fun plans with friends, a birthday party for my little bro (who’s not so little anymore, btw), and sleeping in on the agenda. There is nothing I love more than not having to wake up to the sound of an alarm. I will also endeavour to keep up with my 2014 goal of reading one book per month. I realize that reading a dozen books in a one year period doesn’t seem like much, but I’m going for achievable here. I’ve read a few great posts on book recommendations, which have directed me to some great reads (if you’re also looking for inspiration, try here, here, and the comments section of this post).

Fresh Bean Salsa | Once Upon a Recipe

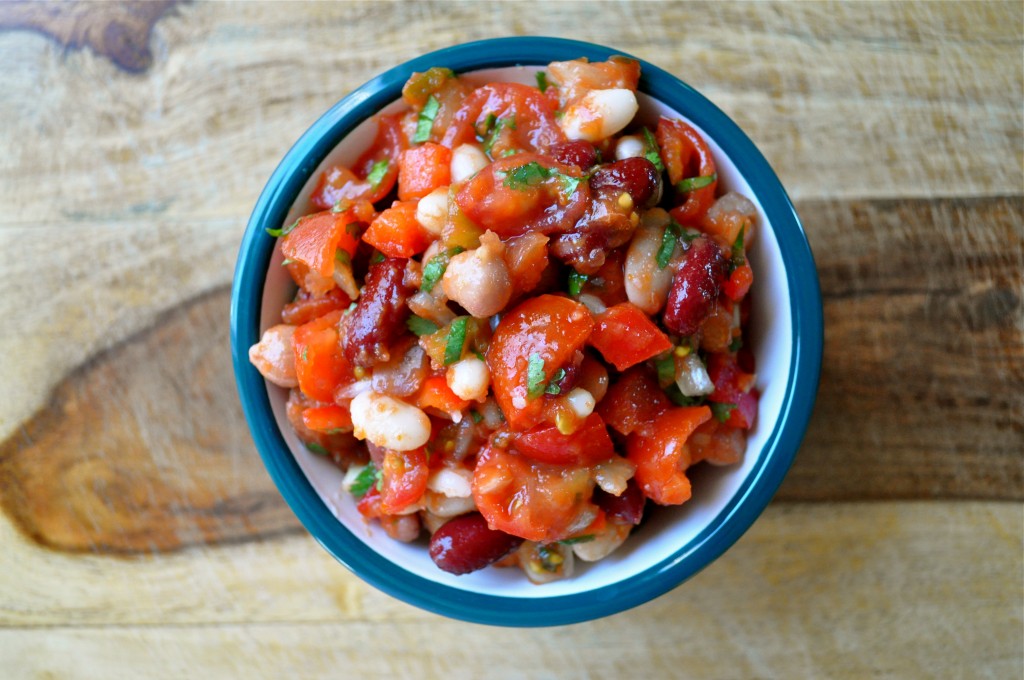
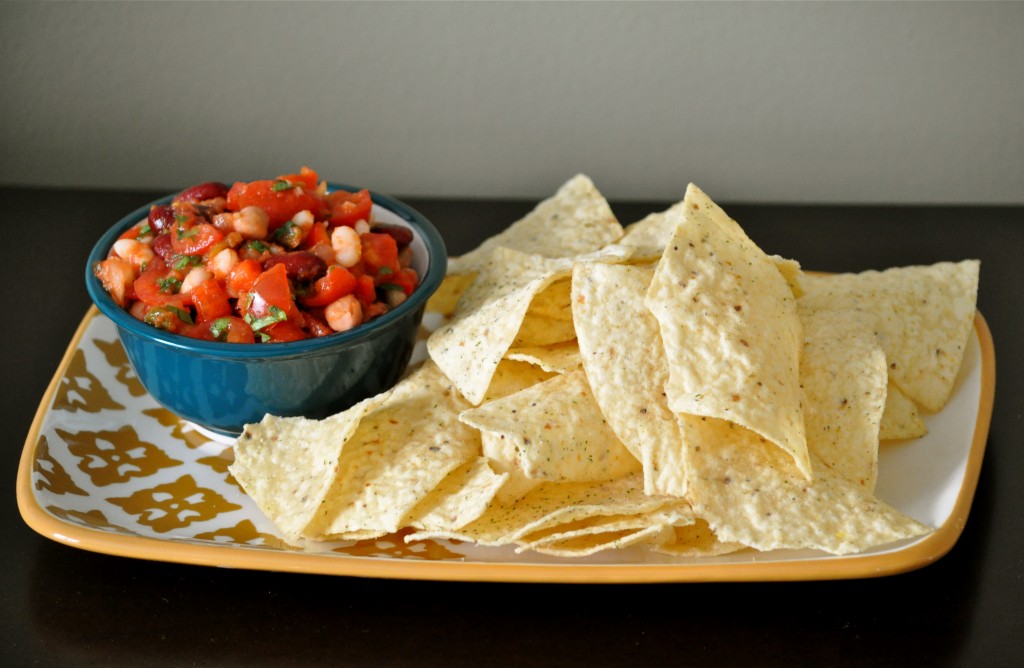
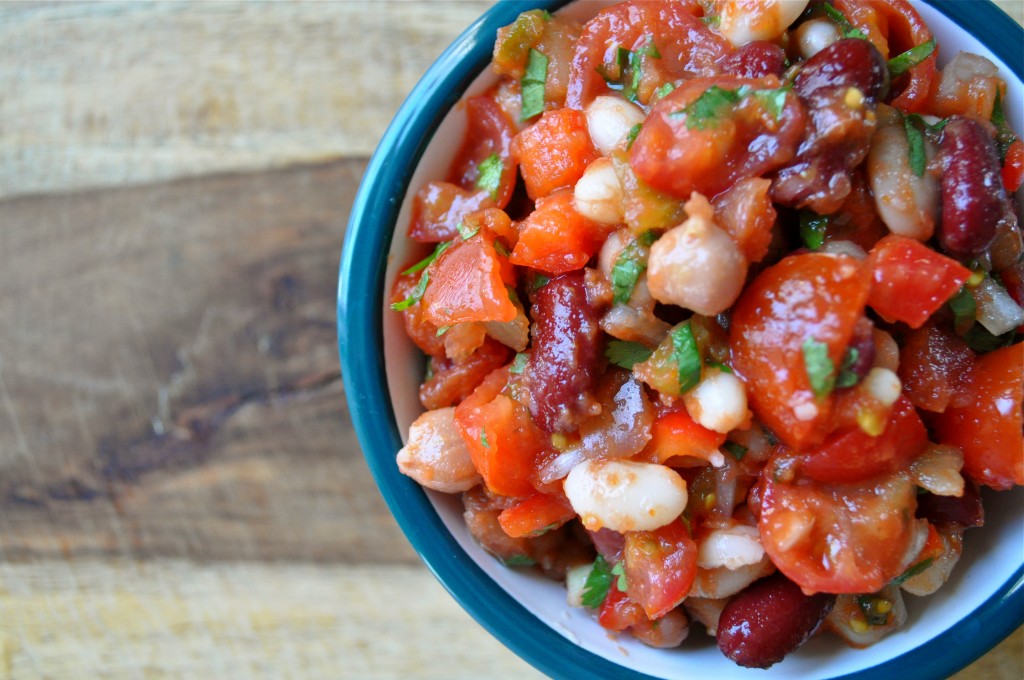
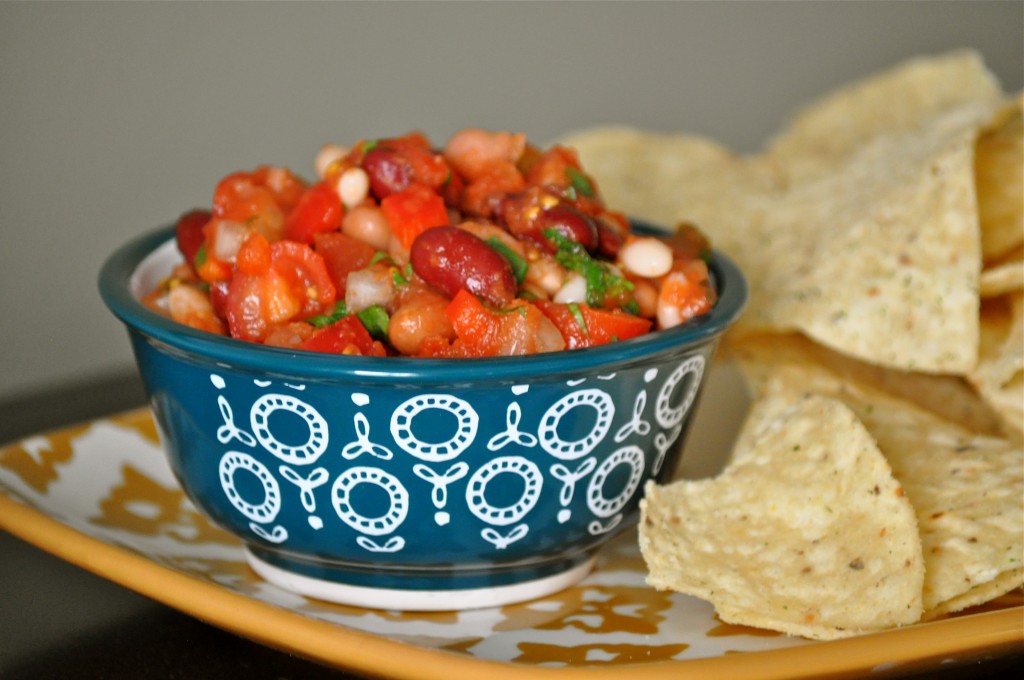
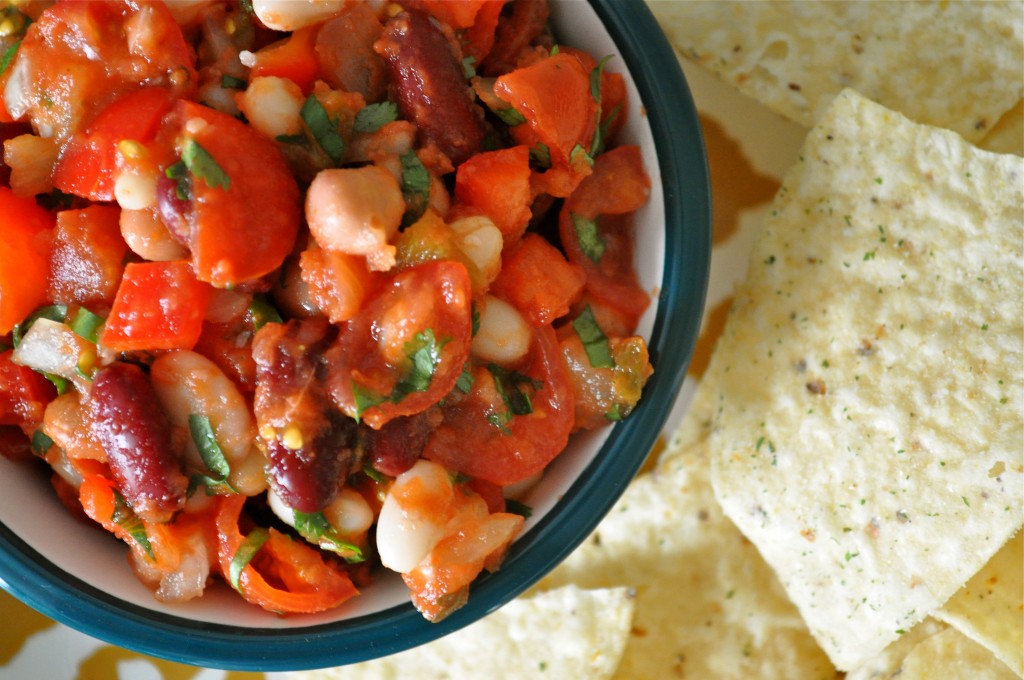
Annnnnyways, today I bring you a very humble bean salsa recipe. My friend, Jill started bringing this salsa to get togethers a while back. It always got rave reviews, so I asked for the recipe. Then I started taking it places and it got more rave reviews. It’s super simple, yet extremely flavorful and healthy. All it takes is a little chopping, a little mixing, and a little time for the flavors to mingle together, and you’ve got yourself a great snack, appetizer, or even side dish. My favorite way to enjoy this salsa is with Hint of Lime tortilla chips (either Tostitos or Old Dutch), but I bet it would taste great on nachos (add after baking the nachos so the chips don’t get mushy) or alongside your favorite Mexican dish. I’ve even thrown leftovers on top of a salad. Use your imagination folks!

Fresh Bean Salsa | Once Upon a Recipe

Fresh Bean Salsa | Once Upon a Recipe

Fresh Bean Salsa

This bean salsa tastes best if you give it a chance to chill out in the fridge for at least a couple of hours. It will keep well in an airtight container in the fridge for up to three days. You can use the salsa of your choice. 

2-19 ounce cans of mixed beans, drained and rinsed

1 red pepper, chopped

1 small onion, chopped

1 large tomato, chopped

1 cup prepared salsa of your choice

Salt and pepper, to taste

Fresh cilantro, chopped

Chop. Mix. Allow to sit in the fridge for a couple of hours (or overnight, if possible). Enjoy with tortilla chips!

Fresh Bean Salsa | Once Upon a Recipe

Have the most marvelous weekend!
Just Call Me Fancy Pants | Tequila Shrimp

Tequila Shrimp | Once Upon a Recipe

Despite the fact that all of the holiday parties are over, it is important to have a few recipes on the ready so that you’re always in a position to entertain your friends. (Happy bellies = happy friends). It’s kind of a shame that we smush all of these wonderful parties/gatherings into the weeks surrounding Christmas and New Year’s Eve, no? I mean, it makes for a lot of partying and eating and drinking to do in a short amount of time. Forget the Freshman Fifteen. Hello Christmas Fifteen. Why not spread it out a little?

Tequila Shrimp | Once Upon a Recipe

Friends, I propose that we create a new holiday. Something to get us through the rest of the winter. January and February are such dreary months! Post-holiday lows combined with cold, dark days. It’s all a bit depressing if you ask me. What shall we call our new holiday?

…I am drawing a blank, but one thing I can be sure of is that it must involve lots of good food and beverages. Presents can be optional.

Tequila Shrimp | Once Upon a Recipe

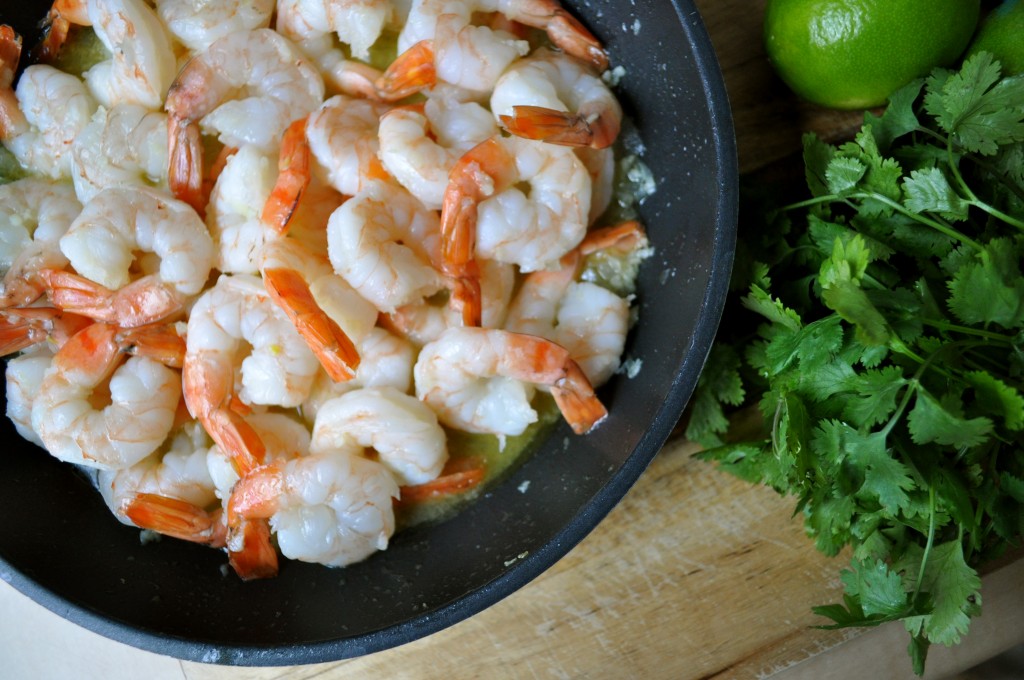
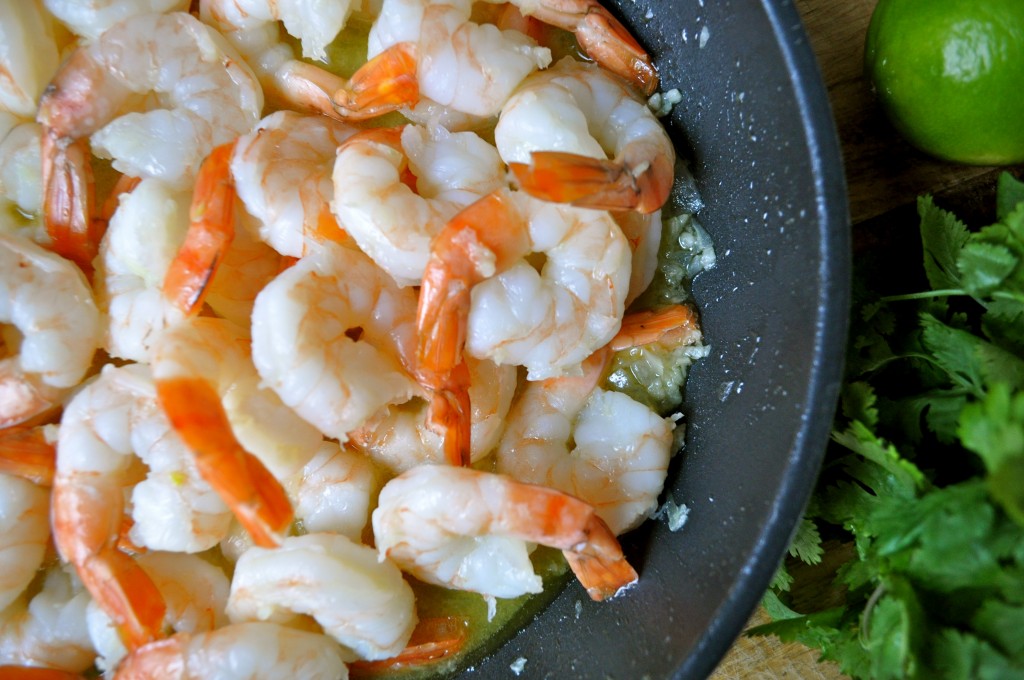
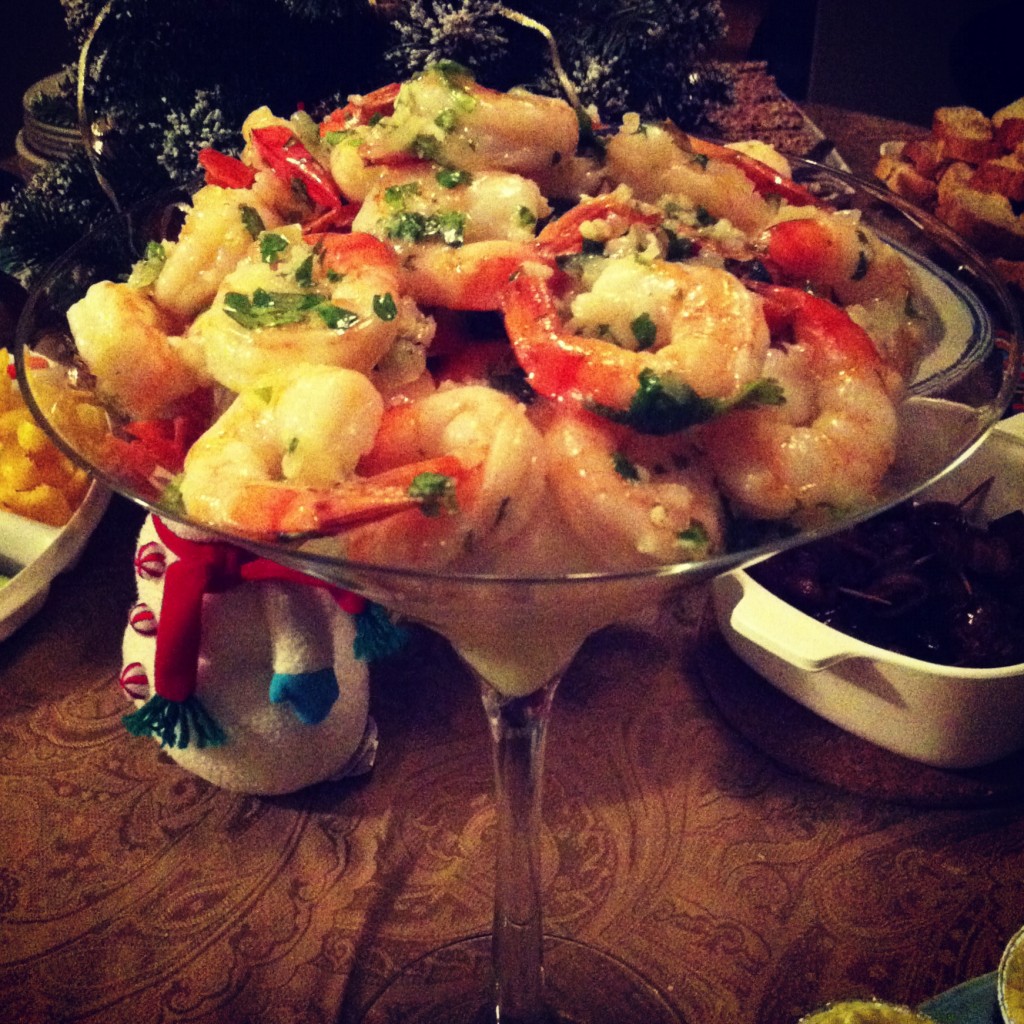
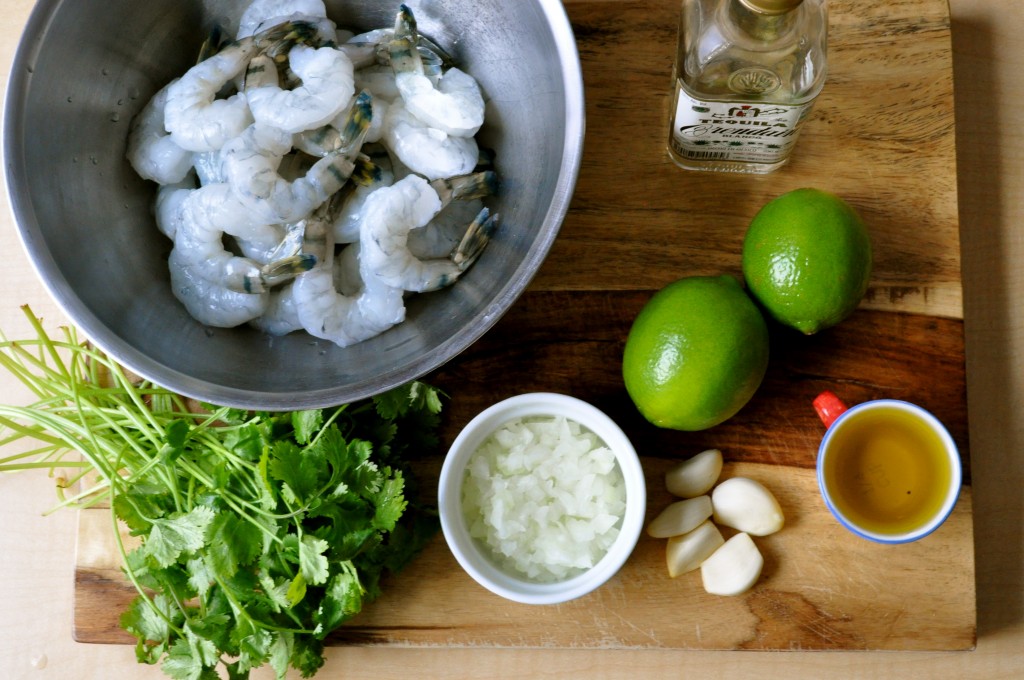
And these tequila shrimp will be a must-serve item. I mean, come on – jumbo shrimp combined with tequila, lime, and cilantro? It’s like a shrimp marrying a margarita and having delicious babies. It’s super simple to create too. Sauté your shrimp with some onion, garlic, and tequila – all of which can be done in advance, no less – and then serve with cilantro, lime, and salt. In a jumbo martini glass (optional – see below). I made these tequila shrimp for a holiday party I hosted a few weeks ago and they were completely annihilated. Fancy pants without being finicky or stressful. Winning! Happy…Partymus!

Tequila Shrimp | Once Upon a Recipe

Tequila Shrimp

1/4 cup finely chopped onion

5 cloves garlic, minced

1/4 cup olive oil

2 pounds fresh shrimp, peeled and tails on (~40 large shrimp)

1/4 cup tequila

1/4 cup freshly squeezed lime juice

1/8-1/4 tsp. salt (to taste)

2 TBSP. cilantro, chopped

Sauté the onion and garlic in olive oil over medium heat for about 3 minutes. Add the tequila and the shrimp. Bring to a boil and cook, uncovered for 3-5 minutes, or until the shrimp are just pink. Refrigerate for at least two hours, or until ready to serve (up to 24 hours).

For the presentation: Combine the shrimp with the lime juice, salt, and cilantro. Toss together and serve over ice, preferably in an over-sized martini glass. Serve with cocktail sauce for dipping, if desired.

PS. While I’ve never tried it, I happen to think that this recipe could be turned into a rather amazing entrée. Add the lime juice, salt, and cilantro while the shrimp are still warm, and serve over freshly cooked angel hair pasta. Throw in some asparagus (or your favorite vegetable) to round out the meal. Does that sound lip-smacking good or what?

A Guest Post | Goat Cheese Tart with Honey and Figs

Aloha friends. Can I ask you a serious question?

Where the deuce did Summer go? One minute the heat has me more hot and bothered than a lonely housewife reading 50 Shades of Grey at a Magic Mike screening (thanks someecards), and the next minute I’m pulling out my boots, scarves, and turning on my seat heaters during my early morning commute to work. What gives?

Just like that, Fall is here. Don’t get me wrong, I love Fall. Crisp air, gorgeous colors, cozy sweaters, delicious treats (aka. pumpkin everything)…I adore it all. Unfortunately, around these parts, Fall lasts a cool hot minute and then it’s suddenly Winter. For six. long. months.

However…these days I’m focusing my efforts on being a glass half full kind of gal, so let’s nip this Winter talk in the bud and hone in on something positive.

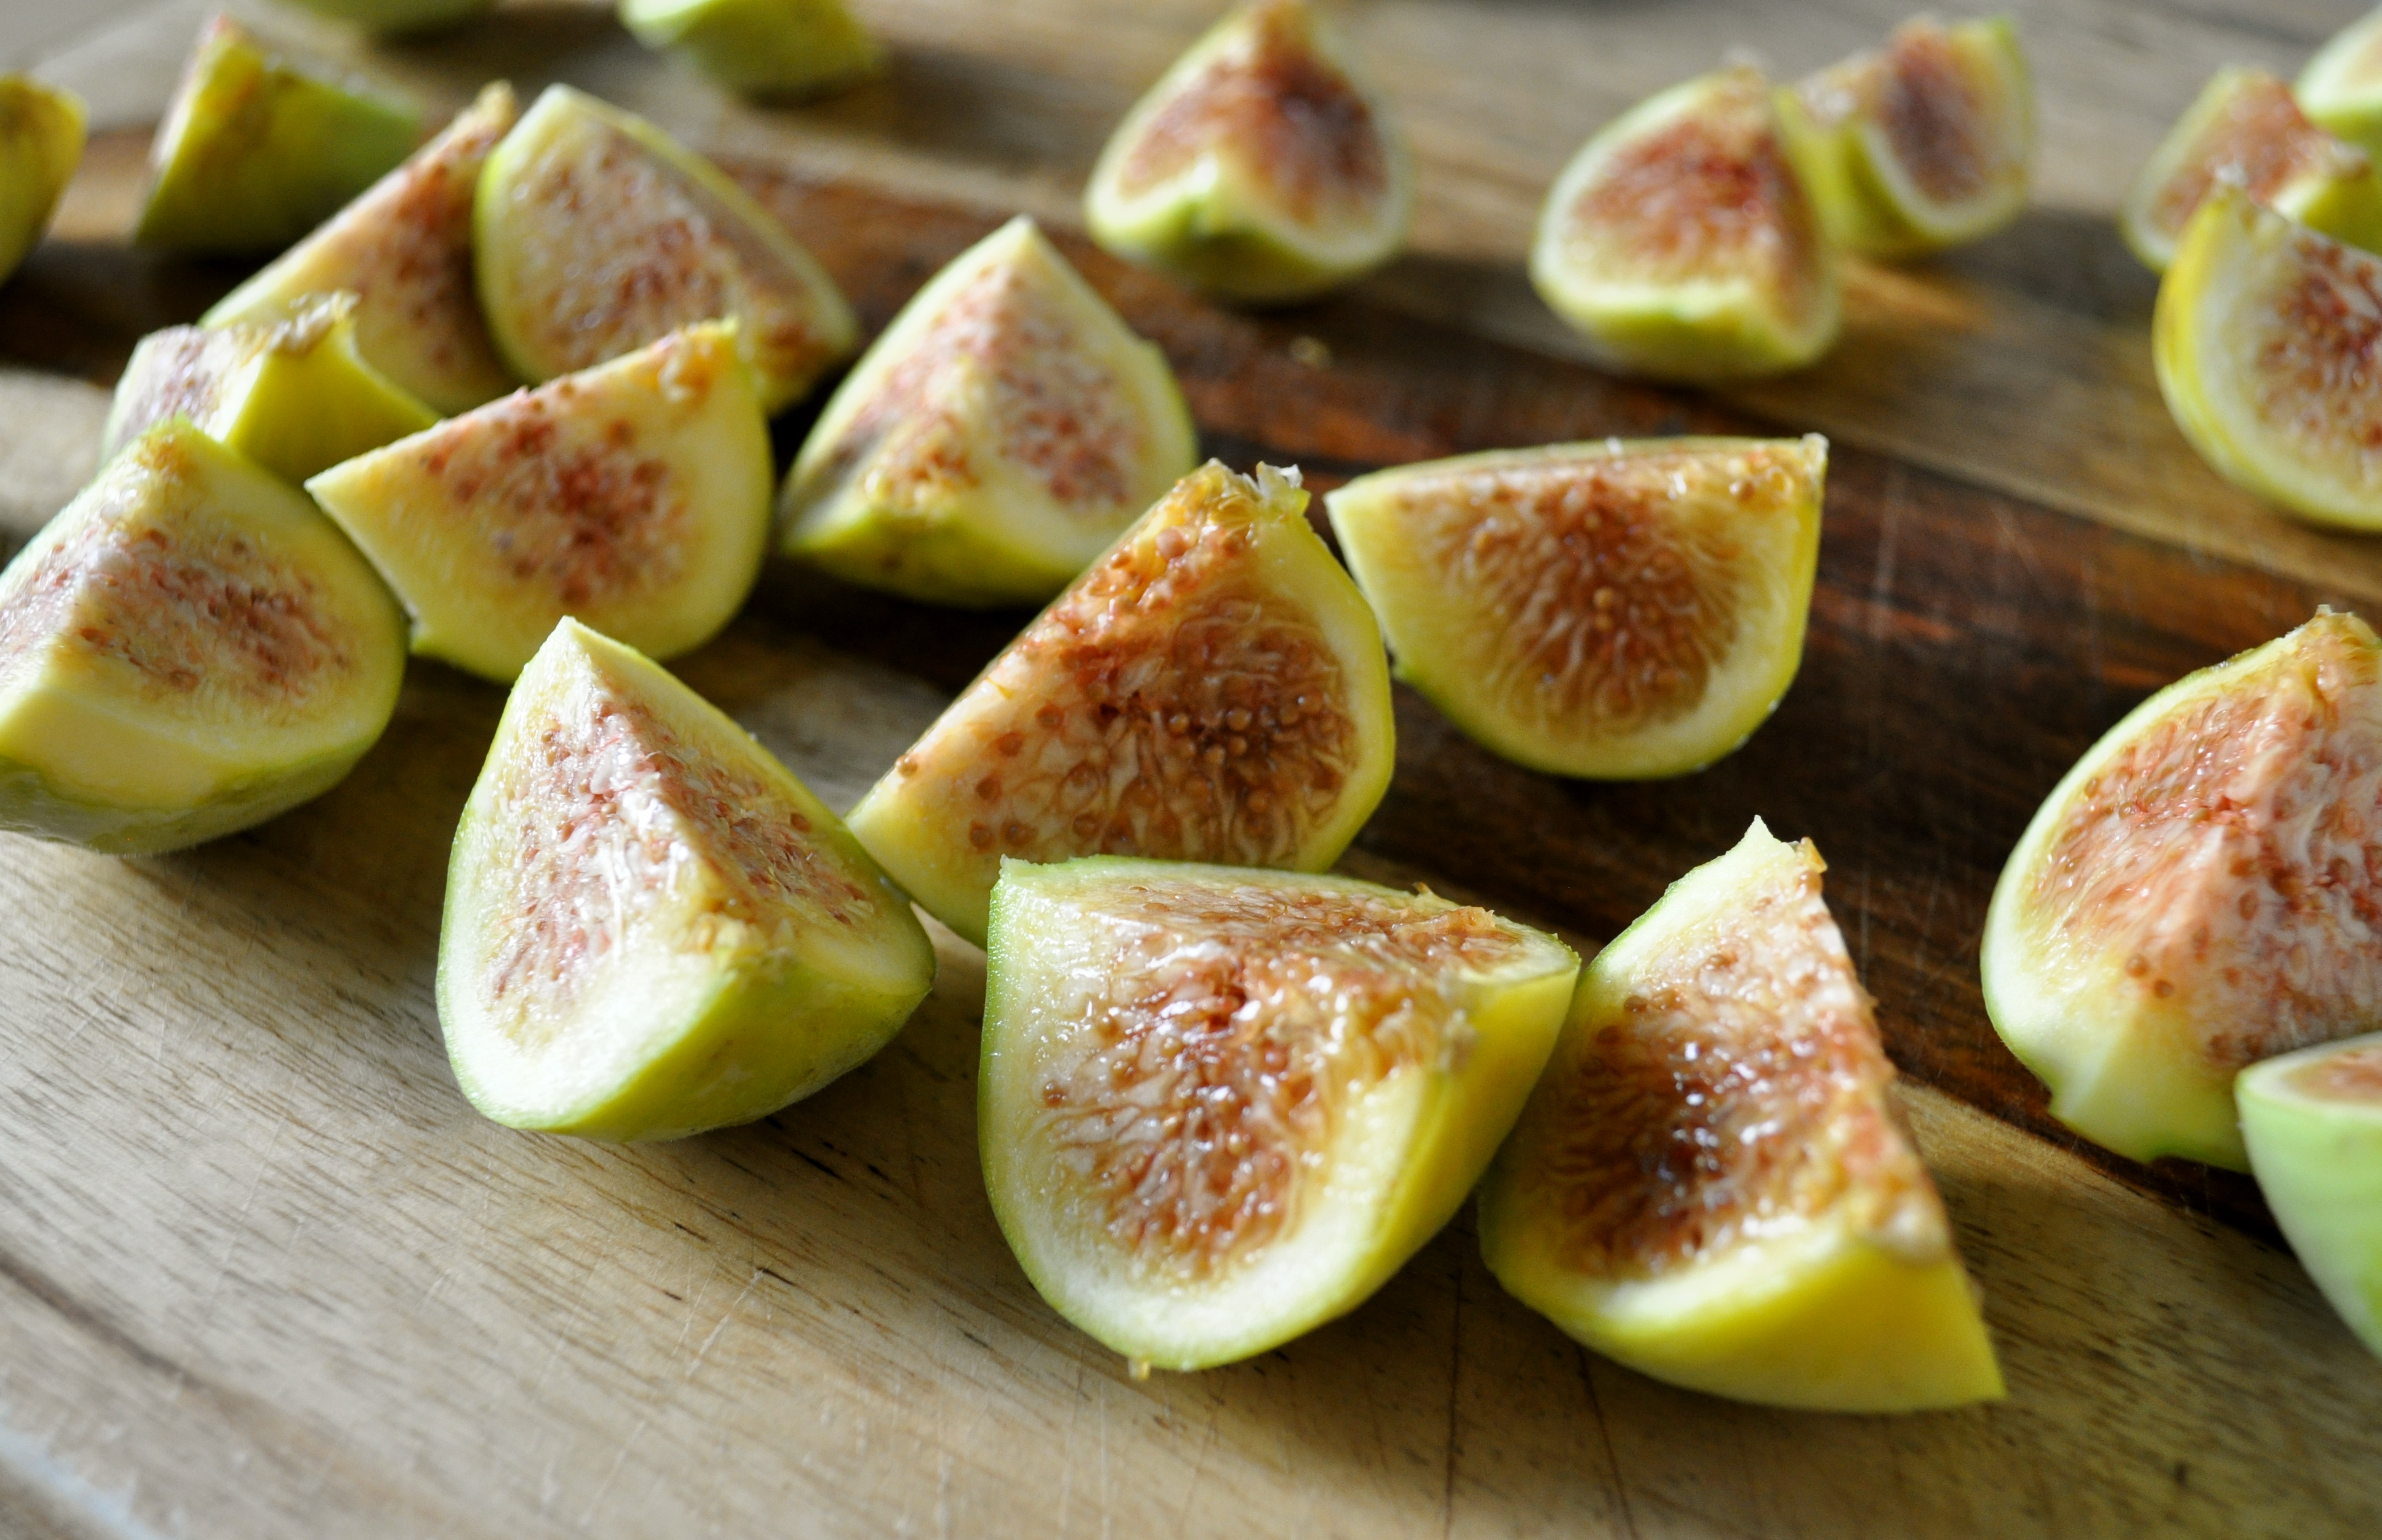
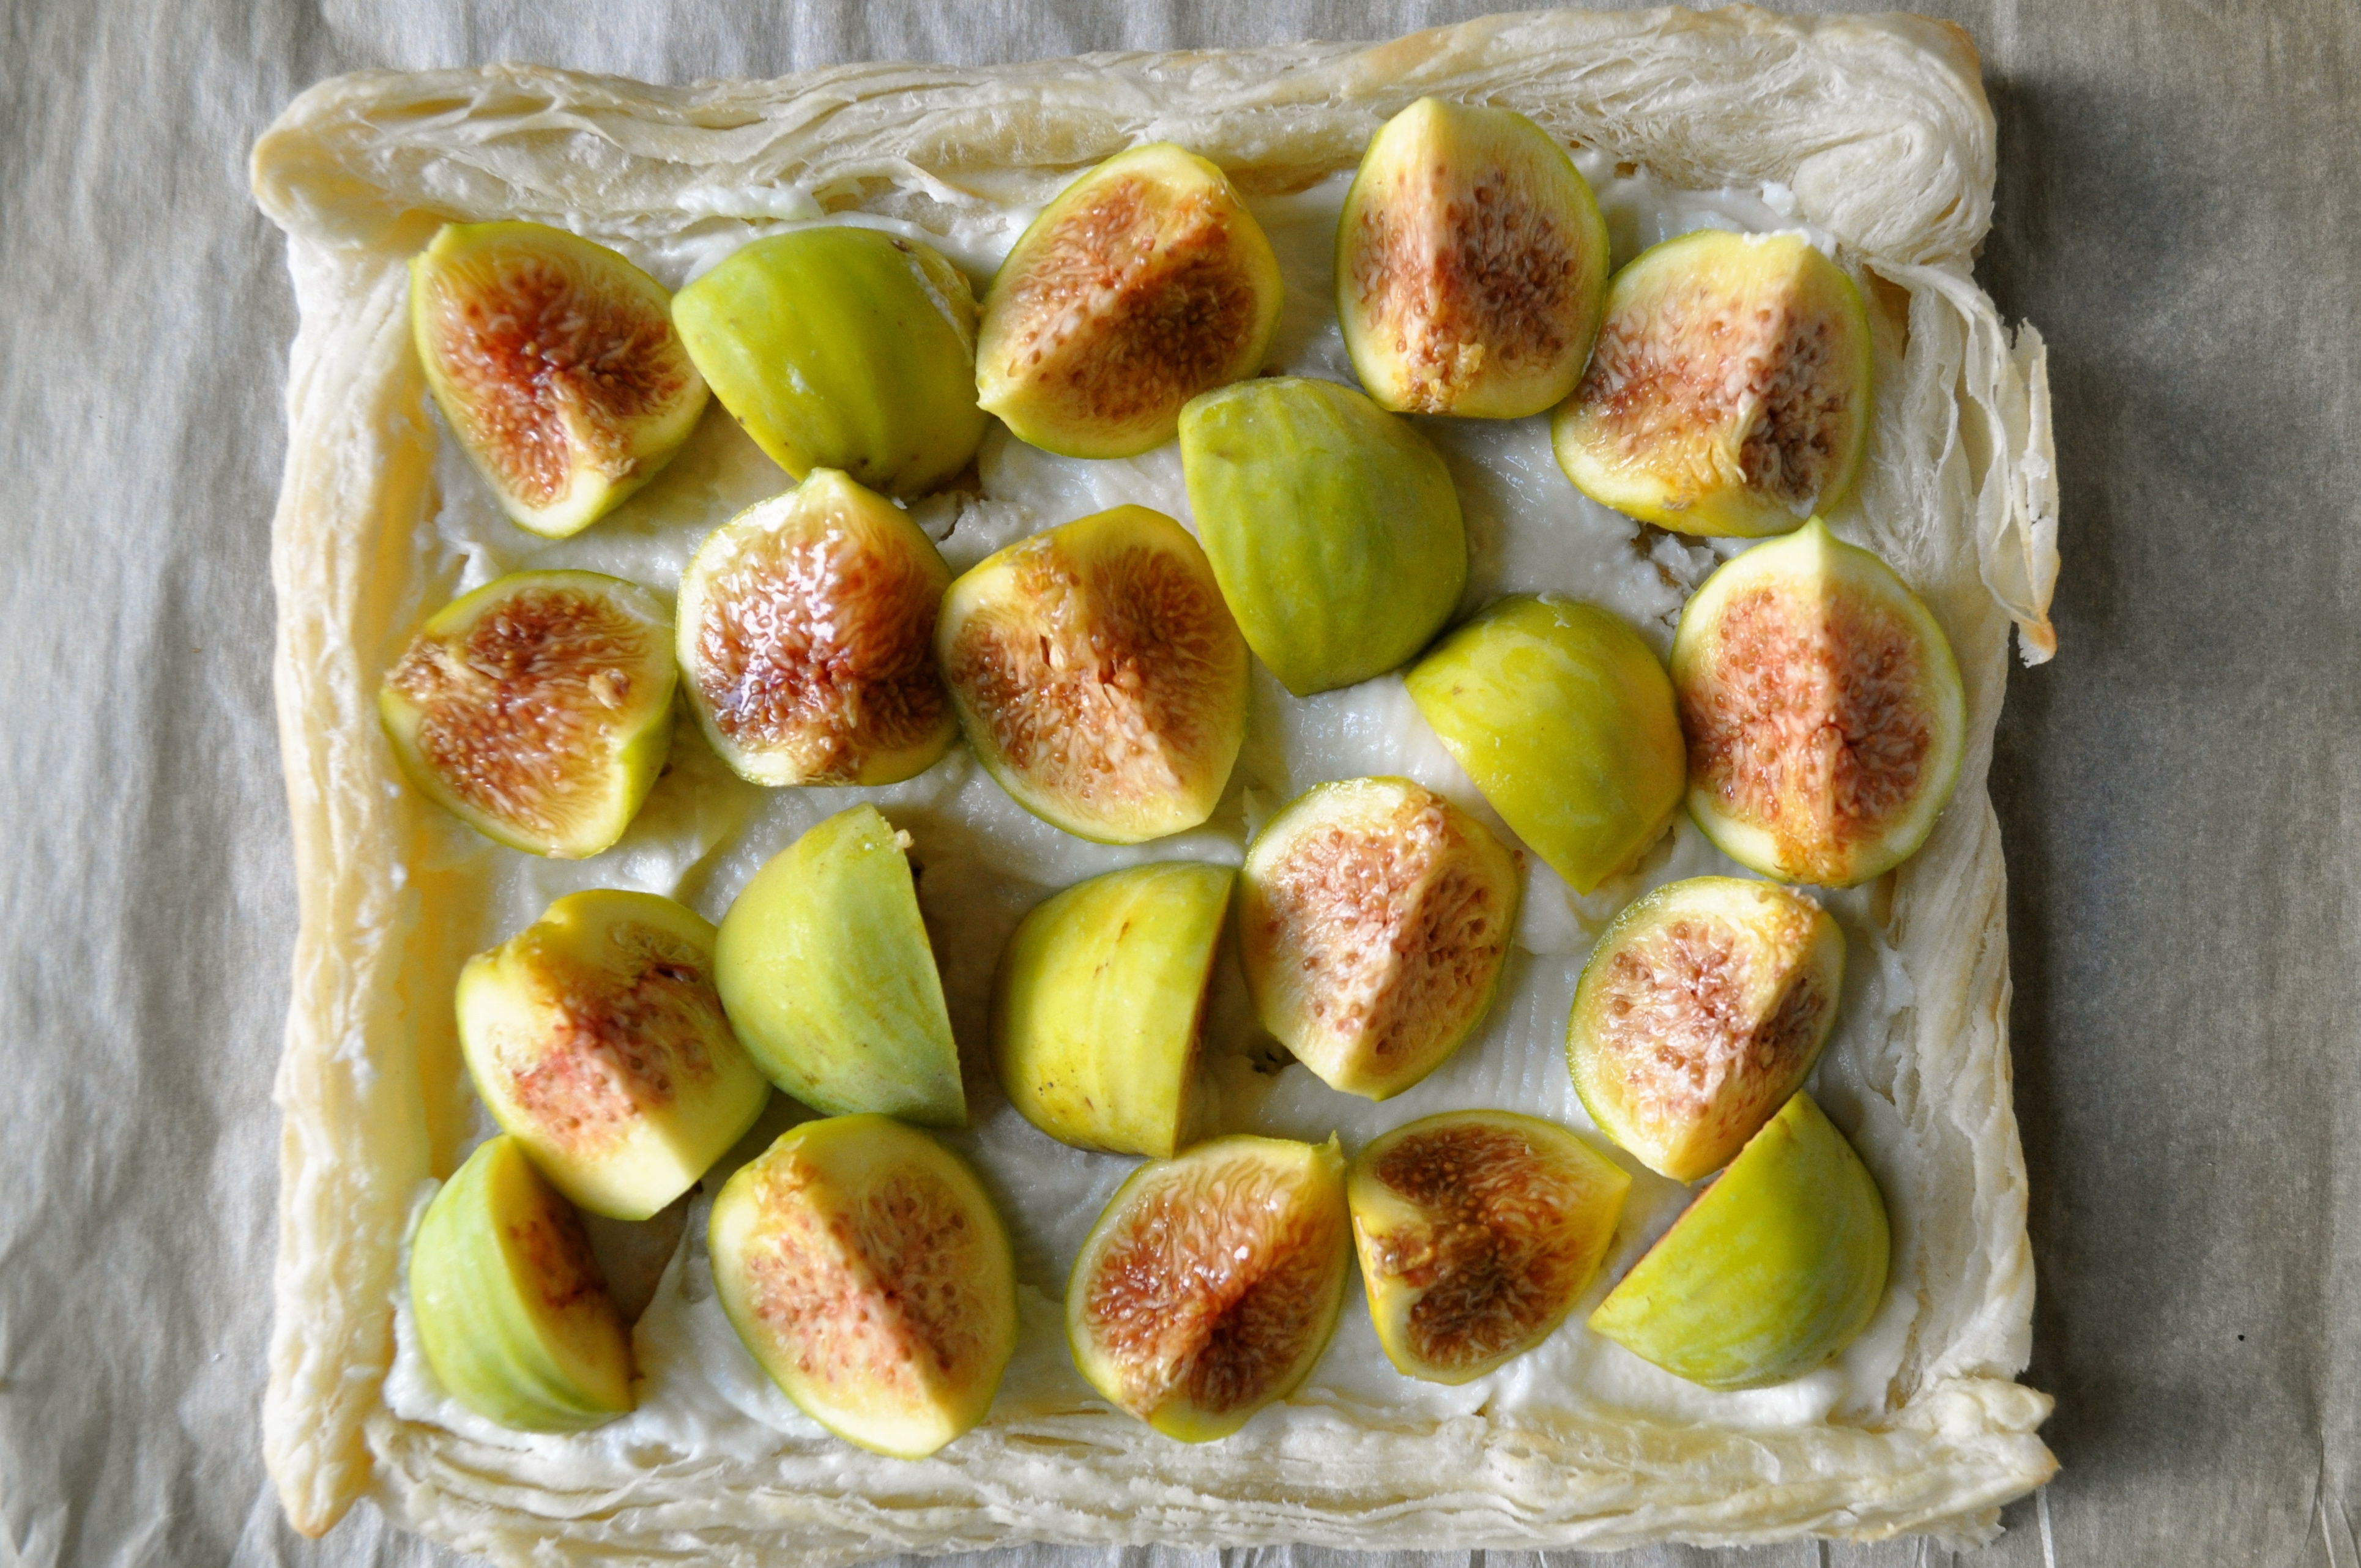
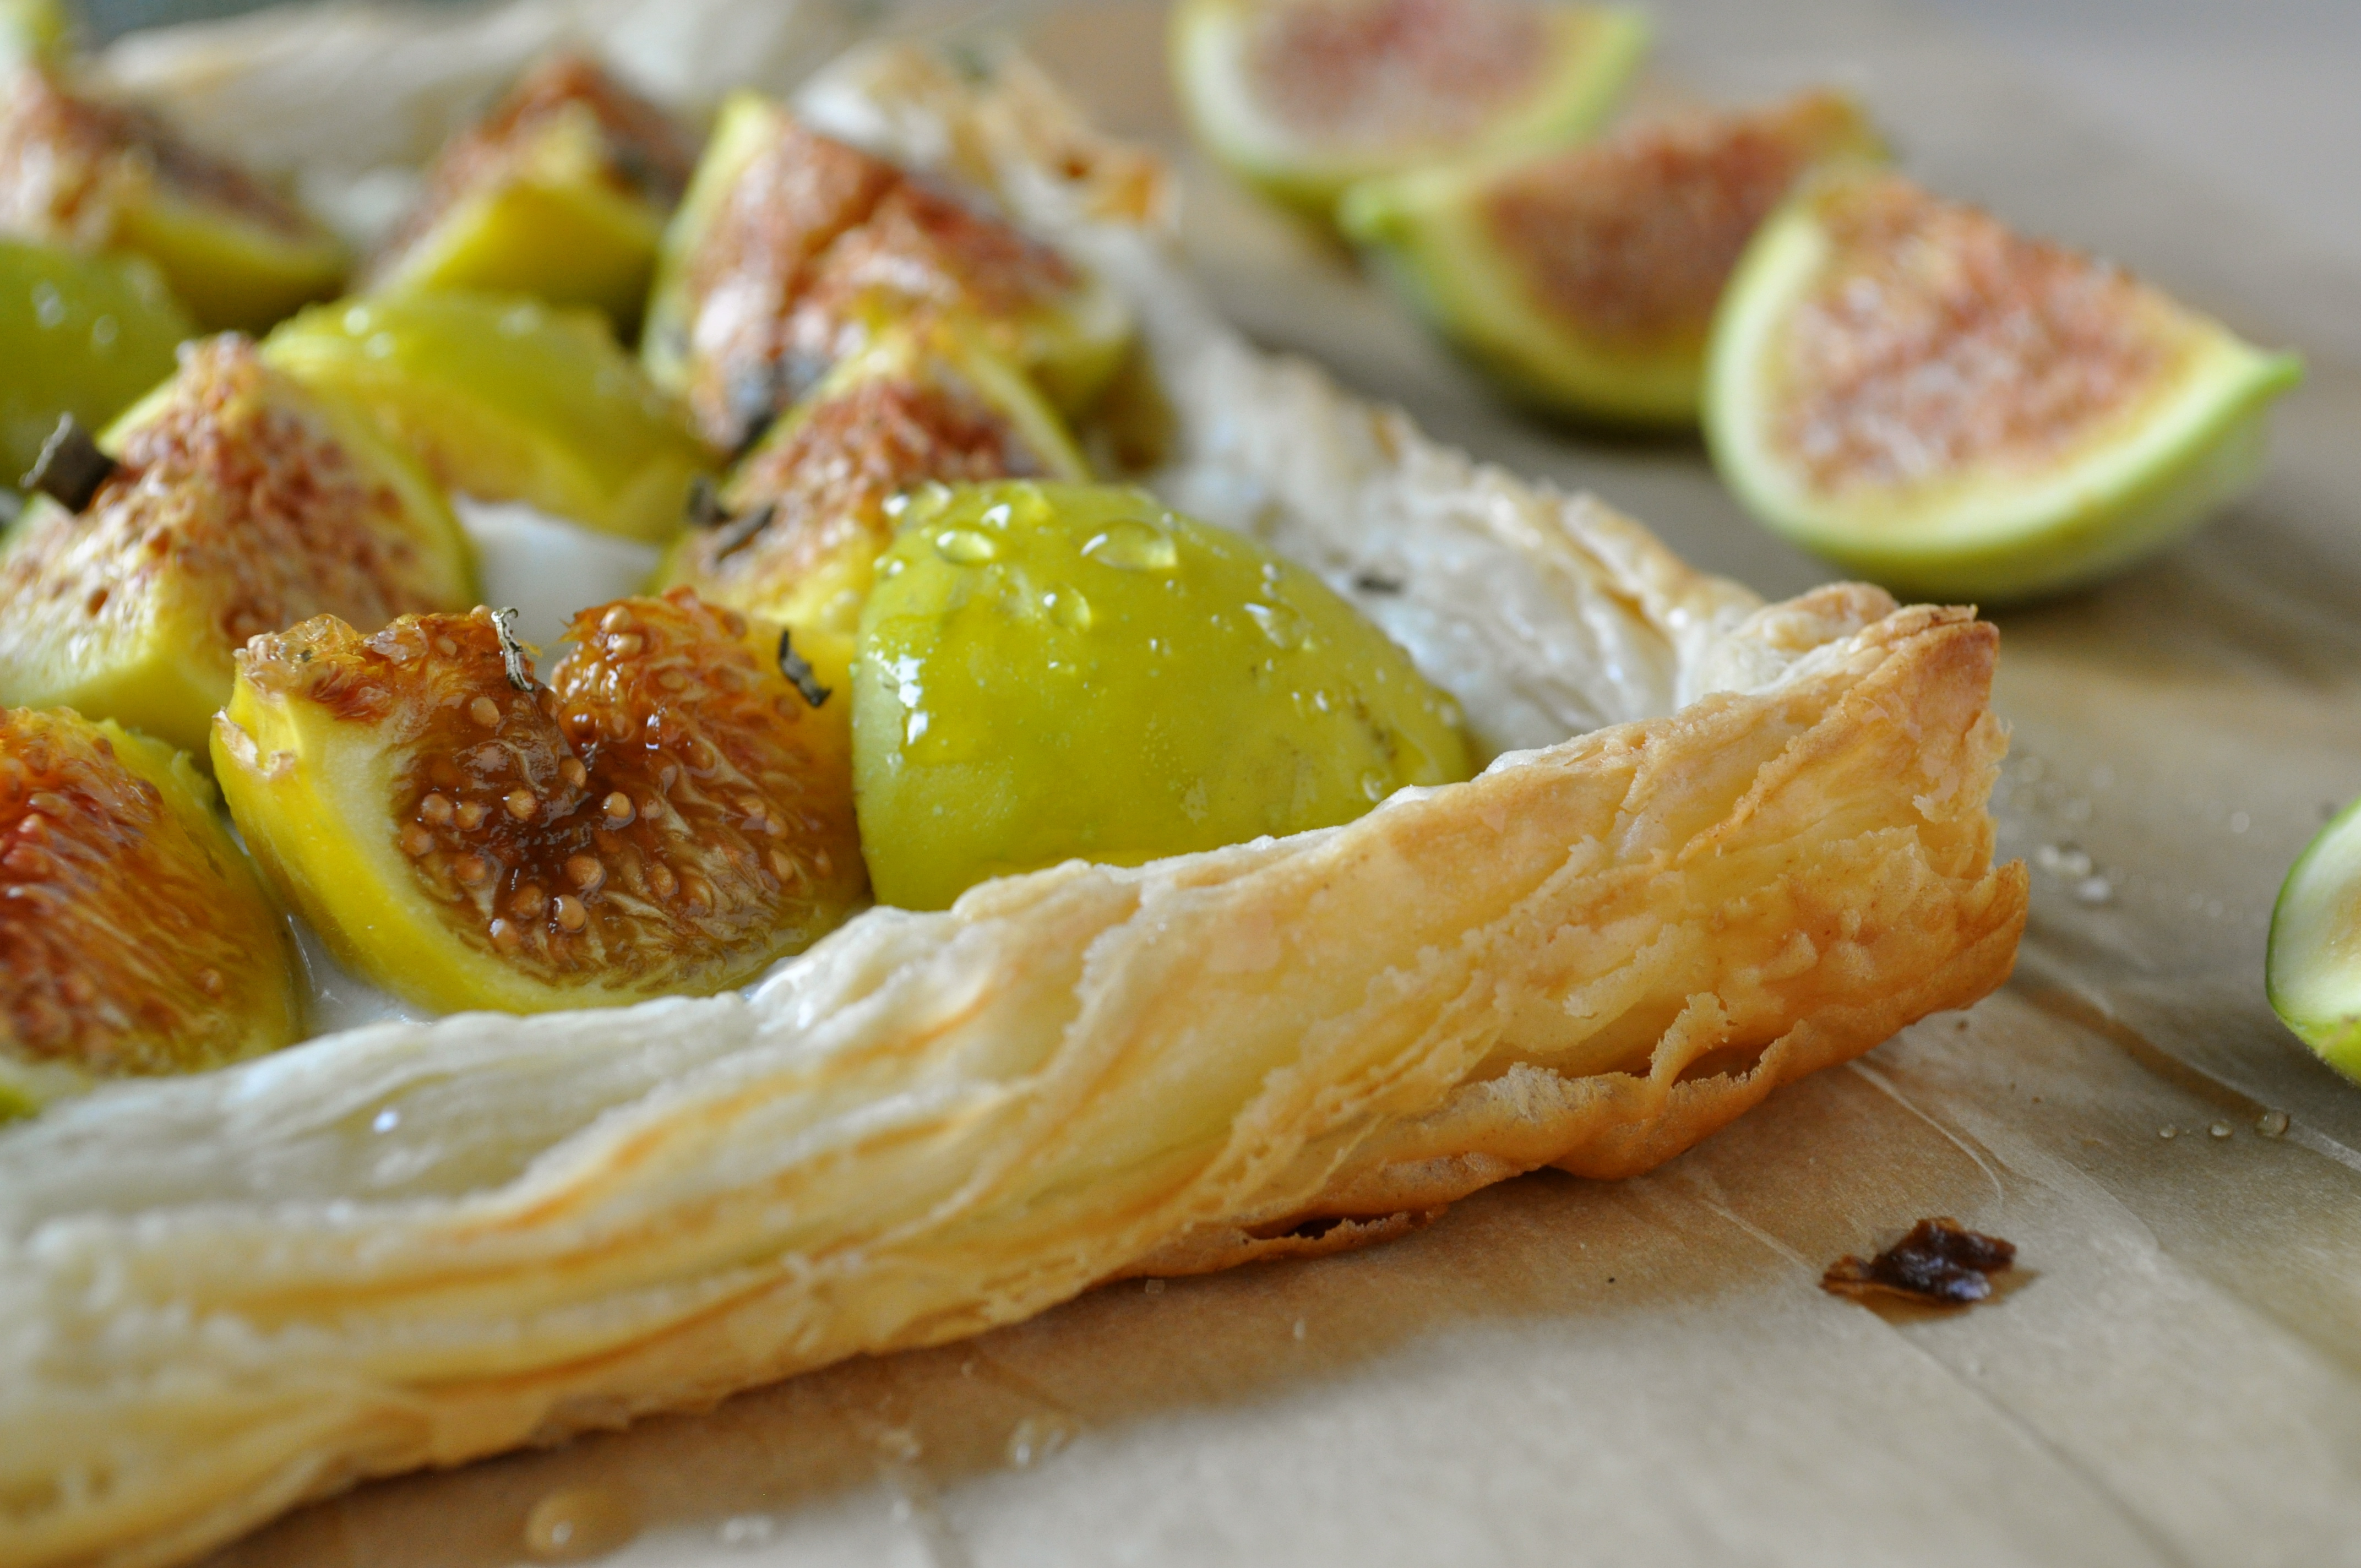
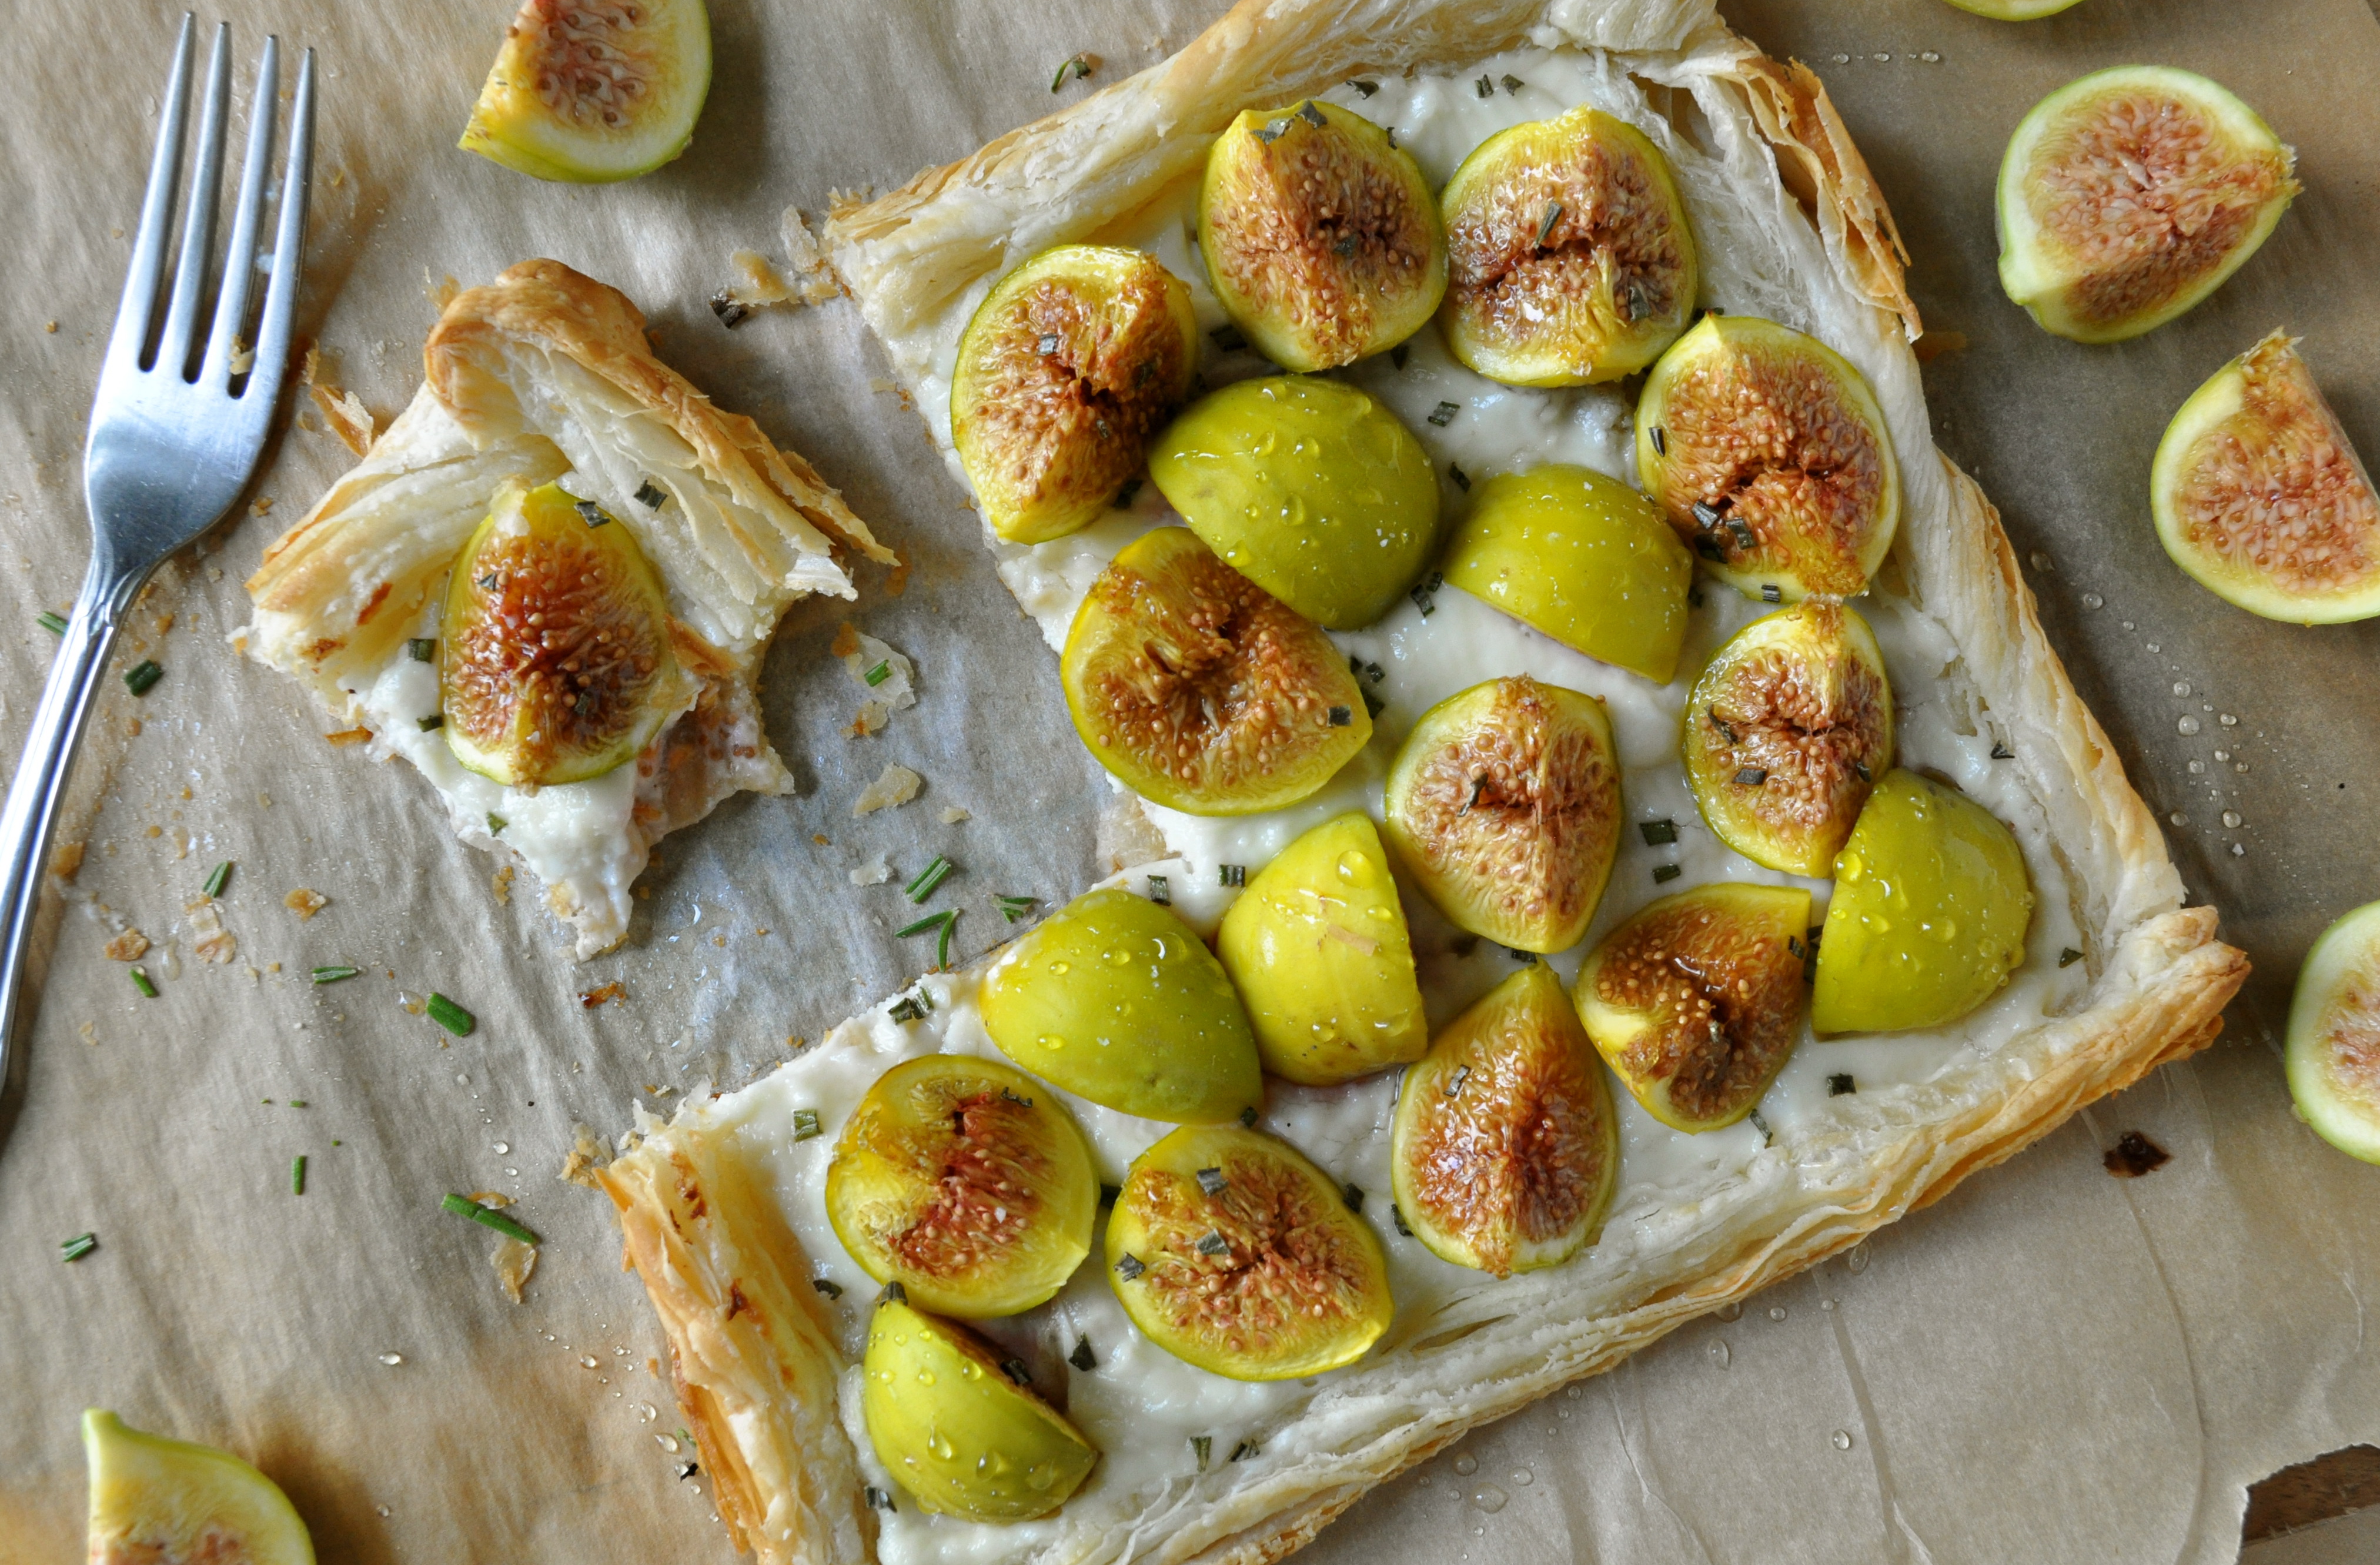
Did you know that fresh figs are in season in late Summer/early Fall? Did you know that if you pair up fresh figs with puff pastry, creamy goat cheese, honey, and fresh rosemary, little tiny leprechauns will do a dance on your taste buds and fireworks will erupt in the sky?

You didn’t?! Well then, get your fannies on over to my lovely friend Kristy’s blog, A Gastronomical Sovereignty, where I tell you exactly how to make this taste bud extravaganza (aka. a Goat Cheese Tart with Honey and Figs) happen. And while you’re there, check out Kristy’s space – where she shares stories about her ethical culinary adventures, and drinks wine while she’s at it. No wonder we get along so well. 🙂

PS. Let’s reminisce about Summer. What was the best thing you did/saw/ate over the past few months?

Eat and Be Merry | Caramelized Onion and Goat Cheese Tartlets


Ahoy mates! I am THIS happy (x 1000) to be back here!

One piece of advice for all of you lovelies…do NOT, ever, under any circumstances, plan a move for December 1. Now, I didn’t have a whole lot of choice in the matter, and consider myself lucky that things worked out the way that they did. It coulda been a lot worse, and so I’m not going to look a gift horse in the mouth, you know what I’m sayin’? But, please try to avoid a December move if at all possible.


‘Cause then, when all you want to do is enjoy the wonderfuness of this holiday season (the decorating, the baking, the parties, the eating, the shopping), you’ll be faced with the unfortunate task of unpacking and organizing. Not a good time my friends, not a good time.

However, should you find yourself in such a predicament, there is a solution. Listen close friends, this is golden advice. Ready?

Unpack and organize the essentials…your kitchen, your bedroom, and your living room…and shove everything else into a room, shut the door, and don’t go back in that dang room until January. Problem solved! 🙂 Don’t tell me I never gave you any good advice.


On to the good stuff! See these beautiful little tartlets?

Make ’em and take ’em to a party this holiday season. Or throw your own party and give ’em a place at your table. They are quick and simple, but big on flavor. The shallots become so sweet and caramelized, they don’t even taste like shallots! Not that I have anything against the little guys. Mega-delicious. A definite party hit!


Caramelized Onion and Goat Cheese Tartlets (from a friend of a friend)

6 shallots, chopped finely

2 TBSP. olive oil

2 TBSP. balsamic vinegar

3 TBSP. brown sugar

Salt and pepper, to taste

5 ounces of goat cheese, cut into 24 hunks

2 eggs, beaten

2/3 cup milk

24 mini tart shells

Preheat the oven to 350°F. Prebake the tarts for 10 minutes and set aside. Heat the olive oil in a frying pan over medium-high heat. Add the shallots, and sauté for a few minutes, or until they start to turn clear. Add the balsamic vinegar, brown sugar, and salt and pepper. Allow the mixture to reduce and the shallots to caramelize (about 6-7 minutes). Fill each tart shell with a small amount of the caramelized shallots. Top with a hunk of goat cheese. Mix the eggs and milk together, and season with salt and pepper. Fill the remainder of each tart shell with the milk/egg mixture. Bake immediately for an additional 20-25 minutes, or until the tarts are set and golden brown. Serve warm.


There’s just one problem with that awesome advice I was dishing out earlier. I can’t find anything.

A Match Made In Heaven | Baked Apple and Brie in Puff Pastry

Holla friends.

Just a quick little ditty for you, I’m off to a family reunion this weekend. In a wee little hall, in a fairly little town.

After I finish making 6 dozen of these. My kitchen is a mess of flour, butter, and cinnamon. I have brown sugar on the bottoms of my feet. It’s delightful.

Speaking of cinnamon and delightful things, check this out.

I came across this recipe on Annie’s Eats a few months ago. Annie calls it Baked Brie en Croûte with Apple Compote. I’m calling it Baked Apple and Brie in Puff Pastry. I’m keeping it simple. I’m a simple girl.

But whatever you call it, the combination of apples, sugar, brie, and puff pastry is delicious. Total party in your mouth. I added a little cinnamon for some extra dimension. It works.

This is an appetizer, to be served with crackers and of course, wine. However, I could honestly eat this for dessert. Or as a meal. It is just so good.

Good good good.

Take it to a party and I guarantee everyone will love it. The peeps at the party I took this to sure did.

Now, if you’ll excuse me, I have some family reunioning and wine drinking to do. Ciao!

Baked Apple and Brie in Puff Pastry (slightly adapted from Annie’s Eats)

1 TBSP. butter

3 golden delicious apples, peeled, cored, and diced small

1/4 cup white sugar

1/2 tsp. cinnamon

A pinch of nutmeg

1 pkg. puff pastry (round or square), rolled to 1/4-inch thickness

1 round of brie (6-8 oz.)

1 egg beaten with 1 TBSP. water

Crackers of your choice, for serving

In a medium saucepan, melt the butter over medium heat. Add the diced apples and cook, stirring occasionally for about about 5-7 minutes. Add in the sugar, cinnamon, and nutmeg. Mix well and continue to cook, stirring occasionally, until most of the liquid has evaporated, about 12-15 more minutes. Remove from the heat and let the mixture cool to room temperature.

Preheat the oven to 375˚F. Prepare a baking sheet (or pie plate, like me) by coating it lightly with cooking spray, or lining it with parchment paper or a silicone baking mat. Transfer the puff pastry to the prepared baking pan. Cut the brie in half horizontally to create two thinner rounds. Place the bottom half of the brie in the center of the puff pastry. Top with about half of the apple mixture. Place the other round of the cheese over top, covering with the remaining apple mixture. Bring the puff pastry up around the edges of the brie-apple tower. Fold and pinch the edges in the centre to hold everything together. Brush the surface of the puff pastry lightly with the egg wash. Bake for about 40-45 minutes, or until the puff pastry is golden brown, crisp, and bubbling with goodness. Your kitchen will smell amazing. Remove from the oven and allow it to cool for about 10 minutes before serving. Eat!

%d bloggers like this: