Happy hump day friends!
Today I have a special guest here to share a sweet recipe. Take it away, Erin!
Hi all you Once Upon a Recipe readers! I’m so excited that Amanda let me invade her cute space for the day! I absolutely love her blog and the recipes on here are just to die for! I suppose I should introduce myself. My name is Erin and I blog over at Read, Eat, Create. I’m still working on the “create” part though. Pinterest is just a little too intimidating if you know what I mean.
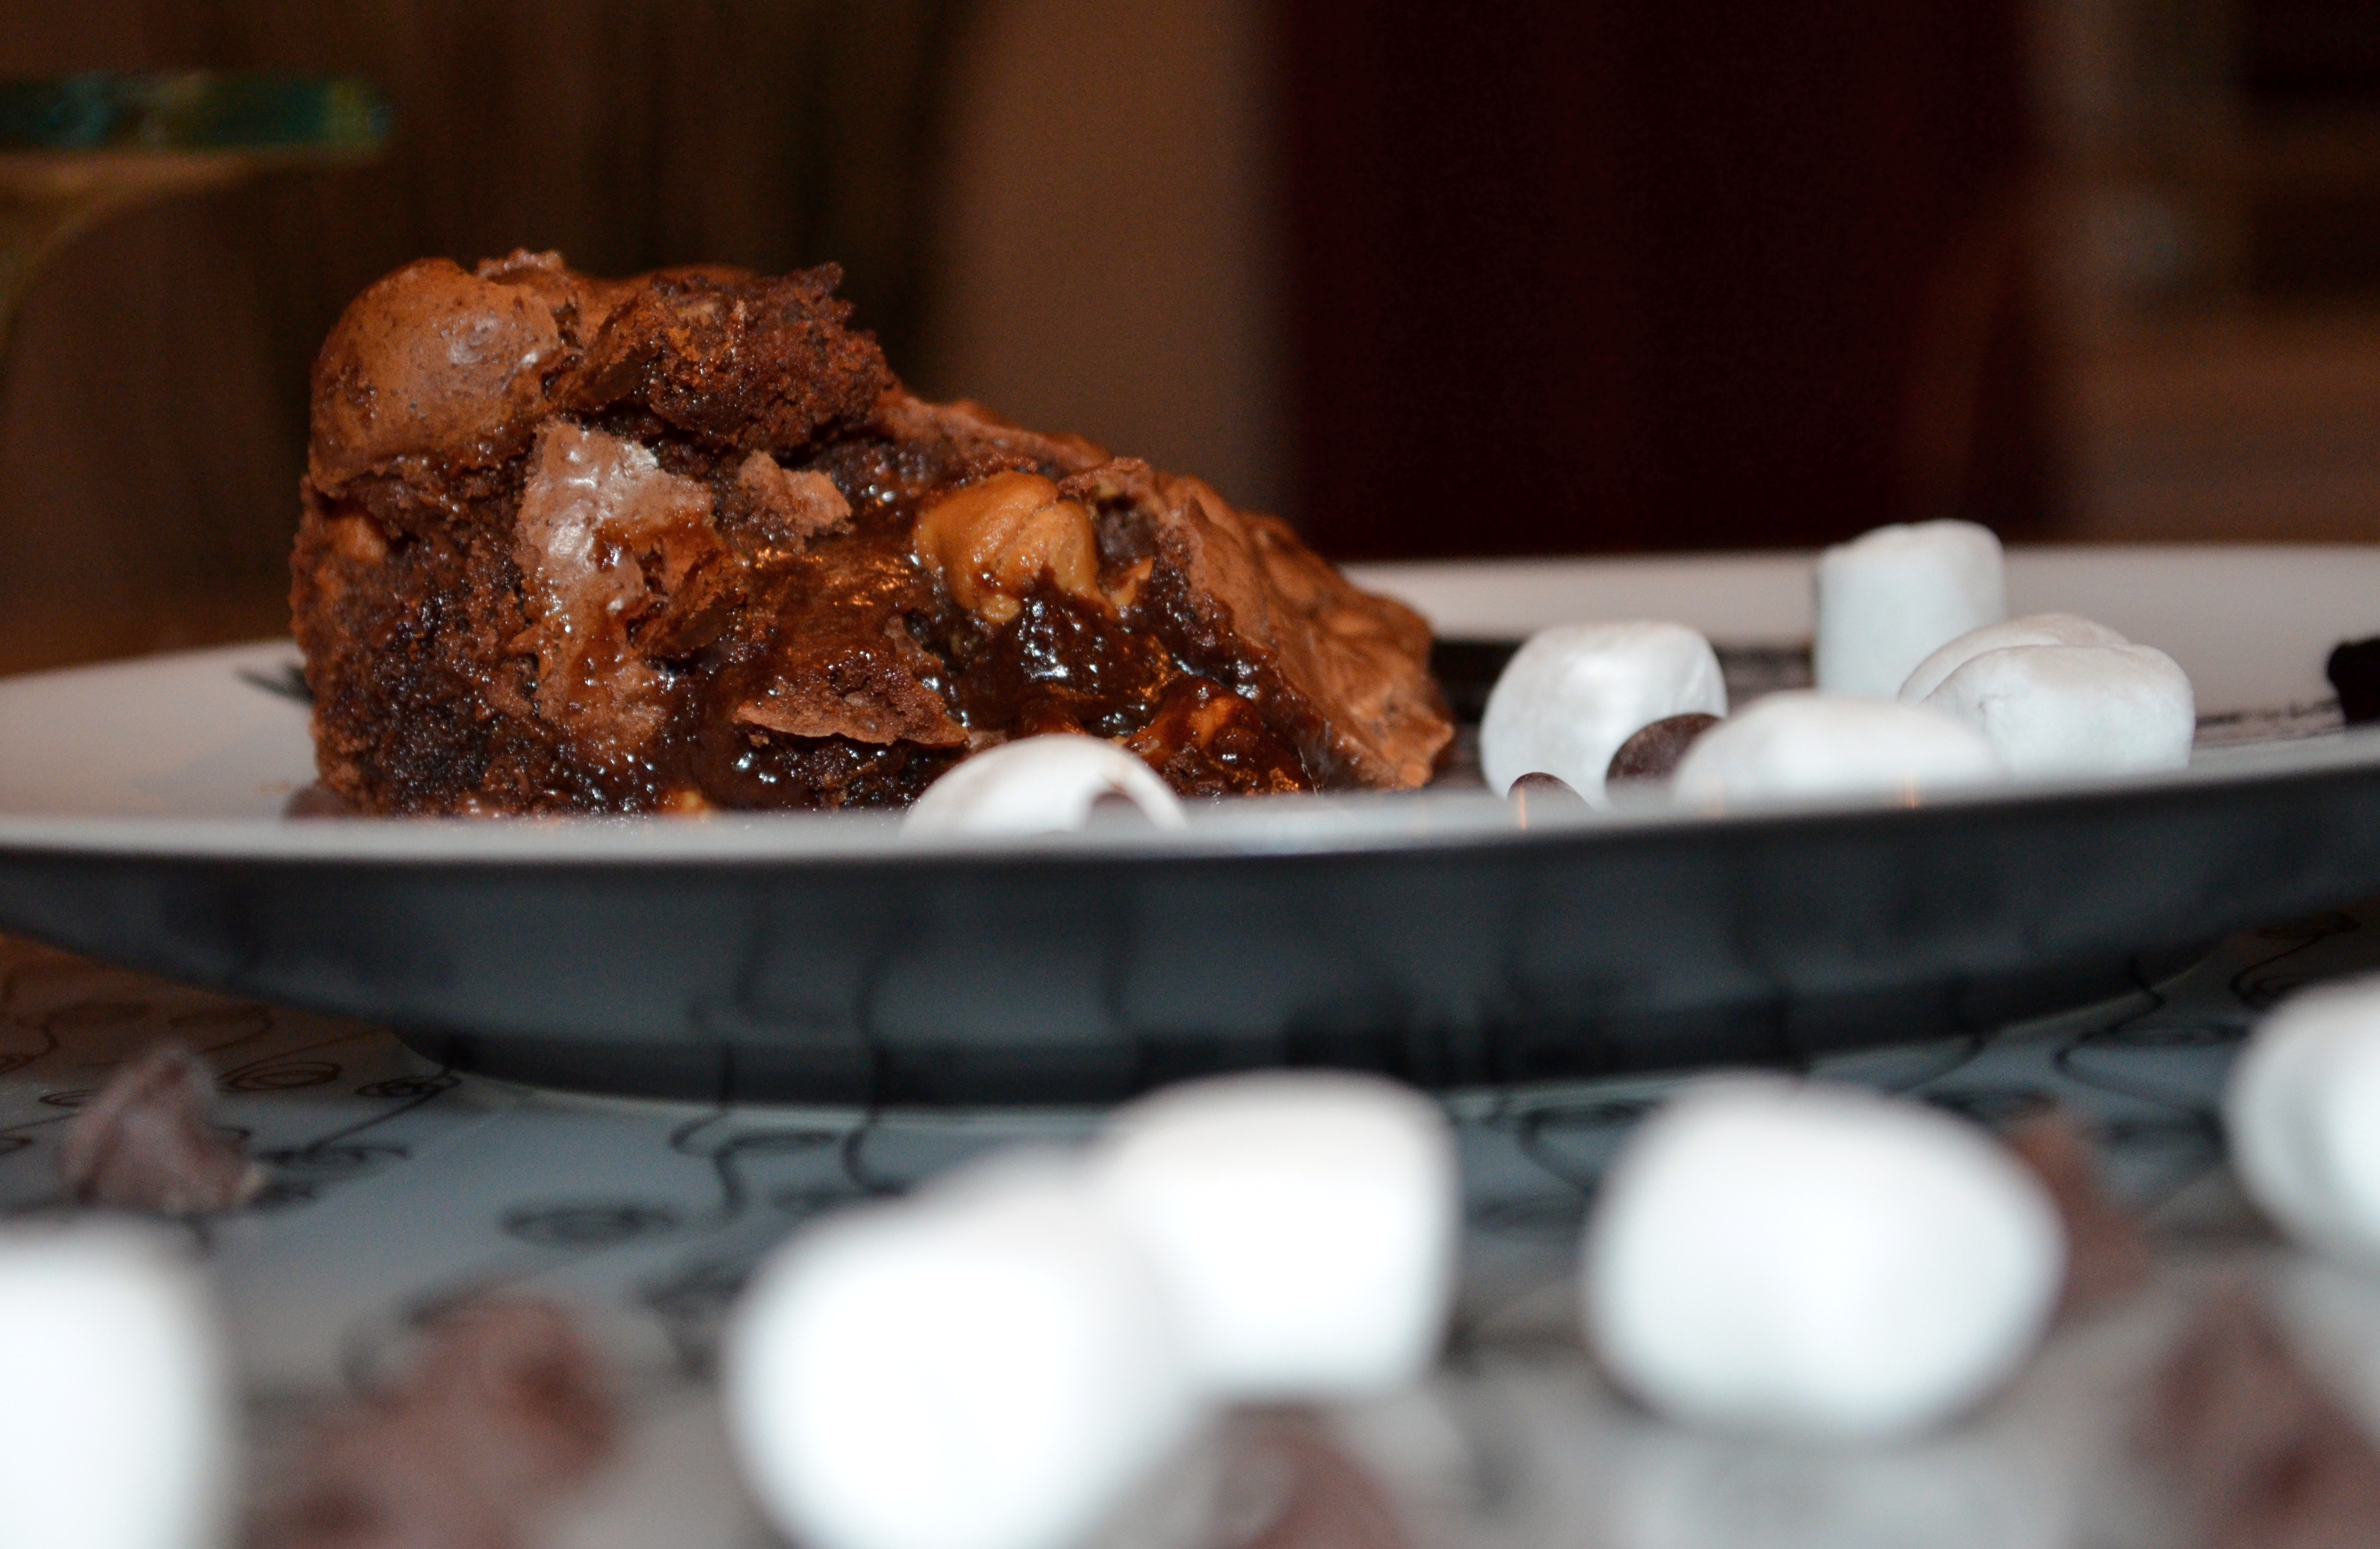
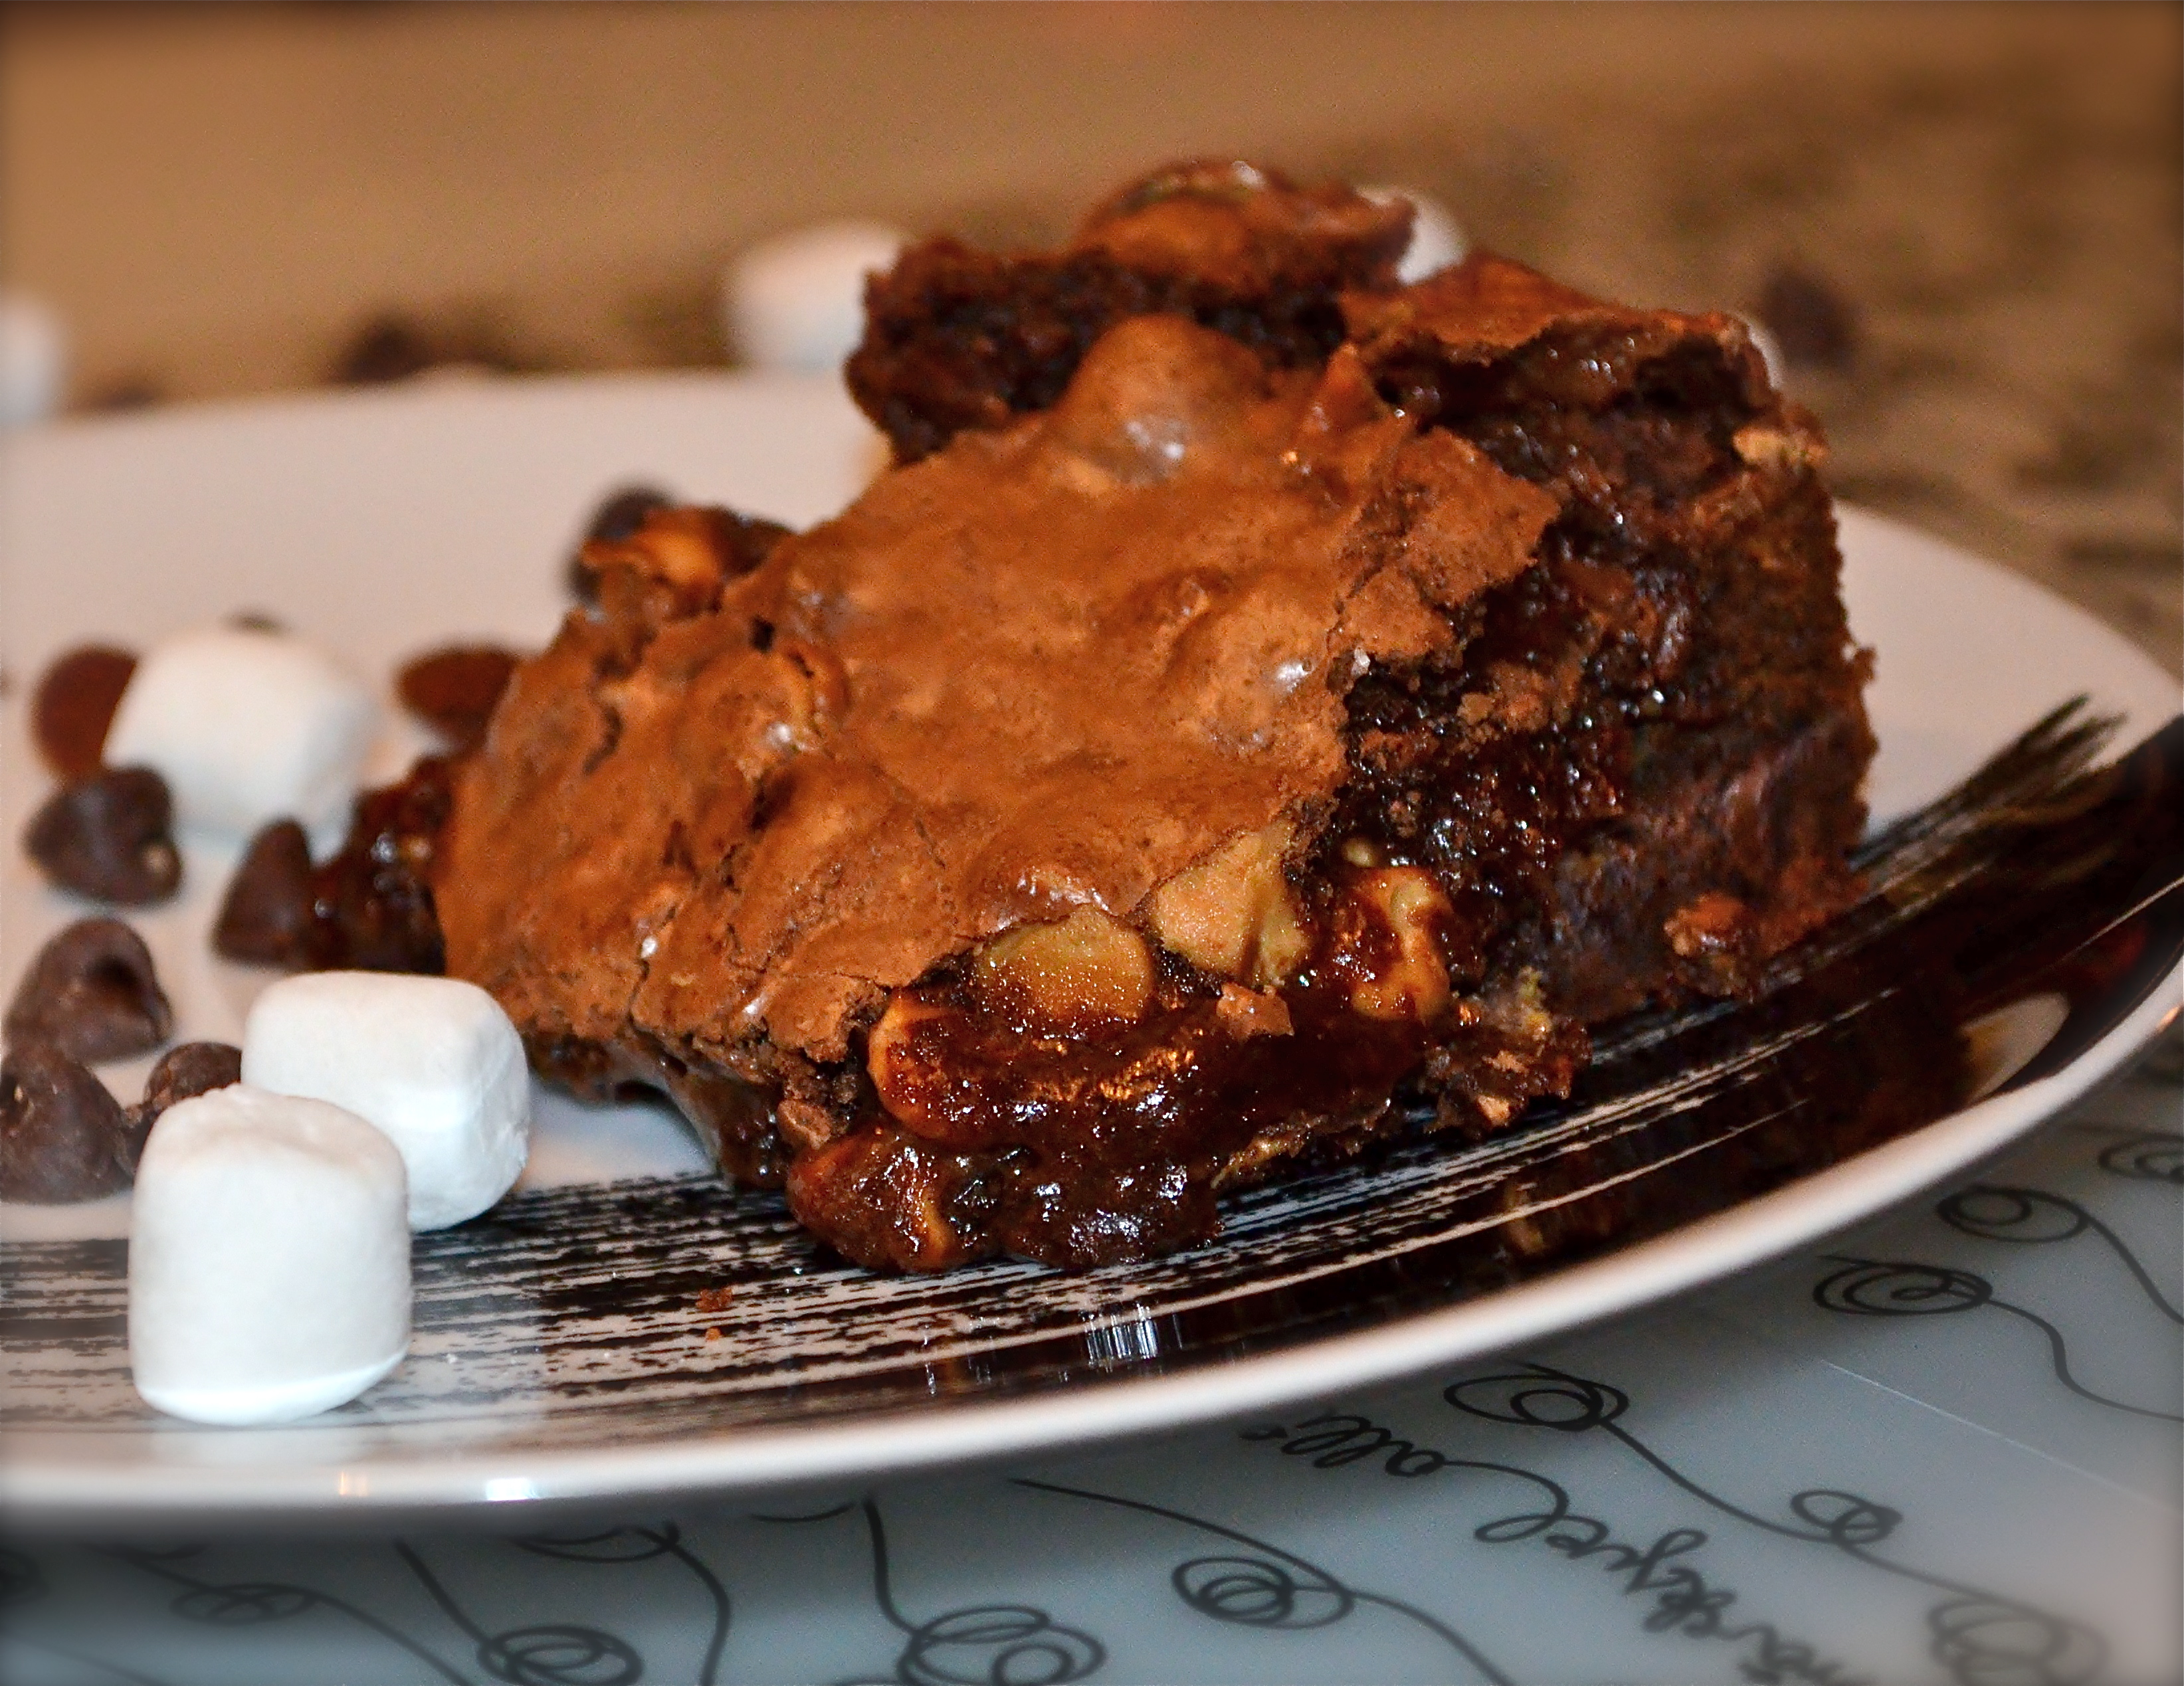
I’m here to share my love for sweet treats. Now I’m not really a big cupcake or cake lover and I have to be in the mood for cookies (say whaaaa?) but I have a serious soft spot in my heart for brownies. Another soft spot when it comes to sweets for me is ice cream, specifically Rocky Road ice cream. Anyone else with me on this?
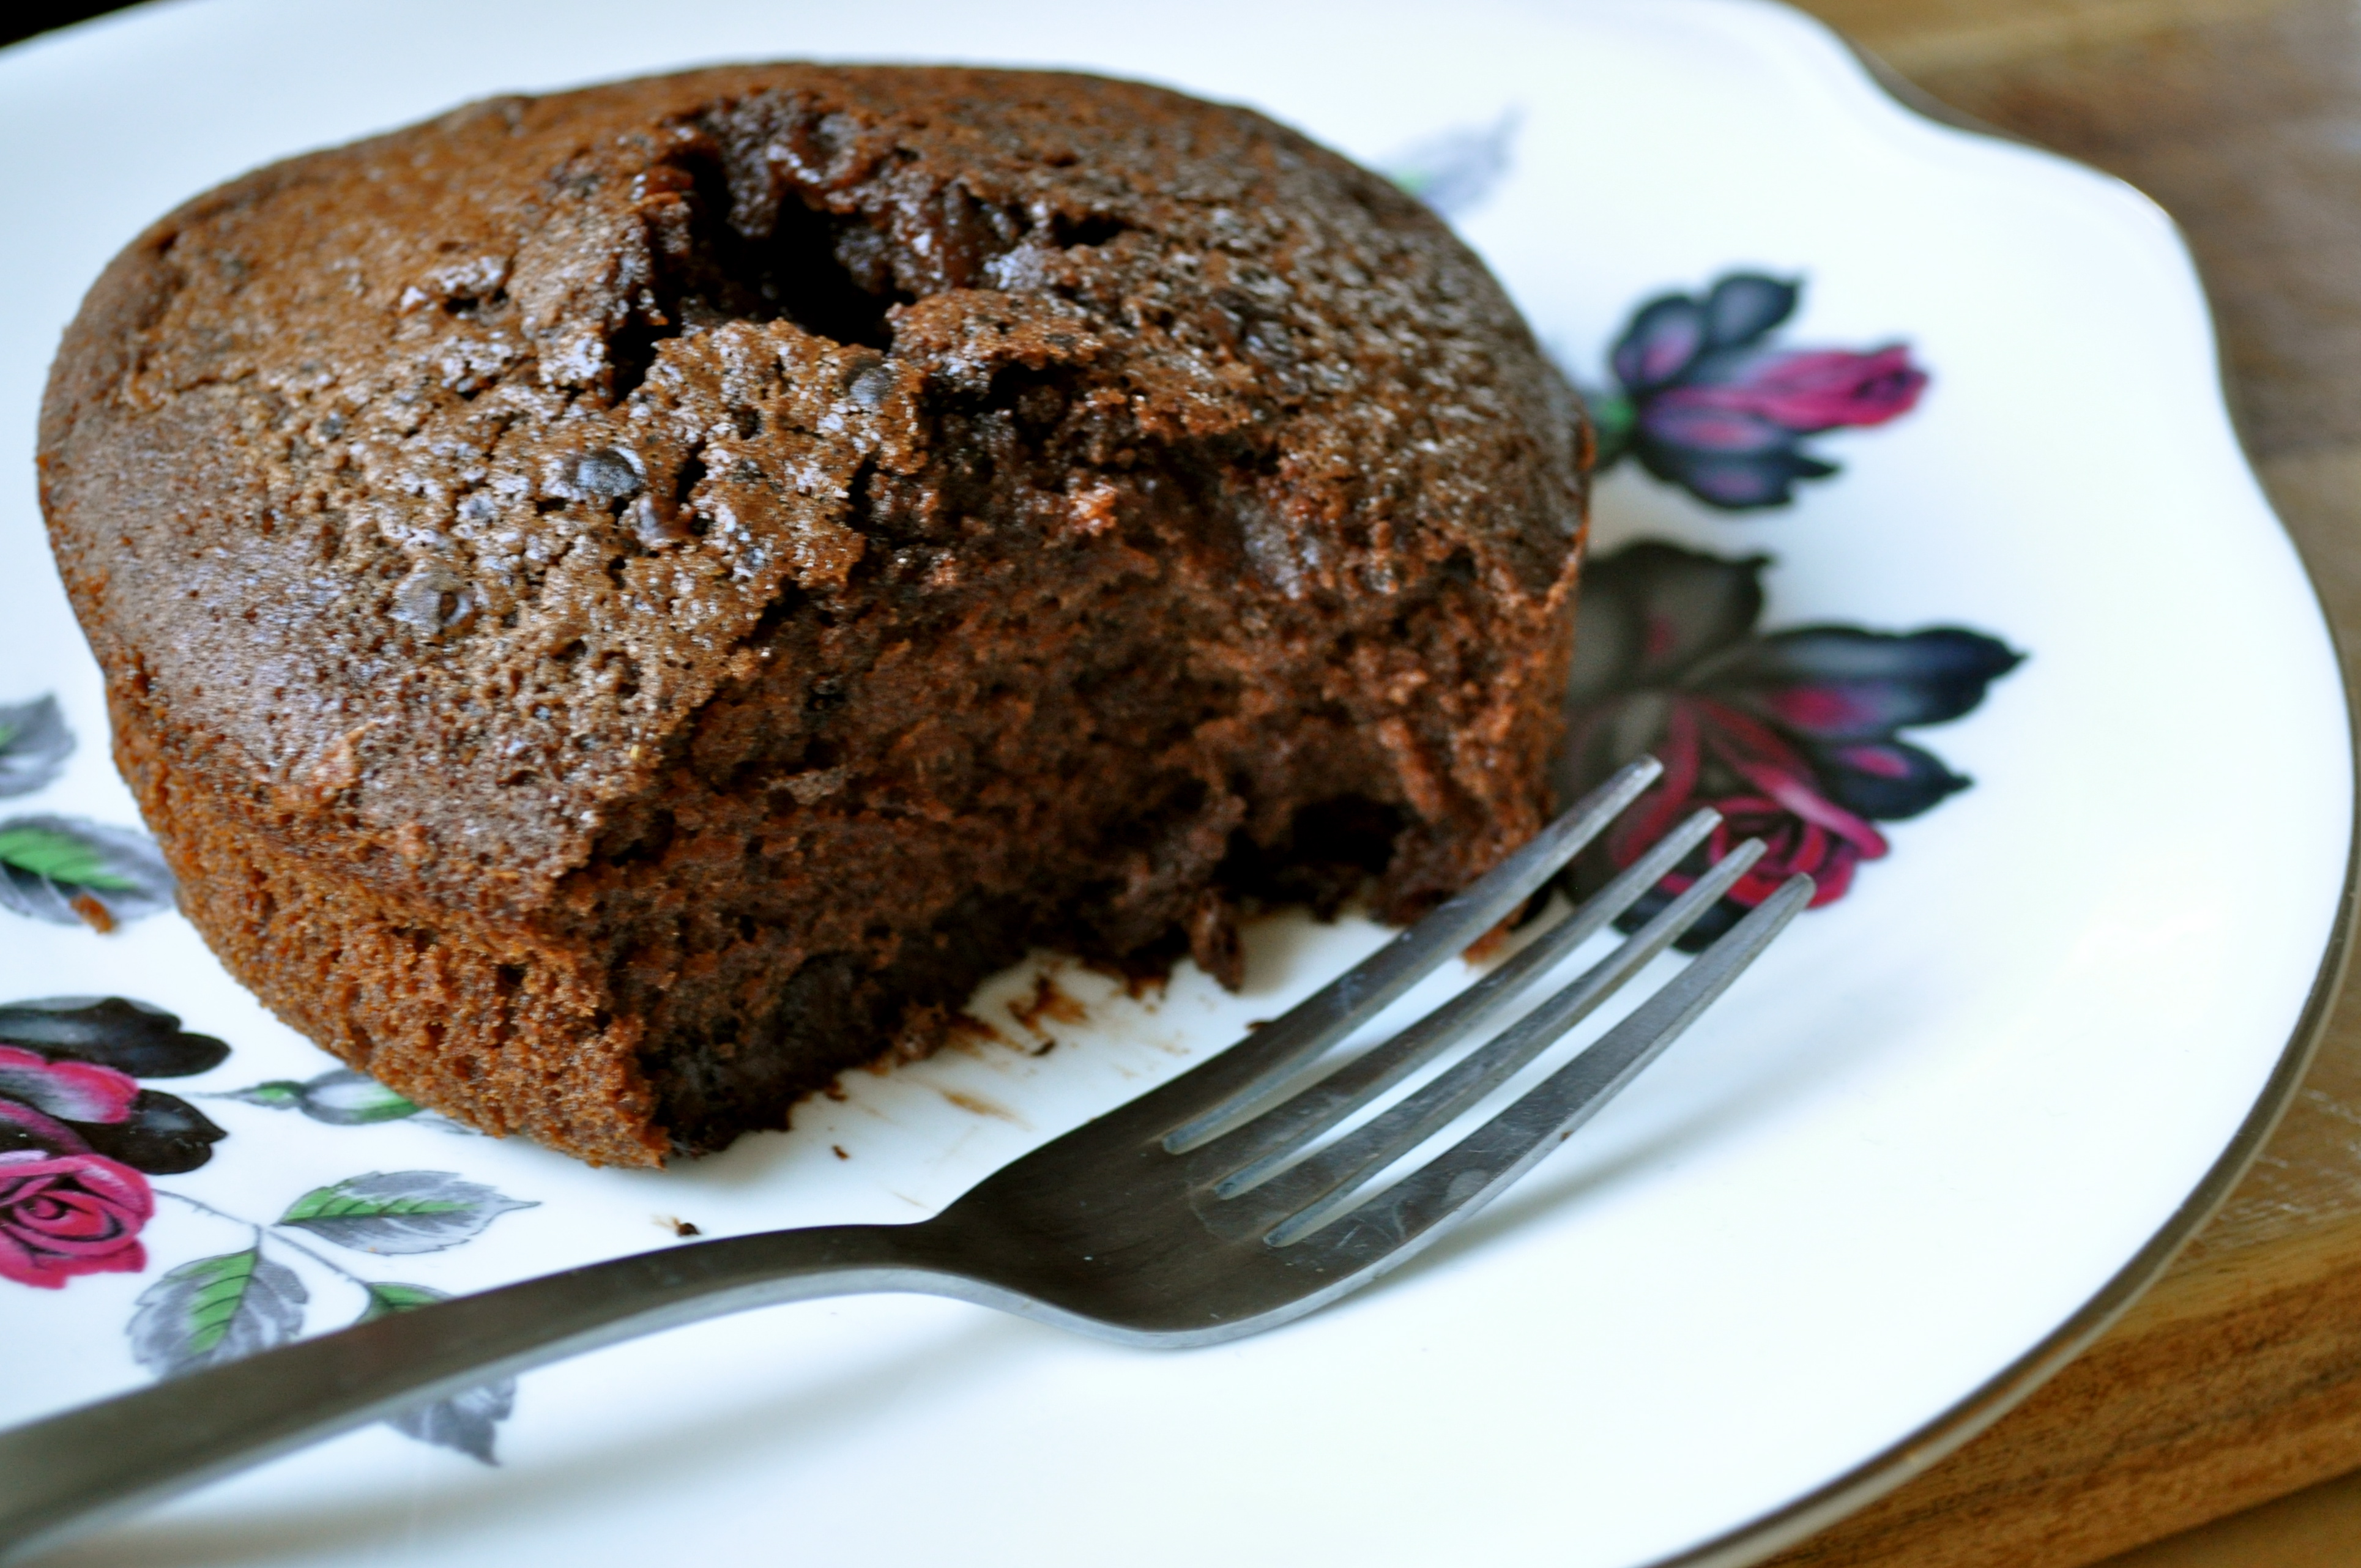
So I figured I would combine the two to make one seriously delicious bite.The best part is these are really easy to make!
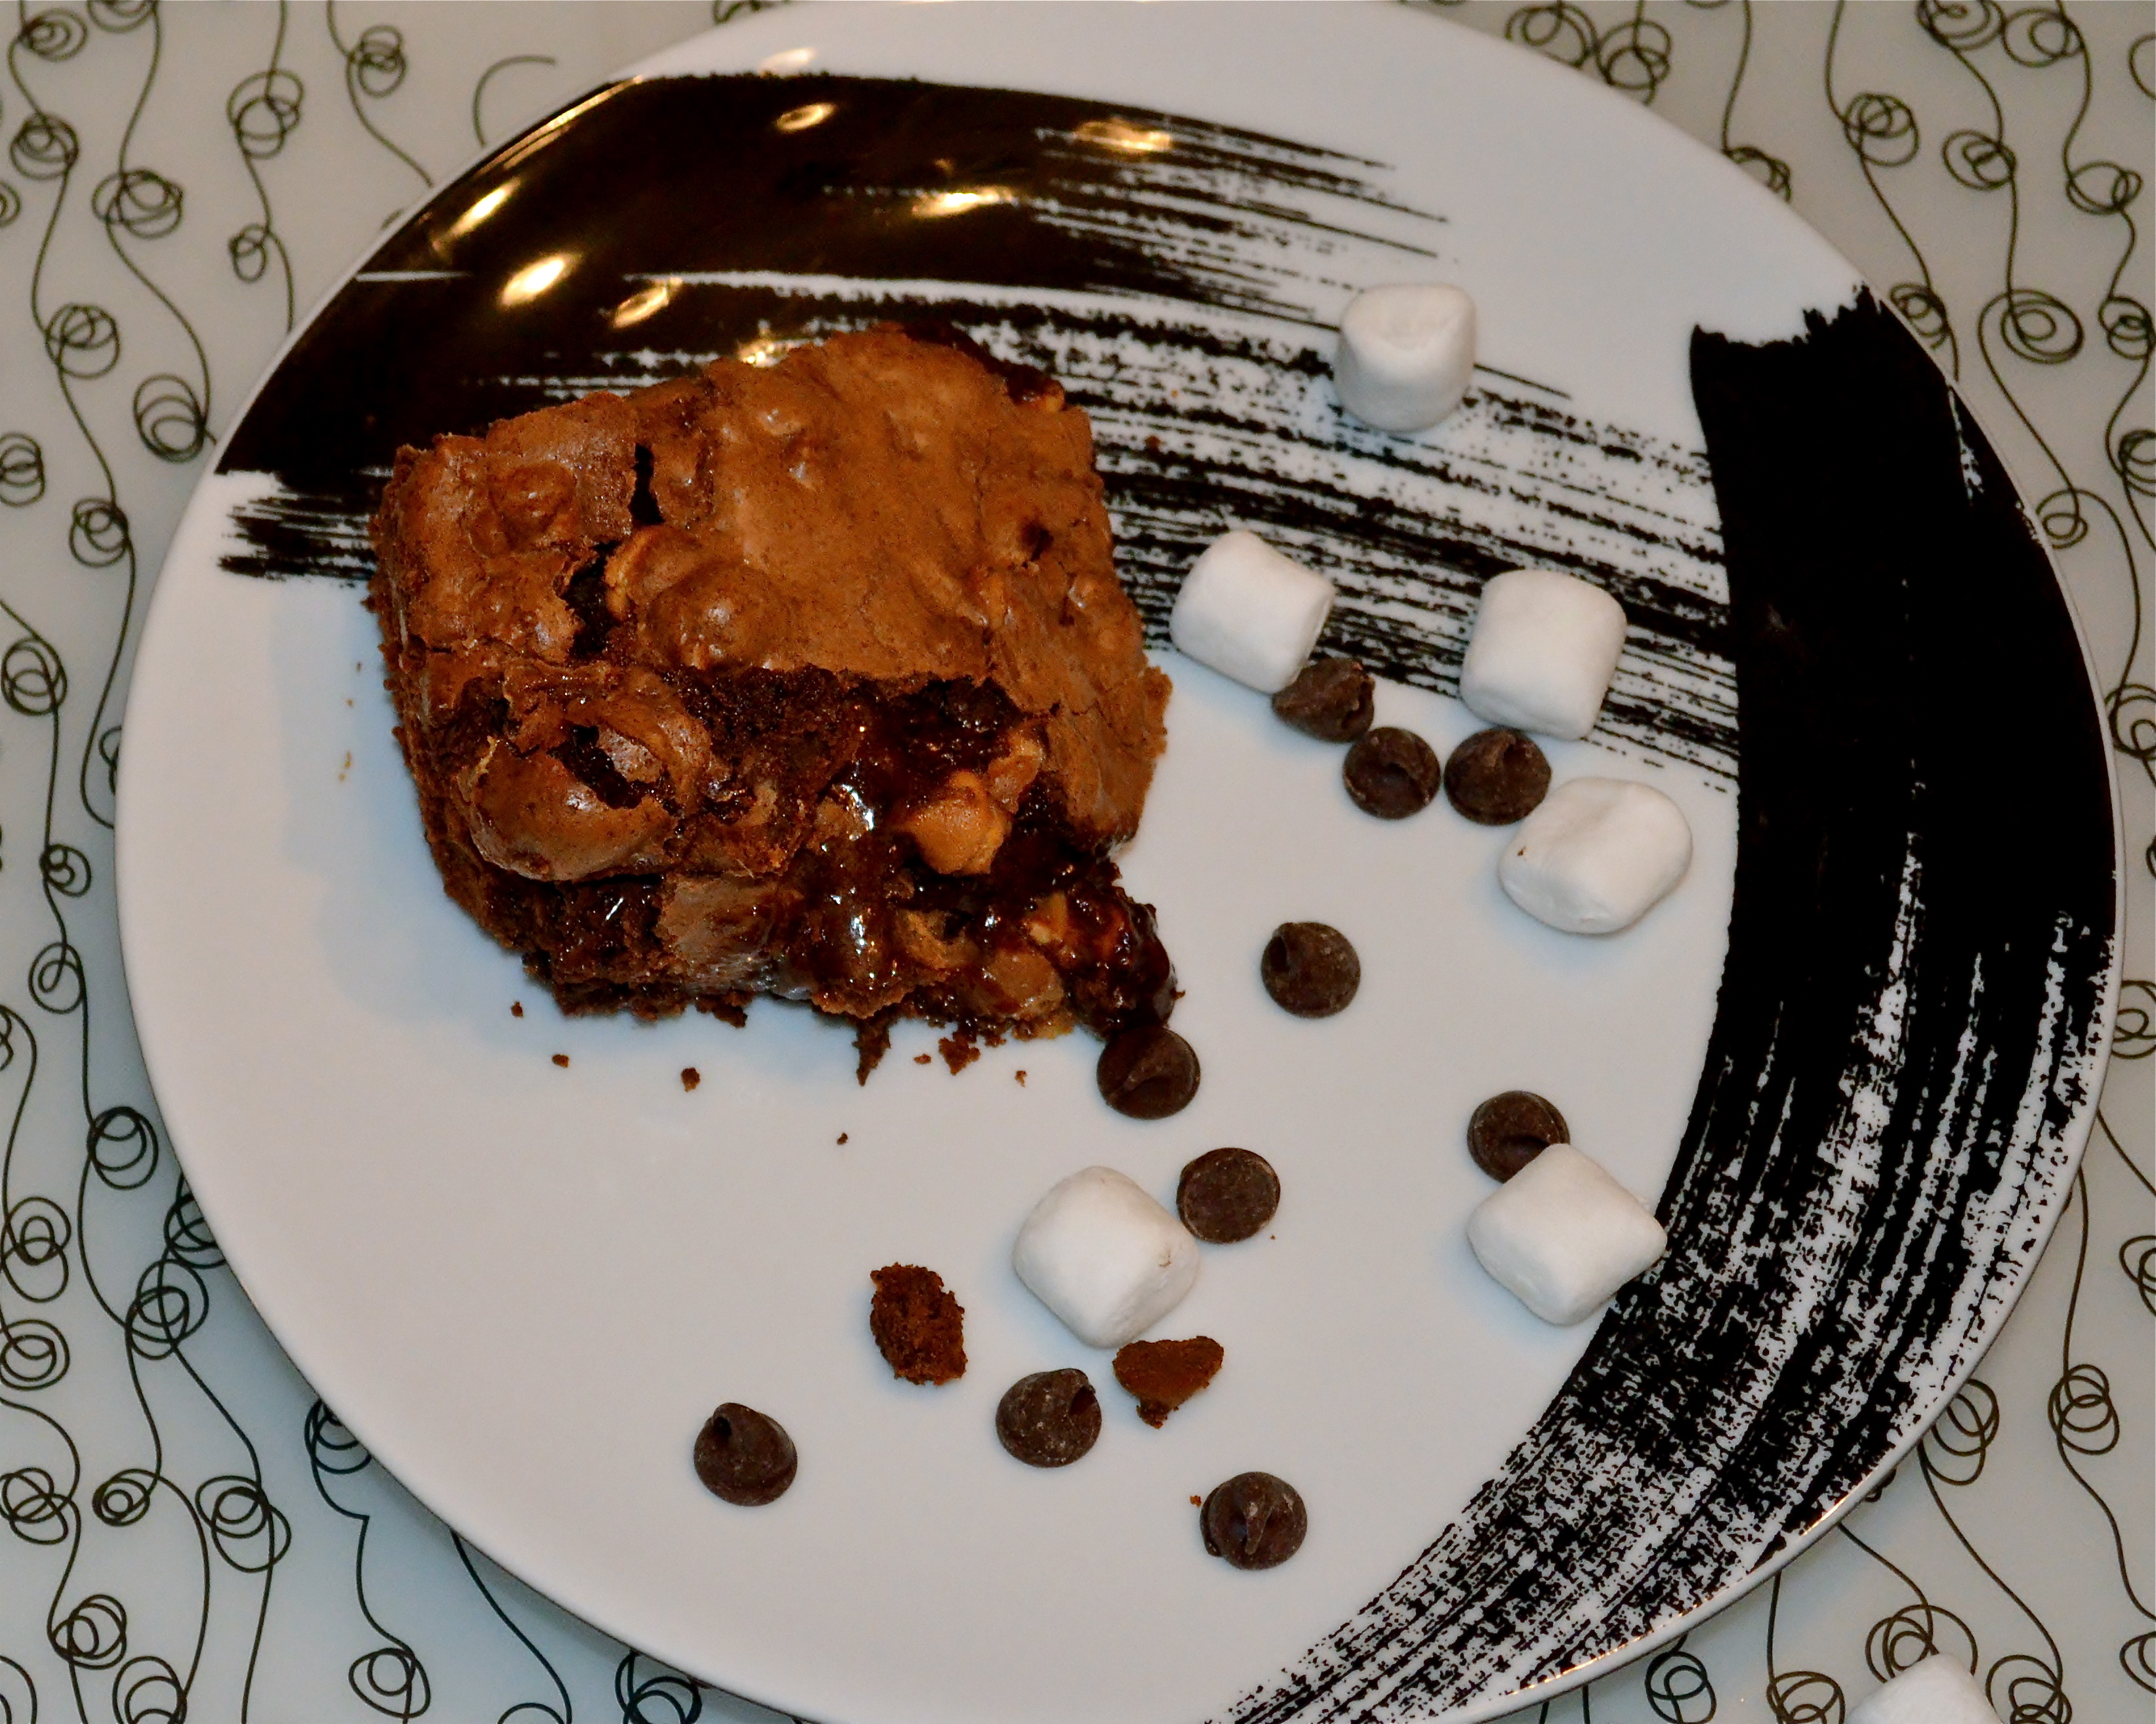
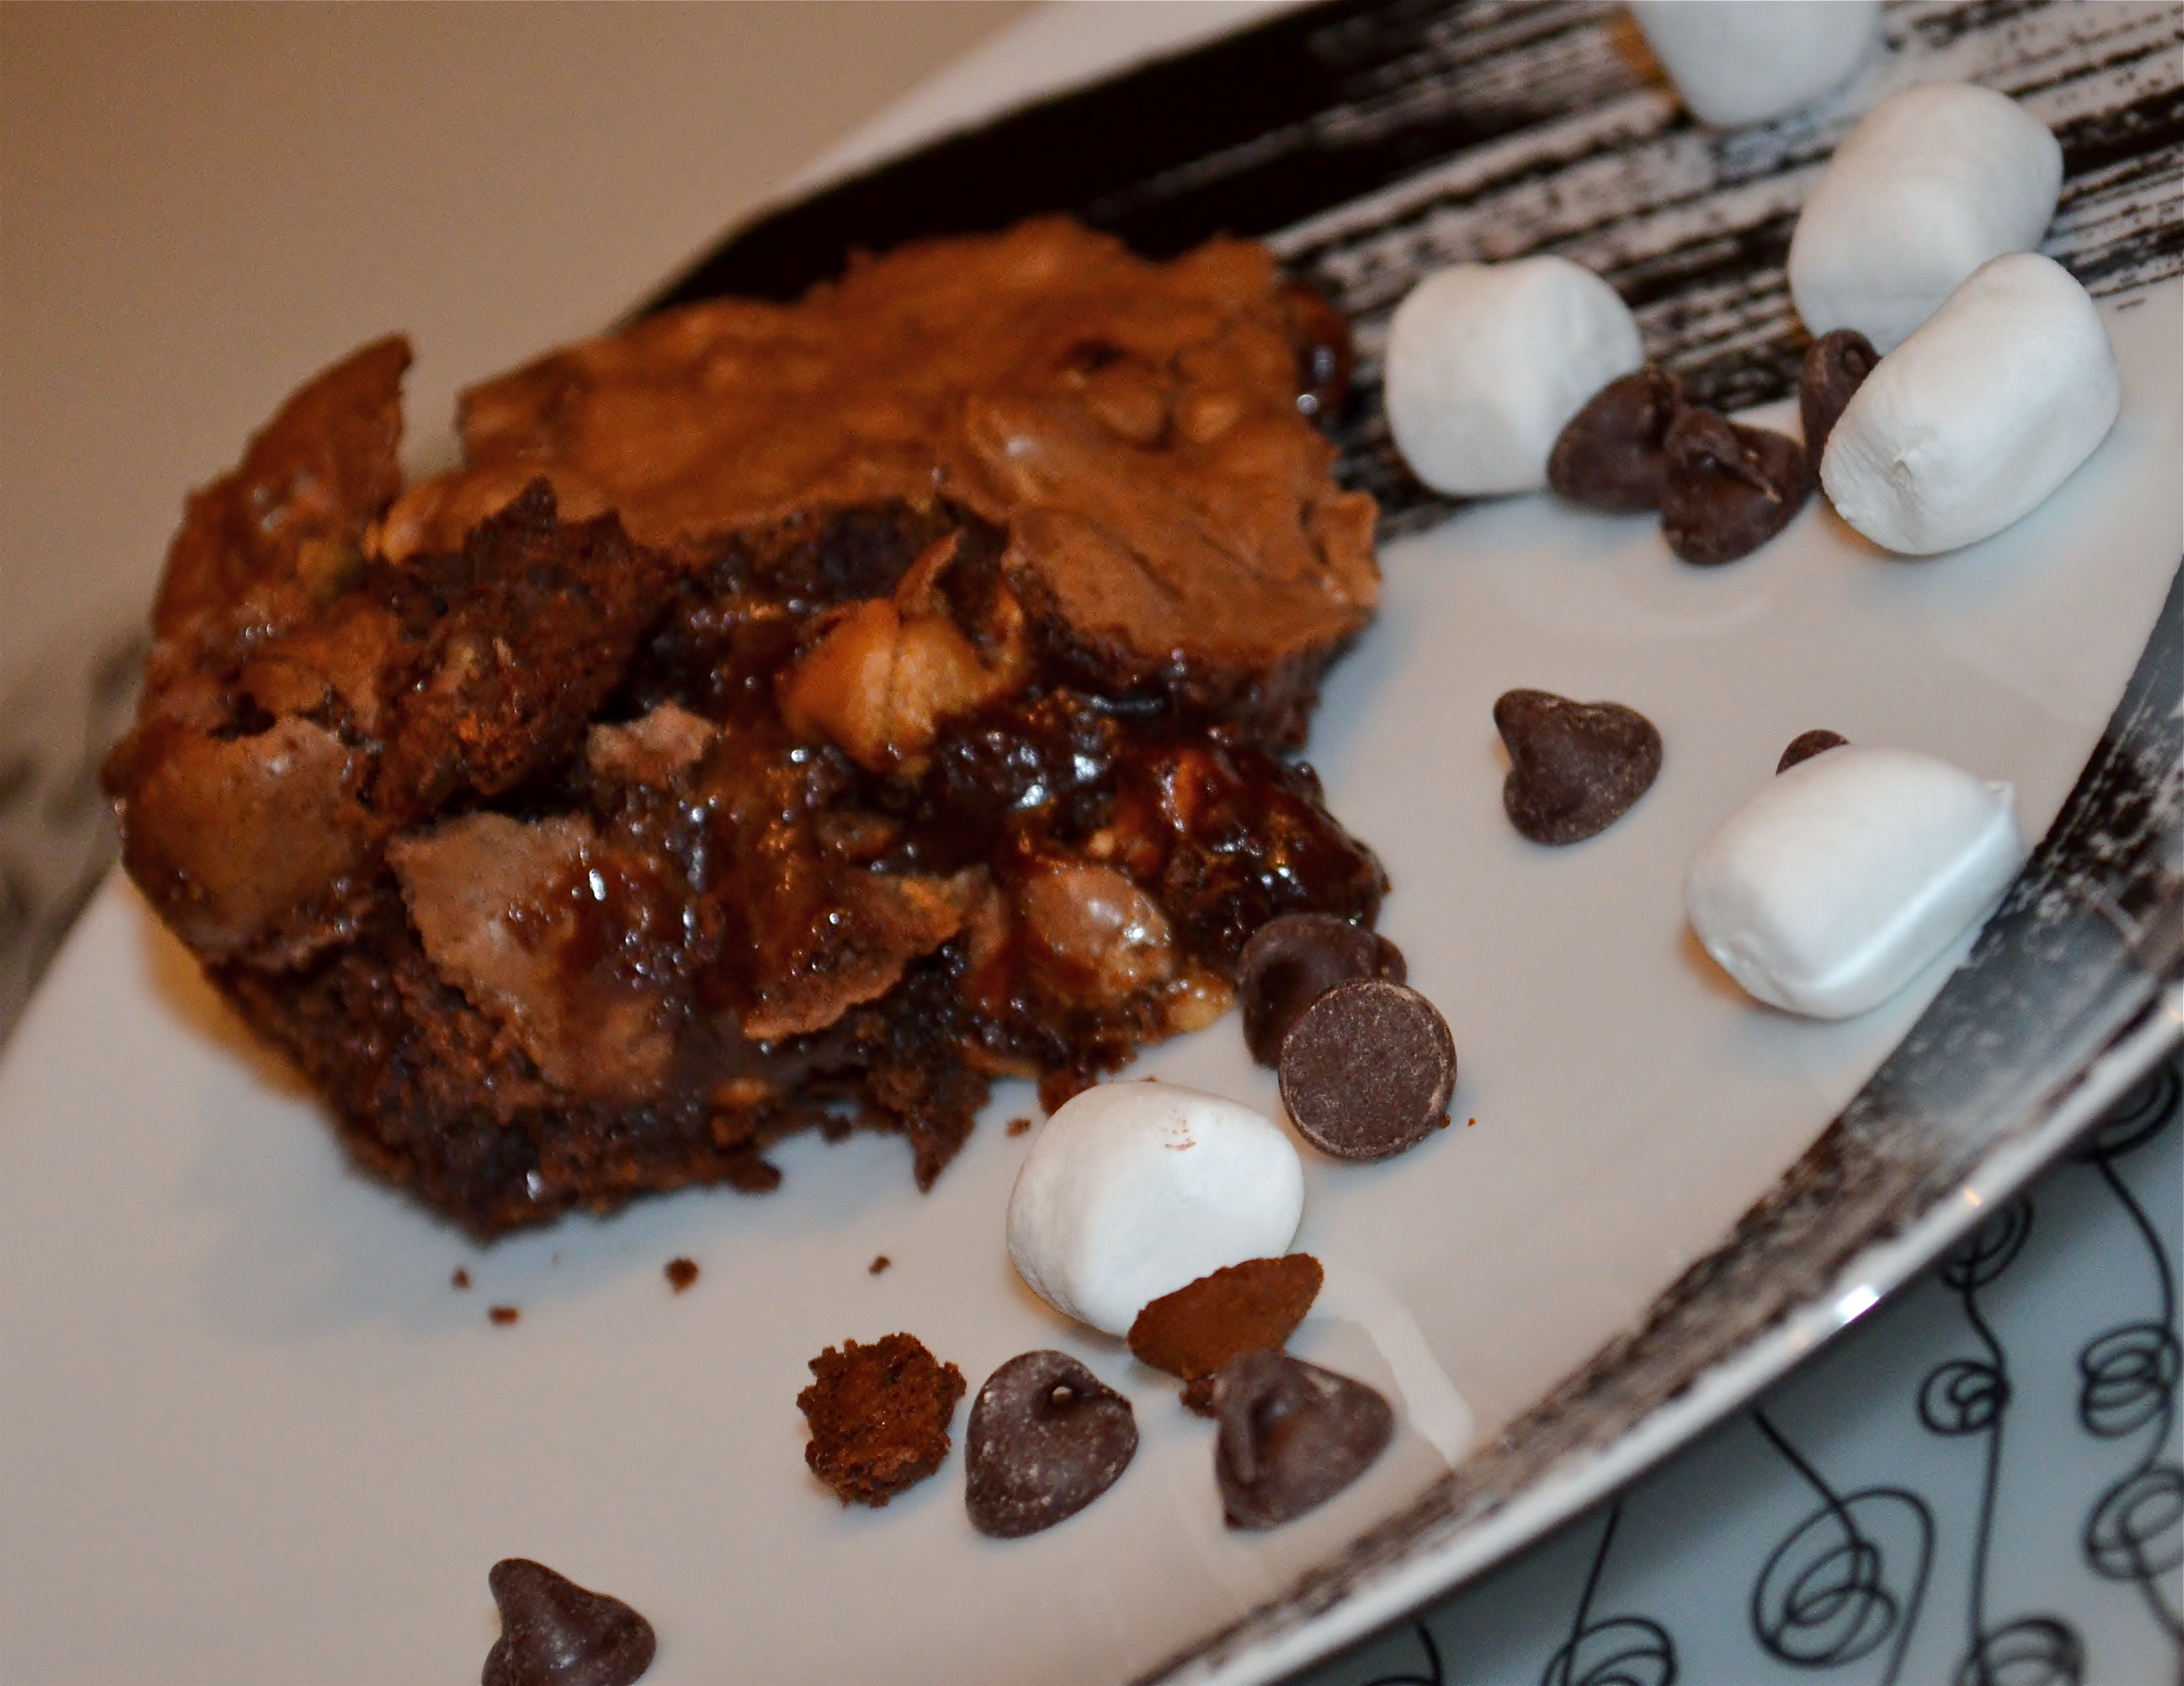
Super-Rocky Rocky Road Brownies
2 1-ounce squares unsweetened chocolate
2/3 cup all-purpose flour
½ tsp. baking powder
¼ tsp. salt
¼ cup (1/2 stick) butter, softened
1 cup granulated sugar
2 eggs
1 tsp. vanilla extract
1 6-ounce package semi-sweet chocolate morsels
1 cup peanut butter chips
1 cup mini marshmallows
Non-stick cooking spray
1. Preheat oven to 350 degrees.
2. Melt chocolate squares in a double boiler. If you don’t have one you can put a metal bowl over the top of a small kettle of boiling water and melt the chocolate in the bowl that way. Set aside to cool slightly.
3. In a large mixing bowl, beat together the butter and the sugar until they’re well blended. Add eggs, one at a time, mixing well after each egg.
4. Gradually add the melted chocolate and mix well. Beat in the vanilla.
5. Slowly add the flour mixture to the bowl and mix thoroughly.
6. Fold in the chocolate chips, peanut butter chips, and marshmallows.
7. Pour the batter into an 8×8 inch pan that has a good coat of non-stick spray.
8. Bake for 40 minutes. You can tell that they are done if you put a wooden toothpick near the center and it comes out clean.