Fresh Bean Salsa

Fresh Bean Salsa | Once Upon a Recipe

High five friends, it’s Friday!

I say it every week, but I’m so glad that the weekend is here. I have fun plans with friends, a birthday party for my little bro (who’s not so little anymore, btw), and sleeping in on the agenda. There is nothing I love more than not having to wake up to the sound of an alarm. I will also endeavour to keep up with my 2014 goal of reading one book per month. I realize that reading a dozen books in a one year period doesn’t seem like much, but I’m going for achievable here. I’ve read a few great posts on book recommendations, which have directed me to some great reads (if you’re also looking for inspiration, try here, here, and the comments section of this post).

Fresh Bean Salsa | Once Upon a Recipe

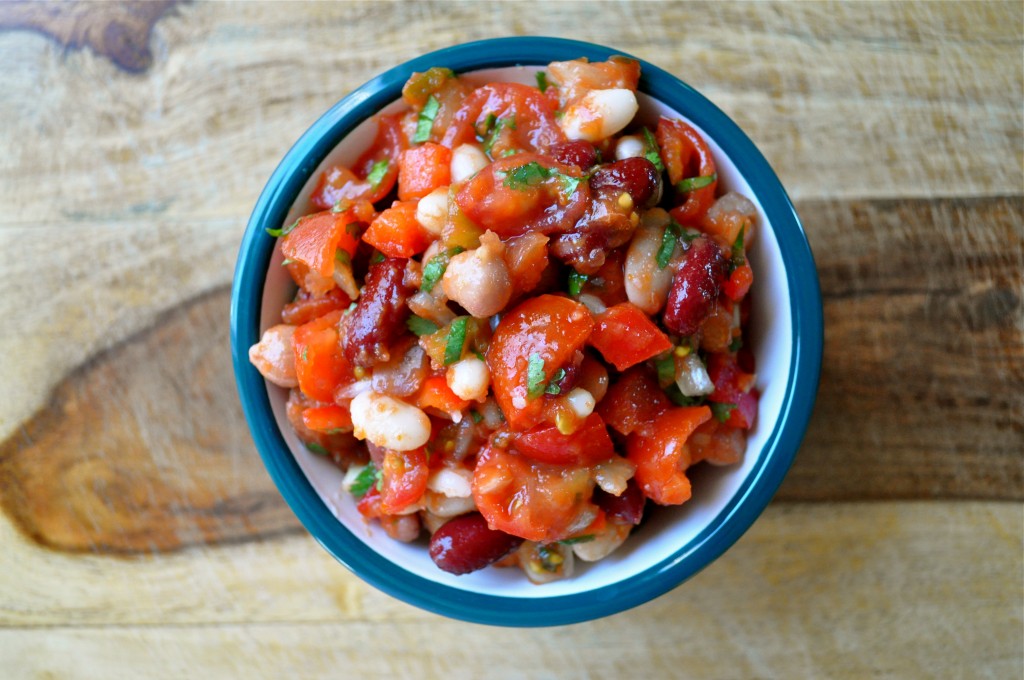
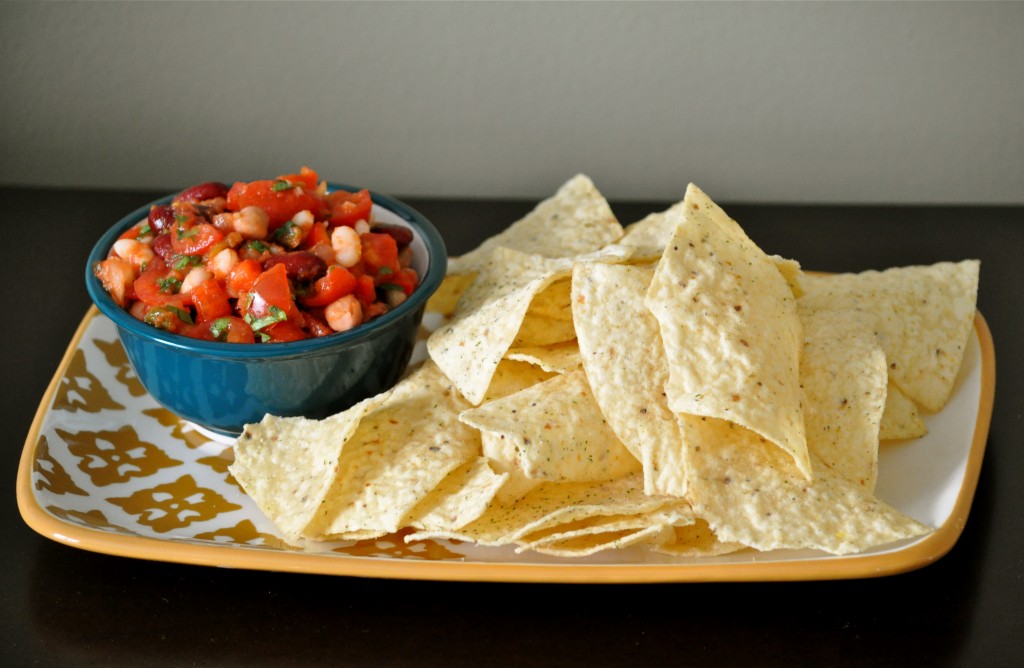
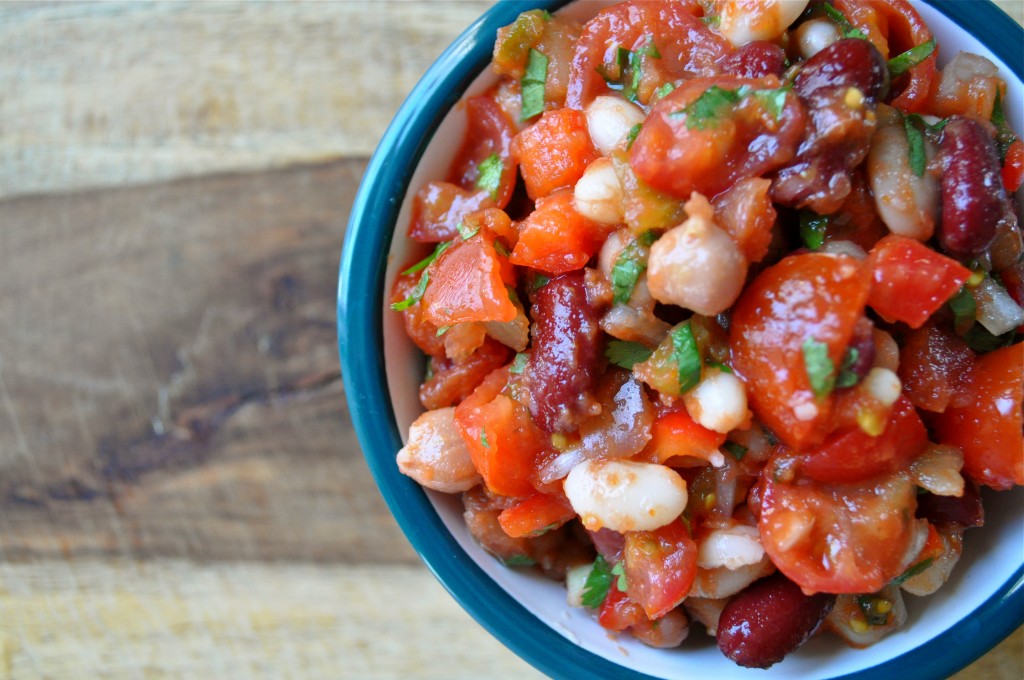
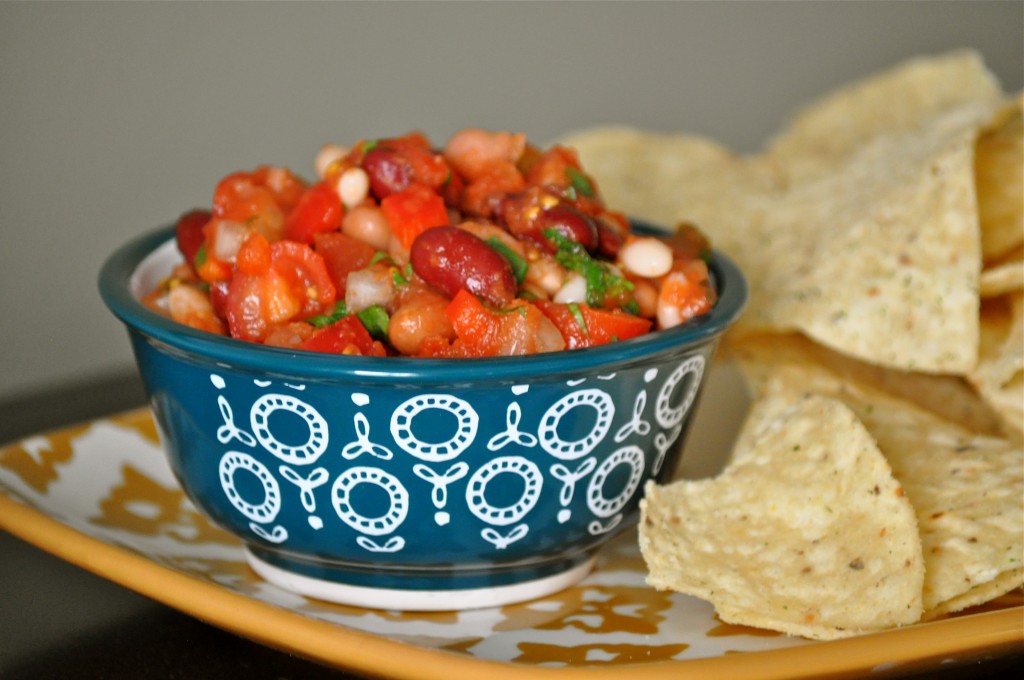
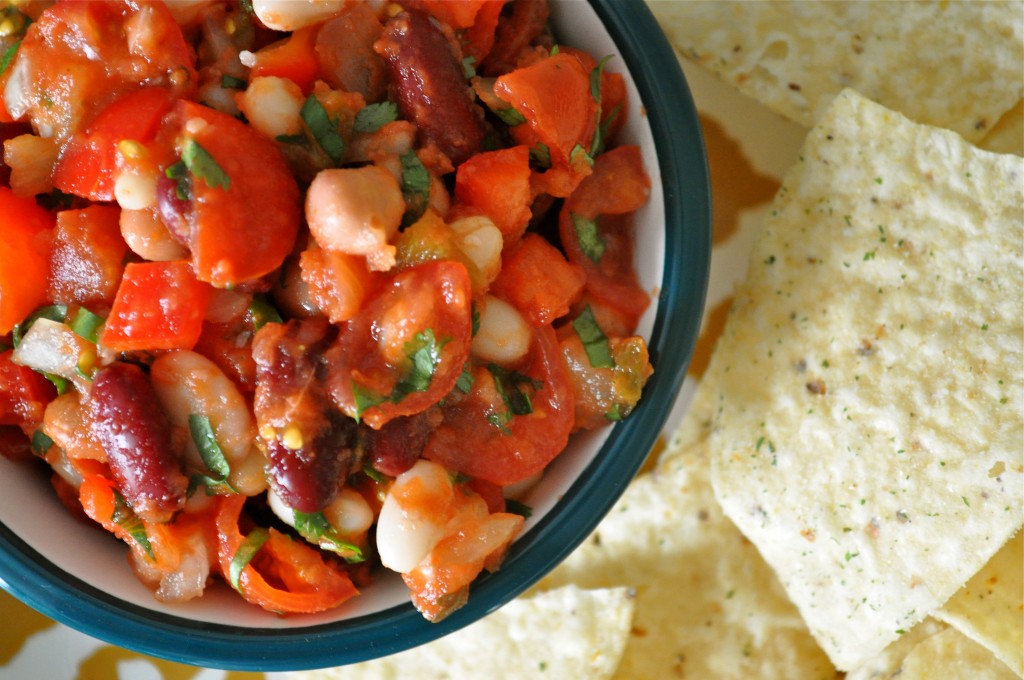
Annnnnyways, today I bring you a very humble bean salsa recipe. My friend, Jill started bringing this salsa to get togethers a while back. It always got rave reviews, so I asked for the recipe. Then I started taking it places and it got more rave reviews. It’s super simple, yet extremely flavorful and healthy. All it takes is a little chopping, a little mixing, and a little time for the flavors to mingle together, and you’ve got yourself a great snack, appetizer, or even side dish. My favorite way to enjoy this salsa is with Hint of Lime tortilla chips (either Tostitos or Old Dutch), but I bet it would taste great on nachos (add after baking the nachos so the chips don’t get mushy) or alongside your favorite Mexican dish. I’ve even thrown leftovers on top of a salad. Use your imagination folks!

Fresh Bean Salsa | Once Upon a Recipe

Fresh Bean Salsa | Once Upon a Recipe

Fresh Bean Salsa

This bean salsa tastes best if you give it a chance to chill out in the fridge for at least a couple of hours. It will keep well in an airtight container in the fridge for up to three days. You can use the salsa of your choice. 

2-19 ounce cans of mixed beans, drained and rinsed

1 red pepper, chopped

1 small onion, chopped

1 large tomato, chopped

1 cup prepared salsa of your choice

Salt and pepper, to taste

Fresh cilantro, chopped

Chop. Mix. Allow to sit in the fridge for a couple of hours (or overnight, if possible). Enjoy with tortilla chips!

Fresh Bean Salsa | Once Upon a Recipe

Have the most marvelous weekend!
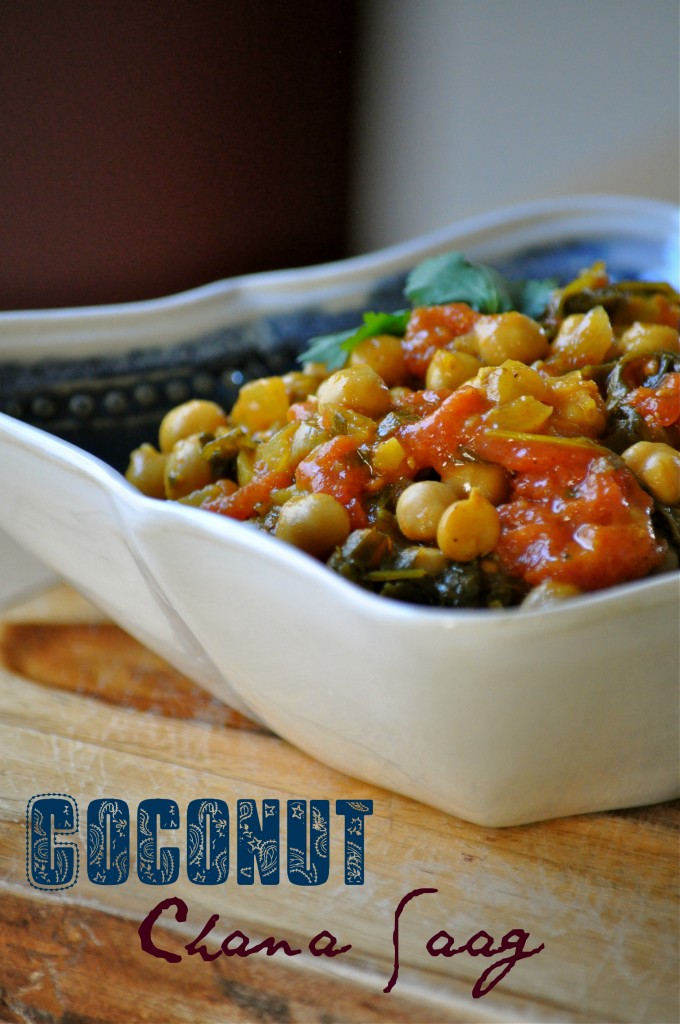
Coconut Chana Saag (Vegan, GF)

Coconut Chana Saag | Once Upon a Recipe

Hello friends!

How is 2014 treating you so far? Made any resolutions yet? Come up with any goals for the new year? Or maybe you’re easing into January by slowly decreasing your chocolate/cookie/wine intake in preparation for new healthy habits.

Coconut Chana Saag | Once Upon a Recipe

Personally, I’m easing into 2014 gently. There are still cookies and salted caramel bark in my freezer that need to be eaten, yo! And champagne in my fridge that needs drankin’. However, despite the way I present myself and my eating habits on this blog (cookies and cakes and sweet things galore), I actually eat fairly healthy on the regular.

One of my goals for 2014 is to give you, my dear readers, a more accurate representation of the way I typically eat. Generally speaking, I try to focus on the 80/20 rule – 80 percent of the time I try to eat healthy and wholesome – veggies, fruits, lean proteins, and whole grains, and 20 percent of the time I allow myself to indulge. Some days, the scale tips more in favor of indulging, and other days, it tips more in favor of eating healthy. It’s all about balance, friends.

Coconut Chana Saag | Once Upon a Recipe

Coconut Chana Saag | Once Upon a Recipe    Coconut Chana Saag | Once Upon a Recipe

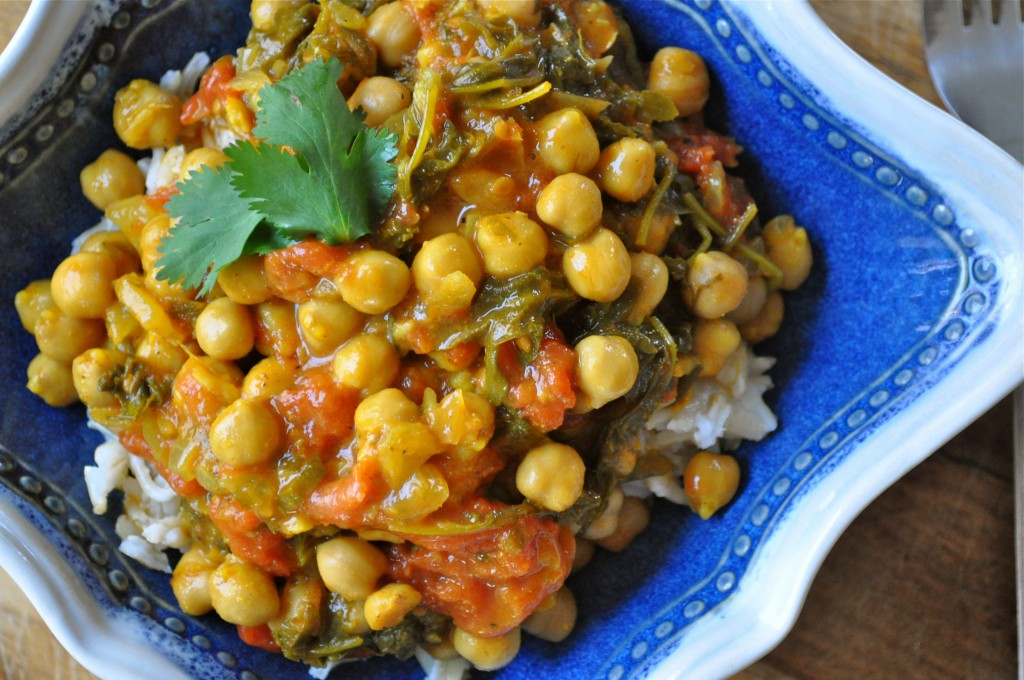
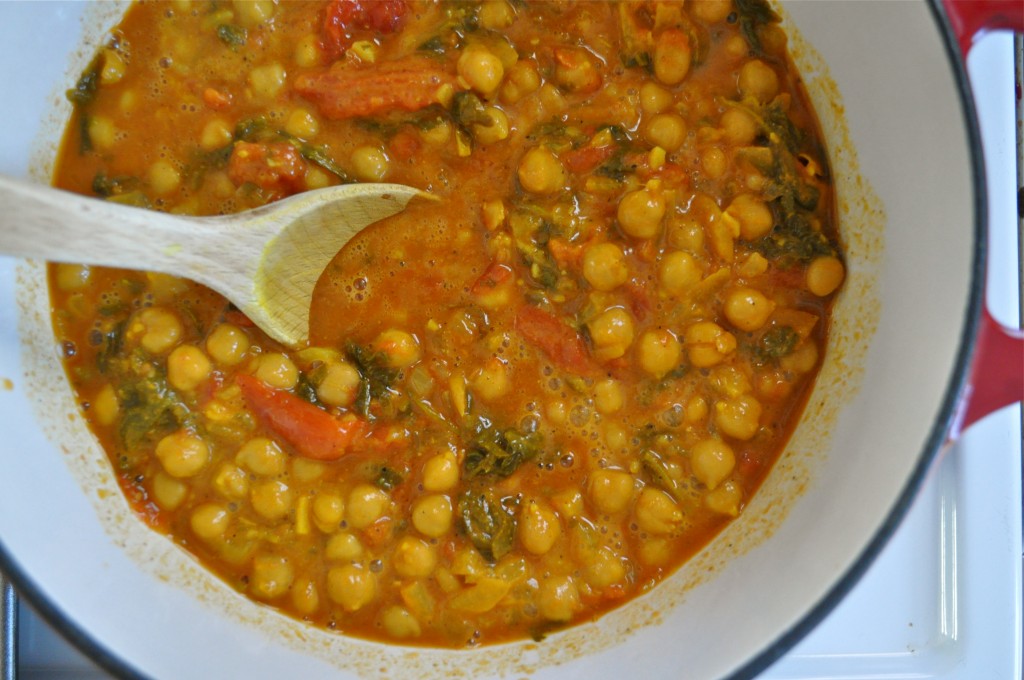
This recipe for Coconut Chana Saag is wonderfully reflective of the way I tent to eat. Simple ingredients, easy preparation, and lots of flavor. I was gifted a new cookbook for Christmas – Isa Does it by Isa Chandra Moskowitz. Isa Does It is full of easy and delicious vegan recipes, and I have already bookmarked about 20 recipes to try. If any of them are half as delicious as this Coconut Chana Saag, I have a very tasty 2014 ahead. And so do you!

Coconut Chana Saag | Once Upon a Recipe

Coconut Chana Saag (slightly adapted from Isa Does It by Isa Chandra Moskowitz)

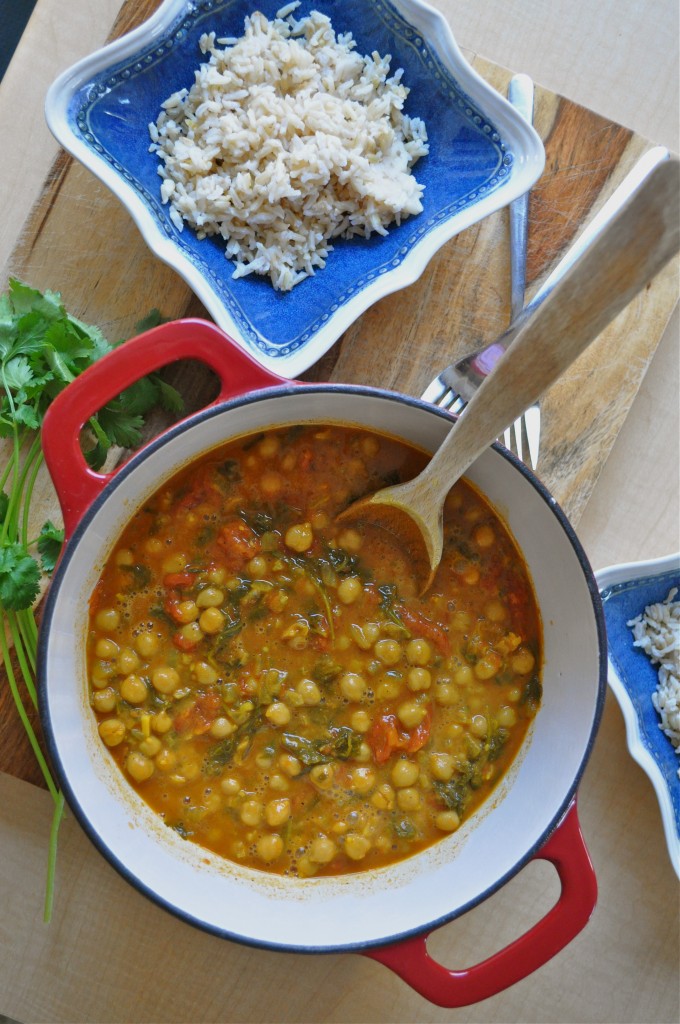
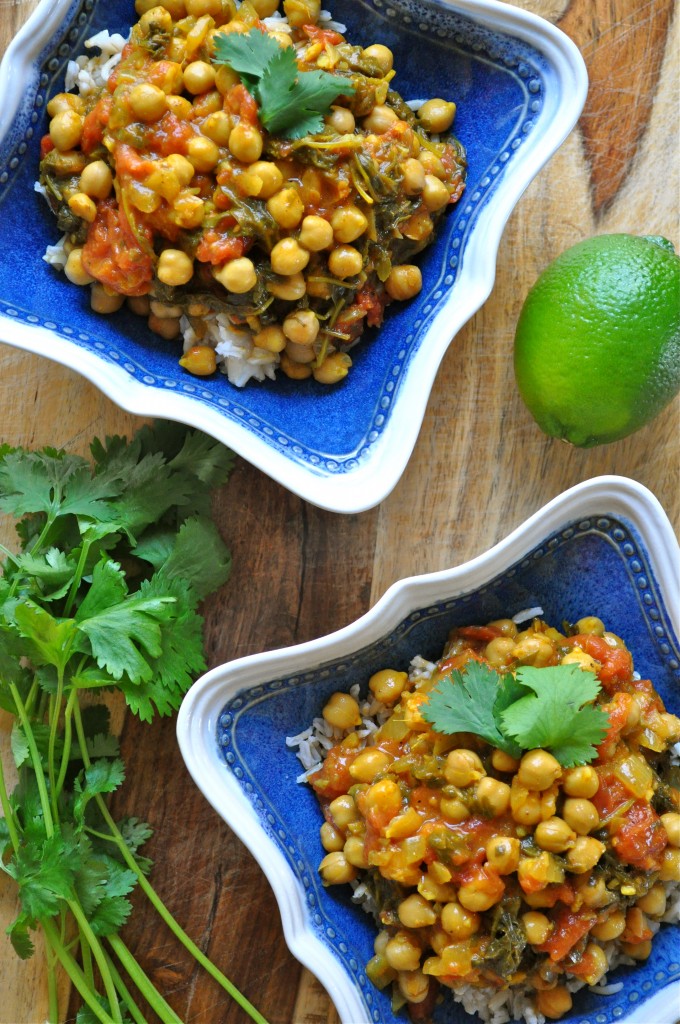
This Coconut Chana Saag comes together quickly and easily. I served it over brown basmati rice, but you could also use quinoa, jasmine rice, or your favorite grain. Store leftovers in a sealed container and refrigerate, then enjoy throughout the week! Serves 6.

2 TBSP. coconut oil

1 medium onion, diced

4 cloves garlic, minced

A knob of fresh ginger, minced (about 2 TBSP.)

2 TBSP. curry powder (I used Moghul curry powder)

1 tsp. salt

Freshly ground pepper, to taste

1/2 tsp. crushed fennel seeds

1/4 tsp. garam masala

1/2 tsp. ground cumin

A pinch of cayenne pepper

1 24-ounce can whole tomatoes

2 15-ounce cans of chickpeas, drained and rinsed

8 ounces of baby kale

1 14-ounce can of lite coconut milk

1/4 cup fresh cilantro, chopped (plus more for serving)

Juice of 1 lime

Cooked brown basmati rice (for serving)

Heat the coconut oil in a large pot over medium-high heat. Add the onion and saute for about 7 minutes, until lightly browned. Add the garlic and ginger, and saute until fragrant (about 30 seconds). Add the curry powder, salt, pepper, fennel seeds, garam masala, cumin, and cayenne and mix well. Allow the spices to roast for about a minute.

Add the tomato juice from the can, and scrape the bottom of the pan to deglaze. Add the tomatoes from the can, squishing them with your fingers or mashing with a wooden spoon. Add the chickpeas and mix well. Cover the pot and increase the heat to medium-high. Let simmer for about 10 minutes, stirring occasionally. Add the kale and stir until wilted, and then simmer for about 5 minutes more.

Add the coconut milk, cilantro, and lime juice and heat through. Taste for seasoning. Allow to sit for 10-20 minutes (if possible), so that the flavors can mingle. It tastes even better the next day. Serve over brown basmati rice and add more fresh cilantro, if desired.

Have a great week! 🙂

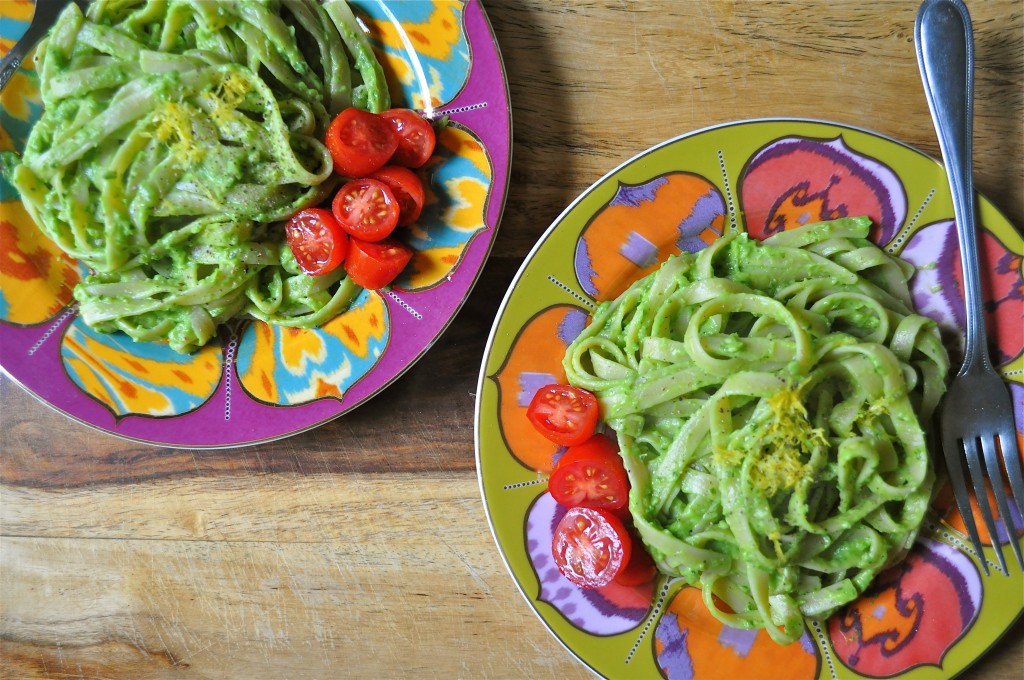
Light and Fresh | Fettuccine Al-Fake-O!

Fettuccine Al-Fake-O! | Once Upon a Recipe

Dear Universe,

I would like to make a proposition.

Fettuccine Al-Fake-O! | Once Upon a Recipe

Let’s add a few more hours to the day. Let’s make every day 36 hours long instead of 24. A deliciously long 12-hour night sleep will be mandatory and then we’ll still have 24 other hours during which we can make a living, love on all our family and friends, work out, catch up on all of our favorite TV shows, listen to all the best music, and cook/bake/eat/drink all the things. And do all of the other wonderful/demanding/amazing/worthy/necessary activities in our lives.

Fettuccine Al-Fake-O! | Once Upon a Recipe

And let’s make it happen immediately! Three day weekends are also on the wish list.

Most sincerely,

Amanda

Fettuccine Al-Fake-O! | Once Upon a Recipe

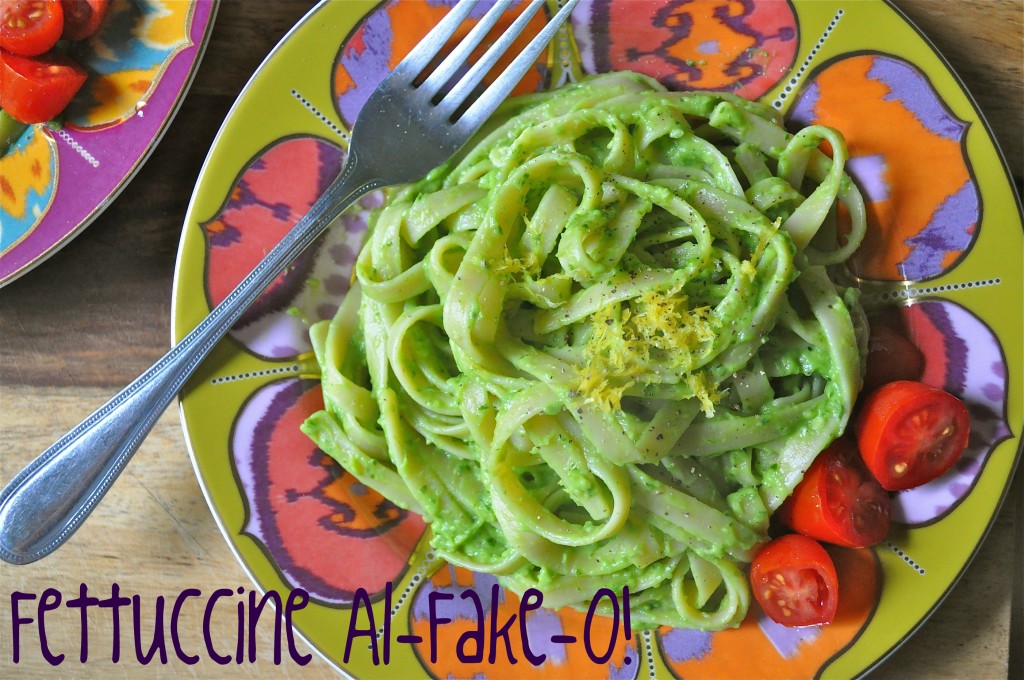
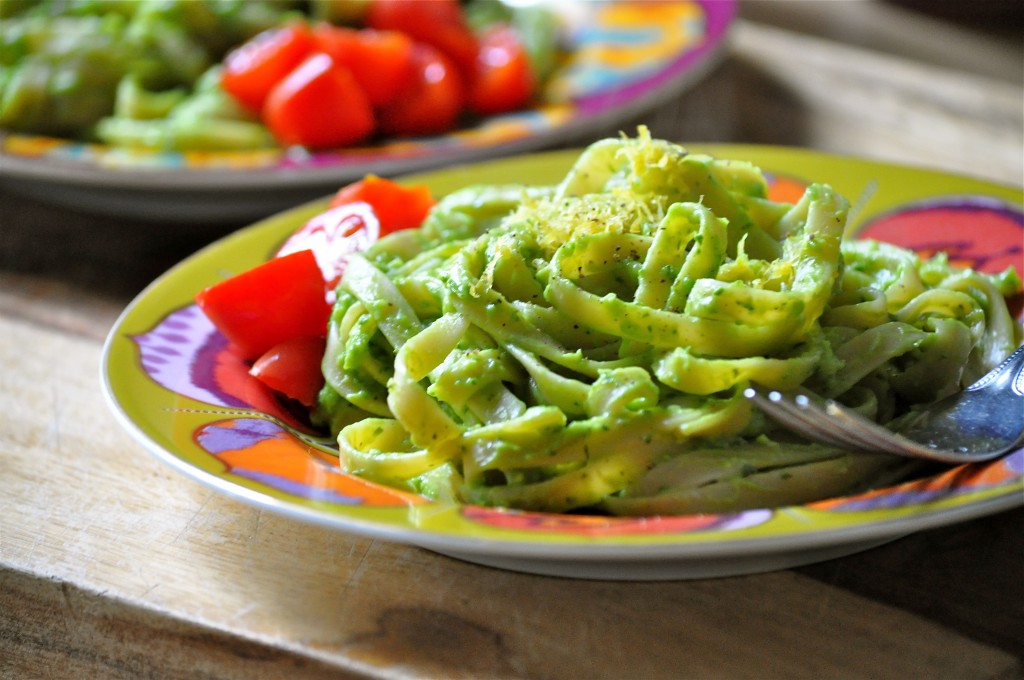
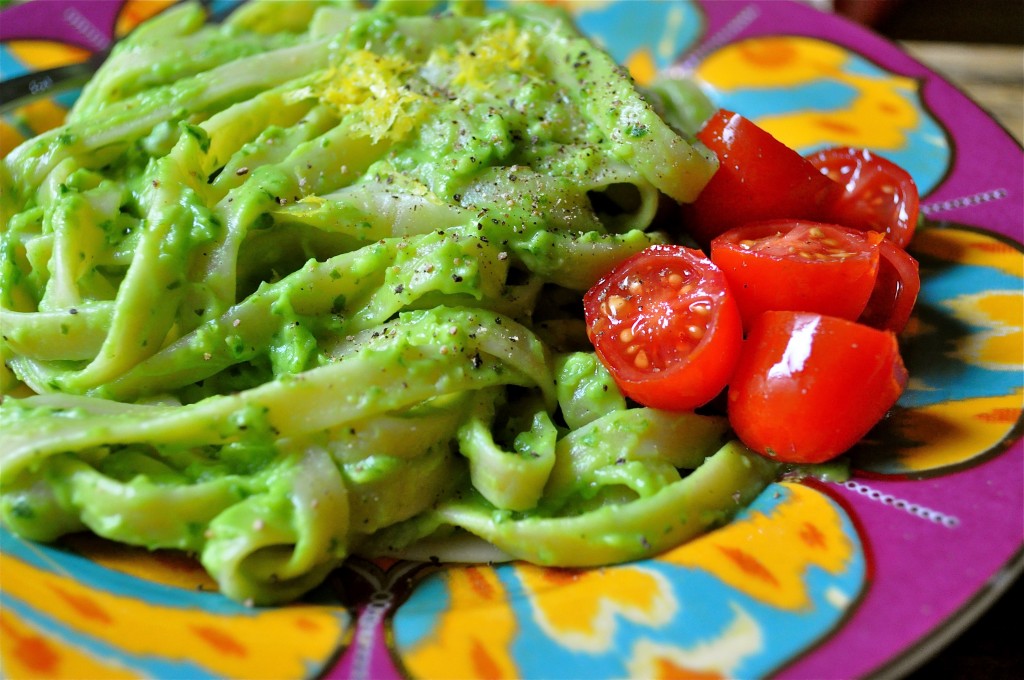
While it is unlikely for my wish for more hours in a day to come true, it might just be possible to squeeze more into the hours we already have. Quick and easy meals like this affectionately named Fettuccine Al-Fake-O will fill your belly with delicious and healthy things, without requiring tons of time in the kitchen. And guess what? It’s freaking vegan. Remember when I made you that vegan ice cream? Yeah, I hopped aboard the vegan train and you’re comin’ with me! (But don’t worry, I still really like butter and cheese and meat and stuff)

Disclaimer: Dudes, let’s be real. A sauce made without loads of butter, cream, and cheese is not going to taste like a sauce that is made with all of the above. I mean, I’m not freaking David Copperfield. However…this vegan avocado “alfredo” sauce is made with wholesome and delicious ingredients, and it tastes pretty amazing. It literally takes minutes to pull together, giving you more time for the important stuff. And if you enjoy lighter meals made with fresh ingredients during the hot summer months, this is the perfect dish for you. Live it up!

Fettuccine Al-Fake-O! | Once Upon a Recipe

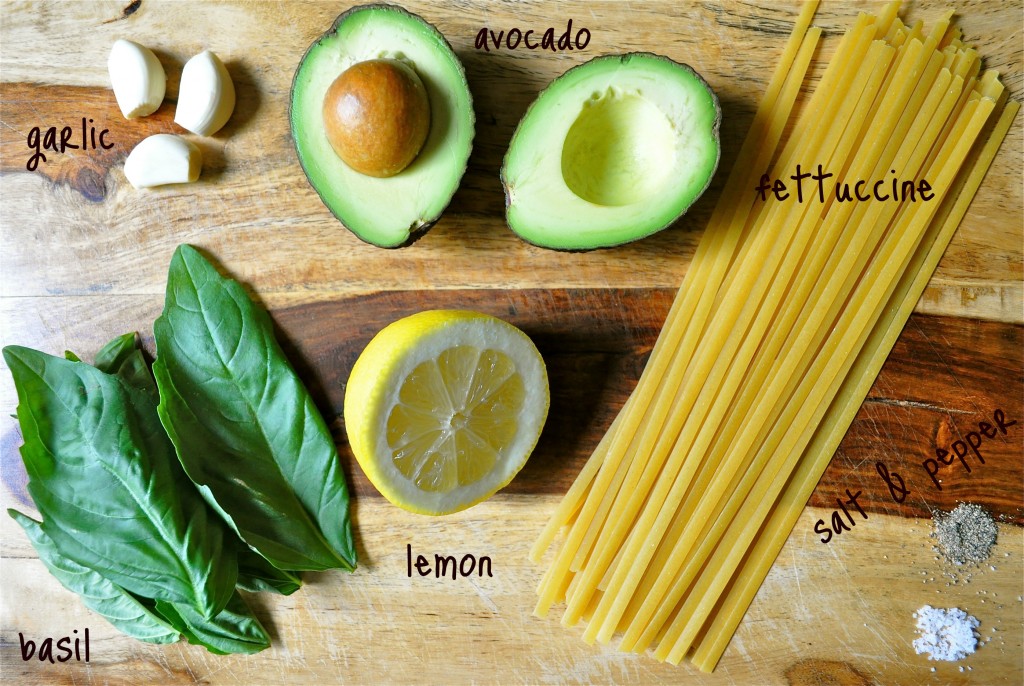
Fettuccine Al-Fake-O! (barely adapted from The Kind Life)

If you are a garlic fiend like me, up the garlic to 3 cloves. If you don’t enjoy having garlic breath for days, or just aren’t a big garlic fan, reduce the garlic to 1 clove. The garlic packs a pretty big punch, so be warned. Also, this pasta tastes best when enjoyed immediately. I would be a bit leery of reheating it in the microwave, due to the avocado base. 

1 ripe avocado

1 large handful of fresh basil

1-3 cloves of garlic

Half a lemon

Salt and pepper to taste

2 servings of cooked fettuccine

In a food processor, blend the avocado, basil, garlic, the juice from the lemon together until smooth. Season with salt and pepper, to taste. Toss the sauce with the hot, cooked pasta until evenly coated. Serve immediately. Top with a pinch of lemon zest, if desired. And if you aren’t vegan, a little freshly grated parmesan cheese sprinkled on top tastes pretty darn good too.

Fettuccine Al-Fake-O! | Once Upon a Recipe

PS. If you are going to be kissing anyone in the hours after consuming this tasty dish, perhaps you should encourage your partner to enjoy the same meal. Just sayin’…

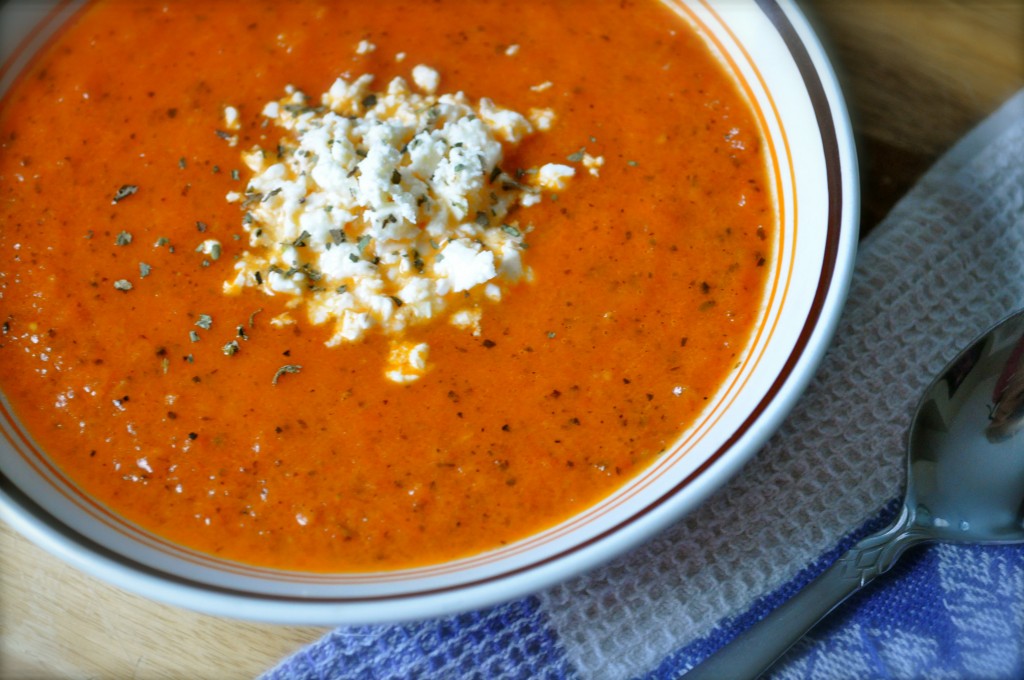
When Life Gives You Tomatoes | Fire-Roasted Tomato Bisque

Fire-Roasted Tomato Bisque | Once Upon a Recipe

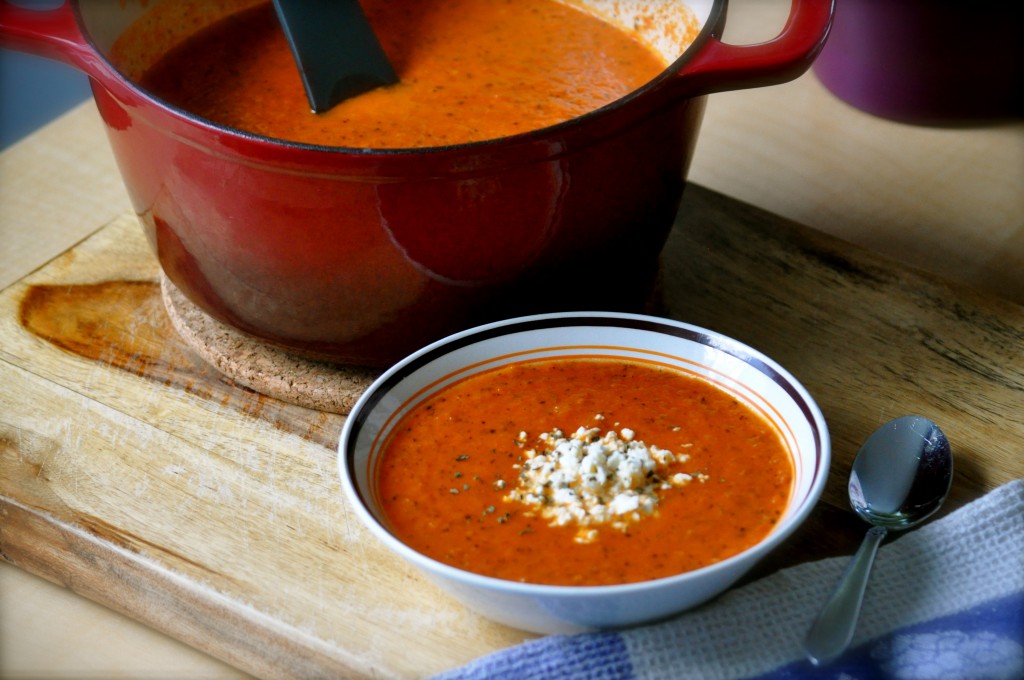
Have you ever eaten something at a restaurant that is just so damn good that you cannot stop thinking about it? And so then you create excuses find good reasons to go back to that same restaurant to enjoy that same thing over and over again? And then, after the tenth time going to that same restaurant and eating that same thing, you start to wonder if maybe you could make the thing at home, saving yourself some cash and also freeing yourself up to possibly eat out elsewhere and discover new obsessions?

Cool. I’m glad we understand each other. That’s totally what happened with this soup!

Fire-Roasted Tomato Bisque | Once Upon a Recipe

There is a great little pizzeria franchise here in Alberta, BC, and Ontario called Famoso, which specializes in authentic Neapolitan pizza. The pizza is totally killer. Now, I have to preface the rest of this story by telling you that I rarely order soup in restaurants. I’m just not really a soup girl. Plus, when up against something like pizza (hello cheesy, carby goodness), the soup is going to play second fiddle every time. A friend recommended that I try the fire-roasted tomato bisque and when she claimed that it was something along the lines of “best ever,” I decided to put it to the test.

And then I proceeded to go back to Famoso to eat this soup more times than I would like to admit over the couple of months that followed. (Don’t worry, I still ordered a small pizza alongside it!)

Fire-Roasted Tomato Bisque | Once Upon a Recipe

This soup. Well, it’s a bisque really, and I must confess that I did not know the difference between a soup and a bisque until about 29 seconds ago when I turned to Google for help. Apparently, a bisque is a type of rich, thick, creamy soup that has been pureed so that it has an even texture. Although, according to Wikipedia, a traditional bisque is “a smooth, creamy, highly-seasoned soup of French origin, classically based on a strained broth (coulis) of crustaceans.” Well excuse me, fancy pants. 

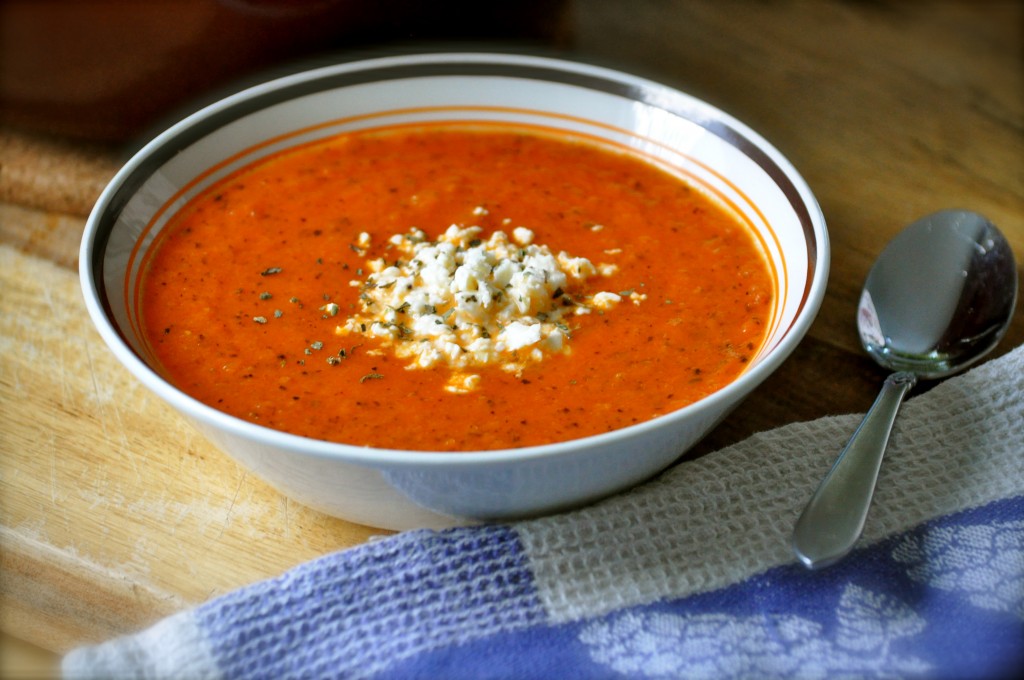
Whether this is truly a soup or a bisque, I have no idea. But what I do know is…it’s freaking delicious. After scouring the Internets for recipes that seemed to resemble the taste of the soup from Famoso that I had essentially committed to memory, I found one that, coupled with a few little tweaks, seems to be pretty darn close. It’s not quite as creamy and dreamy as the restaurant version, but I am rather certain that Famoso uses a much more generous amount of half & half, or likely even cream in their soup. So let’s just call this the lighter and tighter cousin to Famoso’s soup. Bisque. Whatever. Just make it! ‘Tis the season for soup, after all.

Fire-Roasted Tomato Bisque | Once Upon a Recipe

Fire-Roasted Tomato Bisque (adapted from The Novice Chef)

This bisque packs a flavorful punch. The use of fire-roasted tomatoes is key – don’t go trying to sub in regular ‘ol tomatoes. They just won’t cut it here. I found fire-roasted tomatoes alongside the other canned tomatoes in my local grocery store, but any Italian grocer should carry them. Also, fresh basil will make this bisque even more fantastic, so if it’s available to you, go ahead and use it. The fresh basil at my local grocer was looking rather sad and pathetic. And finally, the generous serving of crumbled feta cheese really takes this soup over the top, so please don’t leave it out. 

1/4 cup herb-infused olive oil (or EVOO)

1 onion, diced

8 garlic cloves, minced

3 (14 oz.) cans of fire-roasted tomatoes (ie. Scarpone’s)

2 cups stock (chicken or vegetable)

1/2 cup half & half

2 tsp. dried basil

Pinch of cayenne pepper

Salt and pepper, to taste

Crumbled feta cheese, for topping

In a heavy pot over medium high heat, heat the olive oil and saute the onion until translucent. Add the minced garlic and cook with the onion for a few minutes. Add the cans of fire roasted tomatoes (juice included) and cover for about 15 minutes, stirring every few minutes.

With the lid off the pot, add the broth and half & half and bring the soup to a simmer. The mixture should start to thicken as it reduces (~10-15 minutes). Once slightly thickened, season to taste with salt and pepper. Lower the heat to medium and cook for 5 minutes more.

Time to puree! Using either an immersion blender (if you’re lucky), or a regular blender, puree the soup until smooth. Be careful if using a regular blender as the soup is (obviously) hot! You may need to puree the soup in several batches.

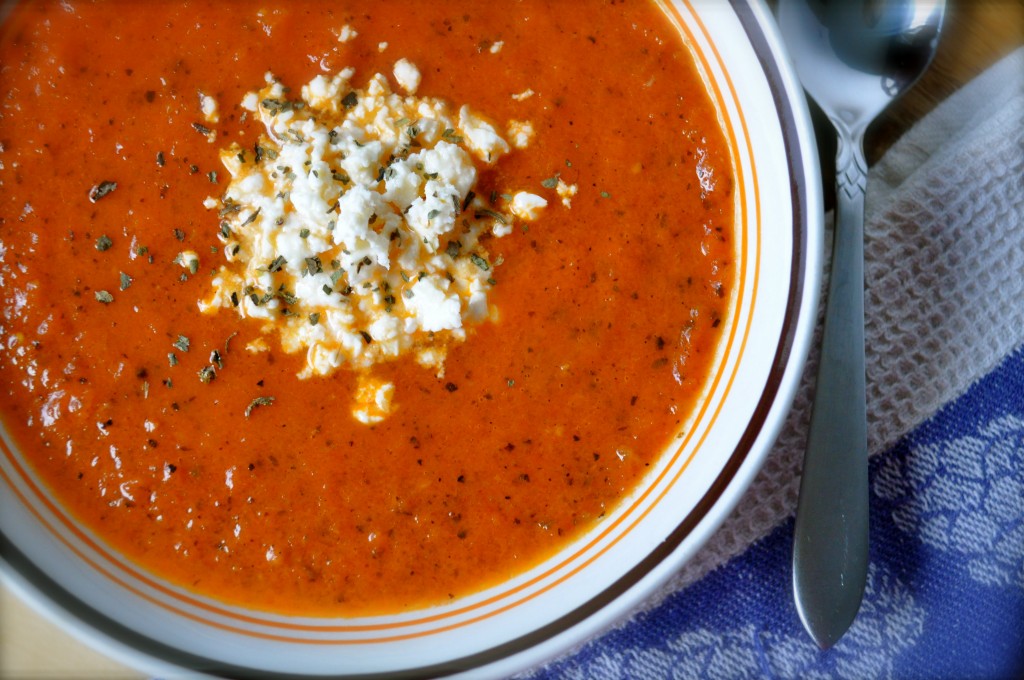
Serve with a generous mound of crumbled feta cheese (and fresh basil if you’ve got it), and stir it into your soup as you eat. Buon appetito!

There’s An App for That | Pasadena Pinwheels

Pasadena Pinwheels | Once Upon a Recipe


Aloha mes amigos!

‘Tis the holidays! At this time of year, every good host and hostess needs a few recipes in his or her entertaining arsenal – tried and true crowd pleasers that can be counted on time and time again. For me, Pasadena Pinwheels is one of those reliable appetizers that everyone seems to love. They are easy to prepare ahead of time, only need a quick nip in the oven before serving, and well, they’re kind of delicious.

Why not give ’em a try this holiday season? Whether you’re hosting a party or attending one and need something easy to take along (yes, we’re all going to be good guests this year), Pasadena Pinwheels are money.

I’ll even walk you through it. Let’s get started!
Pasadena Pinwheels | Once Upon a Recipe


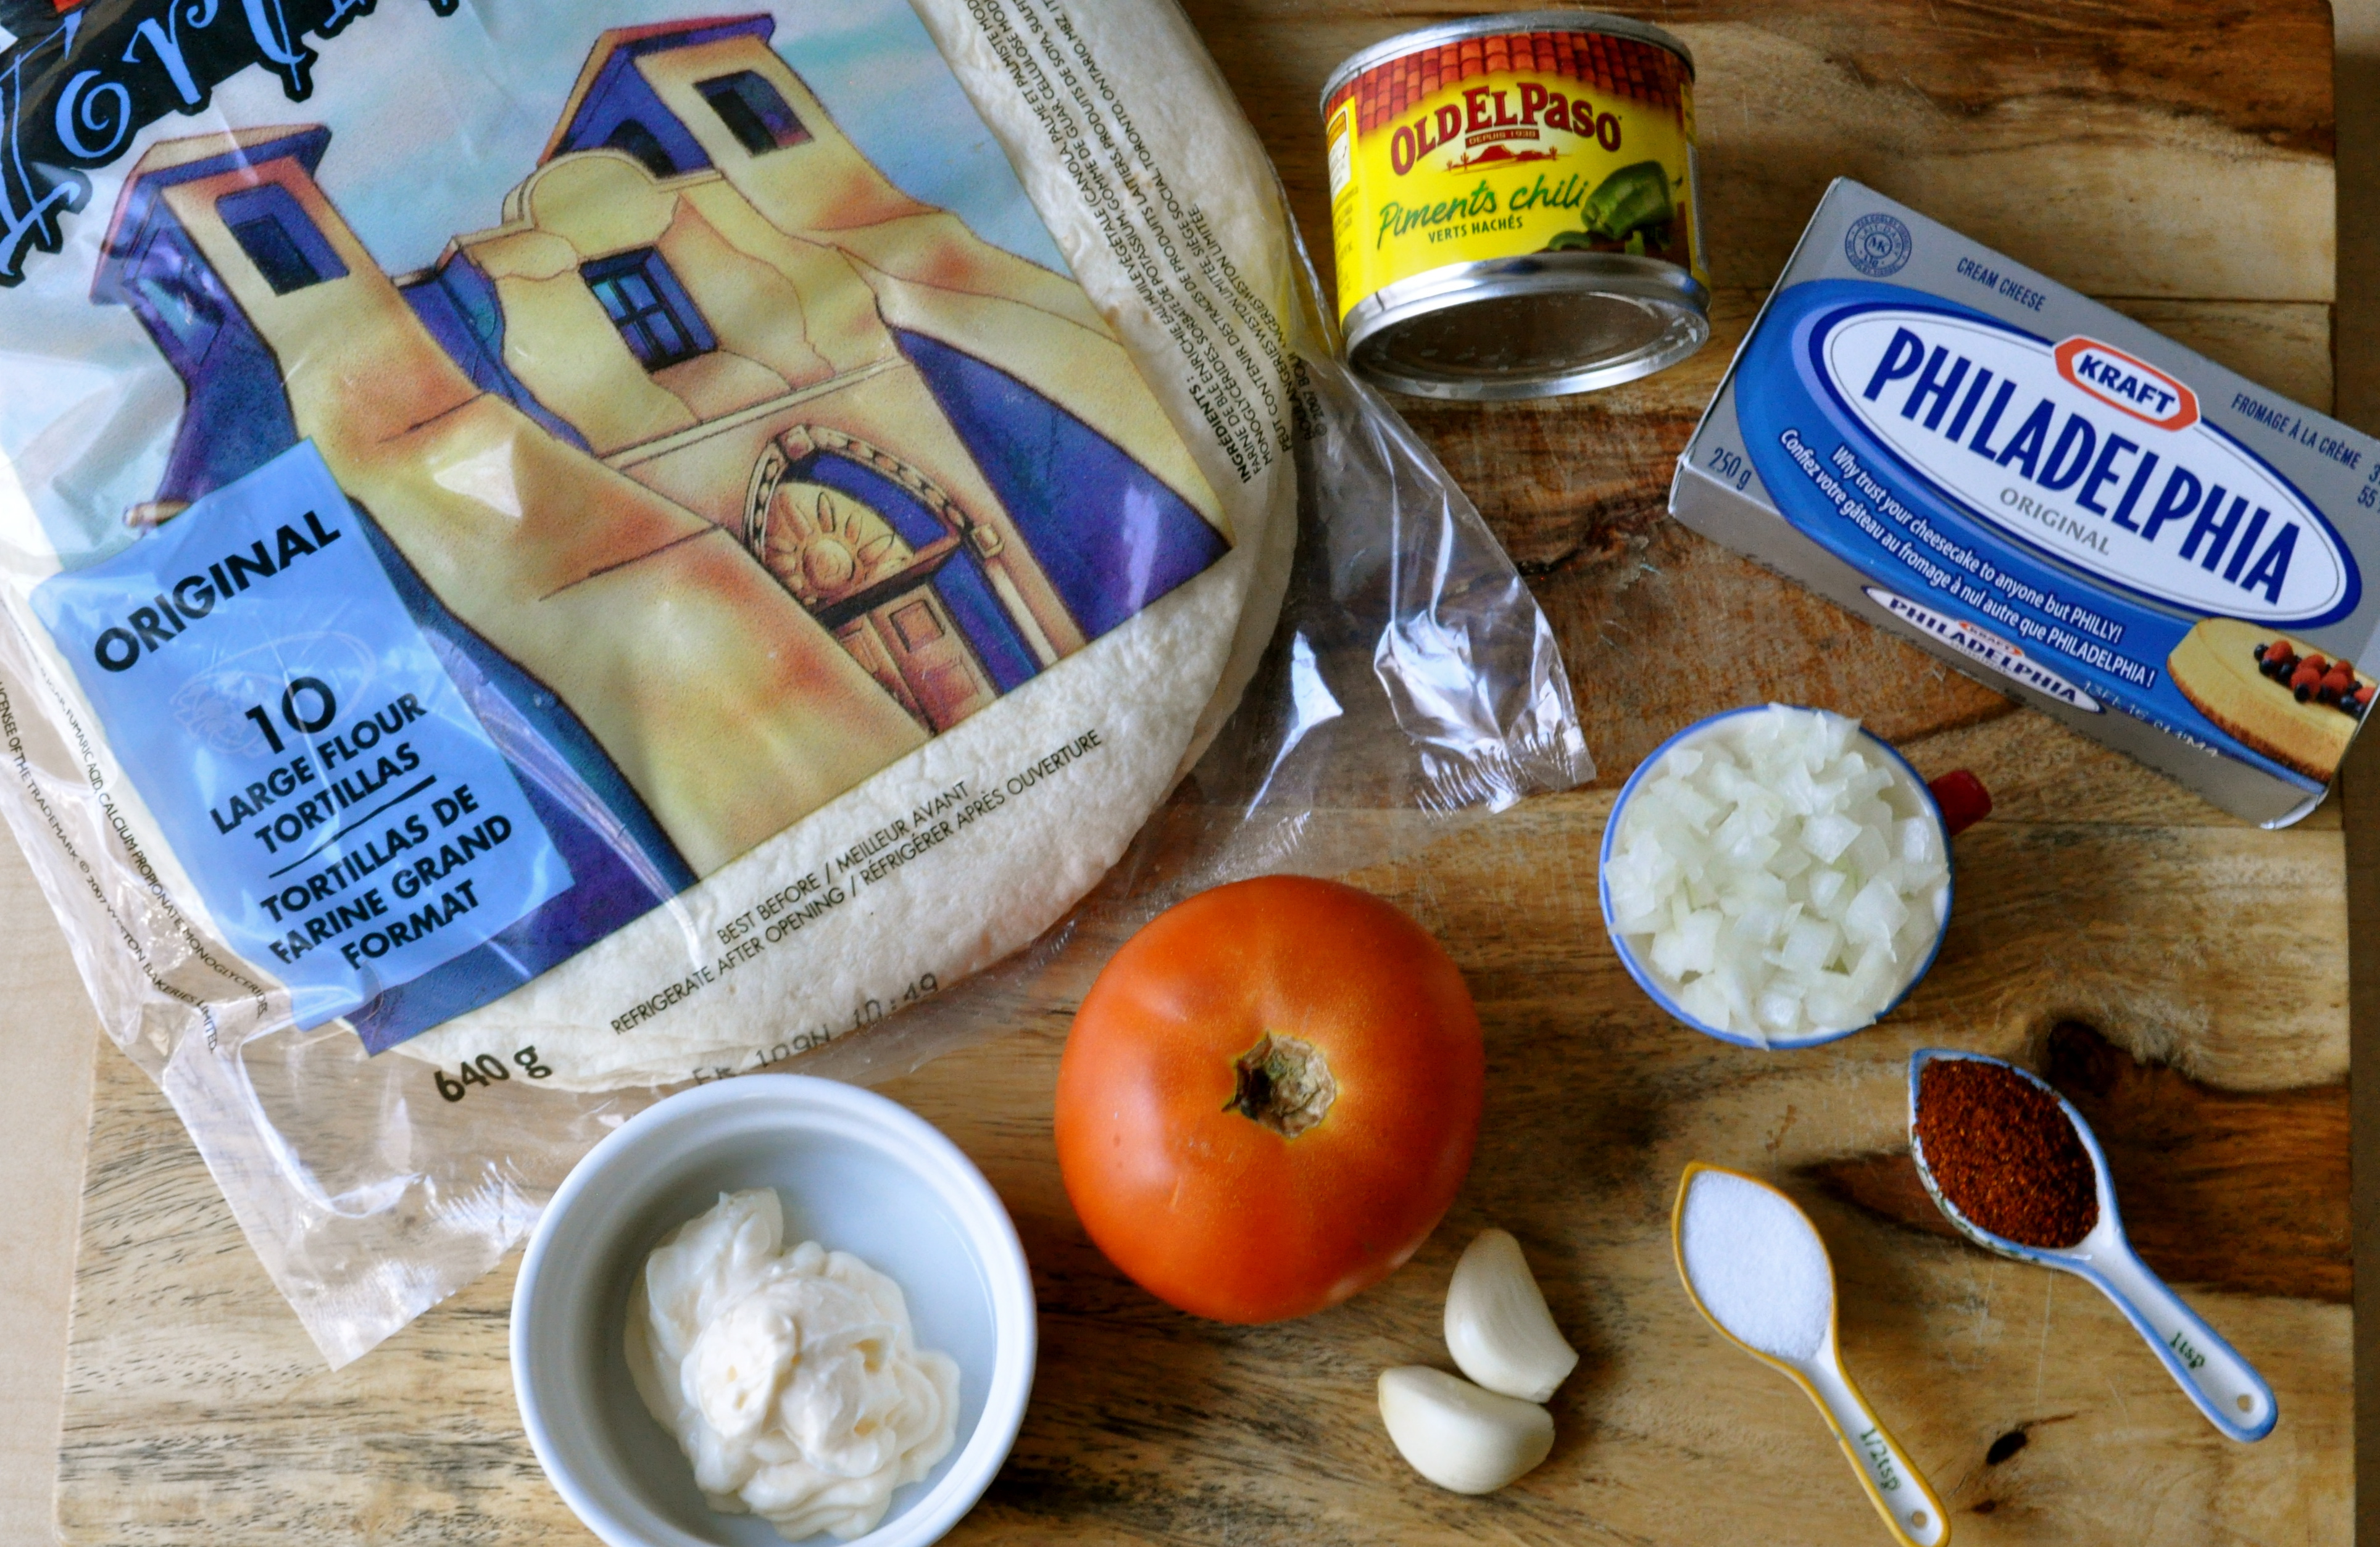
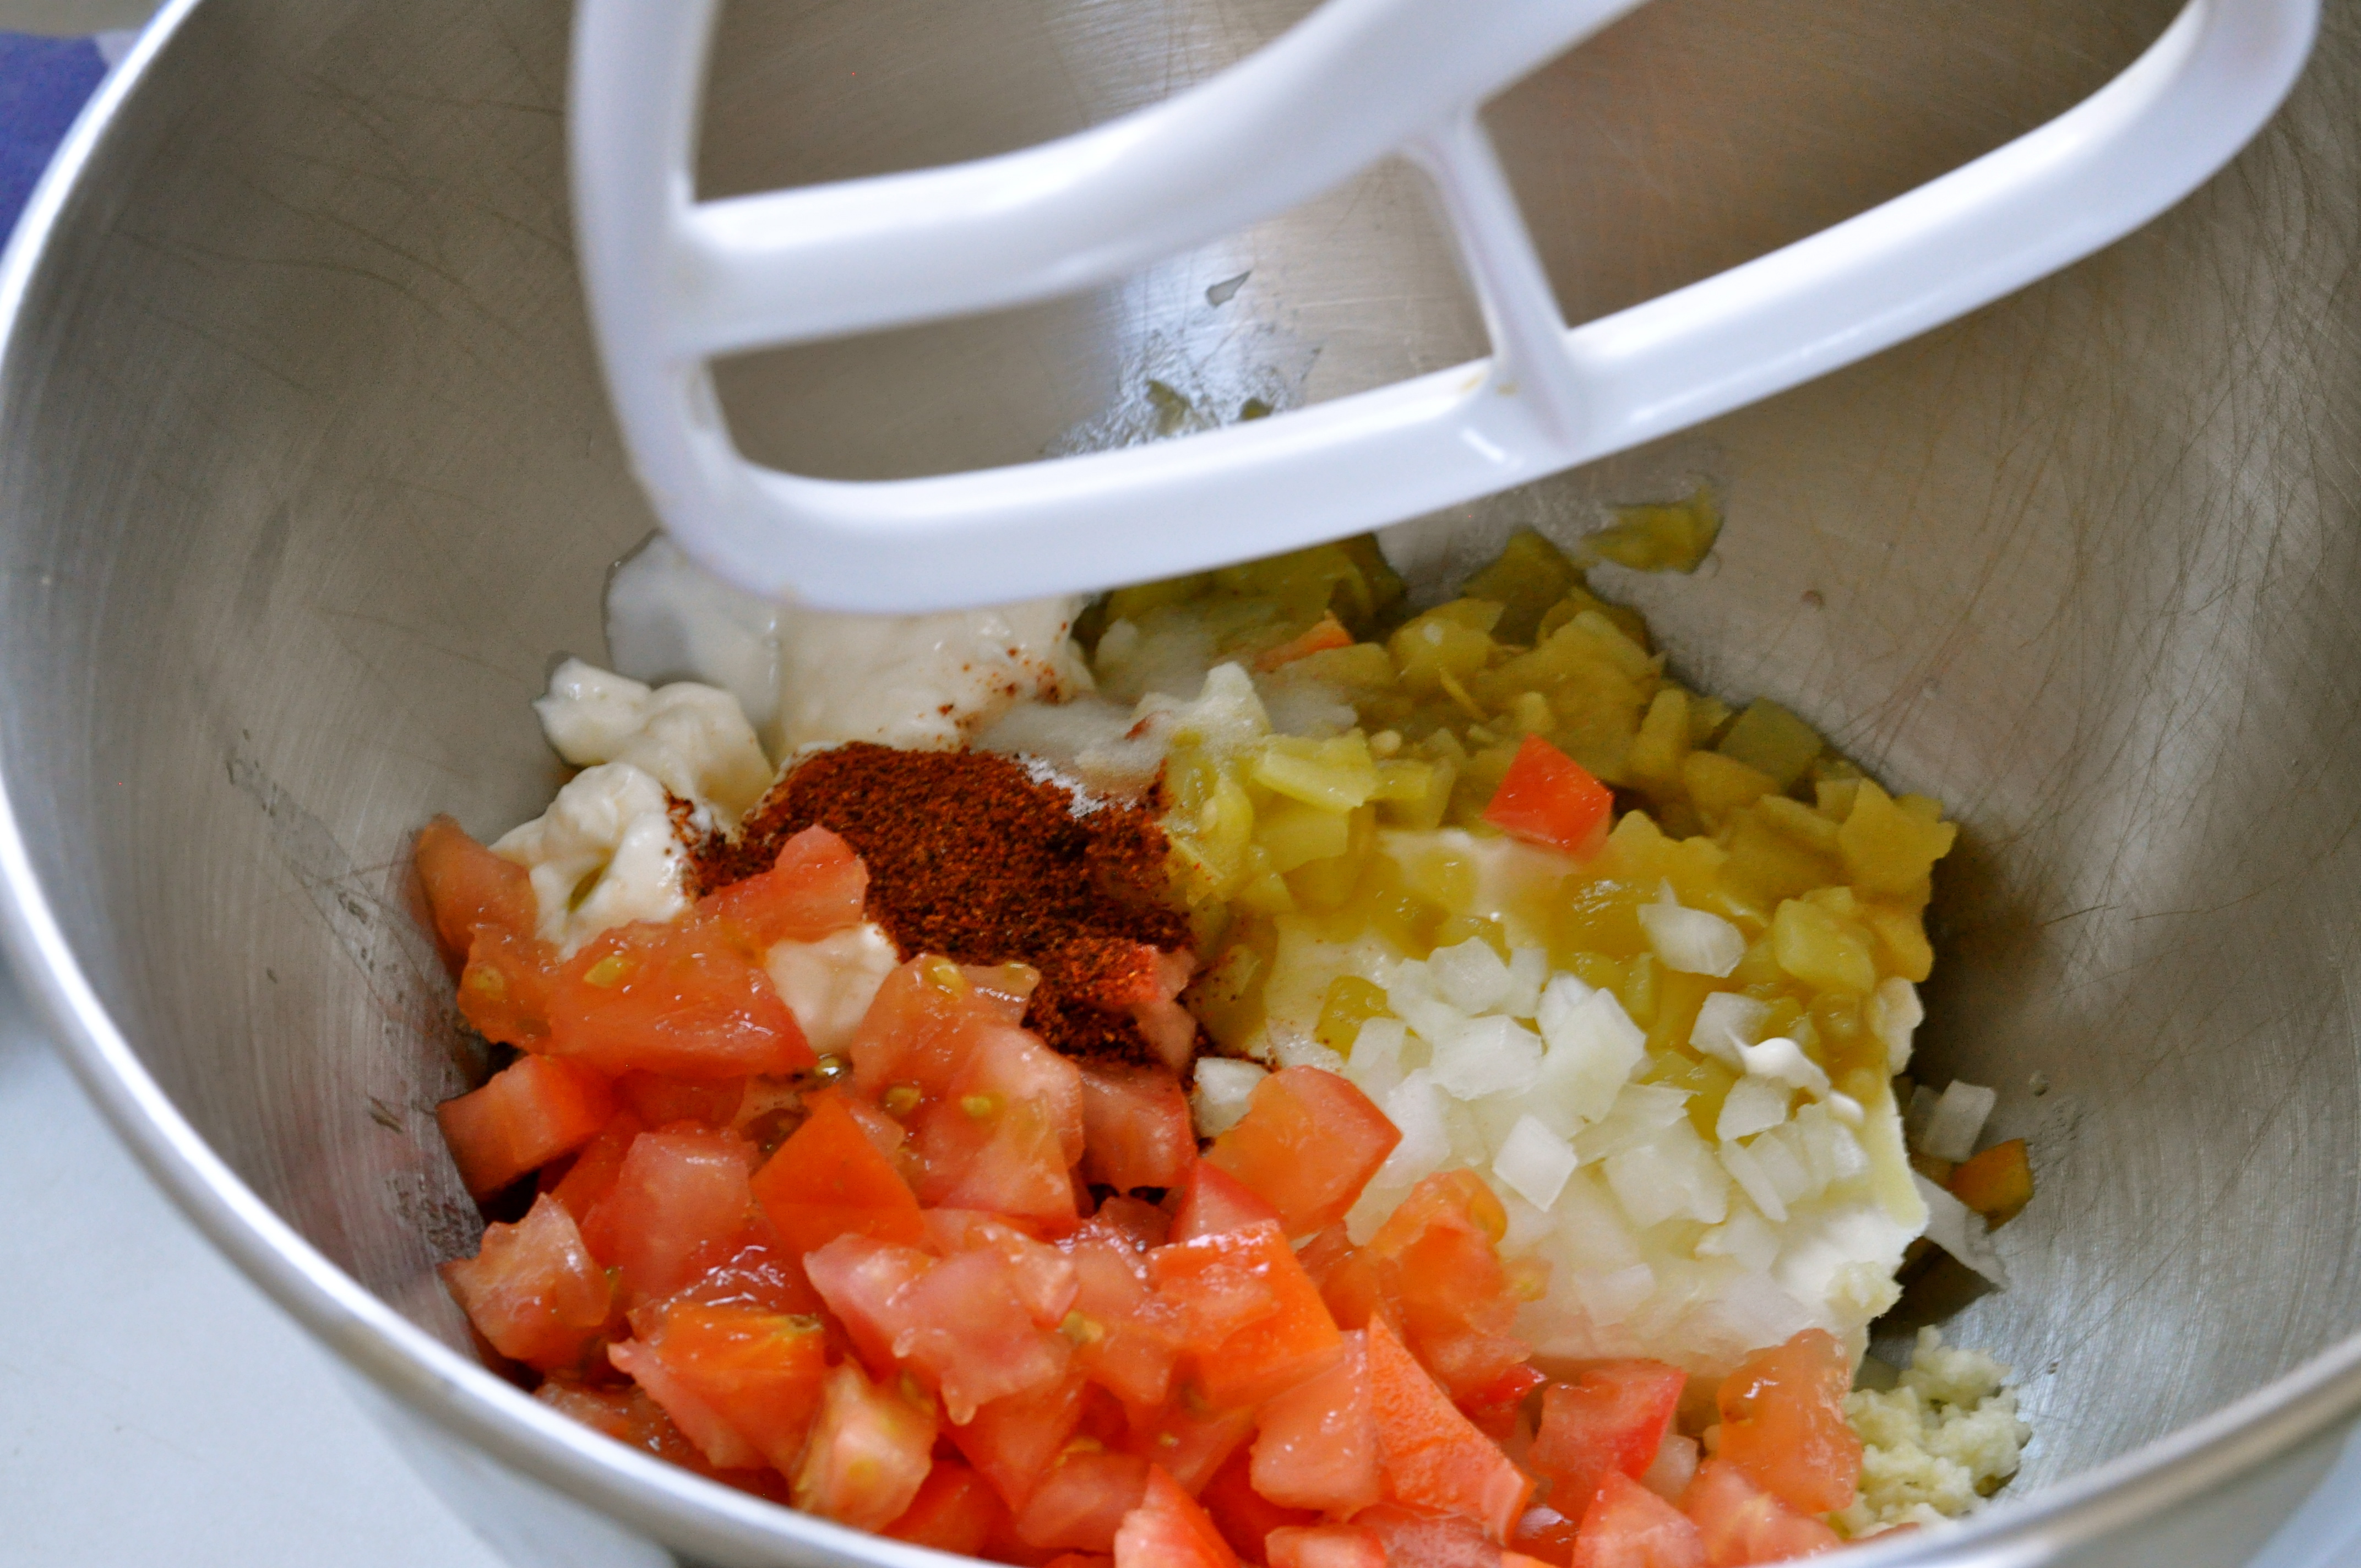
The ingredient list is trés simple. Cream cheese, a lil’ mayo, green chiles, tomato, onion, garlic, chili powder, salt, and tortillas. And some salsa for dipping.

Pasadena Pinwheels | Once Upon a Recipe


Pasadena Pinwheels | Once Upon a Recipe

Pasadena Pinwheels | Once Upon a Recipe

Pasadena Pinwheels | Once Upon a Recipe


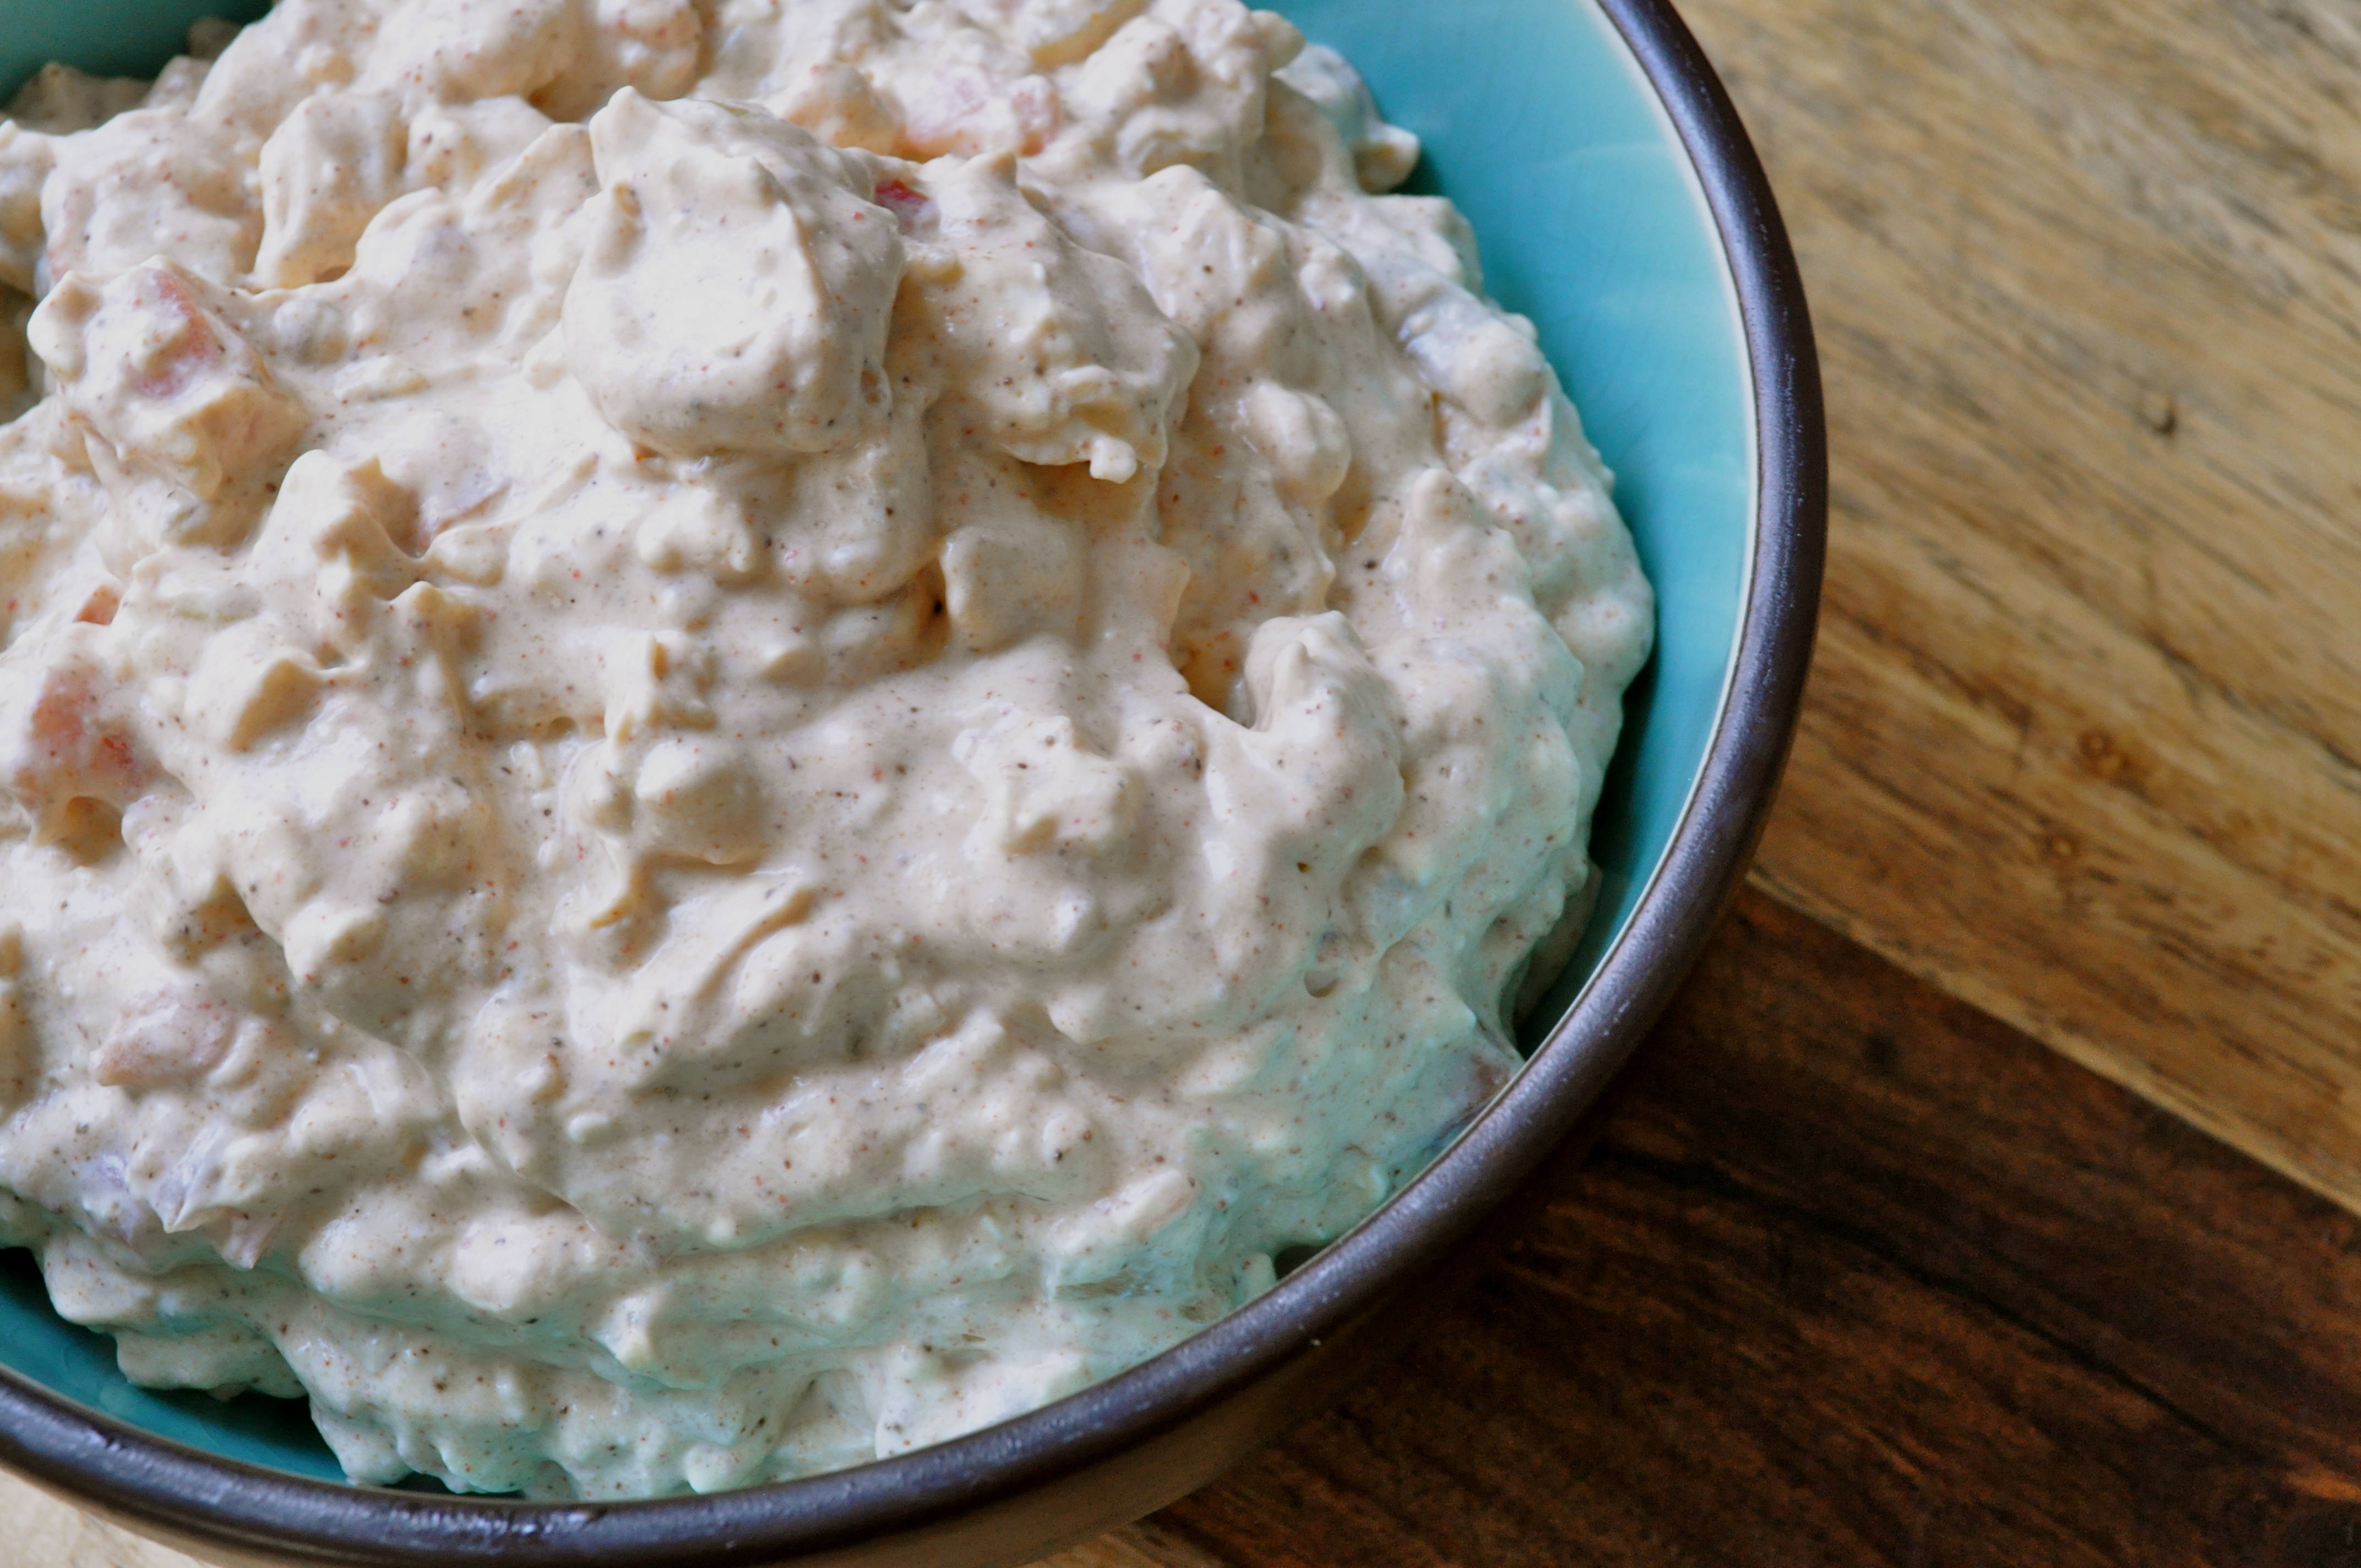
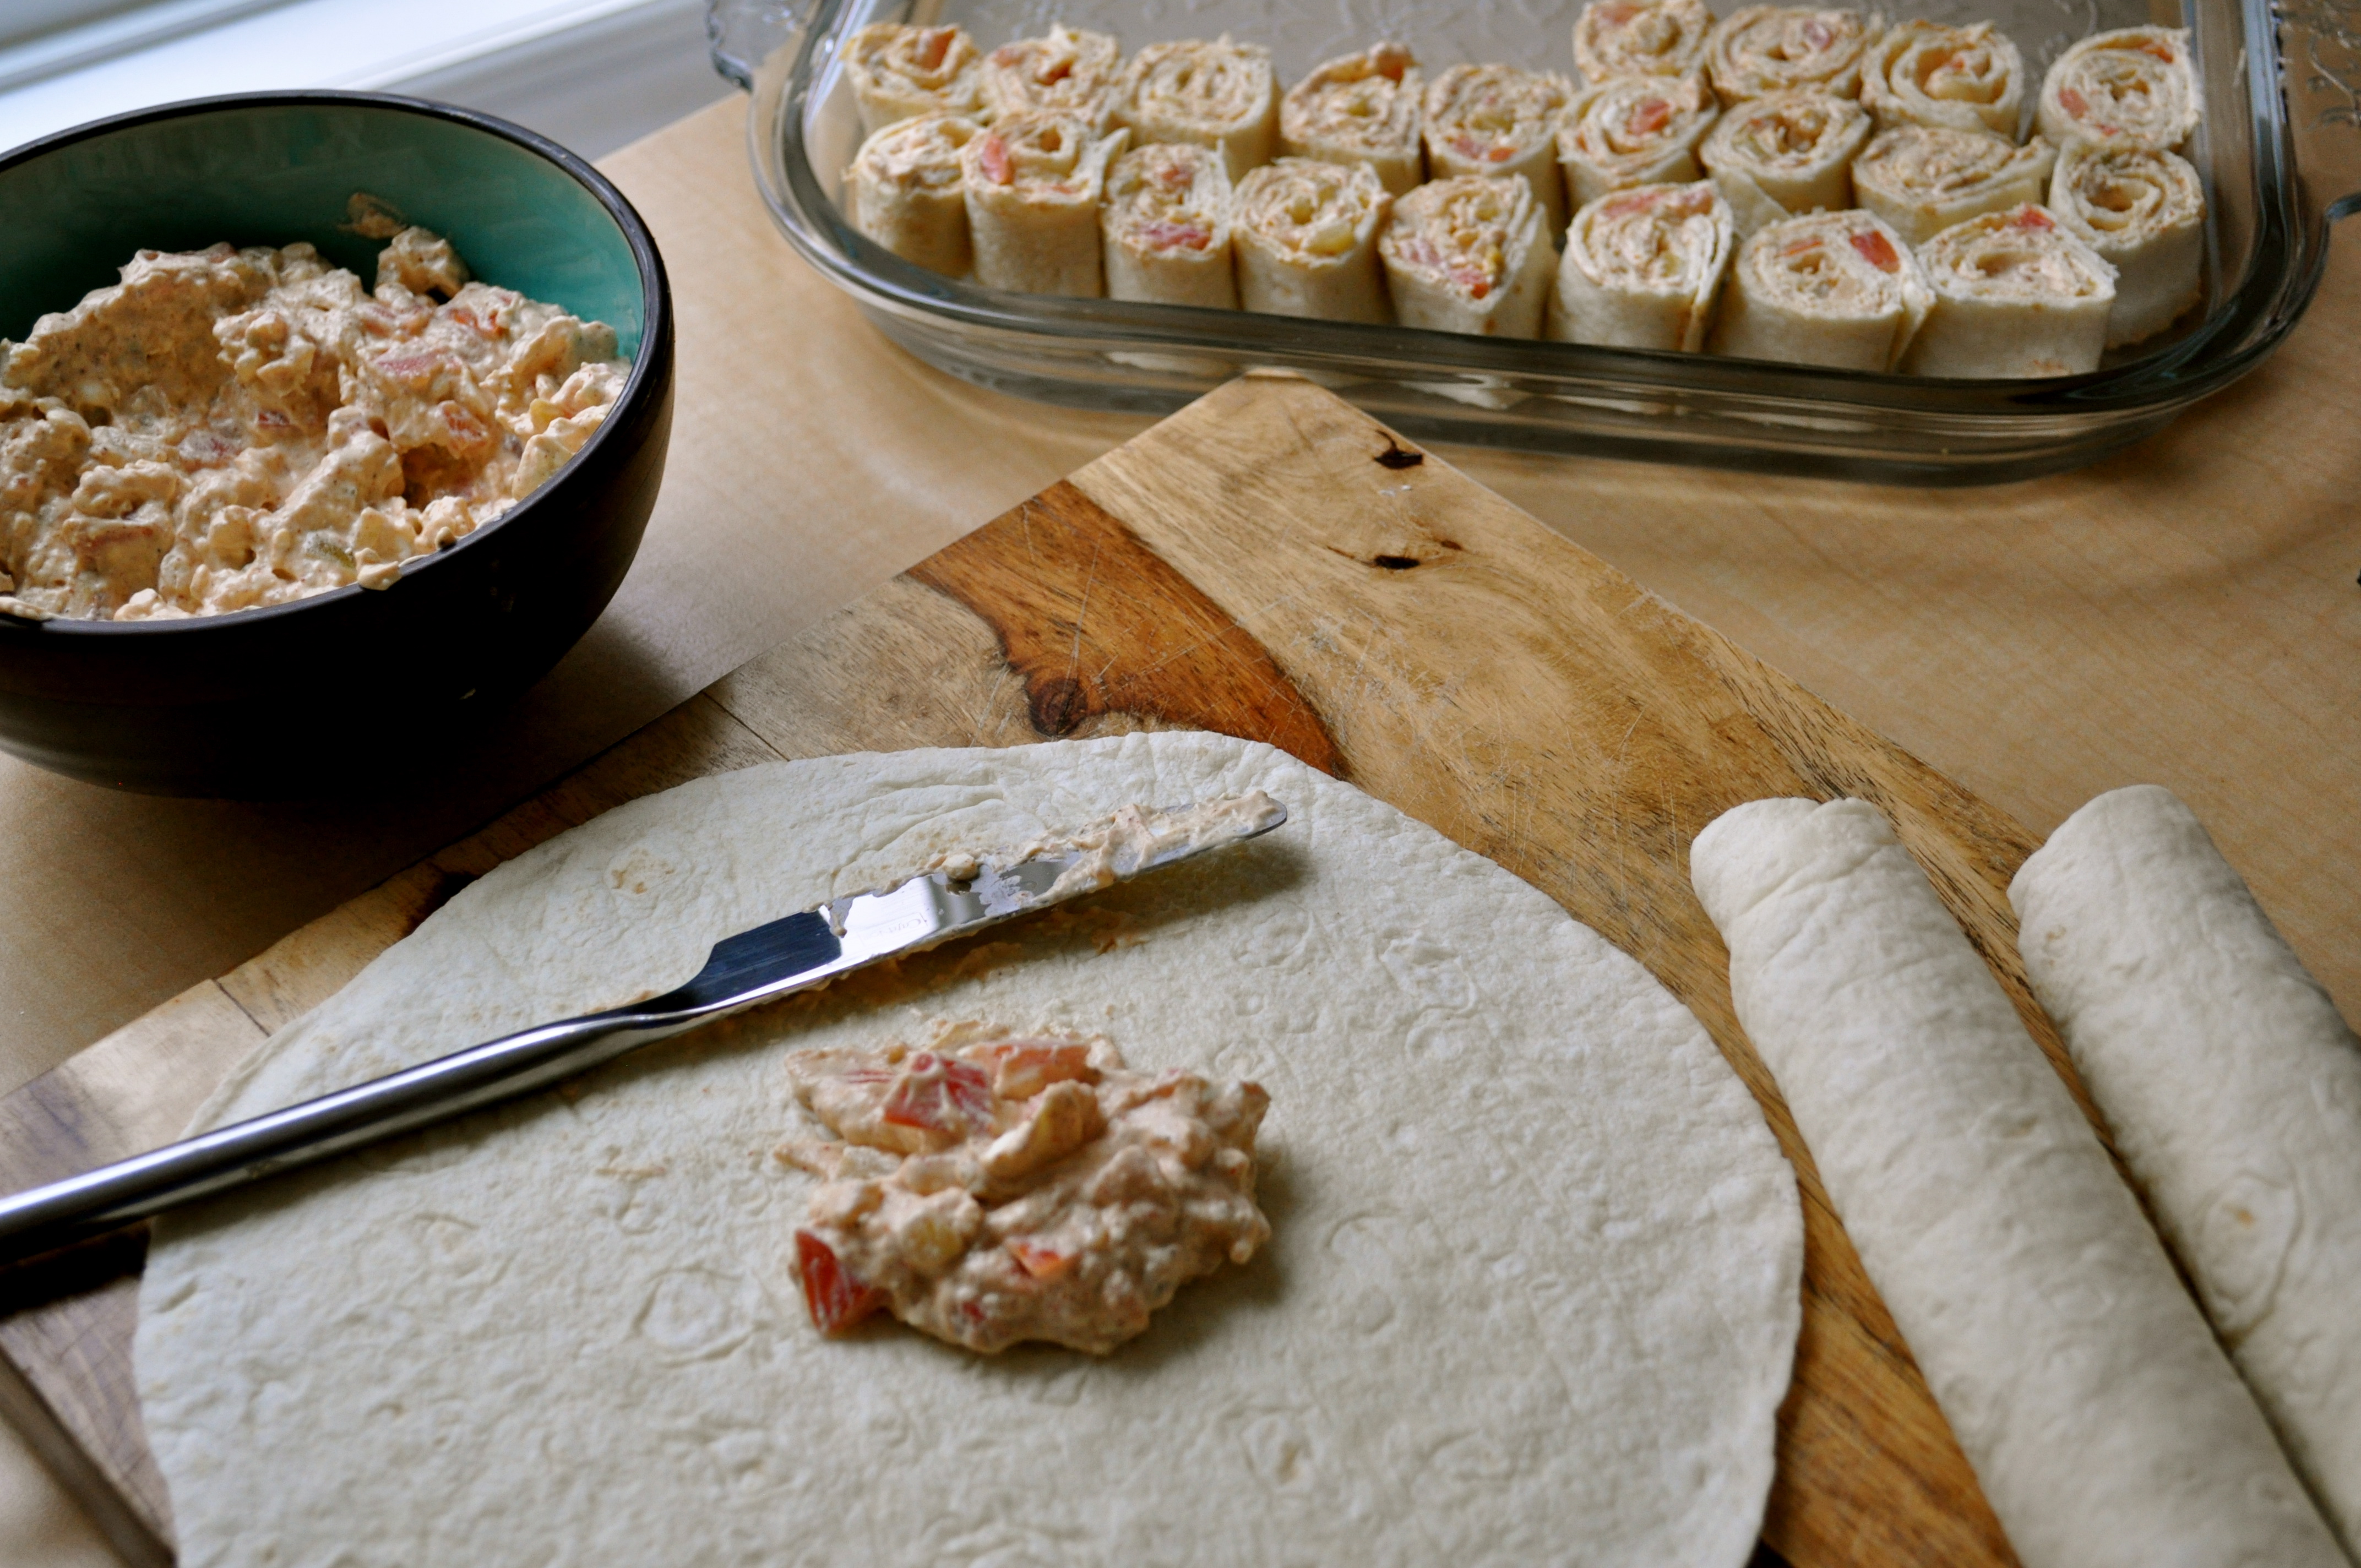
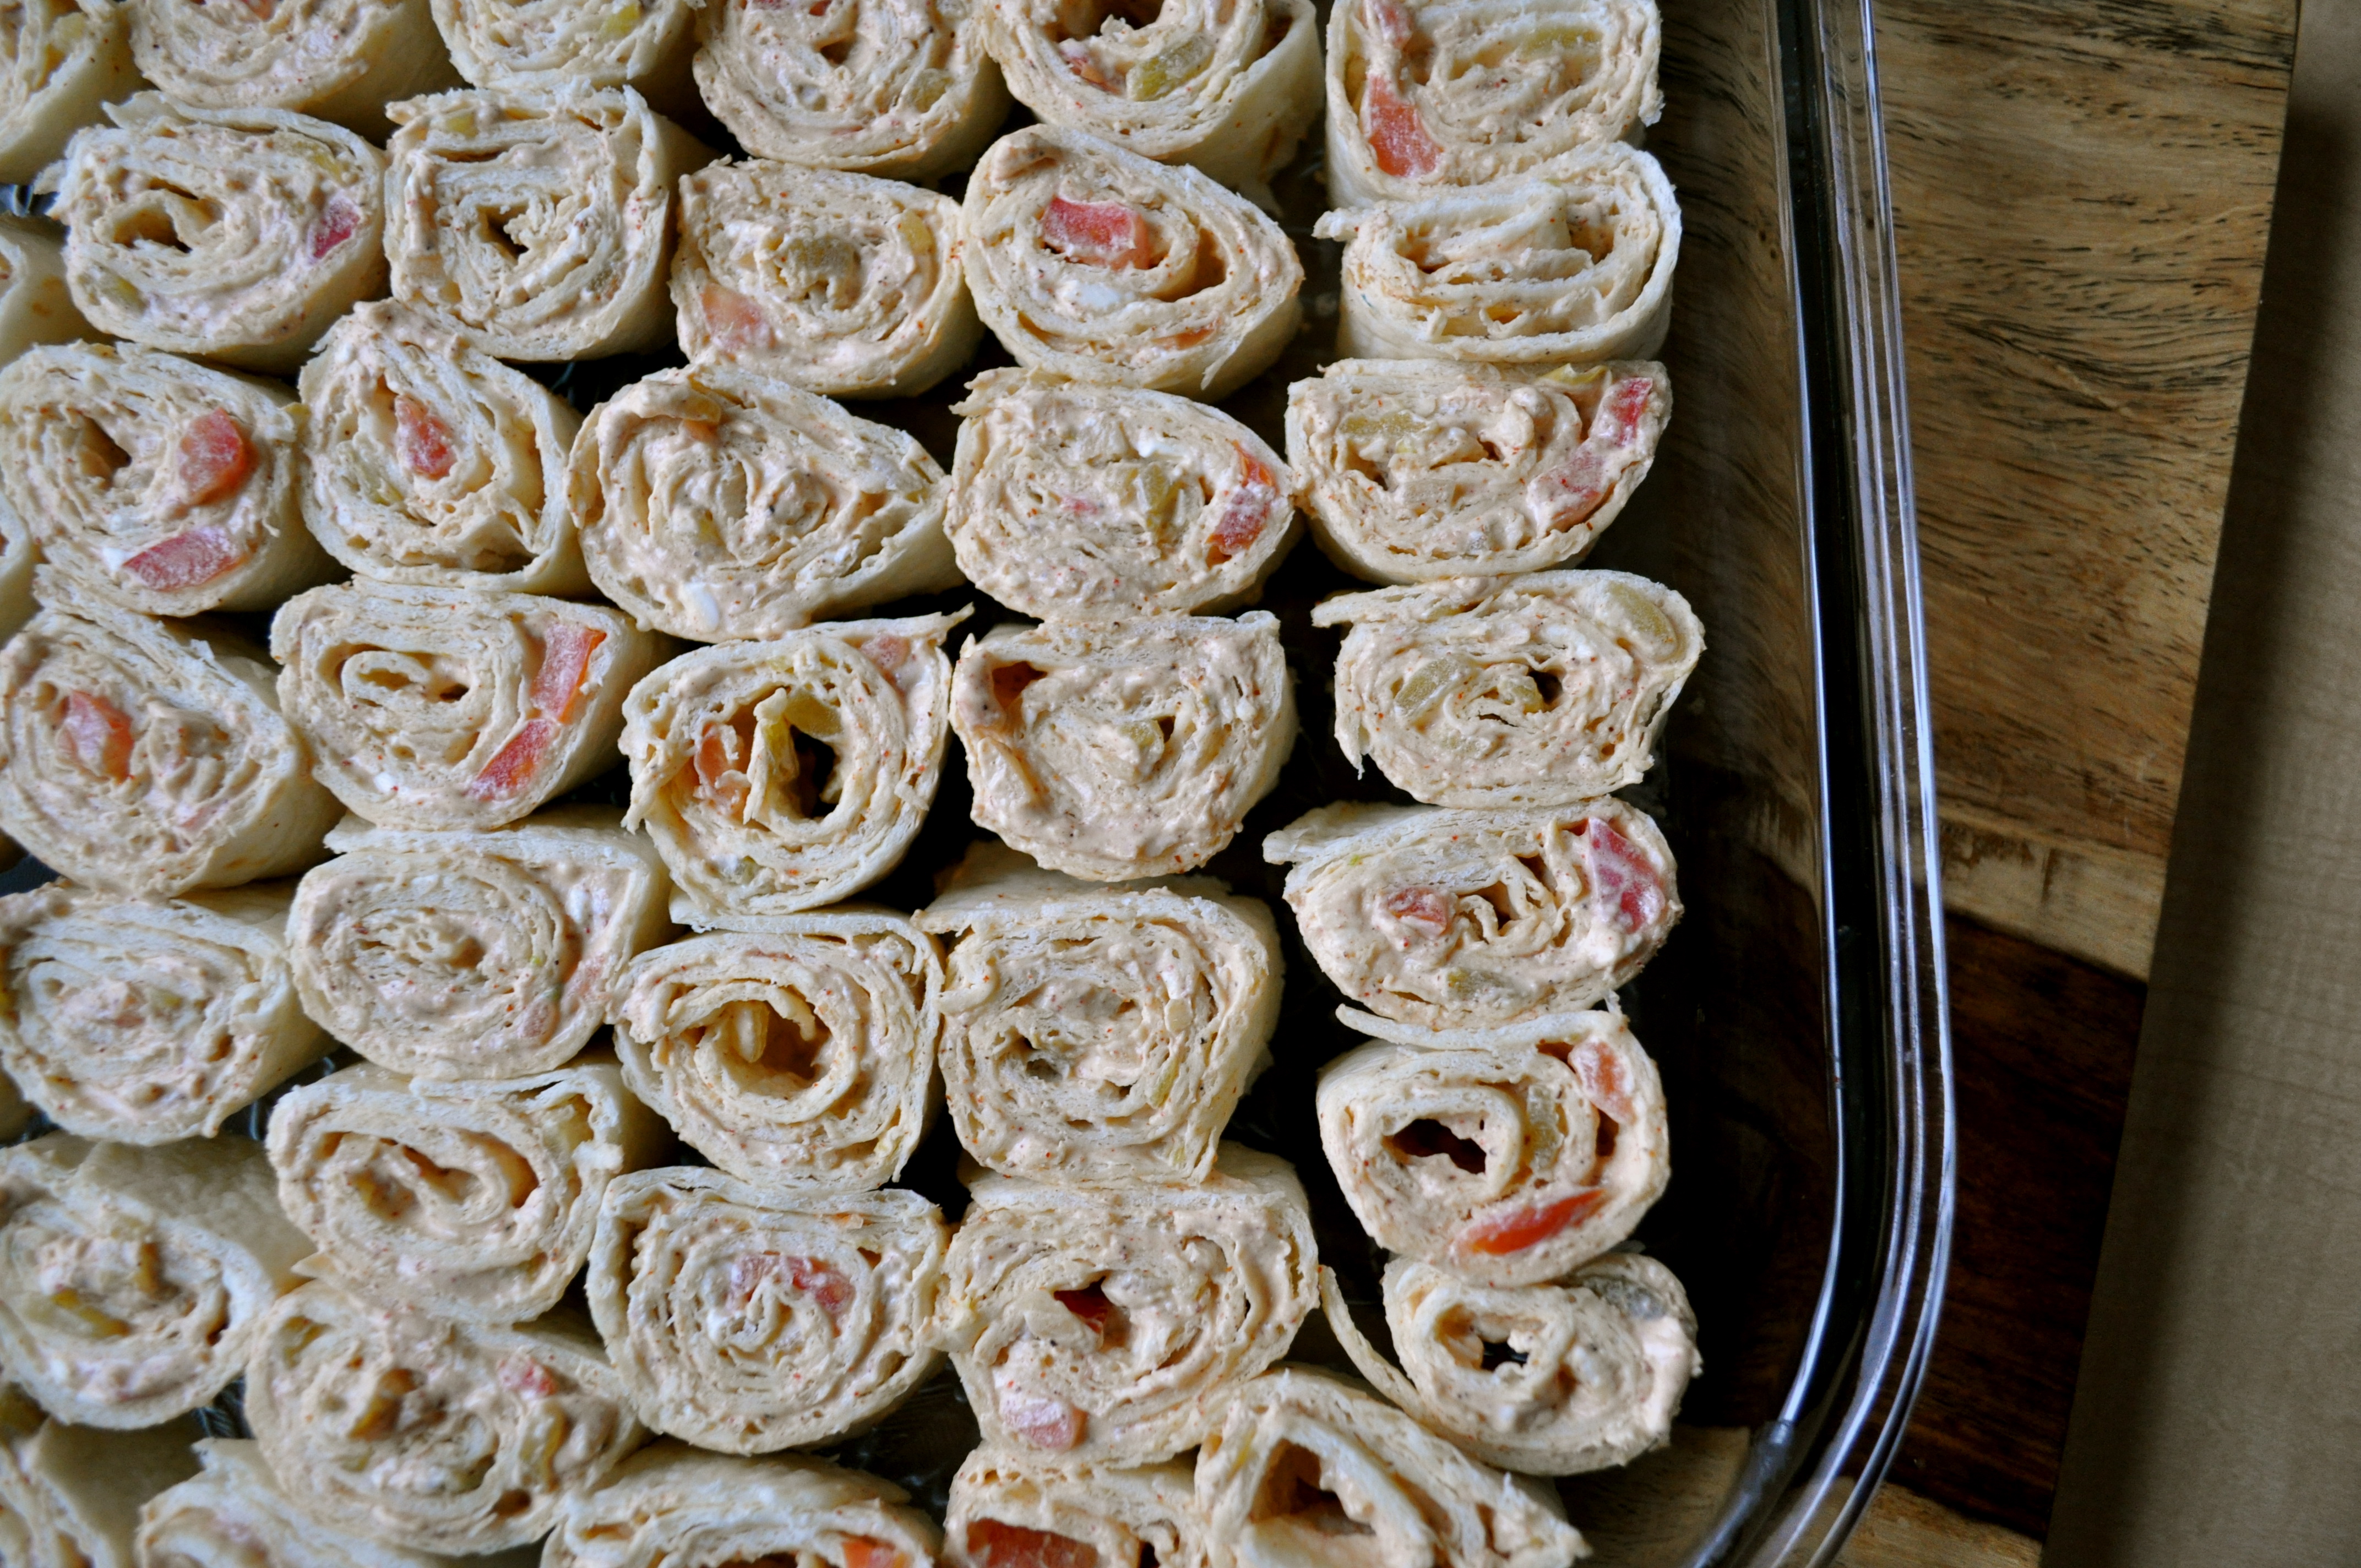
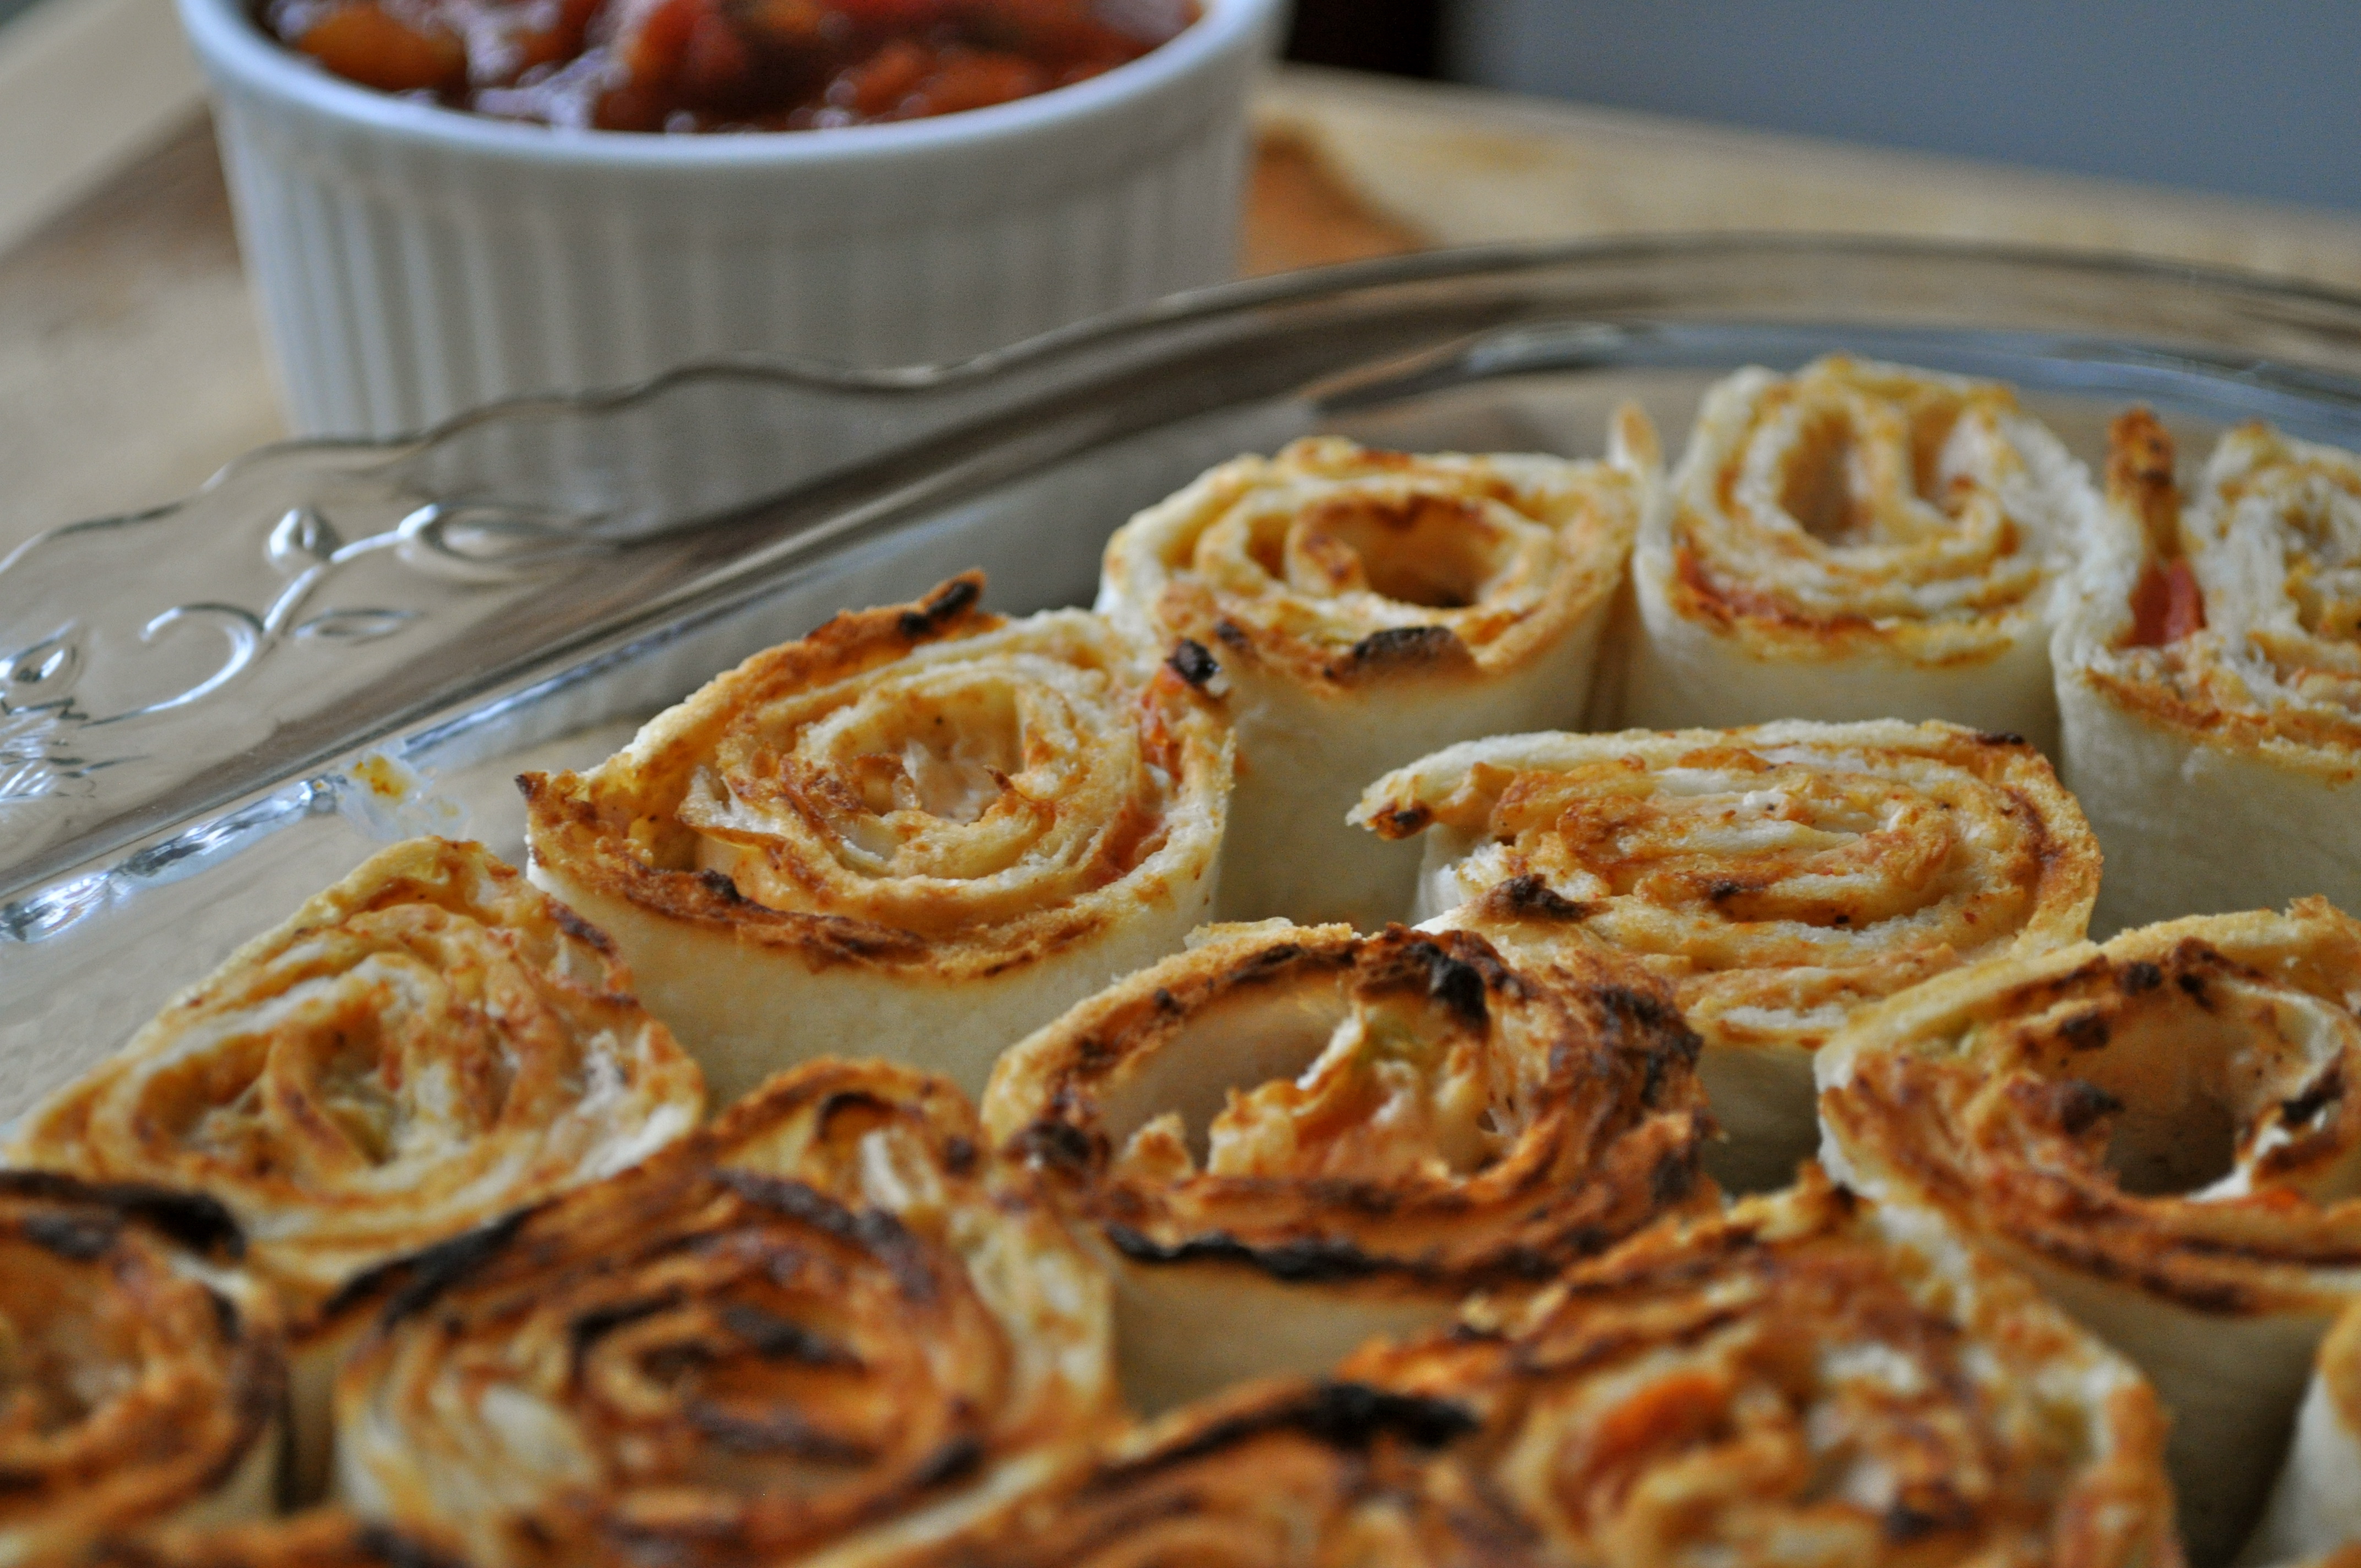
Mix it all together. Spread it on the tortillas. Roll ’em up. Slice. Arrange them all pretty on a platter. Snack on the ends as you’re working. Refrigerate until you’re almost ready to serve. Pour yourself a glass of wine before your guests arrive. You deserve it.

Ten minutes before you want to serve your Pasadena Pinwheels, heat up your oven to broil, pop the whole shebang into the oven for a couple of minutes, just until things are getting toasty and golden. Boom. Dinner Appetizer is served. You can thank me later.

Pasadena Pinwheels | Once Upon a Recipe


Pasadena Pinwheels

8 ounces of cream cheese, softened

2 TBSP. mayonnaise

1 4-ounce can of diced green chiles

1 large tomato, finely chopped

1/4 cup onion, finely chopped

2 garlic cloves, minced

1 tsp. chili powder

1/4 tsp. salt

10 large flour tortillas

Mix everything together (an electric mixer works well). Refrigerate for at least two hours or overnight (to let those flavors mingle!). Spread evenly onto the tortillas, roll each tortilla up tightly, then slice into 1-inch rounds. Arrange on a platter or cookie sheet. Broil until golden brown before serving. Dip into salsa, if desired.

Pasadena Pinwheels | Once Upon a Recipe


What is your favorite go-to holiday appetizer recipe? 

The Deadly Sins of Grocery Shopping | Warm Goat Cheese Salad with Sweet Onion Vinaigrette

Can I tell you something that I’m really bad at? And by bad I mean that I don’t do it “right”.

Grocery shopping.

It seems a bit ironic, considering how much time I spend in the kitchen. One would think I would be very organized. But the truth is, I fly by the seat of my pants when it comes to grocery shopping.

In fact, I tend to frequently commit several of the “deadly sins” of grocery shopping. [Dun dun duuunnn!] There, I said it. My name is Amanda and I stink at grocery shopping.

Now, don’t get me wrong. The good intentions are there. I start with a list, the first rule of smart grocery shopping. Nevermind the fact that I am usually scrawling my list down on a scrap of paper at my desk at work before leaving for the day. With little memory of what might already be lurking within my fridge and cupboards. “I think there’s sour cream somewhere in there…oh, whatever, I’ll grab some just in case.” (Which ultimately leads to the discovery of three containers of moldy sour cream taking up precious real estate in my fridge a month later). And nevermind that fact that I rarely have an actual meal plan at this point, other than the meal ideas floating around in my head. But I have a list.

Unfortunately, it all goes a bit downhill from there. First of all, I rarely go grocery shopping when I’m not hungry. In fact, I’m typically starving as I stalk the aisles for satisfying solutions. (This mad hunger typically results in me tearing open a box of cereal in the car and shoving handfuls of it in my mouth as I make the 5-minute drive home). But hungry grocery shopping can be so fun! The sense of adventure! The magnified desire to try totally unnecessary, typically expensive new things!
Secondly, coupons? What now? I know that I could supposedly cut my grocery bill in half by poring over the flyers that show up on my doorstep each week. But honestly, I don’t have the patience for it. Those flyers go straight from my mailbox into the recycle bin. I show them no mercy.

Thirdly, I spend way too much time in there. I saunter through the aisles, checking things out, and give myself way too much time to find completely unnecessary things. Completely. Unnecessary. Me and impulse buys are likethis. Which leads me to commit yet another sin: not sticking to my list.

Did I mention that sometimes I look up recipes while I’m strolling the aisles? Damn you iPhone, why do you make it so easy?!

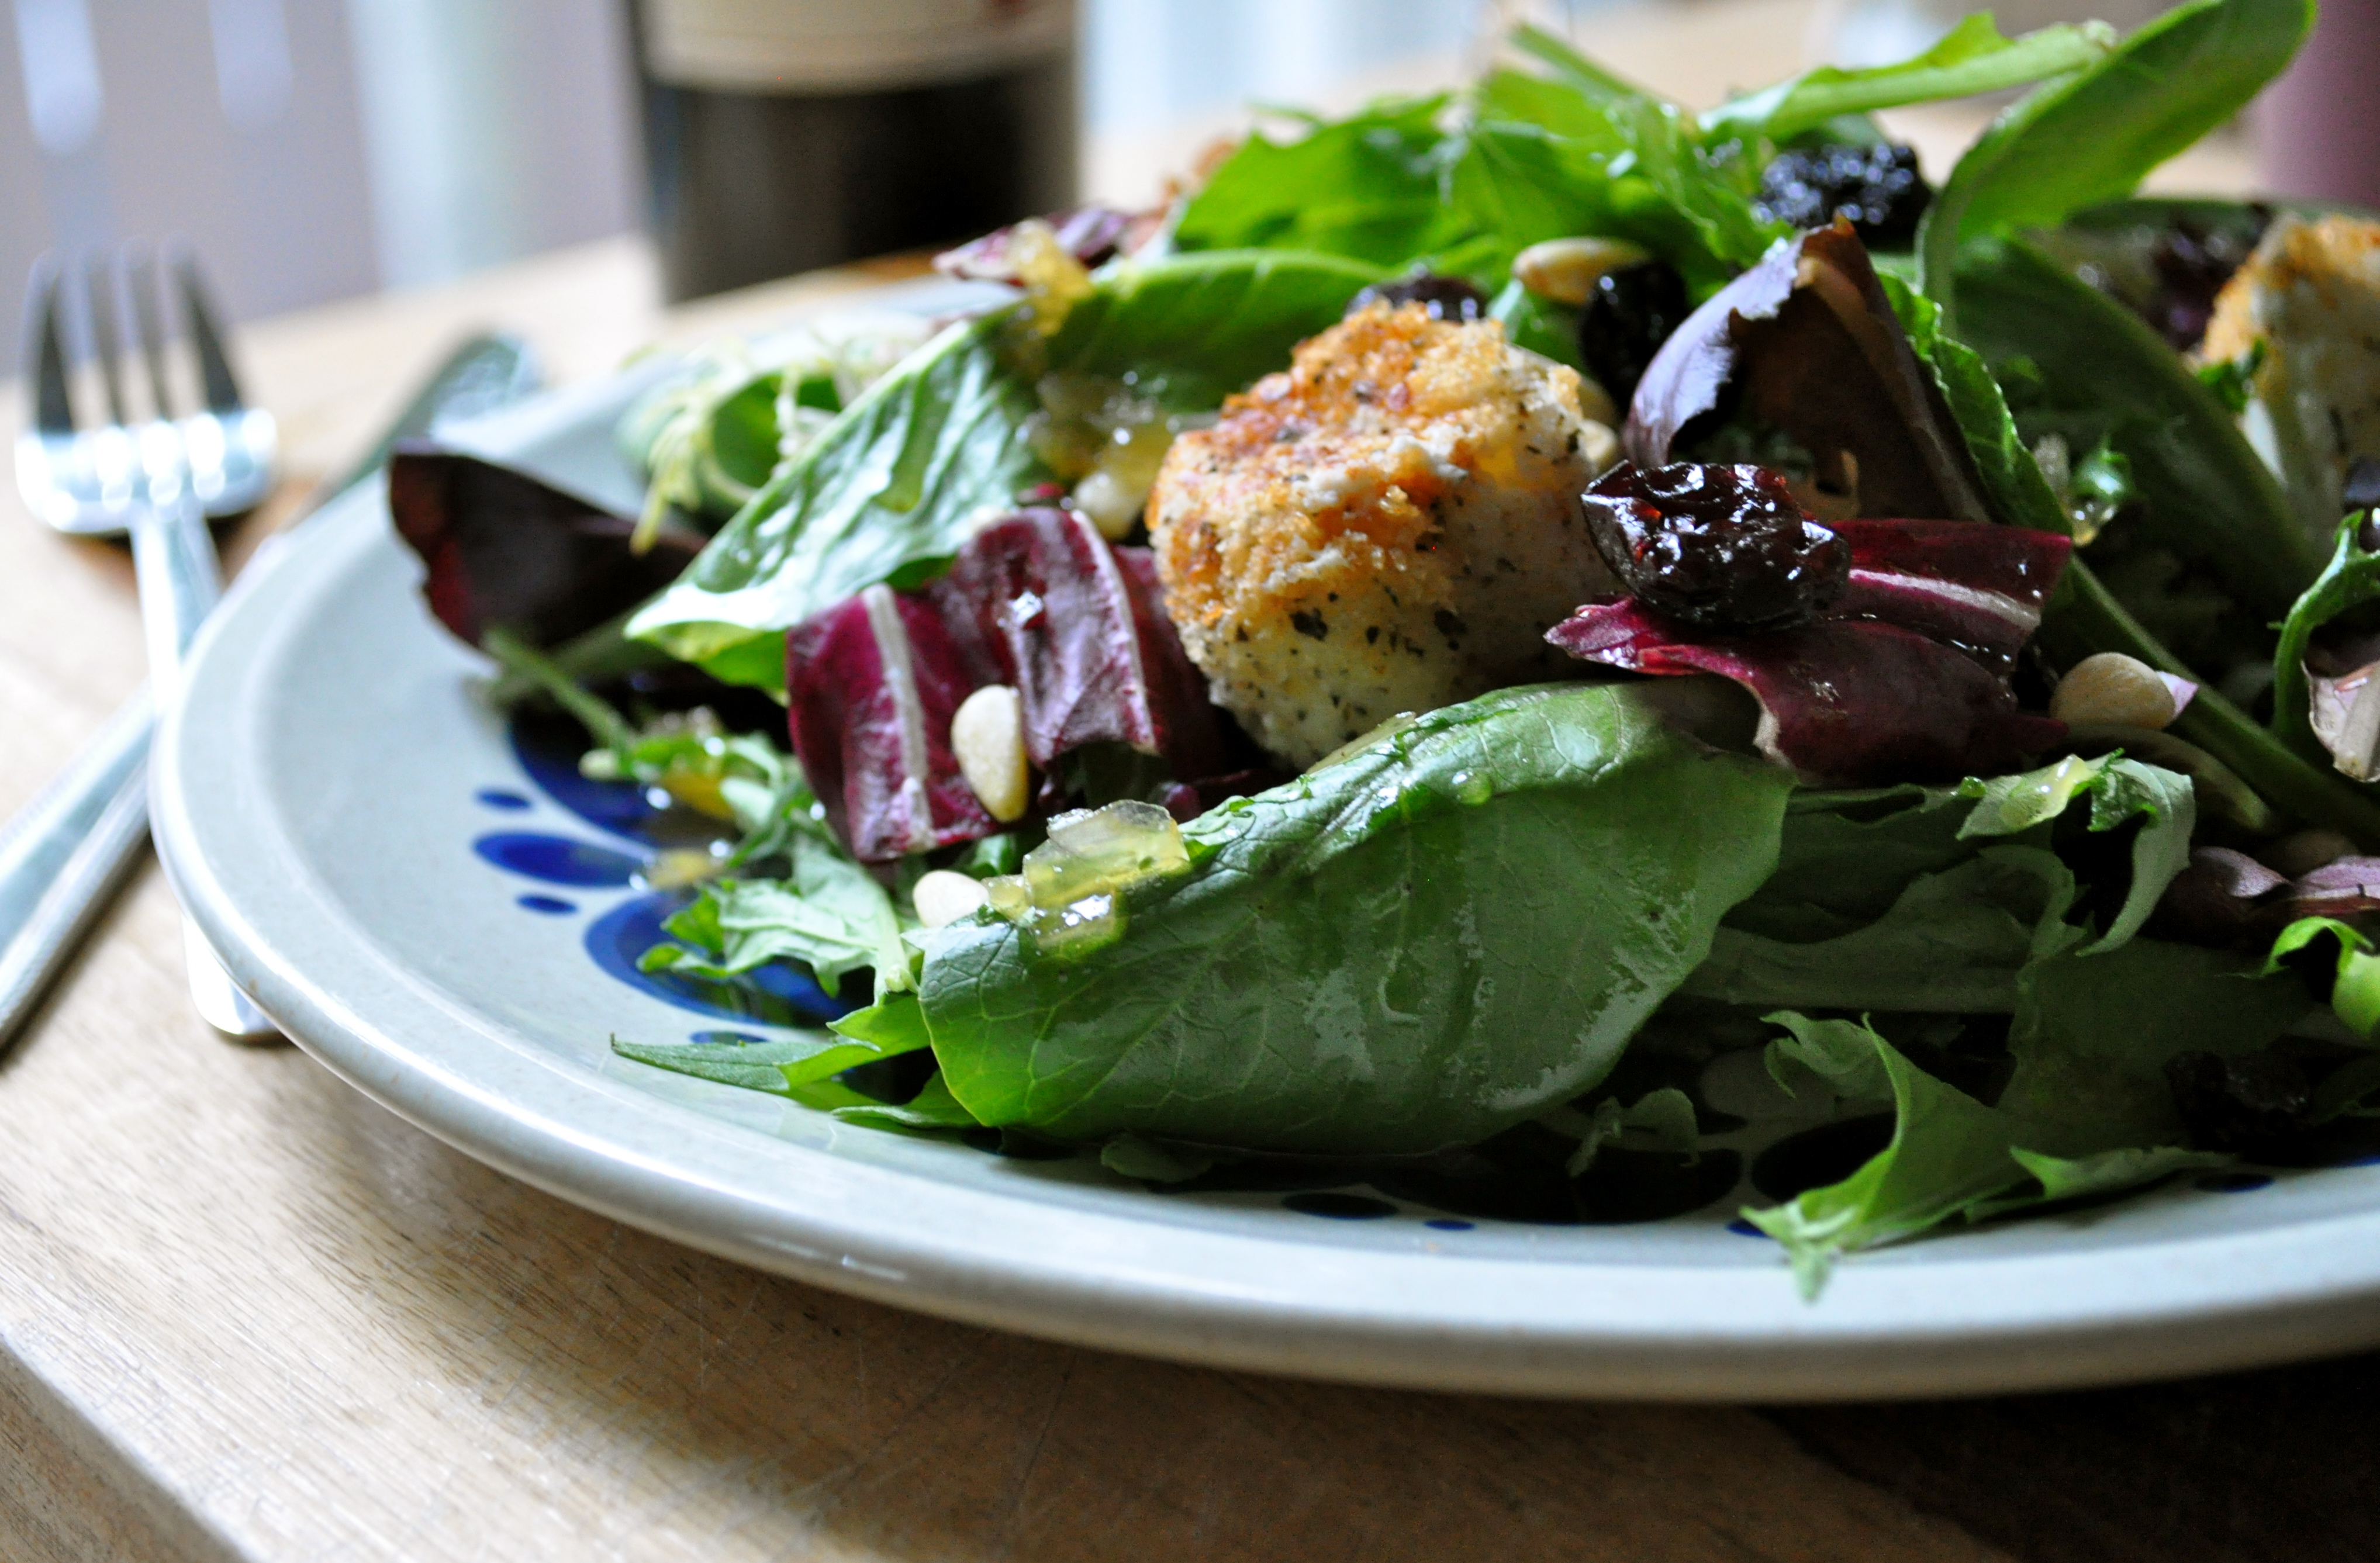
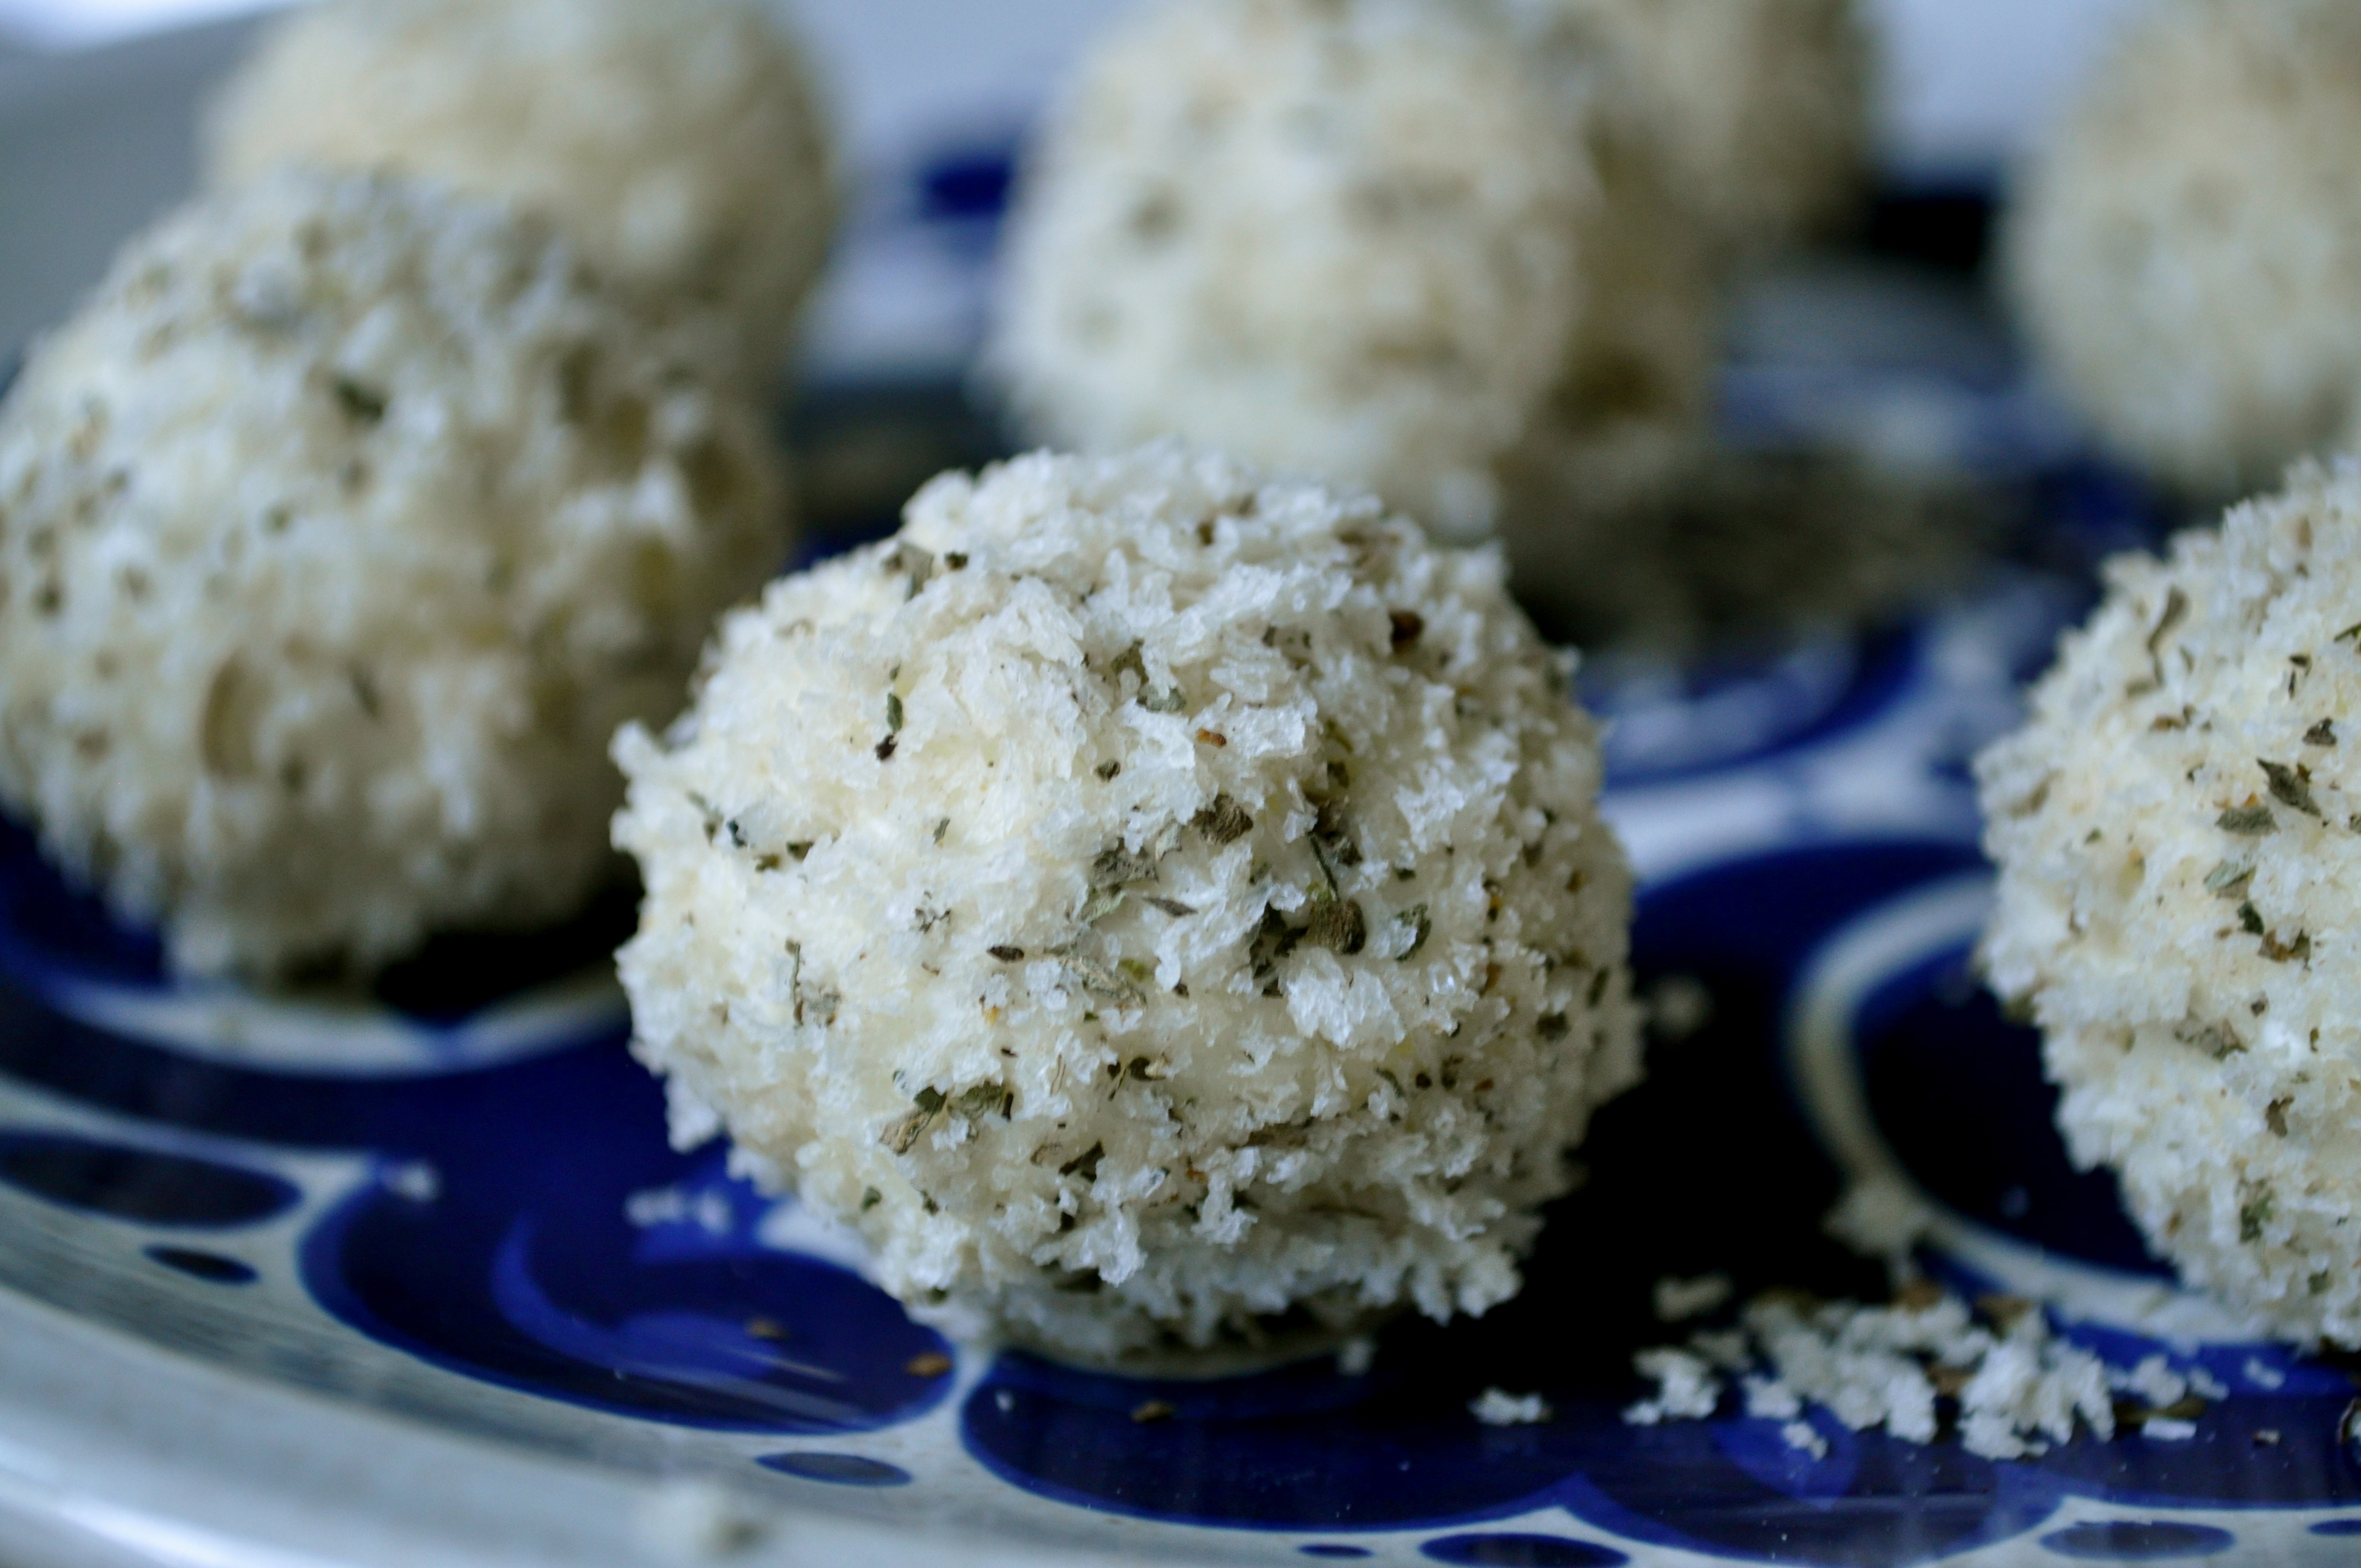
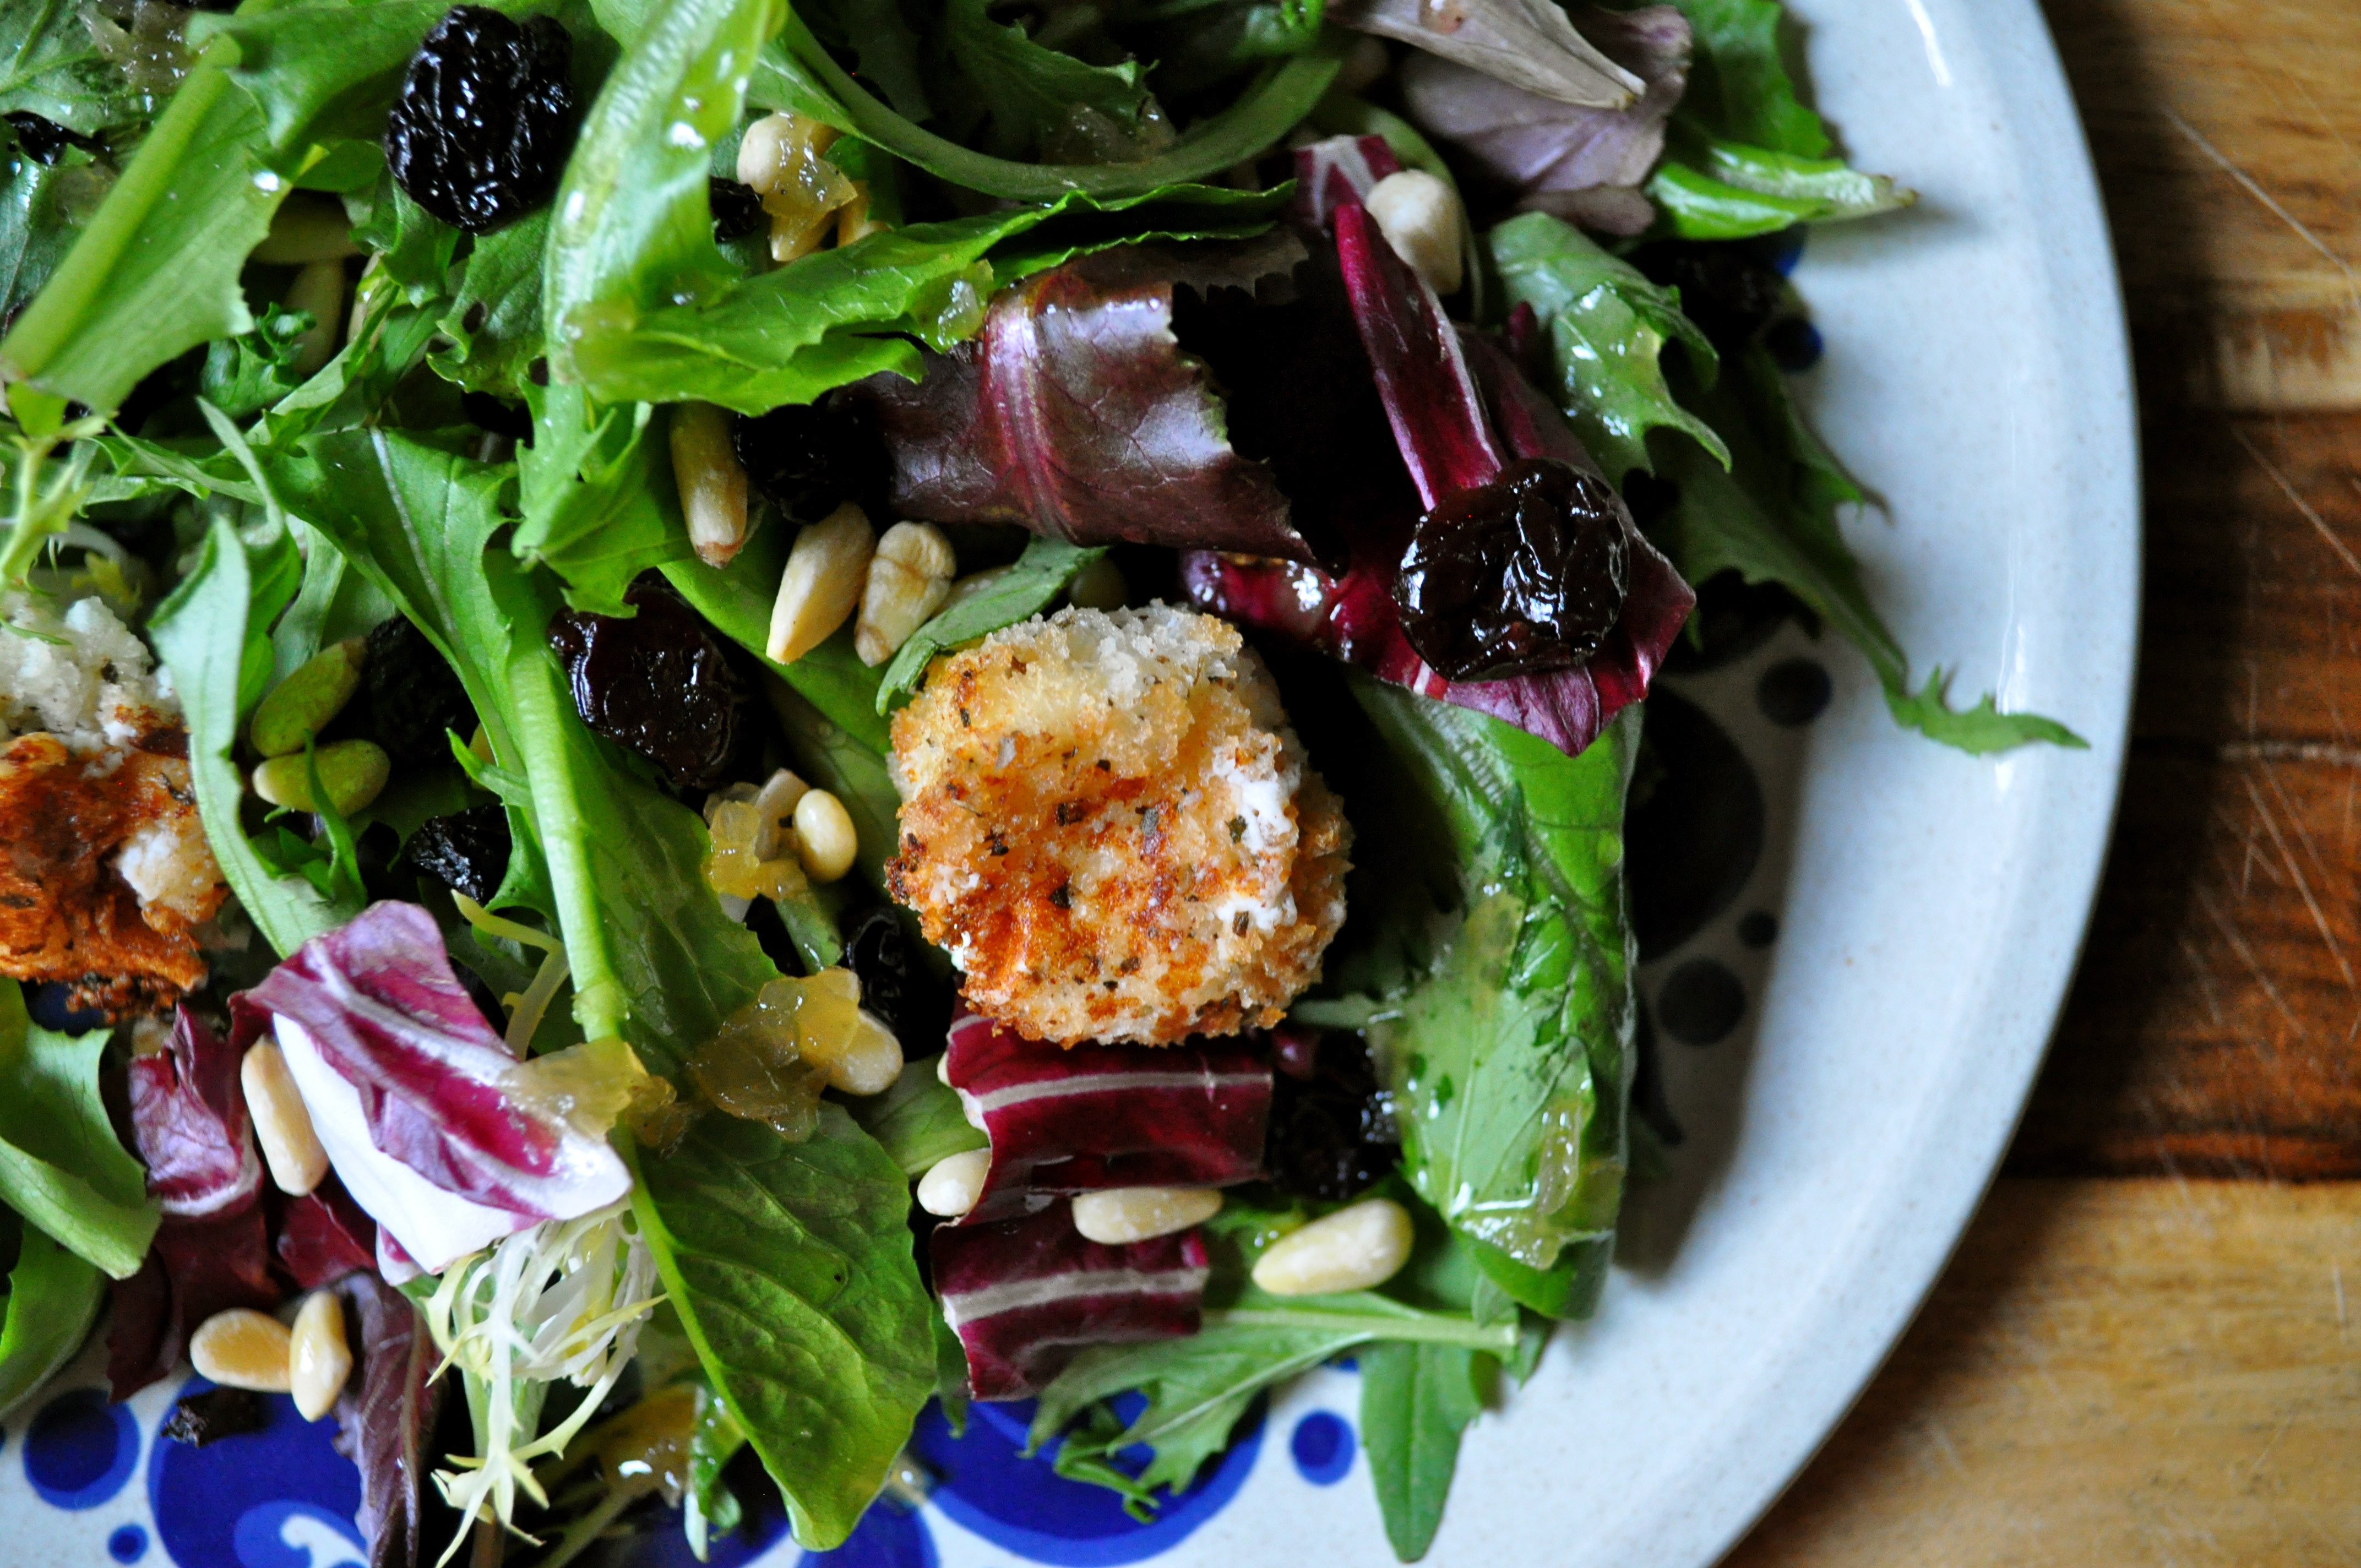
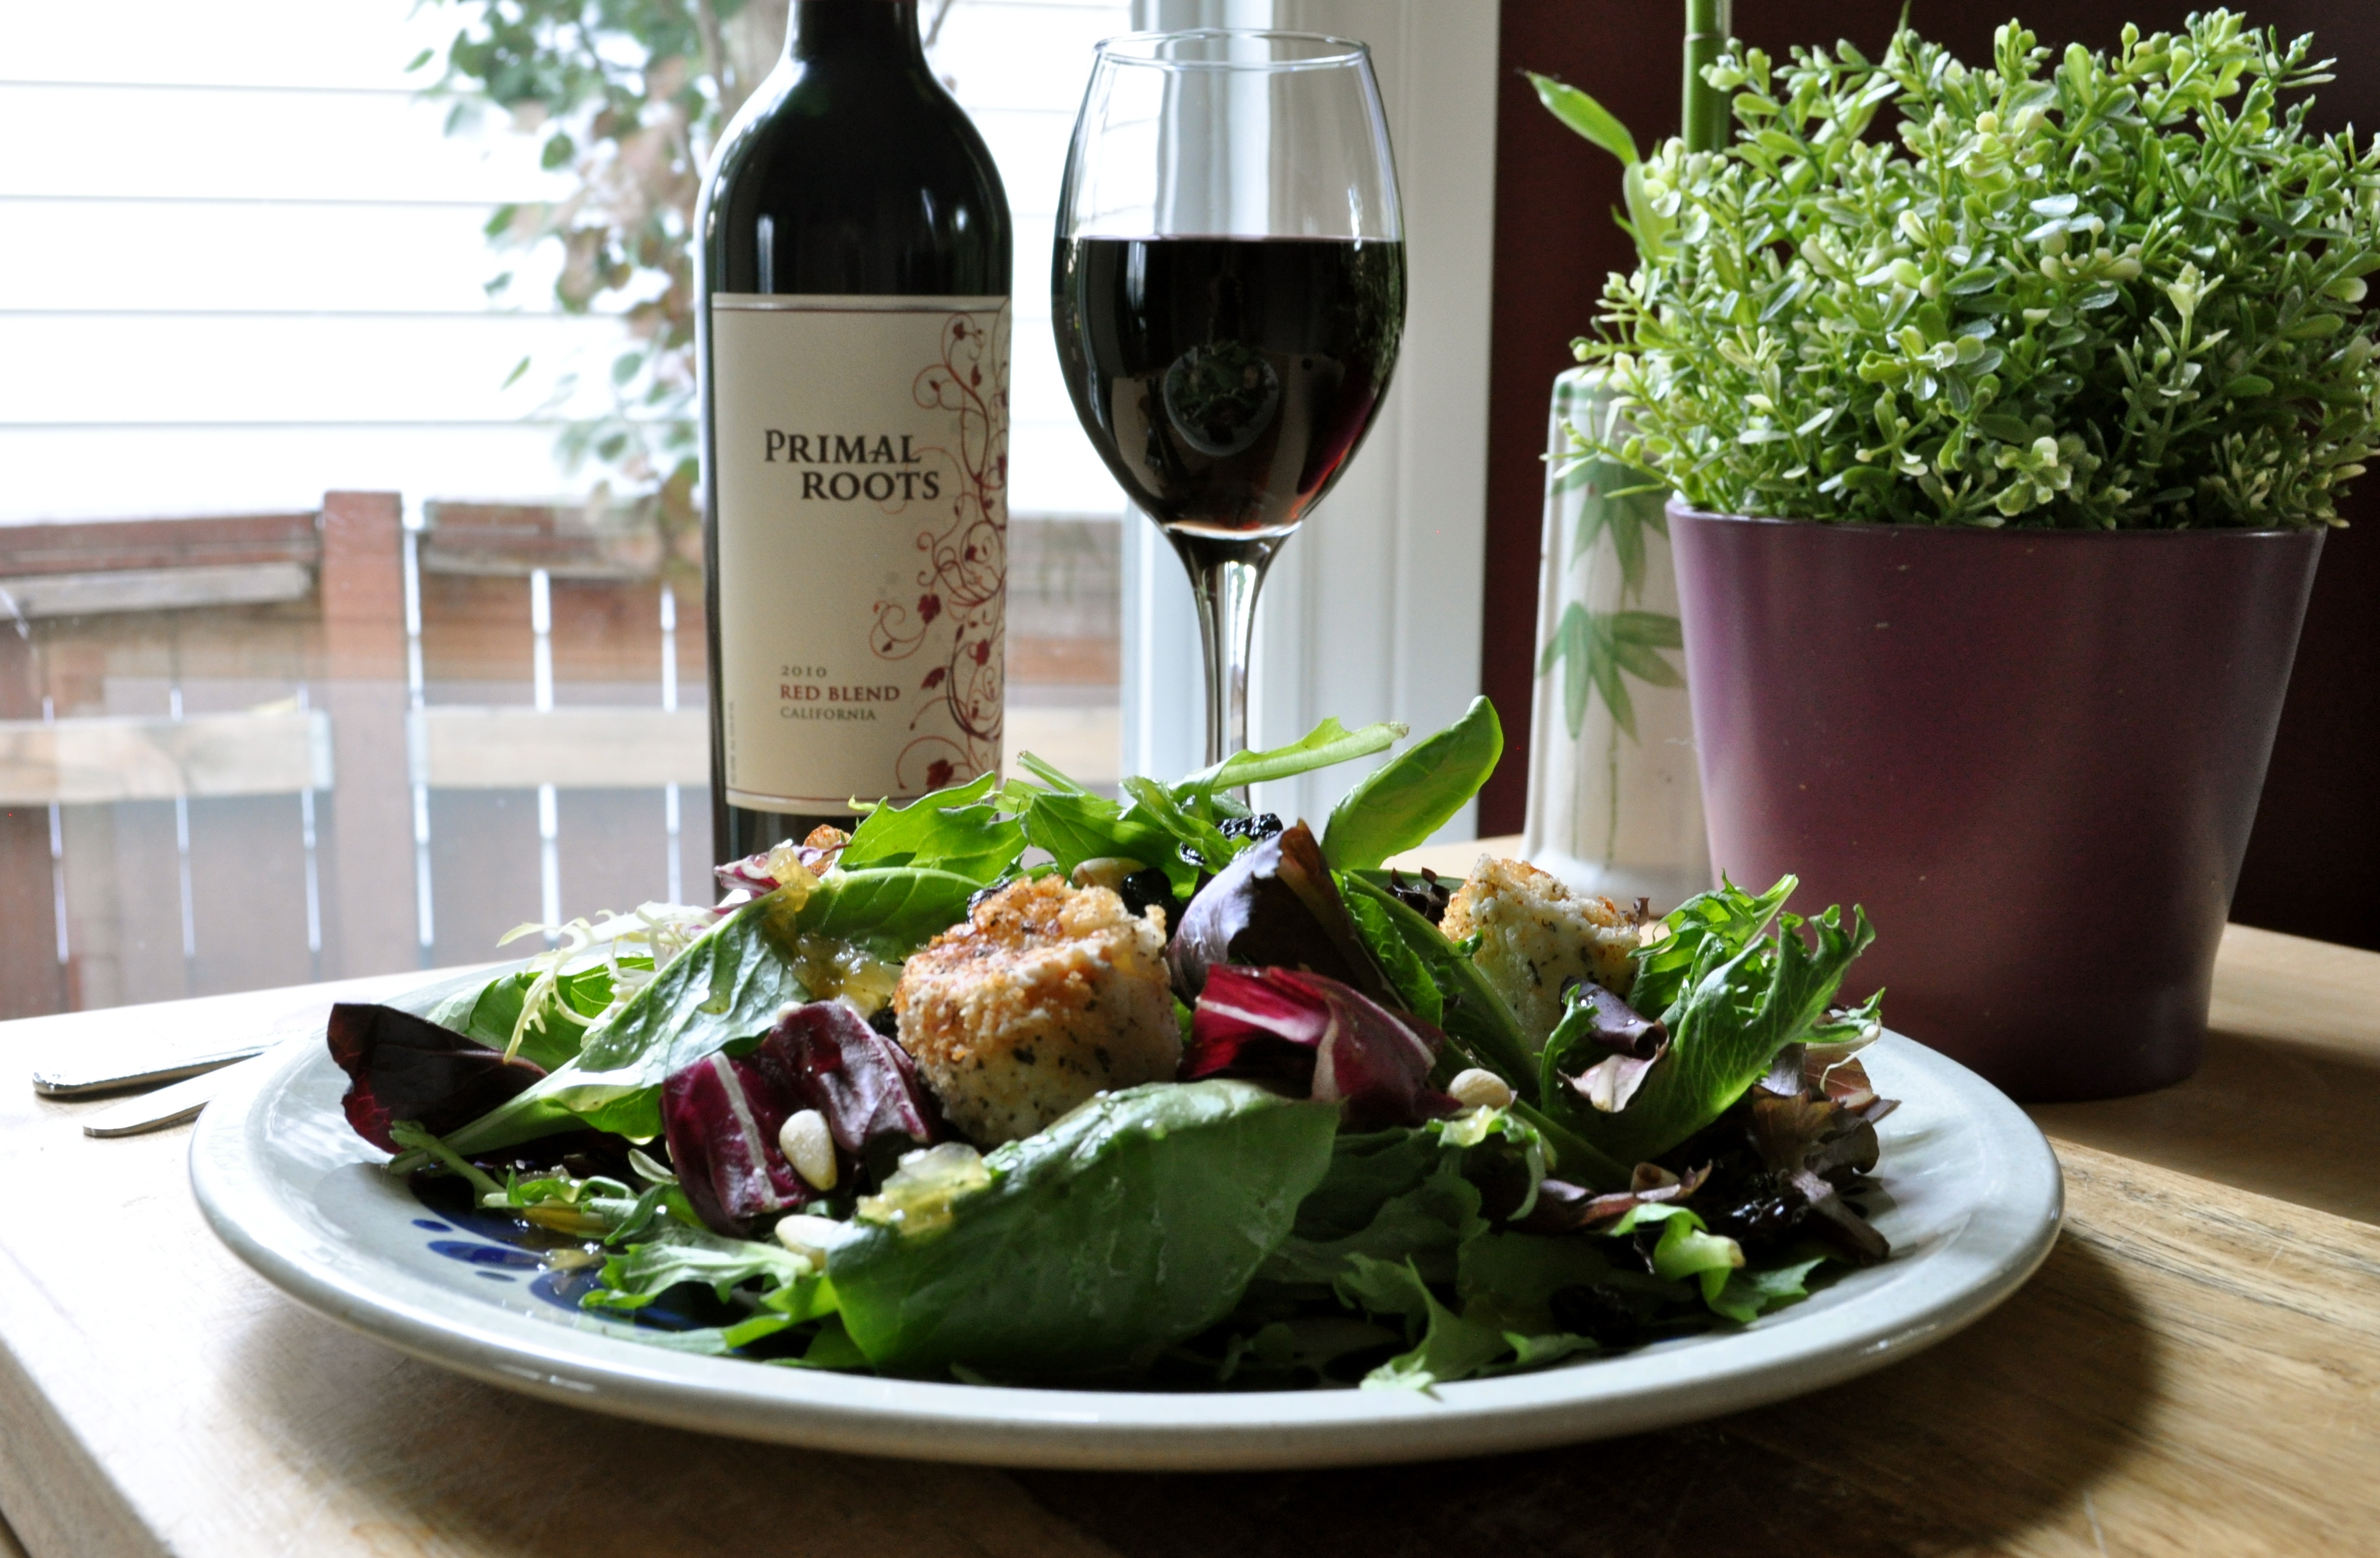
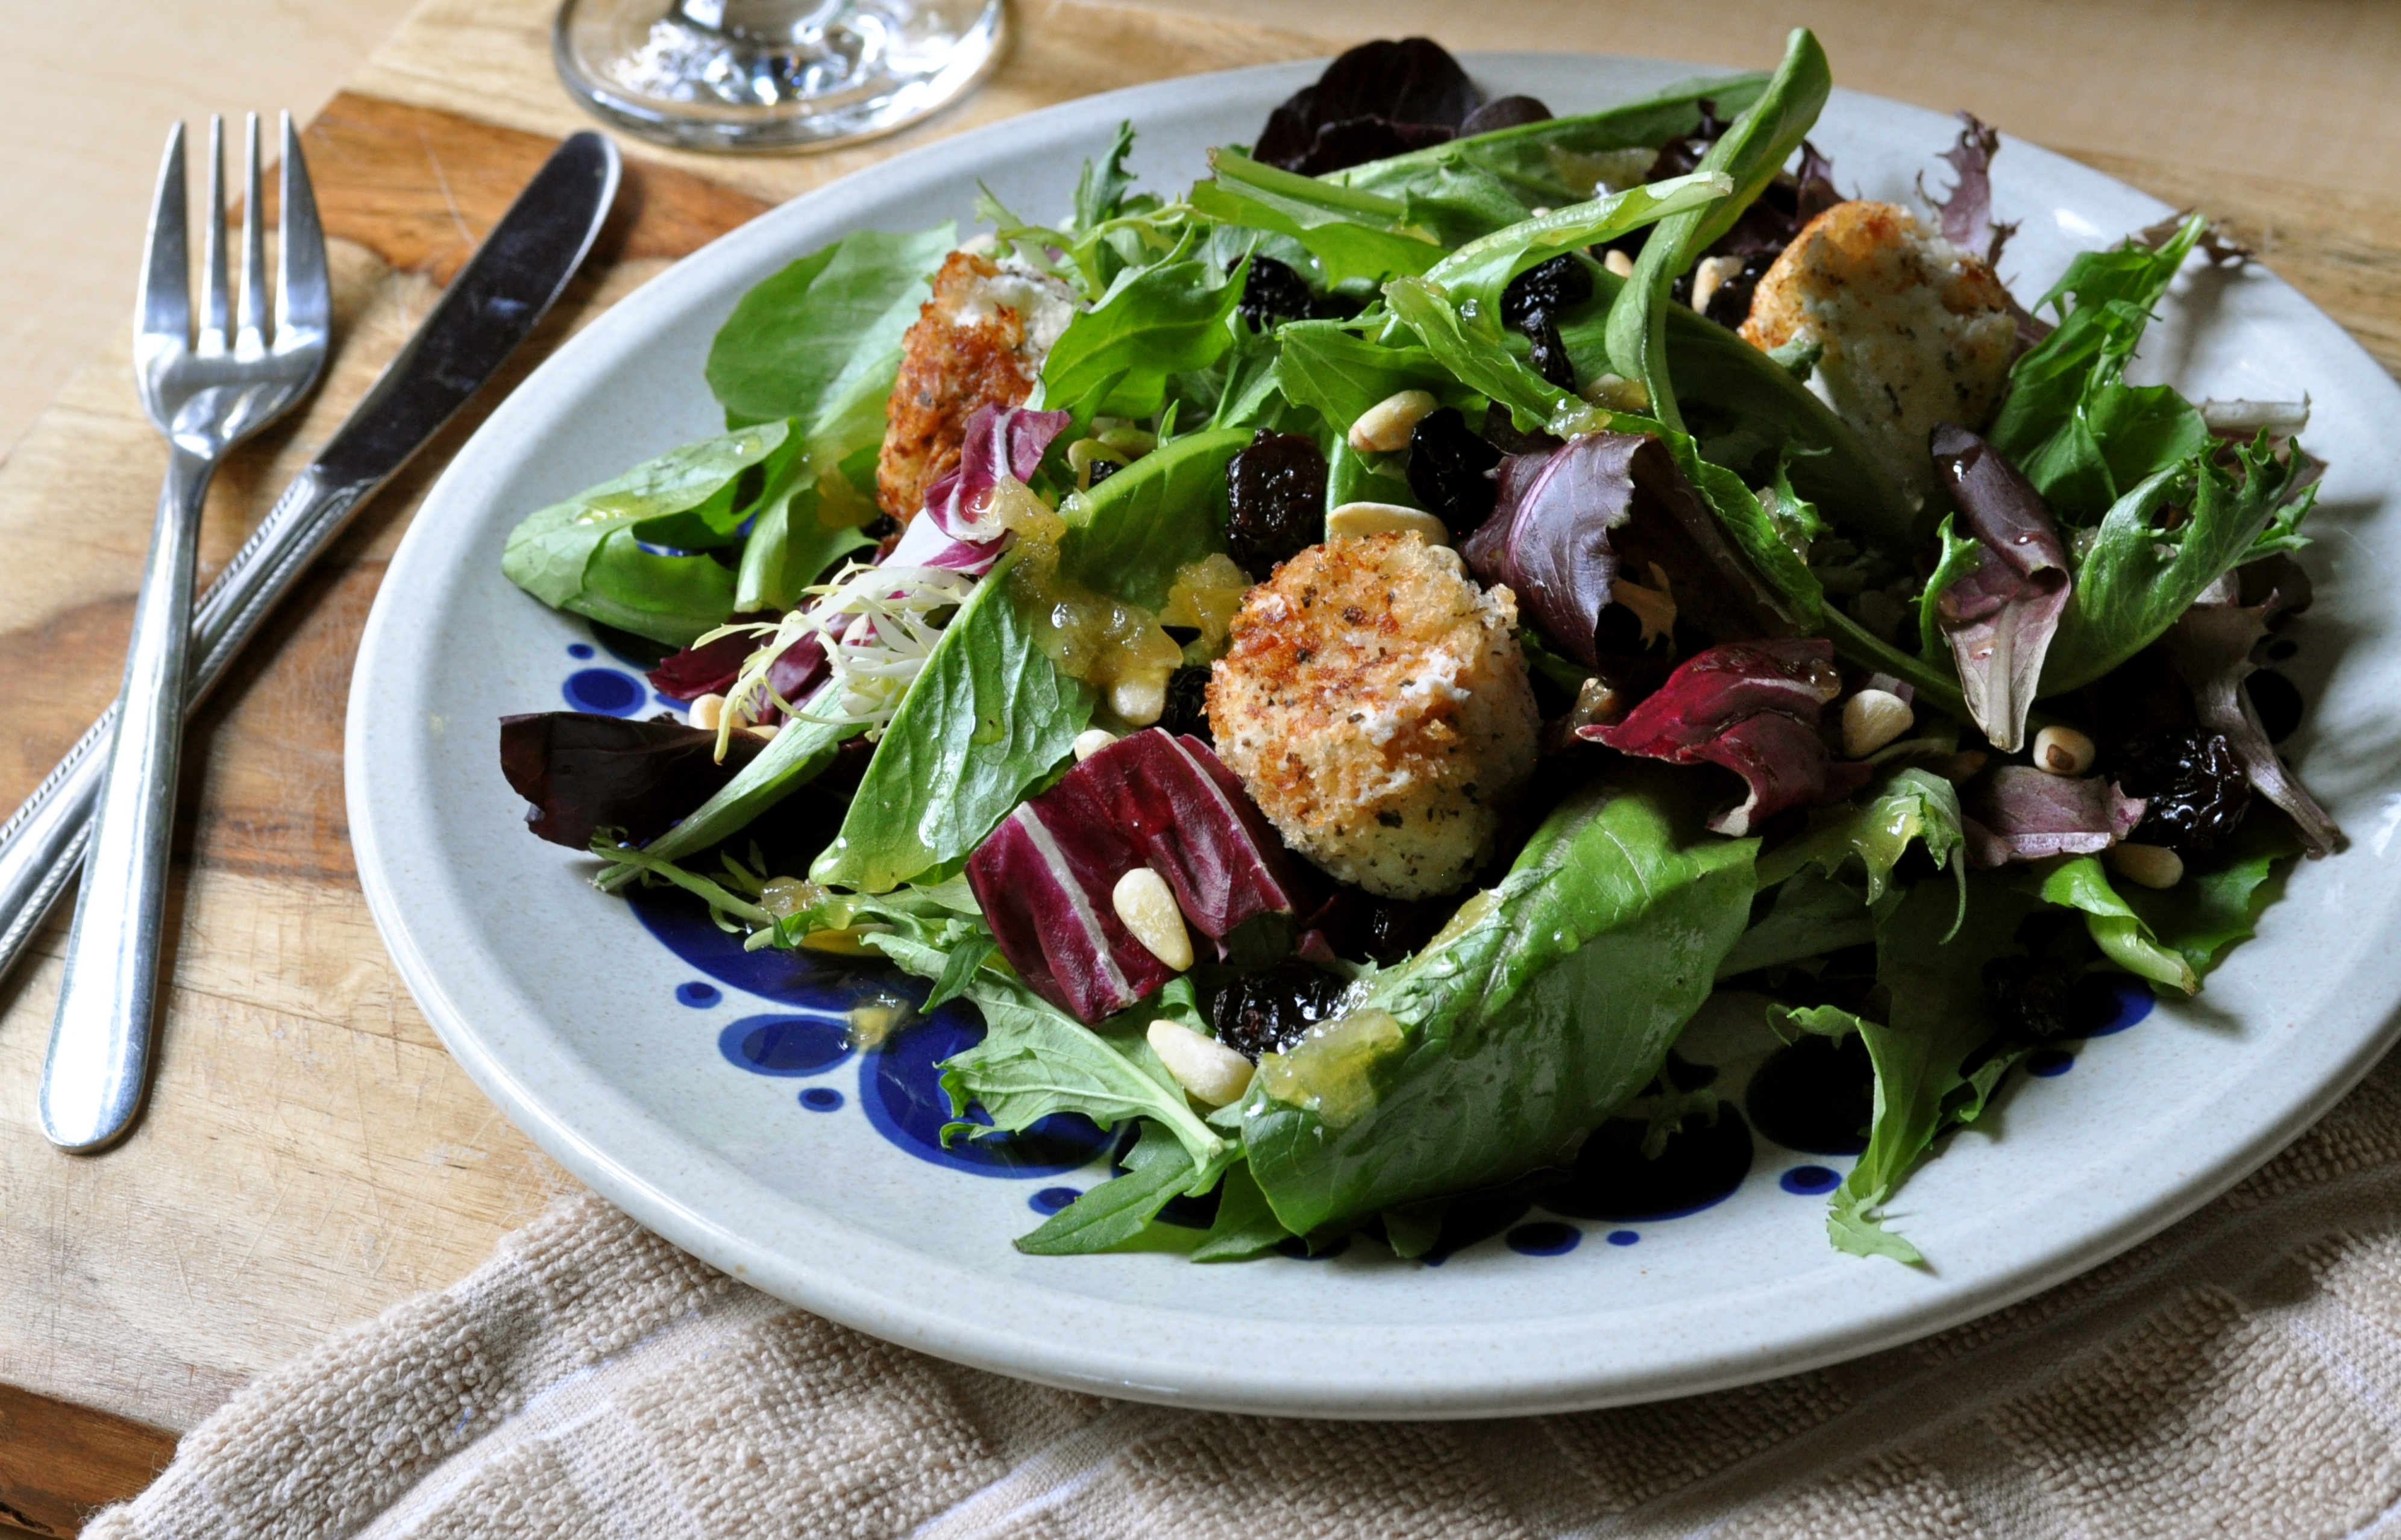
Clearly, I’m far from perfect. But I totally pulled my act together last week when I came across this salad recipe in a cookbook lent to me by a coworker called Whitewater Cooks at Home. I am a big lover of goat cheese, so the thought of creamy goat cheese coated in bread crumbs and then fried until golden brown caught my attention, and everything else was just gravy. So I made myself a list, I went to the grocery store, and I came out only with what I needed. Success!

And then I went home and I made this salad. I ate nearly the entire thing because while I had planned well for the salad, I had not made any plans for what would accompany it. Small steps, right? Dinner was followed by watching Harry Potter and eating these cookies. Does that sound like a perfect evening or what?

Warm Goat Cheese Salad with Sweet Onion Vinaigrette (adapted from Whitewater Cooks at Home)

This salad does not have quite enough heft to be eaten as a meal, but makes for a wonderful side dish or starter salad. Or feel free to give it some oomph by adding a grilled chicken breast or another form of protein. 

For the salad:

8 cups of mixed greens

2/3 cup Panko breadcrumbs

1 1/2 tsp. dried basil

1/2 tsp. salt

1/2 tsp. freshly cracked black pepper

1 egg mixed with 1 TBSP. water

6 oz. soft goat cheese

1/2 cup dried cherries

1/4 cup pinenuts, toasted

For the dressing: 

2 TBSP. olive oil

1/2 cup sweet white onion, diced finely

1/4 cup white wine vinegar

2 TBSP. maple syrup

1/3 cup olive oil

Salt and pepper, to taste

1/4 cup vegetable oil, for frying

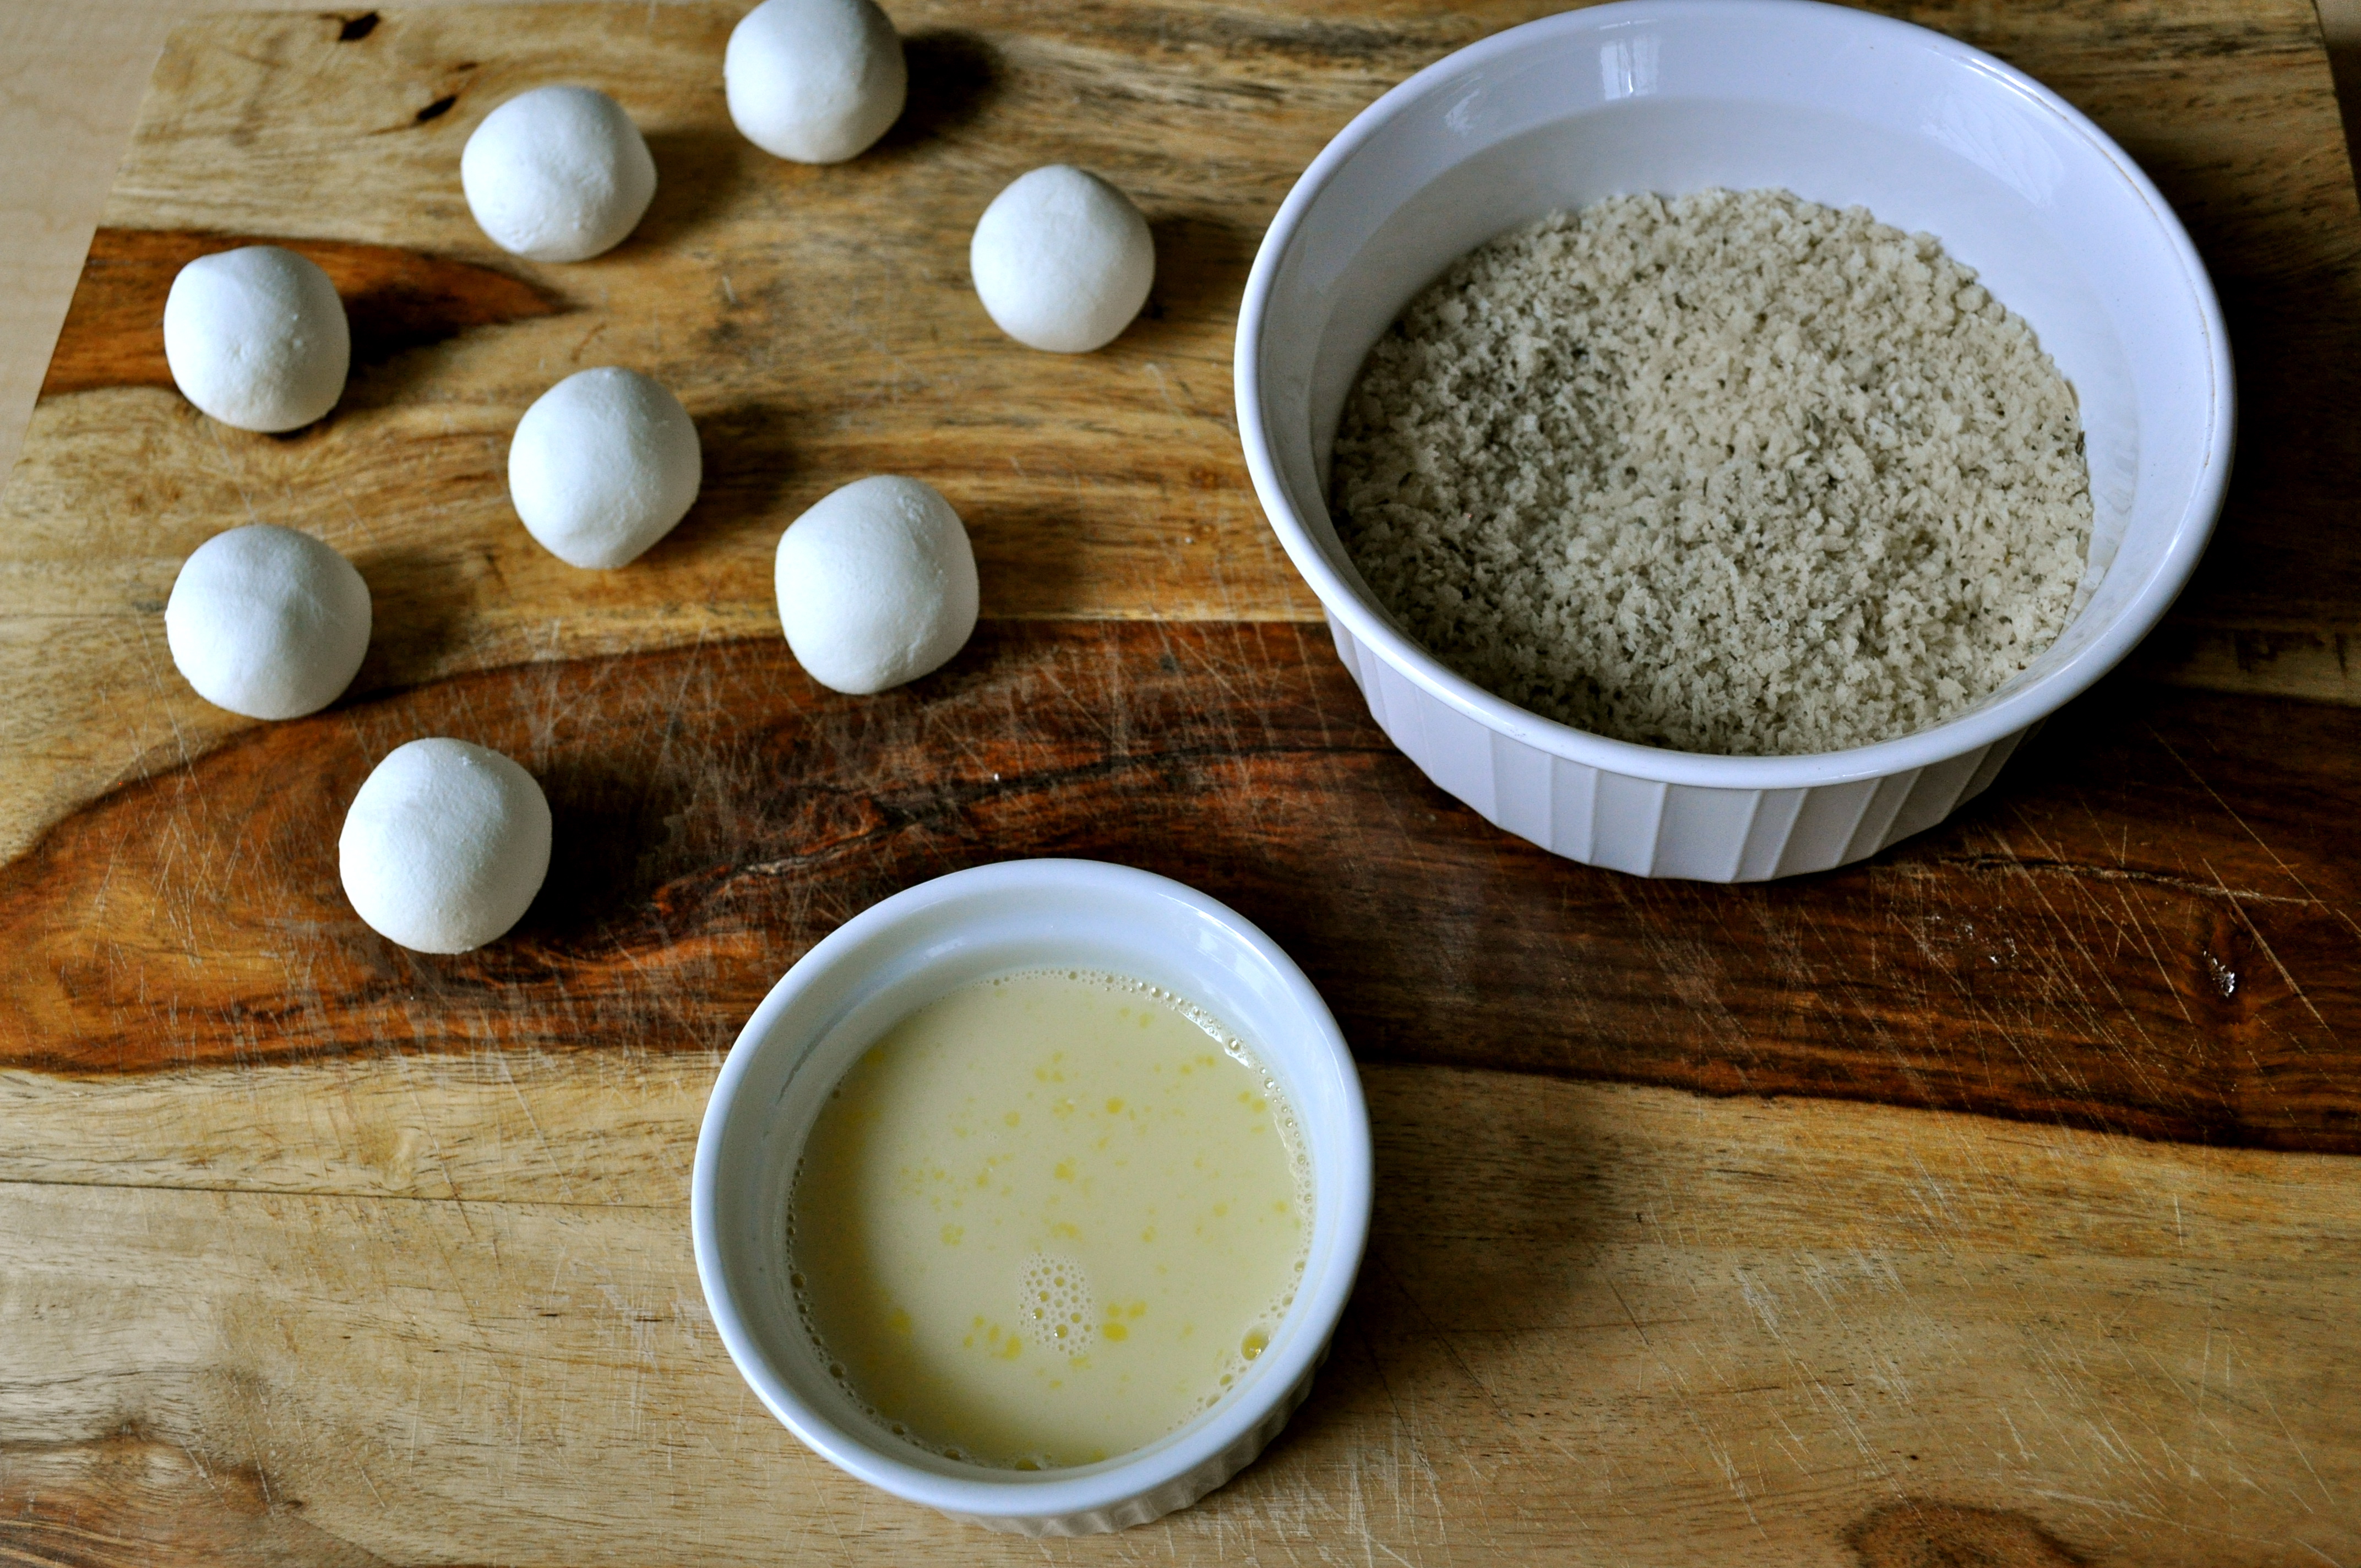
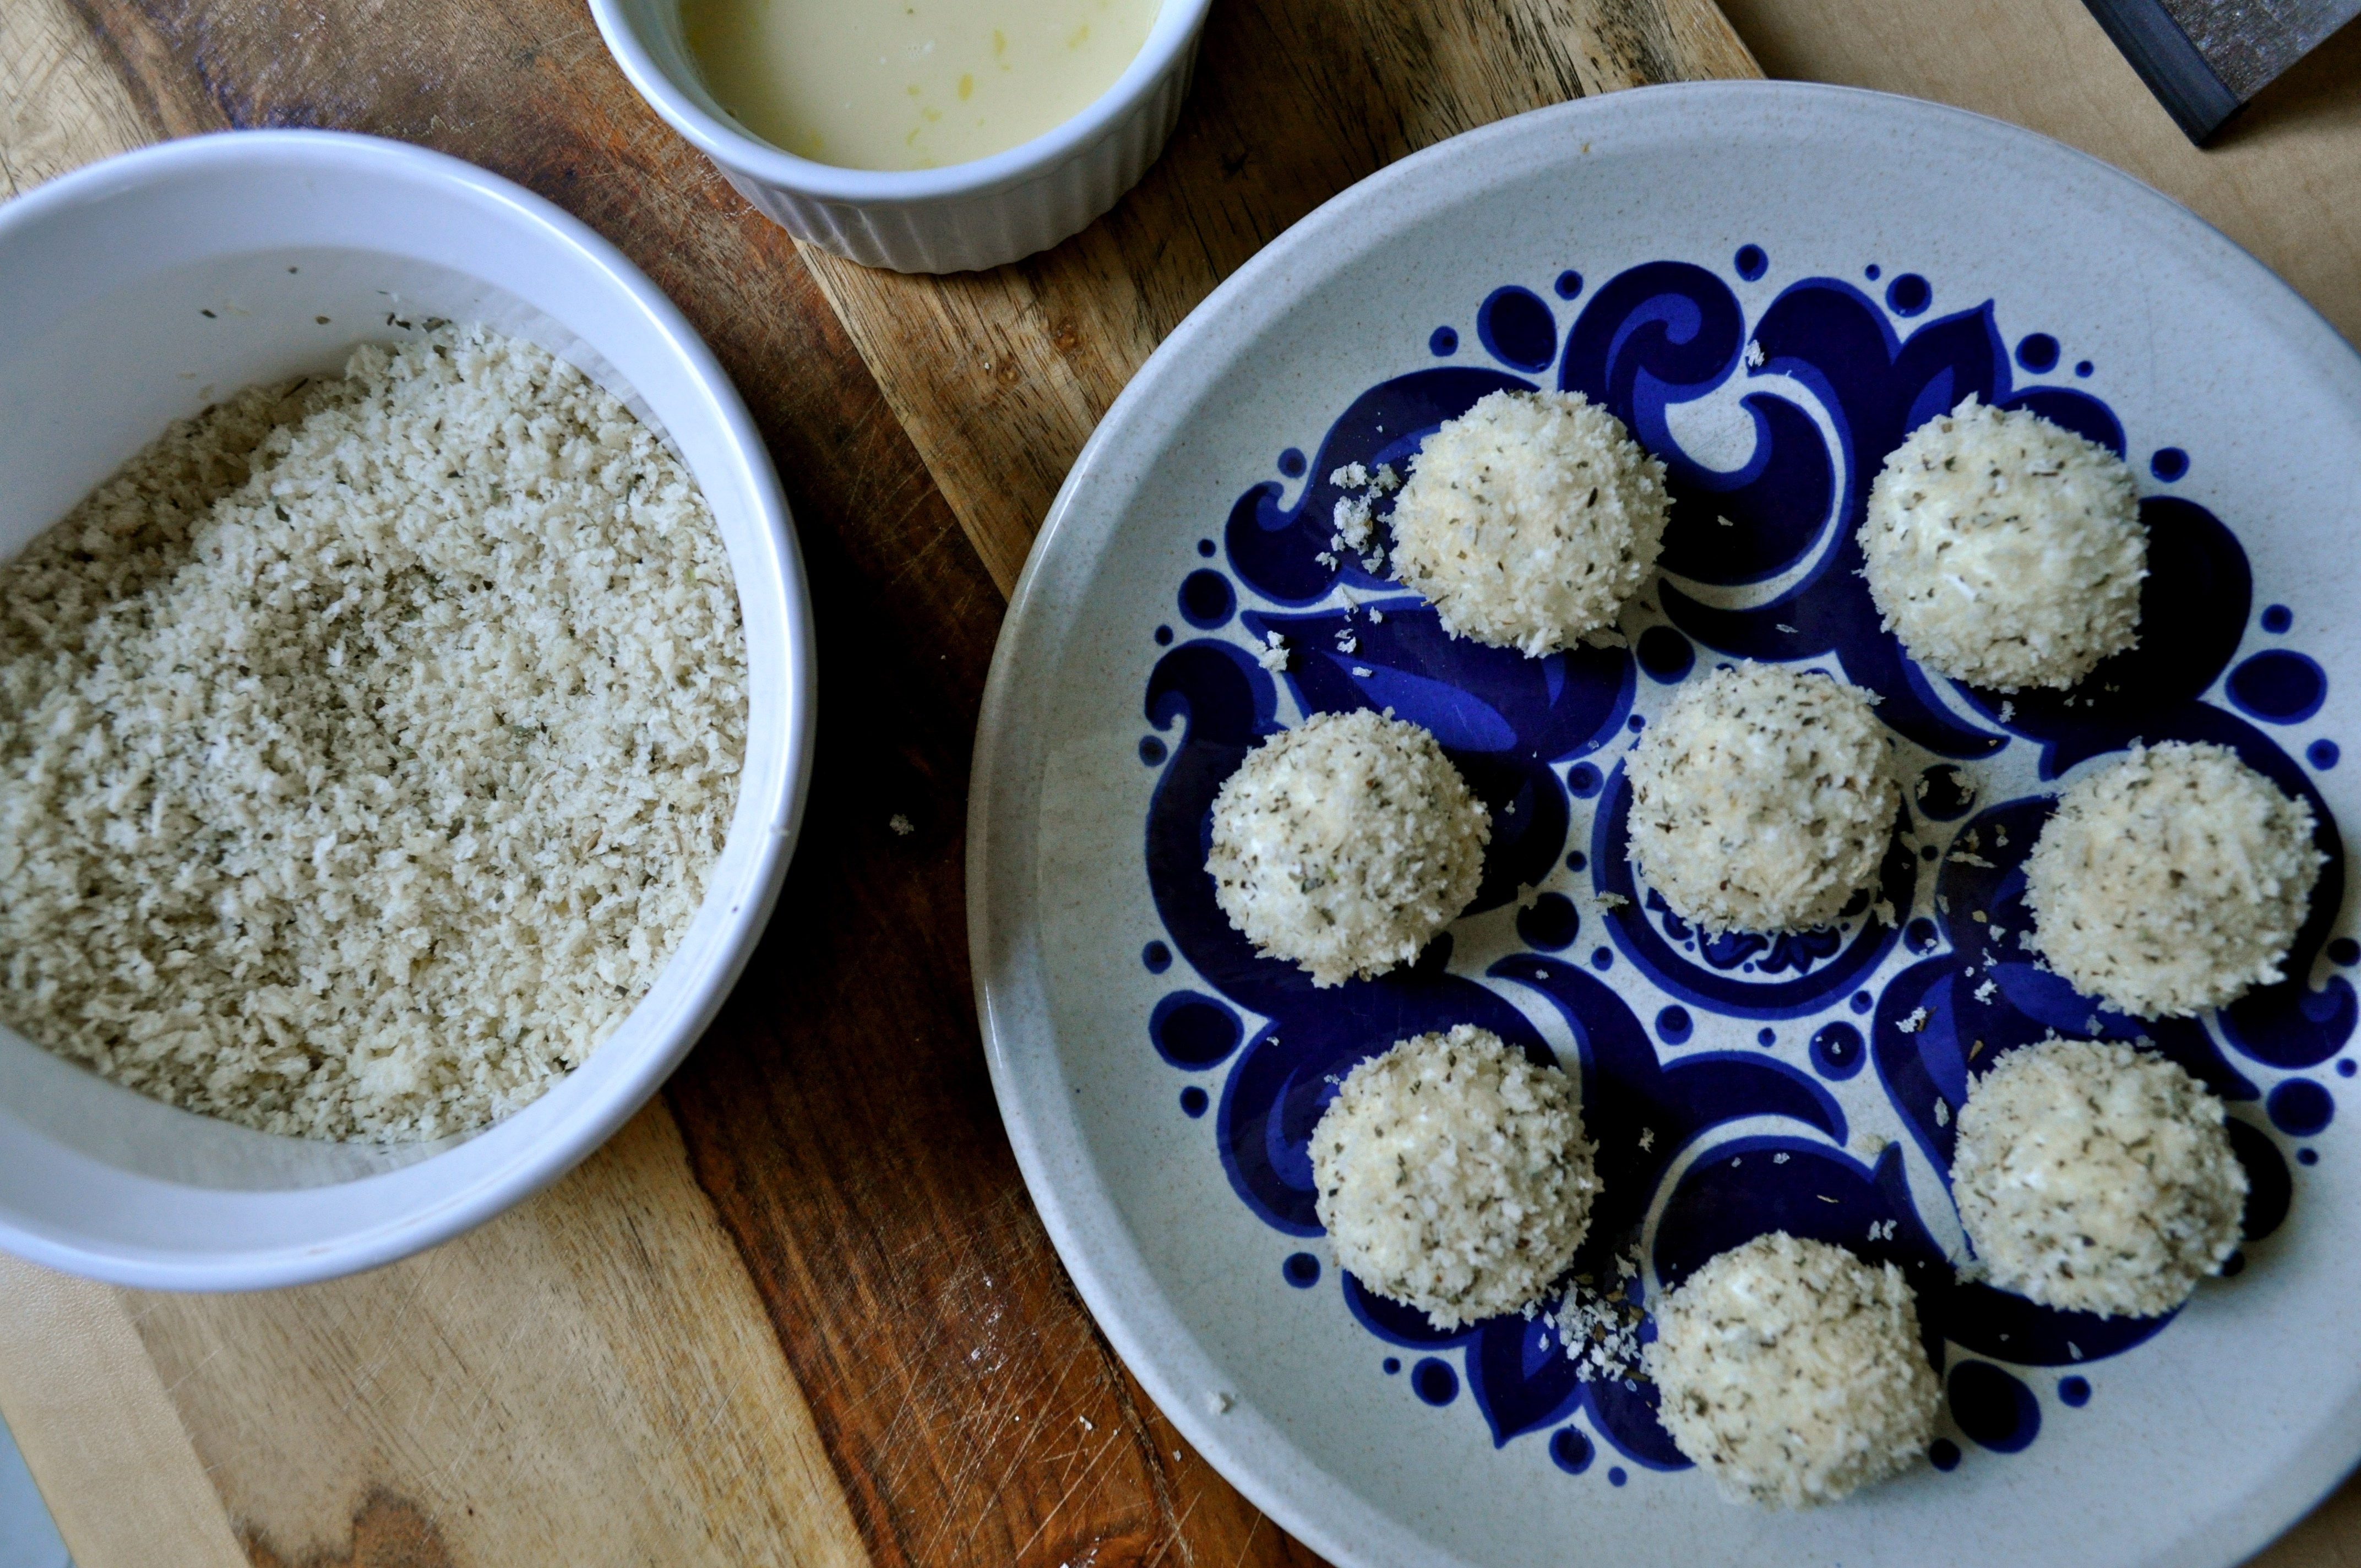
Mix together the breadcrumbs, dried basil, salt, and pepper in a small bowl. Put the egg mixture into another small bowl. Roll the goat cheese into small balls (about 1 TBSP. each), for a total of 12 balls of cheese. Dip the cheese balls into the egg mixture, then into the breadcrumb mixture, pressing the breadcrumbs into the cheese to coat it. Cover and refrigerate for at least one hour (longer if possible).

Prepare the dressing by heating the 2 TBSP. of olive oil and sautéing the onion until softened and golden brown. Add in the white wine vinegar and maple syrup and reduce for a couple of minutes. Remove from the heat and whisk in the 1/3 cup olive oil. Season to taste with salt and pepper. Set aside.

Heat the vegetable oil in a frying pan over medium-high heat. It’s important to get the oil hot here, so that you can quickly brown each cheese ball on all sides without melting the cheese! Go for it – you can do it! When done frying, place the balls on a plate lined with a paper towel while you assemble the rest of the salad.

To assemble the salad, toss the greens with the dressing (you may not need all of the dressing) and divide the greens between 4 plates. Place 3 balls of cheese on each plate and sprinkle with the dried cherries and pine nuts. Serve immediately.

PS. It is totally important to eat salads the week before you run a half marathon. At least, I’m pretty sure it is. I’m off to the mountains on Saturday to run mine (eek!) so I’ll let you know the final verdict next week! xoxo

PPS. Are you a “good” grocery shopper? Tell me your secrets!

A Guest Post | Goat Cheese Tart with Honey and Figs

Aloha friends. Can I ask you a serious question?

Where the deuce did Summer go? One minute the heat has me more hot and bothered than a lonely housewife reading 50 Shades of Grey at a Magic Mike screening (thanks someecards), and the next minute I’m pulling out my boots, scarves, and turning on my seat heaters during my early morning commute to work. What gives?

Just like that, Fall is here. Don’t get me wrong, I love Fall. Crisp air, gorgeous colors, cozy sweaters, delicious treats (aka. pumpkin everything)…I adore it all. Unfortunately, around these parts, Fall lasts a cool hot minute and then it’s suddenly Winter. For six. long. months.

However…these days I’m focusing my efforts on being a glass half full kind of gal, so let’s nip this Winter talk in the bud and hone in on something positive.

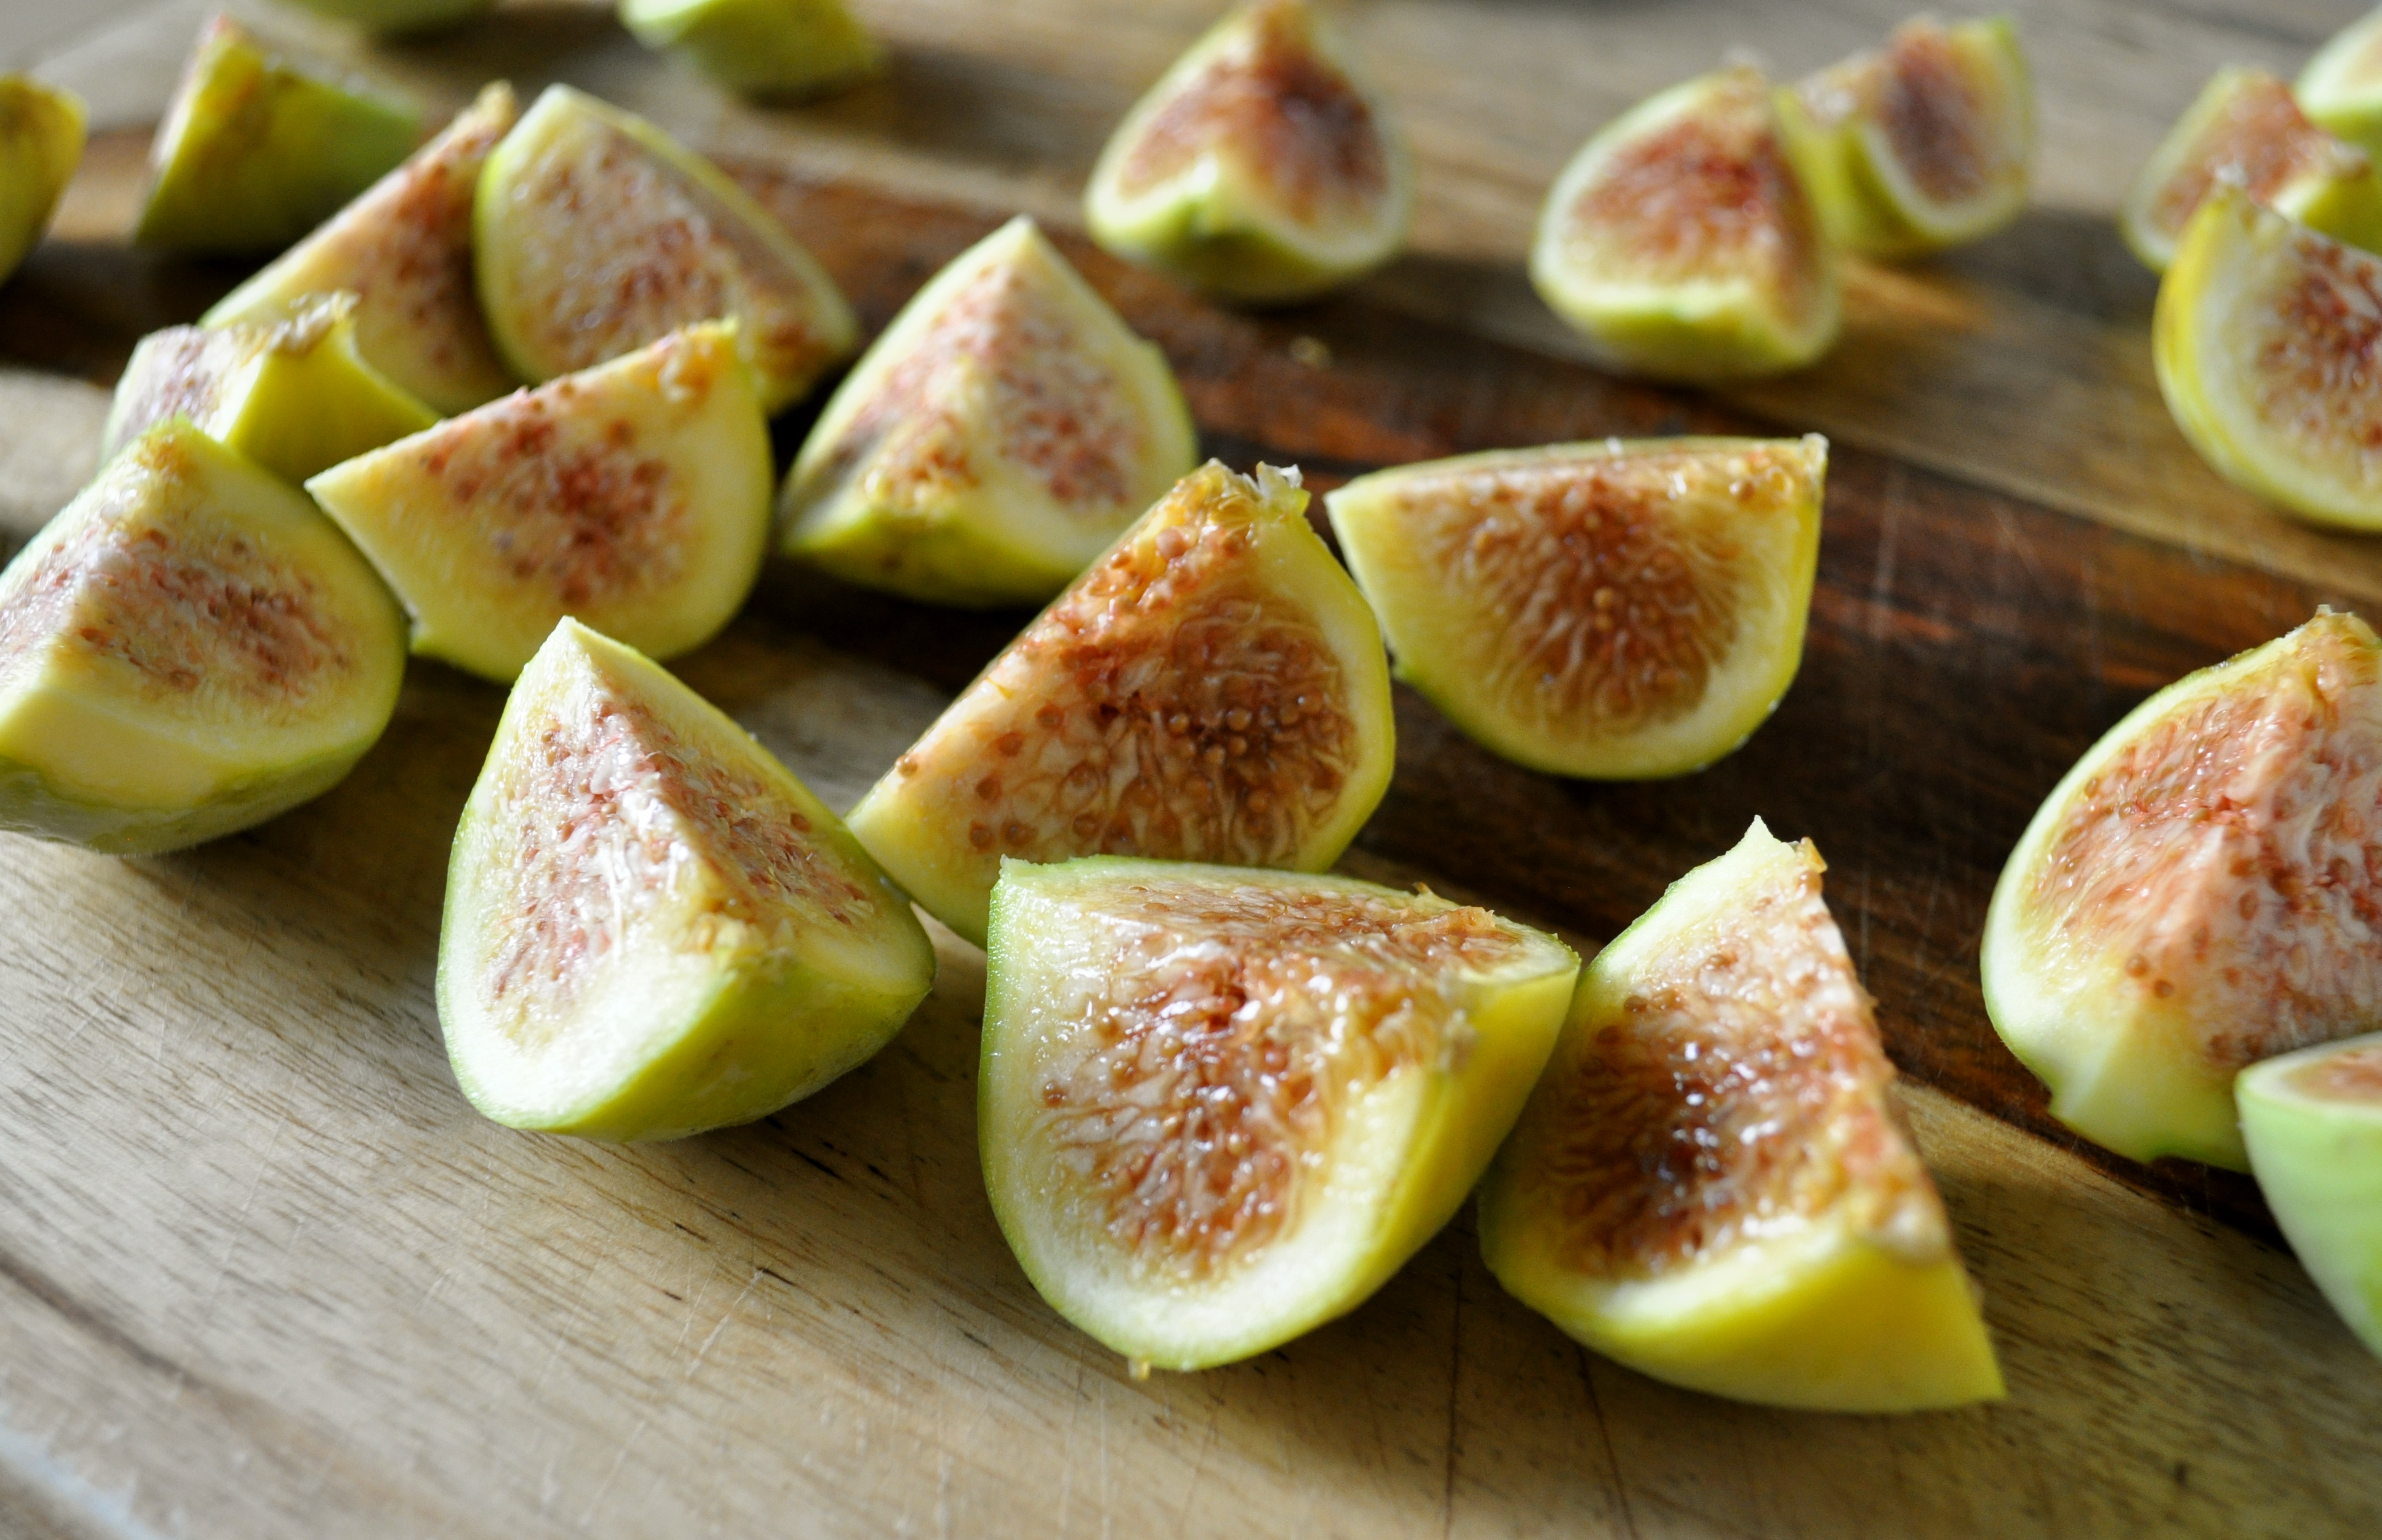
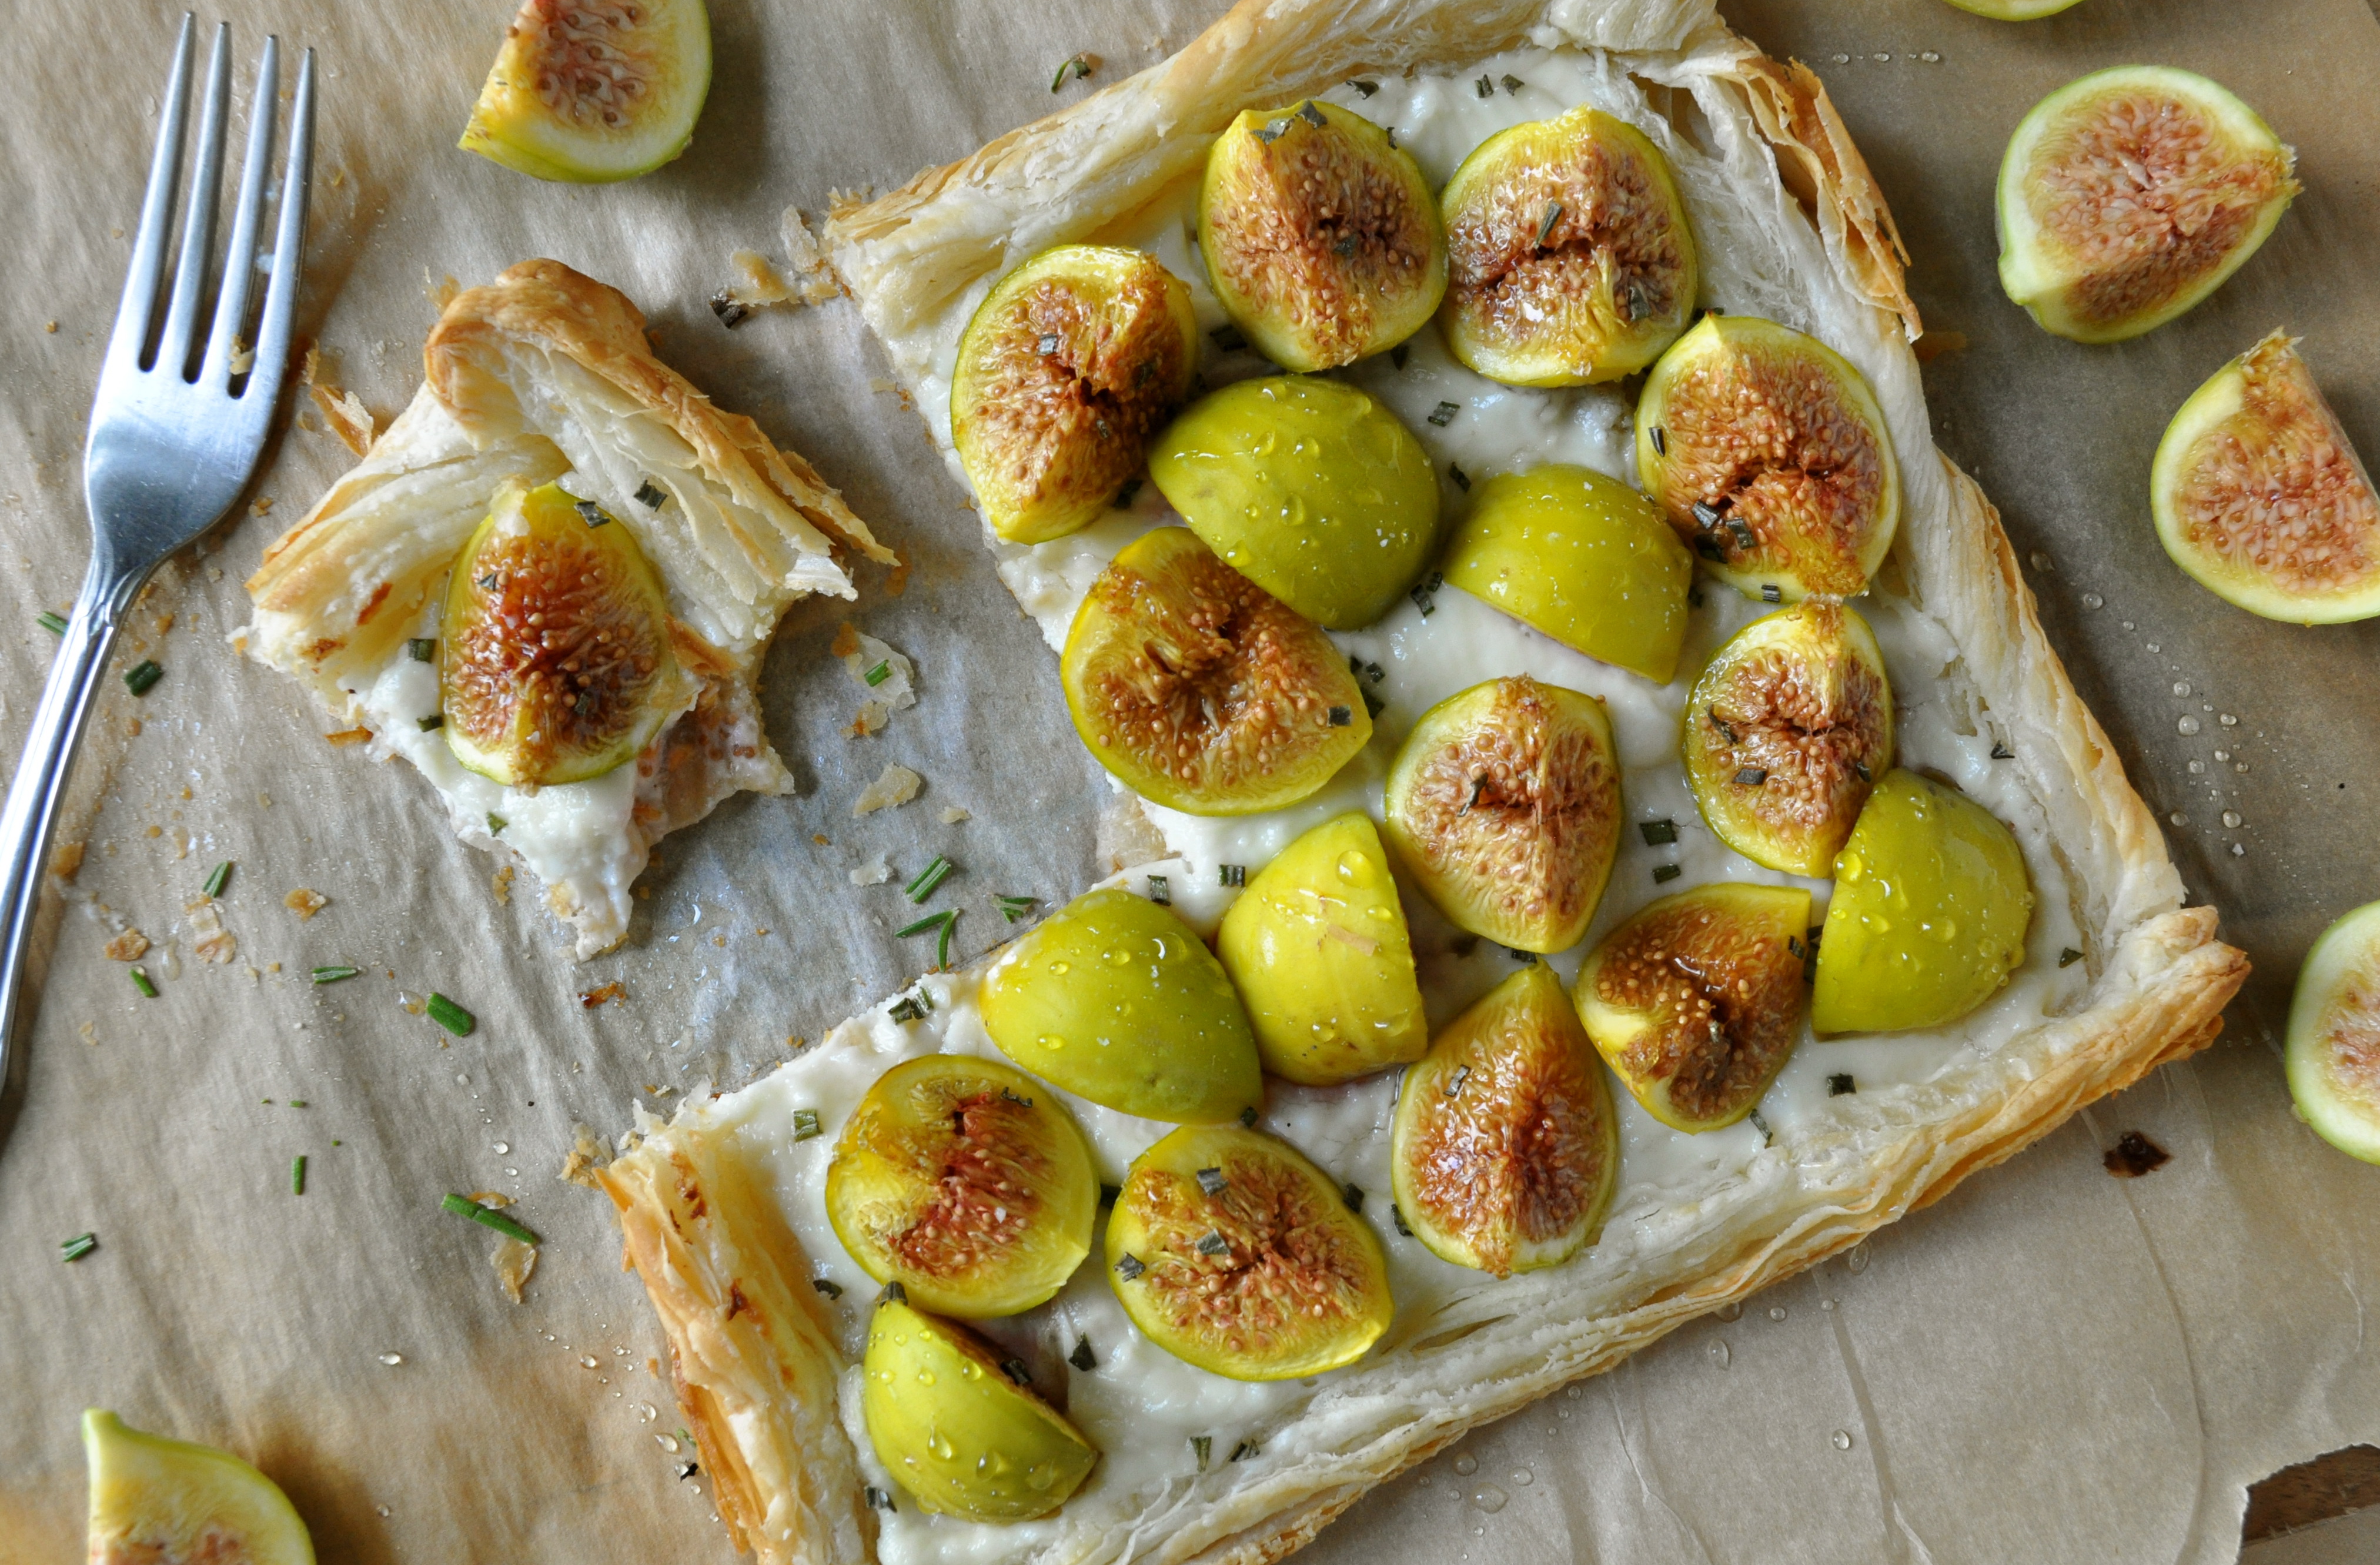
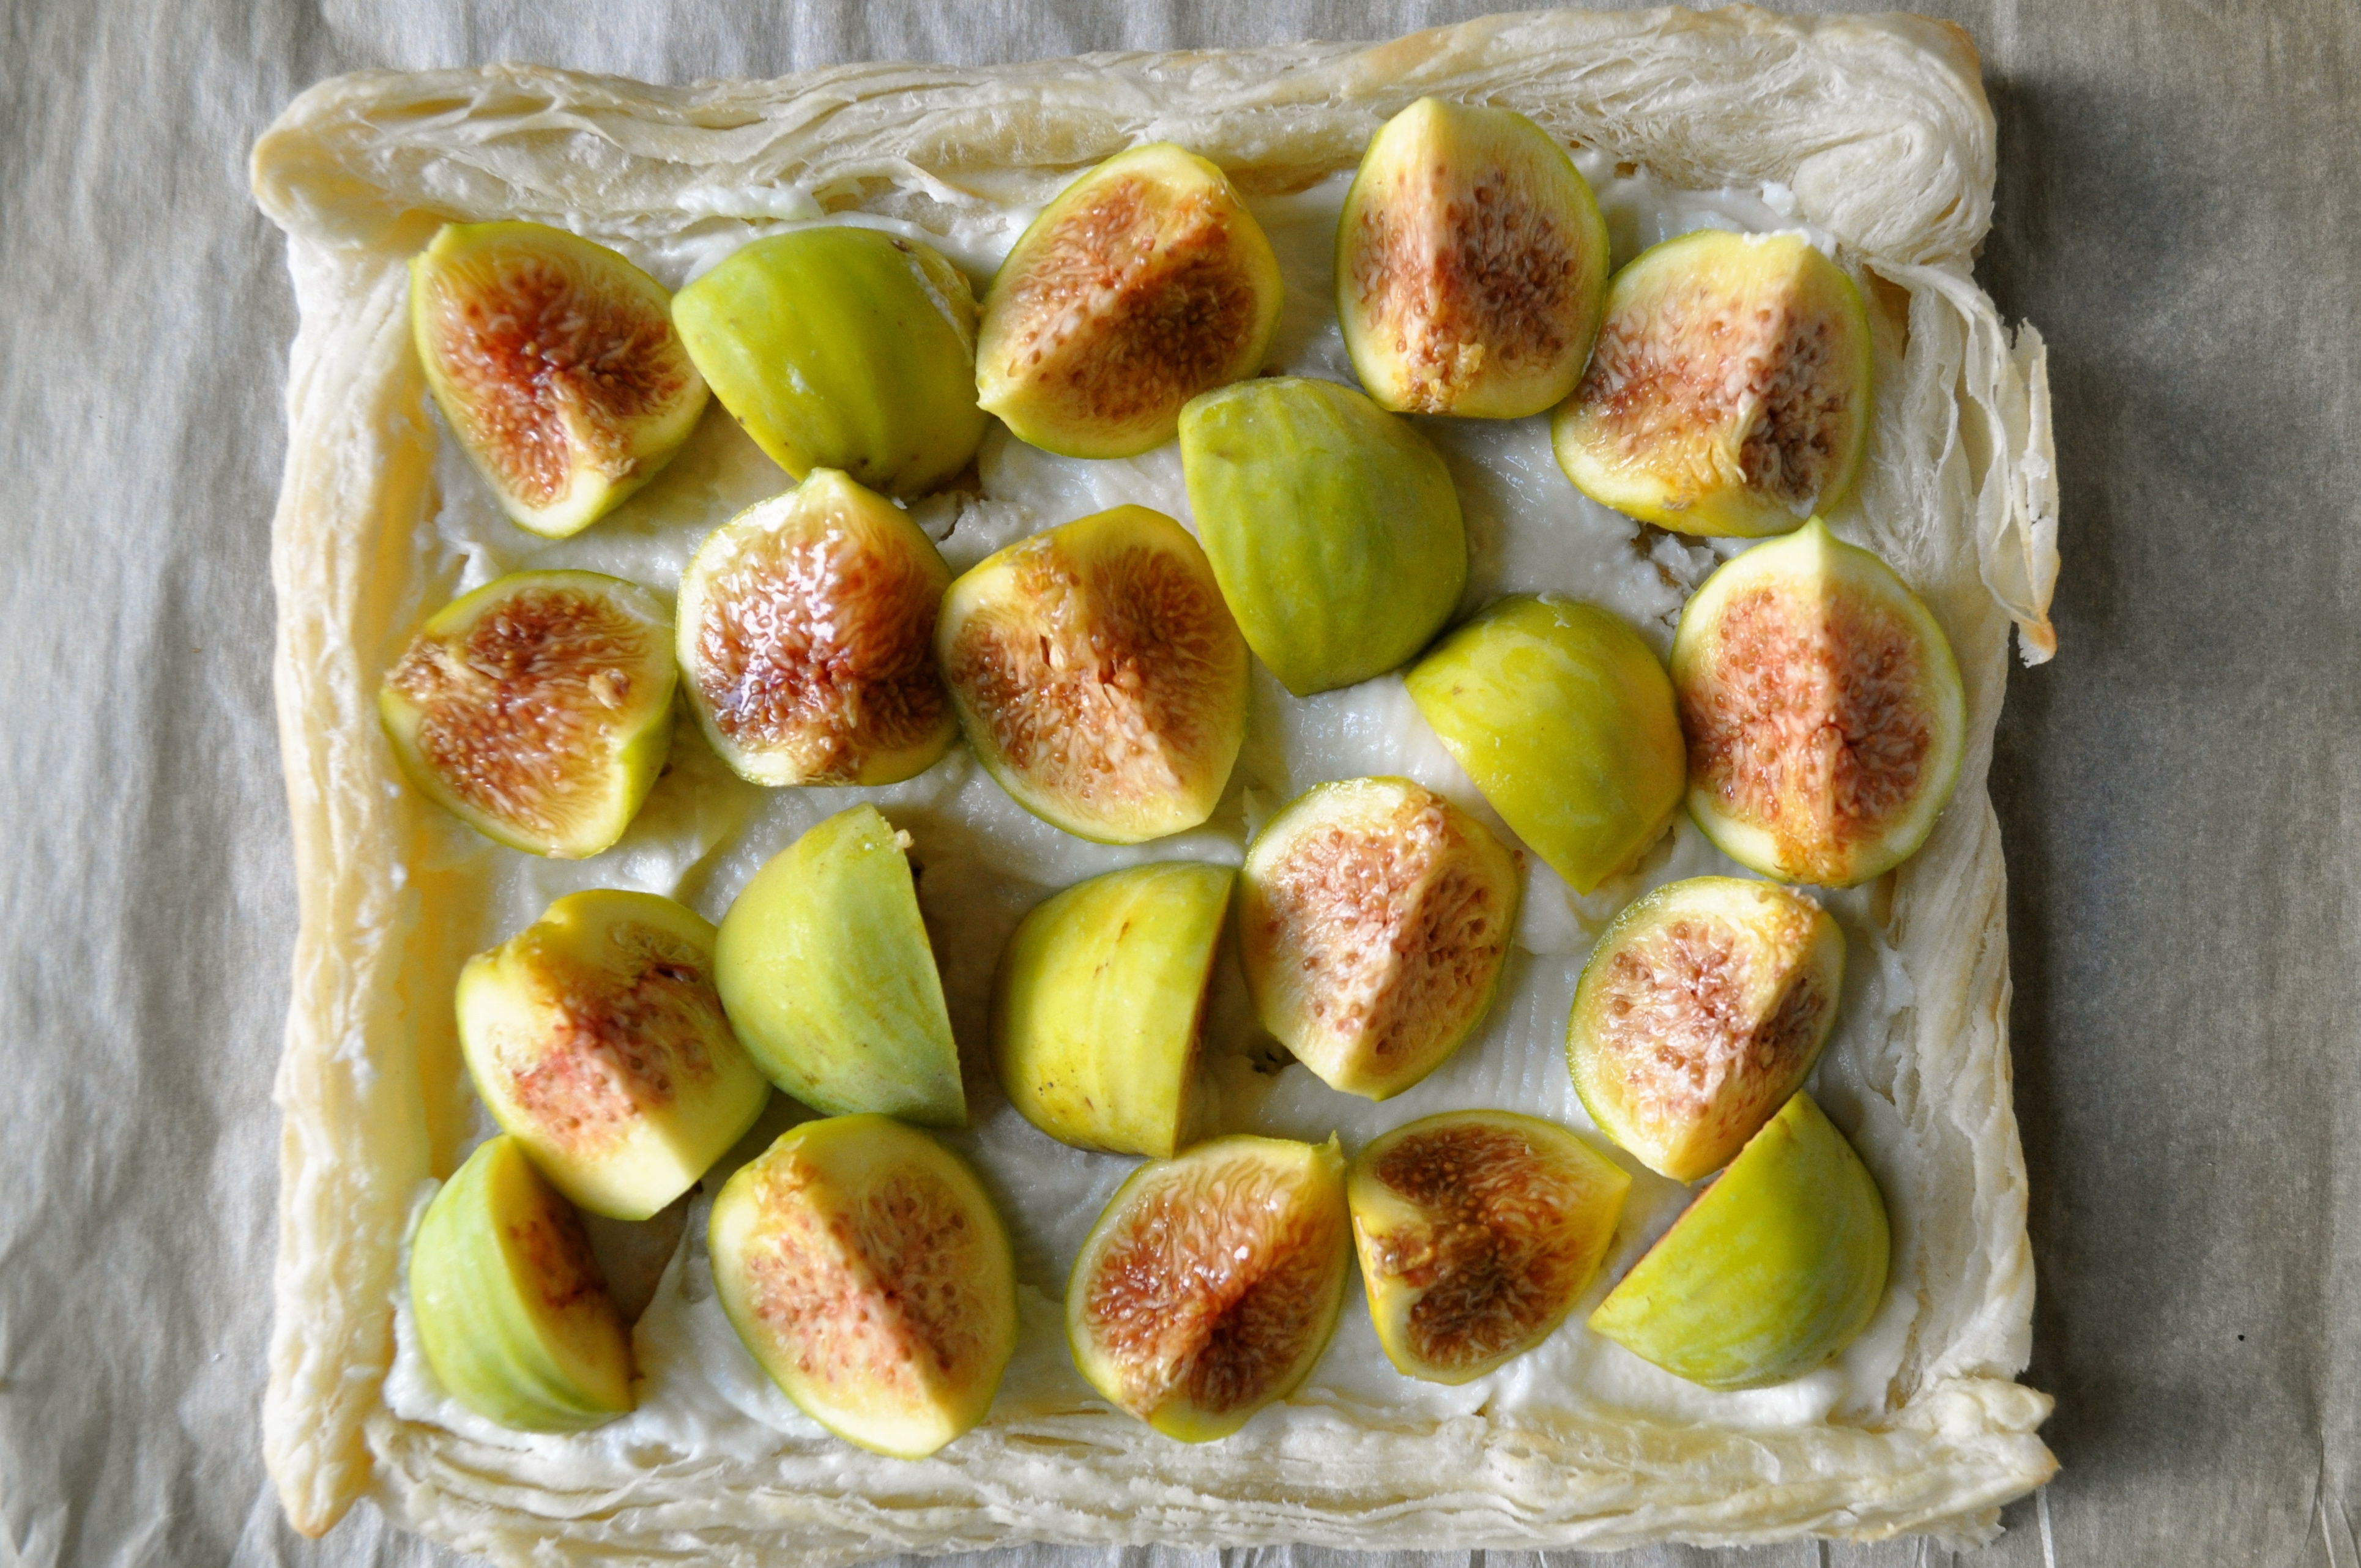
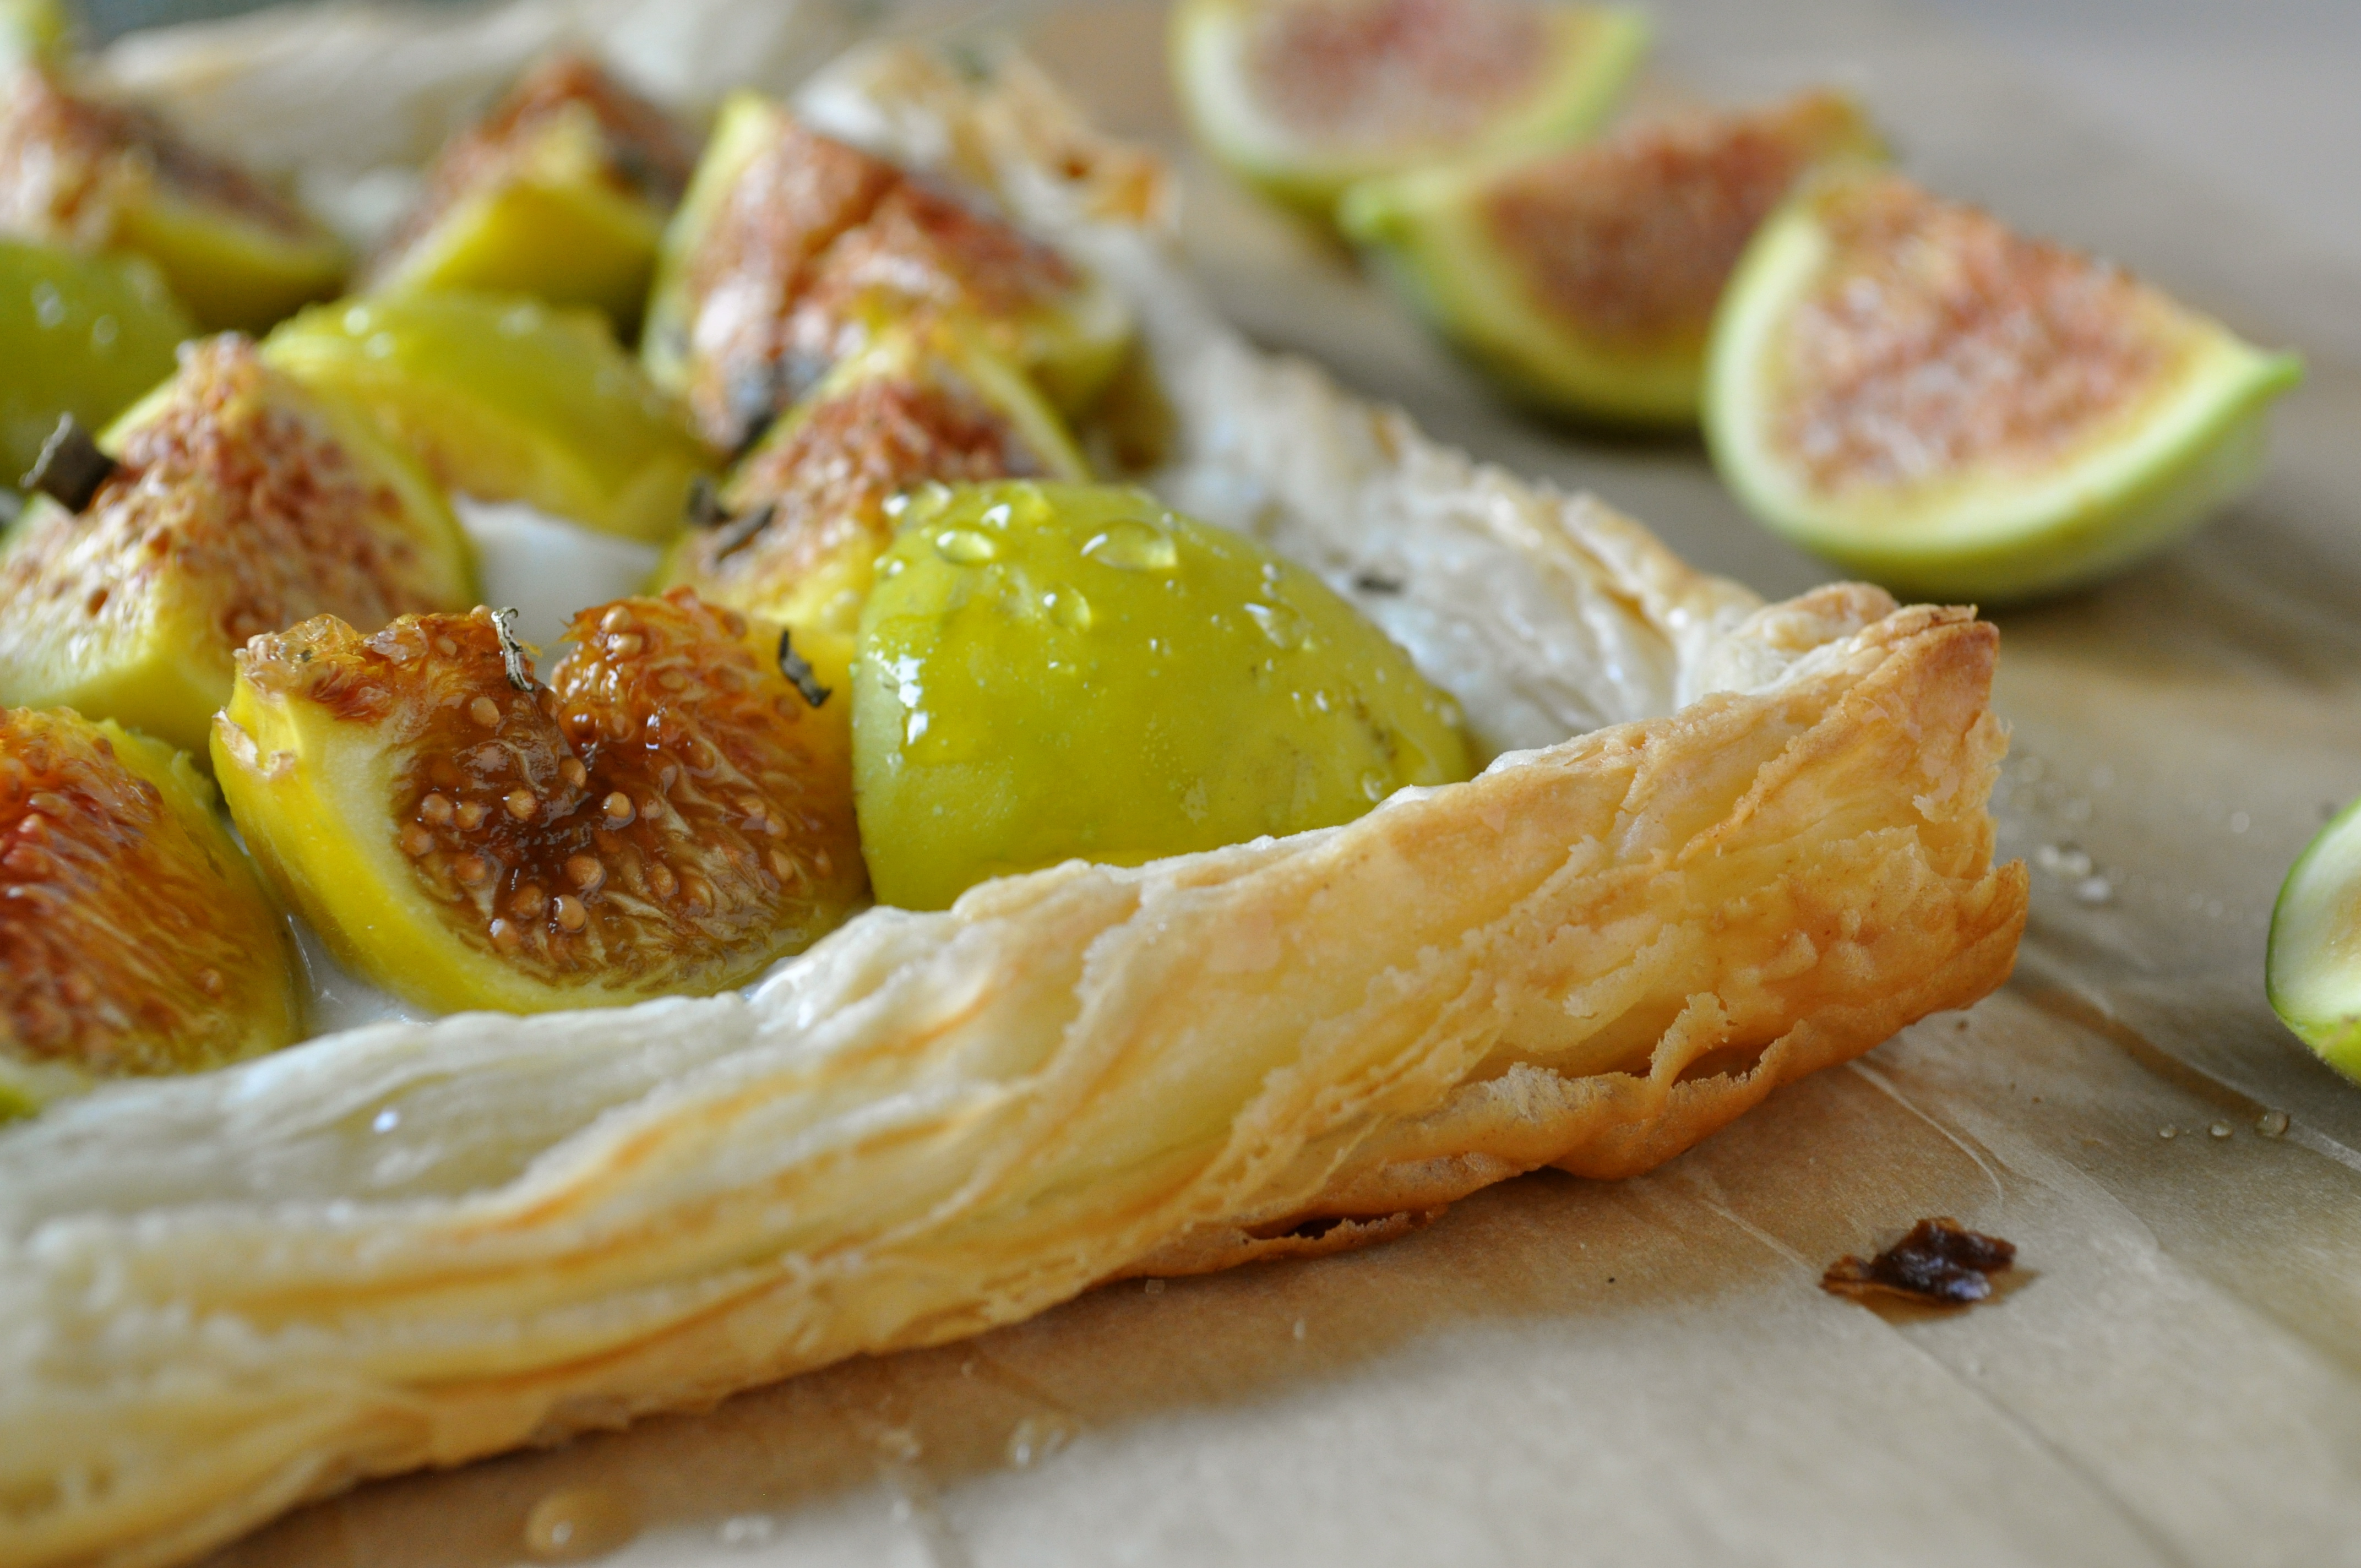
Did you know that fresh figs are in season in late Summer/early Fall? Did you know that if you pair up fresh figs with puff pastry, creamy goat cheese, honey, and fresh rosemary, little tiny leprechauns will do a dance on your taste buds and fireworks will erupt in the sky?

You didn’t?! Well then, get your fannies on over to my lovely friend Kristy’s blog, A Gastronomical Sovereignty, where I tell you exactly how to make this taste bud extravaganza (aka. a Goat Cheese Tart with Honey and Figs) happen. And while you’re there, check out Kristy’s space – where she shares stories about her ethical culinary adventures, and drinks wine while she’s at it. No wonder we get along so well. 🙂

PS. Let’s reminisce about Summer. What was the best thing you did/saw/ate over the past few months?

Some Things and a Pizza (Zucchini, Tomato, Feta, and Balsamic)


Well hello there strangers. Long time no see. Don’t worry, I’m not blaming you. I take full responsibility for our lack of chatting lately, and the lack of sharing going on around here. You see, I’ve been on holidays for the last week and a half. I wish I could say that I’ve been on a beach or lounging lakeside somewhere far away from here, sipping on cocktails and exerting myself as little as possible. But no, this summer I’m having a little staycation right within my humble abode. As lovely as vacations are, staycations can be rather delightful as well. Staycations allow a person to forego the stress of packing, gratuitous spending, long days of traveling, and instead allow one to do things that need doing around the house (ie. tackling that dang room, which for the record, I still haven’t tackled), relax less than should be necessary while on holidays, and be productive with important projects, such as one’s food blog. While I am definitely succeeding with the first two things, clearly I have missed the mark on that last one. #epicfail


Trust me, I had the best of intentions going into this staycation of mine. I had envisioned baking or cooking up something fabulous on a daily basis, sharing a recipe with you every other day, and basically overstaying my welcome on the interwebs over these couple of weeks. But the thing about staycations is, they allow you to really live, and put responsibility aside when other things come up – things like invitations for patio drinks at 2pm/4pm/8pm on a beautiful summer day, a sporadic trip to the park to sit and read a good book, sleeping in way later than necessary, random backyard/living room yoga, or quick little road trips to visit friends that you just don’t see often enough. My mantra for my holidays? You only live once. YOLO! And sometimes, when you’re in the thick of YOLO’ing, blogging takes a back seat for a short while. PS. If you require further deets about YOLO’ing, Joy and Tracy got ya covered.


However, I did manage to whip up this simple and delicious summer pizza, and after taking the first bite, I snapped a couple of photos so that I could share it with you. But first, a couple of things…

First of all, I joined Pinterest. Finally! I realize I’m a bit behind the eight ball on this one, but better late than never. Too be honest, I was a little stumped by Pinterest when I first checked it out a few months ago (pins? boards? say what?), but a friend gave me a quick tutorial last week (thanks J!) and I am officially obsessed. OBSESSED. If you wish to follow me, you can search for me under onceuponarecipe.

Secondly, I caved on another social media front and now Once Upon a Recipe has a Facebook page! Check it out here.


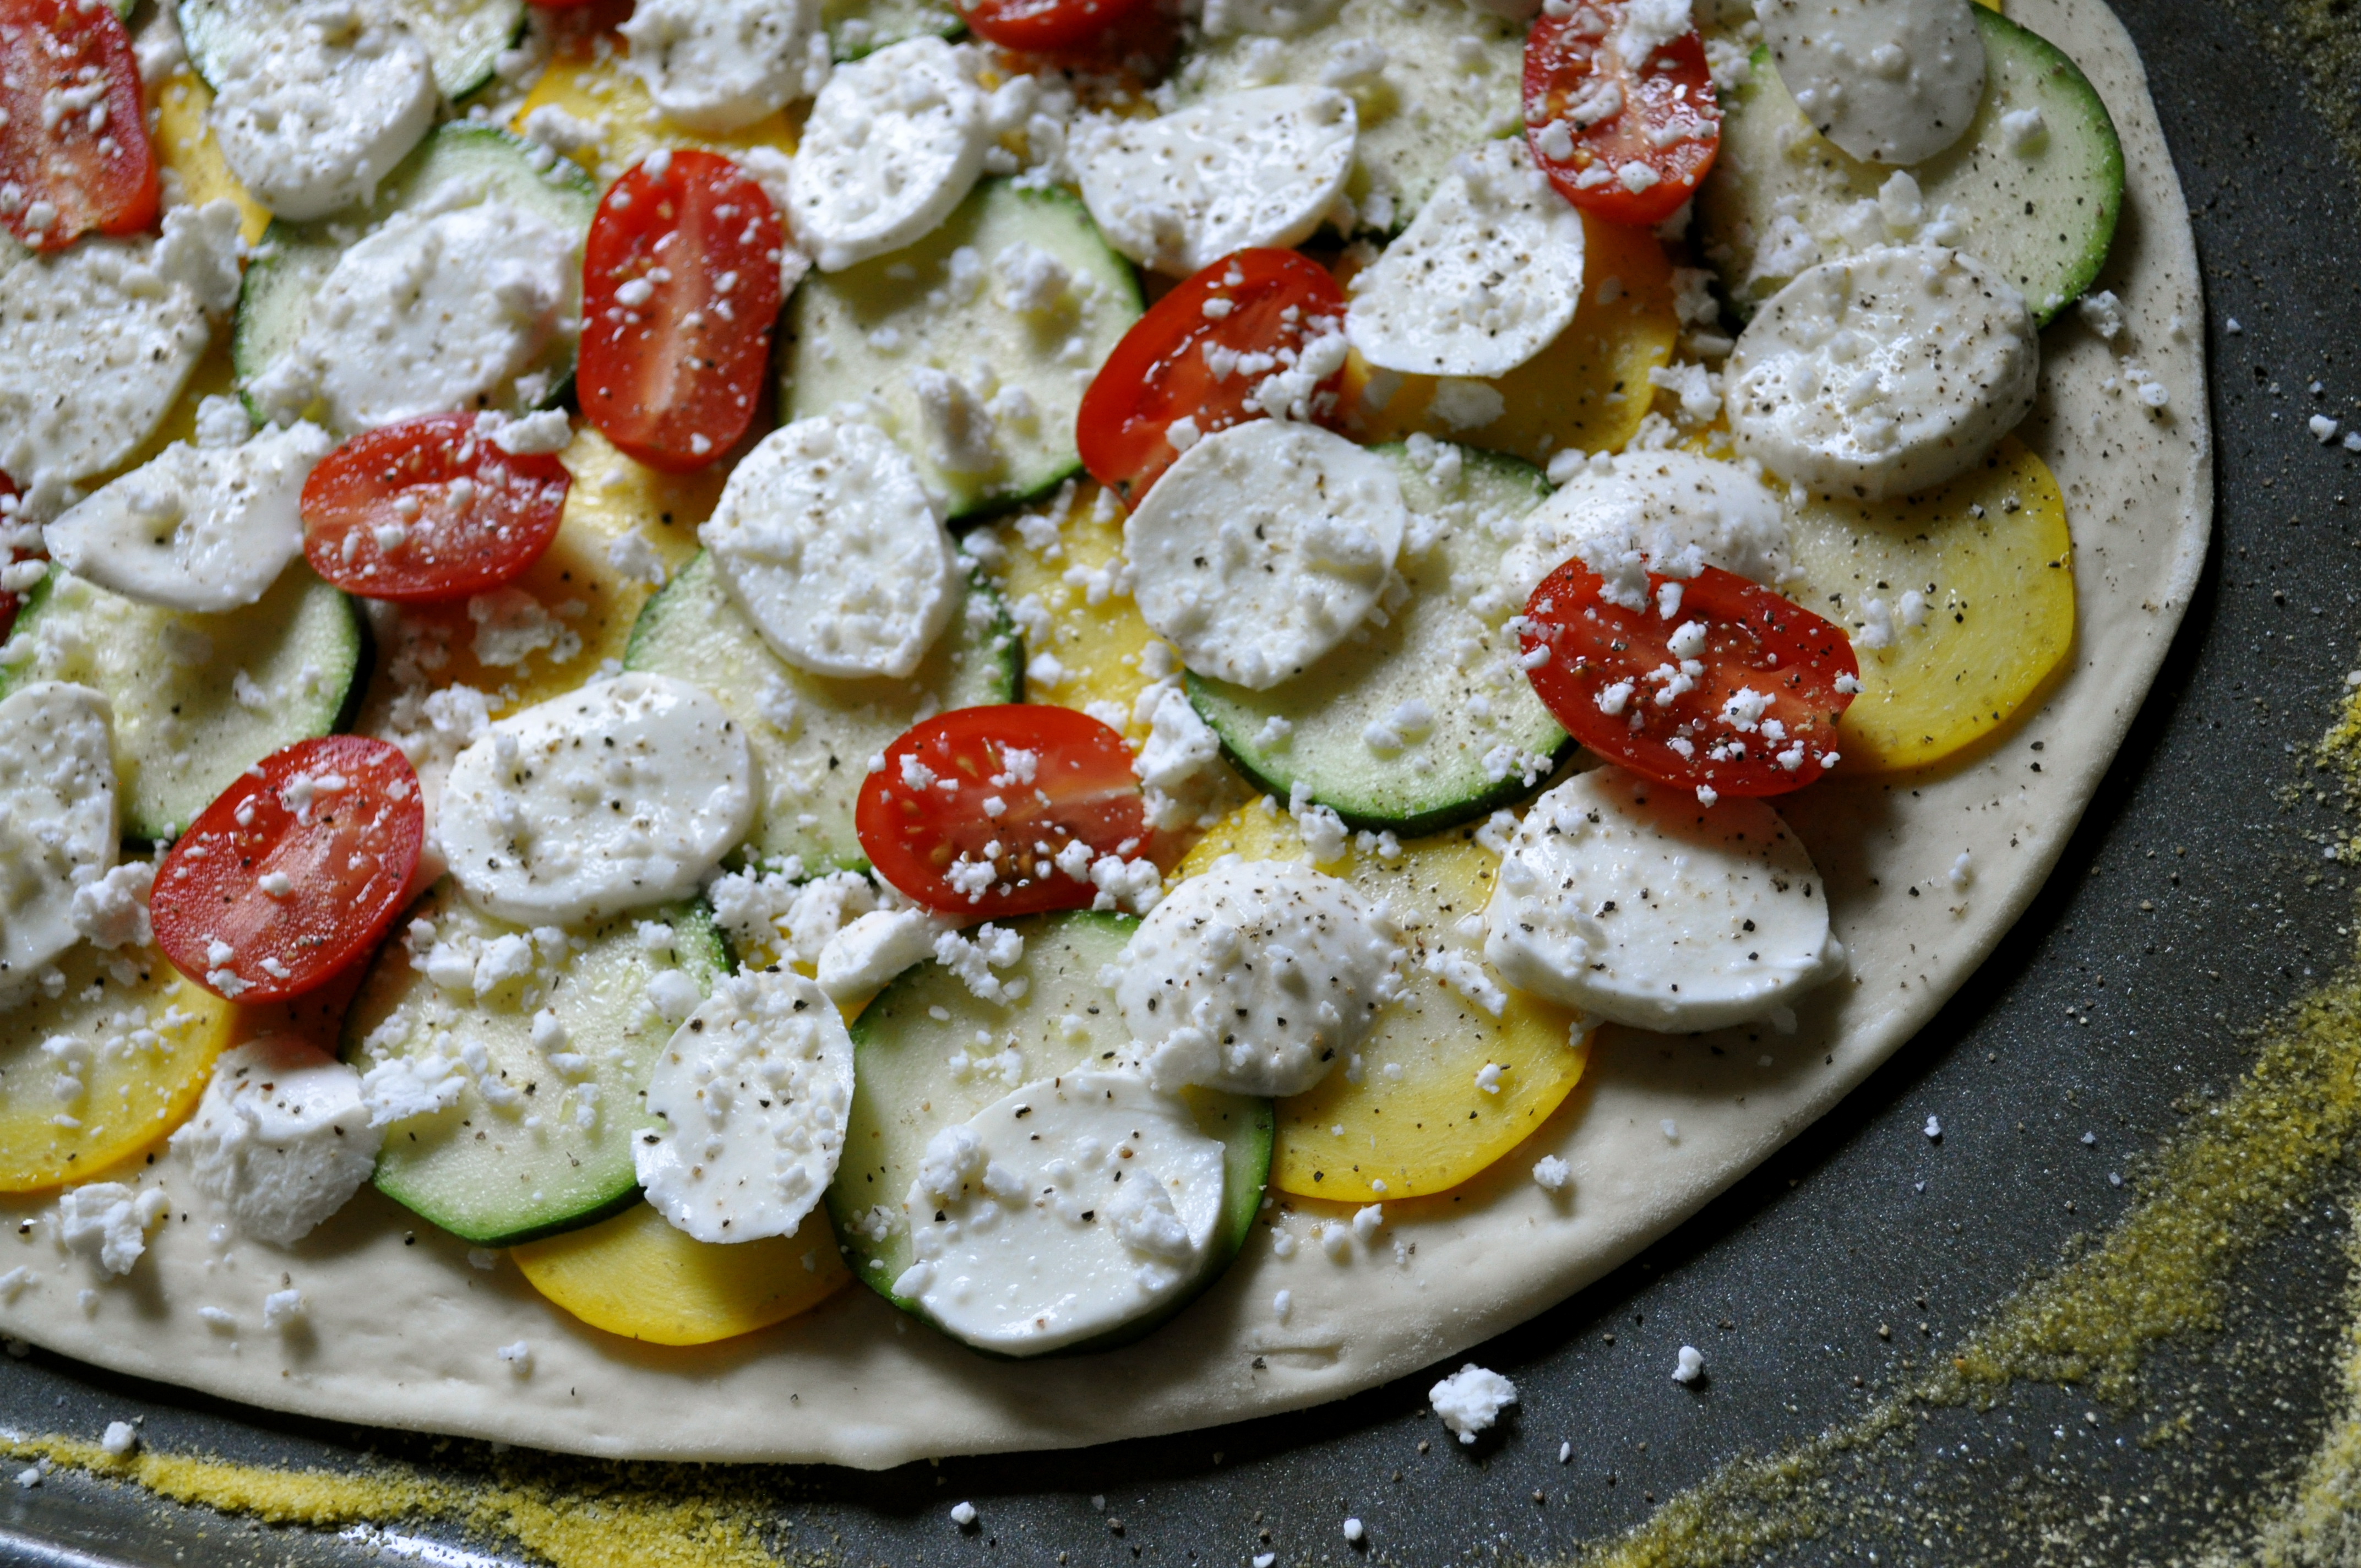
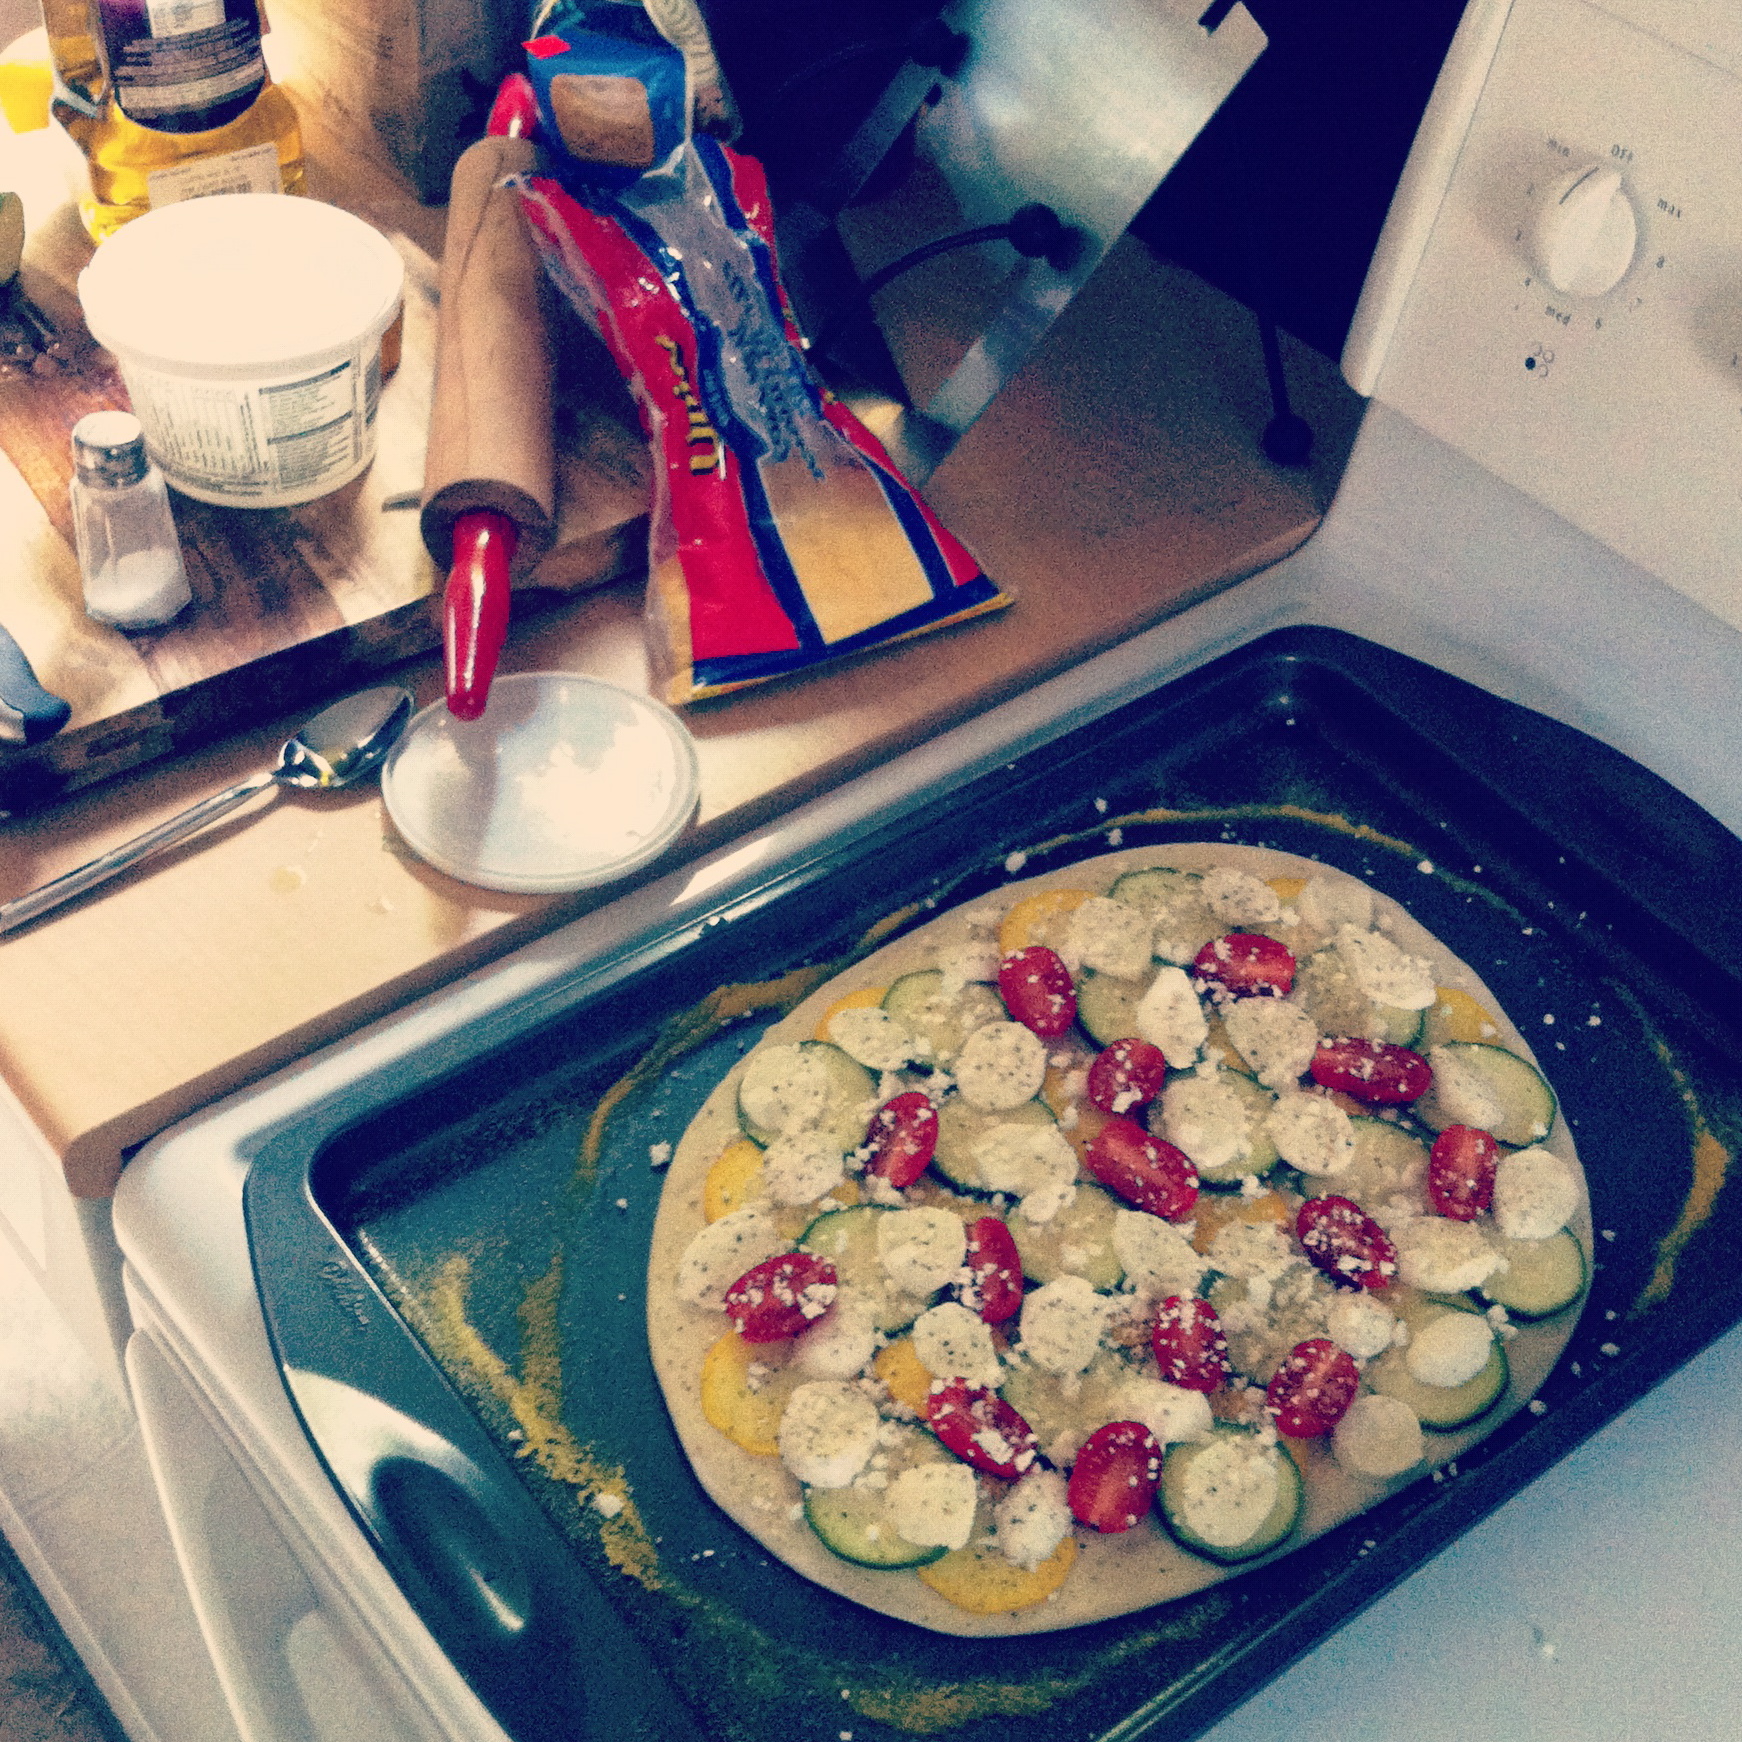
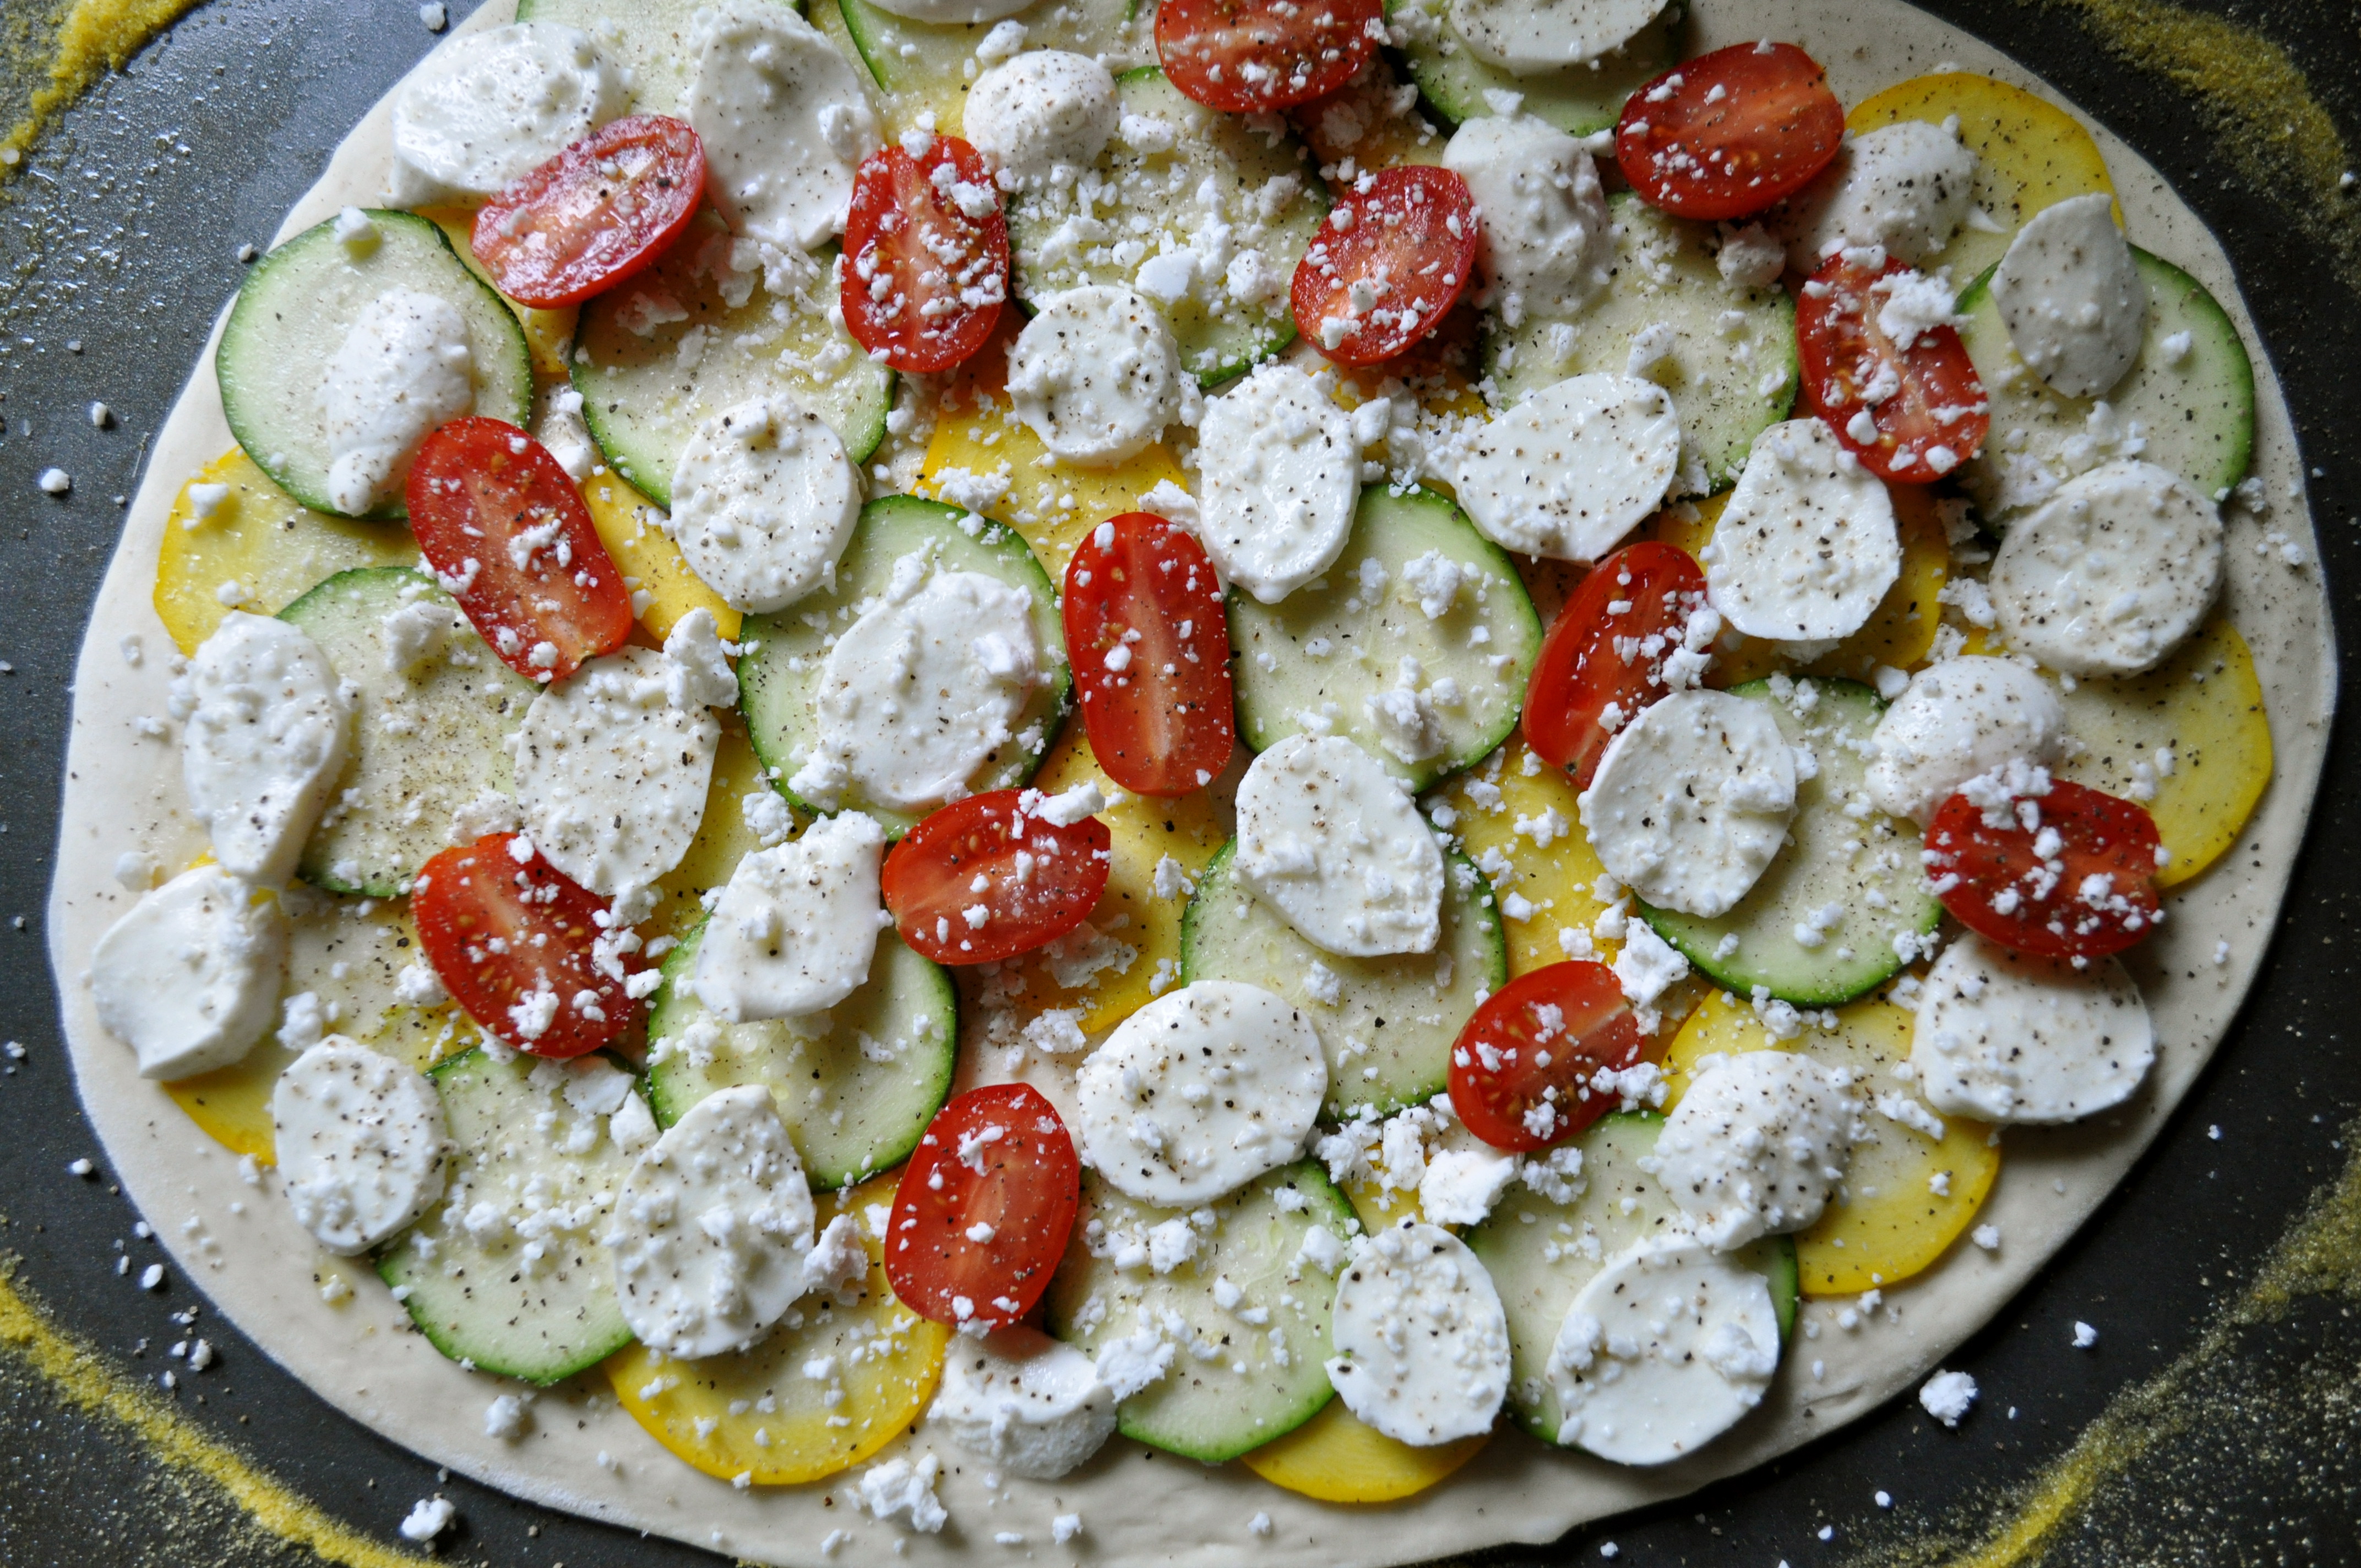
And now, onto the good stuff, a fabulous pizza that I created last week. What started out as a venture to use up some of the market produce that was on its last legs in my fridge ended with one of the most delicious pizzas I’ve created in a long time. I don’t really want to call it a recipe, but here are some guidelines for you.

Zucchini, Tomato, and Feta Pizza with Balsamic Reduction

Start off with a pizza dough of your choice. I used some fresh dough from my local Italian market, but if you want to make your own, go for it! I have a great recipe for whole wheat pizza dough that you can find here.

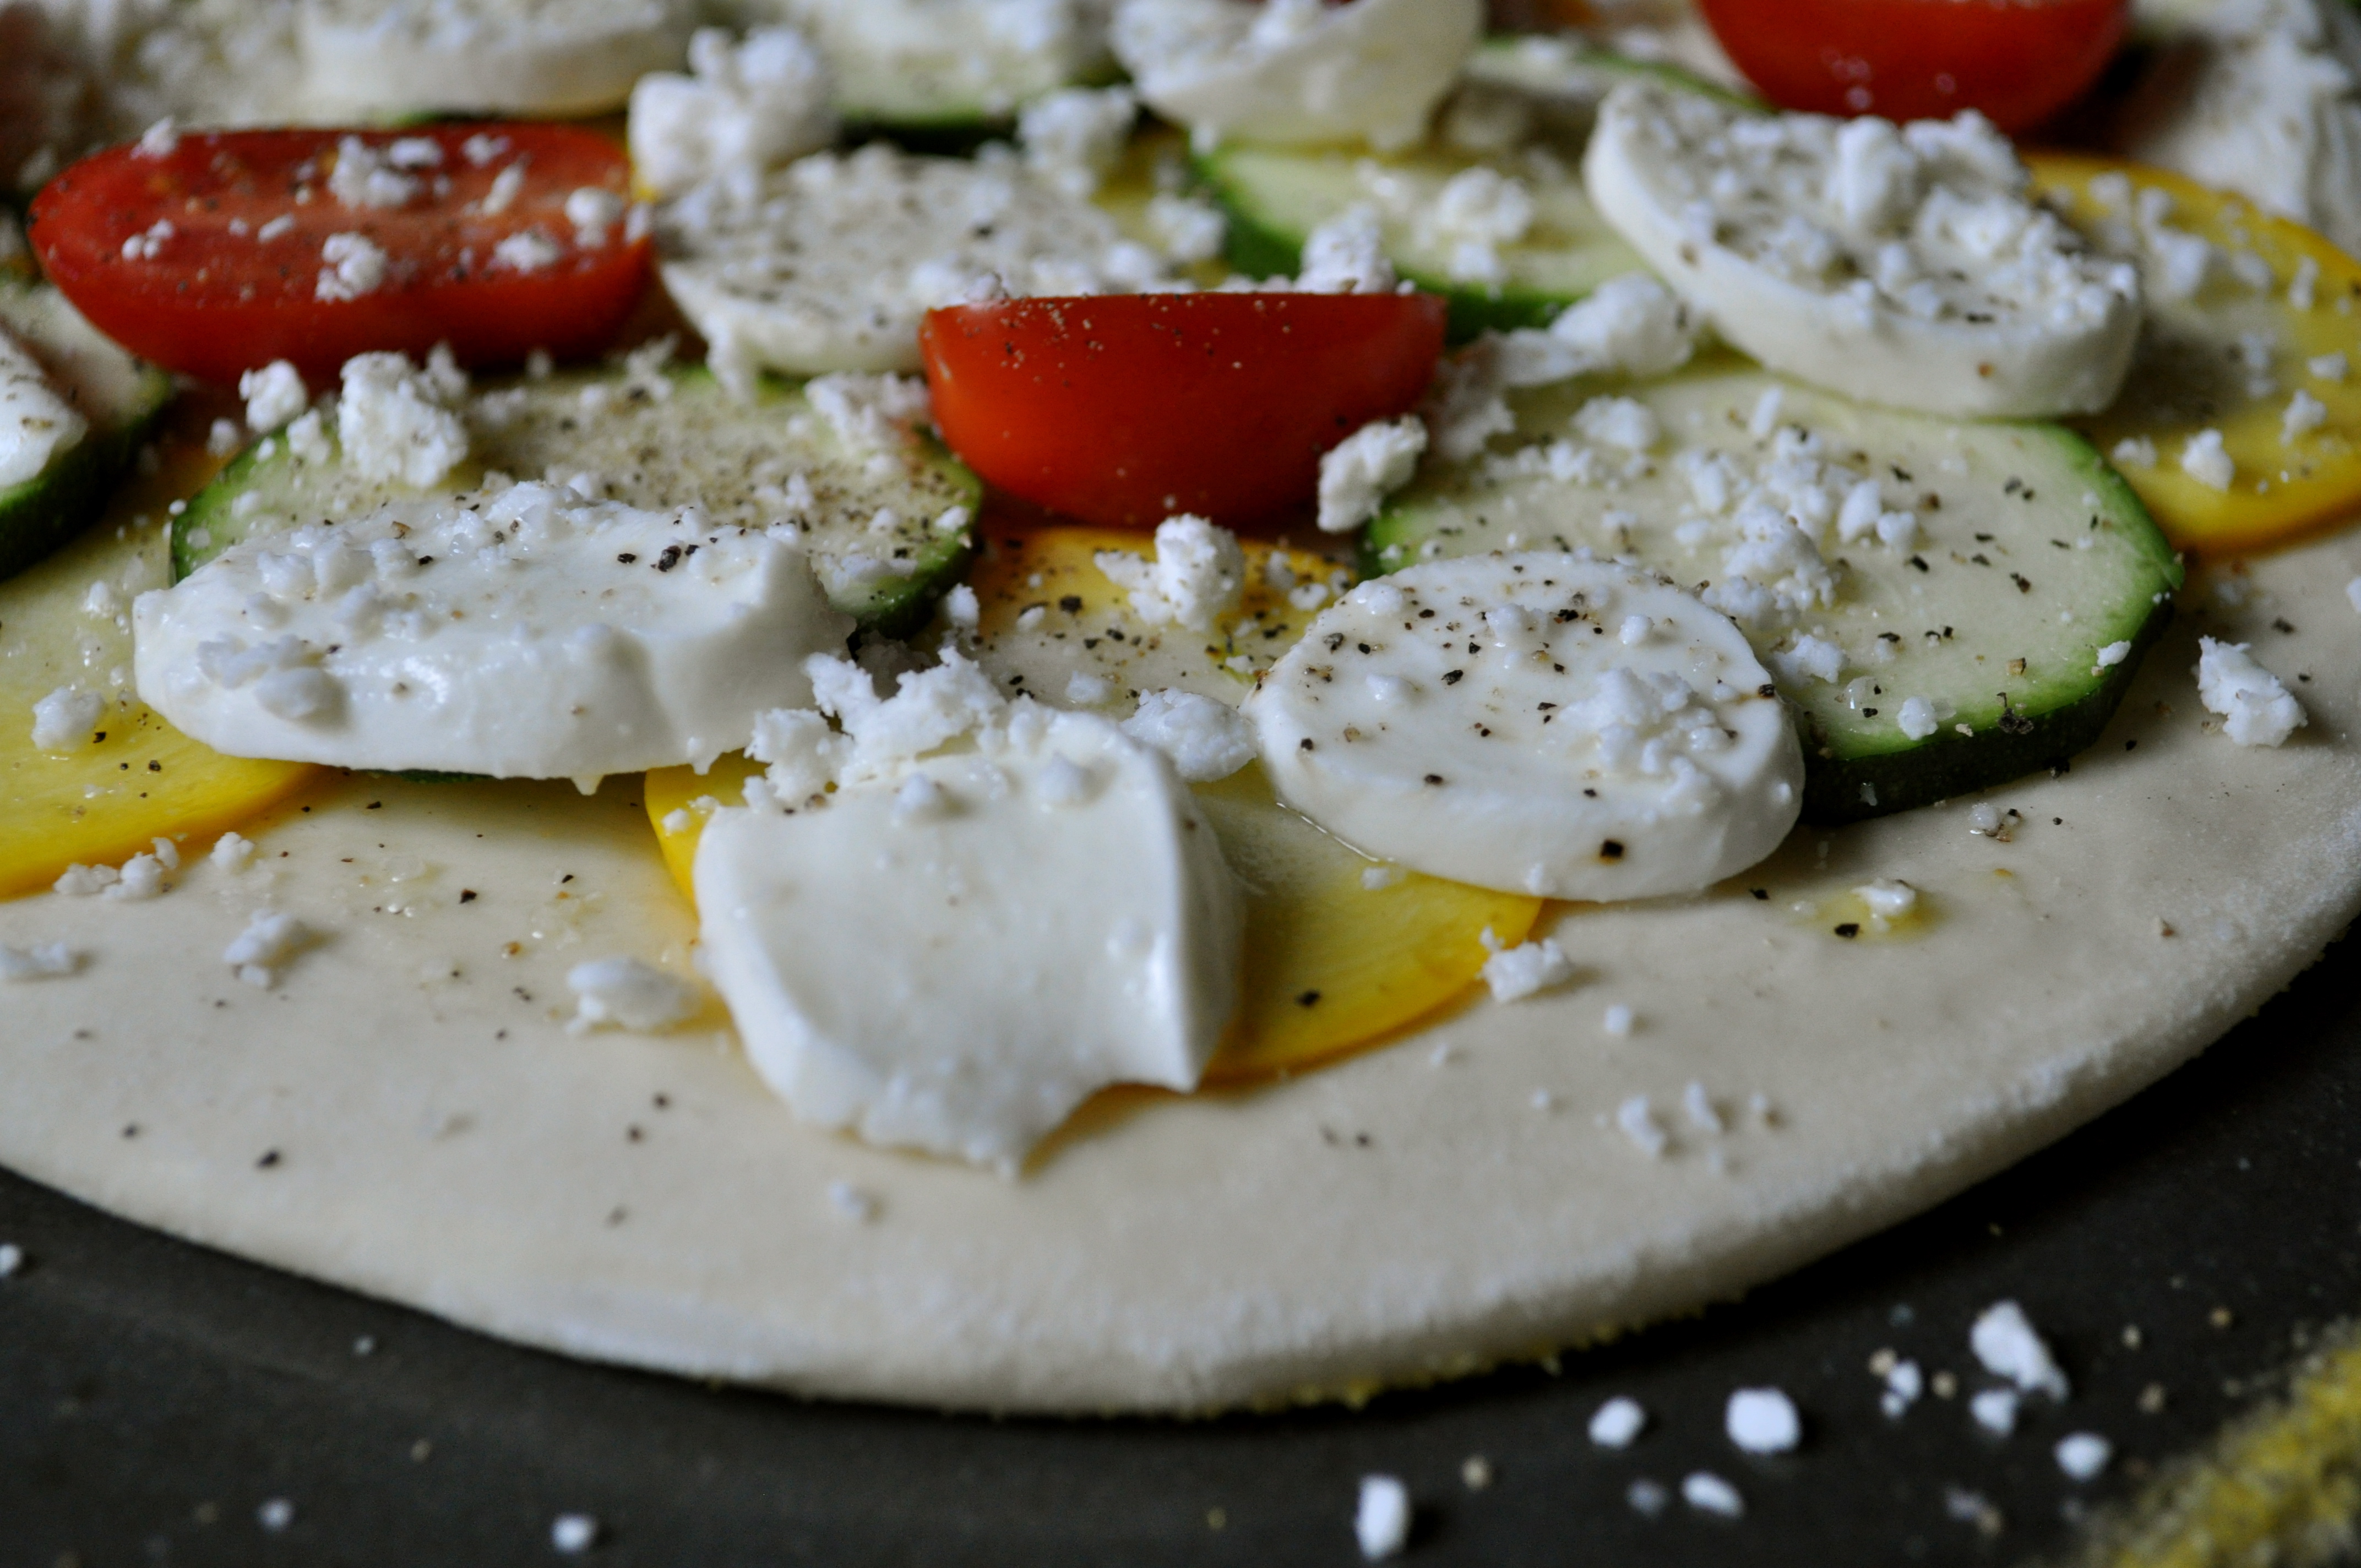
Preheat your oven to 425°F. Spray a large baking sheet with non-stick spray and sprinkle lightly with cornmeal. The cornmeal will help create a nice crispy crust! Stretch out your dough to the desired thickness (I made mine quite thin), and brush with olive oil. Cover with thinly sliced veggies of your choice – I used zucchini and grape tomatoes, as well as thinly sliced fresh mozzarella. Sprinkle with crumbled feta cheese, and season with good sea salt (I used fleur de sel) and freshly ground black pepper. Bake for 16-20 minutes, or until the crust is golden brown and the cheese is bubbly.

You can eat this pizza as is, and it will be delicious. But if you want to take it over the top, make a quick balsamic reduction (pour 1/4 cup of balsamic vinegar into a small saucepan and allow to reduce to about half over medium heat), and drizzle it over the hot pizza. OMG. YOLO, indeed.


More recipes coming up soon friends, pinky swear! xoxo

All Choked Up | Grilled Artichokes with Lemon Garlic Aioli


Friends, can you believe that August is nearly half over? That these glorious, hot, sunshine and thunderstorm-filled days are whipping by us at break neck speed? And before we know it, we will be trudging through another long, cold, snowy winter? *sigh* My apologies for the pessimistic ‘tude that I’m rocking right now. Summer just ain’t long enough!


However, I do have some advice for making the best of the rest of these summer days. Ready?

1.Get outside. Spend as much time out there as you can! Eat outside, drink outside, be active outside (emphasis on eat and drink). Have a bonfire, roast marshmallows, and devour s’mores. Sit outside and read a book. Get out there and soak up summer!

2.Make these. Don’t ask questions, just do it. Preferably in combination with #1.


3.Go to the farmers’ market. Summer farmers’ markets are fabulous. Fresh produce in its prime. Delicious local goods. Supporting your community. All the things!

4.Eat more ice cream. This should not require an argument, but if you have your doubts, Em has you covered. And if you require any inspiration, look no further.


5.Sleep in. It is summer, after all. And while we might not be 16 anymore, with the glory of summer holidays to waste away by sleeping until 1pm, try to sneak in an extra hour or two of slumber and savor a lazy weekend morning. Preferably followed by pancakes and hot coffee.

6.Get away. Even if you can’t swing an exotic summer holiday, get out of town for a weekend. Enjoy a change of scenery! Go to the beach, the mountains, go camping. Just get out. Your mind will thank you.

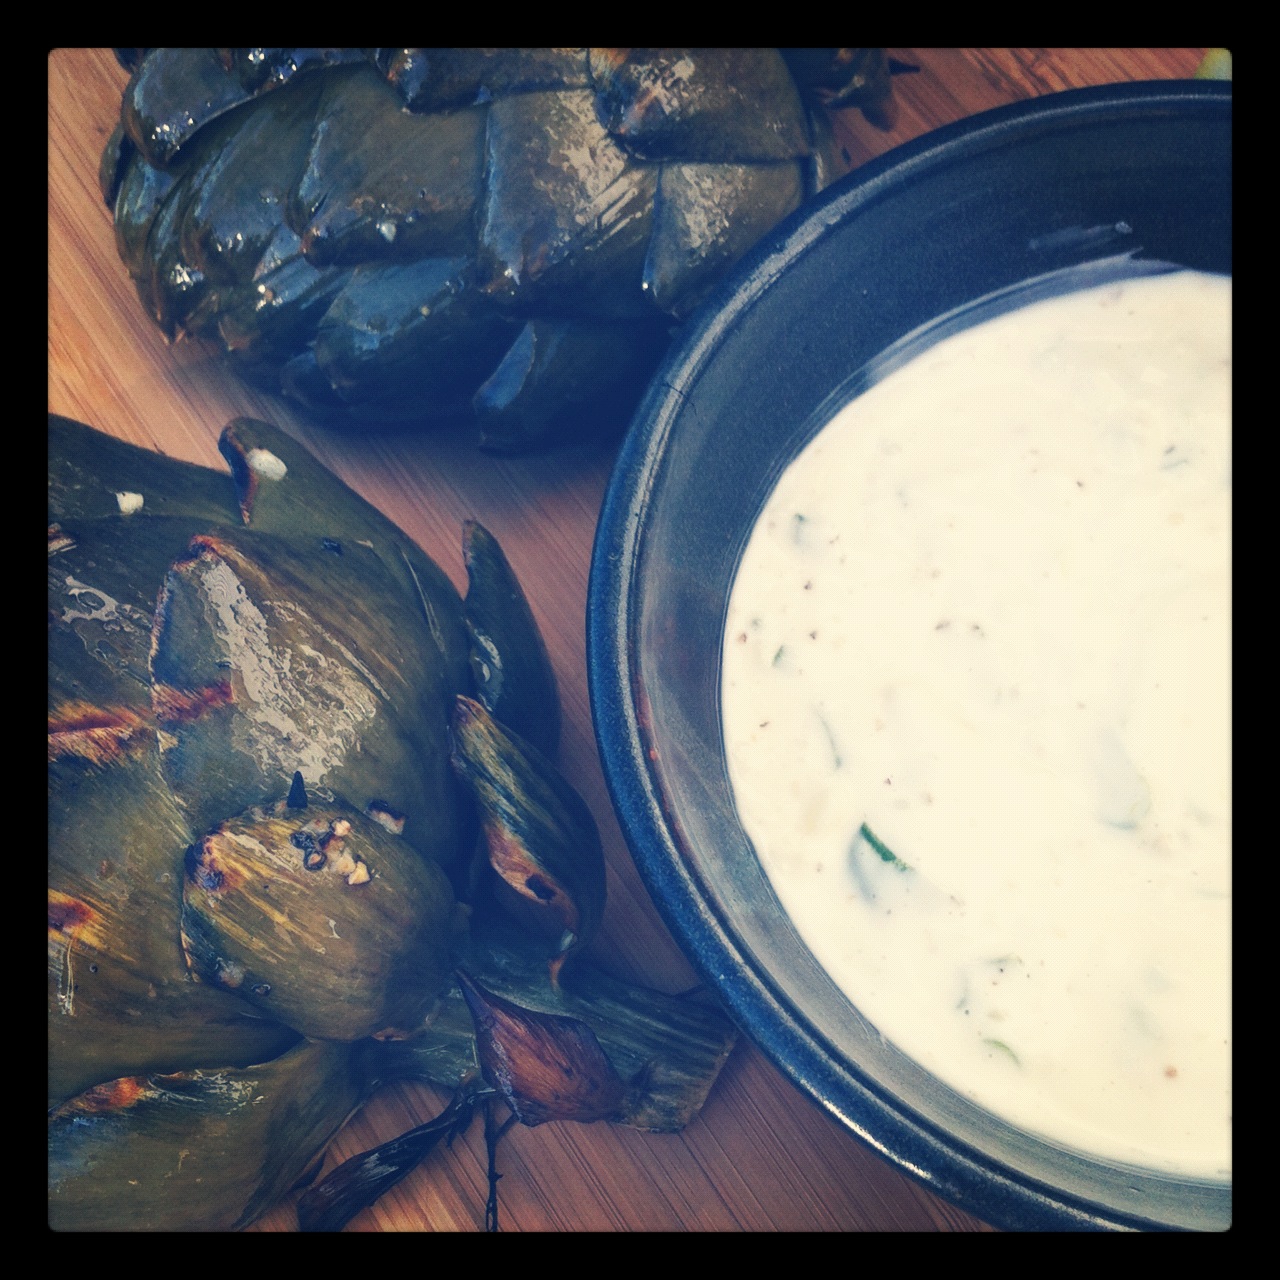
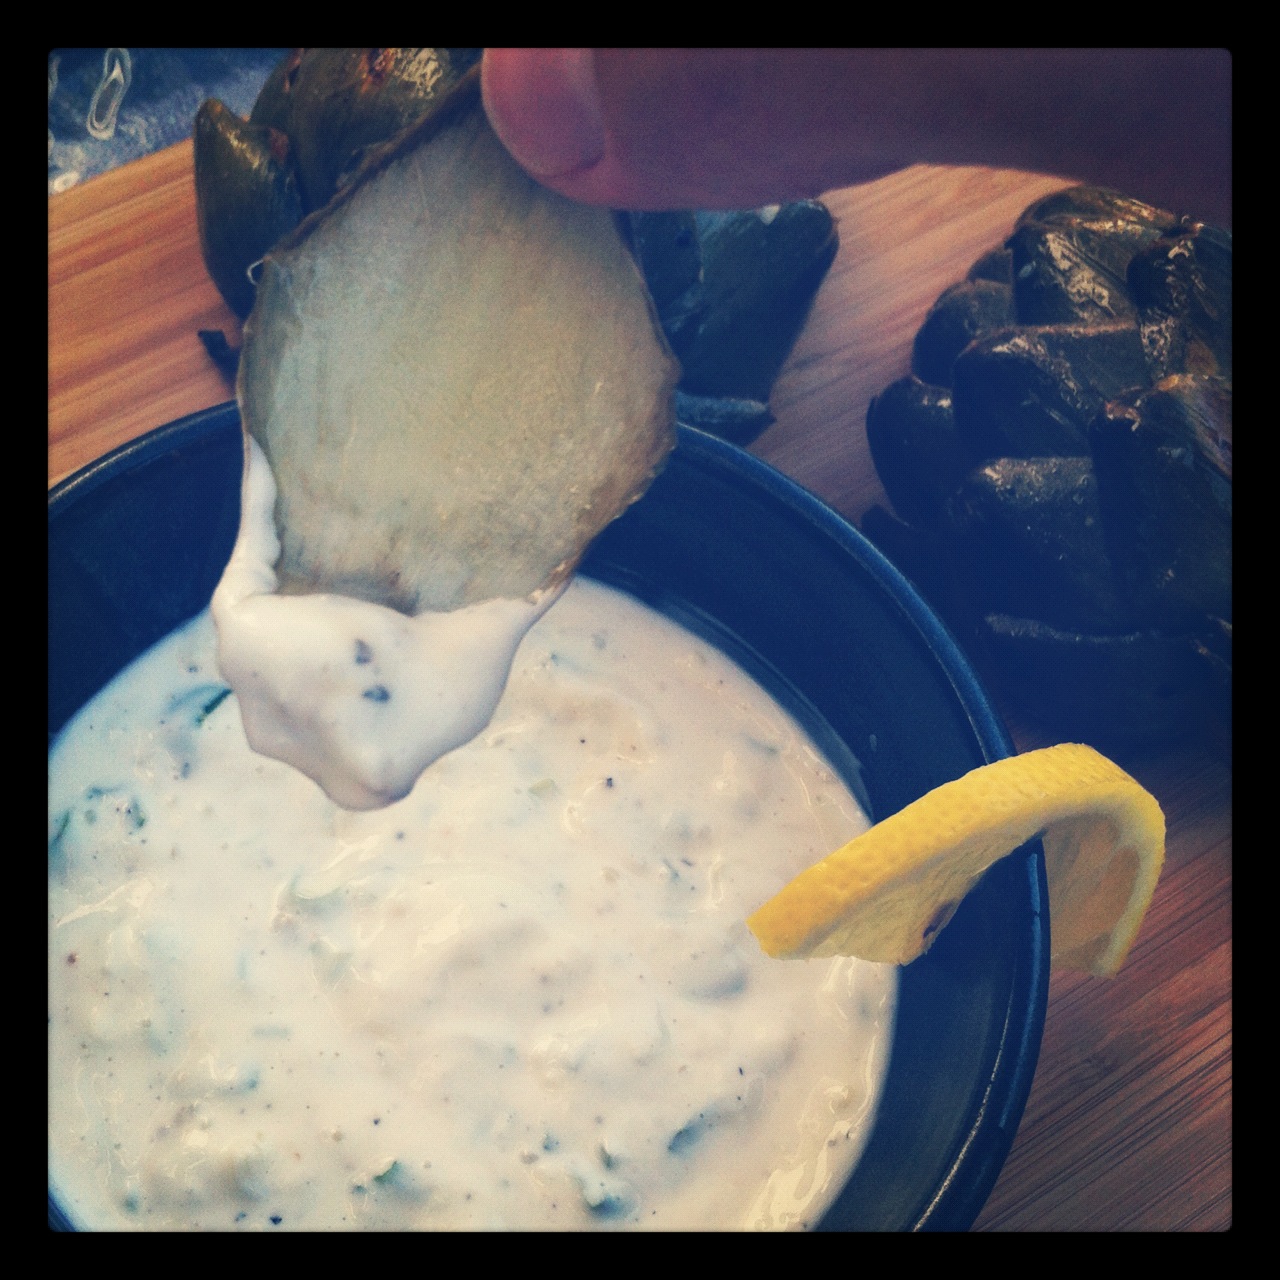
7.Grill up some artichokes and then dip them in lemon garlic aioli and stuff them into your face. Seriously.

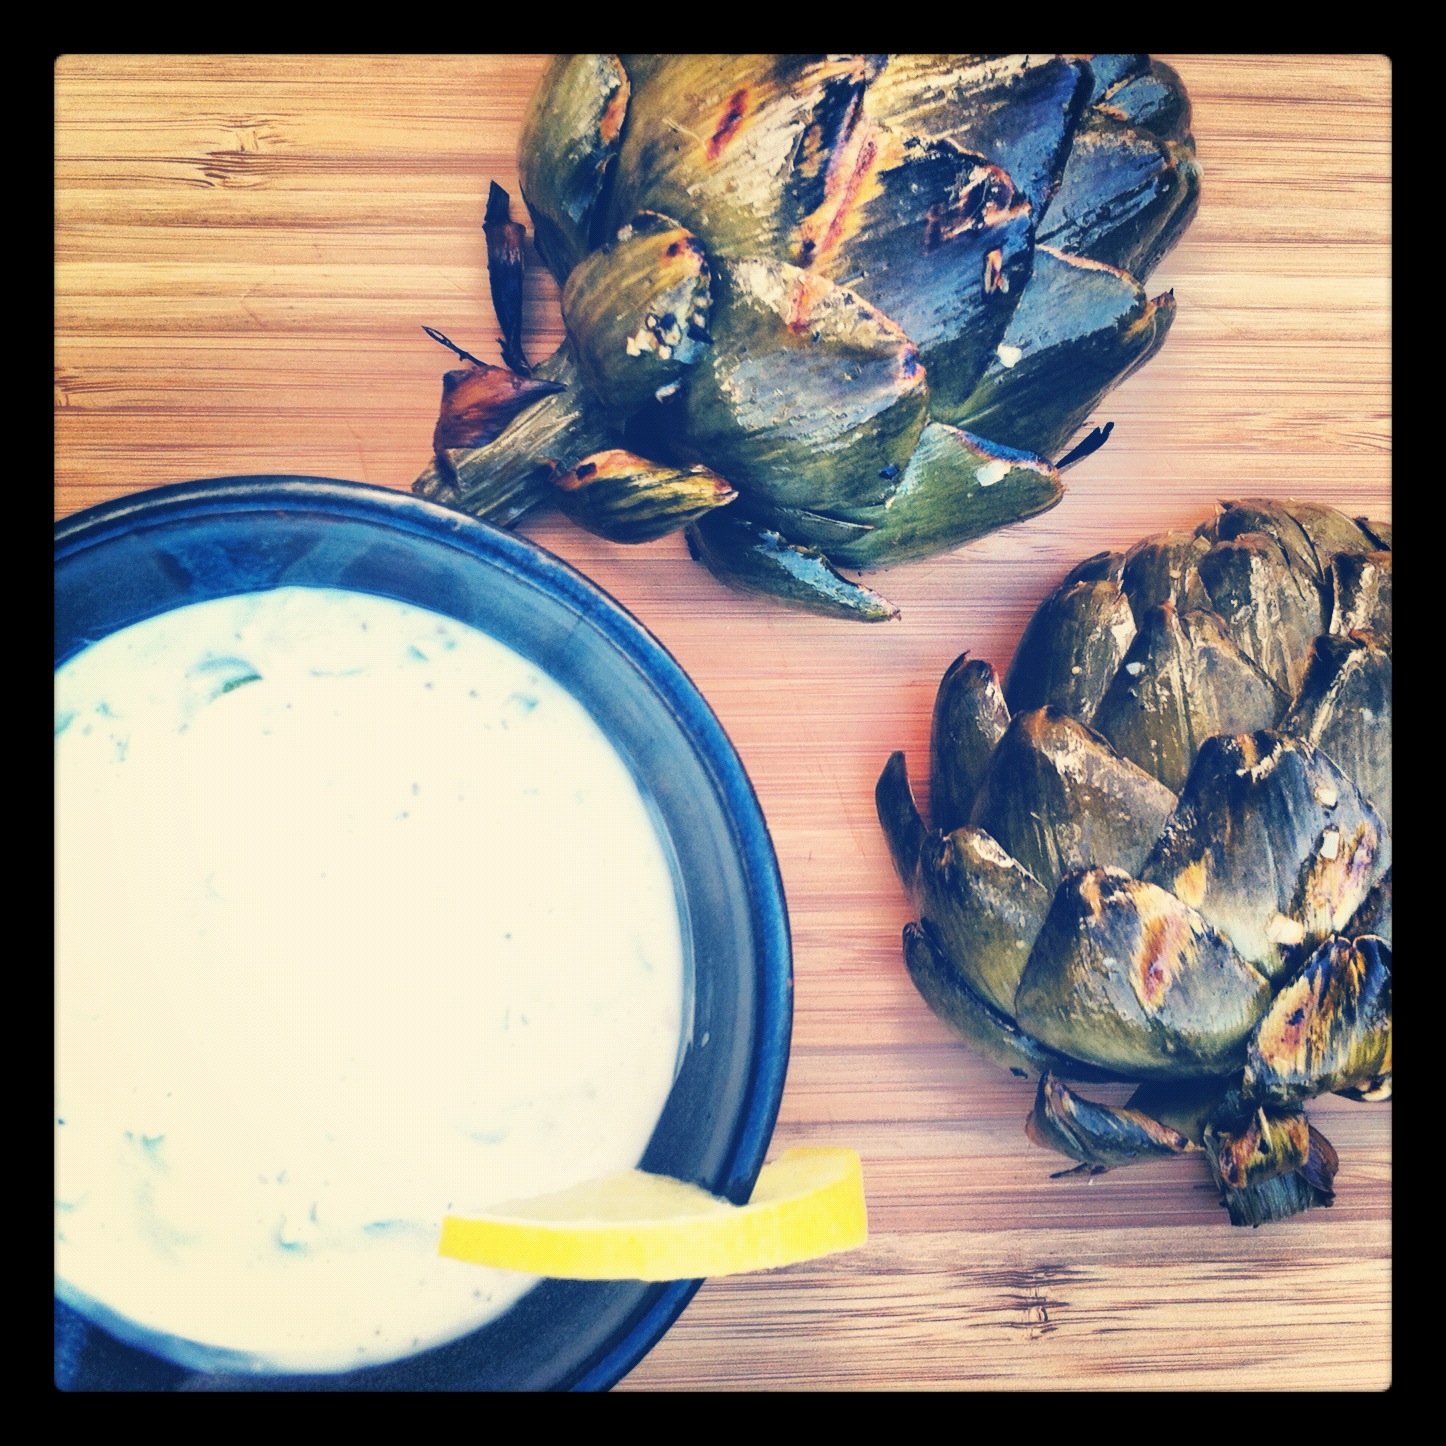
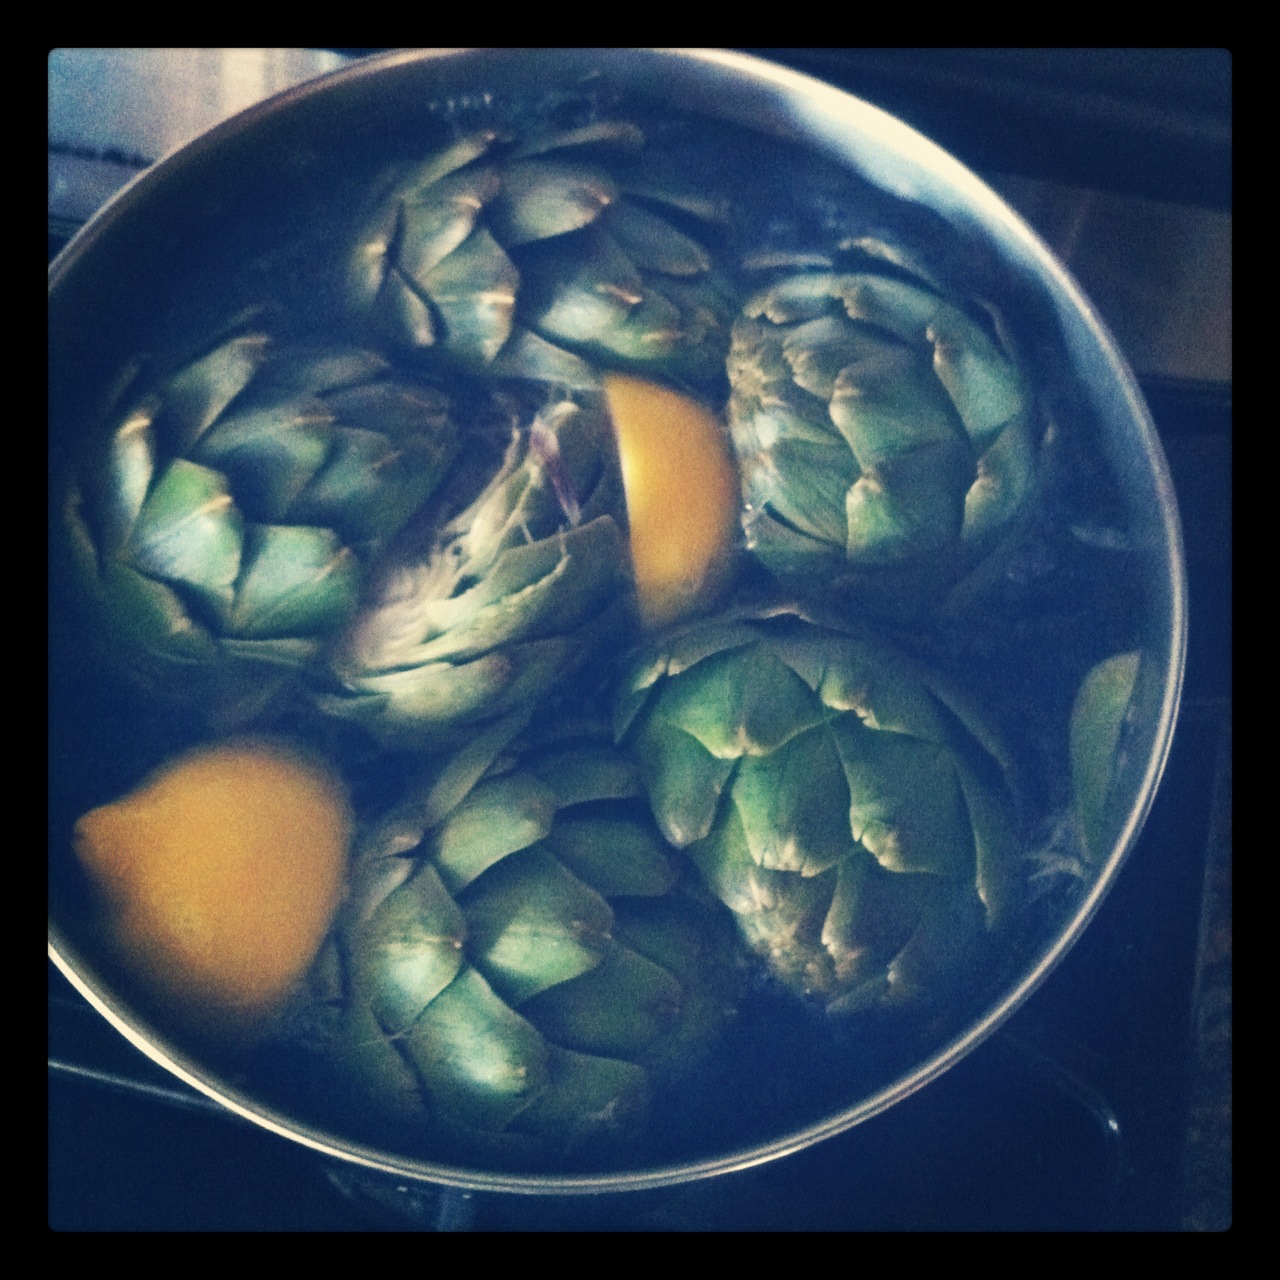
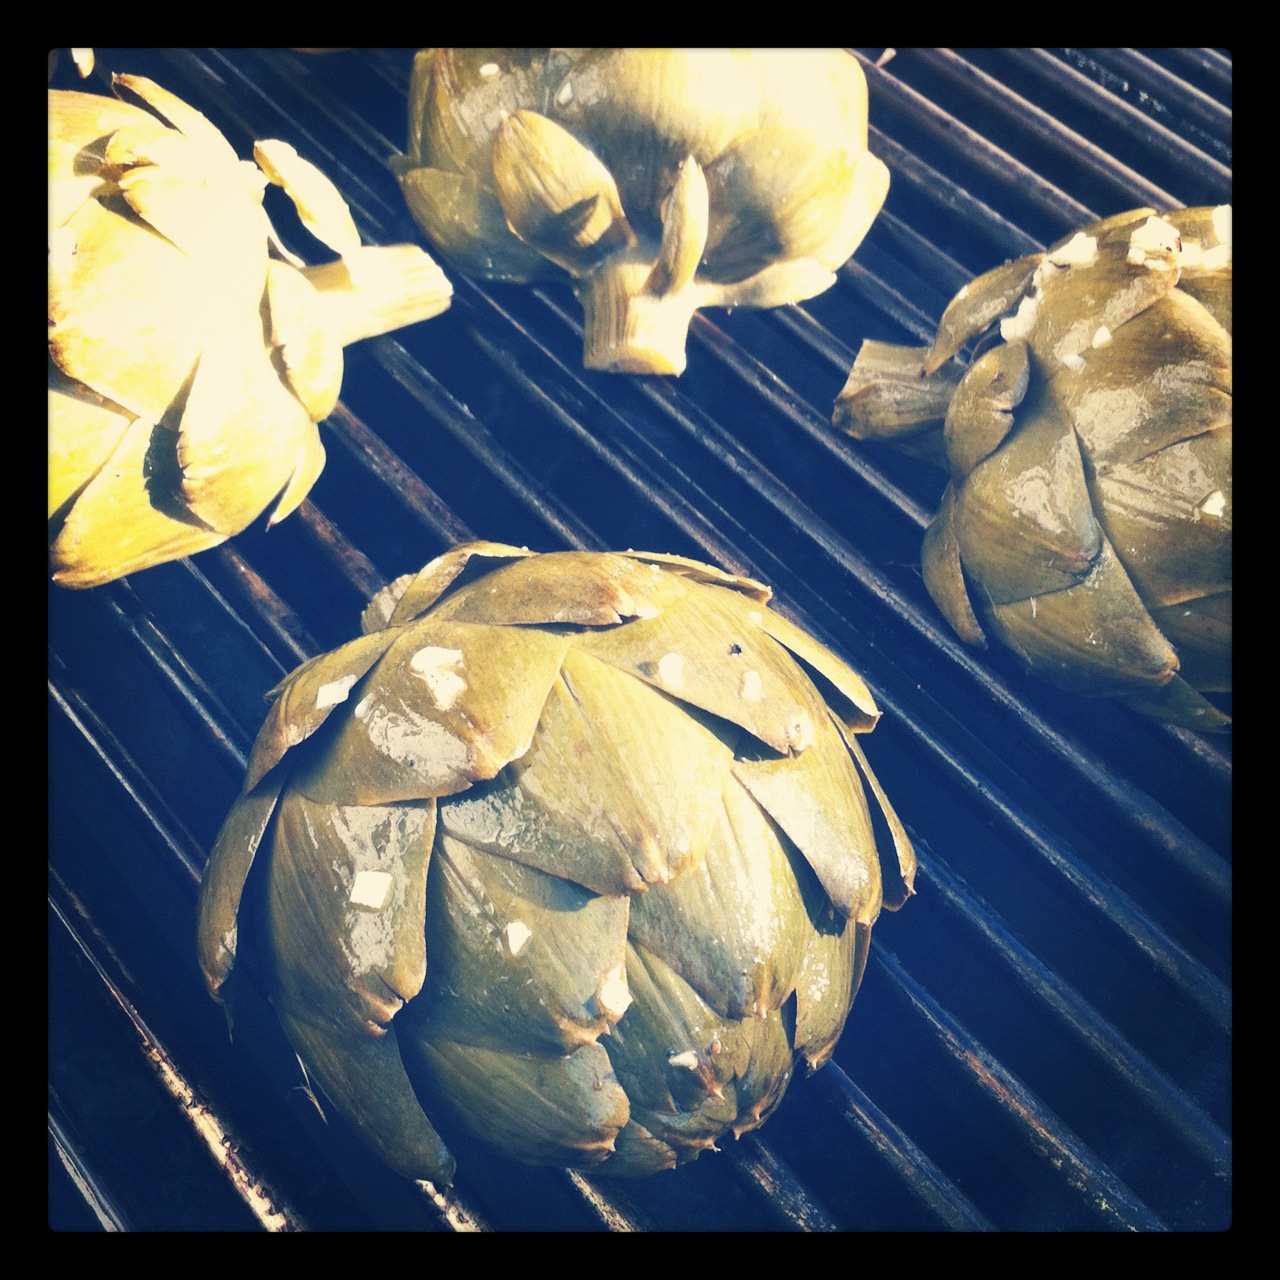
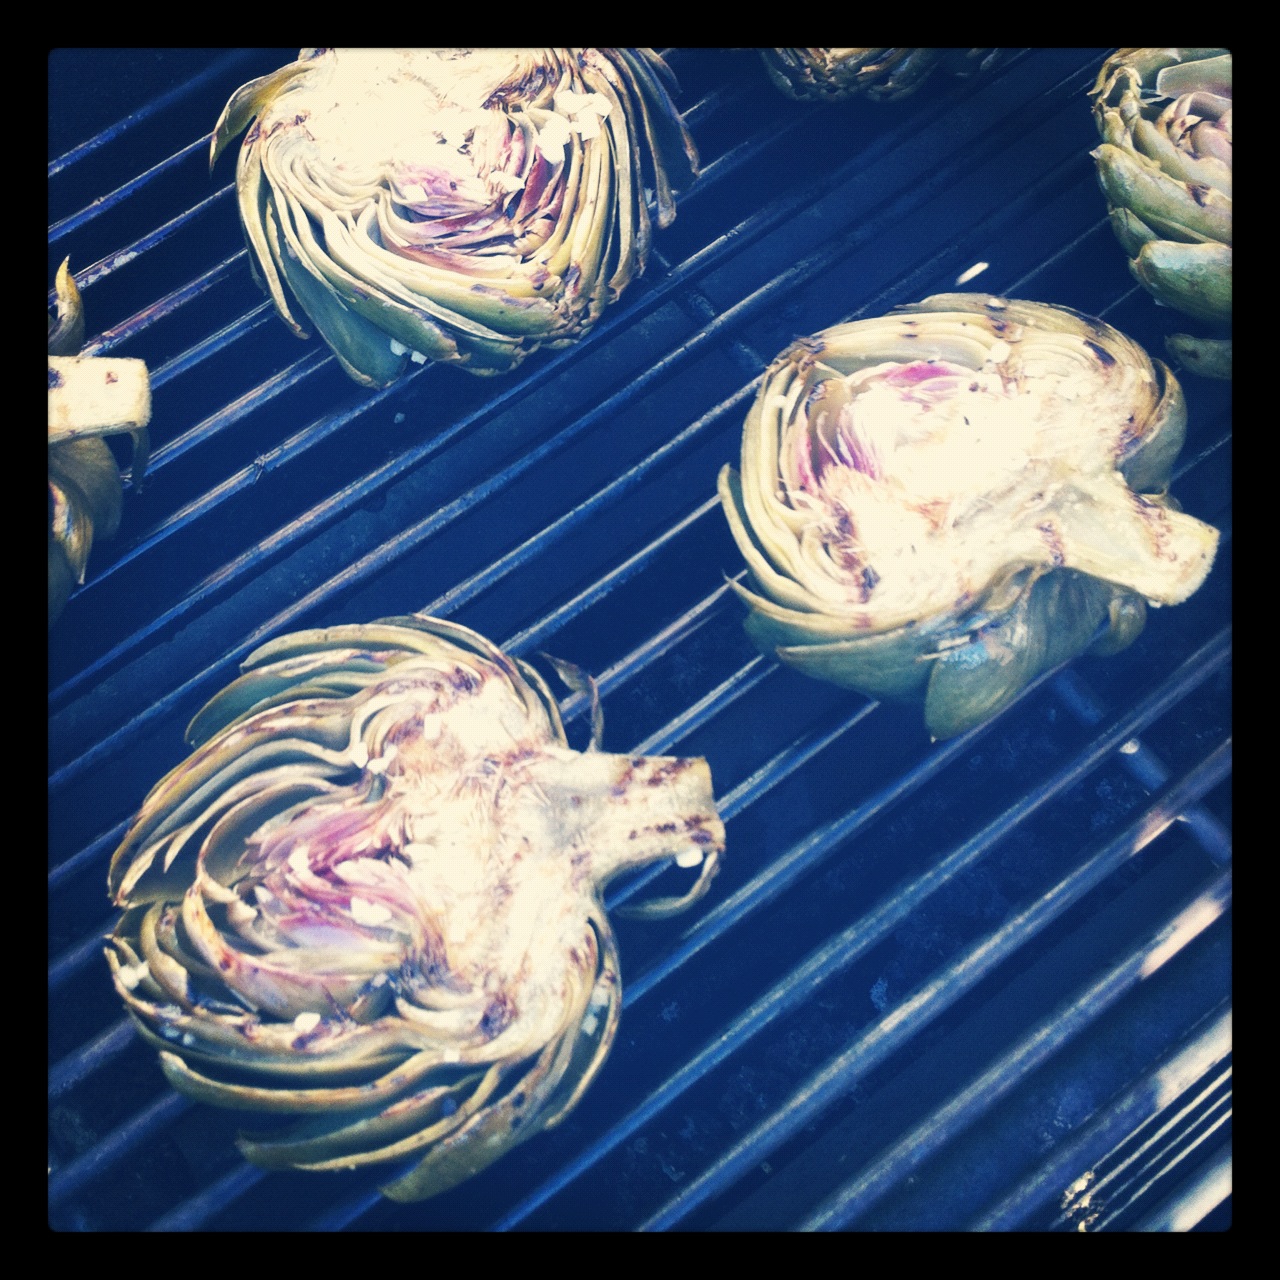
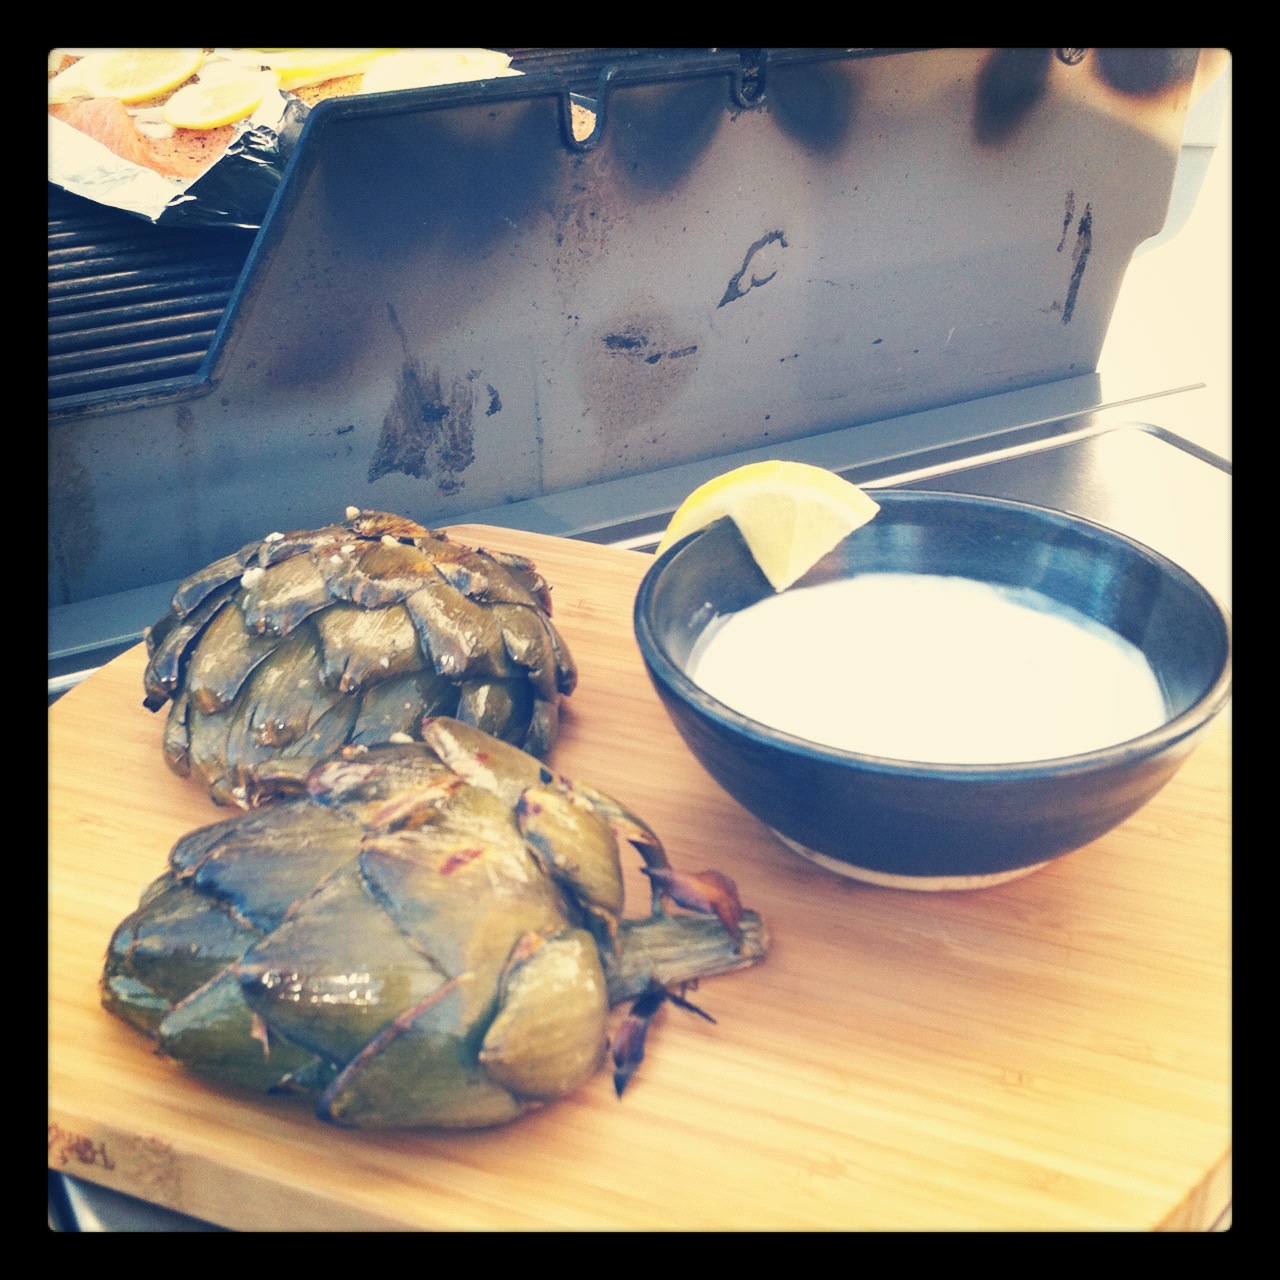
Artichokes are delicious (and beautiful!) things. I had never bought or eaten a whole artichoke prior to trying this recipe. Canned artichokes often find their way into my grocery basket for use in a spinach and artichoke dip or onto homemade pizza. But there’s more to artichokes than their lovely little hearts! They’ve got cute little leaves that you can dip into a tasty aioli and then pull the flesh from with your teeth. With simple flavors like lemon and garlic, and the wonderful char created by a hot grill, these are a great appetizer or side to any summer meal. Get grillin’ friends, and enjoy summer!


Grilled Artichokes with Lemon Garlic Aioli (barely adapted from Food For My Family)

For the artichokes:
3 whole artichokes
2 lemons
1/4 cup extra virgin olive oil
3 cloves garlic
1/2 teaspoon sea salt
Freshly ground black pepper

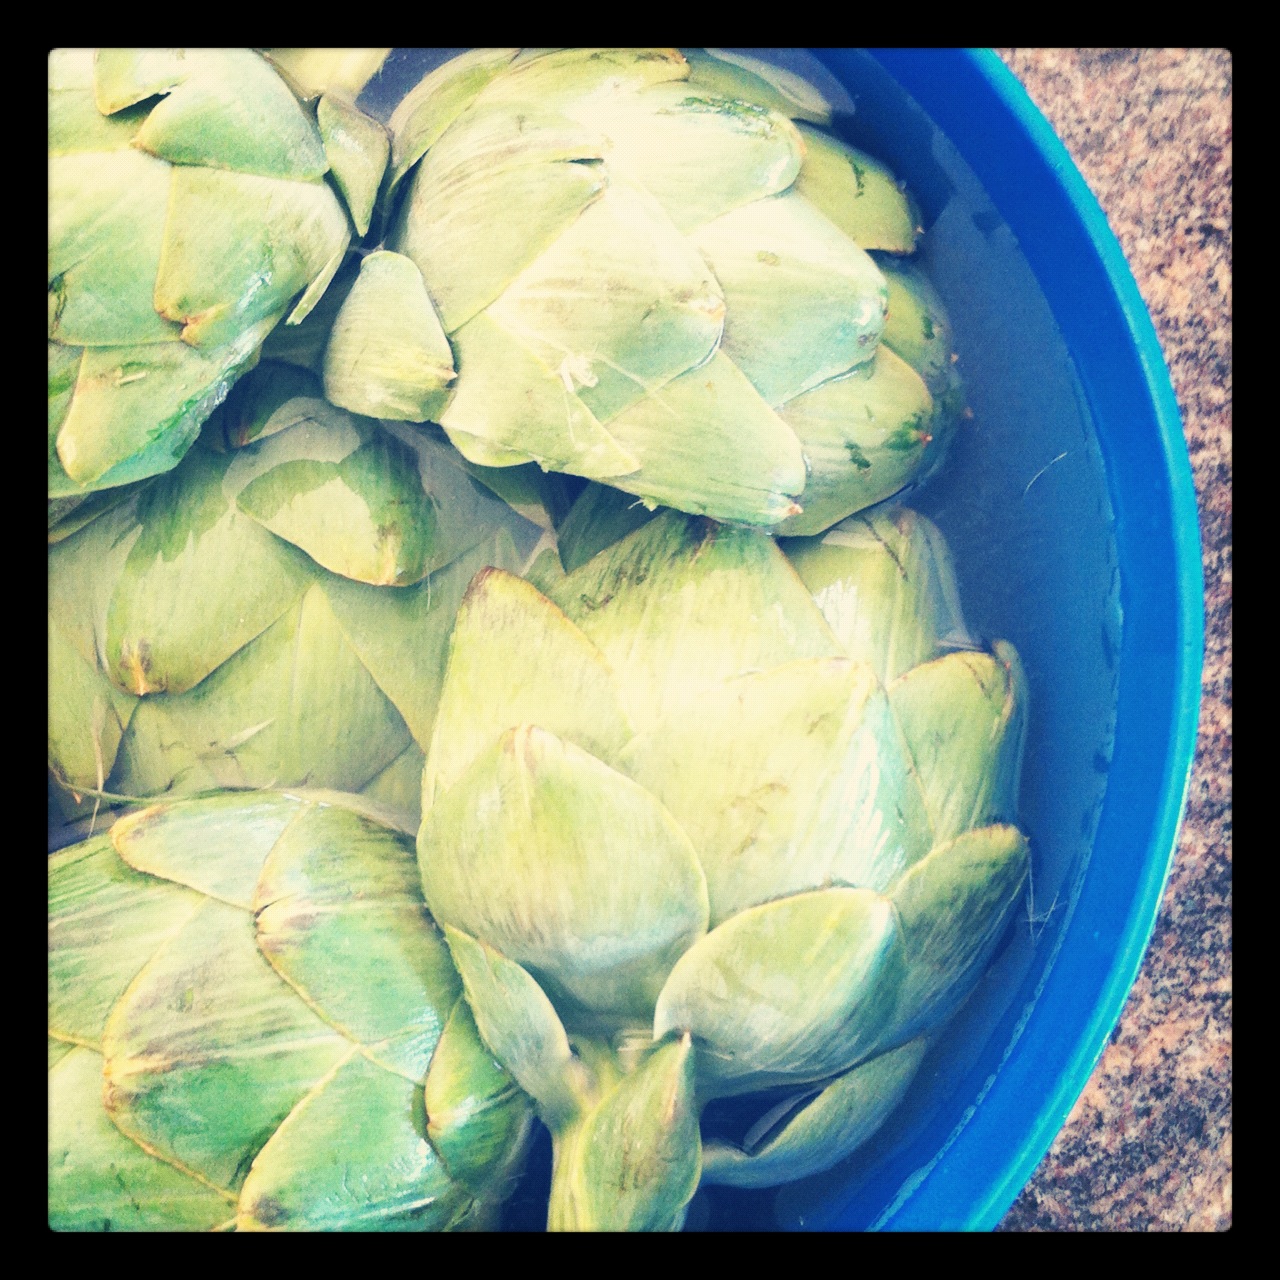
Fill a large bowl with water, and add the juice from one lemon, saving the rind. Cut the artichokes in half and immediately submerge in the water (to prevent browning). Bring a (very) large pot of water to a boil and add in the squeezed lemon rind. Transfer the artichokes to the boiling water. Boil for 20 minutes, stirring occasionally.

Fire up the grill. In a large bowl, add the juice from the other lemon, olive oil, garlic, salt and pepper. When the artichokes are done boiling, drain them on a paper towel and then toss them around in the bowl to coat them.

With the grill on medium heat, add the artichokes to the grill. Brush the artichokes with the remaining oil mixture in the bowl. Turn every five minutes until artichokes start to char (mine took about 15 minutes). Remove from heat.

For the lemon garlic aioli:
1/4 cup mayonnaise
2 cloves garlic, minced
Juice from 1/2 of a lemon
1 green onion, diced
1/2 teaspoon salt
Freshly ground black pepper

Mix together all ingredients in a small bowl. Refrigerate until ready to serve with the grilled artichokes.


Things might get messy. Have your napkins ready.

The photos in this post were taken with Instagram, an iPhone app. If you are an IG user and want to follow my daily foodie (etc.) life, you can find me at @onceuponarecipe.

Enough Said | Black Bean Chili and Cheddar Cornbread

There really is no explanation needed for the meal pictured above.

It’s Winter. It’s cold out, it gets dark much too early, and most often, leads to cravings for warm, hearty soups and stews. Now, I know that there are a kazillion chili recipes out there, and this might not look like anything special. But it was definitely the best pot of chili I’ve ever made, and so I thought I’d share what went into it. And the cornbread? Chili’s most reliable wingman.

About a year ago, I started adding cocoa into my chili after reading a recipe by Deb from Smitten Kitchen. It might sound strange at first, but the cocoa adds a beautiful richness to the chili. I haven’t made a batch without it since. Don’t be afraid – give it a shot! I promise the chili won’t taste like a chocolate bar. Even though that would be pretty awesome.

Can you believe that I used to hate cornbread?! I claimed that it was disgusting and dry…and then came to the realization that the last time I ate cornbread was at a rather questionable establishment, and that perhaps I should try making my own. Guided by reliable sources, such as Ree and Jenna, I realized that it ain’t so bad. In fact, it’s really good! Now me and cornbread are likethis. This particular cornbread recipe gets a little extra somethin’ from the addition of some sharp cheddar cheese. Served warm with butter and a drizzle of honey. Total magic. For realsies.

Friends, if you’re looking for a comforting meal this winter, give this dynamic duo a try. Maybe this weekend? I hear there’s a big football game on…or something like that…and chili is wicked sports party food! Alongside a pint (or four) of beer, you just can’t go wrong.

Black Bean Chili

2 TBSP. olive oil

1 onion, chopped

4 garlic cloves, crushed

1 medium zucchini, cut into small chunks

2 carrots, chopped small

1 cup mushrooms, sliced

4 TBSP. chili powder

2 TBSP. cumin

1 tsp. smoked paprika

2 TBSP. cocoa

Pinch of cayenne pepper (optional)

1 tsp. salt

Pepper to taste

1 large can diced tomatoes

2 cans black beans, drained and rinsed

1 can brown beans in tomato sauce

2 TBSP. tomato paste

In a large pot over medium-high heat, heat the olive oil and add the onions, cooking for a few minutes, until soft. Add in the garlic, zucchini, carrots, mushrooms and cook for a few minutes longer. Add in the spices, cooking for a minute more. Add the tomatoes, beans, and tomato paste and stir well to combine. Allow everything to simmer for at least 30 minutes (longer if possible), stirring occasionally. This is the perfect time to prepare the cornbread!

PS. I added the zucchini, carrots and mushrooms for extra bulk and nutrition, but feel free to substitute for whatever tickles your fancy.

Cheddar Cornbread  (adapted ever-so-slightly from Eat Live Run)

1 cup yellow cornmeal

1 cup all-purpose flour

2 tsp. baking powder

1 tsp. baking soda

1 tsp. salt

1/4 cup sugar

1 (heaping) cup grated sharp cheddar cheese

2 eggs

1 cup buttermilk*

1/4 cup butter, melted

Preheat your oven to 400°F. Whisk together the cornmeal, flour, cheese, baking powder, baking soda, salt and sugar. Add the buttermilk, eggs and melted butter and mix well to combine. Pour the batter into a greased 9-inch baking dish and bake for 30 minutes, or until golden brown. Serve immediately with butter and honey (and chili)!

*If you don’t have buttermilk, combine 1 cup of milk with 1 TBSP. white vinegar and allow to sit for a few minutes before adding to the rest of the ingredients. Instant buttermilk!

%d bloggers like this: