Friends, in exactly two weeks, I will be on a plane en route to Thailand. TWO WEEKS.
And I get to stay there for almost a month. That means no work, and lots of play, sun, Thai food (!!!), beach frisbee, and adventuring. I’ve had my travel vaccinations (they hurt. A LOT.), my bikinis are ready (they’re super cute), my appetite is building (for all that Thai food), and my brain is in vacation mode (already). I’m just so crazy excited!
I’m not really sure what things will look like in this space while I’m gone. I had hoped to get a few posts ready in advance and have them all set to publish while I’m away, but so far my procrastination is winning at this planning game. BUT. I do have two weeks to work with, so maybe there will be a food blogging miracle and I will still get it all done. Just maybe.
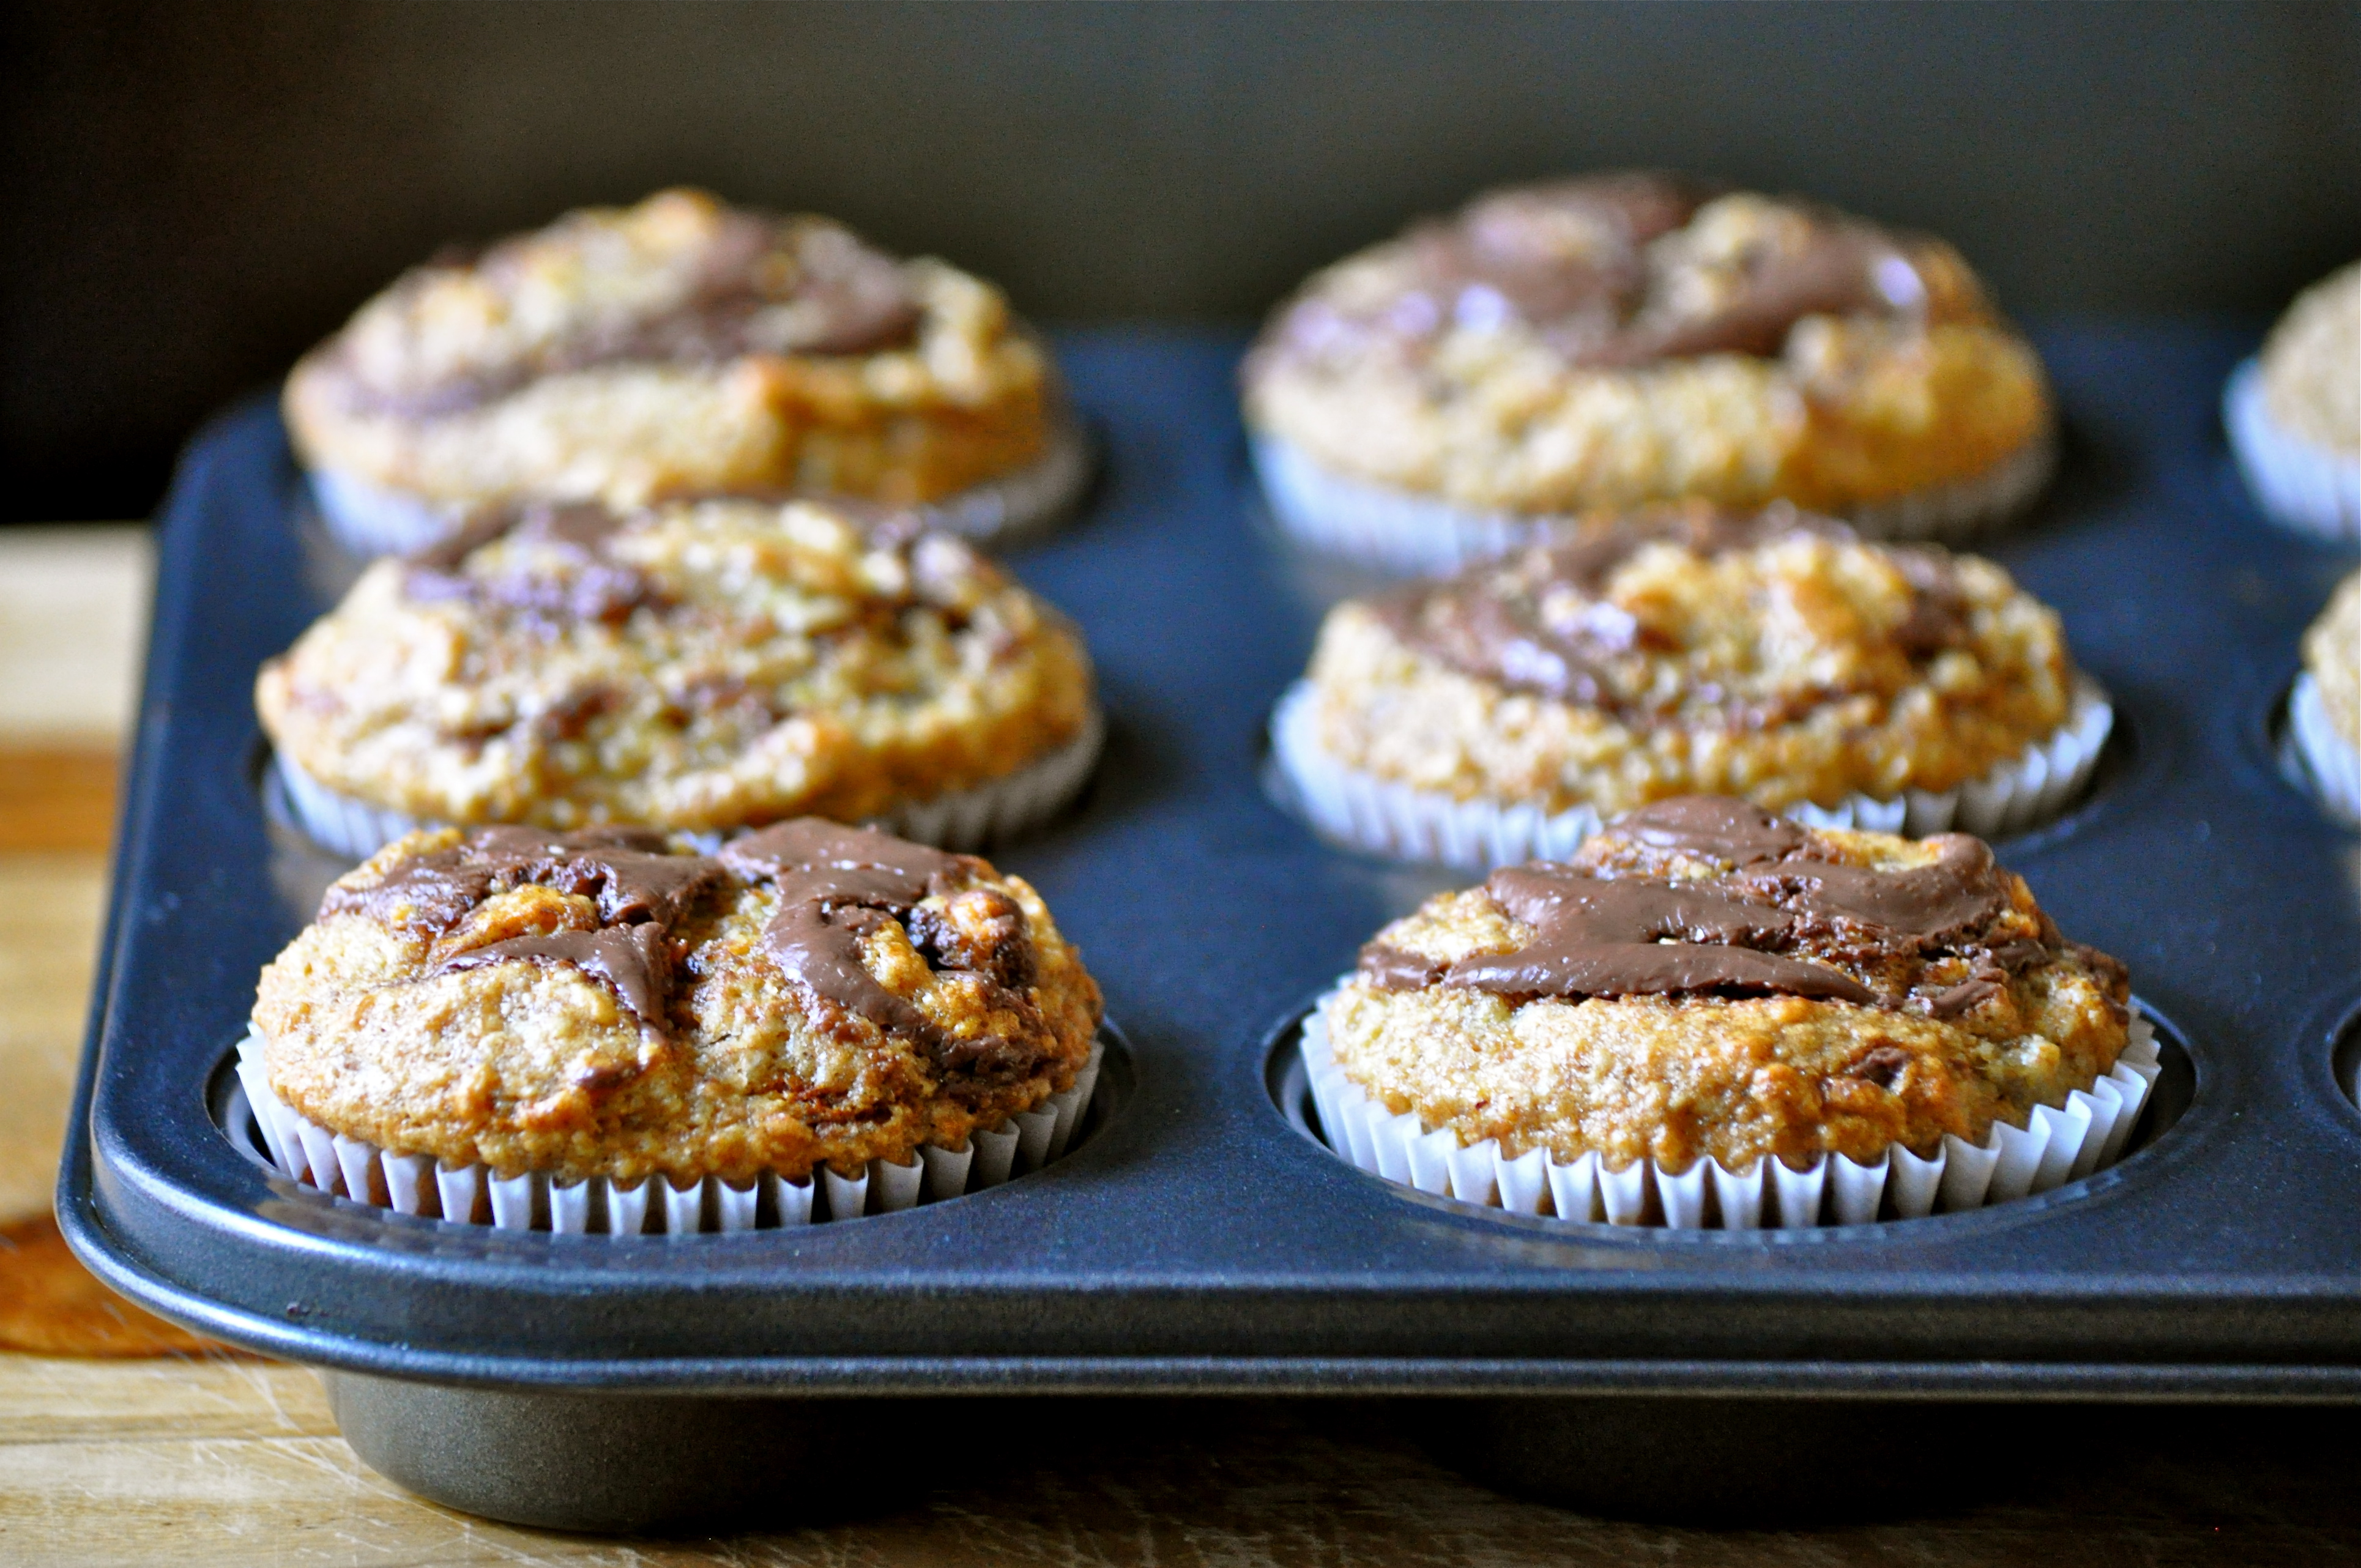

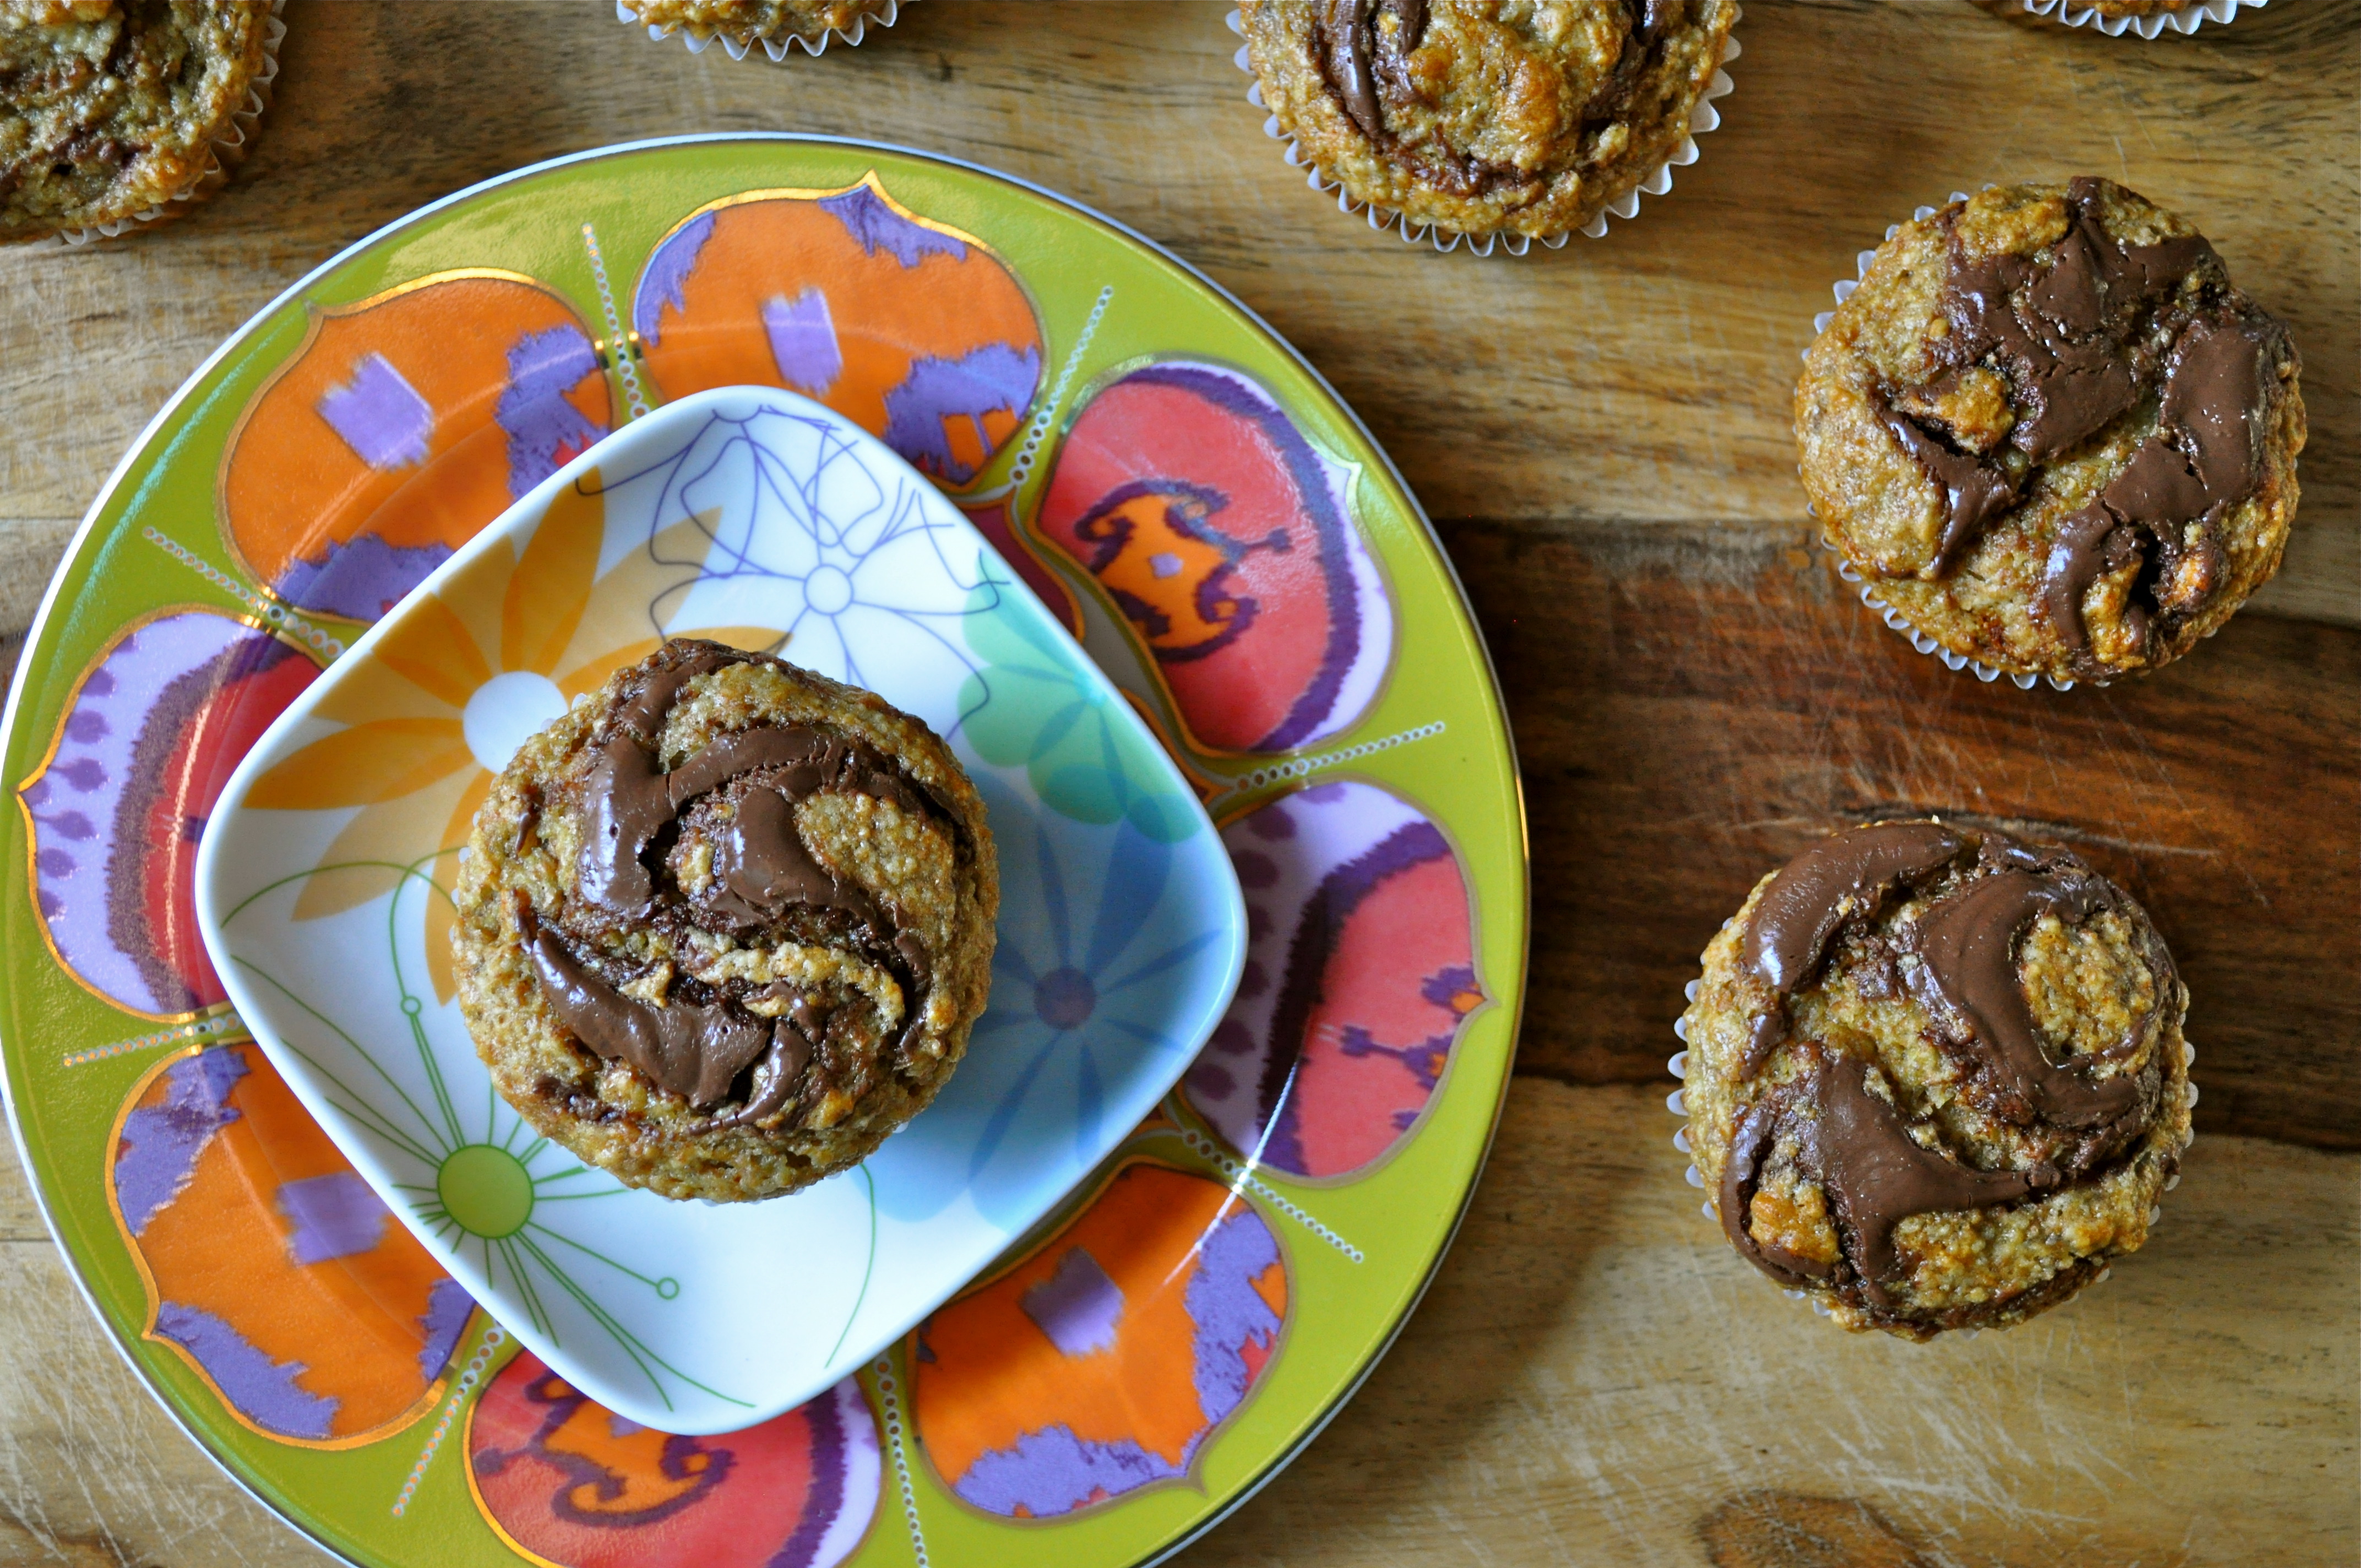
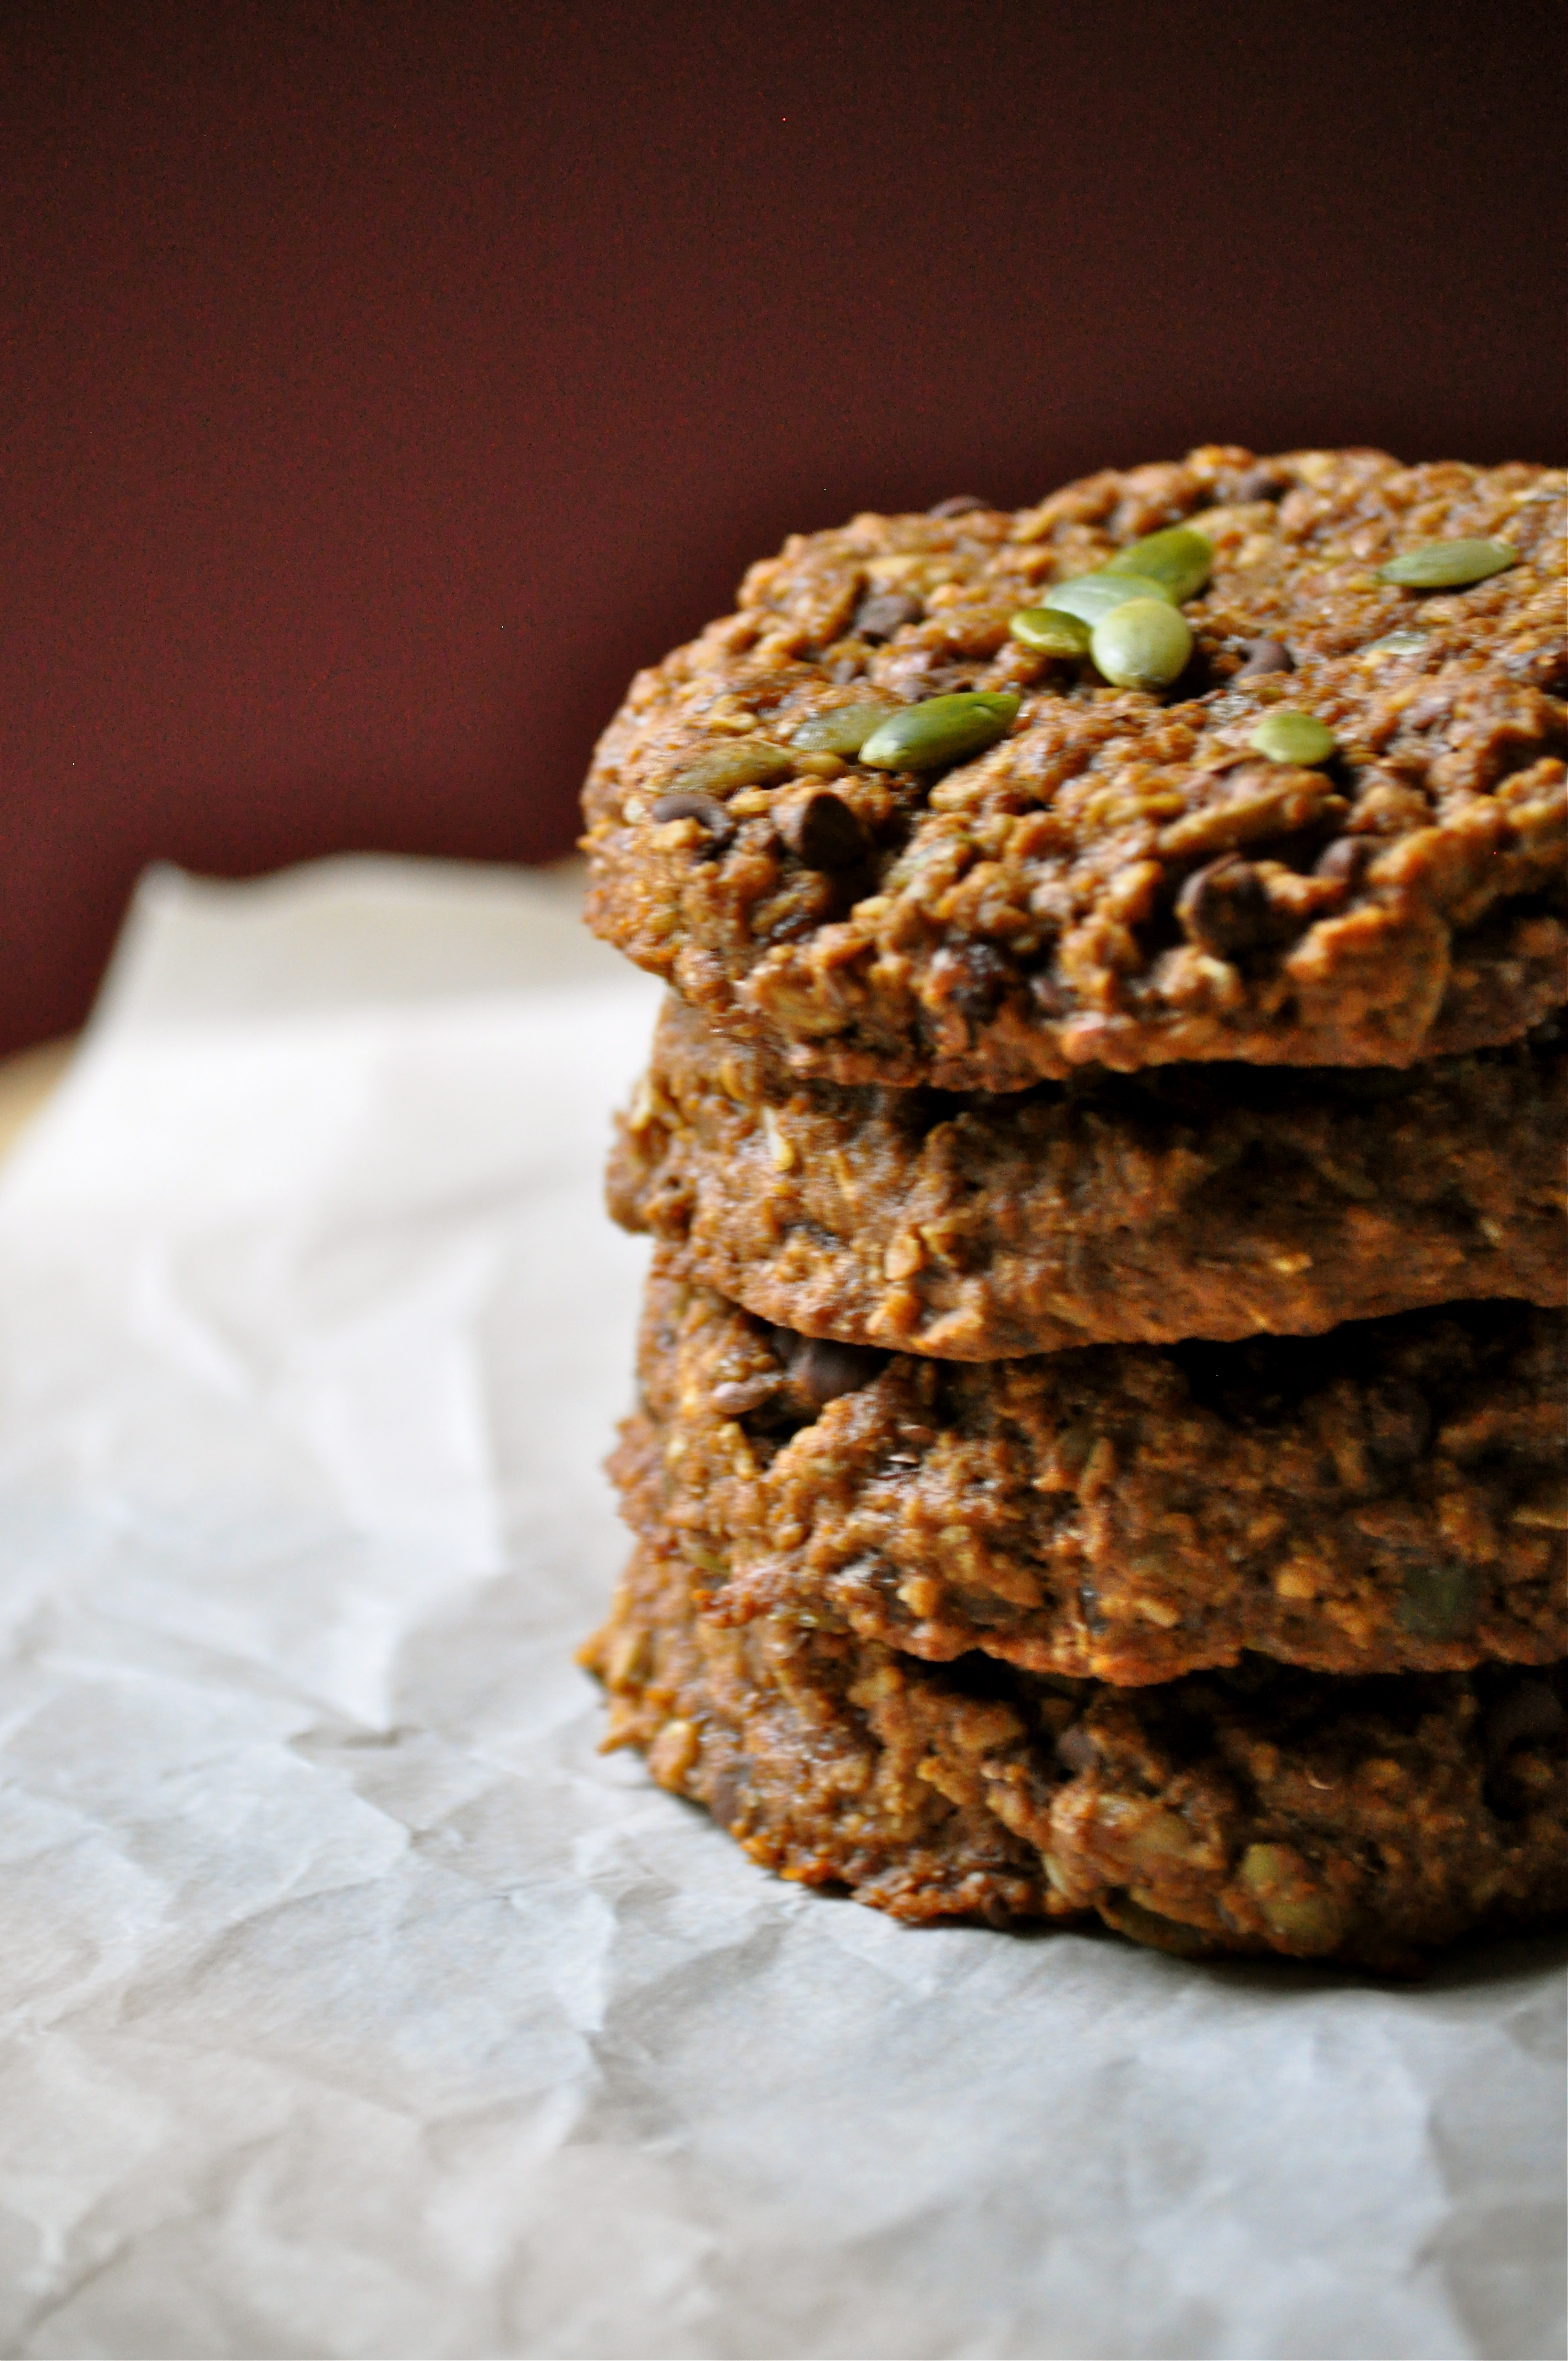
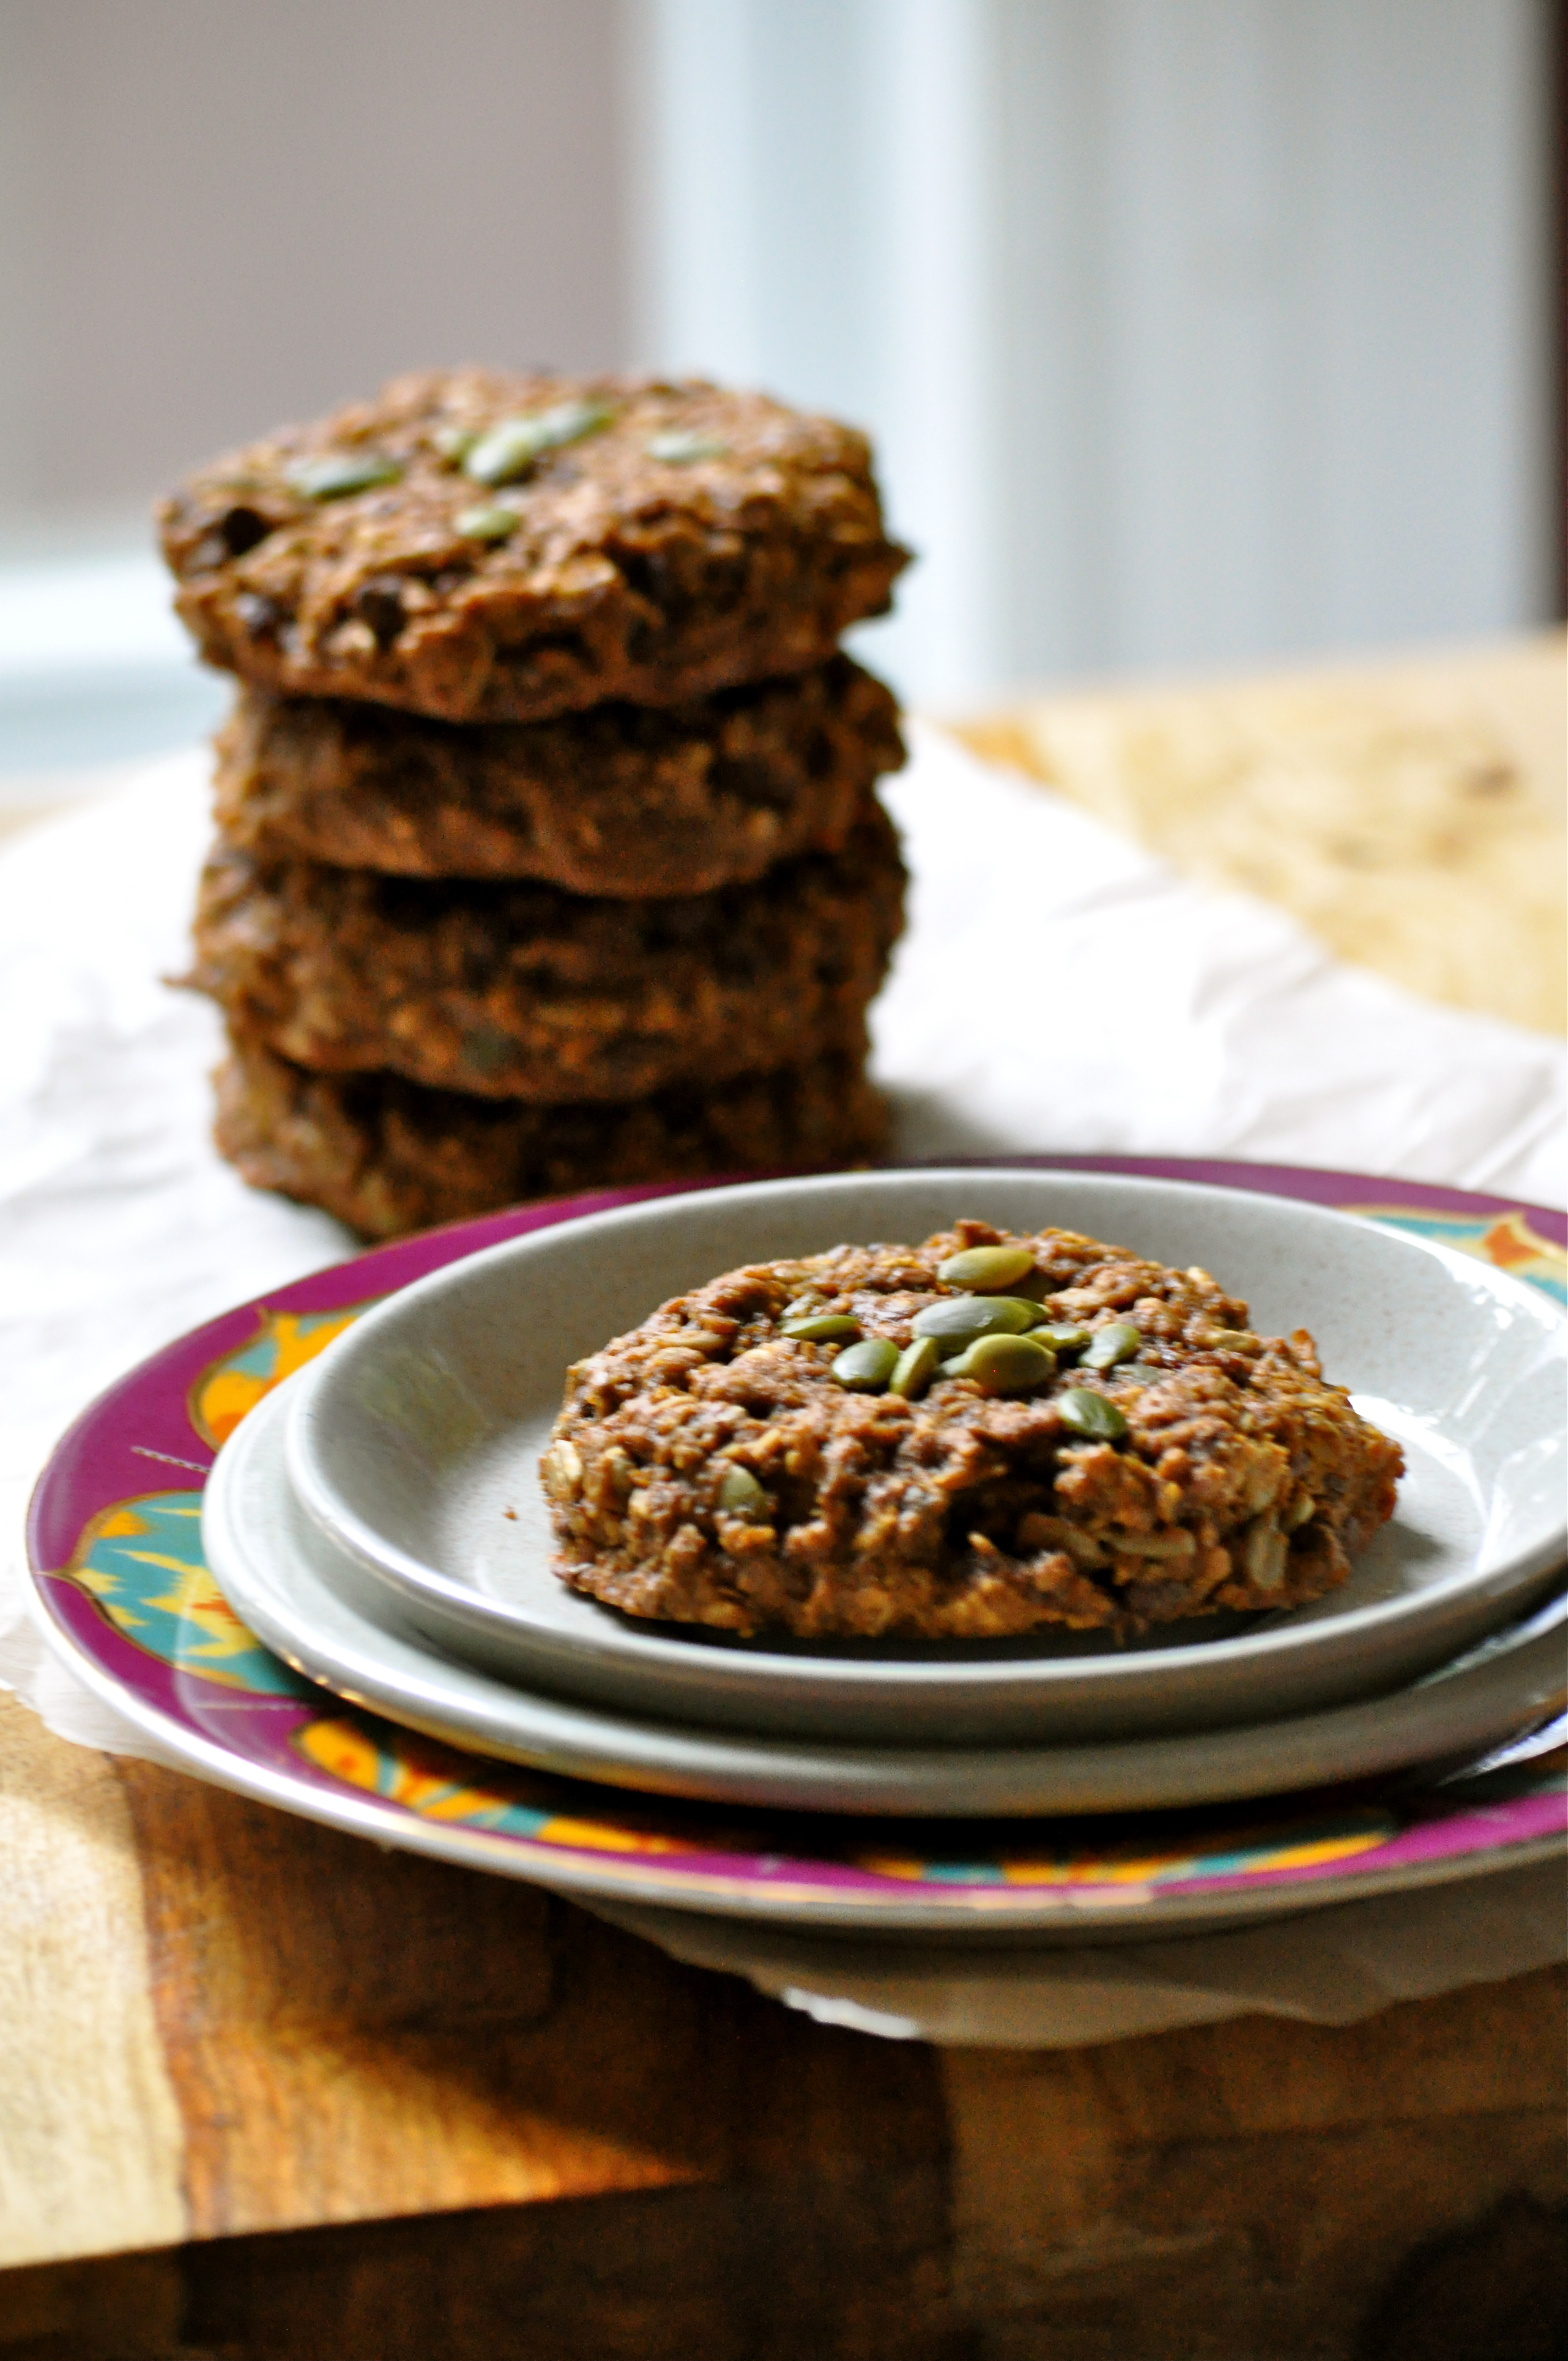
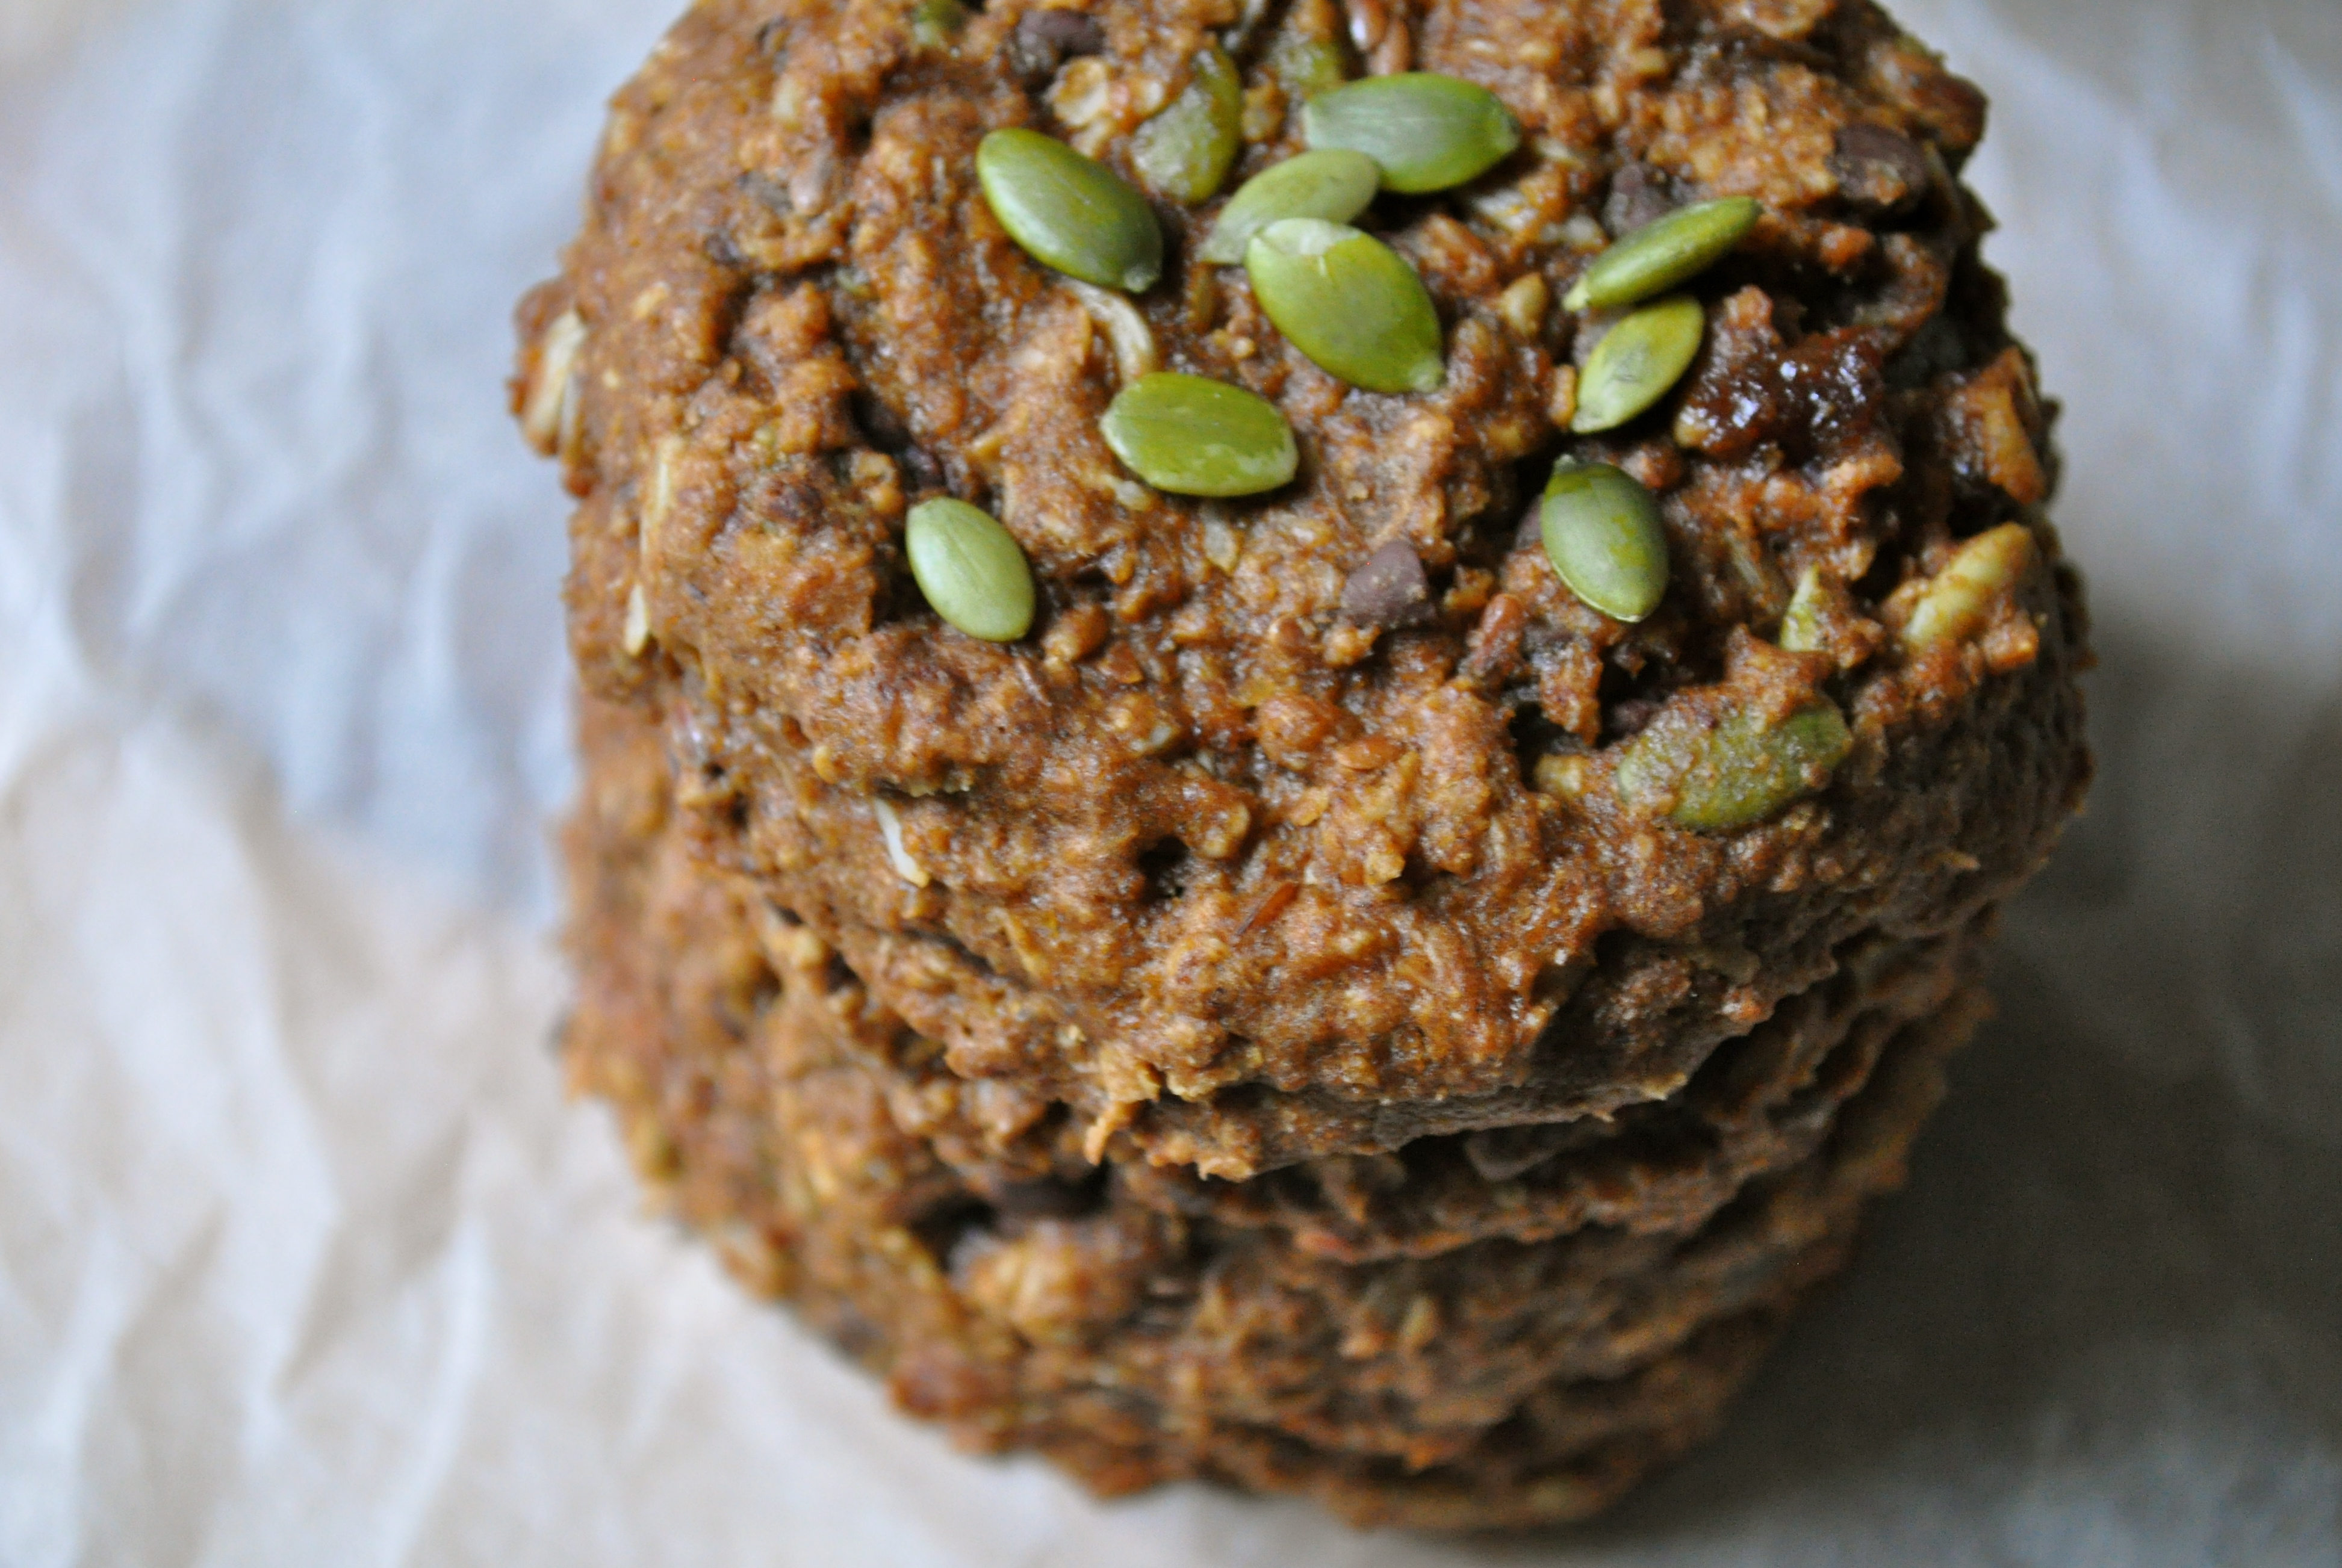
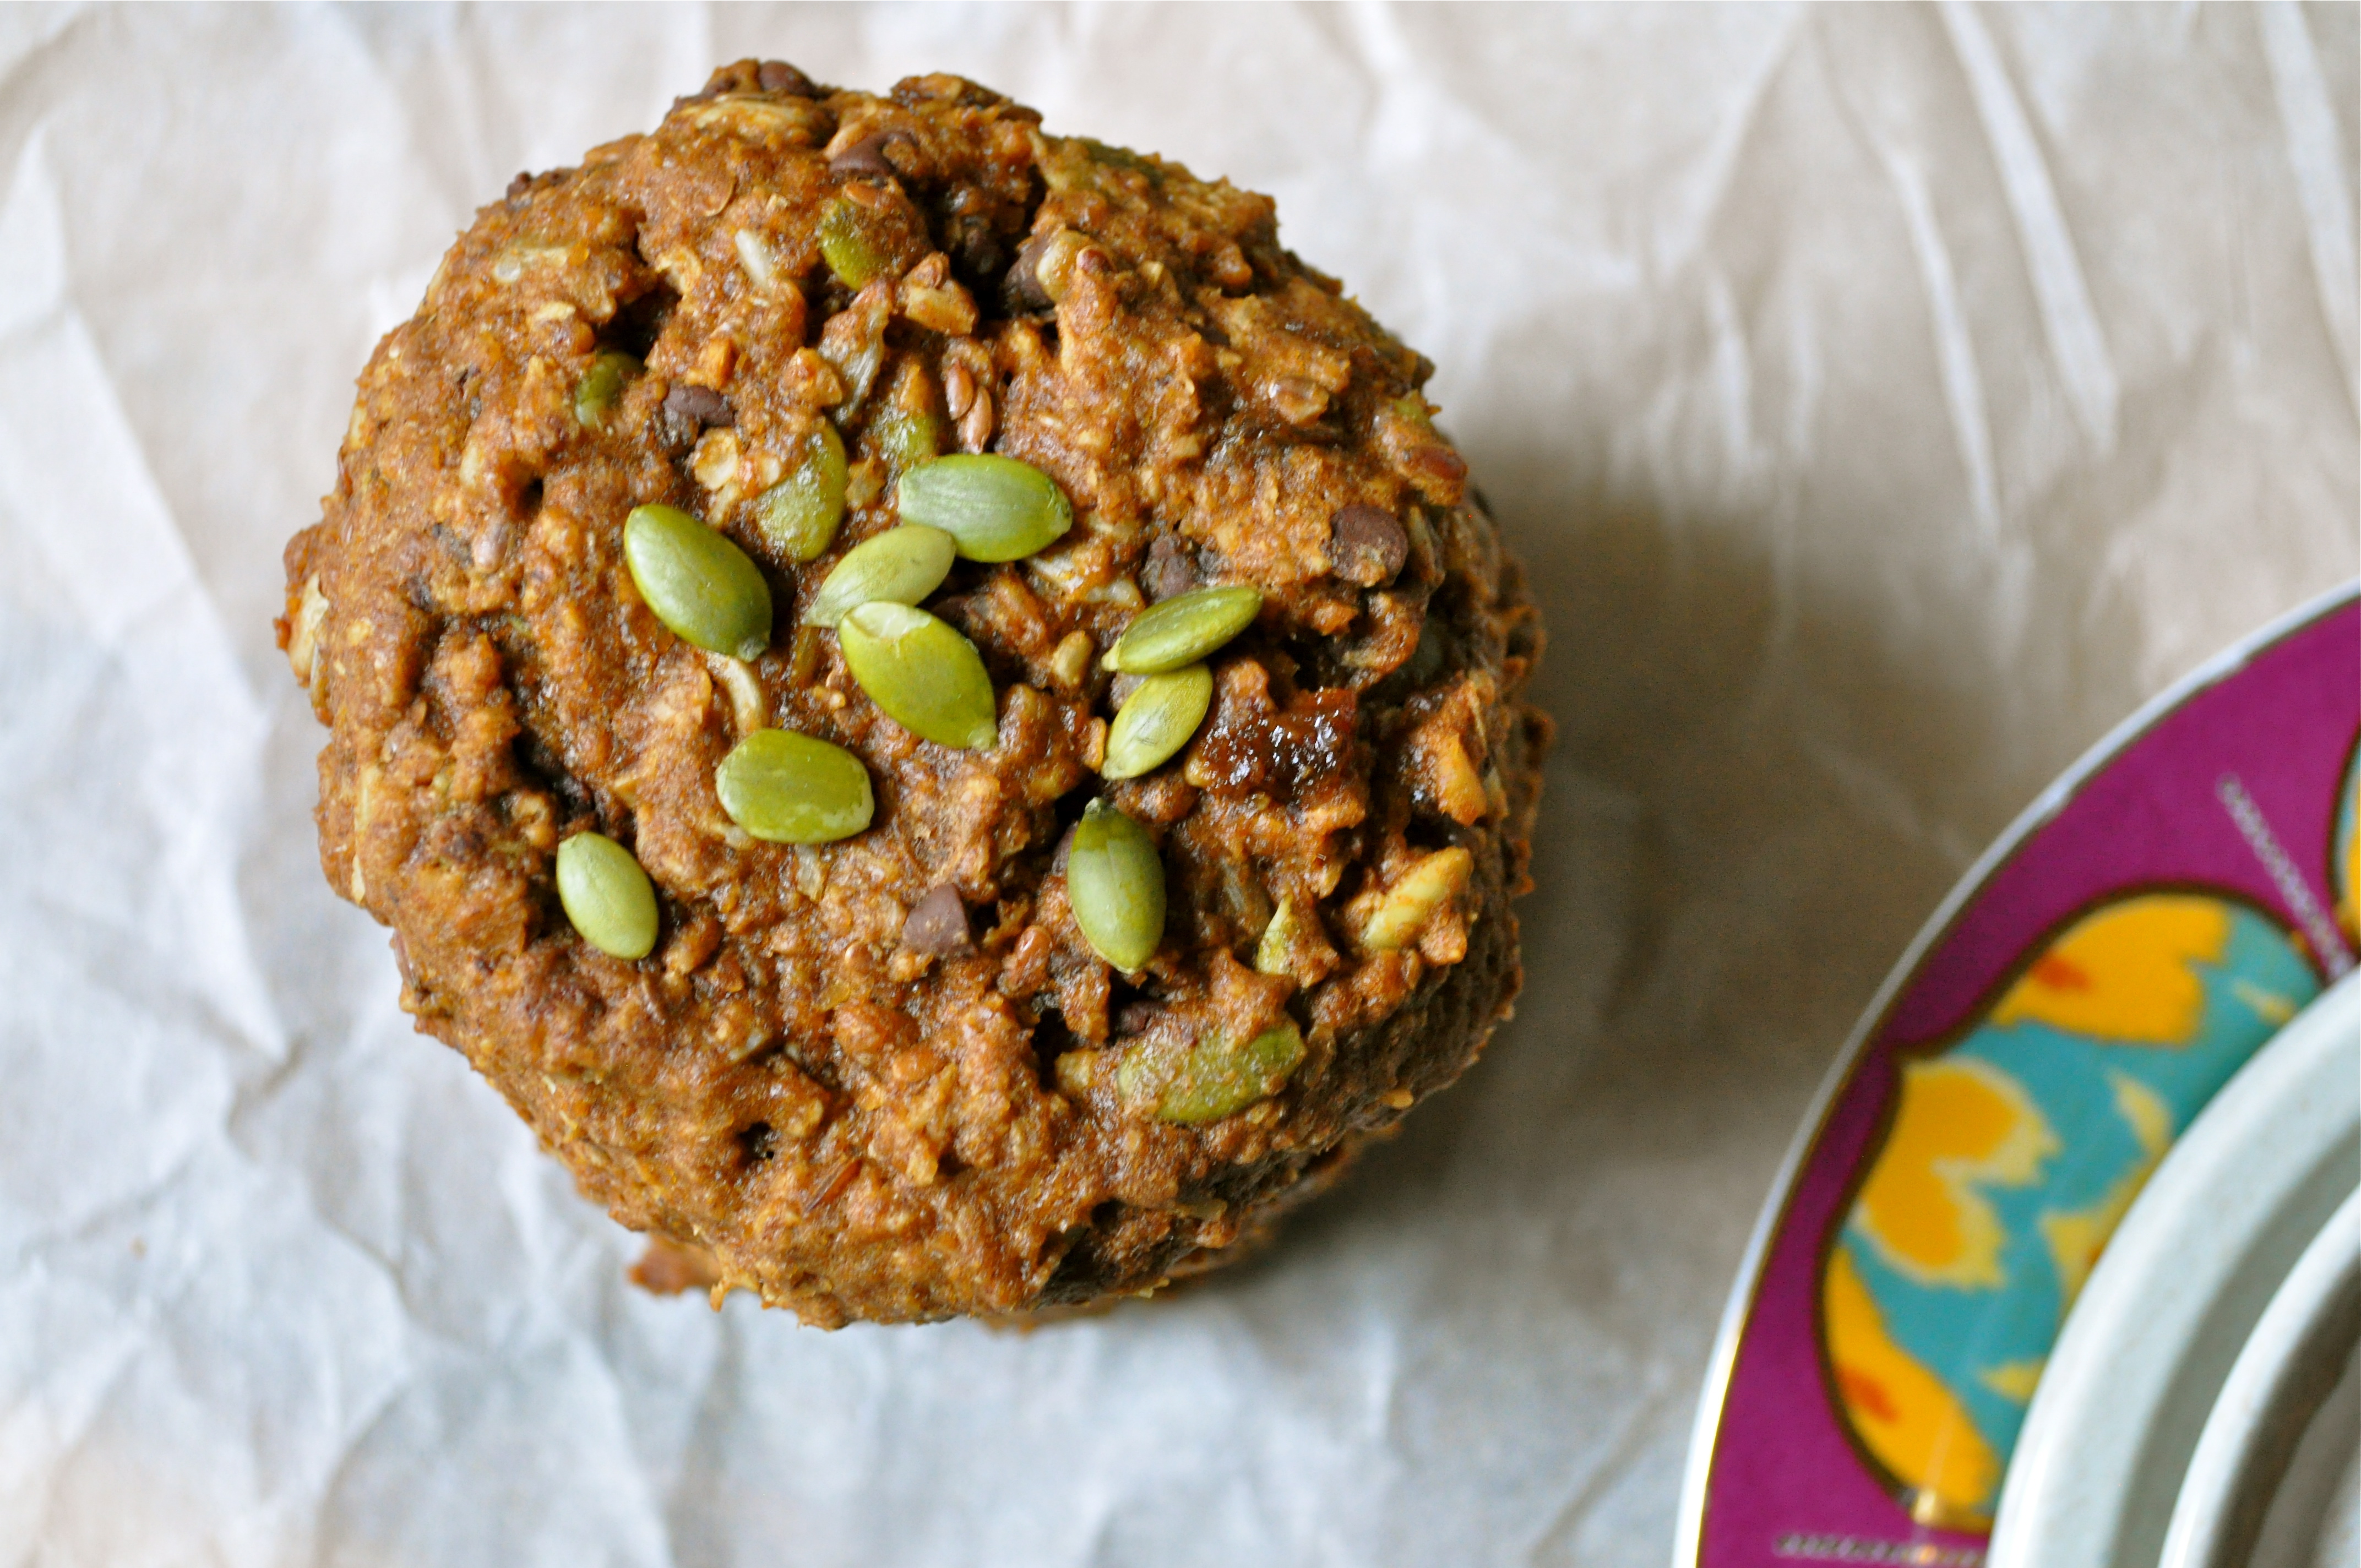
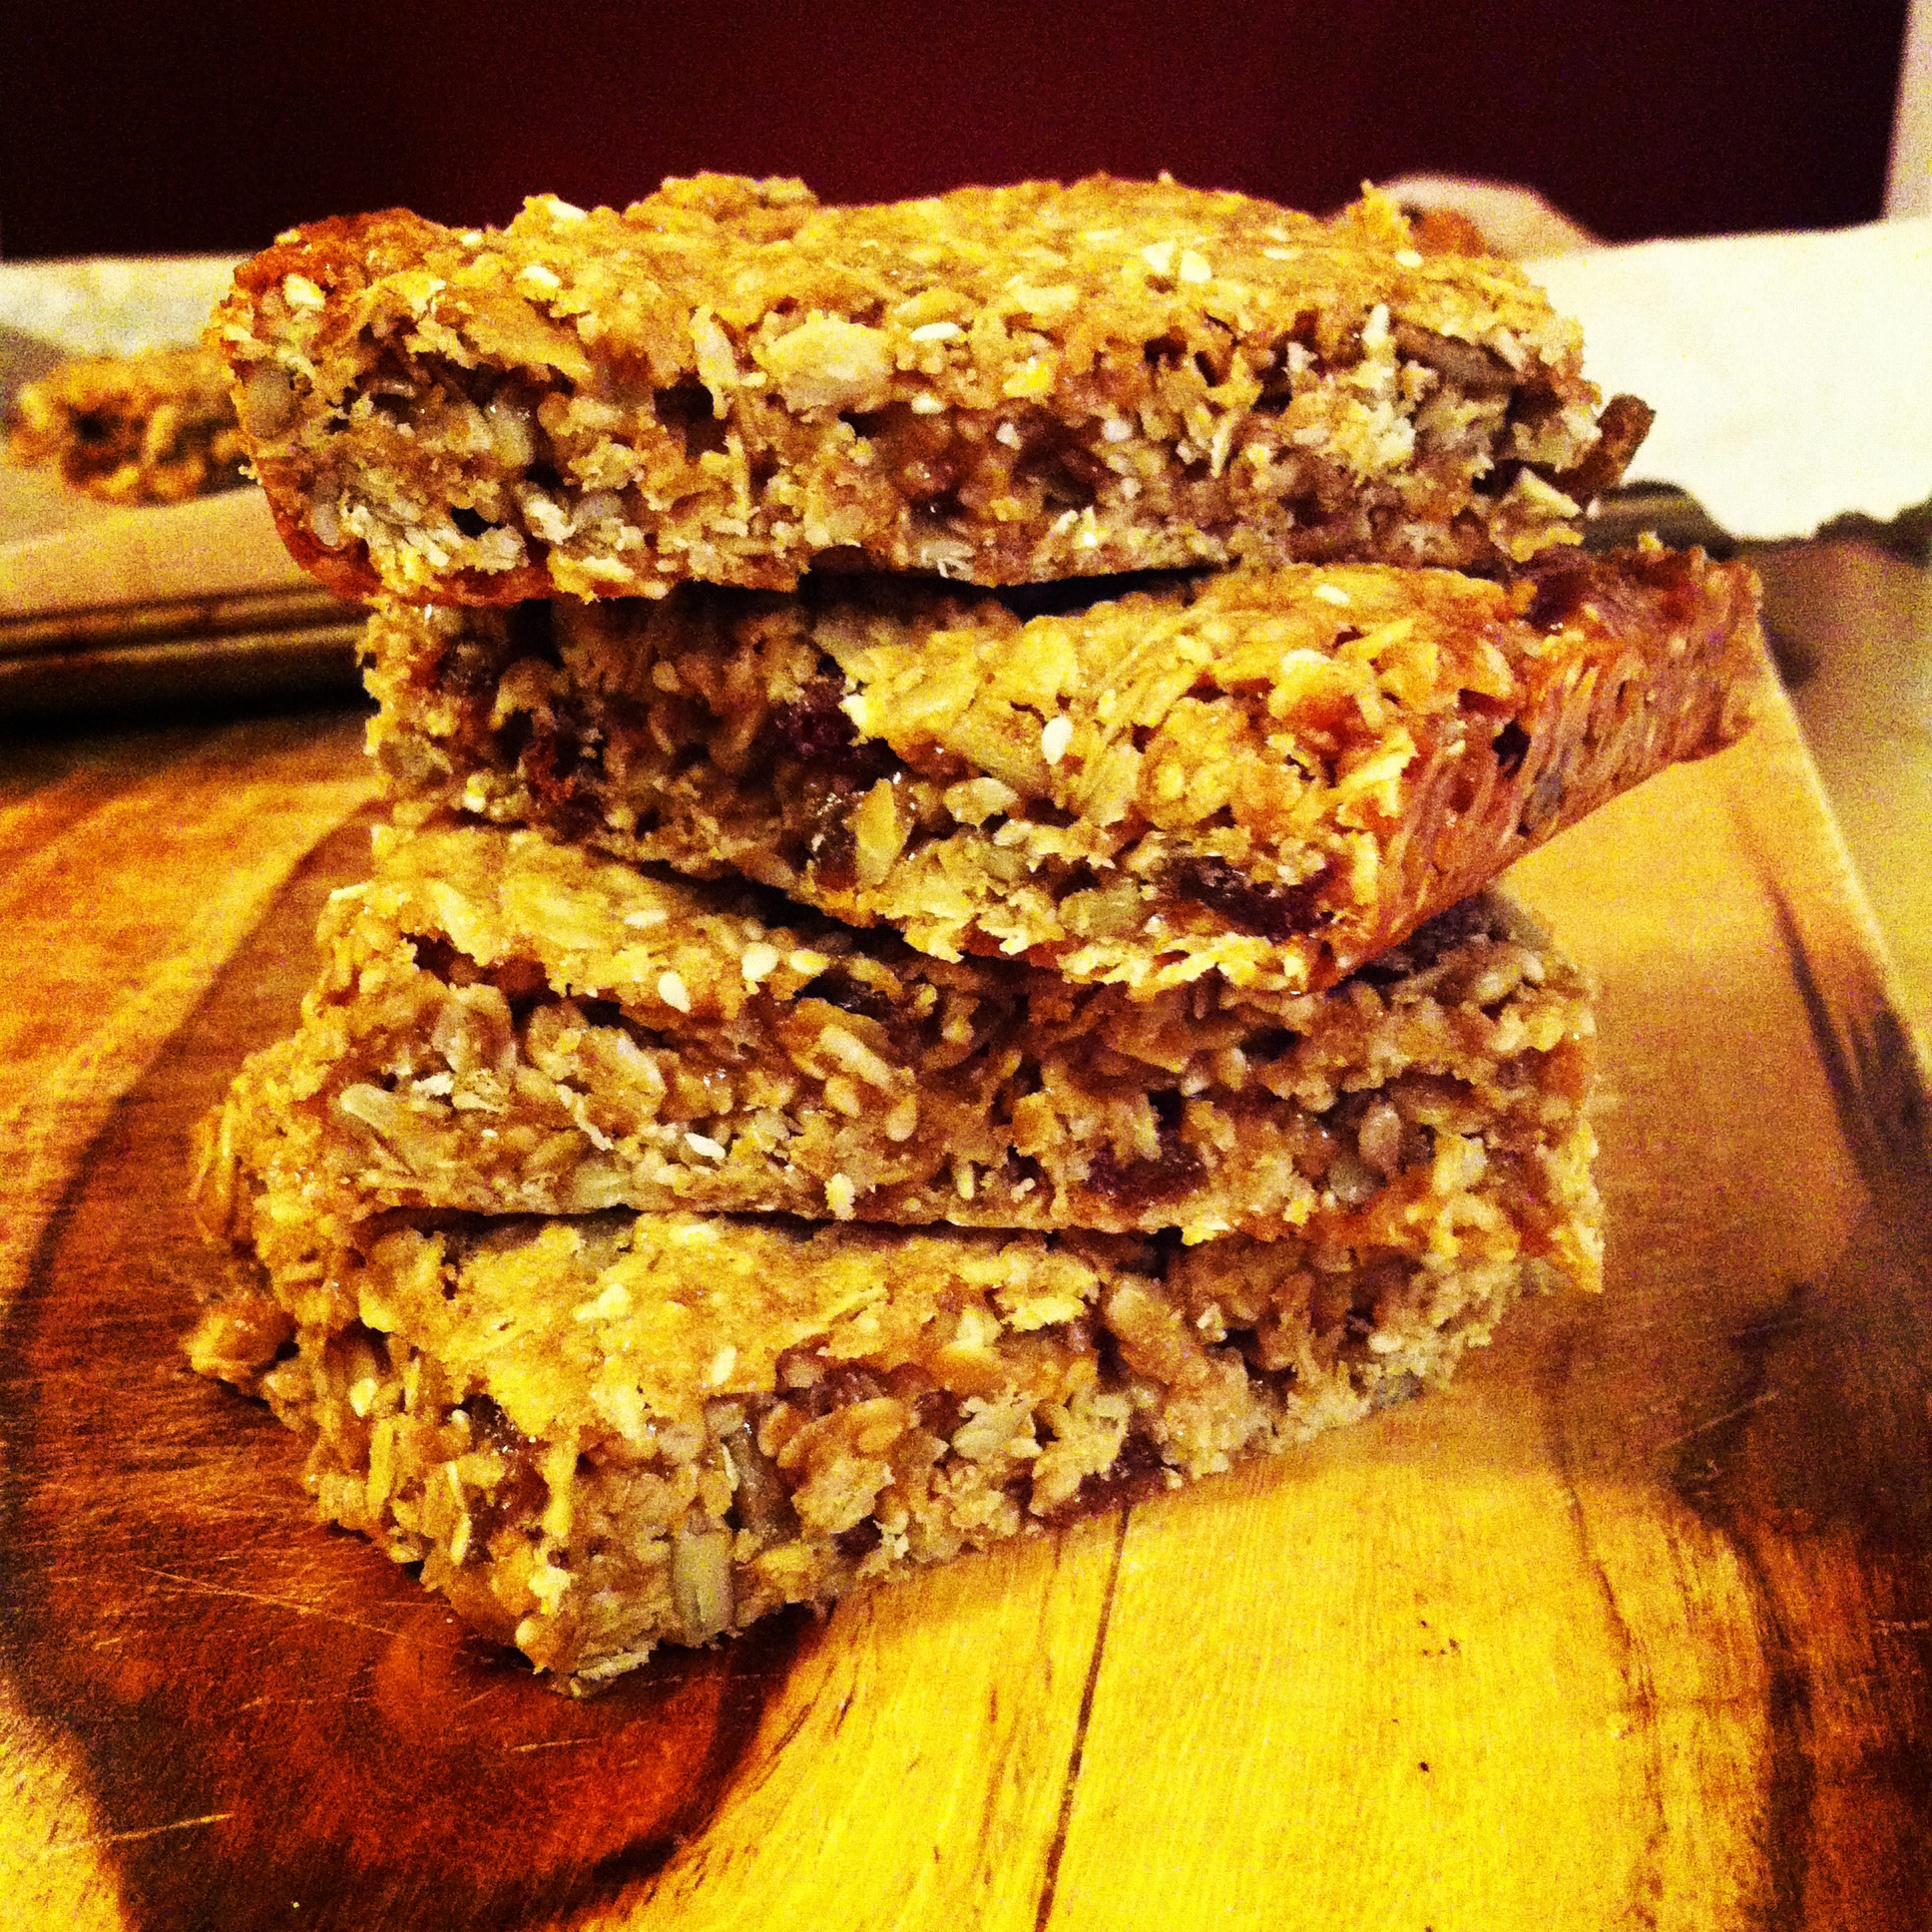
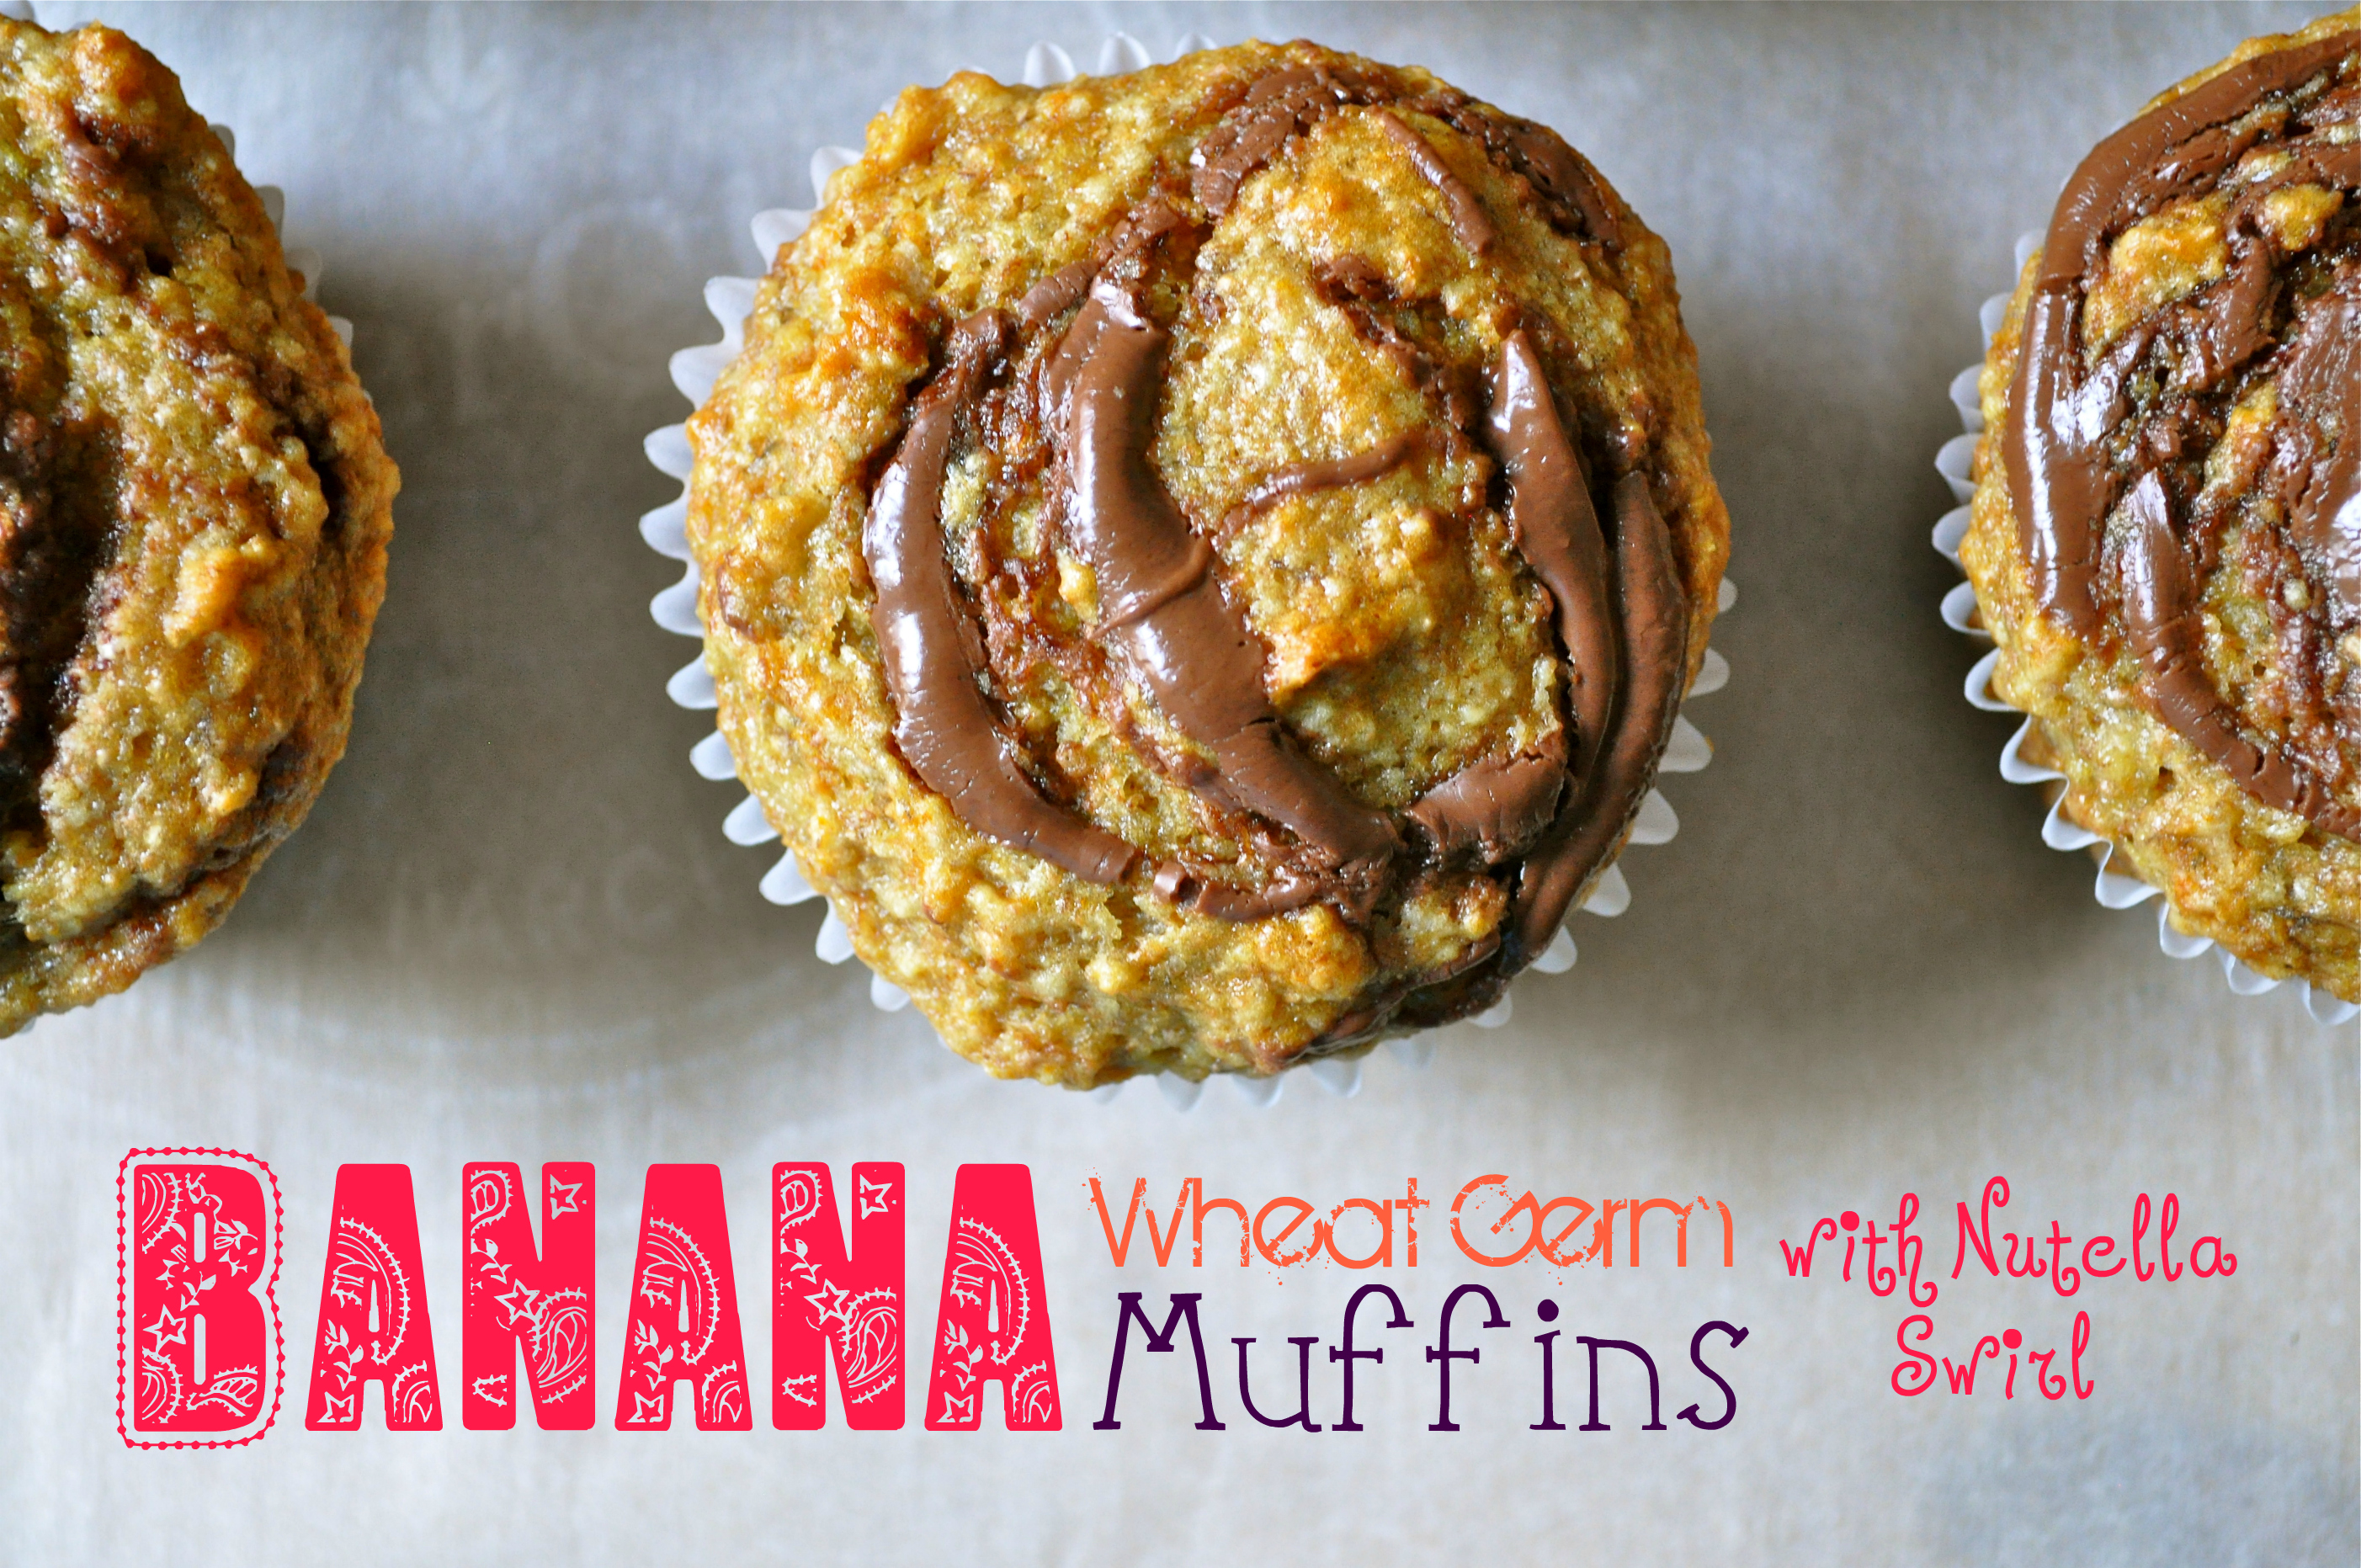
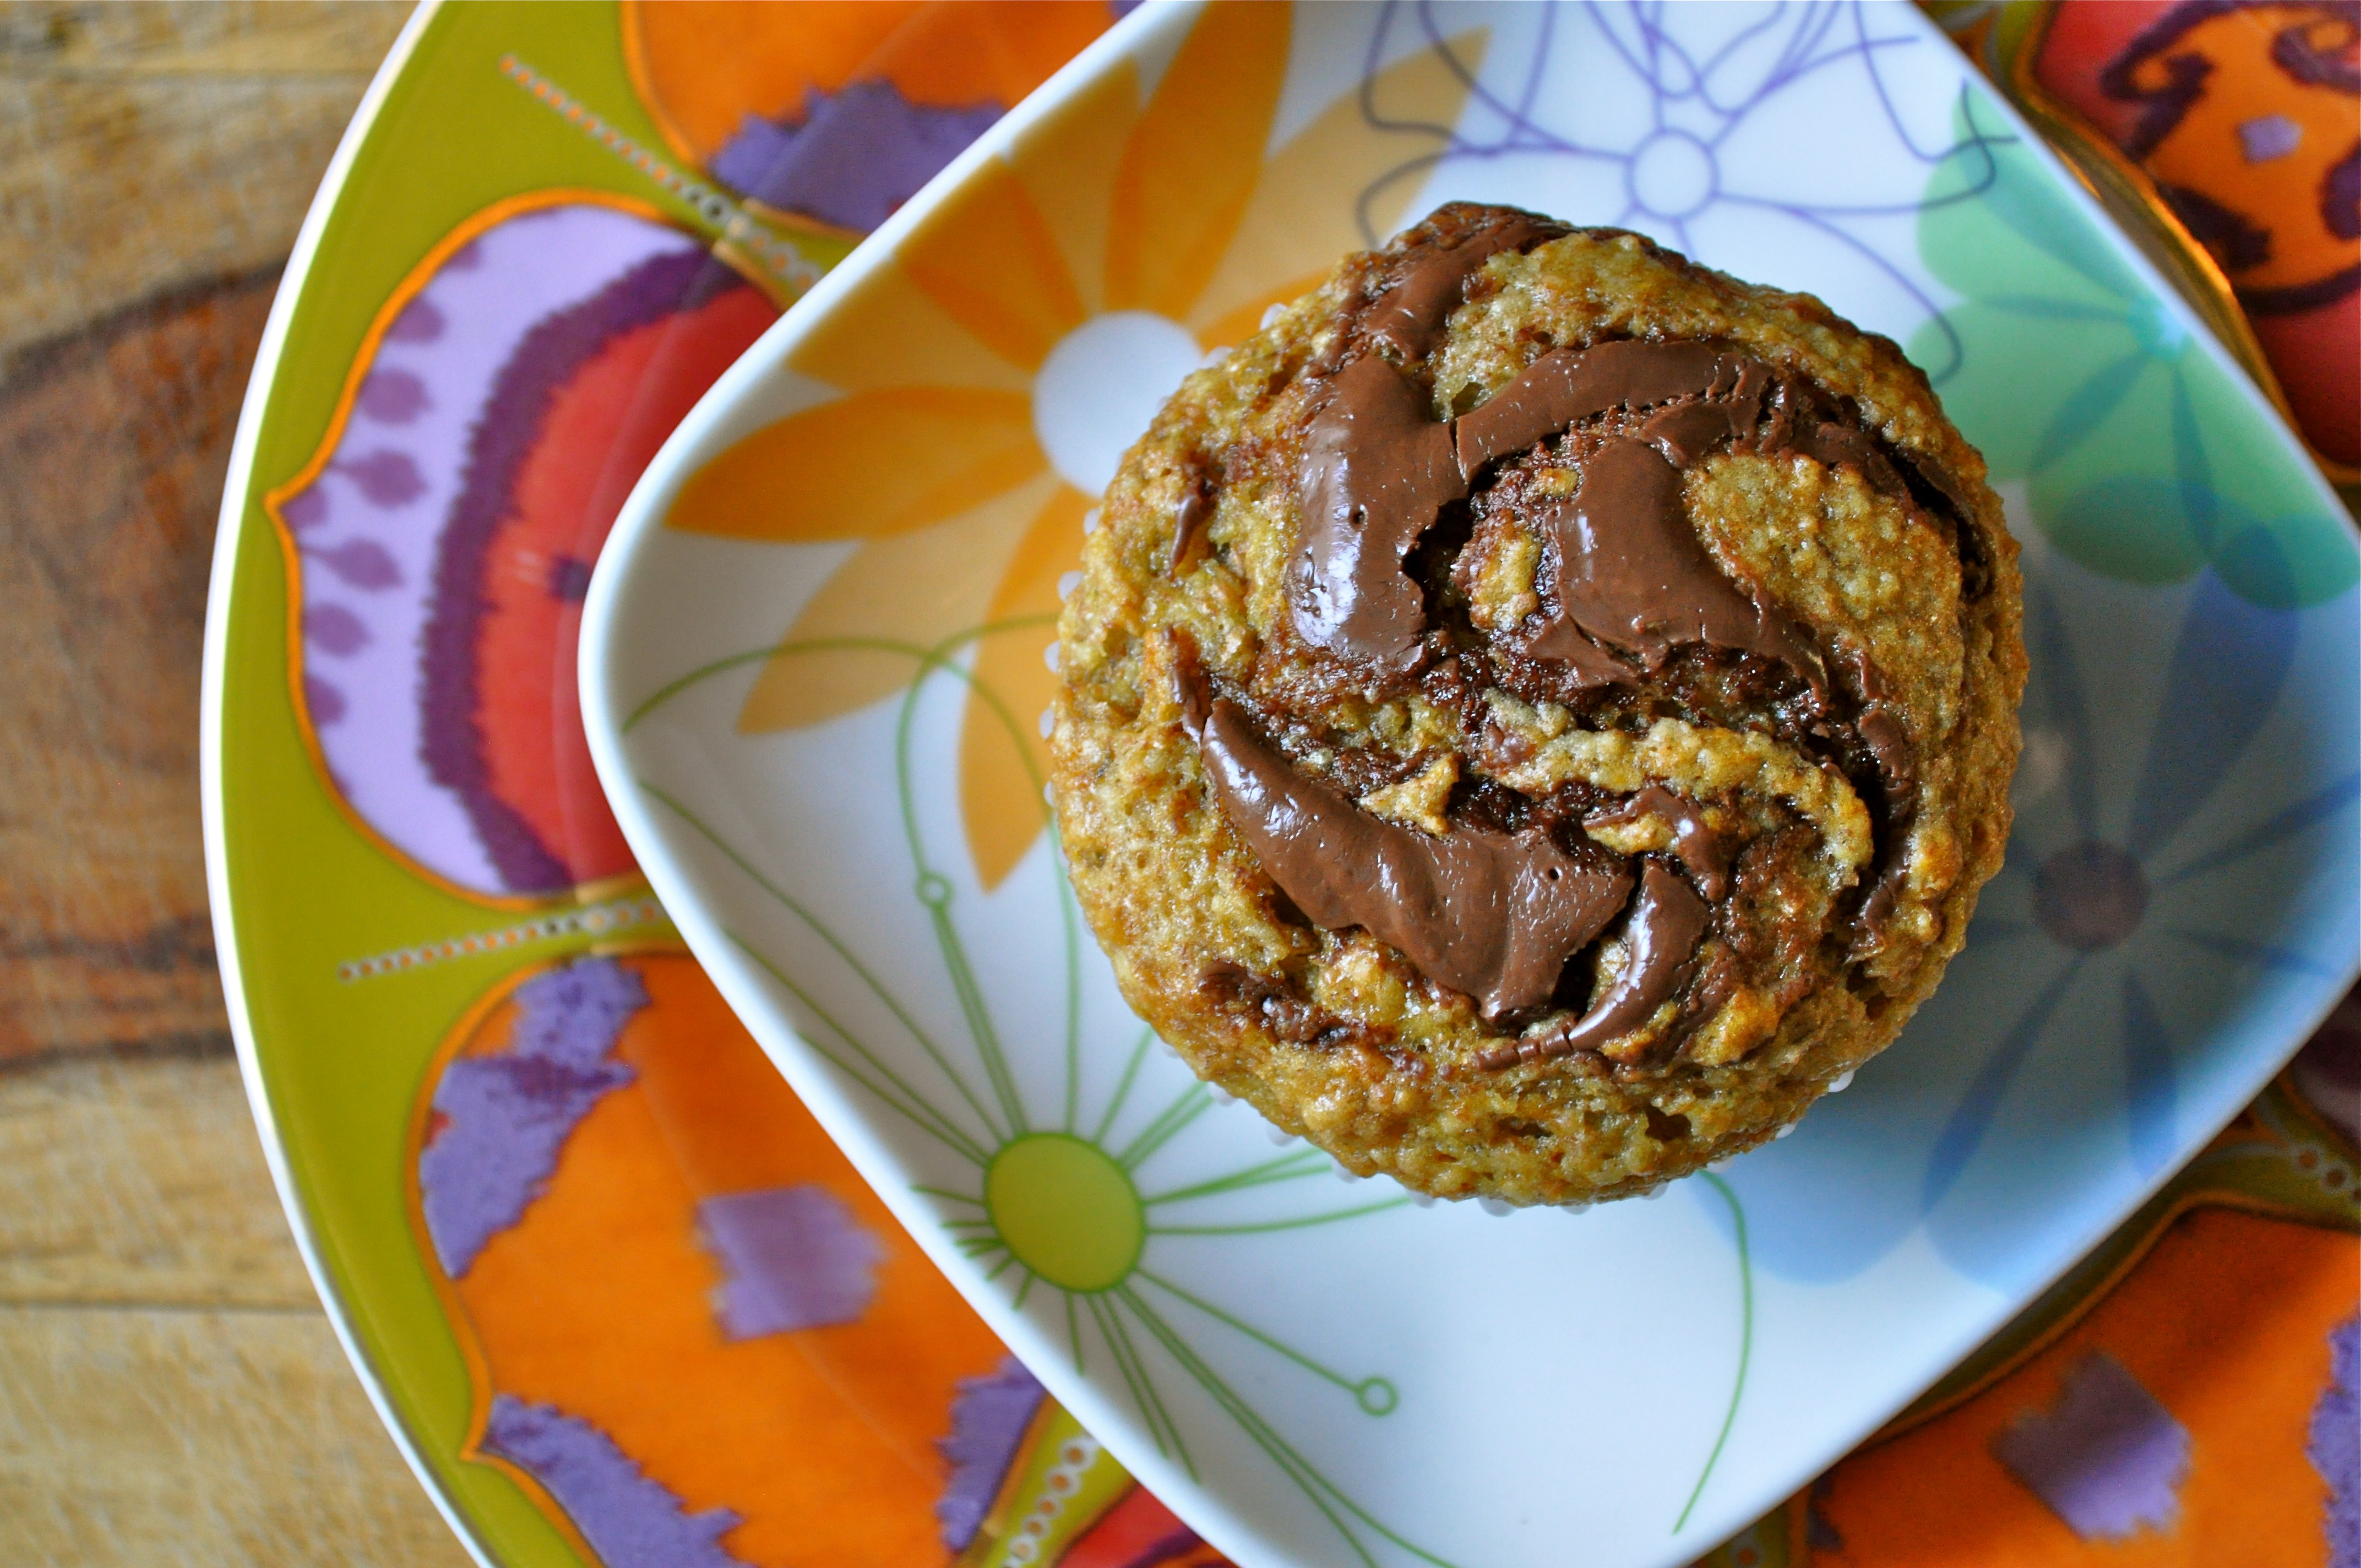
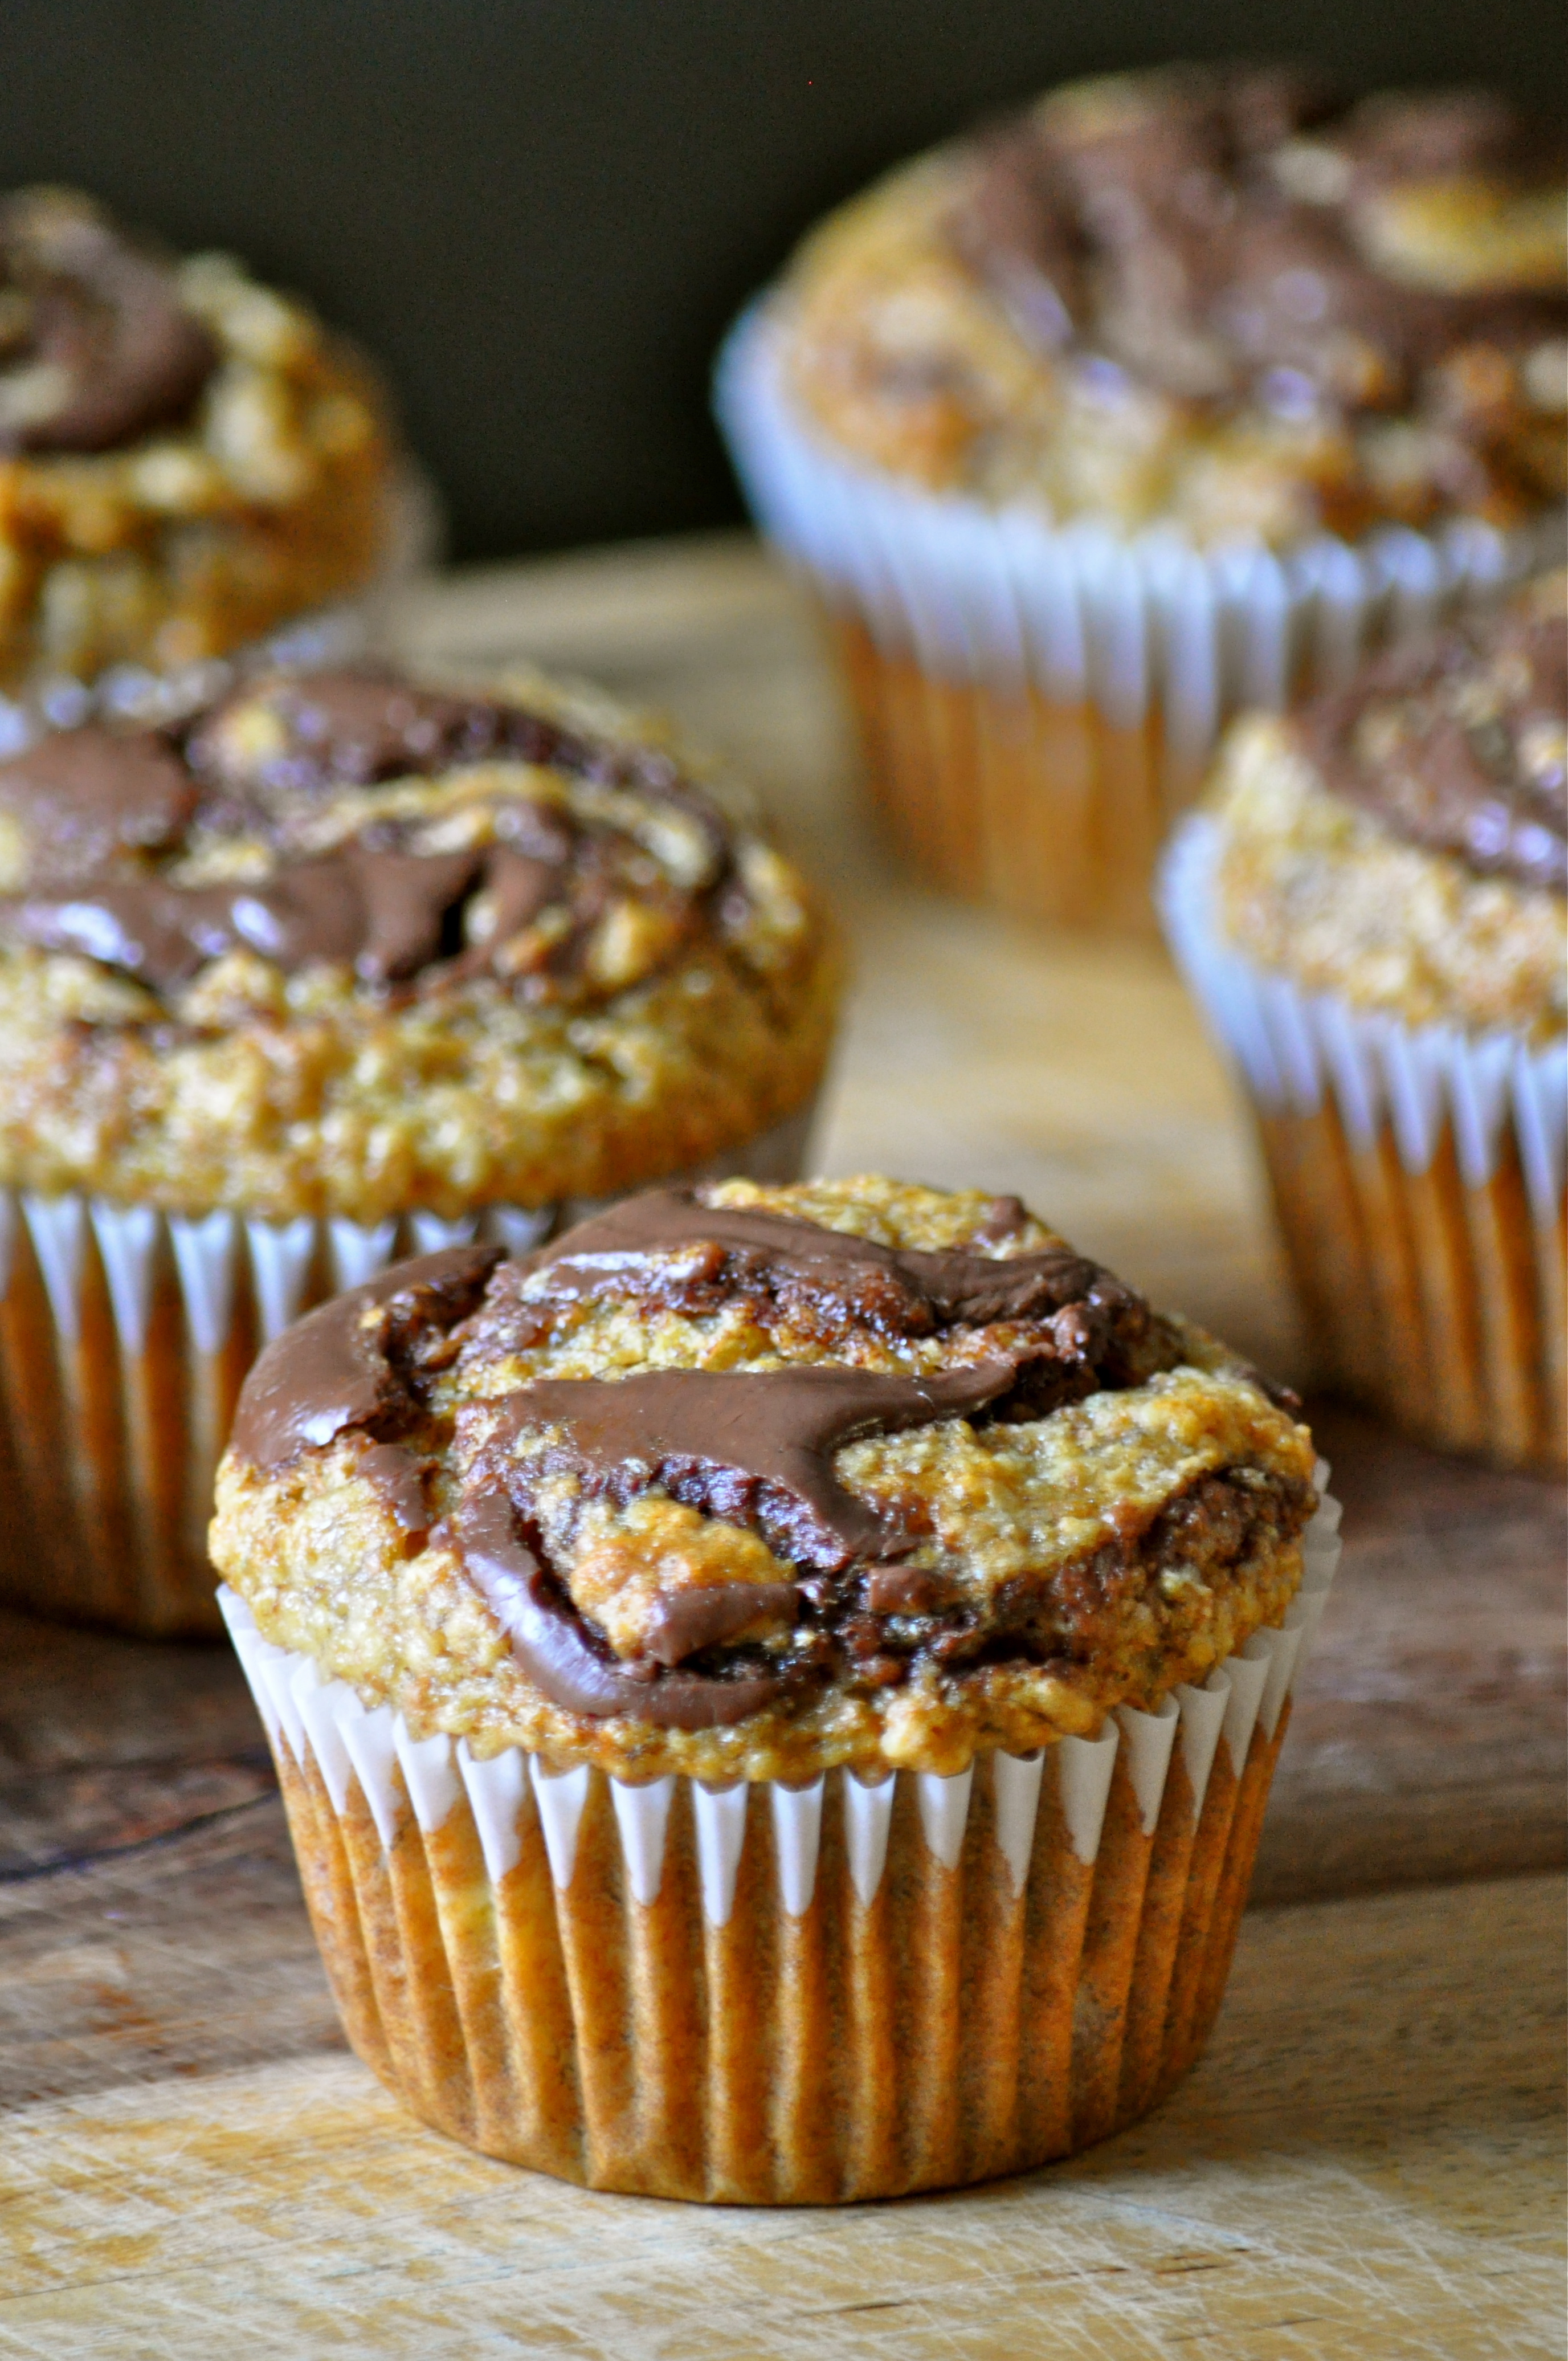
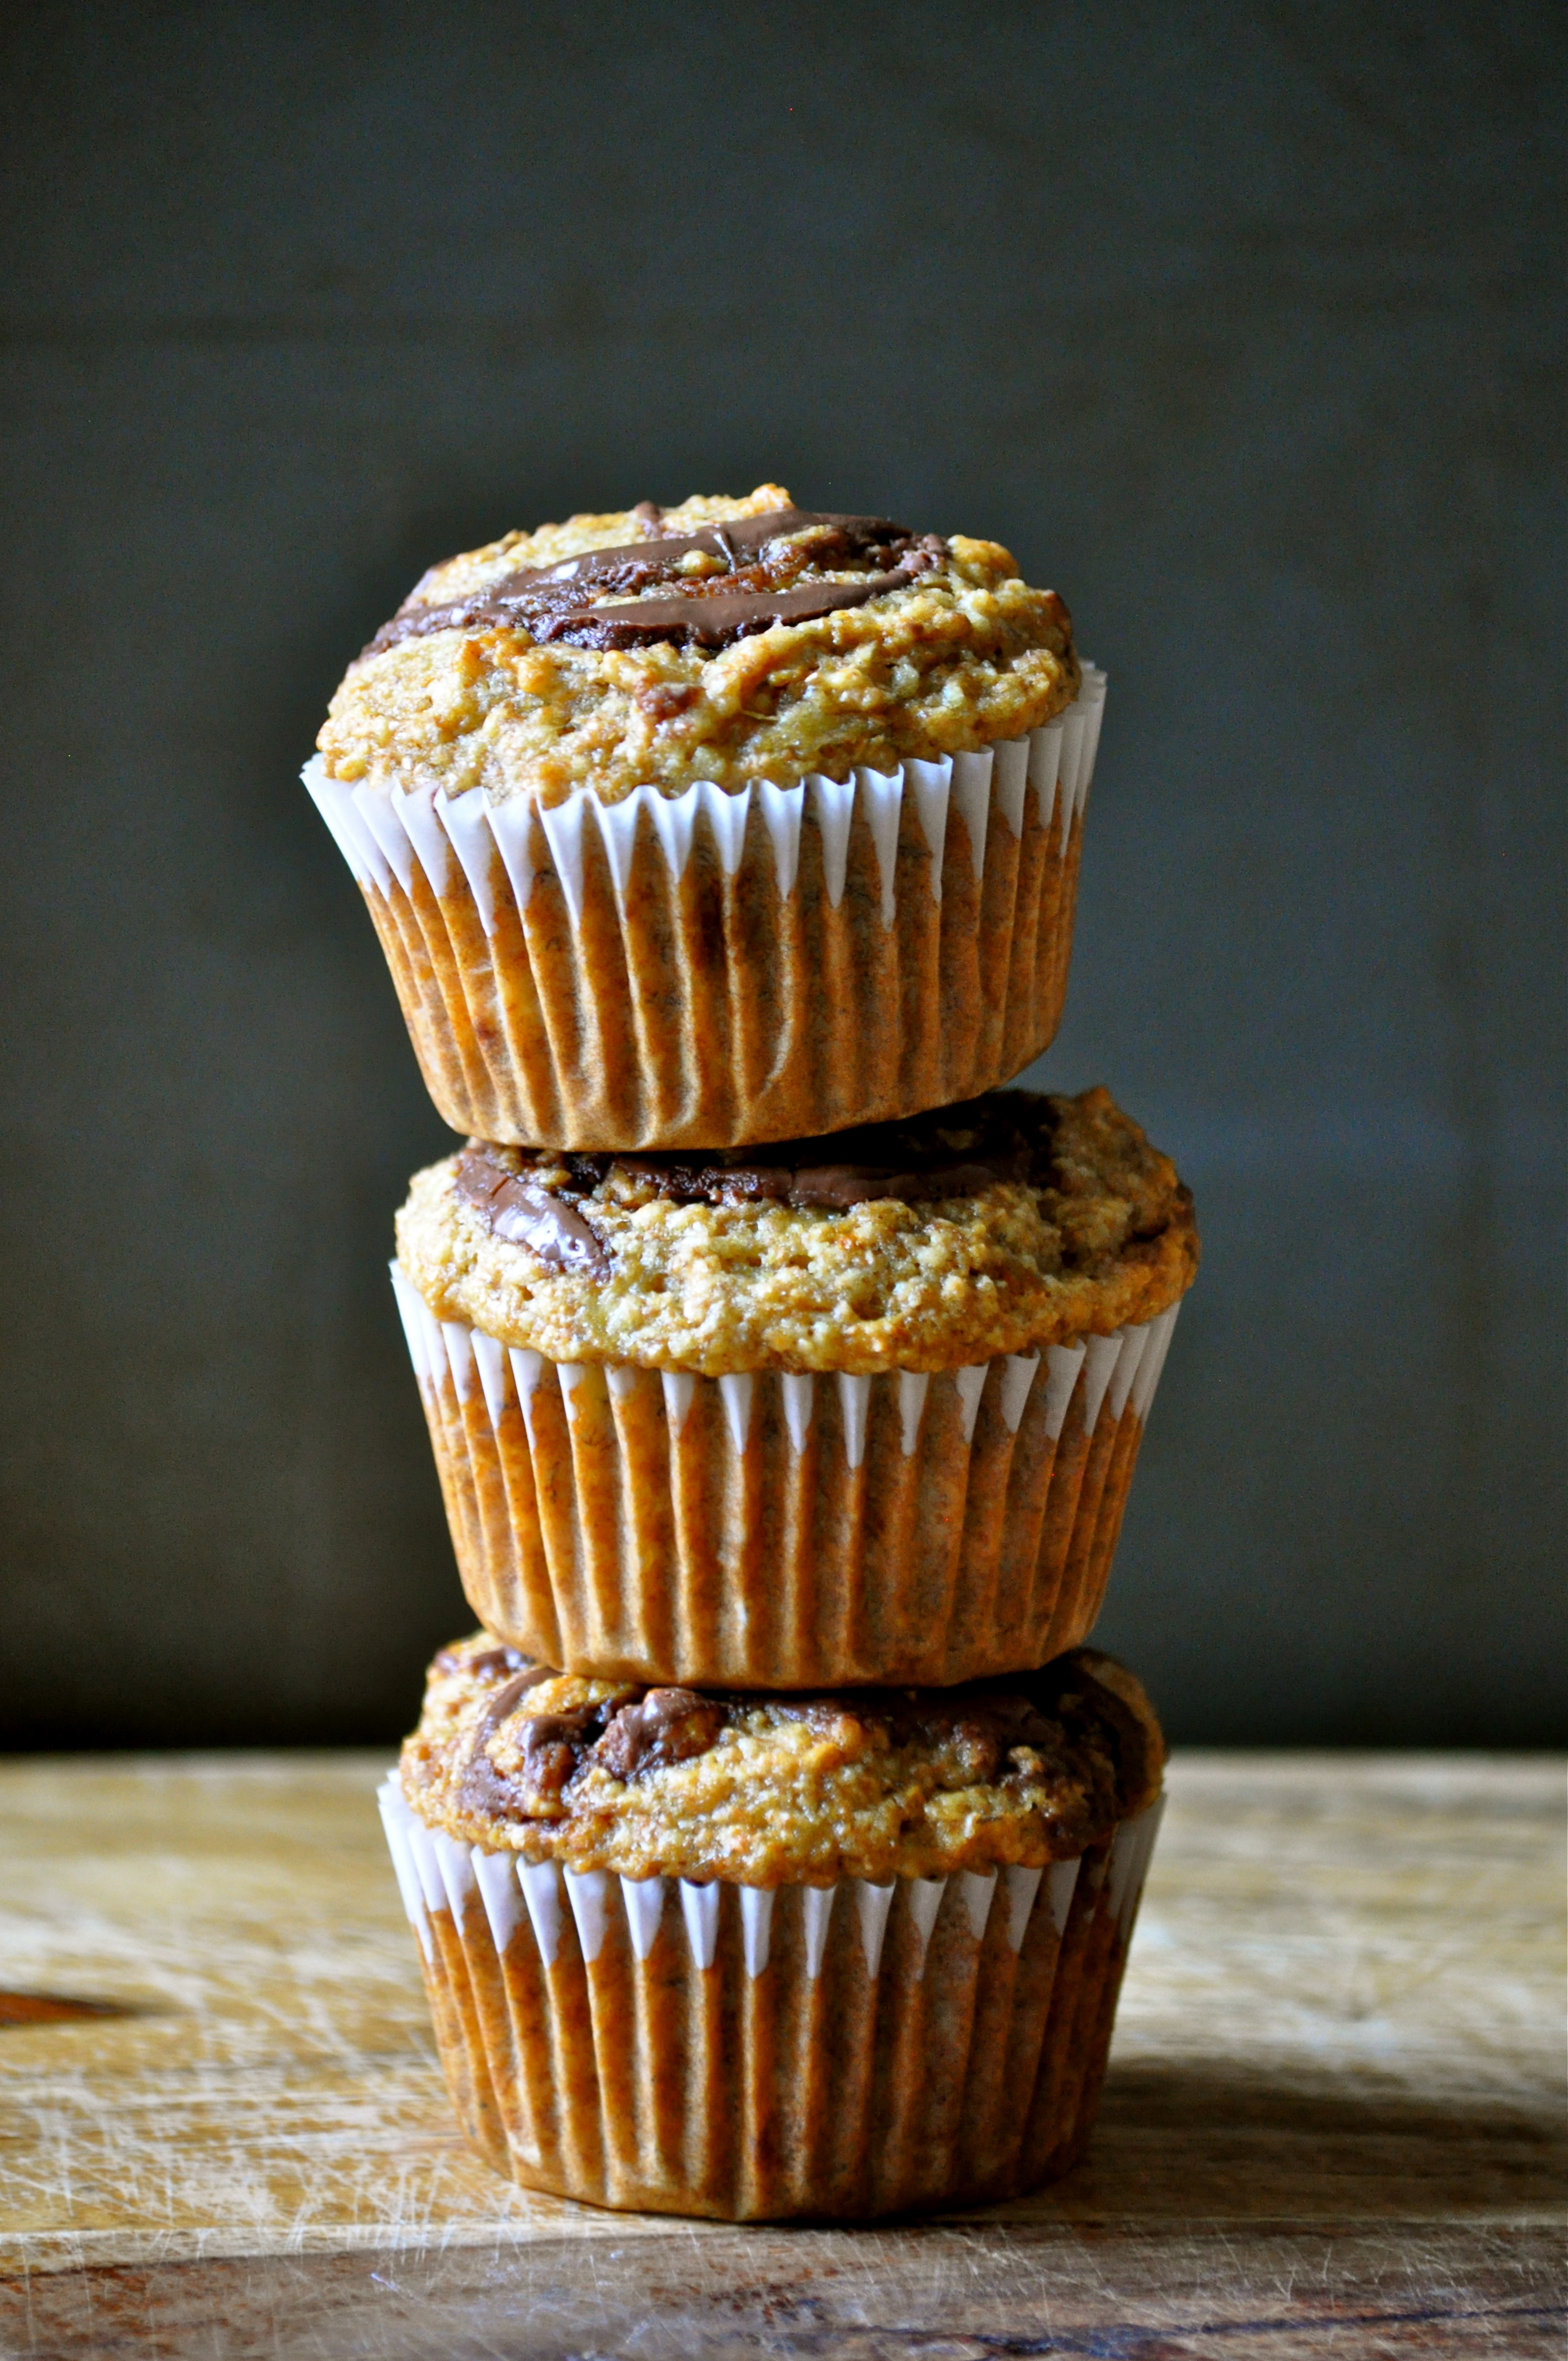
In any case, today I have muffins! These muffins are my kind of muffin. Healthy and packed with nutrients, yet they still taste super amazing and not at all like you might think a “healthy” muffin should taste. They are incredibly moist (yep, I said it) and totally flavorful. The Nutella swirl was kind of an afterthought – it looks pretty and tastes super awesome (obvi), but it’s totally not necessary. These muffins are also great naked in all of their banana and wheat germ glory.
If you’re anything like me, you always have a surplus of ripe bananas and are constantly looking for new recipes to try in an effort to fend off banana boredom. You just can’t have too many banana recipes. This is my current favorite!
Banana Wheat Germ Muffins with Nutella Swirl (slightly adapted from Weelicious)
These muffins are made with whole wheat flour and wheat germ, and are sweetened only with honey. You can totally feel good about enjoying them for a convenient breakfast or a quick snack! Remember, the Nutella isn’t necessary if you want to make these a bit more virtuous. I bet peanut butter would taste great too! Makes 12 muffins.
1 cup whole wheat flour
1 cup wheat germ
1 tsp. baking soda
1/2 tsp. baking powder
1/2 tsp. salt
3 very ripe bananas, mashed
1/2 cup honey
3 TBSP. vegetable oil
1 TBSP. vanilla
1 egg
4 TBSP. Nutella, for swirling (optional)
Preheat the oven to 350°F. Line a 12-count muffin tin with paper liners or spray with non-stick spray.
Combine the flour, wheat germ, baking powder, baking soda, and salt in a large bowl. In a separate small bowl, combine the bananas, honey, oil, vanilla, and egg. Whisk together until well mixed. Add the wet ingredients to the dry ingredients and gently mix until just combined. Divide the batter evenly between the muffin tins. Drop a teaspoon of Nutella into the top of each muffin and use a toothpick to create a swirl. Bake for 20-22 minutes, or until lightly browned and a toothpick inserted into the centre of the muffin comes out clean. Remove from the muffin tin and cool on a wire rack. Muffins can be stored in an airtight container for up to 3 days. They also freeze very well.